Cardmaking with Emojis
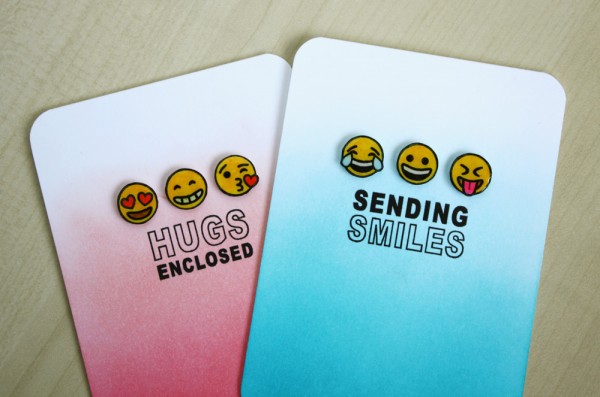
Hi friends! Happy Wednesday! I’m always happy to welcome back the sweet and talented Kelly Rasmussen to our blog as a guest! She made this adorable pair of emoji cards! Be sure to read on to learn how to recreate them for yourself and enjoy!
Emojis seem to be everywhere these days! I’ve seen them on clothing and home decor and there is even an emoji Bible! I will admit I am a fan of a clever emoji used in text message, so the new Hero Arts Emoji Icons caught my attention. The adorable little images can say so much with just a facial expression.
To create the emojis, I stamped each one with black ink and trimmed out the image. Then I used a black marker to color the edges, so the white core of the paper wouldn’t show. I used Zig Clean Color Real Brush Markers to color the images — the super fine tip makes it a breeze to color in the tiny spaces!
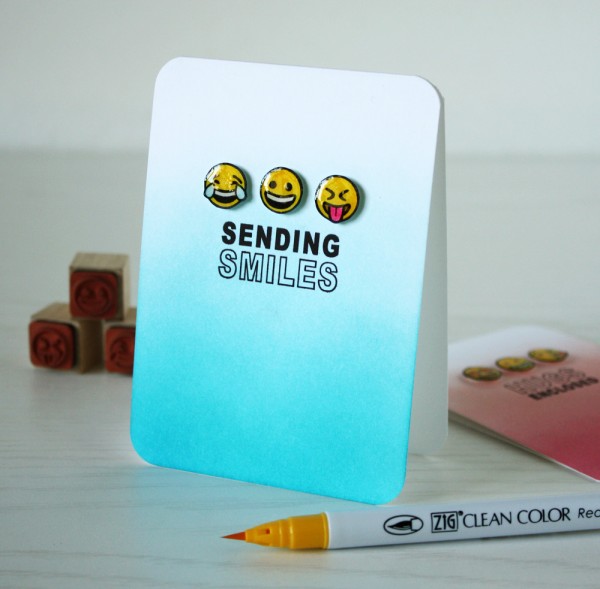
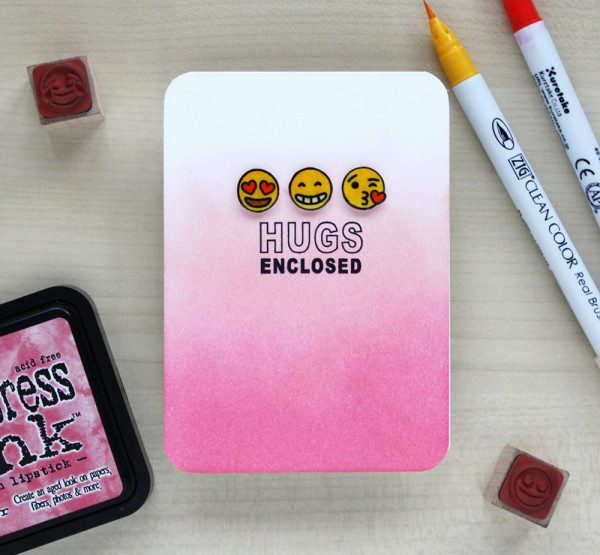
I created a 4-bar sized (3 1/2″x4 7/8″) card base from white cardstock and used Distress Inks to blend a gradient background. I think I need some blending lessons from Laura Bassen because I really struggled to get that nice fade out to white at the top. She makes it look so effortless!
Both messages are from the Hero Arts Happy Mail stamp that I designed. It’s got a great mix of messages that are perfect for envelopes as well as cards!
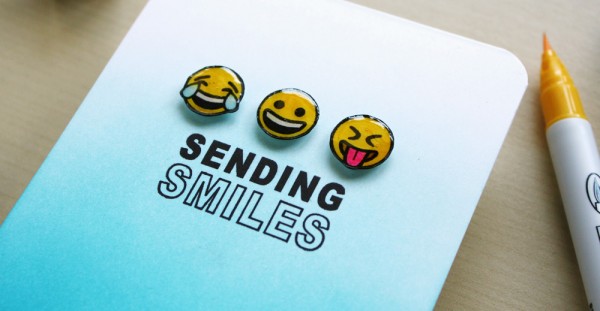
And finally I adhered three emojis to each card with foam adhesive and covered them with a coat of Glossy Accents. I love that shine!
SUPPLIES:
 |
 |
 |
 |
 |
 |
 |
 |
 |
 |
 |
 |
 |
 |
 |
 |
 |
 |

Blog Candy Alert!! Follow our blog via email and comment on this post for a chance to win a special blog candy!
Congrats! Blog Candy Winners!
From: Studio Monday with Nina-Marie: Clear Shaker + Multicolored Die Cut: Brenda Lubrant!
From: Fabric Flowers with Shari Carroll: Lisa Tilson!
From: Weekender with Wanda – Go where your heart takes you!: Iris Esther Lopez!
From: See-Through Window Shaker: Evelyn Larson!
From: Have You Joined the Monday Challenge This Week?: Nana Griffin!
From: Summer Stamping & Coloring: Marcia Scantlin!
Please email [email protected] with your mailing address (if applicable), the name of the blog you won from, and the prize you won to claim your prize!
Handwritten Floral Greetings: Simon Says Stamp July 2016 Card Kit Reveal and Inspiration
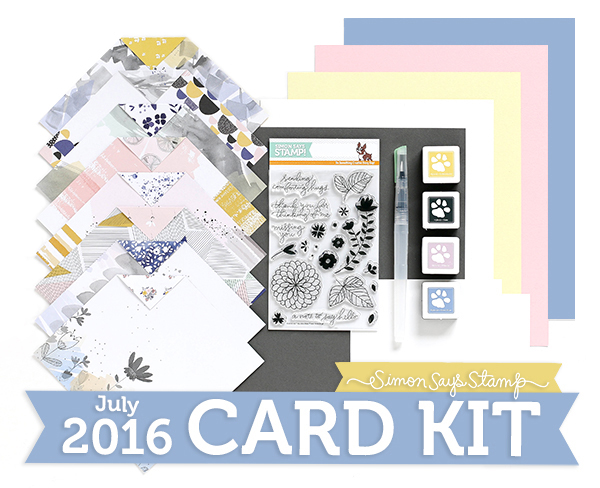
It’s the 14th and time to reveal the Simon Says Stamp card kit for July called Handwritten Floral Greetings!
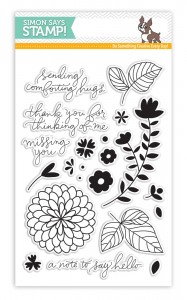
This is a dreamy kit with soft tones of colors from the Pink Fresh Indigo Hills 6×6 papers. The Handwritten Floral greetings stamp set is a perfect addition to these papers with both detail and solid florals. We’ve included inks in this kit! Enjoy stamping with our Simon brand Hybrid inks in; Thistle, Goldenlocks, Slate and Steel Blue! Want to watercolor your stamped images? We’re also including two sheets of watercolor cardstock and a detail water brush.
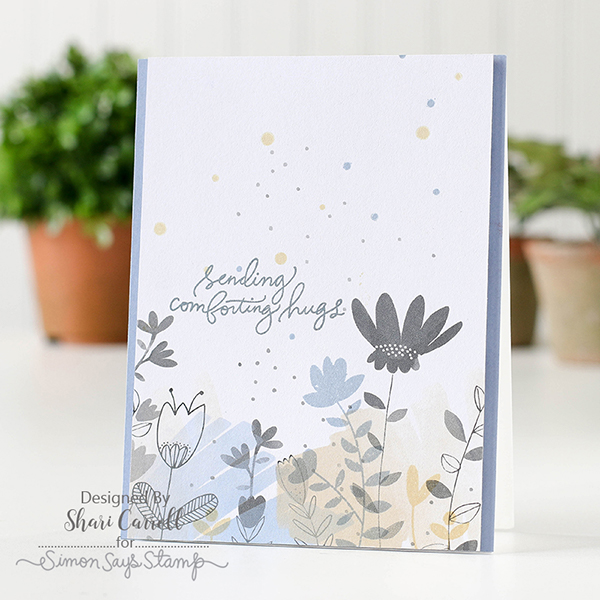
I have some inspiration to share with you. I’ve created a single layer card by stamping solid flowers and dots onto the pattern paper and then adding a greeting. Talk about a quick card!
Wanda created a watercolor masterpiece by embossing her images in white and using the water brush to paint the insides.

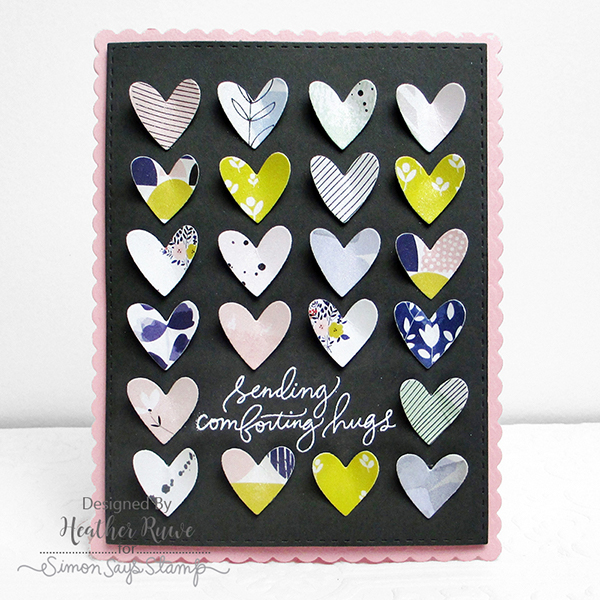
Heather Ruwe used a hearts punch to create a fun panel using a variety of the papers.
I’ve shot a video of the kit walk through so you can see the kit contents. You can watch it below or on our YouTube channel.
The Handwritten Floral Greetings stamp set is also available for individual purchase in our store.
Remember, you can SUBSCRIBE to our no obligation kits and receive them monthly for $ 24.95 or purchase them each month for $ 29.95, while supplies last.
If you are a subscriber who used Paypal to purchase your subscription, please be sure to pay the invoice that we send you within 3 business days. We have a limited number of this card kit in stock and don’t want you to miss out. For easier and quicker monthly processing, please contact us via email or telephone and we will put your credit card on file as a courtesy for you. Card kits bill and ship between the 17th and 27th days of every month.
Thanks for stopping by today!
Studio Monday with Nina-Marie: Clear Shaker + Multicolored Die Cut
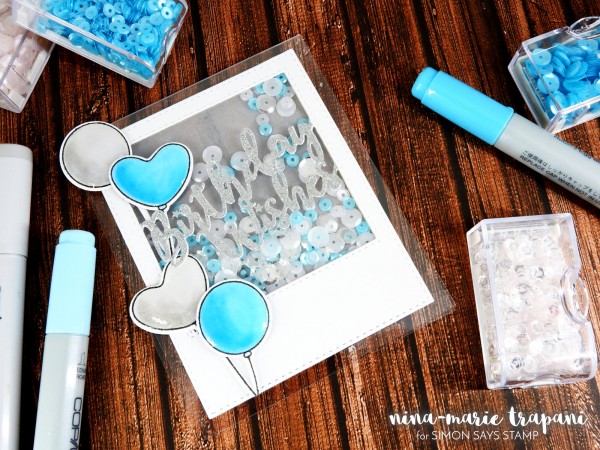
Hello friends, welcome back to a brand new Studio Monday! Today I have another clear shaker card to share with you, this time using some of our Simon exclusive stamps and dies! I also am going to share some inspiration on creating multicolored die cuts and a bit of easy Copic coloring, so let’s get to it!
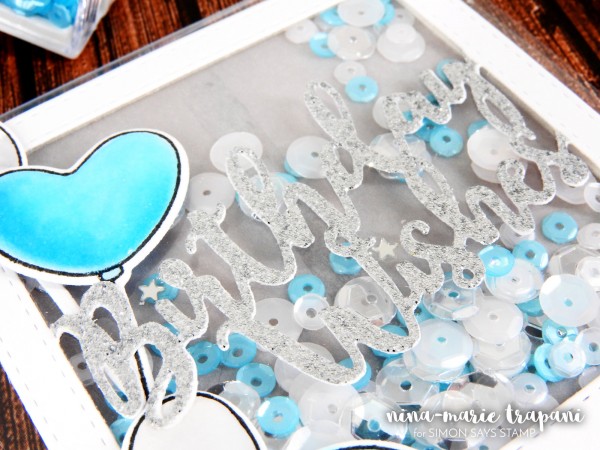
For this card I have used the Birthday Wishes Frame die, as well as the Cuddly Critters Accessories stamp and die sets; all of these products are Simon exclusive and they are so much fun to use together.
I really like the versatility of the Cuddly Critters Accessories stamp set; while it is technically meant for using with the Cuddly Critters stamp set (which is so dang cute by the way!), it can also be used alone, like I have done here. The balloons that are included in the set are just the perfect shape for any style of card, and I like having the option of using either the heart or traditional circle… or both together! There are also coordinating dies that go with the Cuddly Critters Accessories set, which saves a lot of fussy cutting!
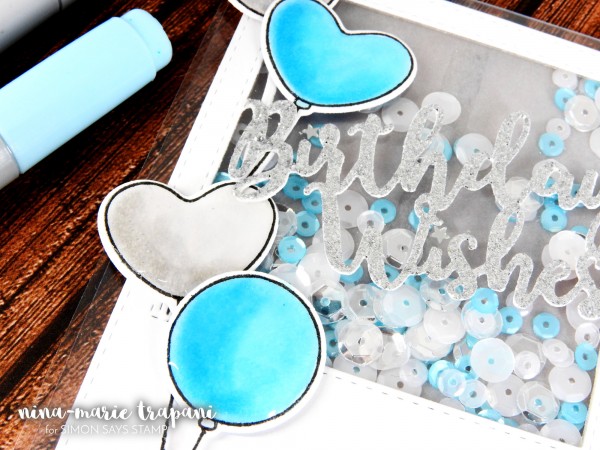
I wanted to create a clear shaker card today, and the Birthday Wishes Frame makes it SUPER easy to do so! I even did some multicolor die cutting, which I will be sharing a few tips on in today’s video (at the bottom of this post). What makes this die cut more unique than other frame dies, is that the brush script “birthday wishes” sentiment is attached to the frame, so everything die cuts as one whole piece. Pretty nifty, huh?? I will show you in the video below how I put this entire shaker card together, so be sure to stick around for that!
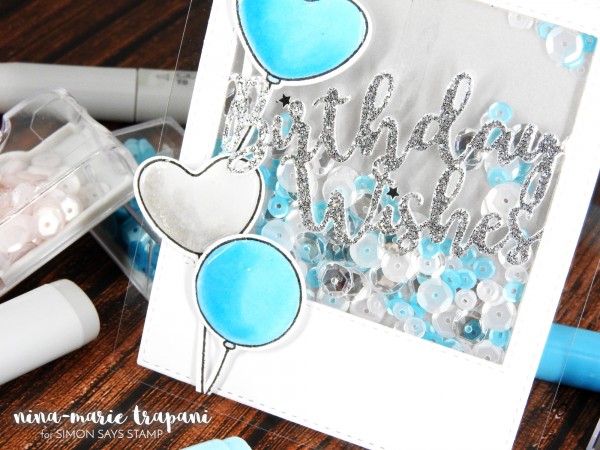
Inside the shaker I wanted to use colors that matched my balloons; so I grabbed some Pretty Pink Posh sequins in Marshmallow (4mm and 6mm), Aquamarine (4mm) and Sparkling Clear (6mm) to fill inside my shaker’s well. I think the way the sequin and balloons coordinate together looks fab!
To see how I created this card from start to finish, as well as to get a few tips and tricks on creating clear shaker cards, be sure to check out the video below or over on our YouTube channel! If you enjoy, please give it a thumbs up and subscribe to our channel for more weekly inspiration!
WATCH THE VIDEO:
SUPPLIES:
 |
 |
 |
 |
 |
 |
 |
 |
 |
 |
 |
 |
 |
 |
 |
 |
 |
 |
|
Blog Candy Alert!! Follow our blog via email and comment on this post for a chance to win a special blog candy!


