Combining Lawn Fawn Stamp Sets in Cardmaking
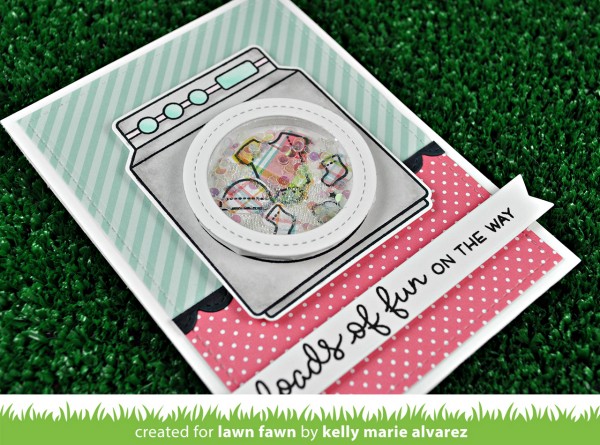
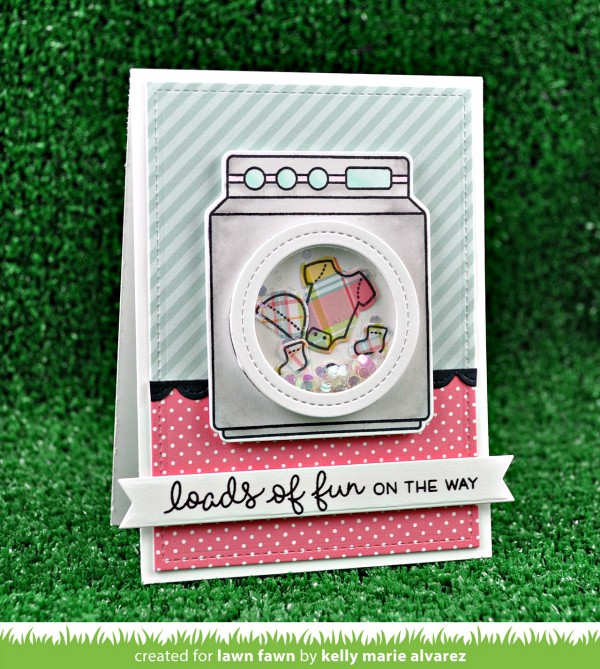
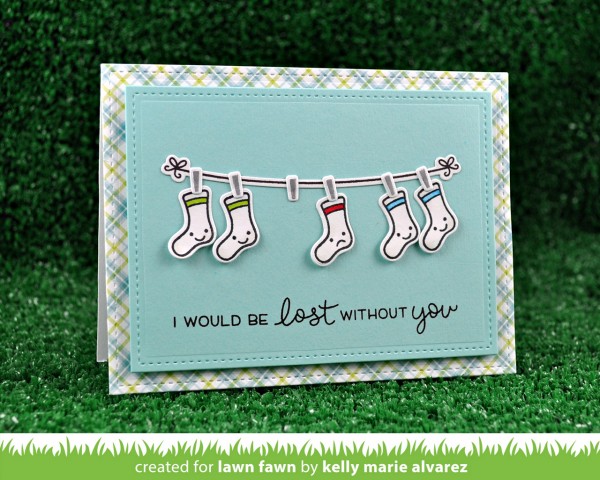
Hi readers! Happy Sunday! I’m so pleased to welcome back the always delightful Kelly Marie Alvarez of Lawn Fawn to our blog as a guest! Today she has made not one, but TWO sweet cards using Loads of Fun stamps and dies and Little Bundle Stamps and Dies together to show how you can really stretch your sets! I just love how she combined seed beeds and Lucy’s Fairy Dust sequin set to make the washing machine look like it’s full of soap and bubbles! So cute!
Be sure to watch the video & enjoy!
WATCH THE VIDEO:
SUPPLIES:
 |
 |
 |
 |
 |
 |
 |
 |
 |
 |
 |
 |
 |
 |
 |
 |
 |
 |
 |
 |
 |
 |
 |
 |
 |
 |
 |
 |
 |
 |
 |
 |
 |
 |
 |
 |

Blog Candy Alert!! Follow our blog via email and comment on this post for a chance to win a special blog candy!
Weekender with Wanda – Avery Elle Spotlight!
Hi friends! Happy Weekend! It’s time for the latest edition of “Weekender with Wanda” here on the Simon Says Stamp blog! I’m happy to see you today! This week went by fast! I feel like I was behind beginning on Monday. Do you ever feel like that? So many fun things to do now that it’s Spring – and so much awesome craftiness going on too! Did you see the SSS May Card Kit that was released on Thursday? It’s so HAPPY! I love it! And, next week we will have a new stamp and die release called My Favorite (SNEAK PEEKS HERE). I guarantee you will love that too. We will all be sharing inspiration in a big blog hop next Friday.
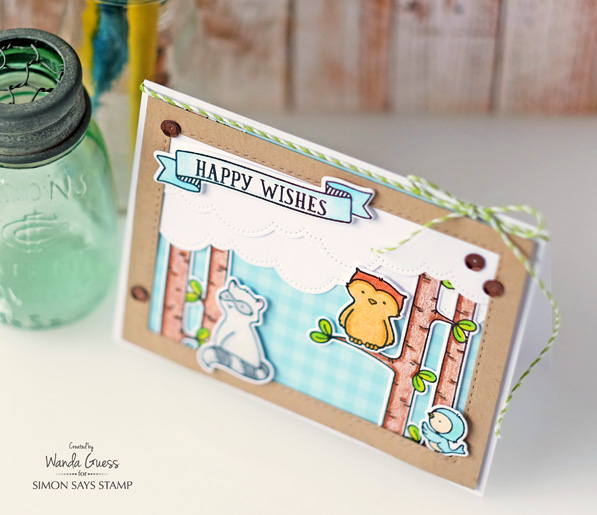
Today’s post features beautiful stamps and dies made by Avery Elle. Avery Elle stamps are cute and fabulous and sweet and so fun to color! I am using the Woodland Wonders Stamps and Dies along with the Pierced Clouds dies for my card today. And, I got out my colored pencils, which I haven’t done in a while either. I thought the sweet images would look nice with pencils instead of markers this time….
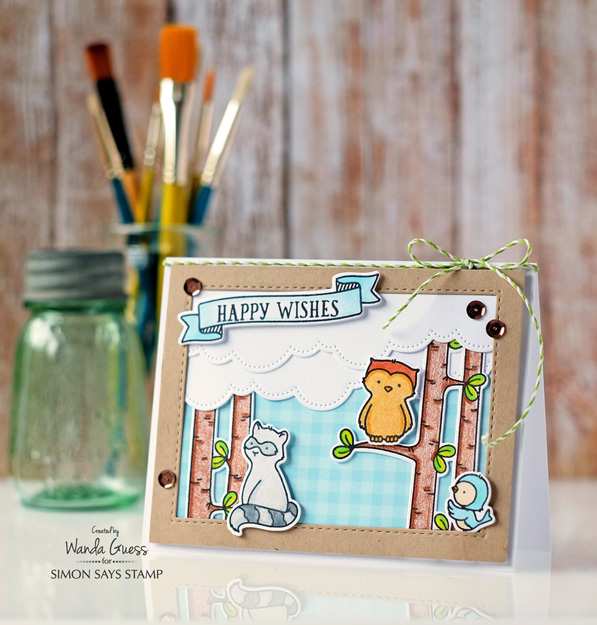
It was very fun to build this cute scene with the adorable animals. I started by cutting a frame out of kraft cardstock using the Simon Says Stamp Stitched Rectangles Dies. Then I folded a white A2 card base and mounted a pretty piece of My Favorite Things Gingham paper on top of the card base. Next I stamped and die cut my Woodland Wonders critters and die cut the Pierced Clouds. I used Simon Says Stamp Intense Black Ink on crisp white Neenah cardstock.
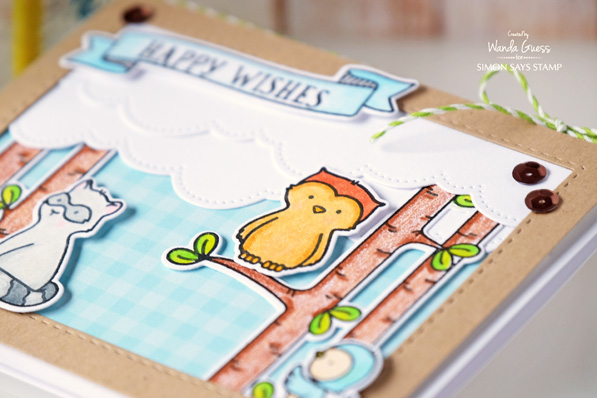
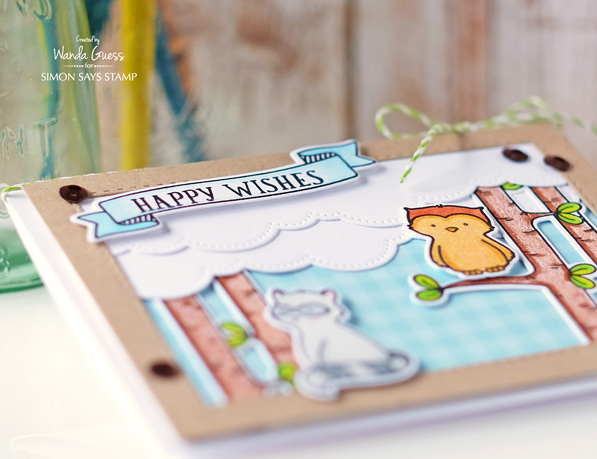
I die cut two sets of the trees/branches so that I could layer one on each side of my rectangle. I tucked the trees into the clouds when I put it all together. The kraft frame was mounted to the card with foam squares. My coloring is soft and ‘rustic’ to give that woodland feeling. I love the way the Prismacolor pencils blend together.
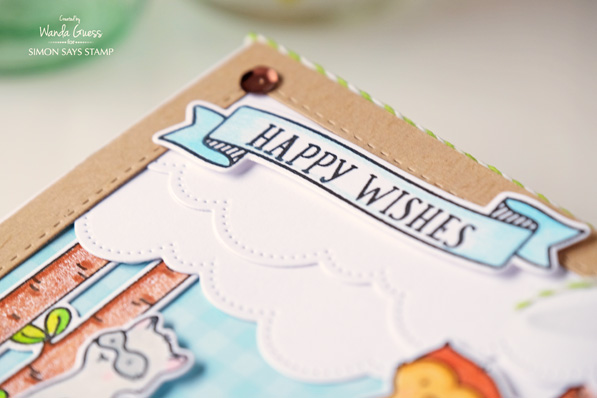
As a finishing touch, I added a pretty green twine bow to match the leaves, and some chocolate brown sequins.

I love how the sentiments fit perfectly into the banner! The banner and sentiments come in the same set with the animals.
Happy wishes indeed!
Thank you for spending part of your weekend here with me! Get out those pencils! Or try some other coloring medium you haven’t tried in a while. Create and have fun! Happy wishes until I see you soon!
SUPPLIES:
 |
 |
 |
 |
 |
|
 |
 |
 |
 |
 |
 |
 |
 |
 |
 |

One Stamp Set… multiple design ideas!
Hi friends, TGIF! You may remember a few releases ago we released this super fun and whimsical stamp & die set entitled, Roses for You. One of the great things about this stamp set is how versatile it is! Please welcome back Suzy Plantamura as a guest on our blog to share 6 unique ways to use this great set! Enjoy! 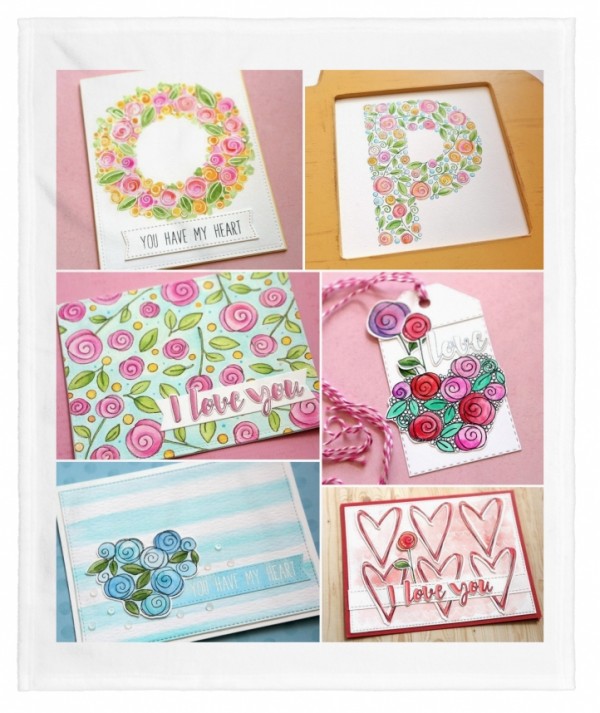
I recently started a blog series called “one stamp, five ways”. Twice a week I highlight one stamp set and show five or more projects using it. I want to motivate and inspire others to get more use out of their stamp sets and think of multiple ways to use them. Today I will be sharing six projects using the “Roses For You” stamp set.
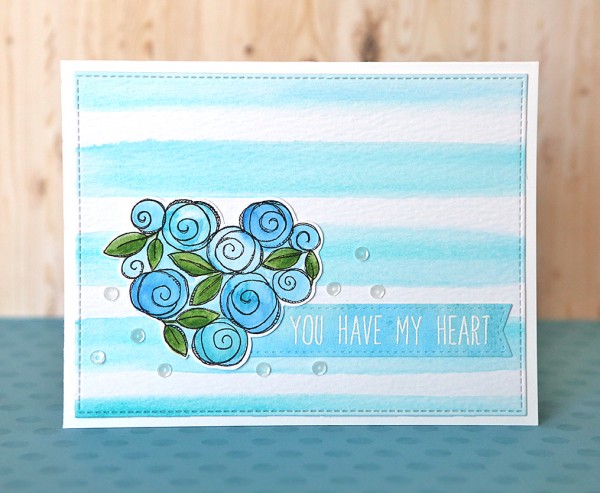
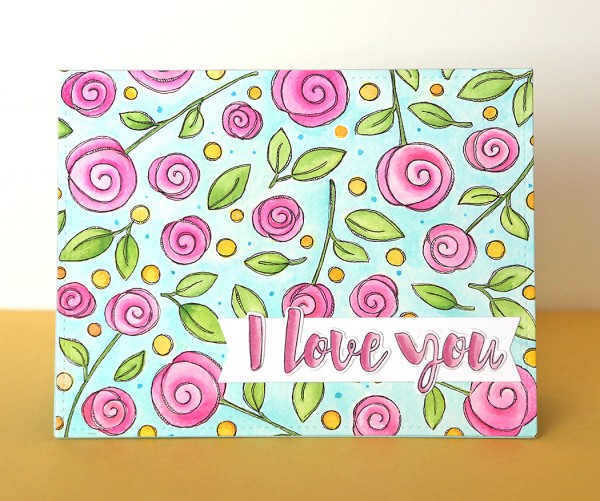
I painted stripes with watercolors for the background of this card. I stamped the heart in black ink and painted it in with watercolors. I embossed the sentiment with white embossing powder on a watercolored banner.
SUPPLIES:
 |
|
 |
 |
 |
 |
 |
 |
 |
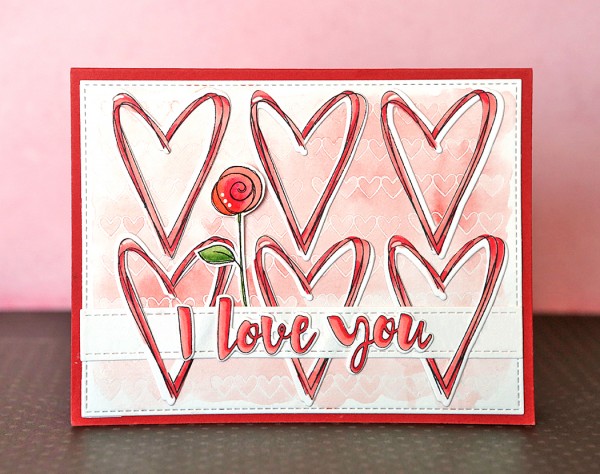
For the background of this card, I embossed the little hearts with clear embossing powder on a piece of watercolor paper. I then lightly painted over them with red watercolor. I stamped six of the hearts in the Roses For You set and colored them with Copic markers. I attached the “I love you” stamps to a stitched banner and inserted that through the two outside hearts. I finished it with a small watercolored rose.
Supplies:
|
|
|
|
|
 |
|
|
|
|
|
 |
This was my most time consuming card. I stamped the flowers and leaves on watercolor paper using Tattered Rose Distress Ink so I could paint them with no lines showing. I painted them all with Distress Inks and then painted the background. After it was all dry, I added some black outlines with a fine tip black marker. I added a sentiment from the stamp set on a banner.
Supplies:
|
|
 |
 |
 |
 |
 |
 |
 |
 |
 |
 |
|
|
|
|
|
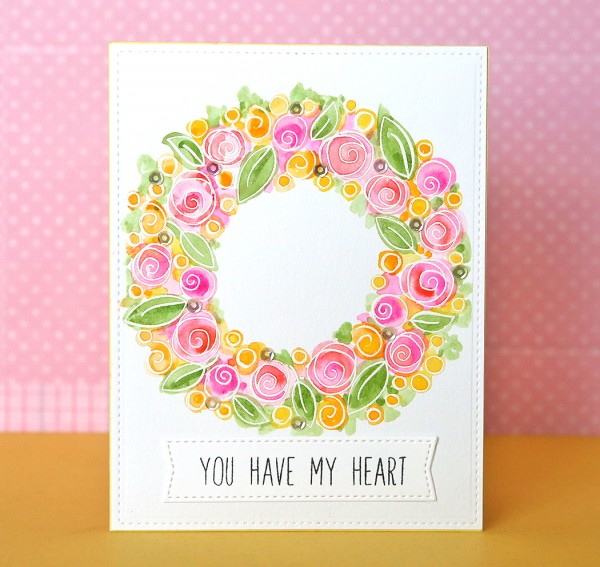
I stamped and embossed the roses and leaves in a circle pattern with white embossing powder on watercolor paper. I then painted them all in and added some watercolor around the edges as well. I stamped the sentiment on a stitched banner for the bottom of the card.
Supplies:
 |
|
|
|
|
|
|
|
|
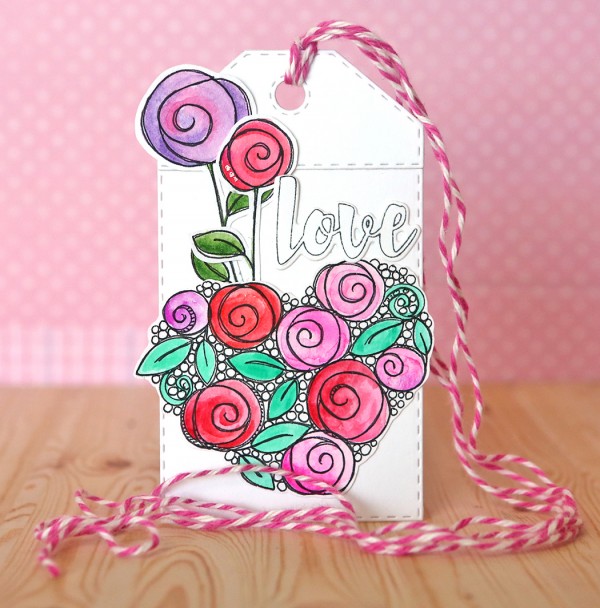
I stamped and die-cut the rose heart and two other roses and painted them all with watercolors. I used a black fine tip marker to add details to the heart shape. I attached the word love and the flowers and heart to a tag.
Supplies:
|
|
 |
|
|
|
|
|
|
|
 |
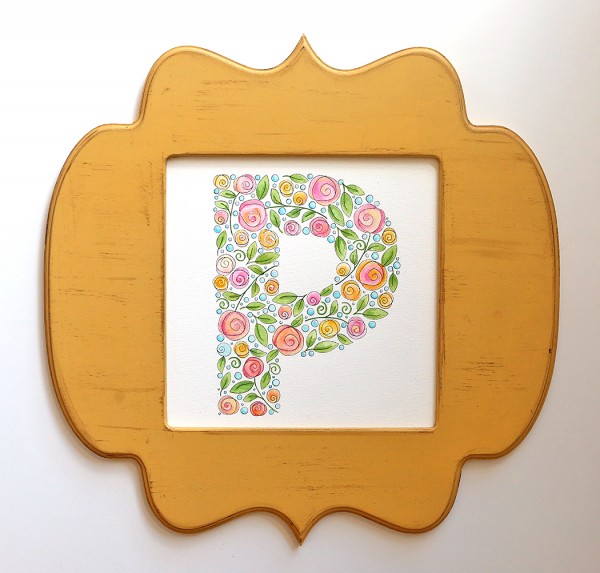
I love this stamp set so much, I wanted to create some art for my wall with it. I first drew a letter P (for my last name) in pencil and then I stamped the flowers and leaves to fill it in. I added the two small circles to fill in all of the open spaces. I painted all of them in with watercolors. You could do this same technique with any letter of the alphabet.
Supplies:
|
|
 |
|
|
I have several more projects using this stamp set on my blog today as well. It is definitely one of my all time favorite and most used stamp sets!
Thanks for reading today, and thanks to Suzy for all this great inspiration!
Blog Candy Alert!! Follow our blog via email and comment on this post for a chance to win a special blog candy!


