STAMPtember® Feature: Carabelle Studios!
Hi friends! Thanks for stopping by to our last STAMPtember® feature of 2016! What a fun ride it has been! Please welcome back special guest designer Birgit Koopsen, who is representing the fabulous brand, Carabelle Studio! Her fun project is a great example that stamping can go beyond the page! Read on to be inspired!
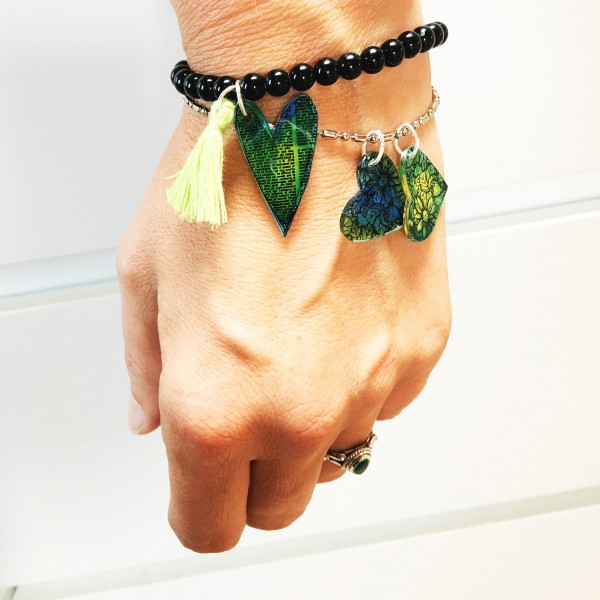
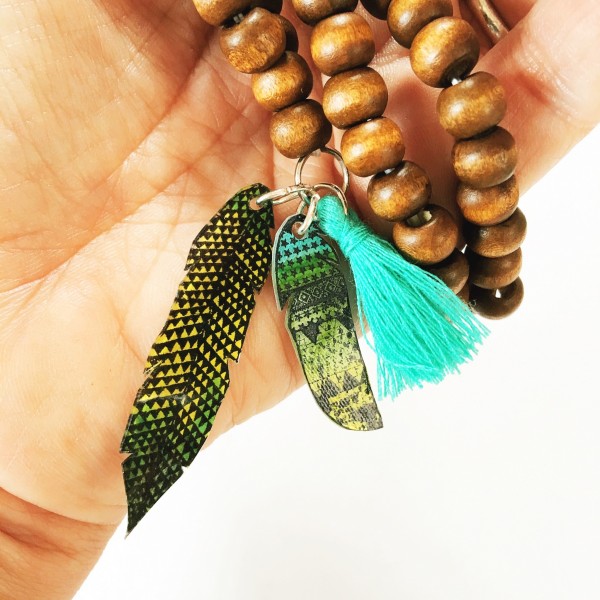
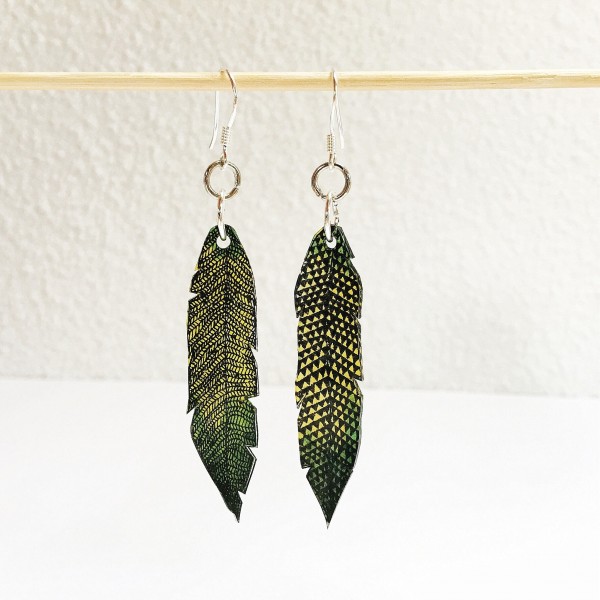
It’s end of September and officially fall started, but I’m not completely ready to give up on summer yet so I decided to create some Ibiza-style jewelry reminding me of sunshine, beach and freedom and add some of that lovely summer feel-good to my outfit!
Here’s how you too can create your own fun charms:
You need:
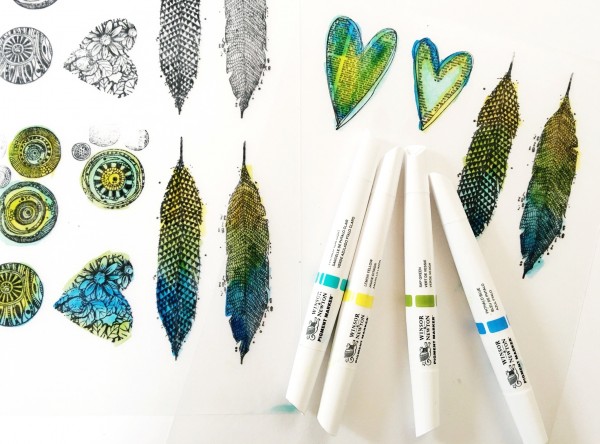
Shrink plastic (I used transparent because then the charms look good on both sides), your favorite stamps, acrylic block, Stazon, Winsor & Newton Pigment Markers, a Crop-a-Dile or eyelet tool, scissors, a paper piecer, flat pliers, a heatgun or an oven, a bracelet, necklace or earrings (ready bought or hand made) and some small jewelry rings.
Steps:
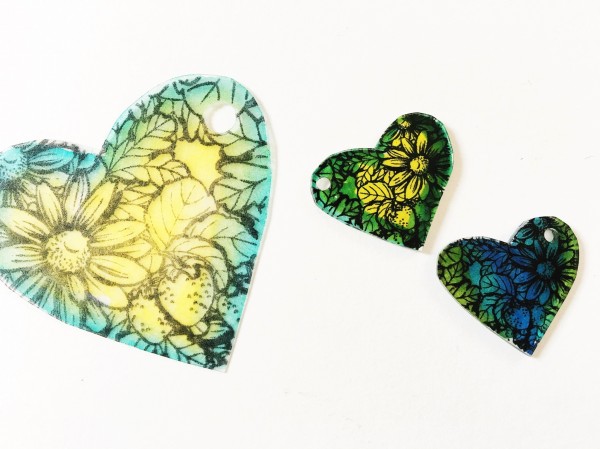
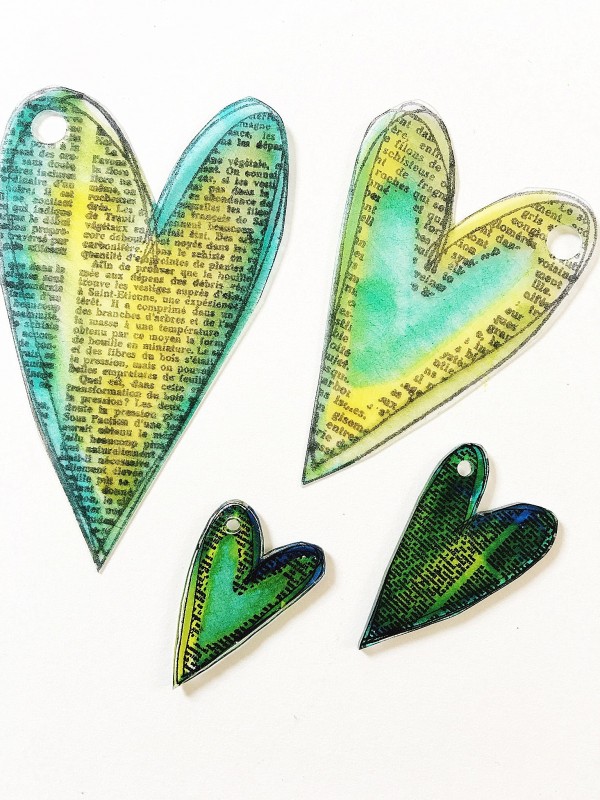
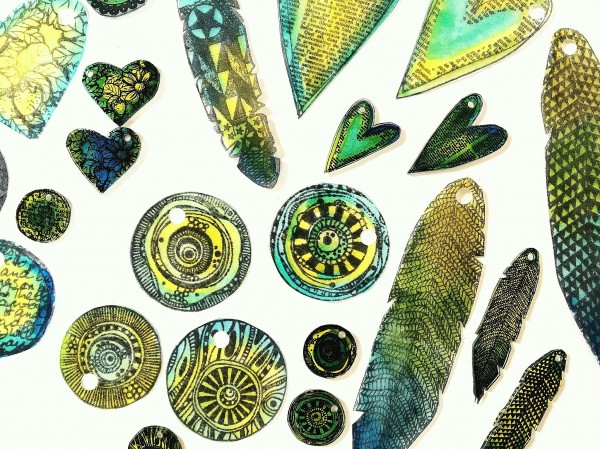
Stamp the desired images on the non-glossy side of the shrink plastic using a permanent ink. When choosing your images keep in mind that they will shrink to appr. 1/3 of the original size. Let the ink dry well. Coloring right after stamping may smudge the ink.
Color the images with Pigment markers and let dry well again. Then cut out the shapes, make a hole using a Crop-A-Dile or eyelet tool. Don’t make the hole to small as this will shrink too. Use a heatgun or place the shapes in the oven to shrink. Follow instructions on the packaging. The final shapes will be 3 times as thick as the originals.
I used a heatgun to shrink the plastic. While it shrinks the plastic starts to curl and move. I used a paper piecer to gently keep the plastic in place. At the end, when the plastic had shrunk completely but was still hot, I placed an acrylic block on top and pushed it down so my charm turned out really flat.
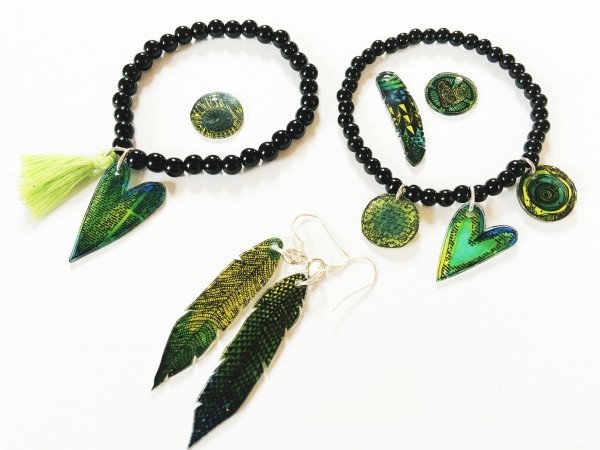
Add small rings through the holes and apply the charms to bracelet, necklace or earrings.

SUPPLIES:
 |
 |
 |
 |
 |
 |
 |
 |
 |
 |
Time is running out!!!! The contest ends tomorrow at 11:59 PM EST
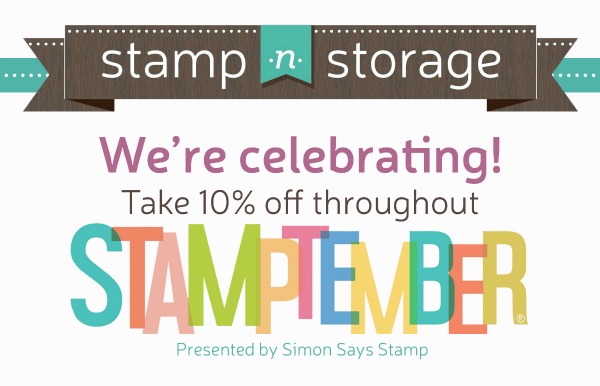
Have you entered our HUGE $5,000.00 Dream craft room giveway? All you need to do is click on the image below and fill in your name and email address through the link.  Don’t forget, Stamp n Storage is celebrating STAMPtember too! They are offering 10% off all of your orders at www.Stampnstorage.com.

Blog Candy Alert!! Follow our blog via email and comment on this post for a chance to win a special blog candy!
STAMPtember® Exclusive: My Favorite Things!
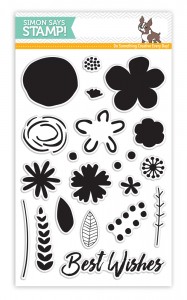
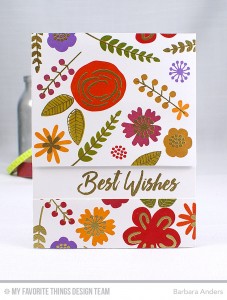
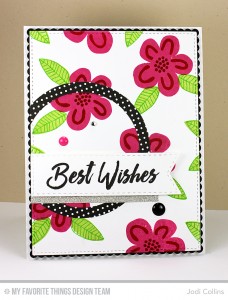
Hi crafty friends! It’s a pleasure to reveal our last (but not least!) STAMPtember® exclusive of 2016! We’re ending on a floral note with this exclusive “Best Wishes Blooms” design. We hope you love! My Favorite Things began in 2006 and has since released many whimsical designs into the paper crafting world. We are thrilled to offer their products to you in our one stop shop, www.SimonSaysStamp.com.
Be inspired by Barbara Anders:
Be inspired by Jodi Collins:
Thanks again for joining us for our last, (but not least!) STAMPtember exclusive design! Do you have a favorite? Comment below and we will select a random winner to receive $50 gift card to Simon Says Stamp.
Work it Wednesday September 2016

Hi readers! Happy Wednesday! Welcome to Work It Wednesday for September STAMPtember® 2016!
In case you’re wondering what ‘Work It Wednesday’ is, let me explain:
On the last Wednesday of every month (or towards the end of the month ;)), we want to see what you’re creating! The Simon Says Stamp community is so very talented, and we want to see more of your cards and projects every month.
We thought this would be a great way for all of you to ‘stretch your creative muscles’ and share what you’ve been working on. So we’ll give you a little challenge each month, and you’ll have until the following month to share what you’ve made. Please limit entries to 3 per month.
Each month we’ll pick a few random participants to win a Simon Says Stamp grab bag!
The projects and cards that were shared for August were so great! We loved what you made, and we look forward to seeing what you make for this challenge.
Do you want to see all of the cards and projects that were shared for August 2016 Work it Wednesday? Check them out!
The following three participants were randomly chosen to win a goody bag from Simon Says Stamp:
Miranda!
Judy Woodland!
Eva Jura!
Please email [email protected] with your mailing address and she’ll get your prize sent out to you.
Now on to this month’s challenge! Our challenge will be to use the colors RED, ORANGE, YELLOW, and/or BROWN in your project! It is officially Autumn, so let’s celebrate this beautiful season by highlighting the colors derived from it!
Once you’re done creating, share your project below!
What are you waiting for? WORK IT! ;)


