Studio Monday with Nina-Marie: 10 Craft Room Organization Quick Tips
Hi there crafty friends! It’s Nina-Marie back here with you again, starting off the new week with a brand new Studio Monday video!

This week we are doing something a bit different and talking about organization! This is something that is very important to me, as I cannot work very well in a messy space… I am always looking for new ways to make my studio organized in a way that suits my workflow.
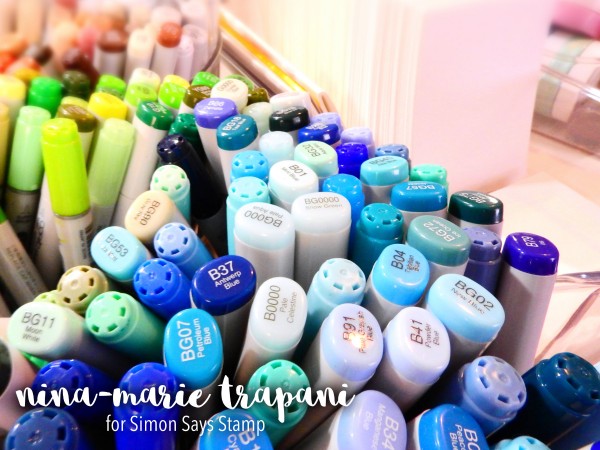
In today’s video, I’ll be sharing 10 of my favorite tips and tricks for keeping my craft space organized. I’ll be sharing different ways that I use products like the InterDesign Turntables, FridgeBinz, and the Tiny Container Tray, as well as tips for labeling, storing stamp shammys, organizing paper, and more!

Remember that these tips can be adapted to best fit your budget, workspace, creative flow and decor very easily. I hope that this video provides some helpful tips that you can use and incorporate into your own studio space!

WATCH THE VIDEO:
SUPPLIES:
 |
 |
 |
 |
 |
 |
 |
 |
 |
 |
 |
 |
 |
 |
 |
 |
 |
 |

Color Coordinates: In the Stars

Happy Sunday everyone! I have some inspiration for you today with a Color Coordinates. This combination was inspired by home exteriors that I’ve noticed lately. I see a lot of Navy and Grey used together with accents of greenery and cement. These colors are also great for masculine cards!
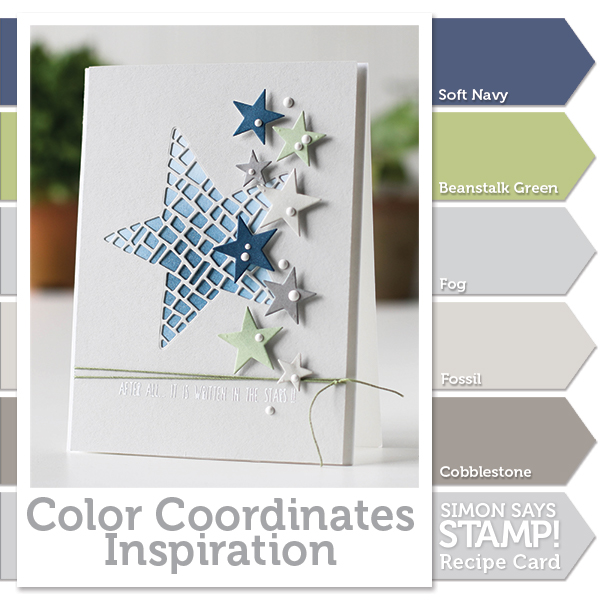
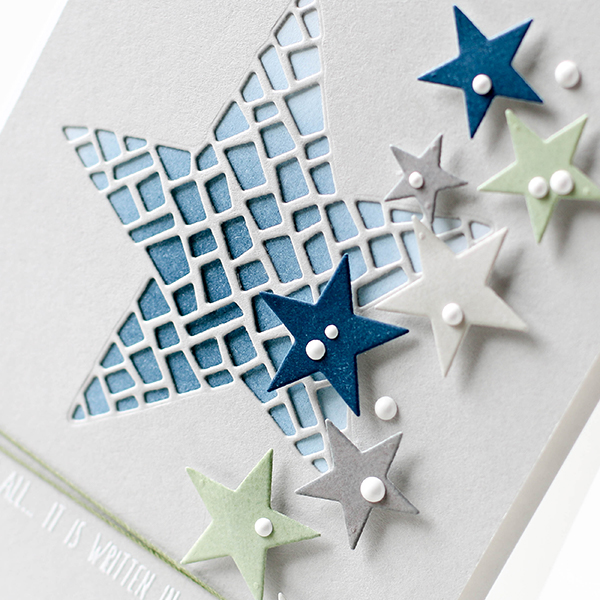
For my card, I’ve used an array of star dies cut from inked paper and set them over a Mosaic Star die cut panel.

For the layer beneath the Mosaic Star, I did some ink blending using Soft Navy Ink. To finish off the arrangement, I used Glacier White Ranger Enamel Accents and Tim Holtz Craft Thread.
I’ve shot a video of the process which you can view below or on our YouTube channel.
Blog Candy Alert!! Follow our blog via email and comment on this post for a chance to win a special blog candy!

Thanks for stopping by today, I hope you enjoy the rest of your weekend!
 |
 |
 |
 |
 |
 |
 |
 |
 |
 |
 |
 |
 |
 |
 |
|
 |
 |
Weekender with Wanda – Taylored Expressions Cupcakes!

Hi friends! Welcome back to the latest edition of Weekender with Wanda here on the Simon Says Stamp Blog! Happy Weekend! What do you have planned for this fine Fall weekend? I hope you have a great one! I’ll be stamping all weekend and I’m so excited to spend time in my studio. I was traveling with my husband last week, and I missed two things – stamping, and my kitty cat! So you know where to find me!
Today I’m sharing two cards made with awesome stamps and dies from one of our favorite companies – Taylored Expressions! Taylored Expressions has a line of two and three layer stamps (with matching dies) that make the most gorgeous projects. Don’t you love layered stamping?? CLICK HERE to see the TE Simply Stamped Line. There are flowers, pineapples, leaves and pinecones. For today’s cards I used the Simply Stamped Cupcakes, the matching dies and the gorgeous TE Sprinkles Embossing Folder! One of my cards has a fun and interesting twist! You’ll see!
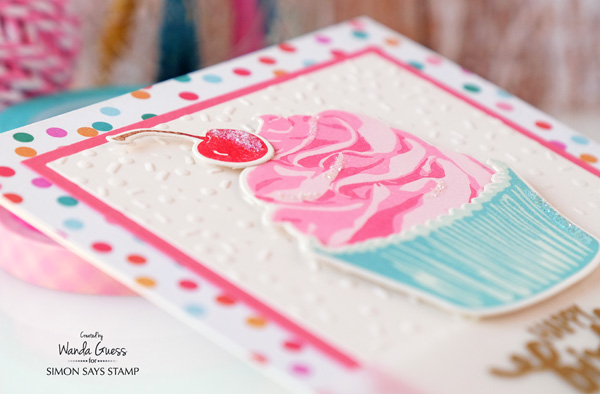
First up is a bright and happy Birthday Card! I started with a cream card base cut and folded to A2 size. I later layered the polka dot paper over the card base (save this step until the vellum is done). Next I used cream cardstock to stamp and die cut all of the images: The cupcake base, cupcake top, and cherry. I also used cream cardstock for my embossed layer. The TE embossing folders are a dream – perfect impression the first time, and every time. I like this one because it’s subtle, but it definitely says ‘celebrate!’
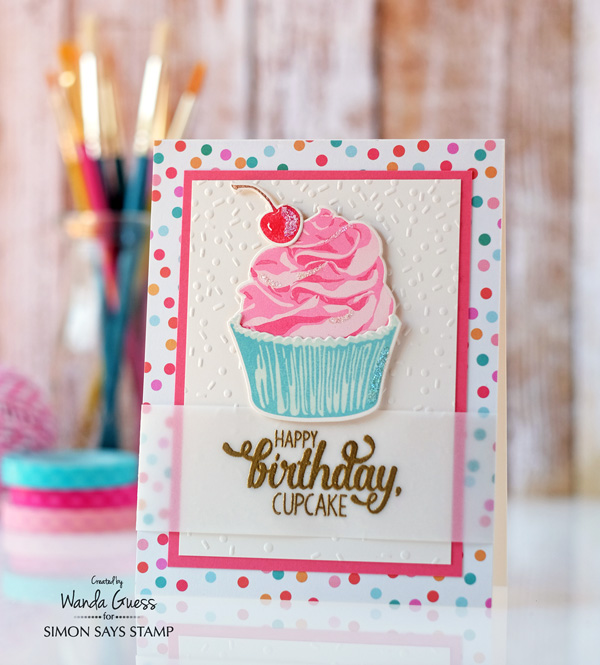
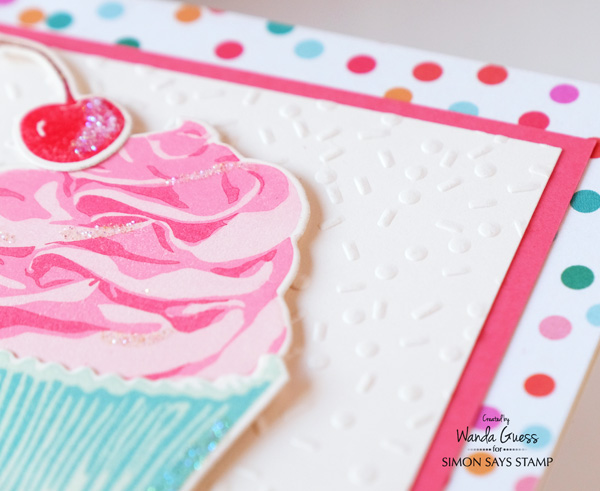
I stamped the images in ink colors to match the polka dot papers. That’s why I always choose my patterned paper first! This photo really shows the three layers of stamping on the cupcake top. I used three shades of pink and it’s so fabulous when it’s all done! The cupcake base was stamped in two shades of blue – again to match the paper. I added bits of glitter to all the elements. the matching dies makes the project come together so easily!

For the sentiment I used my Simon Says Stamp Clear Ink Pad and Simon Says Stamp Gold Embossing Powder and stamped onto a strip of the new SSS Vellum paper. When you heat emboss on vellum, it can be kind of tricky. The paper is essentially coated in plastic, so it melts fast, and it also wrinkles. When I’m ready to heat emboss on vellum I hold my heat tool away from me and let it get really hot (basically I let it come up to full temperature). Then I do quick blasts of heat over the image and move the heat tool quickly. The very second it melts, stop! Keep doing quick blasts of heat until it’s all done. Okay, so I am totally speaking from experience here!!
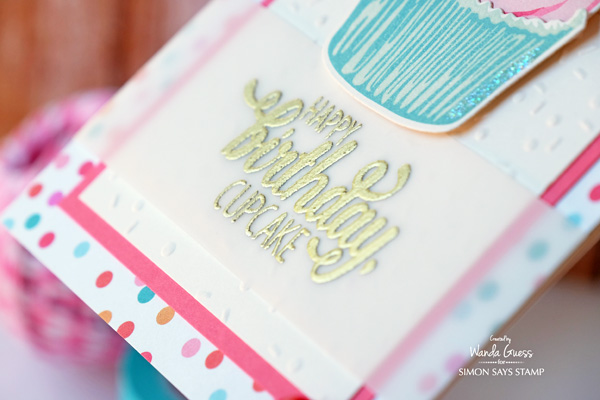
Here’s a good close up of the Sprinkles Embossing Folder impression.
The cupcake is mounted to the card using foam squares. The vellum was wrapped around the paper layers for a clean finish. I like how this card has sort of a retro feeling to it because of the colors.
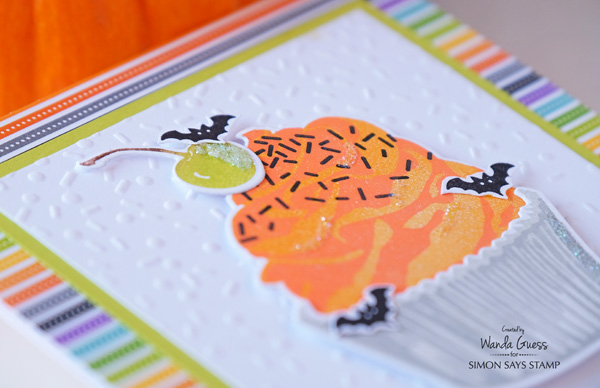
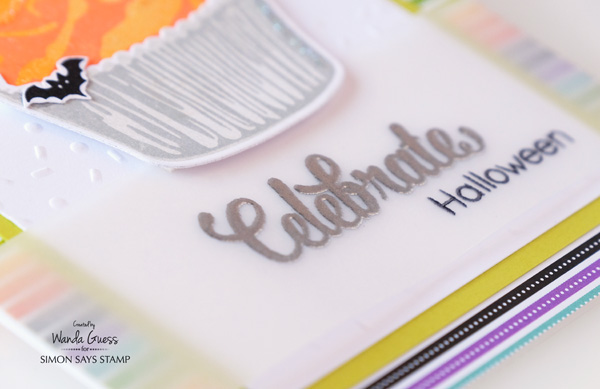
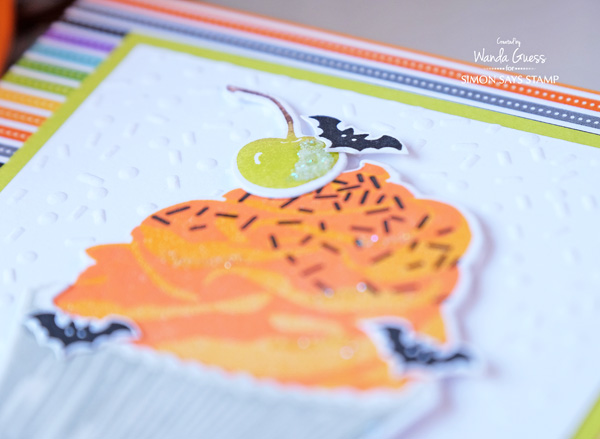
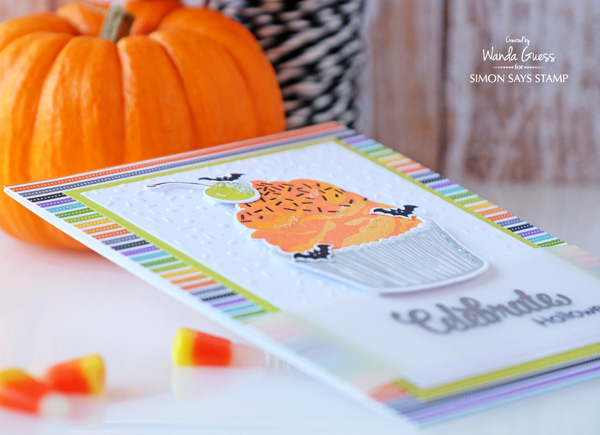
So, this next cupcake card has a fun twist! It’s a spooky Halloween cupcake! After I finished making the first card, I thought it would be fun to make another one – using the same exact card layout, but with different colors, papers and inks! I had some of my Halloween crafting supplies on my desk….and this idea came to me! So I stamped the cupcake in grey and orange and then made a creepy green cherry for the top! The awesome striped paper is from Doodlebug!! I used the bats and small sentiment from the Simon Says Stamp Exclusive Ghostly Greetings stamp set to add some scary accents! BOO!
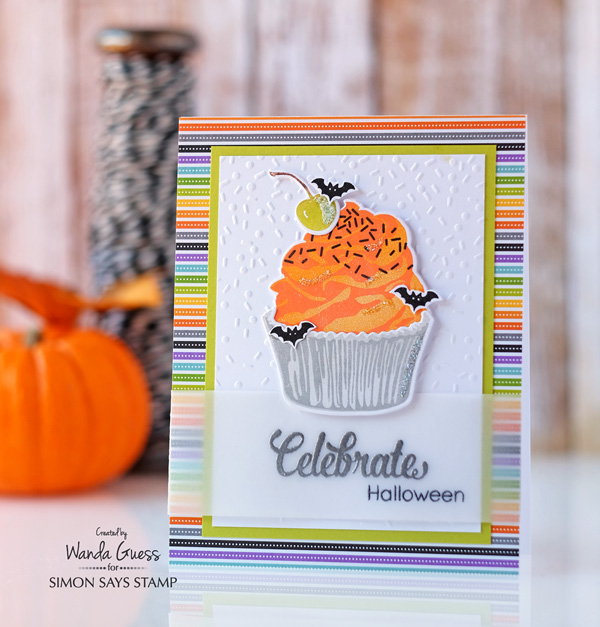
The Simply Stamped Cupcakes stamp set has an awesome sprinkles stamp in it! I stamped the sprinkles in black on top of the orange icing! For the orange part I used two shades of ink instead of three. That’s part of the fun and versatility of the stamp set. Use one, two or all three layers of stamping!
For this card, I used bright white cardstock for everything. Then I heat embossed my sentiment in Simon Says Stamp Silver Embossing Powder instead of gold.
Thanks for spending part of your weekend here with us at Simon Says Stamp! Happy Crafting!
SUPPLIES FOR TODAY:
 |
 |
 |
 |
 |
 |
 |
 |
 |
 |
 |
 |
 |
 |
 |
 |
 |
 |
 |
 |
|
 |
 |
 |
 |
 |
 |
 |
 |
 |
 |
 |
 |
 |
 |
 |
 |


