Weekender with Wanda – Christmas Deer with Tim Holtz Supplies!

Hi everyone! Happy Saturday! Welcome back to the latest edition of Weekender with Wanda here on the Simon Says Stamp blog! We are so happy to have you here on this November weekend. Thanksgiving is only two weeks away now! Did you do your shopping yet? I have to admit I had a moment this week, when I went to the grocery store and they had the full on Thanksgiving food display. I was like…OH yeah! Time to get ready for that! I hope you had a great week and thank you for stopping by this weekend.
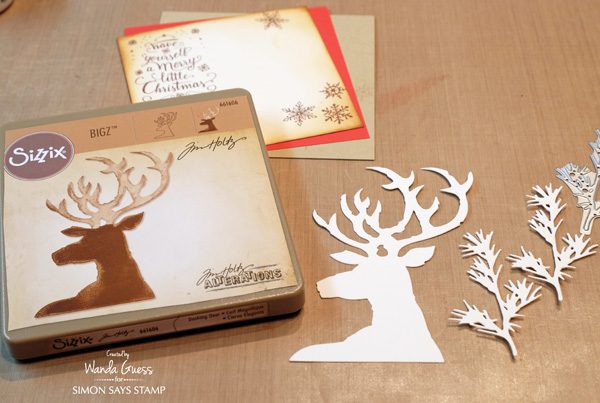
Today I’m sharing my monthly post that features Tim Holtz and Ranger Supplies and techniques. I pretty much LOVE anything that Tim Holtz does for Christmas! His dies, stamps and embellishments are the perfect blend of retro, nostalgic, beautiful, classic Christmas! Over the years I have managed to collect it all and every time I get down the giant bins of Christmas crafting supplies I get a big smile on my face. The new items for Holiday 2016 are wonderful. LOTS of new sentiment stamps, and my favorite new die – Dashing Deer. My project for today showcases Tim Holtz products from Sizzix, Stamper’s Anonymous, Ranger and Ideaology.
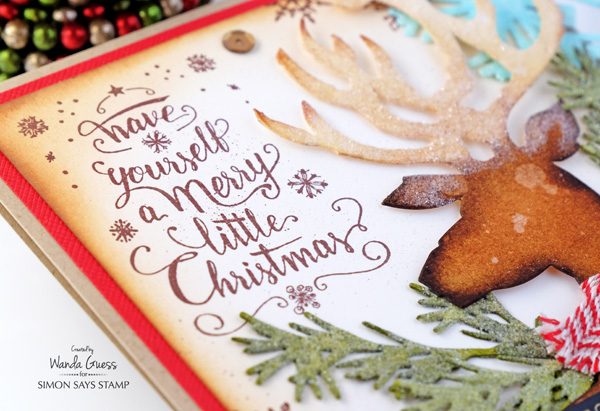
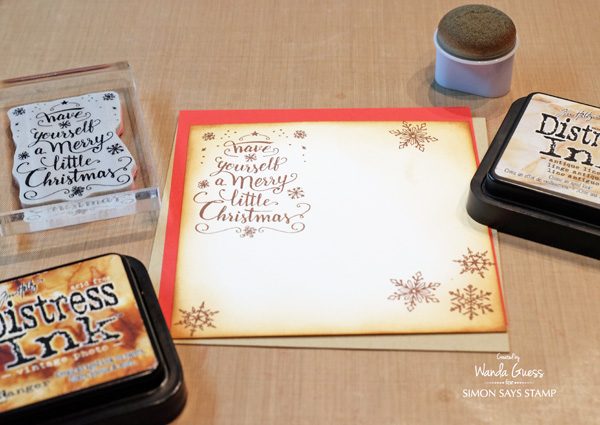
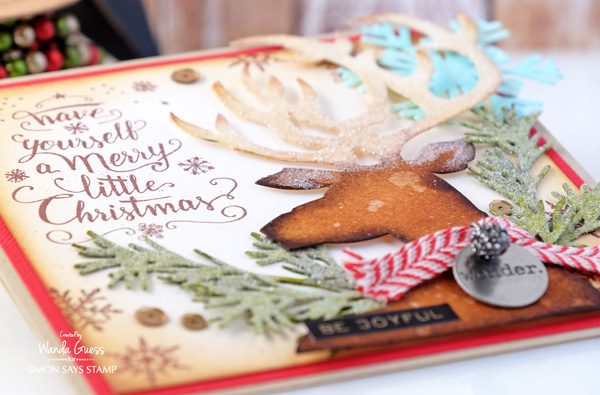
Since the Dashing Deer Die is tall, I made my finished card into a 5.25 inch square card. I started with a Kraft card base and layered pretty red cardstock first. My top layer is cream cardstock instead of bright white. I first stamped the sentiment and the snowflakes in rich brown ink. Then I edged all around the square using Antique Linen and Vintage Photo Distress Inks. I used the Tim Holtz Spritzer Tool to add some speckles of brown. This gave me a good layer to put my deer, greenery and snowflake on.
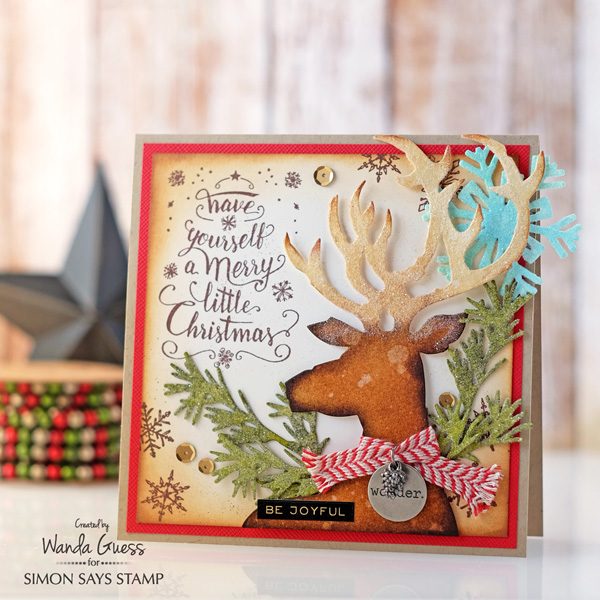
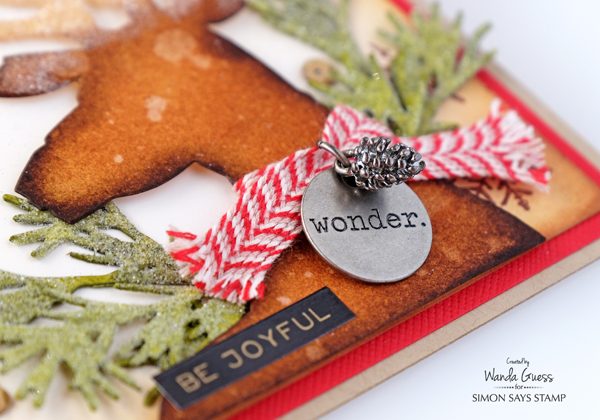
I thought this proud deer needed a scarf! I used the Red and Cream Trimmings Ribbon and wrapped it around his neck and gently frayed the edges with my fingers. I used a jump ring to add a Typed Token charm and a small Pinecone charm. There are new Word Stickers for the holidays and I really like the look of the black ones that have gold lettering. Perfect!
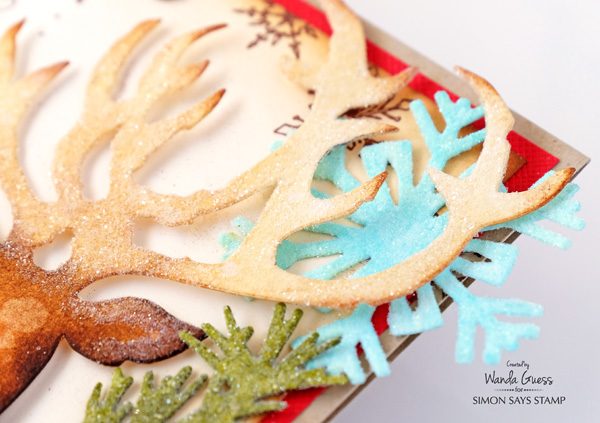
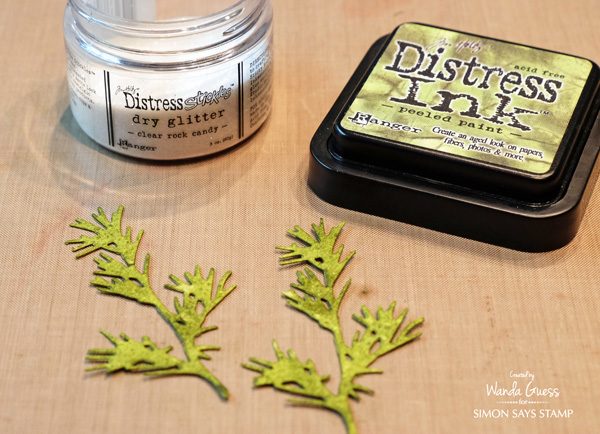
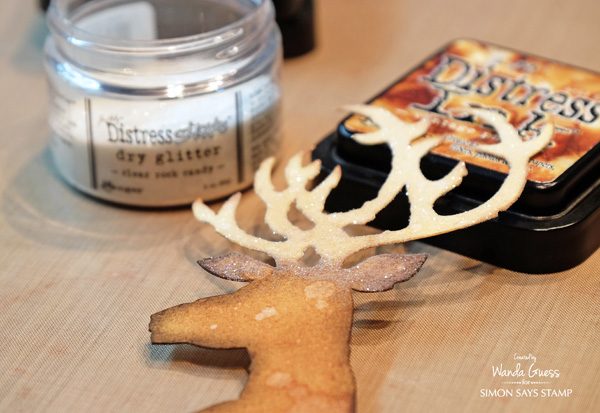
The Deer antlers, Holiday greens and the snowflake are coated in awesome Rock Candy DIstress Glitter for some Christmas sparkle. This is a must for making your projects look icy and wintery!
There are so many wonderful new sentiment stamps – I had a hard time picking one! I thought this one fit in the space perfectly. Don’t you love that font??
This is how my card started. I like to use the big sponge daubers for edging around cards. I find that it gives a softer edge. Tip – do one layer of edge inking and let it sit for a moment and let the ink soak in to the paper. Then go back with a darker color until you get the look you desire.
For thicker die cuts that will hold up to inking and glitter – I die cut my pieces out of Ranger Watercolor Paper. Another tip – when I get a new Sizzix die, I cut the packaging image out and double sided tape it to the top of the die. That way I can quickly see which die I’m looking for.
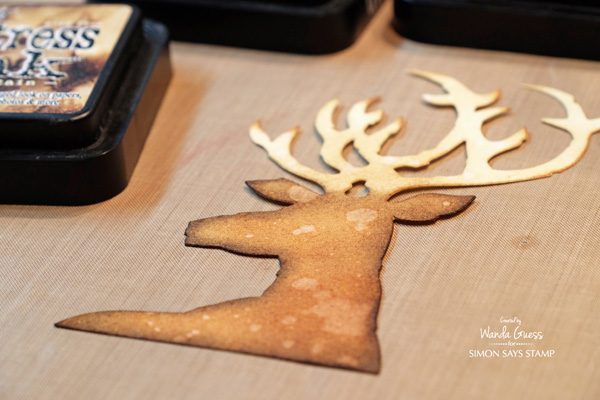
To color the deer I used a smaller sponge dauber and Distress Inks. The body and ears are colored with three shades of browns. (Colors in supply links). Then I used the Distress Sprayer and sprayed clean water on top of the ink. This gives it that splotchy look I was after. Then I edged with dark brown.
To color the Holiday Greens dies I used Peeled Paint Distress Ink. To coat everything with glitter I used Ranger Matte Medium and a small paintbrush and then dumped on the glitter! This stuff is magic, I tell ya!
To complete the card, I arranged the greenery pieces and the snowflake down on the cream layer. Then I attached the deer with foam tape to raise it up off the card. I added a few matte gold sequins also.

Have you started your Christmas crafting? I am getting there but I think I need to maybe kick it into high gear now. I am very inspired now that I’m starting to use these new supplies. Take care, and thank you for visiting today!
SUPPLIES:
 |
 |
 |
 |
 |
 |
 |
 |
 |
 |
 |
 |
 |
 |
 |
 |
 |
 |
 |
 |
 |
 |
 |
 |
 |
 |
 |
 |
 |
 |
 |
 |
 |
 |
 |
 |
|

Tim Holtz Gingerbread House Die with Shari Carroll
Happy Friday! It’s Shari here with another house from the Tim Holtz Village dies series.
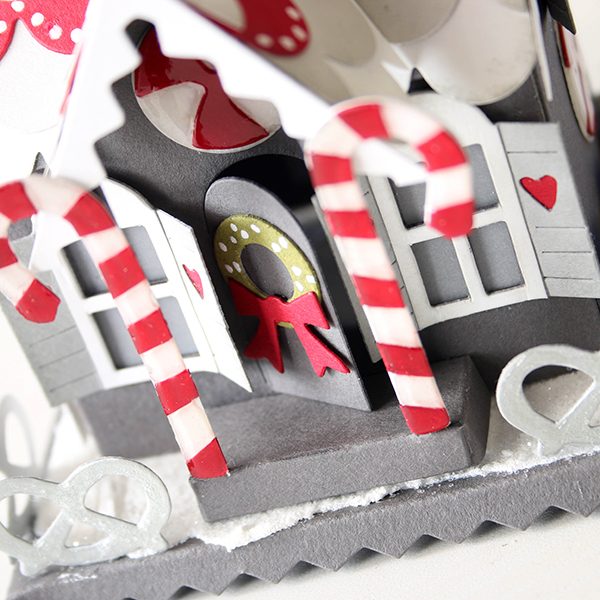
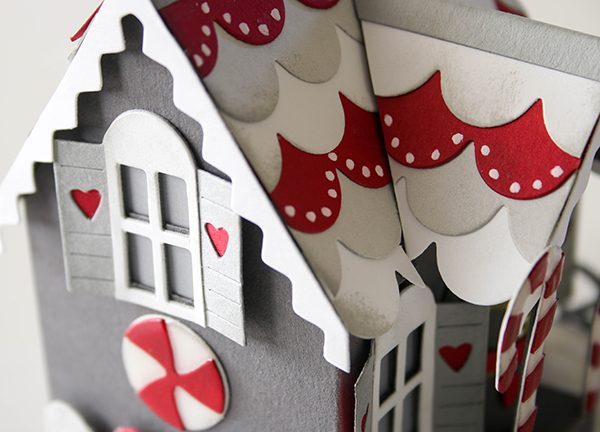
When I first thought of doing this Gingerbread house, I was thinking pastels and sugary treats. But then my inner grey kicked in and I went with modern Peppermint inspired colors.
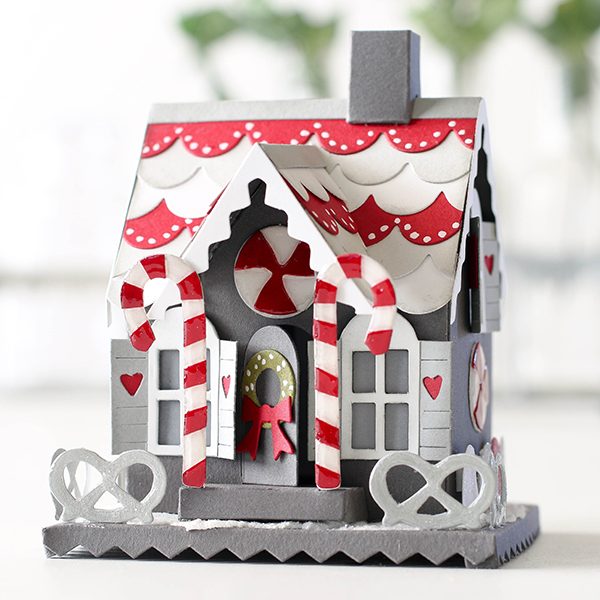
I used the Simon Says Stamp Slate cardstock as the base for my house, it’s so stunning and contrasts well against the white and red.
The roof is made of three colors Fog, Schoolhouse Red and White. Using color cardstocks makes coordinating easy, I used less than a full sheet of each color.
I have put together two videos for this project, you can view them below or on our YouTube channel; Part One and Part Two.

Blog Candy Alert!! Follow our blog via email and comment on this post for a chance to win a special blog candy!
I hope I’ve inspired you to create a village for the holidays!
And before I go, Happy Veterans Day!
 |
 |
 |
 |
 |
 |
 |
 |
 |
 |
 |
 |
 |
 |
 |
 |
 |
 |
 |
 |
 |
 |
|
Watercolor Flowers + Happy Forget-Me-Not Day!
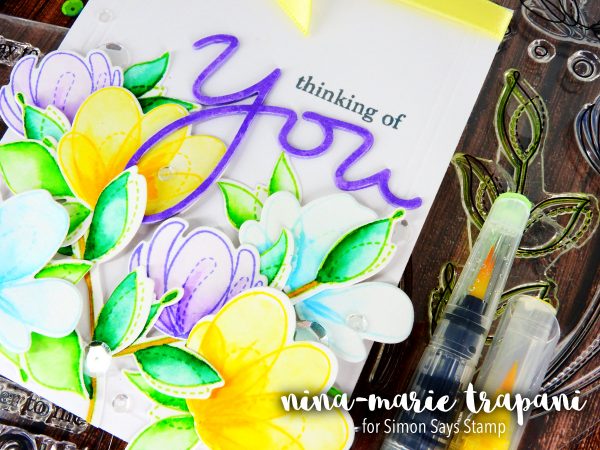
Hello crafty friends! It’s Nina-Marie here wishing you a VERY Happy Forget-Me-Not Day!
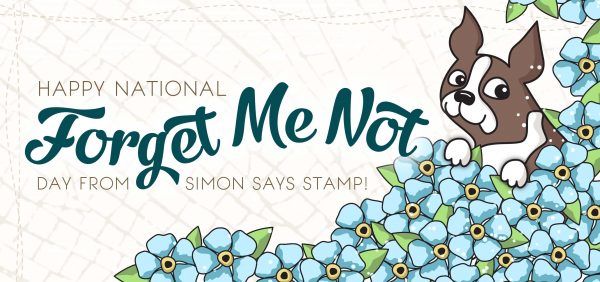
What is Forget-Me-Not Day you ask? It’s a celebration of our loved ones! It is celebrated by making phone calls, writing letters, sending emails and cards or getting together with friends and family! It’s a way to let our loved ones – especially those we don’t get to see as often – that we love them, care about them and were thinking of them. I consider that a very good excuse to send a handmade card, don’t you?? ;)
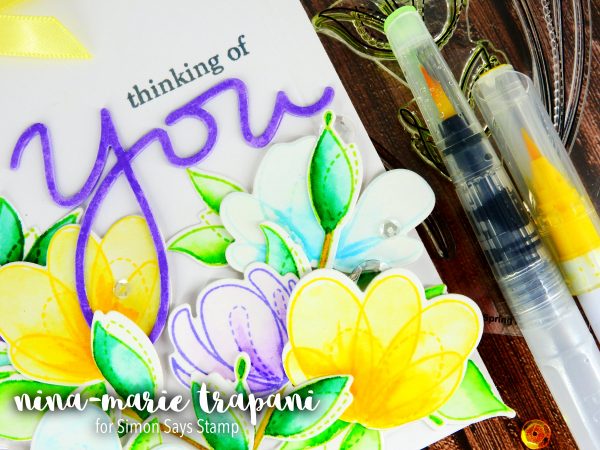
So in honor of Forget Me Not Day, I have a special card and video to share with you that features some of our exclusive Simon Says Stamp products; the Spring Flowers stamp set and coordinating dies, as well as the You Matter stamp and coordinating die… and a few Simon inks too!
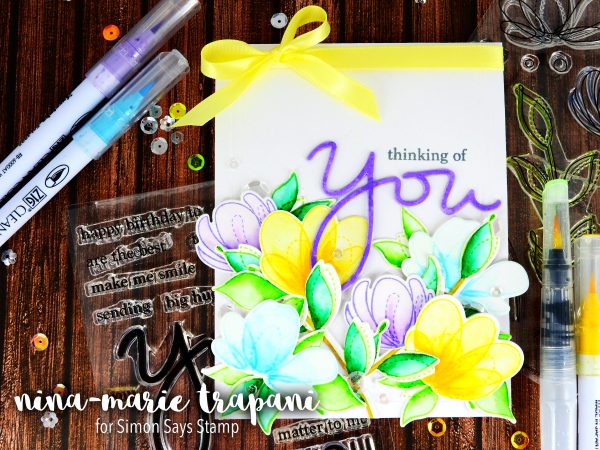
This card features a similar technique used for a card that I designed during our recent Believe in the Season release (you can find that card HERE). So many of you asked for a tutorial on how I did the coloring, that I thought I would use that same technique in this card to show how I did it.
In the video I will not only sharing the coloring process, but also other tips and tricks, including a close up look at a new favorite product I am loving: the We R Memory Keeper’s Ribbon Cutter! This cutting tool is not just a special trimmer for ribbons though… it seals the ends of your ribbon as it cuts, which means no more fraying edges! This is one of the products I am most excited about this month, because it always bugged me that my ribbon ends would fray!
So make sure you check out the video below to see all these things and more! I am really excited that you stopped by for this very happy Forget-Me-Not Day! See you again very soon, friends!!
WATCH THE VIDEO:
SUPPLIES
 |
 |
 |
 |
 |
 |
 |
 |
 |
 |
 |
 |
 |
 |
 |
 |
 |
 |
 |
 |
 |
 |
 |
 |

Blog Candy Alert!! Follow our blog via email and comment on this post for a chance to win a special blog candy!


