Weekender with Wanda – Featuring My Favorite Things Kitschy Kitchen!

Hi everyone! Happy Saturday! Welcome back to the latest edition of Weekender with Wanda here on the Simon Says Stamp Blog! Happy to have you here for a little while. It’s February and I’m getting in the mood for Valentines right now and happy Spring crafting projects. I was out of the studio for a bit with CHA and all, and I’m glad to be back creating on a daily basis again. It’s funny how strong the urge is to create! I guess it gets in our bones and we need it like air and sleep. What are you creating right now?
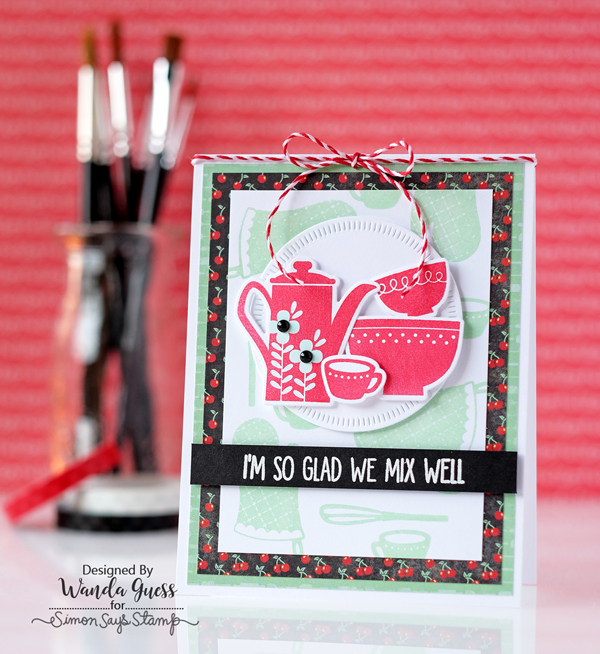
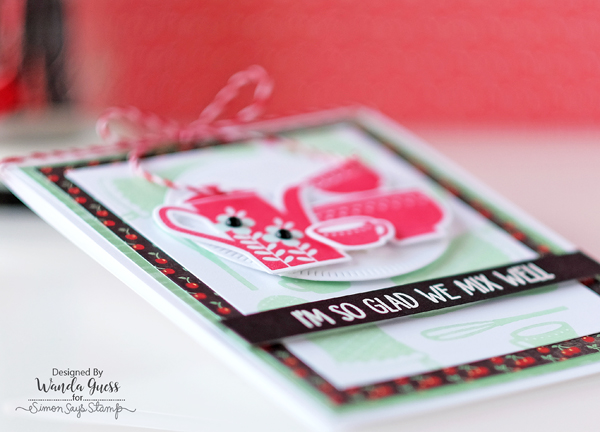
You already know that I am a huge fan of My Favorite Things Stamps! Well, this past release was extra awesome and I think I bought every item! So today, I’m featuring some beautiful new stamps and dies from one of our wonderful companies – My Favorite Things! I am using the retro-fabulous new Kitschy Kitchen stamps and dies as the focal point of my card for today. I love anything vintage, colorful and fun…. My color palette for today’s project was inspired by a new paper collection from Bo Bunny called Kiss the Cook. These products were made to go together. I created a happy, cheerful greeting that would be perfect for a friendship card.
I started with a crisp white A2 card base with a top fold. Then I layered two of the patterned papers onto the white card. Next I cut out a white piece of cardstock and randomly stamped some of the elements from the Kitschy Kitchen Stamp Set to create my own background paper. This aqua and red with black is delicious I think!
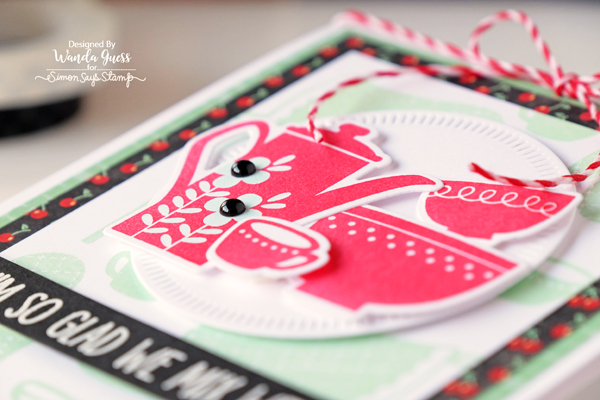
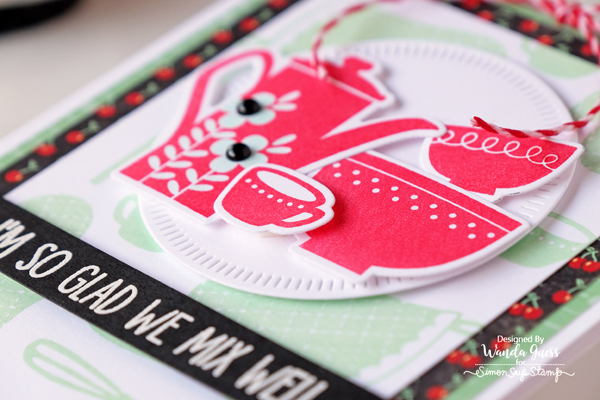
I stamped the coffee pot, the coffee cup and the two bowls in red ink and then die cut them out using the perfectly matching Kitschy Kitchen dies. This looks so precise and pretty. I love it when there are matching dies! I used a Copic Marker to color in the flowers on the coffee pot to match the aqua, and then added two black enamel dots for the flower centers. I wanted to pull in a bit more black with all that pretty red.
Next I used one of the fun sentiments from the You Bake Me Happy Stamp Set. I heat embossed the words with Simon Says Stamp Clear Ink and Simon Says Stamp White Embossing Powder onto nice dark black cardstock. This look is so in right now.
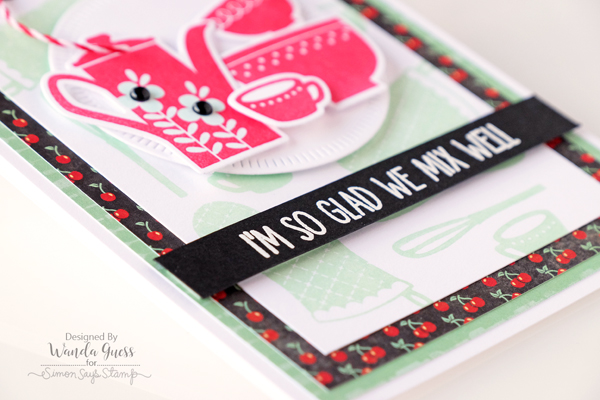
For my focal point, I die cut an MFT Radial Circle Die from white cardstock and layered my cooking elements onto it using foam tape. Just had fun with it, creating a little kitchen scene. I would LOVE it if my kitchen looked like this card!
I attached the sentiment banner across the bottom of the card using foam tape and then finished off with a pretty twine bow. This card would be fun with so many different color palettes. I can totally picture it in yellows and greens too!
Maybe I’ve inspired you to go and cook up something fun in your craft space today? Thanks for stopping by to share part of your weekend with us here at Simon Says Stamp. Have a great day, and I’ll see you next weekend!
SUPPLIES:
 |
 |
 |
 |
 |
 |
 |
 |
 |
 |
 |
 |
 |
 |
 |
 |
 |
 |
 |
 |
 |
 |
Blog Candy Alert!! Follow our blog via email and comment on this post for a chance to win grab bags and blog candy! Remember to tag your awesome projects with #simonsaysstamp on social media so we can see what you are creating! See you next weekend!

Amore Laura Fadora Feature: Bright Blossom
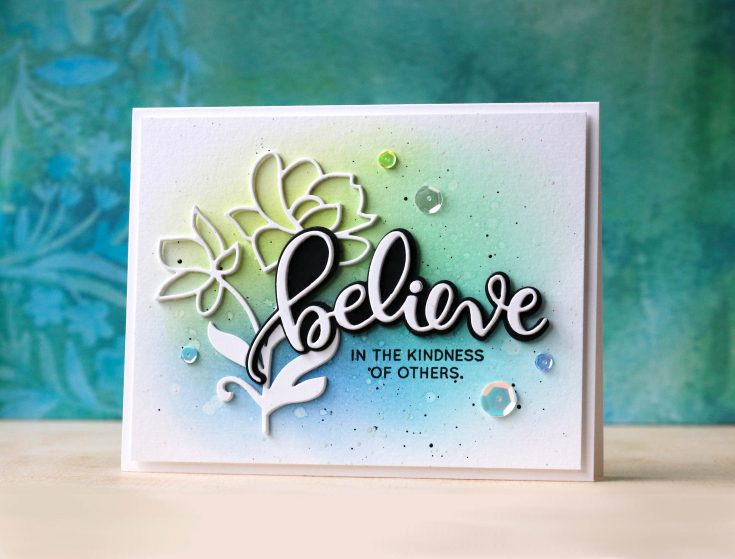
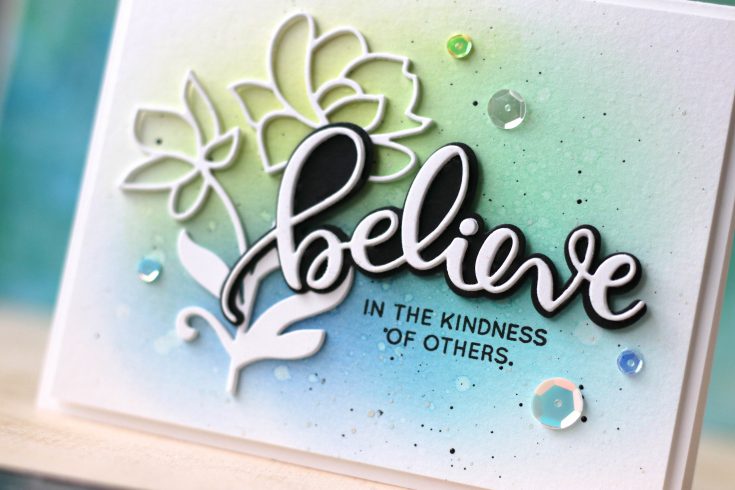 Hi friends! Thanks for stopping by today! Happy Friday! Welcome to another special installment of Amore, Laura Fadora where Laura Bassen makes this blended beauty with our pretty Bright Blossoms die and very popular Believe stamps and coordinating dies! It’s always fun to finish with a bit of sparkle! Be sure to watch the video and enjoy!
Watch the video:
Supplies:
 |
 |
 |
 |
 |
 |
 |
 |
 |
|
 |
 |
 |
 |
 |
 |
 |
 |
 |
 |
Thanks for watching today, and thanks to Laura for being our guest!
Blog Candy Alert!! Follow our blog via email and comment on this post for a chance to win a special blog candy!
Monthly Mail Art – February 2017
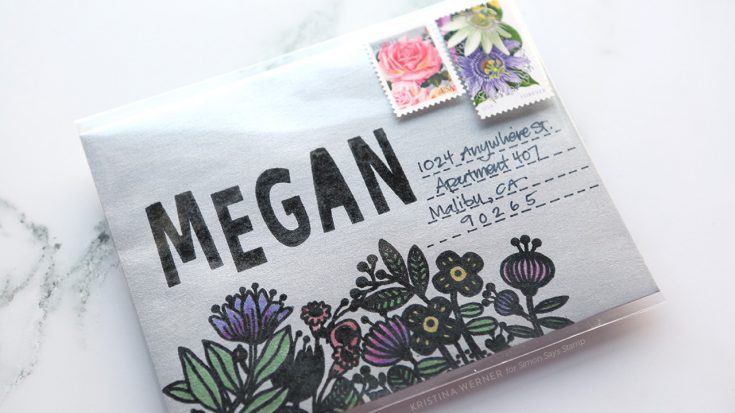
Hello all! Kristina here with another installment of Monthly Mail Art, this time for February 2017. :)
I decided to keep this envelope fairly simple with a stamped design from Waffle Flower’s Enveloper Little Birdie stamp set. Because I stamped it on a metallic envelope, which has a slight coating on it, I knew the stamping ink likely wouldn’t dry on the surface (or would take an extremely long time to day). So I decided to add some clear embossing powder on top and heat set it to seal in the black ink.
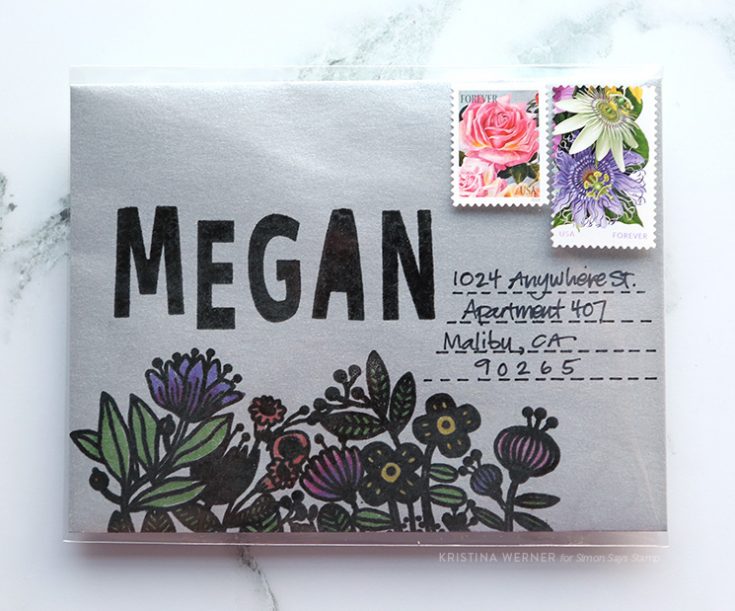
I added color to the image using Distress Markers in Mowed Lawn, Wilted Violet, Picked Raspberry, Mustard Seed, and Ripe Persimmon. The also stamped the recipient’s name in WPlus9’s Whimsy Alpha stamps and clear embossed those as well.
To protect the envelope, I slipped it inside a clear sleeve. I made to sure to add the postage stamps to the outside of the plastic sleeve (the post office has to be able to cancel the stamps so they have to be on the outside). Also, because the clear sleeve is reflective, the envelope is non-machinable and requires extra postage. Usually an extra $0.21 is all that is required.
For more details on mailing fun envelopes and mail art, I found two great blog posts from Lindsey at The Postman’s Knock, and Mary from Uncostumary. Both of those blog posts have great tips for making sure your mail art arrives to its destination.
See you next month! :)
Supplies
 |
 |
 |
 |
 |
|
 |
 |
 |
 |
 |
 |
 |
 |
 |
 |
 |
 |
|


