Studio Monday with Nina-Marie: Adding Dimension to Solid Stamping
Hello friends! Its Nina-Marie here with you today for a new Studio Monday video! This week I am featuring Reverse Confetti stamps and dies as I show you how to add some simple dimensional details to solid stamped images.

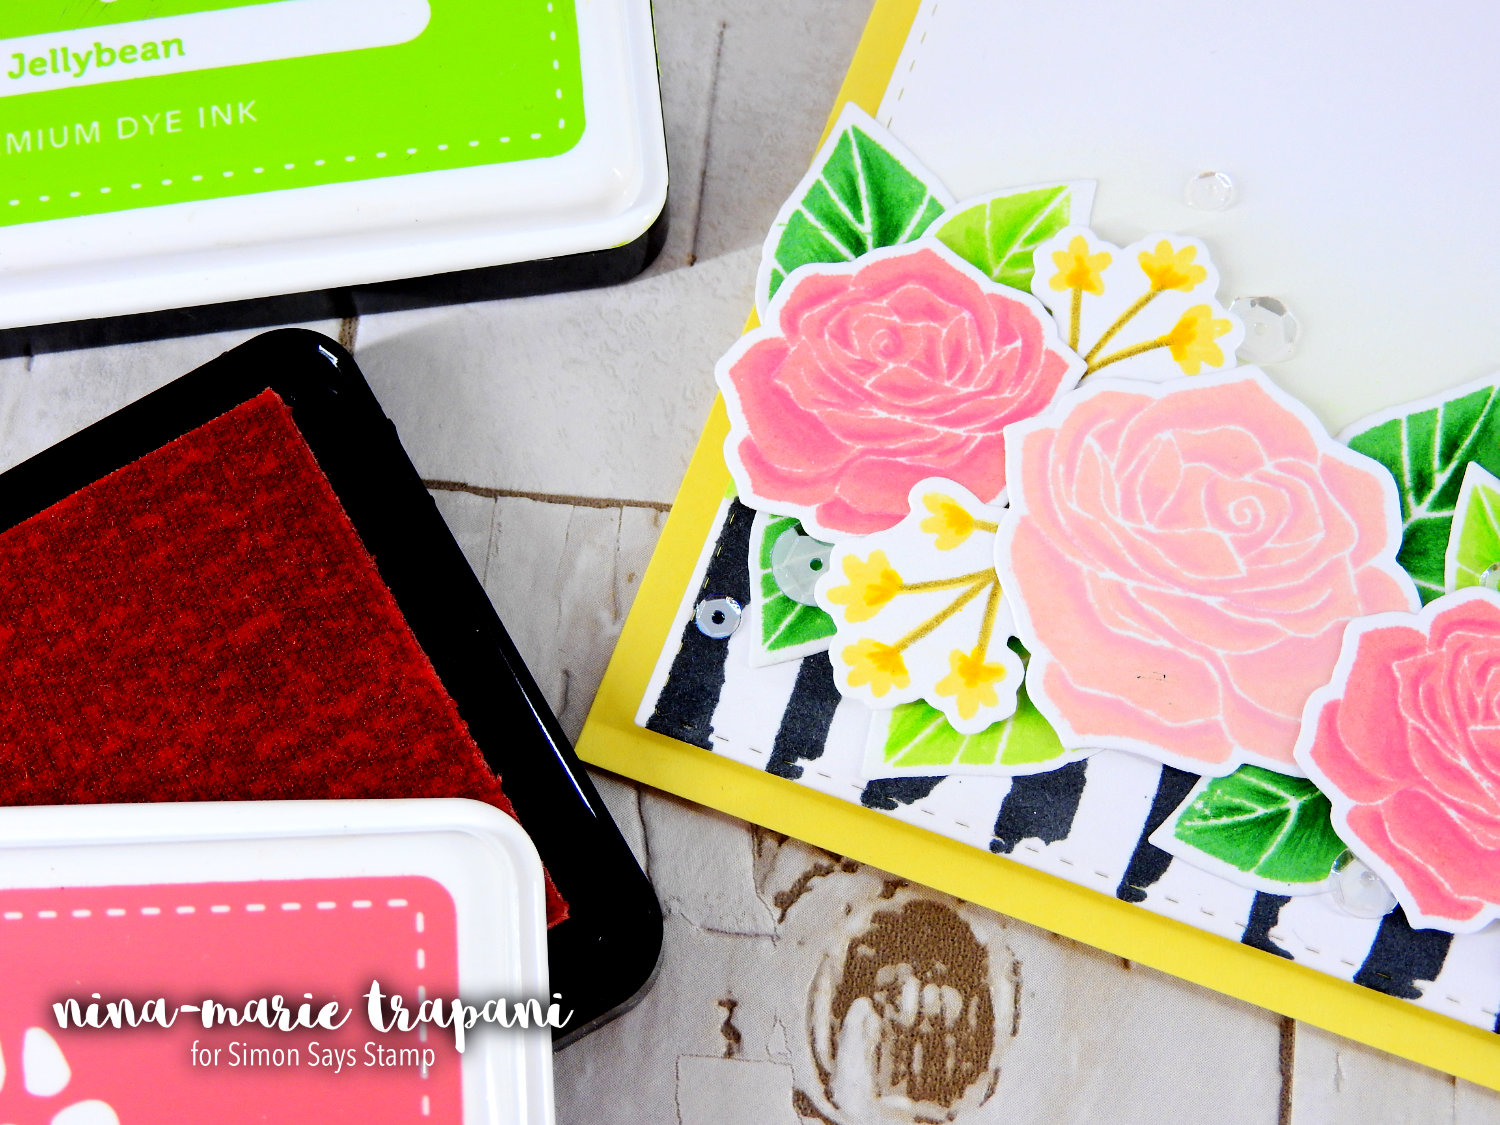
For this technique I used Prismacolor colored pencils to add dimensional shading to the flowers and leaves I stamped using Reverse Confetti’s Rose Garden stamp set.
These roses are beautiful stamped in a single color of ink, which you could definitely do. But I love to add more interest to my stamping, so by using the colored pencils to create depth, I was able to achieve a more realistic effect.
For those of you interested in the ink colors I used, I chose: Rose Apple and Teeny Bikini for the roses, Duckling for the floral sprigs, and both Jellybean and Fern for the leaves.
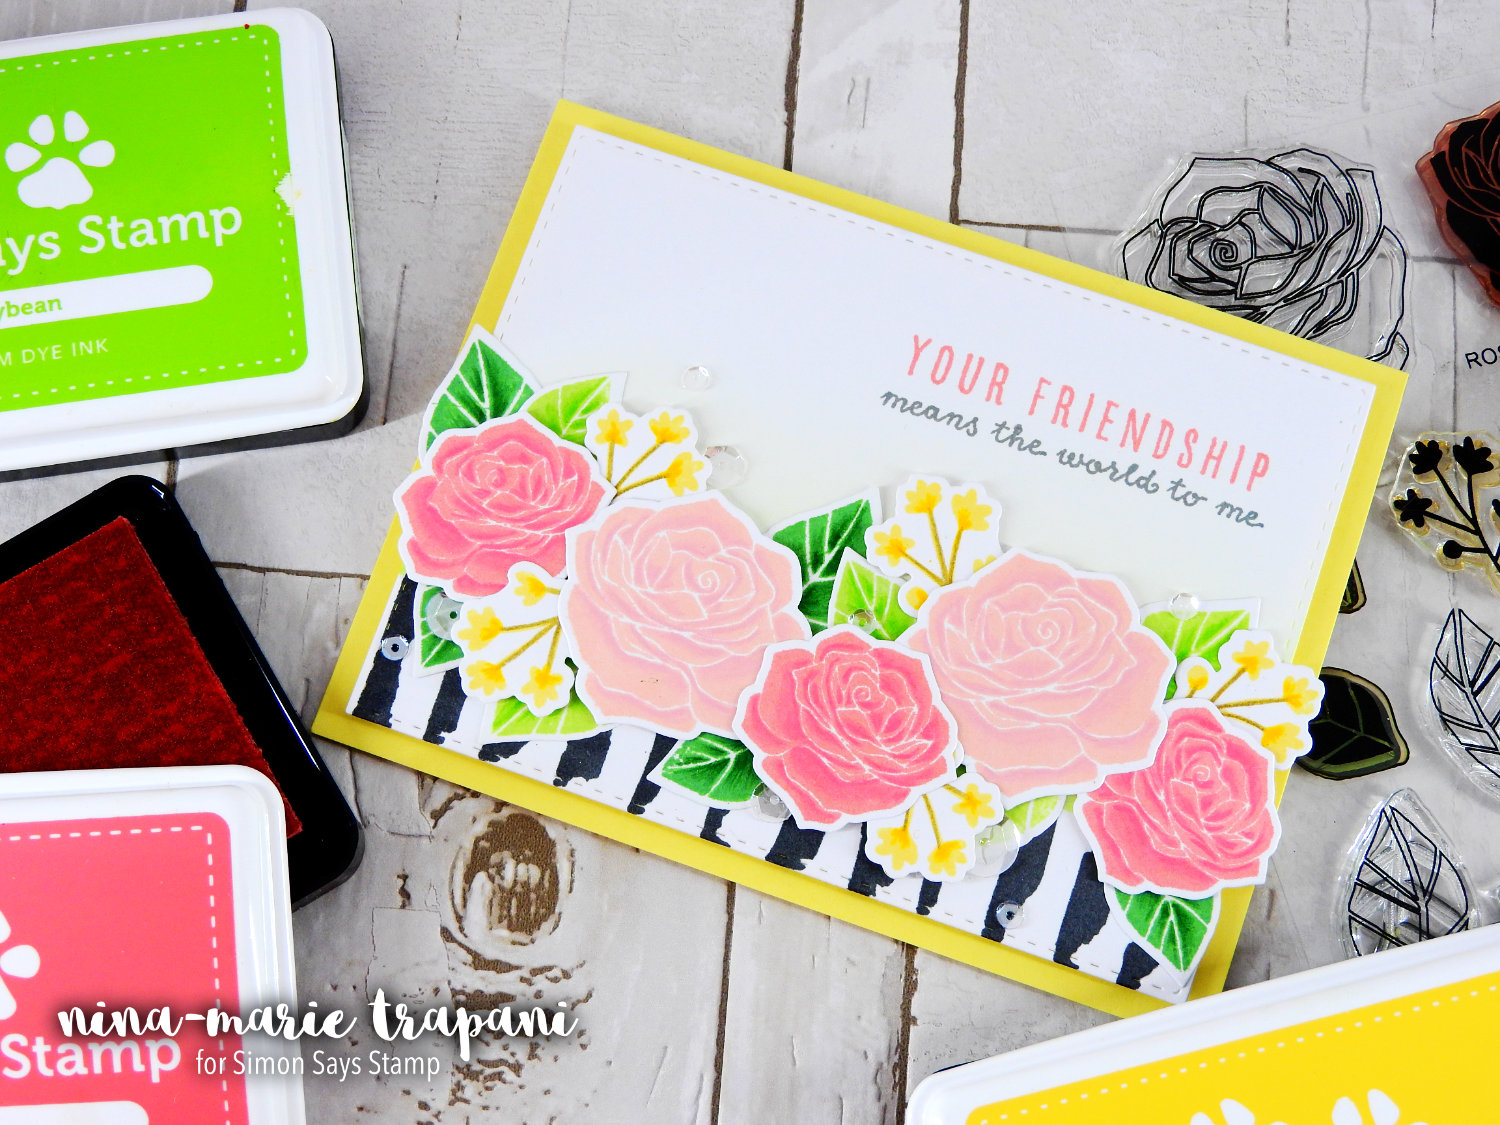
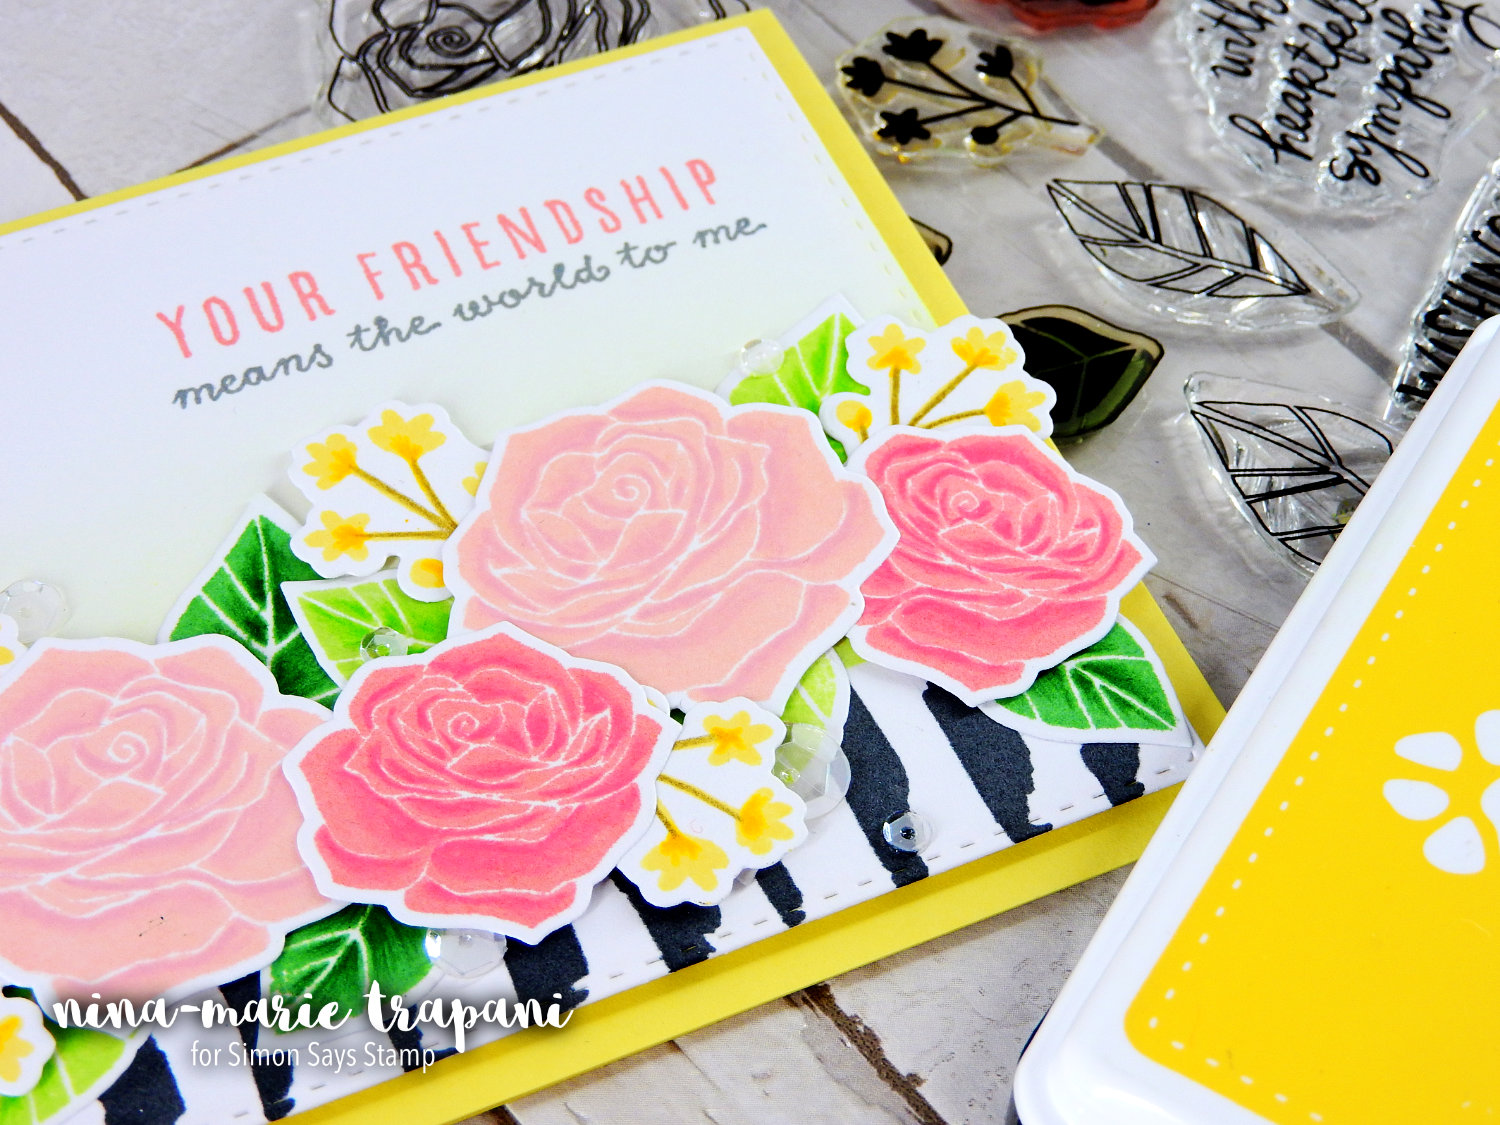
The sentiment you see here is from another Reverse Confetti set called A Friend Like You. I used both the Rose Apple and some Slate Gray ink to stamp the sentiment.
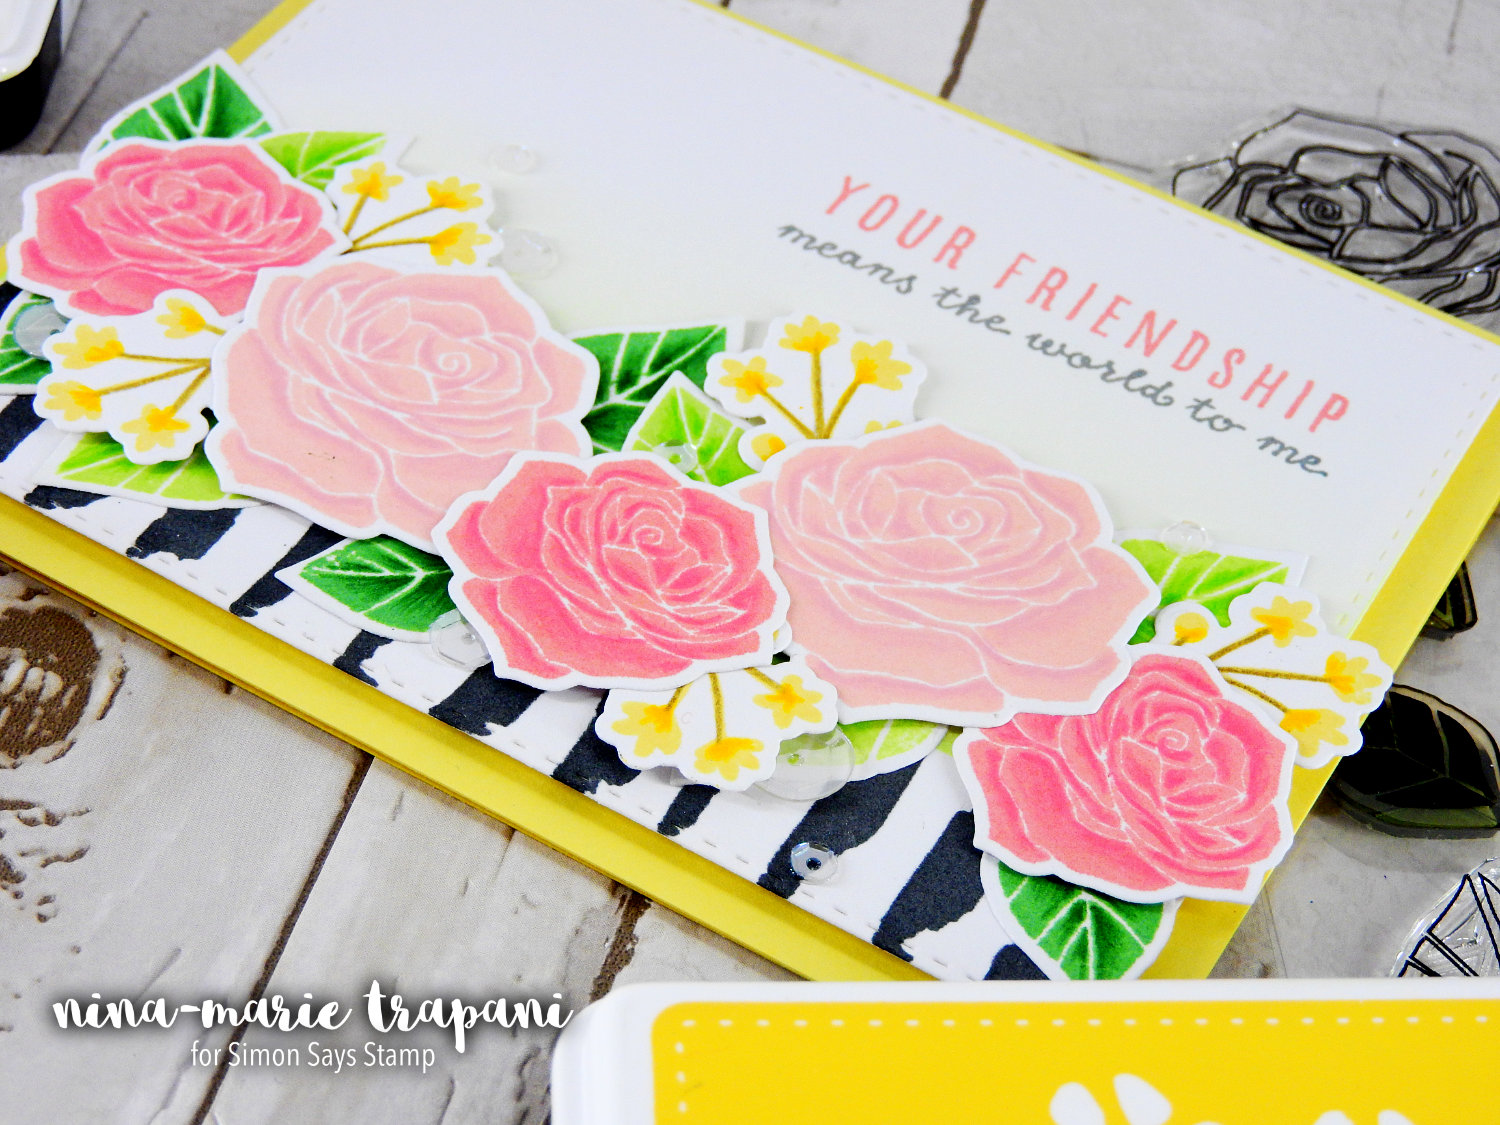
For the background of the floral arrangement, I created stripes with a Copic marker and ink blended a bit of Jellybean ink. To embellish the card I sprinkled a few Sparkling Clear sequins from Pretty Pink Posh in between the roses for a bit of shine.
I hope you will be checking out the video to see how I created the dimensional roses! Thanks for stopping by and visiting me today… I’ll be back again very soon!
WATCH THE VIDEO
SUPPLIES
 |
 |
 |
 |
 |
 |
 |
 |
 |
 |
 |
 |
 |
 |
 |
 |
 |
 |
 |
 |
 |
 |
Blog Candy Alert!! Follow our blog via email and comment on this post for a chance to win grab bags and blog candy! Remember to tag your awesome projects with #simonsaysstamp on social media so we can see what you are creating!

Doodling with Debby: Quick & Easy Distress Oxide Background
Hi friends! Happy Sunday! Thanks for stopping by! I’m so happy to share the latest Doodling with Debby Feature! Please read on and enjoy!
 Hi It’s Debby here and I’m delighted to be joining you with this month’s Doodle With Debby feature. Today I have a video playing with a couple of new products to me – the Distress Oxide inks from Tim Holtz and the Nuvo Jewel Drops. I’m pairing them with one of my favorite stamps, the Leaves Background, and the Big U dies and matching Big U words stamp set.
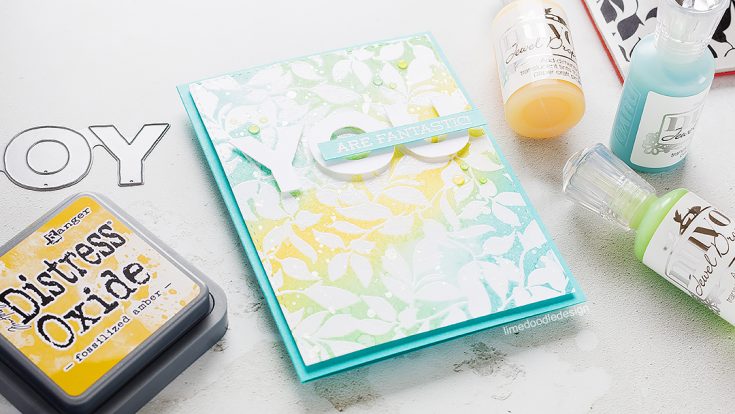
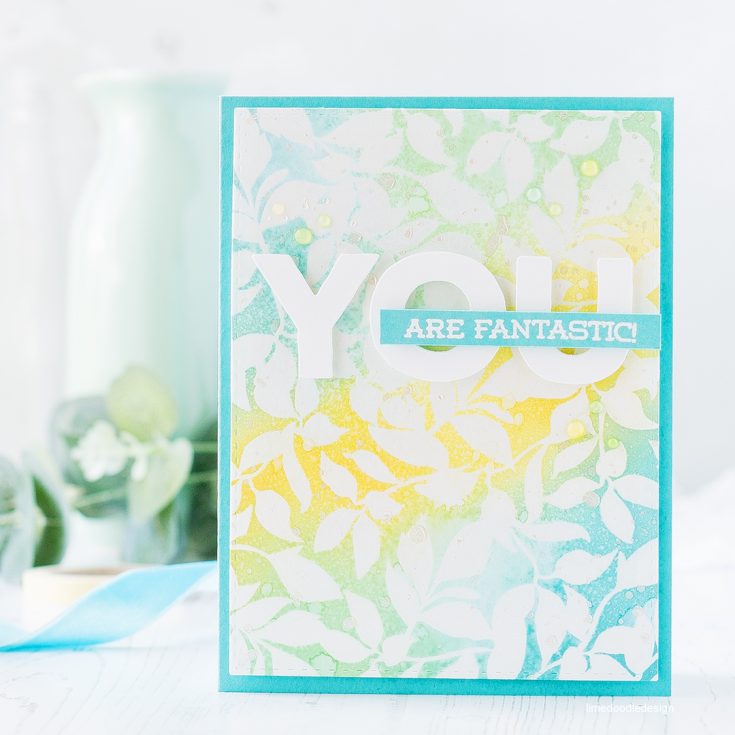 I started this card with a piece of Neenah Solar White card and stamped the Leaves Background in clear embossing ink before sprinkling with clear embossing powder and heat setting. I then blended Cracked Pistachio, Broken China, and Fossilzed Amber Distress Oxide inks over the card, letting the heat embossed leaves resist the ink. I must say how gorgeously these Distress Oxide inks blend! So smooth and create lovely new colors where the areas of each ink overlapped.
 I spritz and splattered the background with water and lifted some of the wet ink with a paper towel to give variation and interest. In addition, I can’t leave an inky background as done until I splattered with a shimmery solution of Perfect Pearls. With the background now complete I cut the panel with a Stitched Rectangle and put it to one side while I worked on the sentiment.
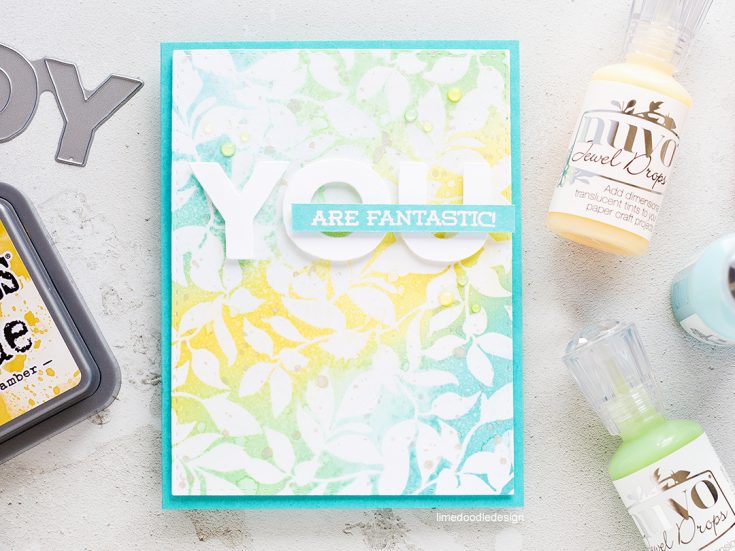
I wanted to keep the rest of the card clean and simple so as not to cover up or compete with the pretty background. I cut one of the YOU dies from the Big U die set from white card and paired it with a sentiment from the Big U Words stamp set. I stamped the sentiment in clear embossing ink and then embossed with white embossing powder before trimming to a skinny strip. I mounted all the elements on the panel foam adhesive and then accented around the sentiment area with toning colors of Nuvo Jewel Drops; Limoncello, Sea Breeze and Key Lime. Finally I mounted the panel on a side folding Audrey Blue card base.
Thanks for joining me today and I’ll see you for next month’s Doodle With Debby feature.
Watch the VIDEO:
Watch below or in HD at YouTube.
SUPPLIES:
 |
 |
 |
 |
|
 |
 |
 |
 |
 |
 |
 |
 |
 |
 |
 |
 |
 |
 |
 |
 |
Thanks for reading today, and thanks to Debby for being our guest!
Blog Candy Alert!! Follow our blog via email and comment on this post for a chance to win a special blog candy!
Copic Coloring Funny Food with Kelly Latevola
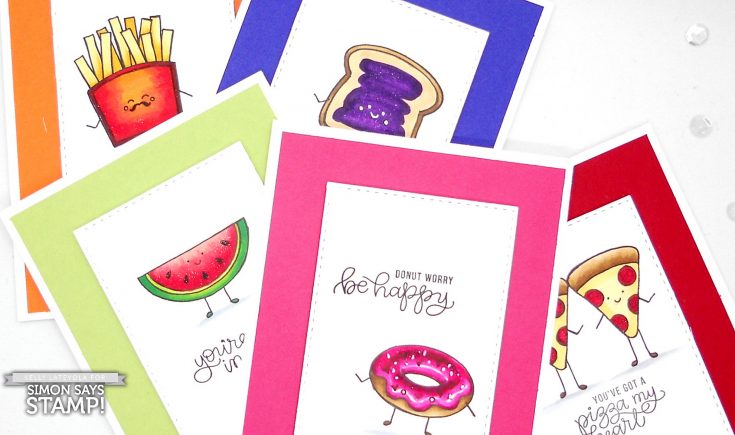
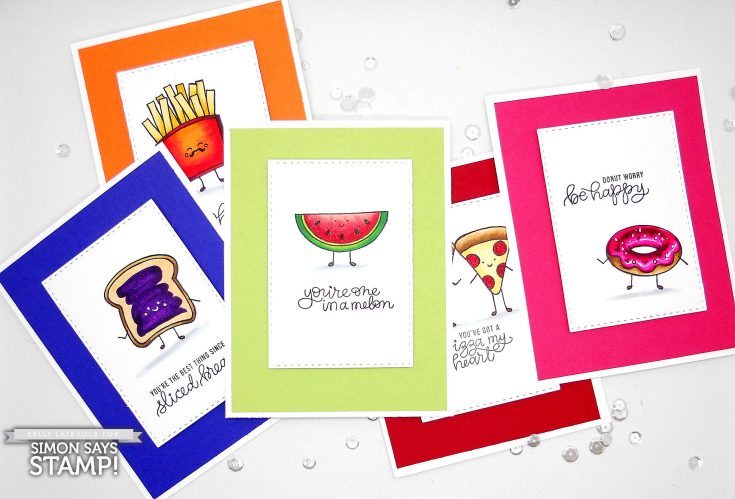
Hi friends! Happy Saturday! Thanks for stopping by today! Please welcome back special bi-monthly guest, Kelly Latevola! She’s sharing a sweet collection of cards she made using our new Funny Food clear stamp set, Copic markers, and some Simon Says Stamp cardstock! Be sure to watch the video and enjoy!
Watch the video:
SUPPLIES:
 |
|
|
 |
 |
 |
 |
 |
 |
 |
 |
 |
 |
 |
 |
 |
 |
 |
 |
 |
 |
 |
 |
 |
 |
 |
 |
 |
 |
 |
 |
 |
 |
 |
 |
 |
 |
 |
 |
 |
|
 |
|
|
 |
 |
Thanks for reading today, and thanks to Kelly for being our guest!
Blog Candy Alert!! Follow our blog via email and comment on this post for a chance to win a special blog candy!
Don’t forget!
We have a special 25% off Copic Sale Going on Now!