Doodling with Debby: Watercoloring with Distress Inks
Hi friends! Happy Sunday! Welcome to the latest (and might I add super ADORABLE) edition of Doodling with Debby! Every month Debby Hughes shares a new and fun card design! Be sure to read on, watch the video, and enjoy!
 Hi It’s Debby here and I’m delighted to be joining you with this month’s Doodling With Debby feature. Today I have a video using Distress Inks to watercolour the cute Funny Food set. I did wonder about creating a bunch of cards with each having just one of the fun foods. However, I loved how playful the foods all looked together on the stamp sheet and so decided to arrange all the foods on one piece of card.
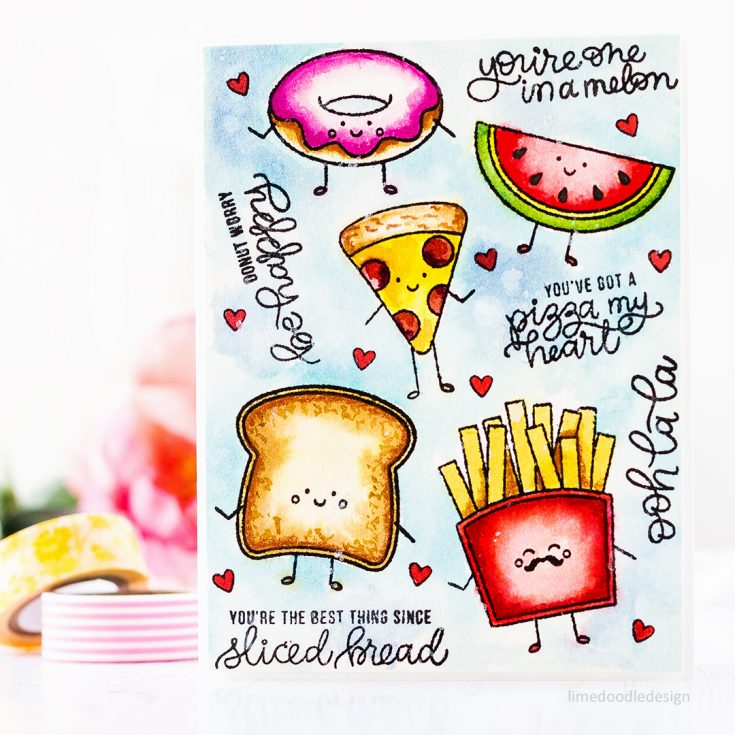 I laid everything out in the Mini Misti and then as the watercolour card is textured I stamped the images multiple times with Versafine Onyx Black ink to get a good impression. I used a waterproof black marker to fill in any gaps in the stamping and then taped my card down to a piece of board to help prevent it warping as I painted. I used a piece of acetate as a palette, rubbing Distress Ink minis on to the acetate to leave a puddle of colour then adding a little water to get the ink to a paintable consistency but not too much as I wanted the colours to stay strong and vibrant.
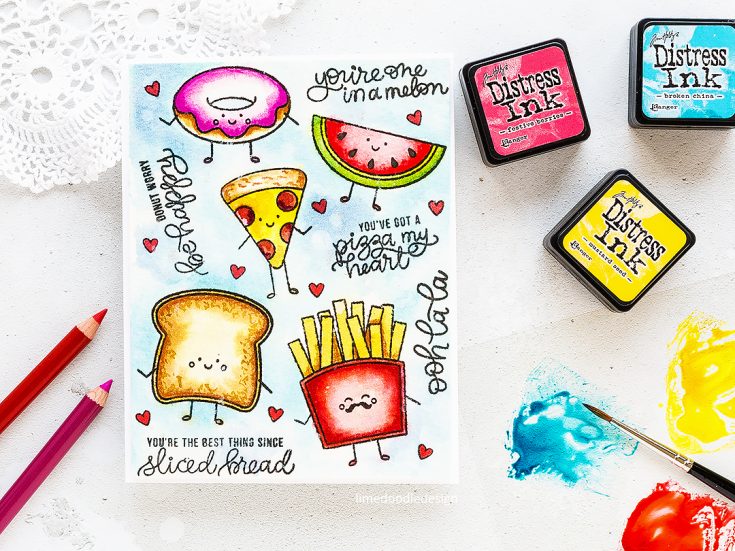
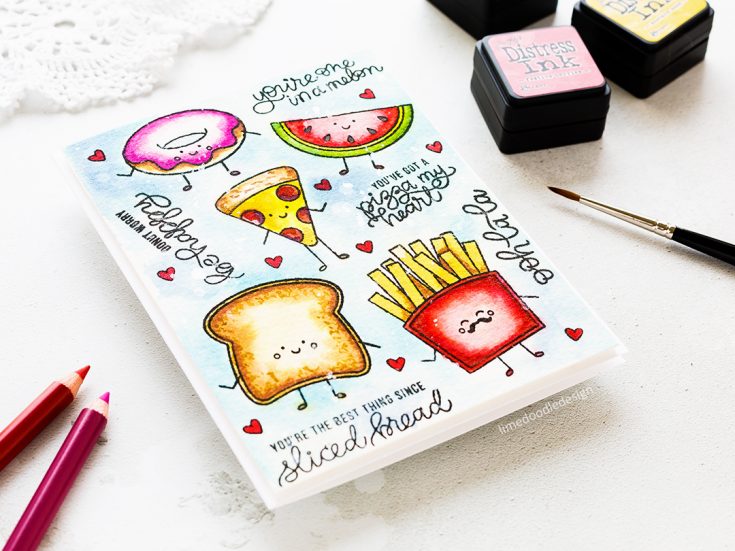 I used a variety of different Distress Ink colors, which are listed in the supplies section below. I added the ink around the edges of the food images and then rinsed my brush and used water to blend that out. While the ink was still wet I added more colour to the shadow areas and let the water do the work to soften and blend that out. I dotted around the card colouring different areas so that each area had time to dry which meant it didn’t bleed in to the adjacent area.
With the food characters painted I wanted to give them a nice background to really help the colours pop and so I added Broken China to my acetate palette and painted around the images. I kept it loose and uneven to add interest. The only difficulty was that as Distress Inks are so reactive with water that on occasion when my brush touched an area I’d already painted the colour bled out in to the background slightly. I added some faded jeans to the background to give some variation.
Having dried off the panel with my heat tool I then added splatters of water to the background and lifted some of the colour with a tissue. I did this a couple of times but I think because the background wasn’t highly pigmented that the lighter areas where the colour had been lifted weren’t as obvious. So I resorted to my usual splatter of a solution of Perfect Pearls to give the variation that I was after.
Another of my favourite techniques currently is to add some extra depth and interest to a piece with coloured pencils. Finally I wanted to fill the gaps between the food with a small image. I looked through my stamps and spotted the perfect small heart in the Some Bunny Special set. I added that to an acrylic block and then stamped with Versafine Onyx Black ink to fill in any gaps. I pulled my acetate palette back and watercolored the hearts with Barn Door Distress Ink. I added foam adhesive to the back of the panel and mounted it to a side folding white card base.
Thanks for joining me today and I’ll see you for next month’s Doodling With Debby feature.
Watch the video:
Supplies:
 |
 |
 |
 |
 |
 |
 |
 |
 |
 |
 |
 |
 |
 |
 |
 |
 |
 |
 |
 |
 |
Thanks for reading, and thanks to Debby for being our special guest!

Blog Candy Alert!! Follow our blog via email and comment on this post for a chance to win a special blog candy!
Yippee for Yana: Customizing Patterned Paper

Hi friends! Thanks for tuning into the latest edition of Yippee for Yana with Yana Smakula! In this feature, Yana has made some gorgeous customized patterned paper! Be sure to read on and watch the video for more information! Enjoy!
Hi everyone, this is Yana Smakula and I’m excited to bring you another episode from my by-monthly “Yippee For Yana” video series! In today’s video I’m showing how to customize patterned paper with the help of stencils, inks, embossing powder and glimmer paste!
Patterned paper is something I rarely use simply because I love to create unique things and with patterned paper it’s not that easy, unless you are using patterned paper from Concord and 9th.
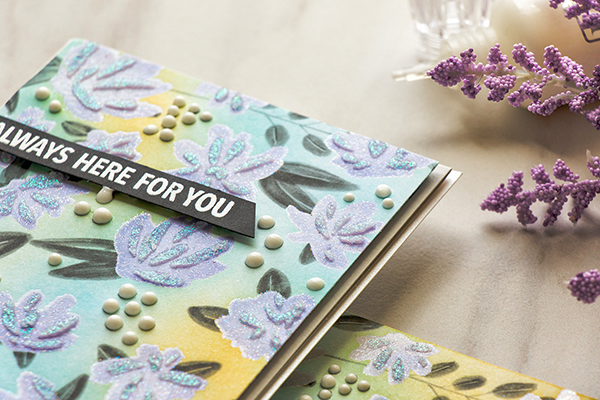
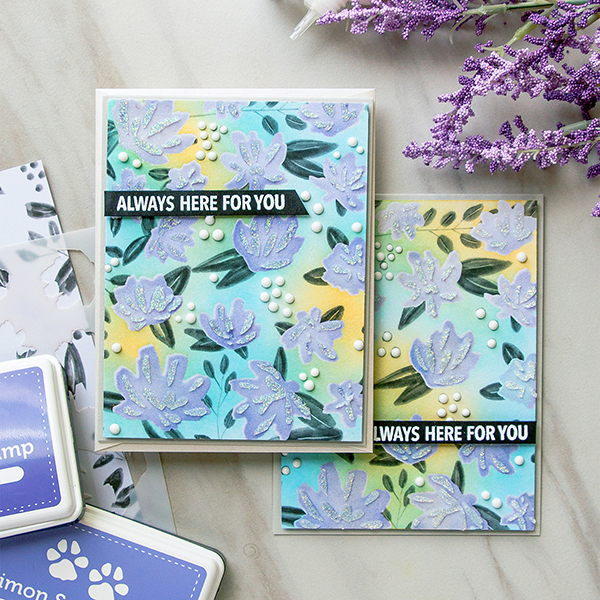
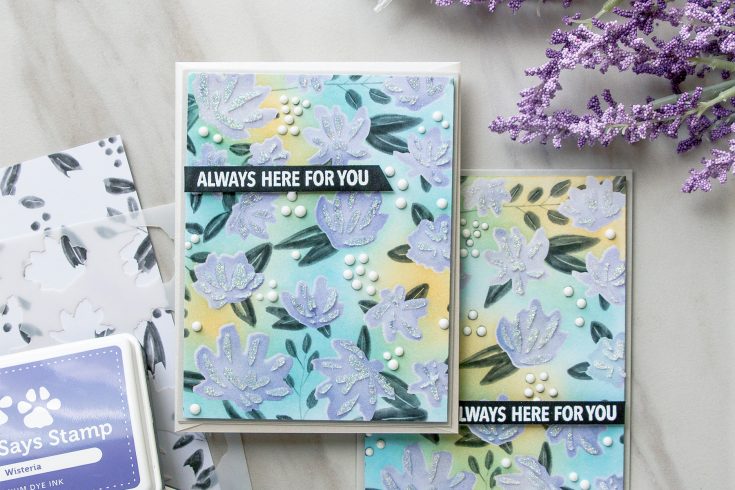
The front of each sheet from the Floral Fill-In paper pad coordinates with a stencil. If you lay the stencil on top it matches perfectly, you don’t have to look for a particular flower, it has all been thought through. And on the back you have regular simple pattern. So this is a great paper to customize and make your own.
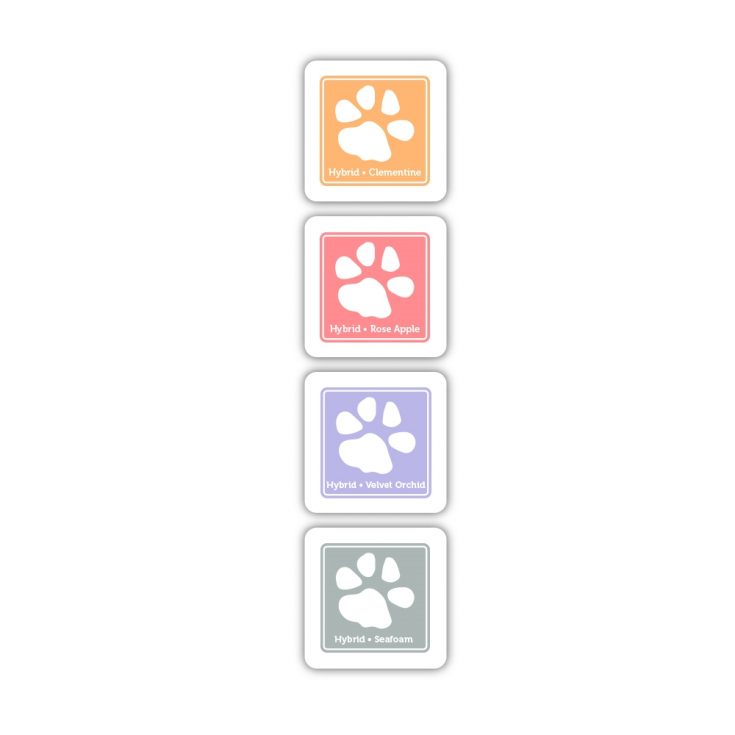
I started working on my cards by adding color to the flowers through the solid layer stencil. I used Velvet Orchid ink color from Simon to do my ink blending and brought color to my images from the outside in a sweeping motion, this way I was able to keep the center of the flower a bit lighter and the edges darker.
Next I removed the solid flower stencil and attached the detail flower stencil. I added detail using Wisteria ink color and blended it rather heavily onto my paper.
I went back to my original stencil and blended clear embossing ink to be able to add embossing powder and do emboss resist. I used Hero Arts Sparkle embossing powder to not only add shine, but also a bit of shimmer to my flowers.
After creating the resist layer for my flowers I blended Duckling and Maliblue ink colors onto my background to add a bit of color to my paper. I also mixed the two in a few sections to create hints of green.
I trimmed my paper to 4 x 5 ¼”, adhered it onto a piece of cardstock to add sturdiness and foam mounted it onto an A2 top folding card base made out of Simon’s Fog cardstock.
Lastly, I placed detail stencil over my paper one more time and added a generous layer of Tonic Glimmer Paste in Moonstone. For my sentiment I heat embossed “Always Here For You” message in white embossing powder and foam mounted it onto my card.
One last thing I did – I covered little gray dots on my patterned paper with Nuvo Crystal Drops in Gloss White – I didn’t want to have as much gray on my background, so I added white dots instead.
You can by all means simplify this background by skipping a step or two or you can make it even more complex by adding some additional details.
Have fun creating!
Watch the video:
SUPPLIES:
 |
 |
 |
 |
 |
 |
 |
 |
 |
 |
 |
 |
 |
 |
 |
 |
 |
 |
 |
 |
 |
 |
 |
 |
Blog Candy Alert!! Follow our blog via email and comment on this post for a chance to win a special blog candy!
Mothers Fathers and Florals New Product BLOG HOP!
Are you ready for some AWESOME inspiration featuring our NEW Mothers Fathers and Florals exclusive collection?
Every stop on our blog hop has a $25 prize package for a random blog commentor. WAHOO! Winner will be announced on Tuesday right here at the Simon Says Stamp blog!
Simon Says Stamp Blog << YOU ARE HERE!
Jennifer McGuire
Kristina Werner
Laura Bassen
Shari Carroll
Nina Marie Trapani
Yana Smakula
Debby Hughes
Nichol Spohr
Anna-Karin Evaldsson
Heather Hoffman
Heather Ruwe
Suzy Plantamura
Amanda Korotkova
Virginia Lu
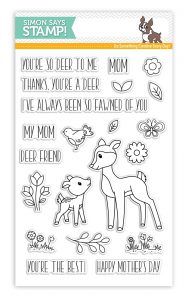
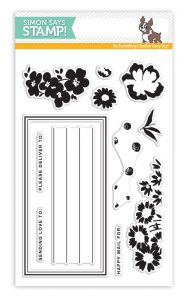
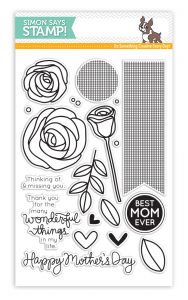
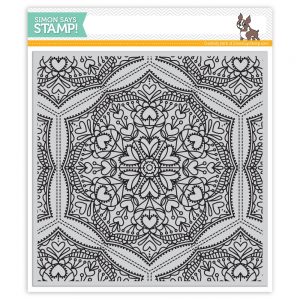
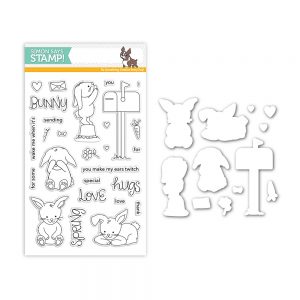
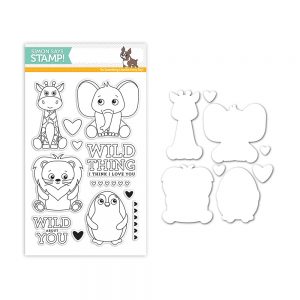
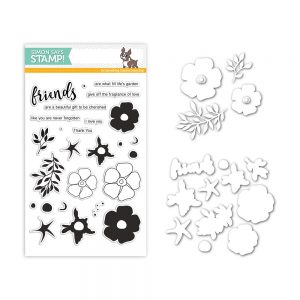
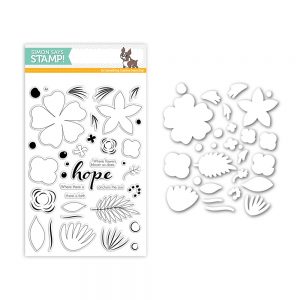
Fasten your seatbelt and let the inspiration begin! Below are the products being featured in our blog hop today:


Thanks so much for joining us today! Don’t forget to spread the love through commenting on these hard working designers projects. You could win a gorgeous prize package. HAPPY FRI-YAY!


