Yippee for Yana: Dry Embossing with a Stencil

Hi everyone, this is Yana Smakula and I’m excited to bring you another episode from my by-monthly “Yippee For Yana” video series! In today’s video I’m showing how to use a stencil to create a subtle textured background for a card with the help of dry embossing!
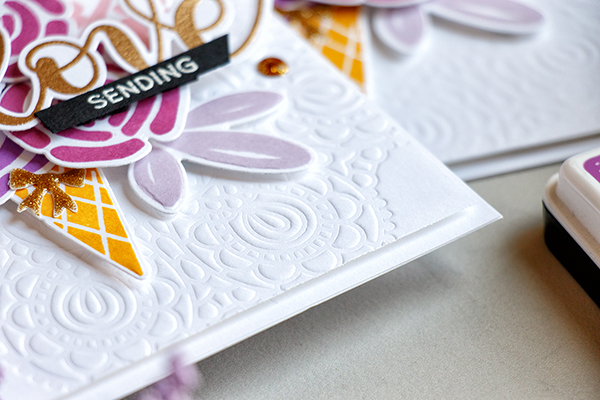
Let’s jump right in. I’m going to start by saying that you can most definitely dry emboss with stencils. The depth of impression will depend on how thick the material out of which the stencil is made of is, Simon’s stencils are pretty thick and durable so they always leave a nice and visible impression on the paper. If you use a thinner stencil the embossing and debossing you’ll get might not be as deep.
To dry emboss with a stencil you’ll need to use a die cutting machine and an embossing mat. I used my Platinum 6” machine from Spellbinders but this can be done in any die cutting machine. I followed the sandwich instructions for dry embossing with dies in my machine and I also added a paper shim (regular paper folded in half, so 2 sheets thick).
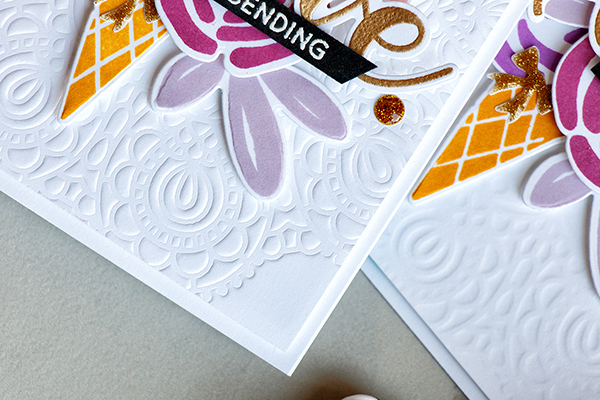
I cut my white cardstock to 4 x 5 ¼” and aligned it in the center of Circular Lace stencil; you can also have it offset to the side if you like. After running it through my machine and ended up having a gorgeous textured background with an embossed and debossed side.
You can use a background like this for just about any card, you can also make these backgrounds on colored cardstock, not just white; they look fabulous on kraft.
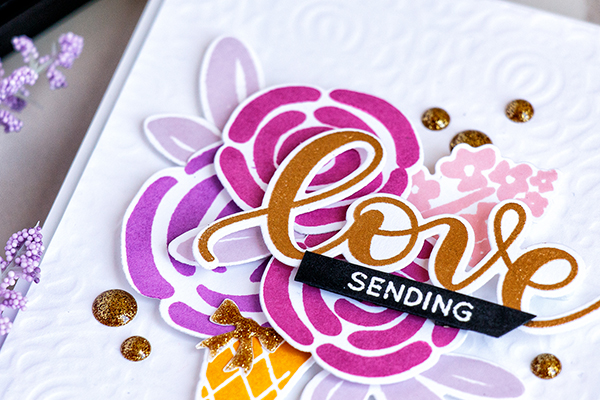
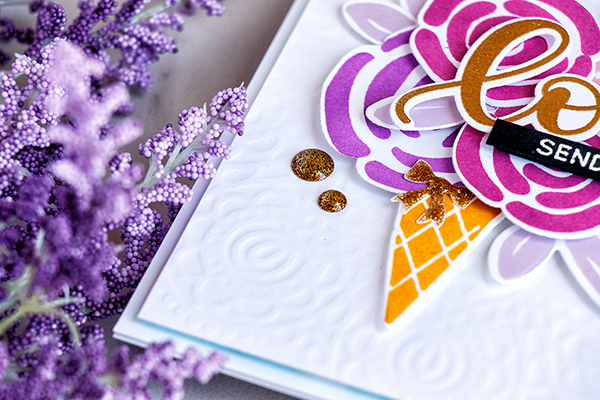
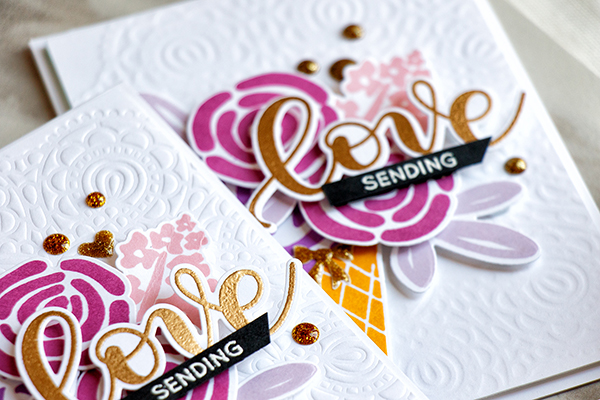
To finish this card I stamped a few images and created a floral arrangement. Using my mini MISTI I stamped ice cream cone in Sunshine, large flower in Hot Mama, small flowers in Magnolia, floral branch in Twirling Tutu and leaves in Thistle.
I also heat embossed the word “Love” in Simon’s Antique Gold embossing powder and cut all images out using coordinating dies.
After having all of the parts and pieces ready I foam mounted my dry embossed background onto an A2 top folding card base and foam mounted all of my die cuts in place creating a floral arrangement. I doubled up foam adhesive in some places to add more dimension. Lastly, I adhered the large heat embossed “Love” and added “Sending” heat embossed in white on black, so my sentiment reads “Sending Love”.
Which background do you like better? The crisp embossed or less detailed debossed one? Please, comment below! Have fun stamping!
WATCH THE VIDEO:

Supplies:
 |
 |
 |
 |
 |
 |
 |
 |
 |
 |
 |
 |
 |
 |
 |
 |
 |
 |
 |
 |
 |
 |
 |
 |
 |
Thanks for reading, and thanks to Yana for being our guest!

What Would Kelly Make: 9th in the series!
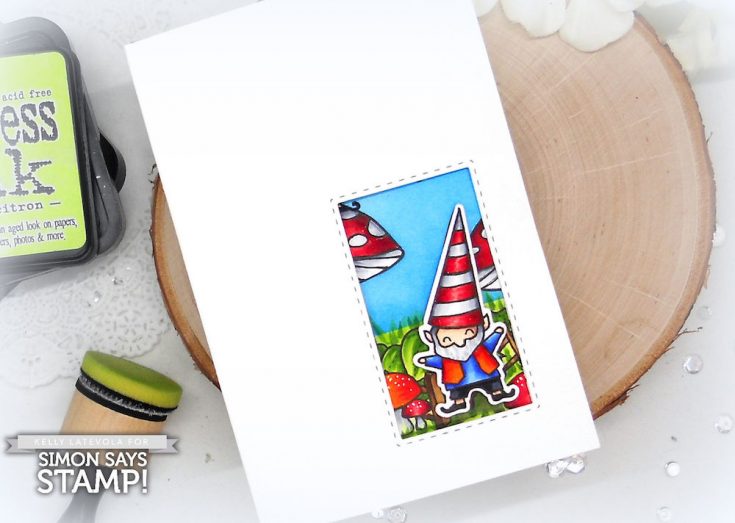
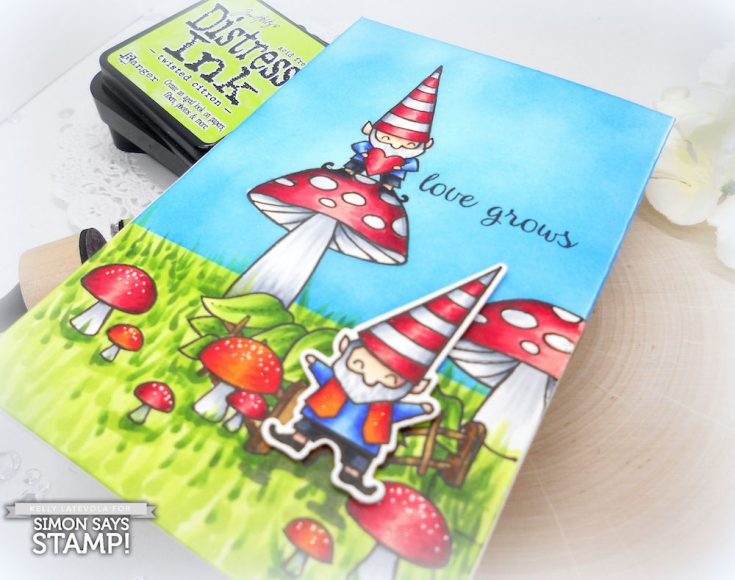
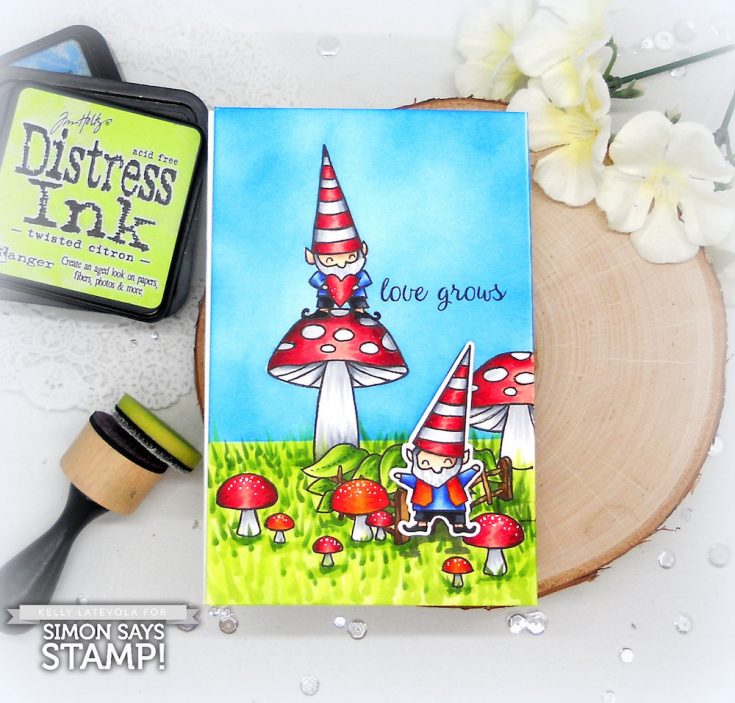
Hi friends! Happy LAST Wednesday of the month! (Where did June go?!?!) You may know that that means it’s time for our latest edition of a fun series with Kelly Latevola called: What Would Kelly Make? This is the 9th card in the series. In this edition, Kelly is working with Memory Box’s Love Grows stamp and die set! Kelly’s technique focuses on how to make a tri-fold window card. How cute are those gnomes?! If you missed the first 8, please be sure to to click here to check out the rest! Please be sure to read on for new tips and tricks and enjoy!
WATCH THE TECHNIQUE VIDEO:
WATCH THE FULL VIDEO:
SUPPLIES:
 |
 |
 |
 |
 |
 |
 |
 |
 |
 |
 |
 |
 |
 |
 |
 |
 |
 |
 |
 |
 |
 |
 |
 |
 |
 |
 |
 |
 |
 |
 |
 |
 |
 |
 |
 |
 |
 |
 |
 |
 |
 |
 |
 |
 |
 |
Thanks for reading today, and thanks to Kelly for being our guest!
Blog Candy Alert!! Follow our blog via email and comment on this post for a chance to win a special blog candy!
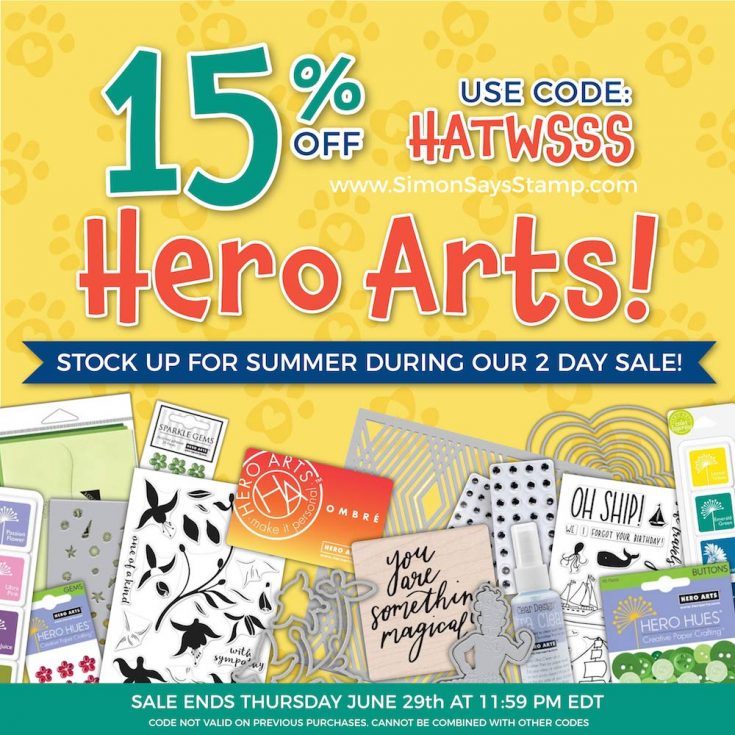
Hero Arts 15% off Summer Sale!
Hi friends! You won’t want to miss our special 15% off Hero Arts sale going on NOW! Use code HATWSSS to get your discount at checkout! It’s rare that we run a sale on this popular brand, so shop soon for the best selection of products! Hurry! Sale ends on June 29th at 11:59 PM EST!
Enjoy!


