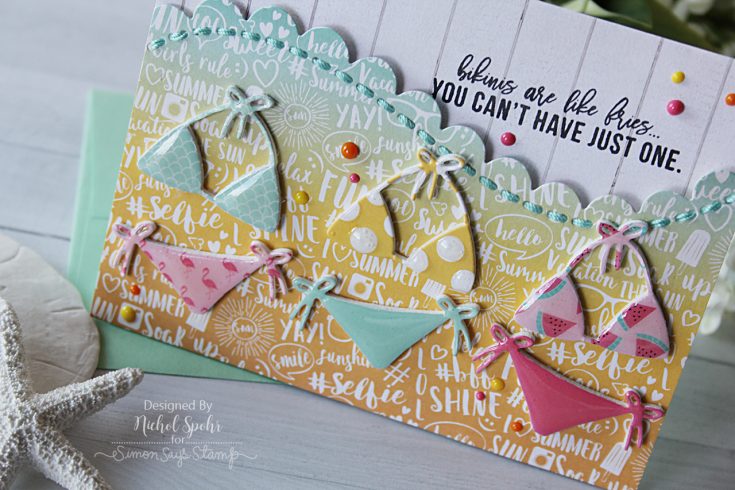
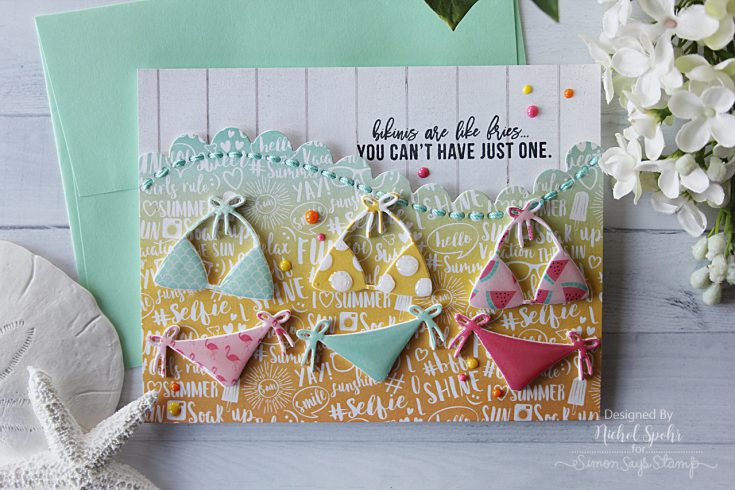
Dimensional Bikini Die Cuts
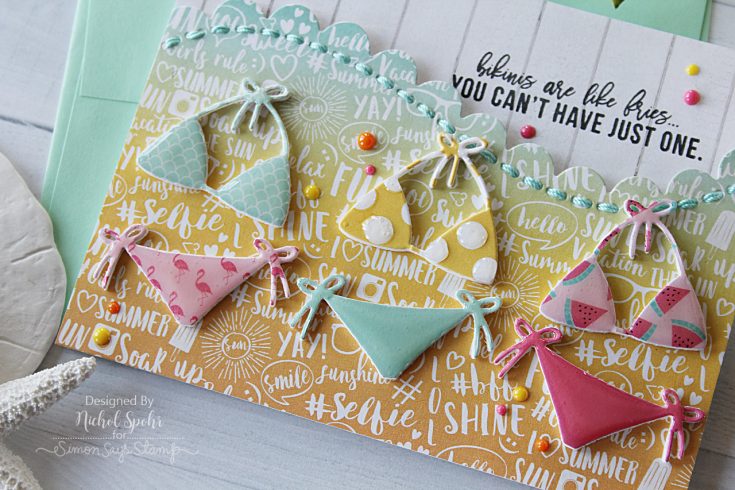
Hi friends! Happy Thursday! Please welcome back crafty superstar Nichol Spohr to our blog! She created this GORGEOUS and super fun card using components of our brand new Summer Hello July 2017 Card kit! To complete the design she also used the Nuvo crystal drops in Dandelion, Ripened Pumpkin, and Carnation as well as our Dot Scallop Border! Be sure to watch the video and enjoy!
Watch the video:
SUPPLIES:
 |
 |
 |
 |
 |
 |
 |
 |
 |
 |
 |
 |
 |
 |
Thanks for reading today, and thanks to Nichol for being our guest!

Blog Candy Alert!! Follow our blog via email and comment on this post for a chance to win a special blog candy
Summer Hello: Simon Says Stamp Card Kit Reveal and Inspiration
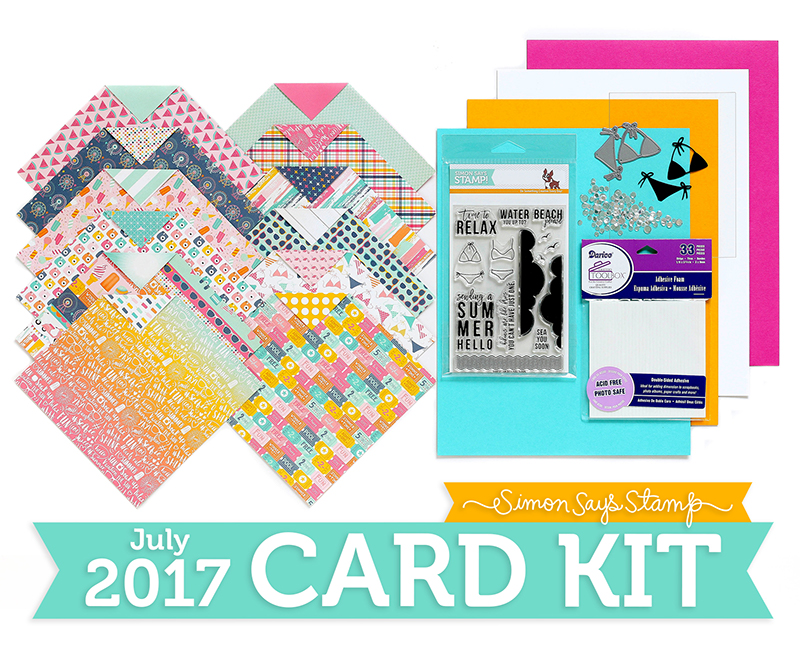
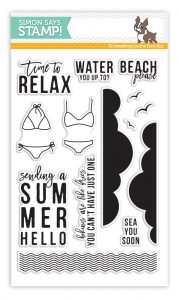
Hello everyone! Welcome to our July Card Kit reveal! Let me introduce you to our amazing kit called Summer Hello! This kit will have you yearning for the beach with it’s Bikini theme.
This Kit Includes our Exclusive Simon Says Stamp “SEA You Soon” clear stamp set, Simon Says Stamp Exclusive Bikini Die, Simon Says Stamp Exclusive Moonshine Confetti, 1 sheet of acetate, 12 double sided 6×6” designer papers from Echo Park “Summer Dreams” collection, 1 package of double sided foam strips, 1 sheet each; Simon Says Stamp Audrey Blue, Sunshine, Doll Pink and 120# White cardstocks.
I have some inspiration for you!
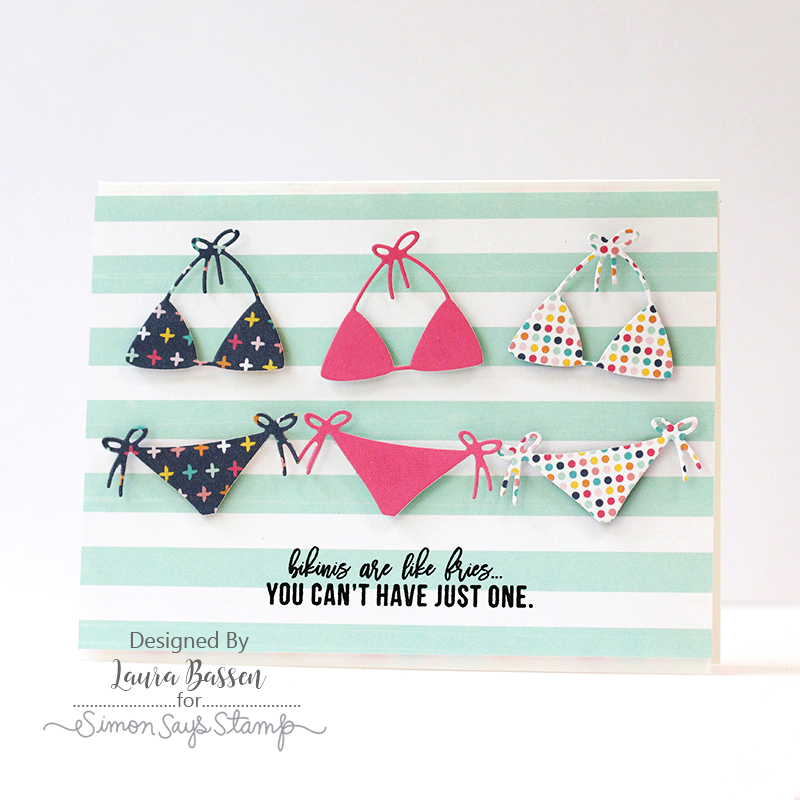
Laura Bassen created her card using several pieces of the Echo Park papers by using the Bikini die and a message from the Sea You Soon.
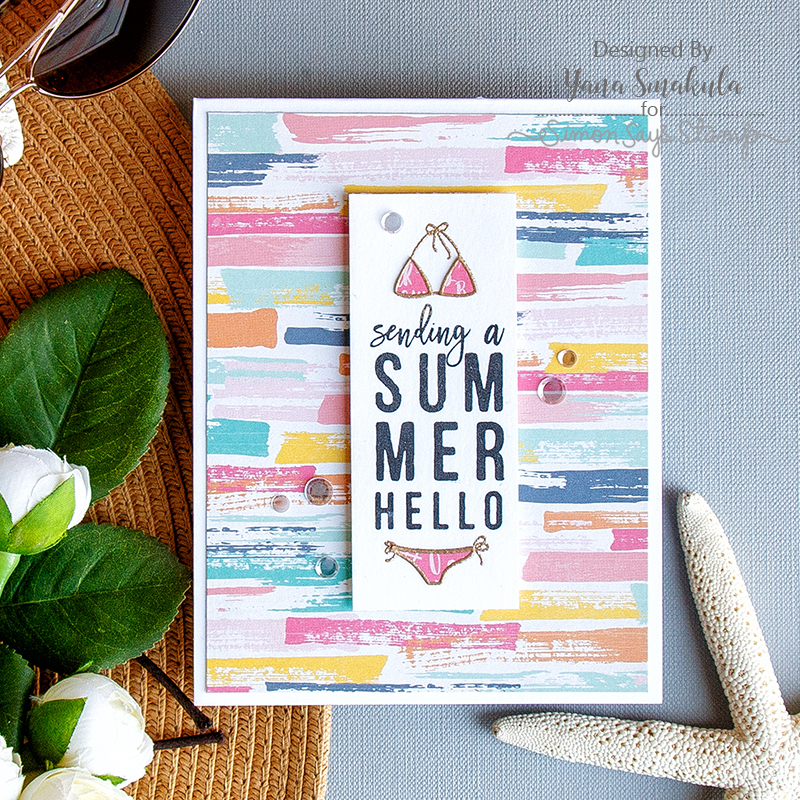
Yana’s card features a panel of a bikini stamped from the stamp set with her message set between the bikini pieces and placed onto colorful striped Echo Park paper.
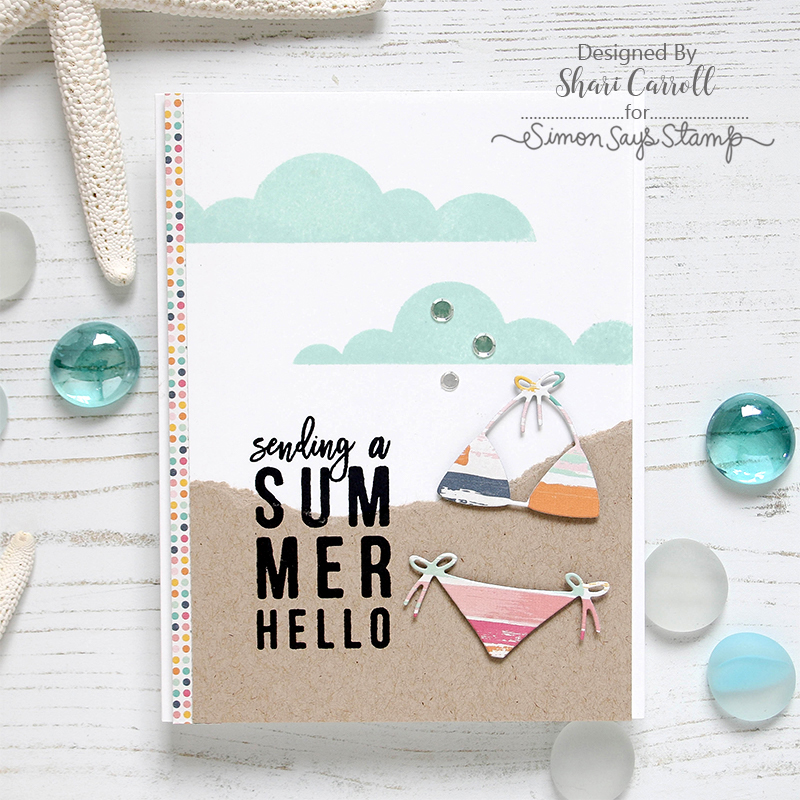
I made a card using the bikini die and clouds from the stamp set to create a simple beach scene.
I have filmed a walkthrough of the kit and have additional inspiration to share. You can view it below or on our YouTUbe channel HERE.
The SEA You Soon stamp set, Bikini Die and Moonshine Confetti are also available for individual purchase in our store!

Remember, you can SUBSCRIBE to our no obligation kits and receive them monthly for $ 24.95, or purchase them each month for $ 29.99 (while supplies last).
If you are a subscriber who used Paypal to purchase your subscription, please be sure to pay the invoice that we send you within 3 business days. We have a limited number of this card kit in stock and don’t want you to miss out. For easier and quicker monthly processing, please contact us via email or telephone and we will put your credit card on file as a courtesy for you. Card kits bill and ship between the 17th and 27th days of every month.
Be sure to check out our card kit galleries for additional inspiration using our kits. Thanks for reading today!
Geometric Dad Design
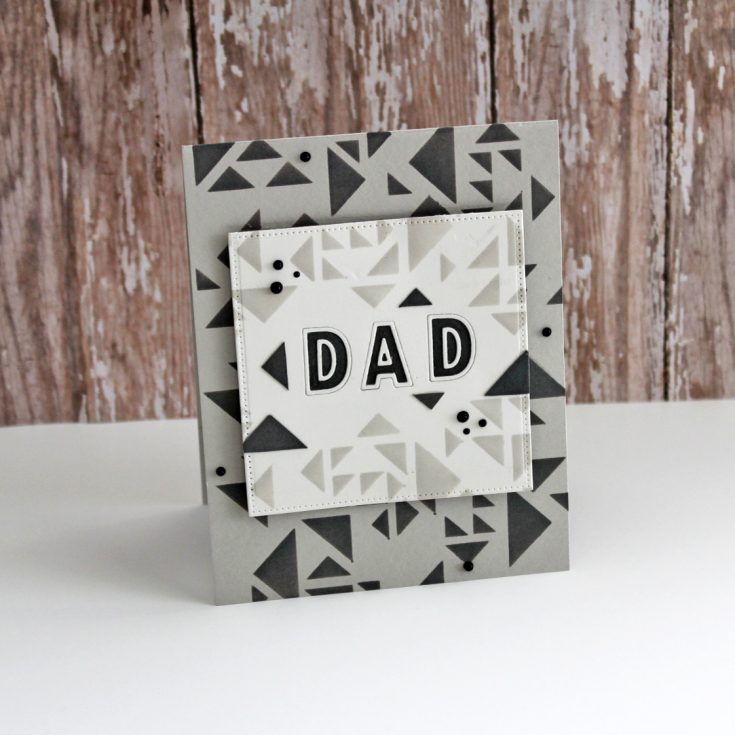
Hi friends! Happy Tuesday and thanks for stopping by today! Please welcome back special guest Dana Joy to our blog! She made this cool Geometric card in monochromatic tones to keep a masculine theme! The background was made from the Hero Arts Graphic Pattern and the alphabet letters are from Concord & 9th’s Double-Cut Alphabet dies!
What does your design for Dad look like this year? We’d love to see what you made! Link up your project and/or blog in the comments section for a chance to win some blog candy!
Making masculine cards can sometimes be a challenge. If I keep it clean and simple with a graphic edge I can nail it must of the time. This stencil from Hero Arts allow me to do just that. So let’s get started.
For my card base I used fog cardstock and cut it down to an A2 size top folding card. Starting on the left side of my card I line up the stencil so the triangles are on the left side. I lightly tape down the stencil and begin sponging on slate ink with an ink blending tool. Once the area is covered I rotate the stencil so the triangle are now on the right and repeated the process. I continued this until the panel was covered.
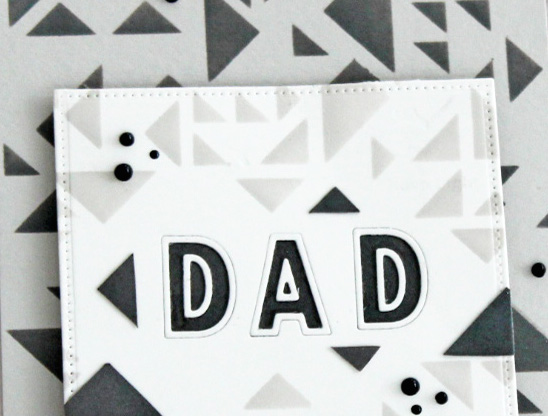
Next I die cut out a square from a piece of white cardstock. I stencil triangles along the top and bottom of the square using fog ink. For the sentiment, I used the double cut alphabet dies to die cut the word dad in the center of my square. On a scape piece of paper, I stencil a few more triangles to fussy cut and sponged another small square in slate ink.
I adhered the smaller slate square behind the die cut word and then inlaid the alphabet pieces back in place using multi matte medium and tweezers. I really love these dies. They not only cut the letter but outline pieces as well. I added the additional fussy cut triangles to the white square for added contrast and cut off the overhanging edges.
Now it’s time to assemble the card. I adhered pieces of foam tape to the back of my white square to add some dimension and attached it to my card panel. For the finishing touch, I added a few accents of black nuvo drops to continue with the graphic feel. This masculine card is now complete.
I hope this card inspires you to reach for your stencils and those darker tone inks when making your next masculine card. Remember it’s really easy if you keep it clean and simple. Have a great day and don’t forget to wish the dad’s in your life Happy Father’s Day!
Supplies:
 |
 |
 |
 |
 |
 |
 |
 |
 |
 |
 |
 |
|
 |
 |
 |
 |
Thanks for reading today, and to Dana for being our guest!
Blog Candy Alert!! Follow our blog via email and comment on this post for a chance to win a special blog candy
Congrats! Blog Candy Winners!
From: Studio Monday with Nina-Marie: Building a Background with Letter Dies: Carla Hundley!
From: Watercolor Thank You Card: Dawn Skene!
From: Collage Summer Love You Card: Colleen Howell!
From: Love Your Guts by Cathy Zielske!: Diana Johnson!
From: Doodling with Debby Stencil + Embossing Paste Wedding Card: Cynthia Johnson!
Please email [email protected] with your mailing address (if applicable), the name of the blog you won from, and the prize you won to claim your prize!


