DIY Outdoor Craft: Cacti Plant
Hello everyone! With Summer nearly upon us, it’s only fitting to start spending even more time outdoors in the sunshine and warm temperatures, don’t you think? But what about CRAFTING with our beautiful nature? Today’s video is a fun example of how you can use a simple thing found outside and turn it into an amazing craft project!
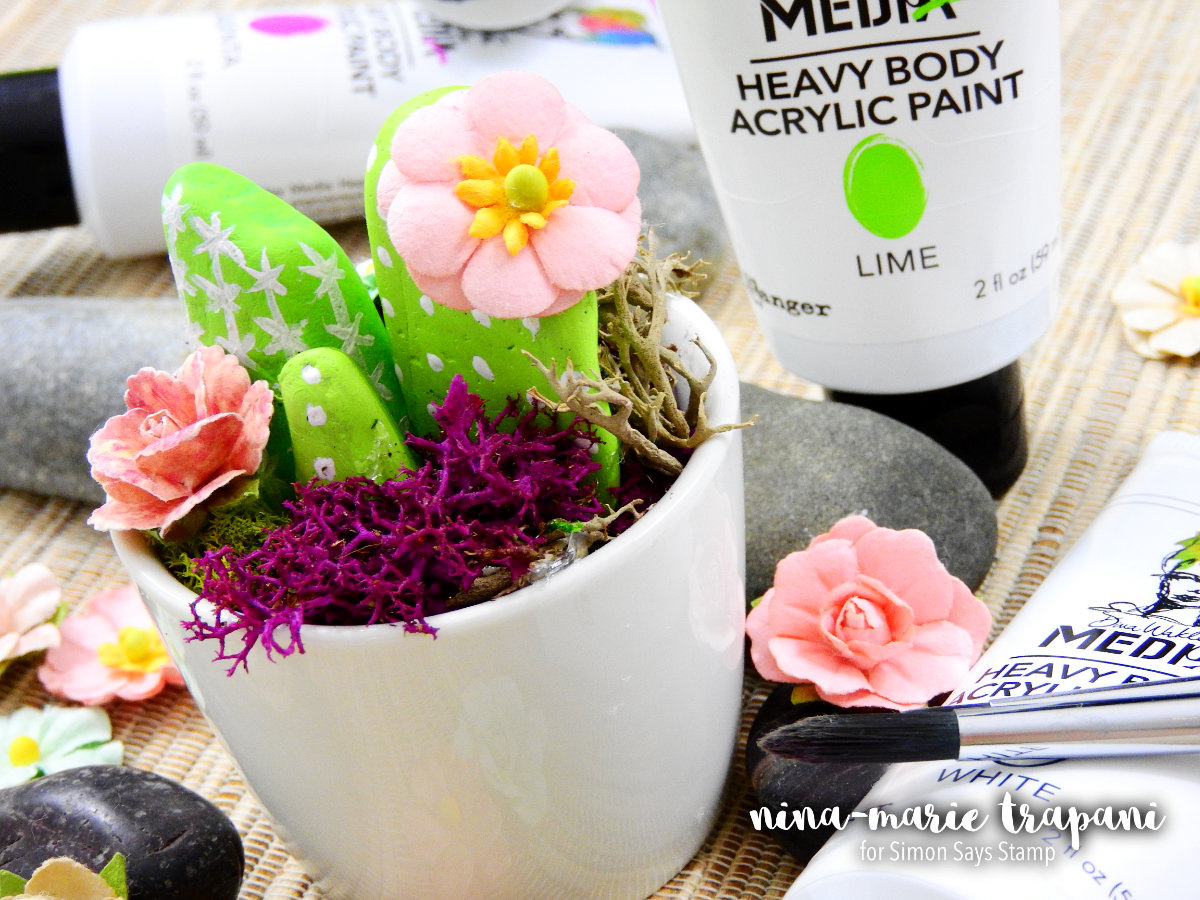
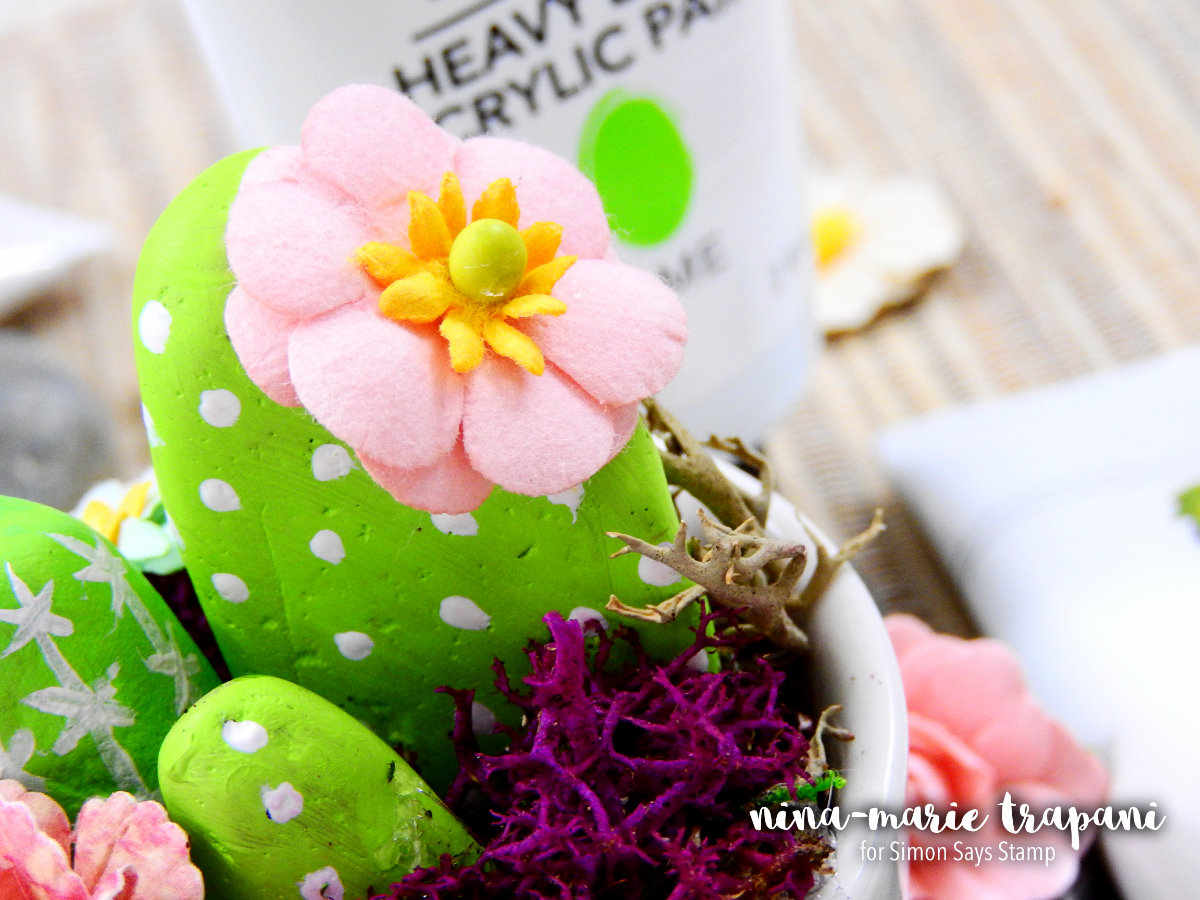
For this video, I will be sharing how I used small rocks and turned them into a cacti plant. Cacti is such a popular thing these days, and I too love the look of them. With just a few colors of Dina Wakley Heavy Body Acrylic Paint, I was able to paint these rocks to look similar to cacti.
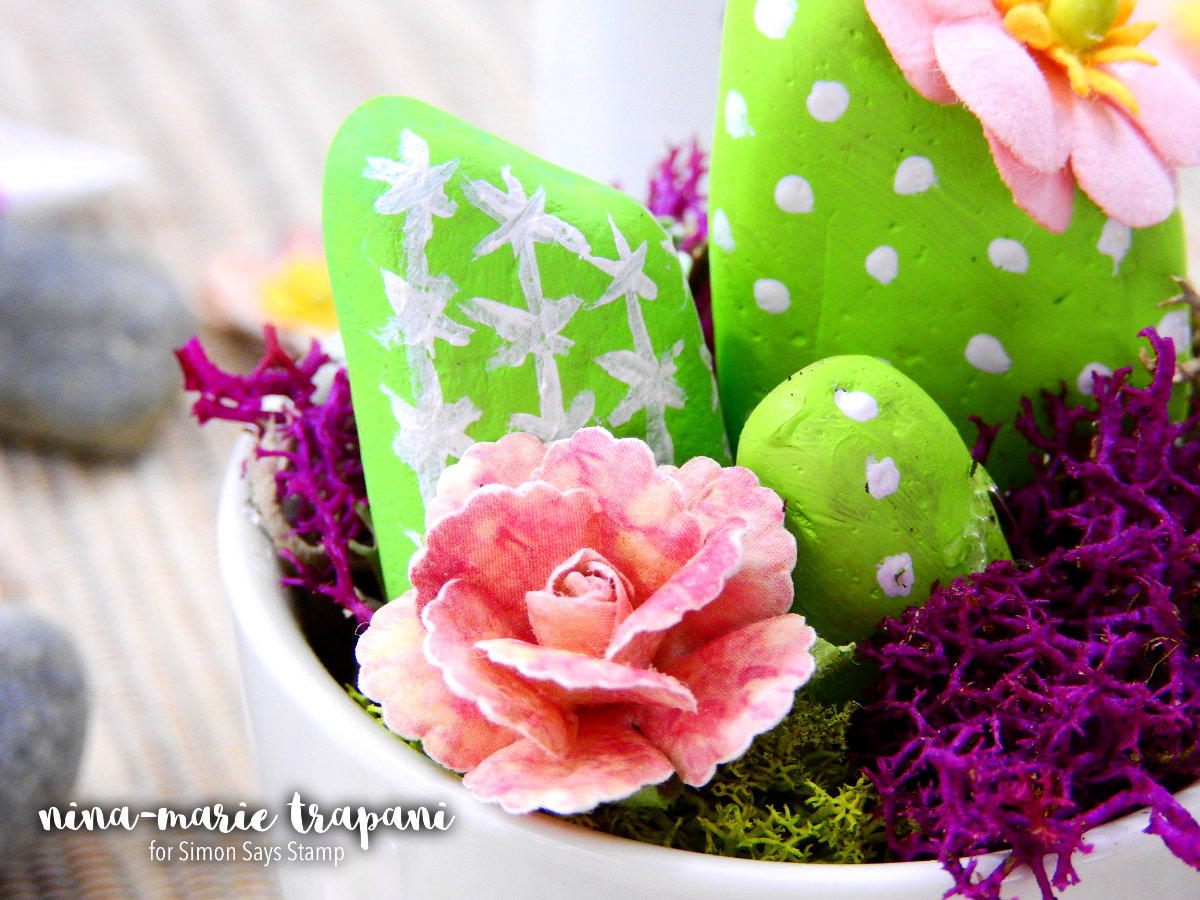
I went for a more playful style with the painting of these rocks by choosing brighter colors and painting on some white dot details. But you could also adapt the design to look even more realistic and “true to nature”.
This cacti plant is very small; only about 3 1/2″ in height. I found a small cup that I could place my “plants” into. I had some moss that I could fill the cup with as the base for my cacti. You could use grass, twigs and dirt from outside if you don’t have any moss.
I also used some Prima paper flowers from their Wild & Free pack. I always loved the look of flowers on a cactus, so I just had to add some onto my arrangement! The florals from the Wild & Free pack reminded me of desert flowers.
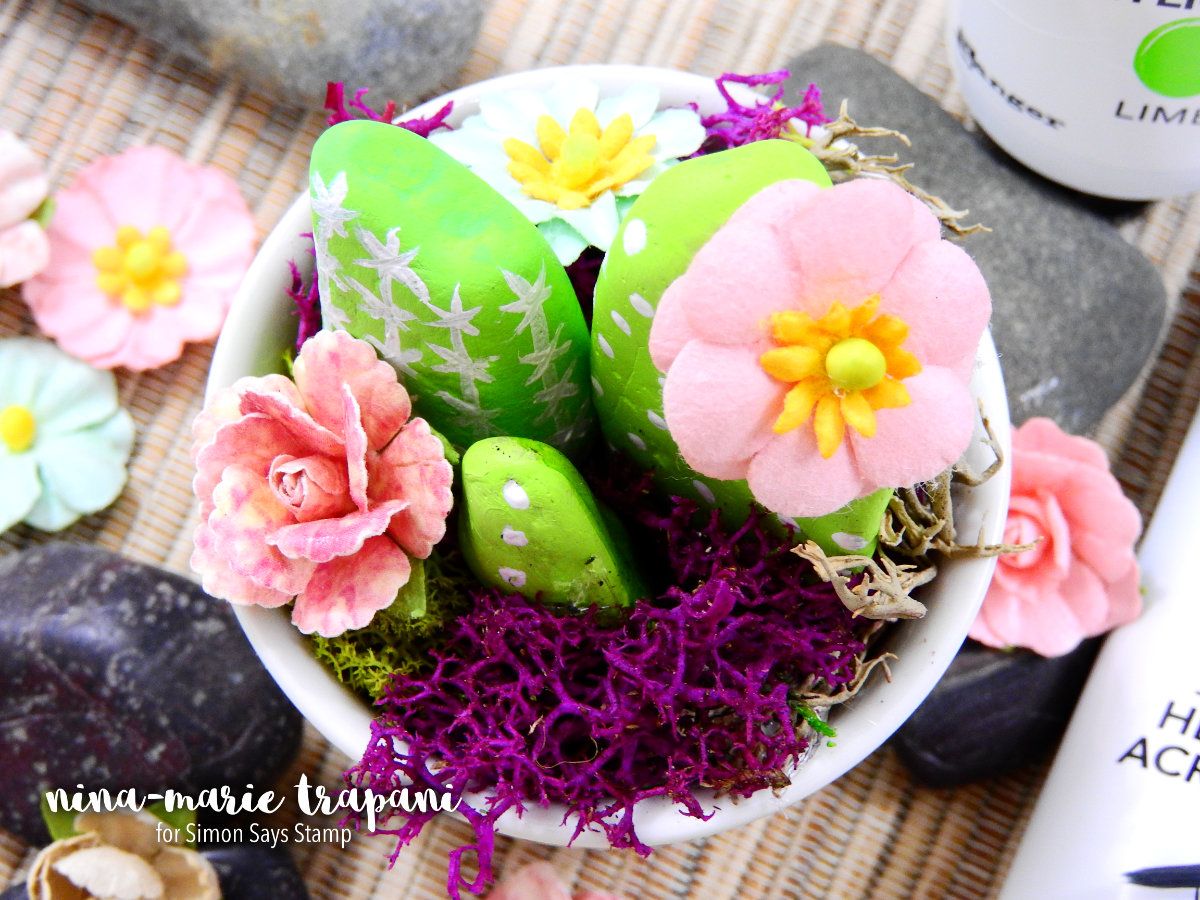
I adhered all of the pieces of my cacti arrangement with hot glue. You could try other adhesives but I wanted to make sure everything stayed in place. Hot glue was the adhesive on hand that I thought would do the best job.
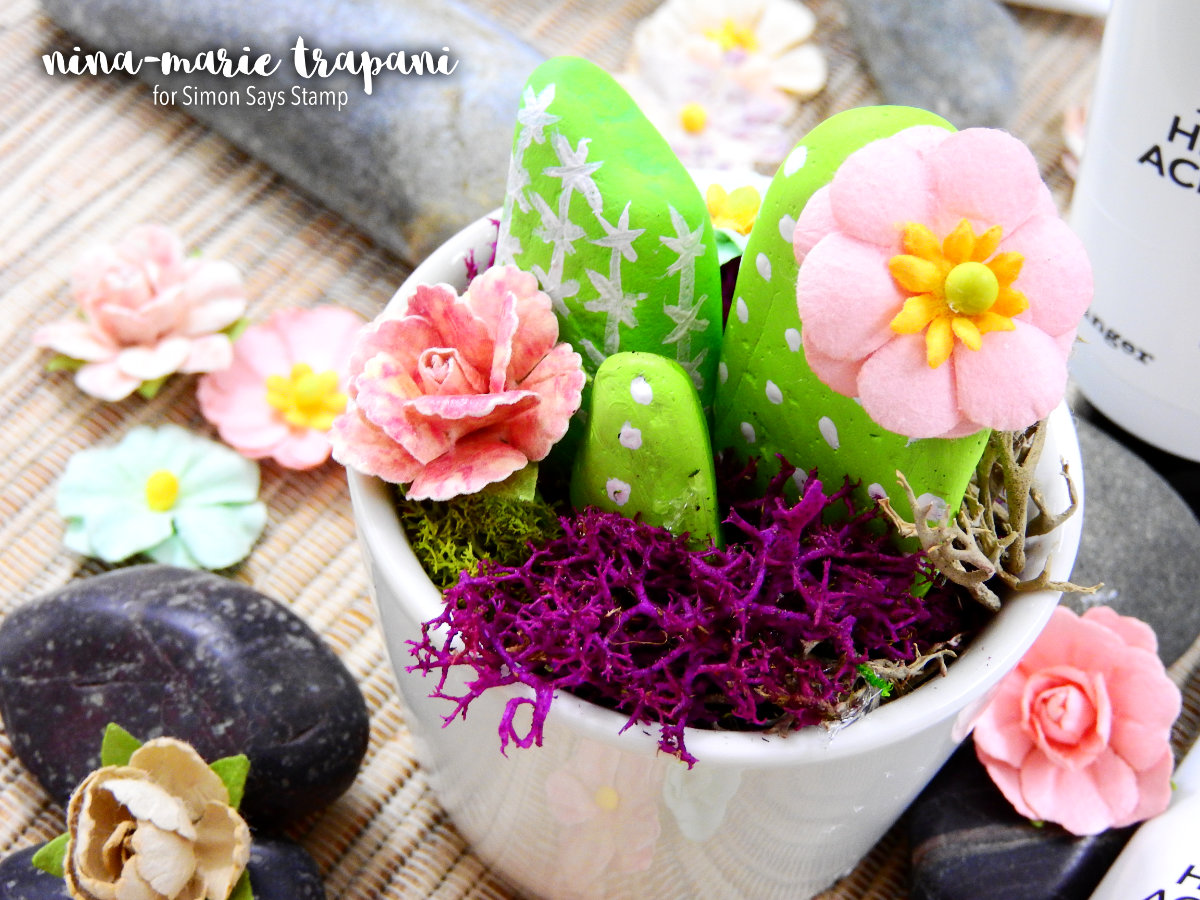
I hope that today’s post has been inspiring to you and that you will give this unique DIY project a try! More details – along step by step instructions – for this project are in the video below. This was such a fun project to create, and really was very simple. It also would make a great kids craft also… summer craft days were always something I loved when I was a kid!
Thanks for stopping by and spending your day with me… I’ll be back next week with a new Studio Monday video to share!
WATCH THE VIDEO
SUPPLIES


Blog Candy Alert!! Follow our blog via email and comment on this post for a chance to win grab bags and blog candy! Remember to tag your awesome projects with #simonsaysstamp on social media so we can see what you are creating!

BLOG CANDY WINNERS!
Congrats everyone! Please email [email protected] with your mailing address (if applicable), the name of the blog you won from, and the prize you won to claim your prize!
From: Studio Monday with Nina-Marie: Glitter Paint Embellishments: Julie L!
From: Beautiful Journey Tag: Nancy!
From: Sassy Sayings with a Splash of Color: diana @ playing!
From: Amore Laura Fadora: So Happy You’re My Dad!: Denise Bryant!
From: Dimensional Bikini Die Cuts: Amanda Hayes!
From: Geometric Dad Design: Miriam Prantner!
Studio Monday with Nina-Marie: Glitter Paint Embellishments

Hello crafters! Thanks for stopping by today for my newest Studio Monday video! This week I wanted to share a technique I am calling “glitter paint embellishments”. If you love glitter without the extreme mess, this post is for you!

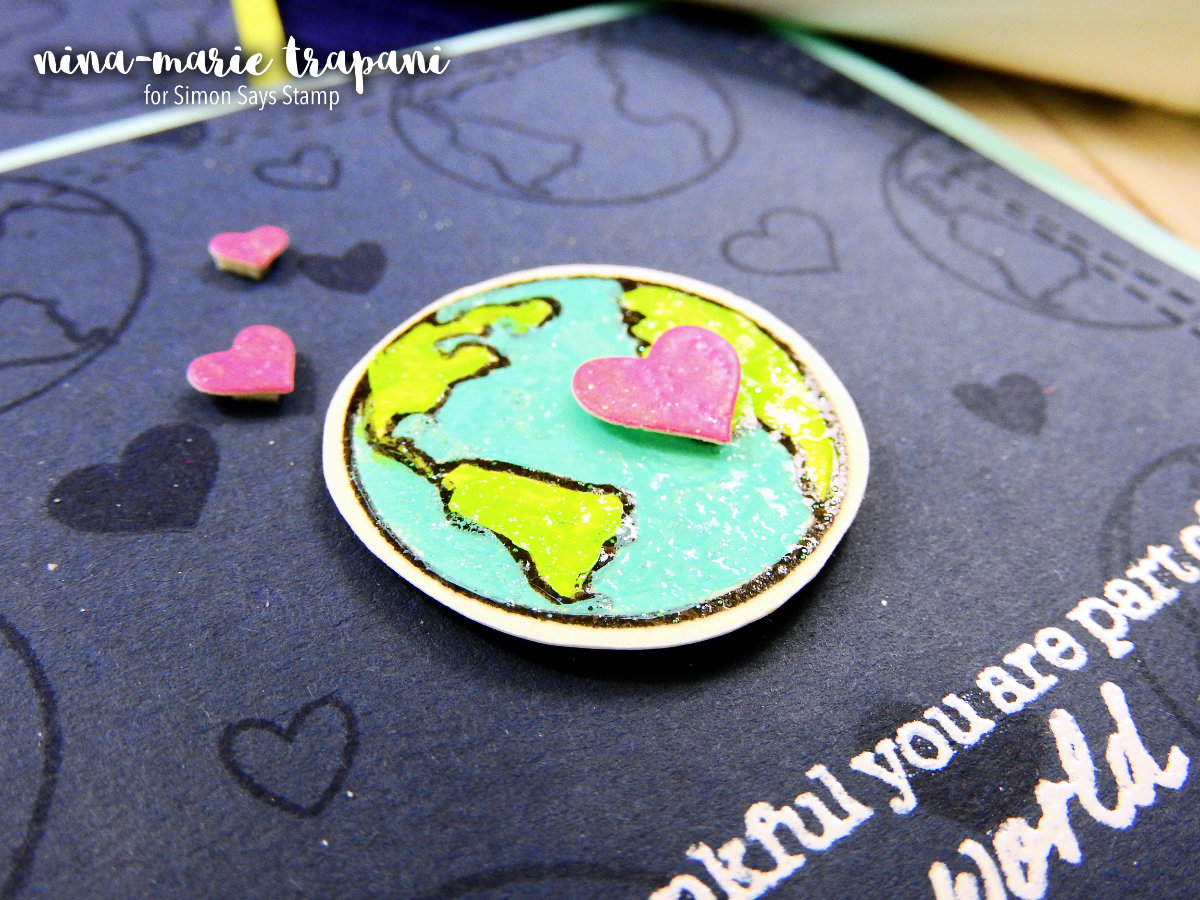
I’ll be making use of Hero Art’s Sparkle embossing powder for the glitter. Since the glitter is in the embossing powder, you eliminate the mess of loose glitter. While I love the look of loose glitters, sometimes I want something more simpler, and this is where embossing powder glitter shines!
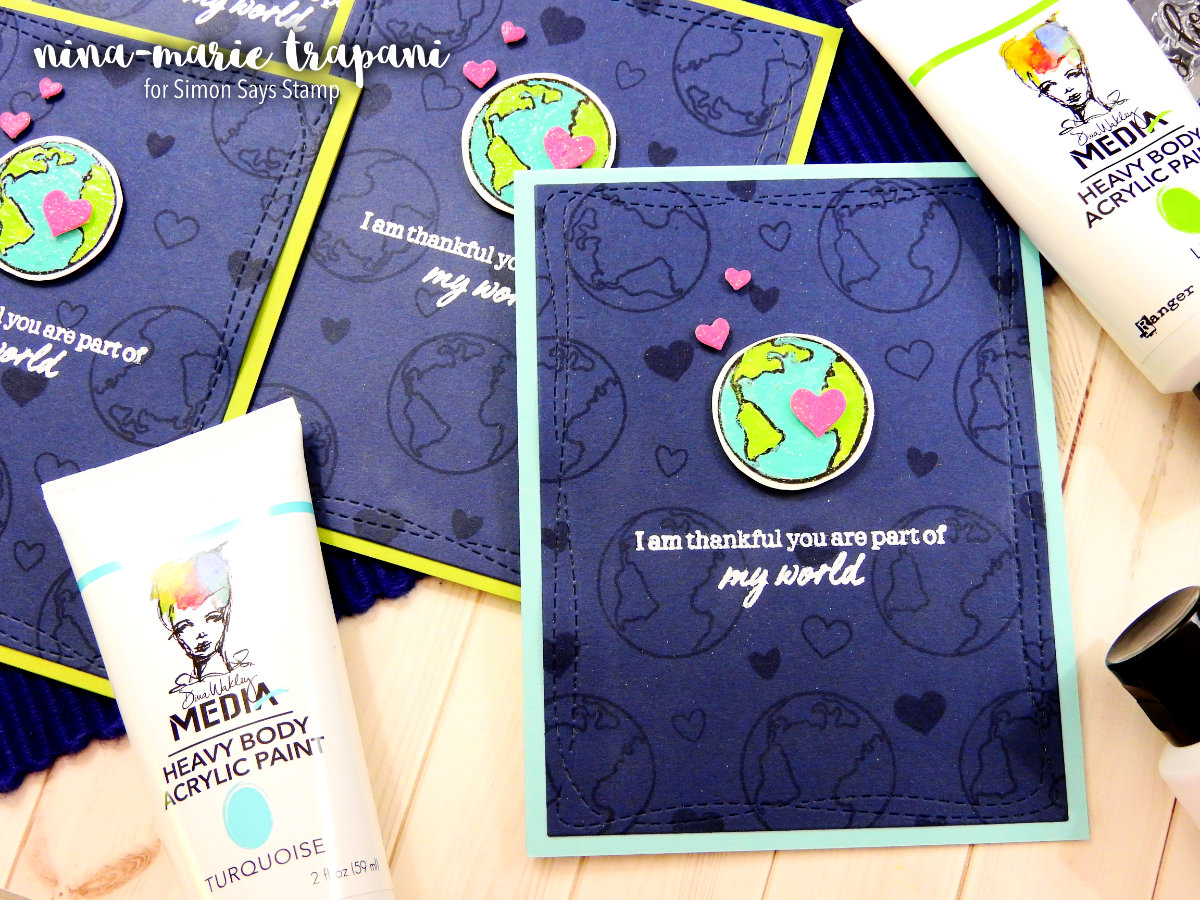
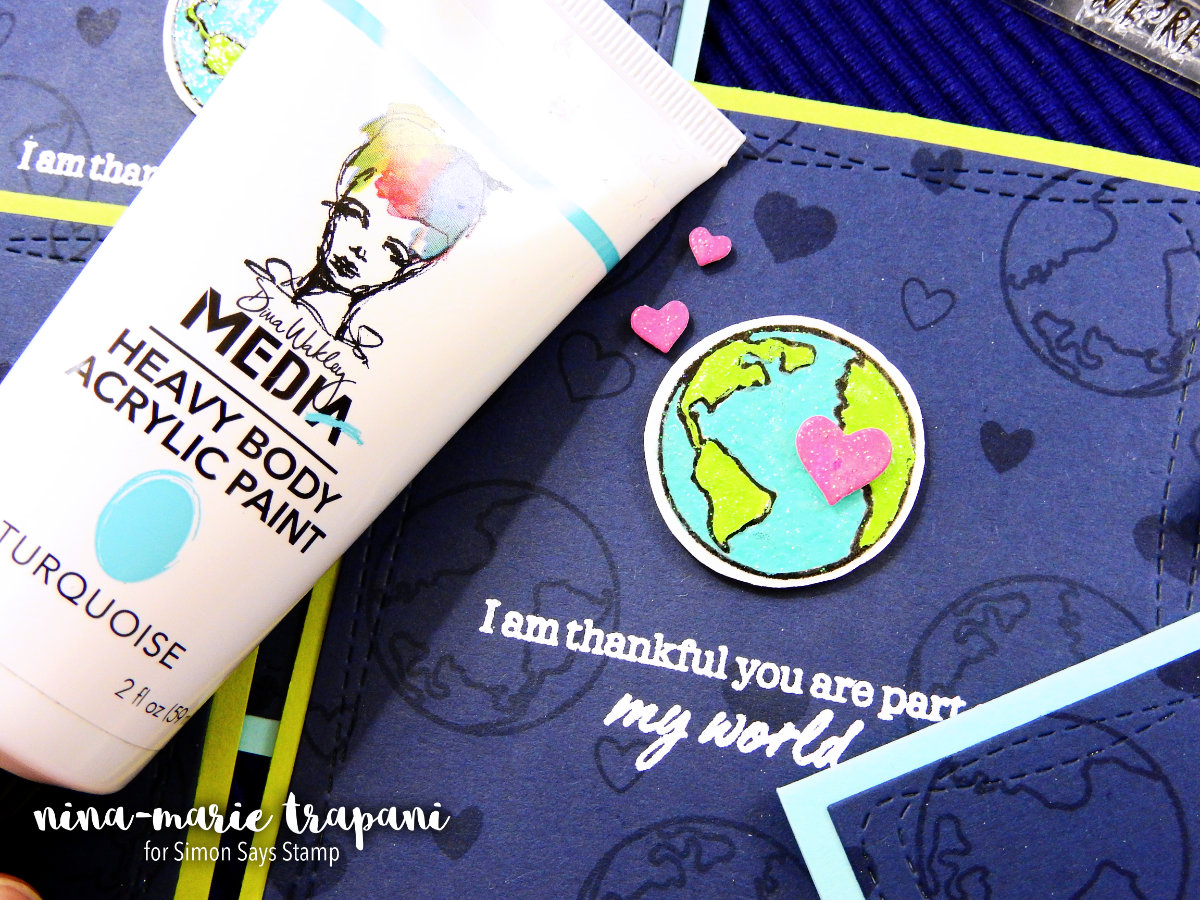
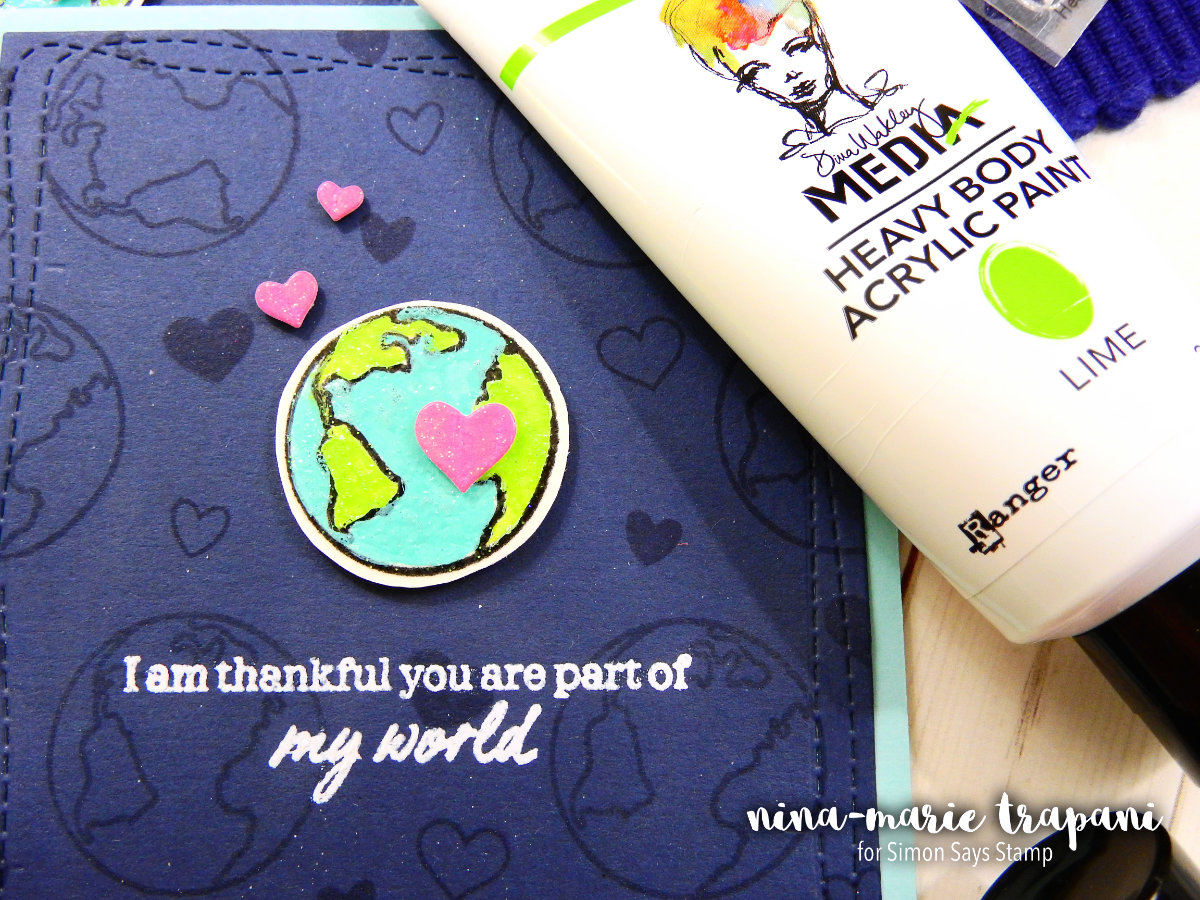
But I’m going to be stepping up the glitter embossing powder and pair it with Dina Wakley heavy body acrylic paints. By pairing the two together I can create a faux enamel effect that looks fabulous. It’s also extremely easy and doesn’t require any dry time… how cool is that?????
You can see the fabulous dimension and glitter you get with this technique…
The globe image you see in all these cards – plus the sentiments – are from another one of my favorite Hero Arts products. This is the You Are Loved stamp set; a collection of wonderful and uplifting sentiments of love and encouragement. Since getting this set when it first was released a few months ago, I’ve wanted to use the little globe. This card turned out to be a perfect use of the image, along with some of the hearts also included in the set.
As you can see, I ended up with a total of four cards because they were so fun and so easy to make! I hope you will be checking out the video below to see the technique in action! Thanks for stoping by and spending time with me today… be sure to stop back tomorrow for a new video tutorial from me!

WATCH THE VIDEO
SUPPLIES


Blog Candy Alert!! Follow our blog via email and comment on this post for a chance to win grab bags and blog candy! Remember to tag your awesome projects with #simonsaysstamp on social media so we can see what you are creating!
SaveSave
Beautiful Journey Tag
Hi there! Happy Sunday and Happy Father’s Day! Don’t forget to wish Dad a very happy day! Please welcome Richele Christensen back as a guest today, and continue reading for a super cool tag inspiration focusing on a variety of fun Tim Holtz branded items! Please enjoy!
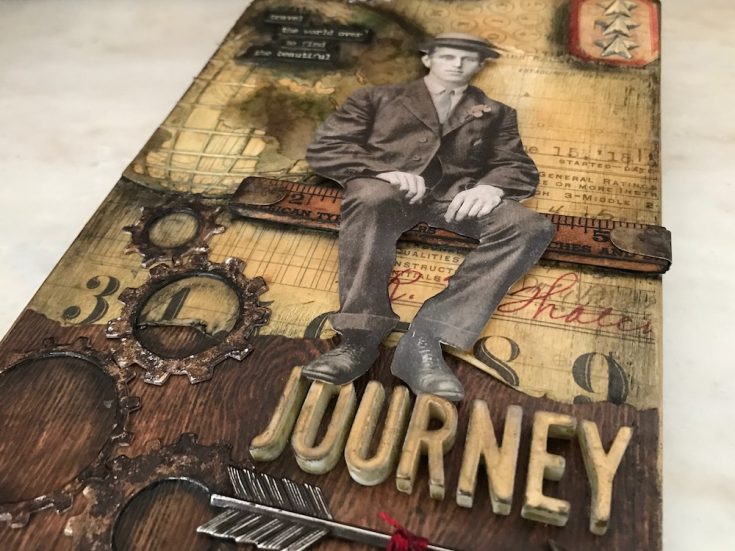
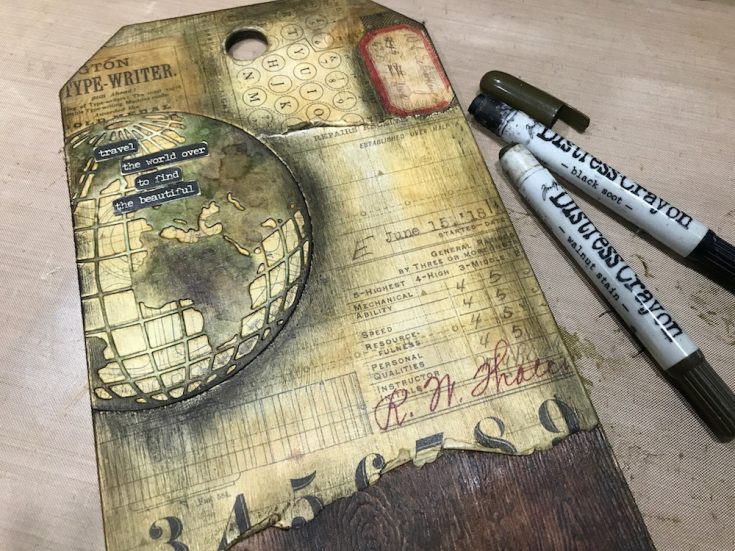
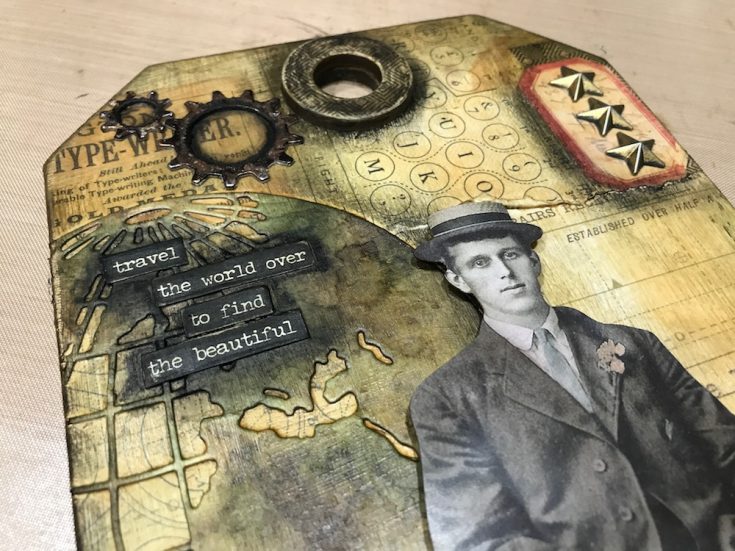
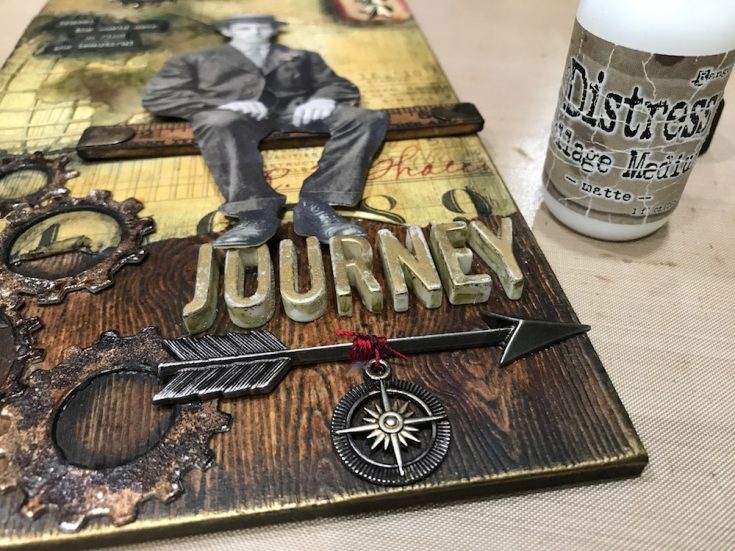
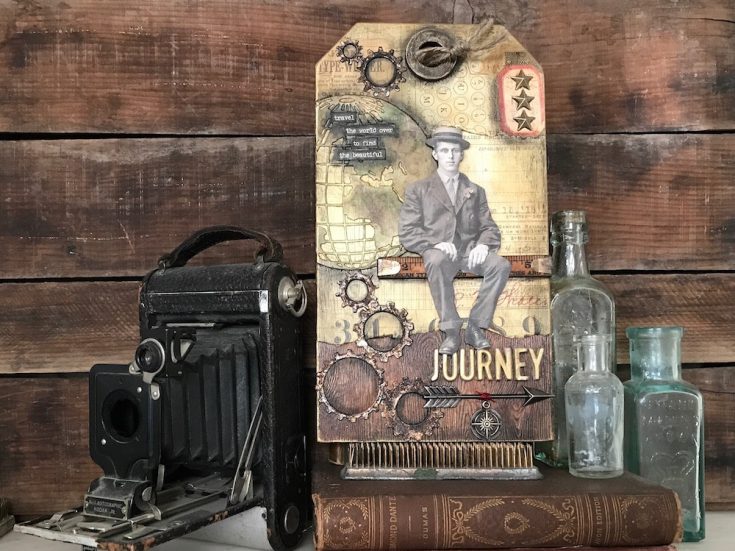
Hello friends! It’s Richele and I’m so happy to be back on the Simon Says Blog! Today I’m sharing a mixed-media piece with lots of texture and grungy goodness! Don’t you just love the warm vintage look that was created just by using Distress Collage Medium in Vintage.
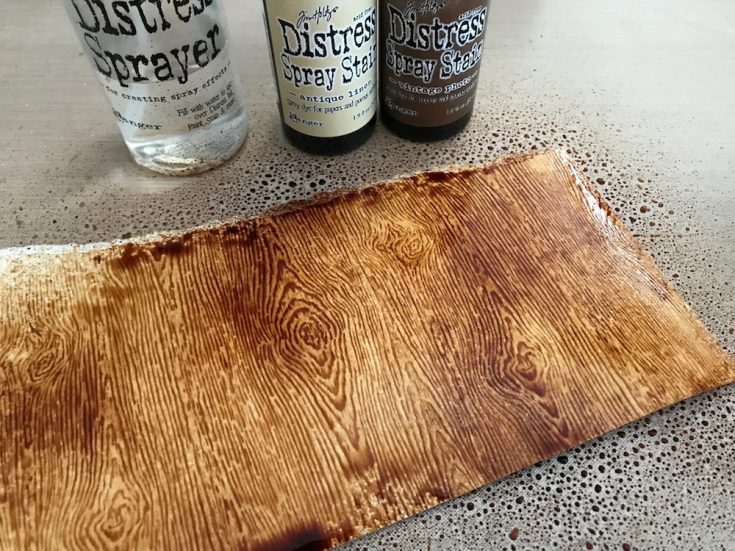
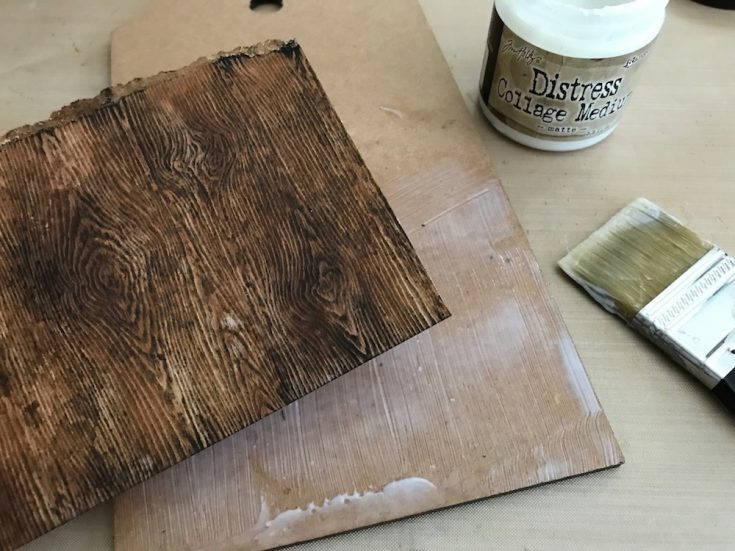

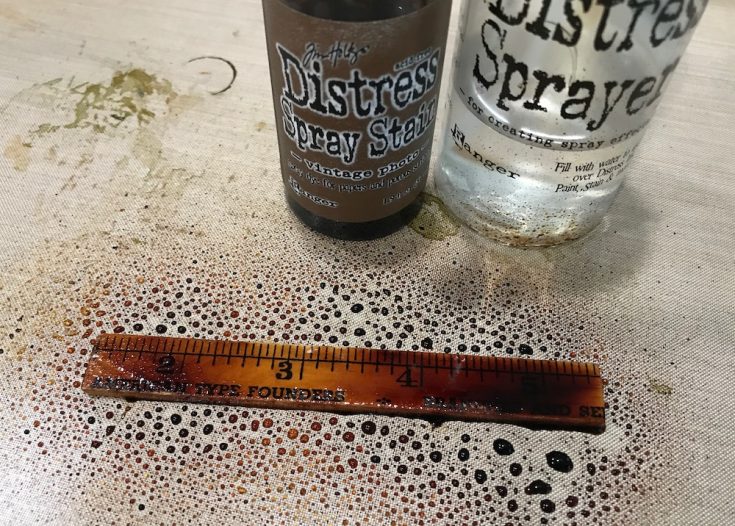
- Spray Woodgrain Cardstock with water then spray with Antique Linen and Vintage Photo Distress Spray Stain. Dry with a heat tool.
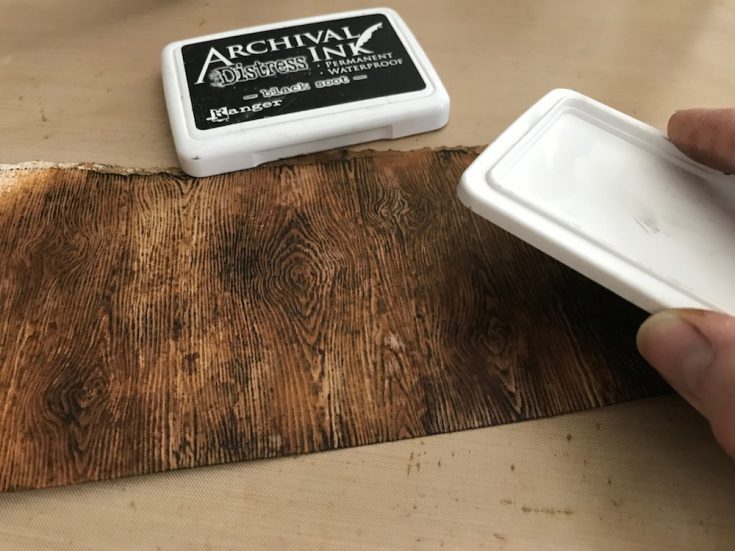
- Apply Archival Ink directly to surface and dry with heat tool.
- Adhere Woodgrain to Etcetera Tag with Distress Collage Medium.
- Tear a few pieces of cardstock from the Etcetera Paper Stash and adhere to Tag with Distress Collage Medium.
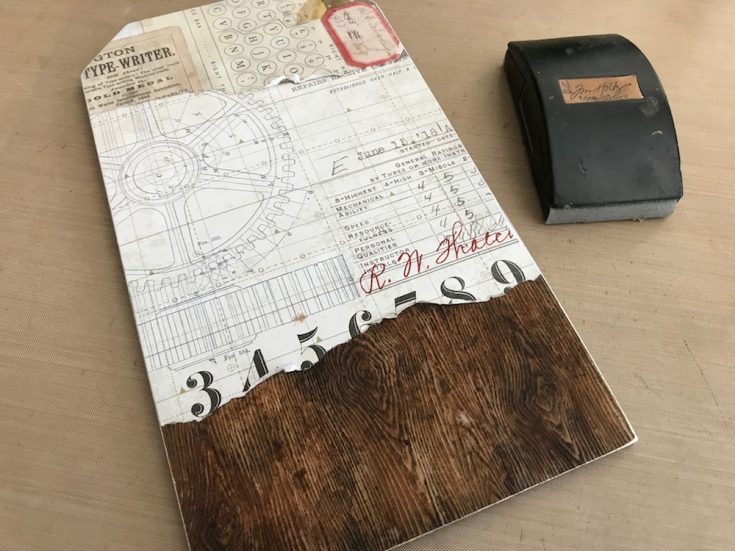
- Sand around edges in a downward motion using a Sanding Grip to clean up the edges.
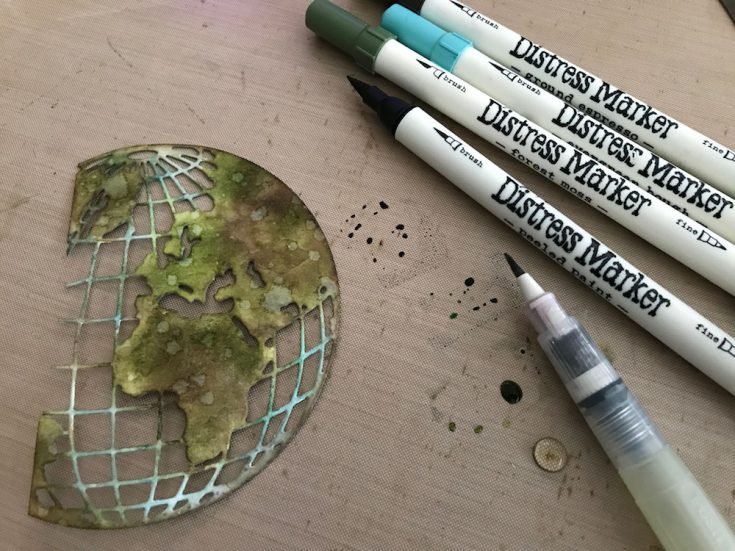
- Die cut Globe from Watercolor Cardstock. Color Globe with Distress Markers, blend colors with Water Brush and dry with a heat tool. Repeat as desired.
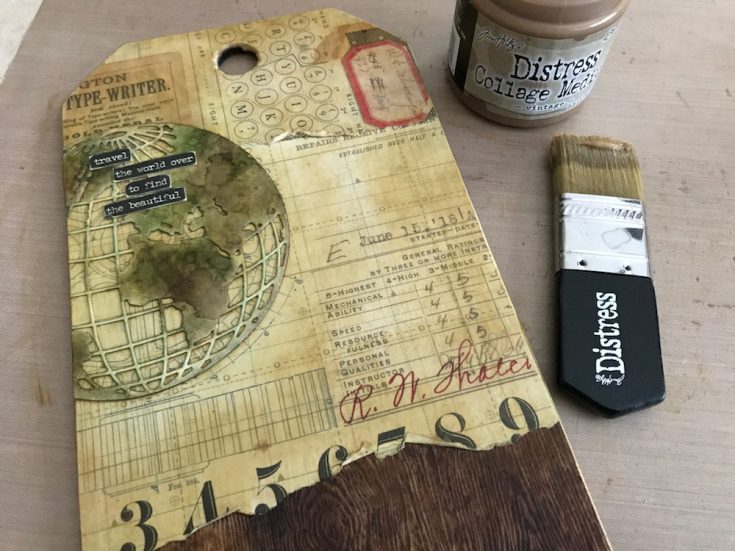
- Apply a layer of Vintage Distress Collage Medium over entire surface. Adhere Globe adding a layer of Vintage Collage Medium on top. Let dry.
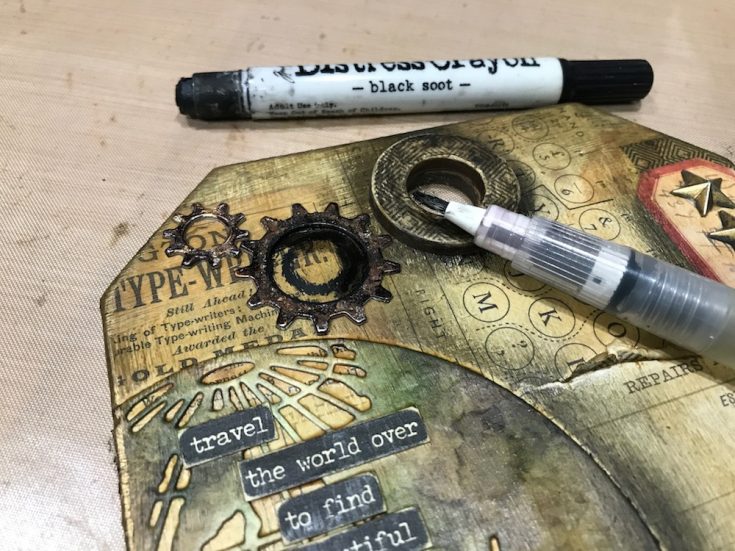
- Apply Distress Crayons to create a shadow around Globe and edges working in small areas and smudging out color with fingers.
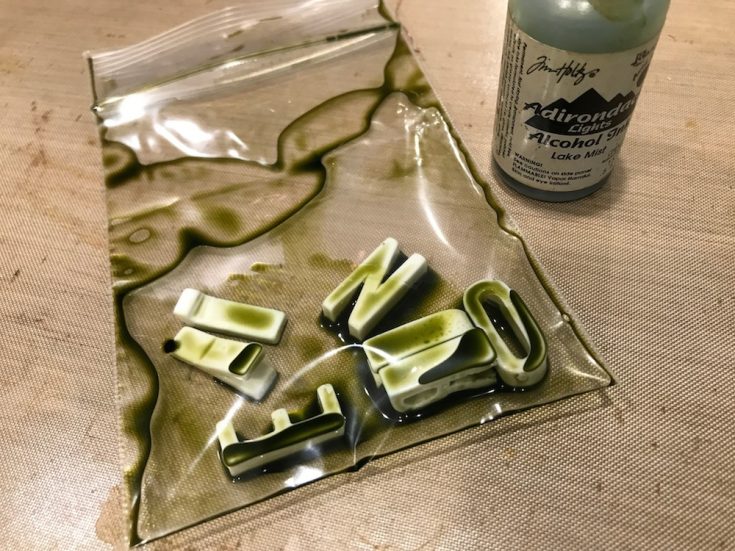
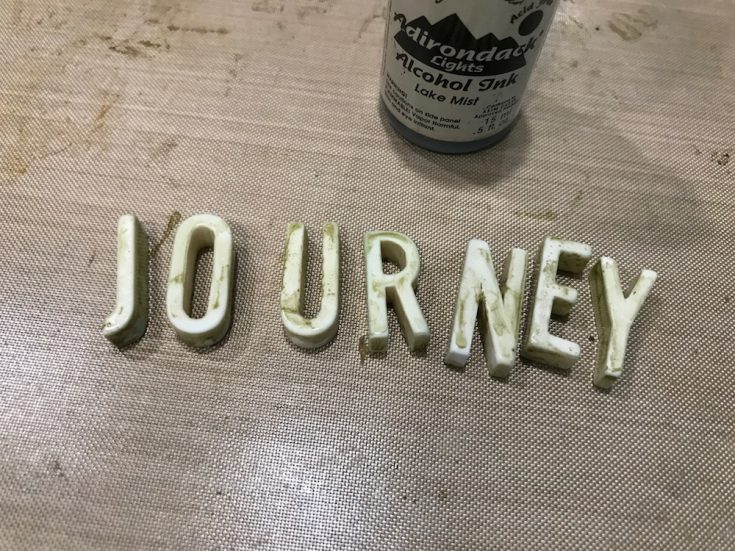
9.Choose Typography letters and place in baggie, add Alcohol Ink and squish letters around to color.
10.Dump letters on to Craft Sheet and let dry.
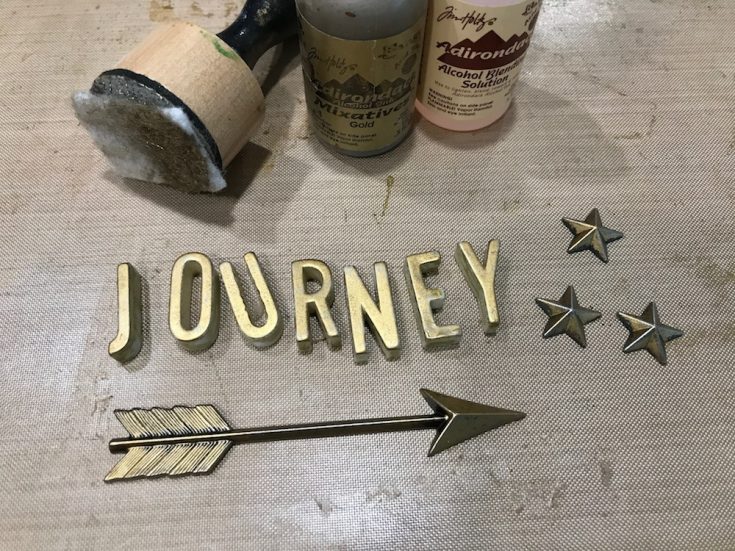
11.Apply Gold Metallic Mixative to Blending Tool with felt and a few drops of Blending Solution then ponce on to Typography letters, Arrow and Stars.
12.Cut Ruler to approximately 4”, mist with water, color with Distress Spray Stain and let dry.
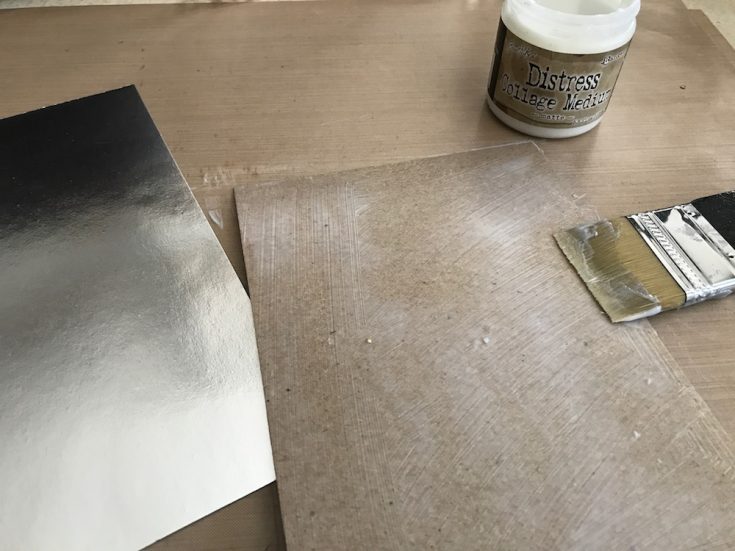
- Adhere Metallic Kraftstock to a piece of chipboard with Distress Collage Medium.
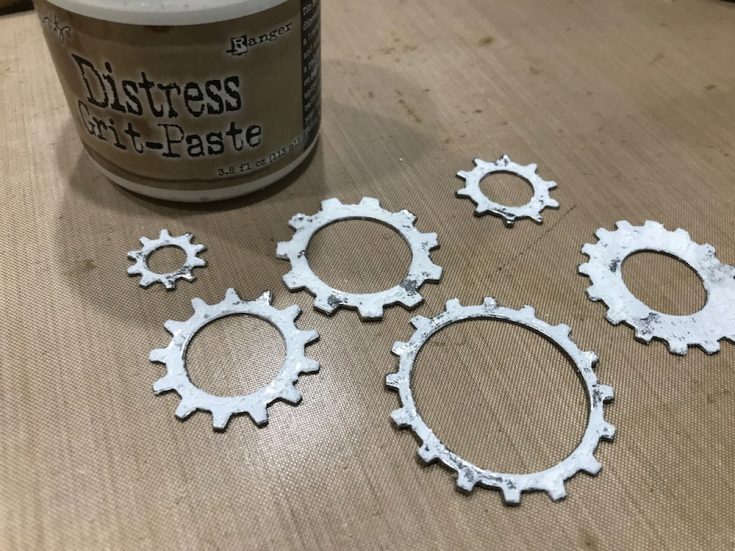
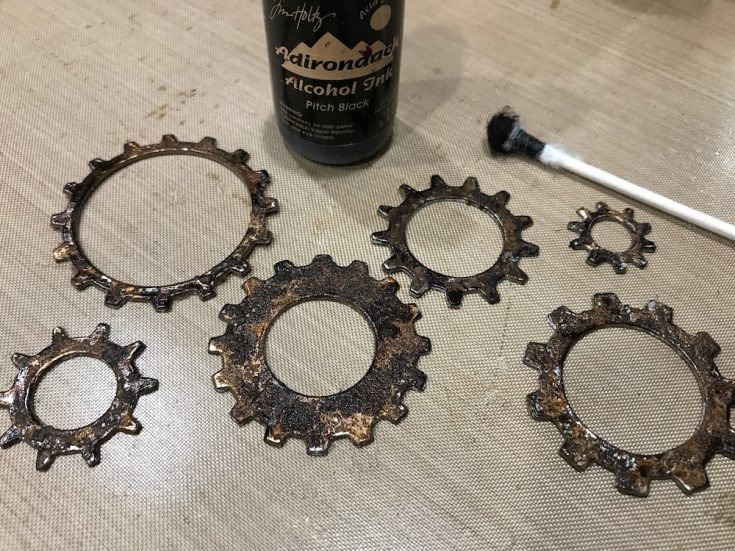
- Die cut Industrial gears, randomly add Grit-Paste with finger tip to gears and set aside to dry.
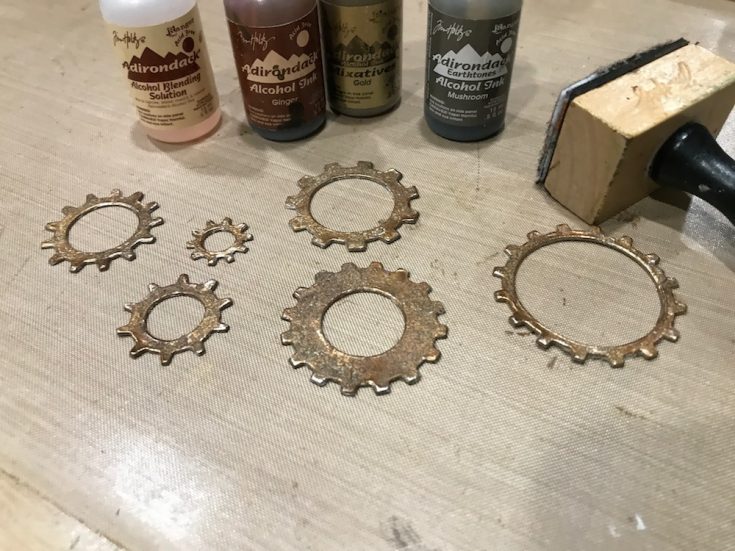
- Apply Alcohol Ink and a few drops of Blending Solution to felt and color gears.
- Apply Pitch Black Alcohol Ink to a cotton swab and randomly color gears and adhere with Distress Collage Medium.
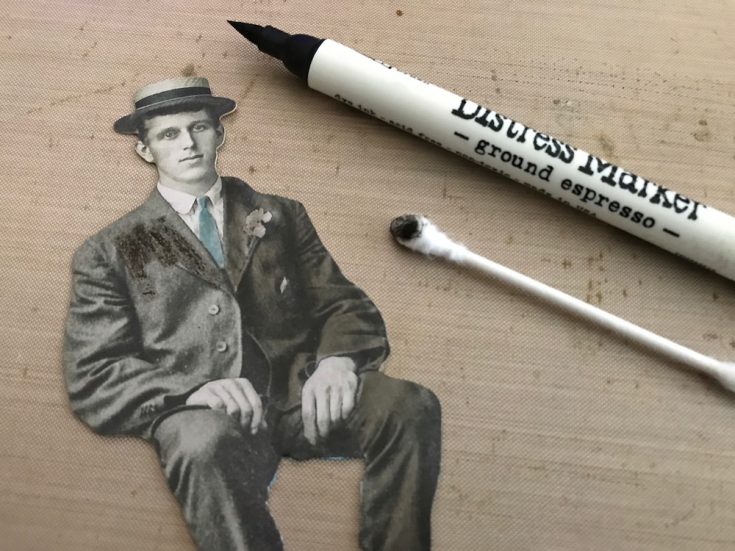
- Color Paper Doll with Distress Marker and blend out with cotton swab.
- Apply Distress Crayons to the center of the gears and blend out with Water Brush.
- Add Small Talk Stickers, apply a coat of Vintage Collage Medium over stickers, let dry, apply Distress Crayon around stickers and blend with Water Brush.
- Tie Craft Thread around Arrow attaching Compass charm. Add Index Clips to both ends of Ruler. Adhere Typography, Arrow and Ruler with Distress Collage Medium. Adhere Paper Doll with foam tape.
SUPPLIES:
 |
 |
 |
|
 |
 |
 |
 |
 |
 |
 |
 |
 |
 |
 |
 |
 |
 |
 |
 |
 |
 |
 |
 |
 |
 |
 |
 |
 |
 |
 |
 |
 |
 |
 |
 |
 |
 |
 |
 |
 |
 |
 |
 |
Thanks for reading today, and thanks to Richele for being our guest!
Blog Candy Alert!! Follow our blog via email and comment on this post for a chance to win a special blog candy!


