Pattern Stamping with August 2017 Card Kit
Happy Monday, all! Kristina here with some additional inspiration using the August 2017 Card Kit. I’m keeping it to just contents from the kit to create today’s card, plus a few extra tools and ink. :)
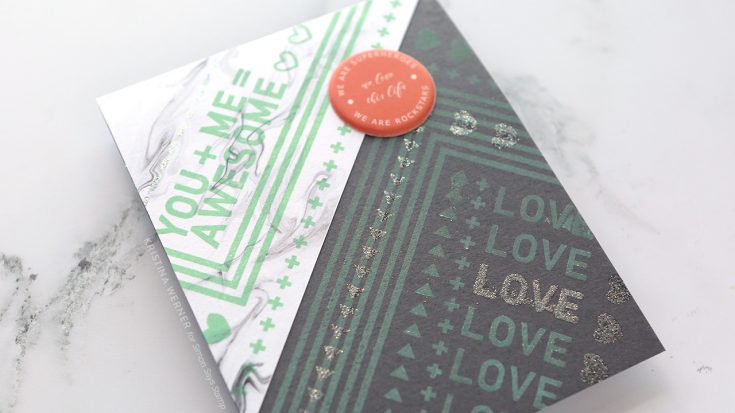
I created the card base out of the Slate cardstock included in the kit, and then adhered a triangle patterned paper to the top left corner of the card. I used this diagonal line as the basis for all of the stamping.
One of the best techniques with Distress Oxide inks is stamping on dark surfaces. Most other inks do not show up on dark surfaces, but the pigment ink qualities of Distress Oxide ink allow it to show up well on darker surfaces. I stamped images from the You + Me stamp set in the kit using Cracked Pistachio Distress Oxide ink.
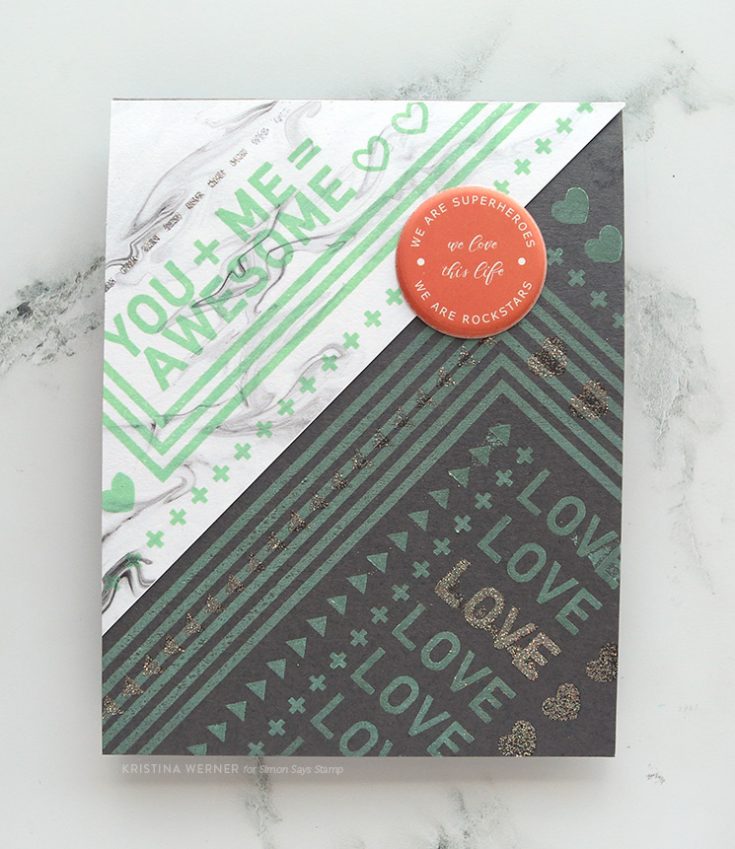
After the Distress Oxide ink was dry, I stamped additional images using Simon Says Stamp Clear embossing ink. This sticky ink gave something for the Wow Cloud 9 embossing glitter to cling to while I heat set it.
To finish off the card, I adhere one of the puff stickers to the top right corner of the card.
I hope you enjoy today’s card and video! You can pick up the August 2017 Card Kit in the Simon store, or subscribe to receive this kit and future kits. :)
Supplies
|
|
 |
 |
 |
 |
 |
 |
 |
 |
 |
 |
 |
 |
 |
 |
 |
 |
Studio Monday with Nina-Marie: Hero Arts Ombre Ink + 2 Cards
Hello everyone, welcome back to a brand new Studio Monday video! This week I am excited to be featuring Hero Arts products, including their fun Ombrè Inks. Have you ever experimented with these inks before? If you have, then I hope today’s video will inspire you to use your Ombrè Inks in your next project – or if you haven’t then you’re going to enjoy seeing these inks in action!

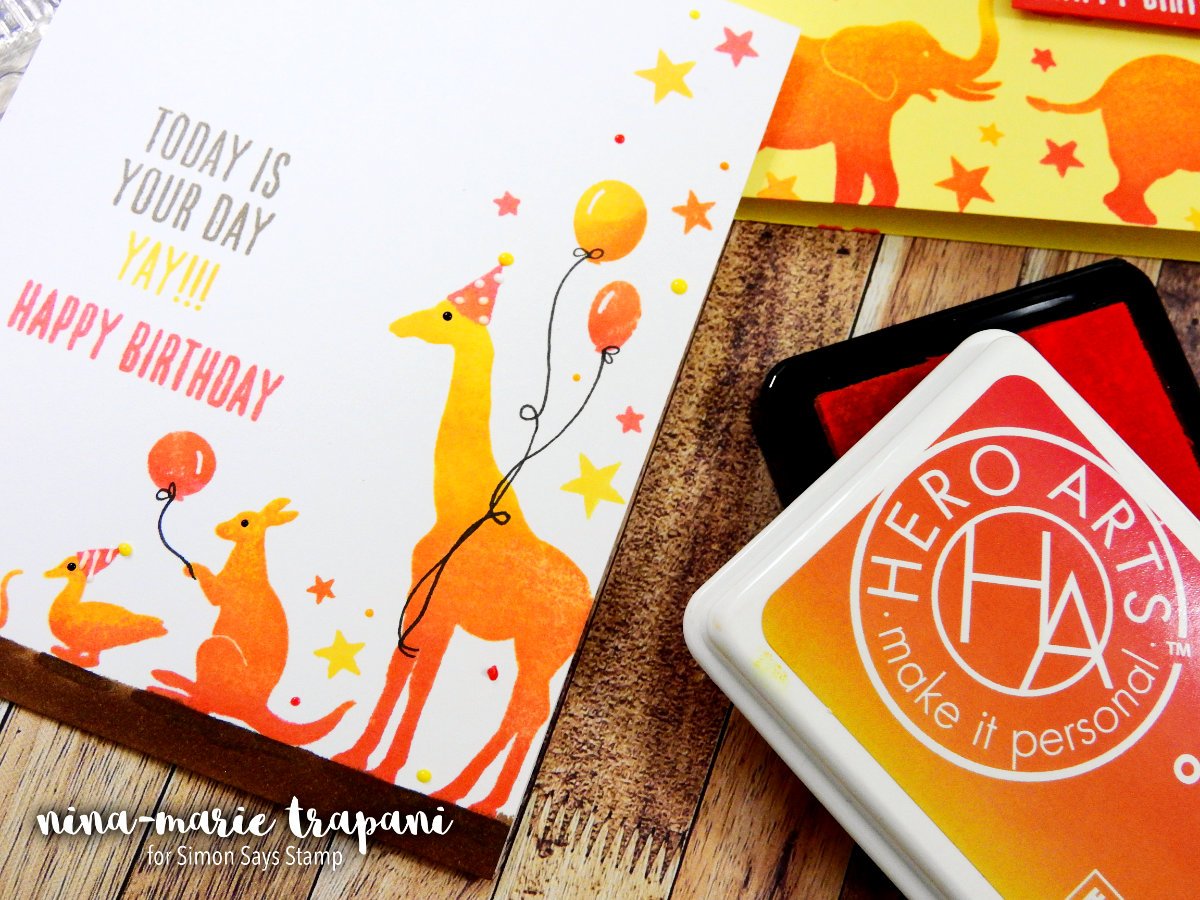
The Ombrè Ink pad I used in today’s cards is the Serengeti Sunset ink. The red to yellow blend is simply stunning; I love the boldness of these colors! One of the best ways to show off Ombrè Inks is to pair them with solid-image stamps. Because of this, I chose to work with the Hero Arts Birthday Animal Silhouettes stamp set.
I created a total of two cards; the first being a one layer card:
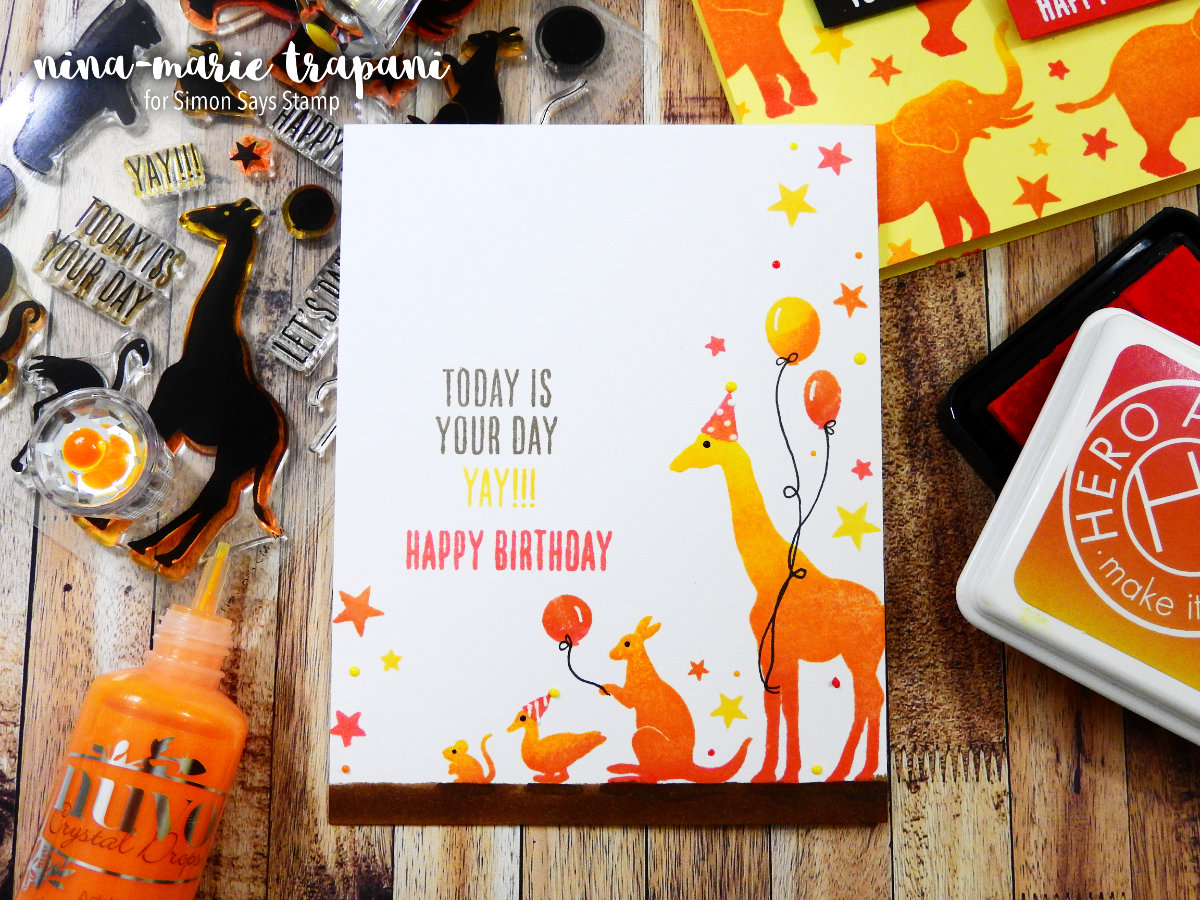
This is a clean and simple design, but I think this helps the Ombrè Inks stand out even more. The color blending is best achieved if you shift the ink pad up and down across your image slightly. If you ink up in just one spot, you’ll end up with definitive lines of ink separation because of the way the ink pad is built. I demonstrate this in the video below.
I stamped some of the critters from the Birthday Animal Silhouettes stamp set in a line across the card. By using select colors of ink from the Serengeti Sunset pad, I was able to get supporting elements in colors that matched exactly with the color blends on the animals. This is a great example of how the Ombrè Ink pads can be used to make an actual gradient of color or use the individual colors on their own.
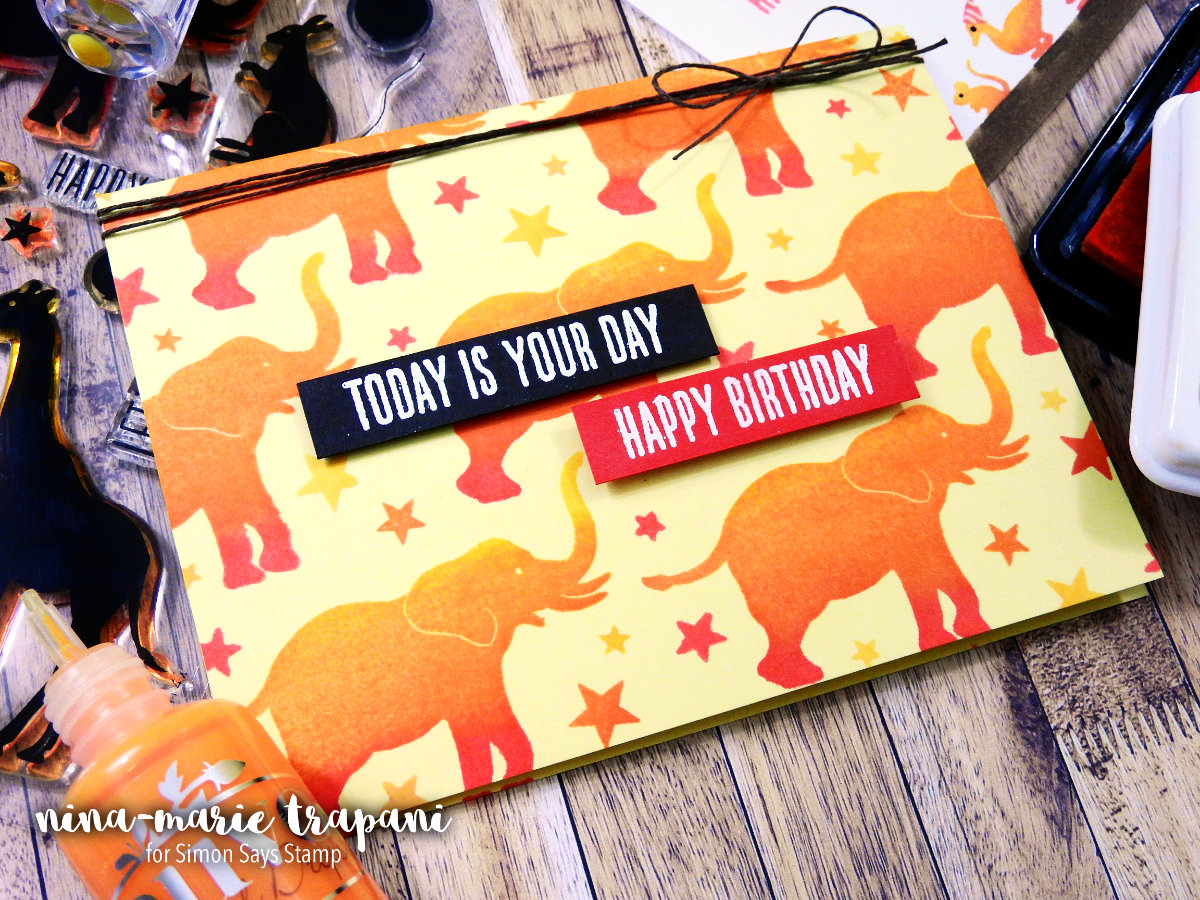
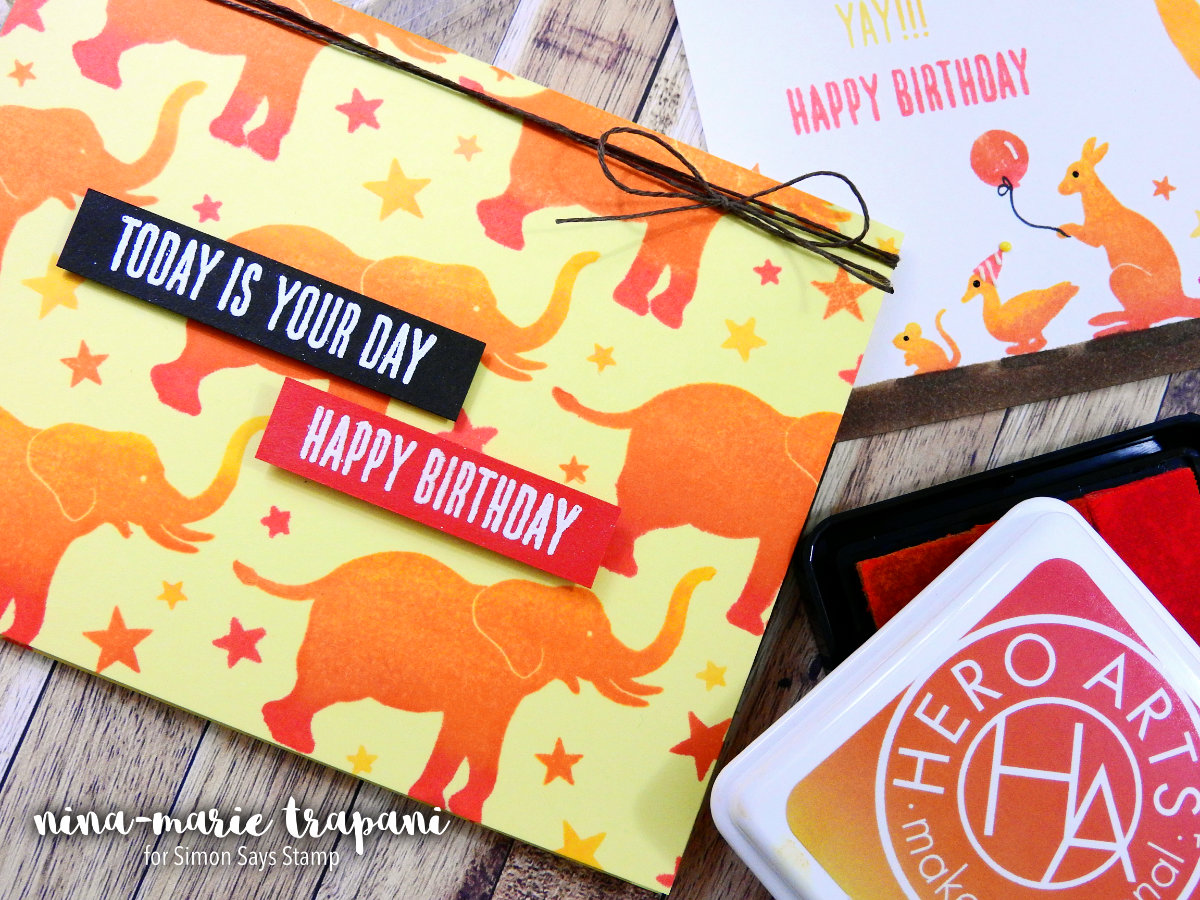
My second card features a slightly different approach to the Ombrè Inks, as I stamped them on colored cardstock. Again, I went with a clean and simple card layout, and the Ombrè Inks look fantastic on that yellow cardstock!
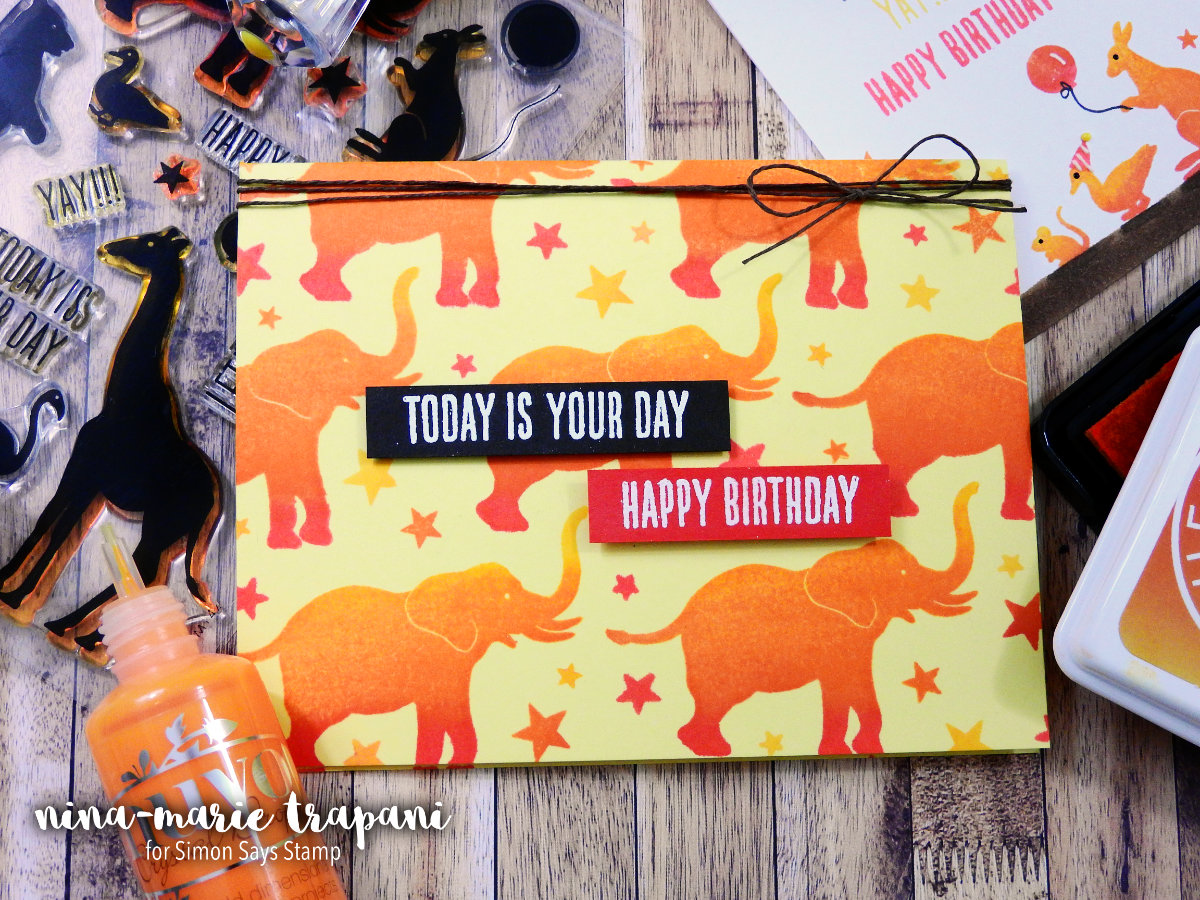
I used the elephant from the Birthday Animal Silhouettes stamp set to make a full background pattern on the card. The elephant is such a large image that it shows off the Ombrè Ink beautifully! I again used small images to ink up with the individual colors from the Serengeti Sunset ink pad. The sentiments are white heat embossed on strips of Kona Koffee and Lipstick Red cardstock.
I hope you will be checking out today’s video to see these cards come together and the Ombrè Inks in action! Thanks for stopping by and visiting with me today… I’ll be back next week with another Studio Monday tutorial for you!
WATCH THE VIDEO
SUPPLIES


Blog Candy Alert!! Follow our blog via email and comment on this post for a chance to win grab bags and blog candy! Remember to tag your awesome projects with #simonsaysstamp on social media so we can see what you are creating!

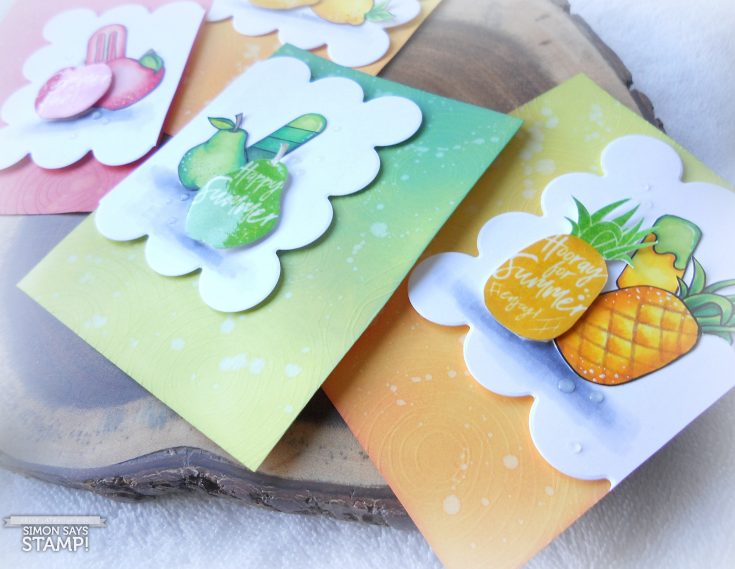
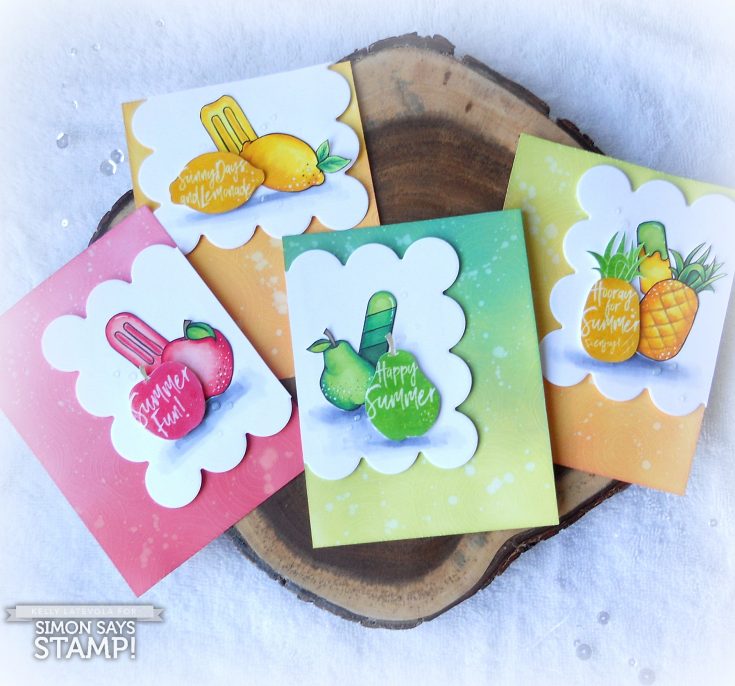
Summer Fruit!!
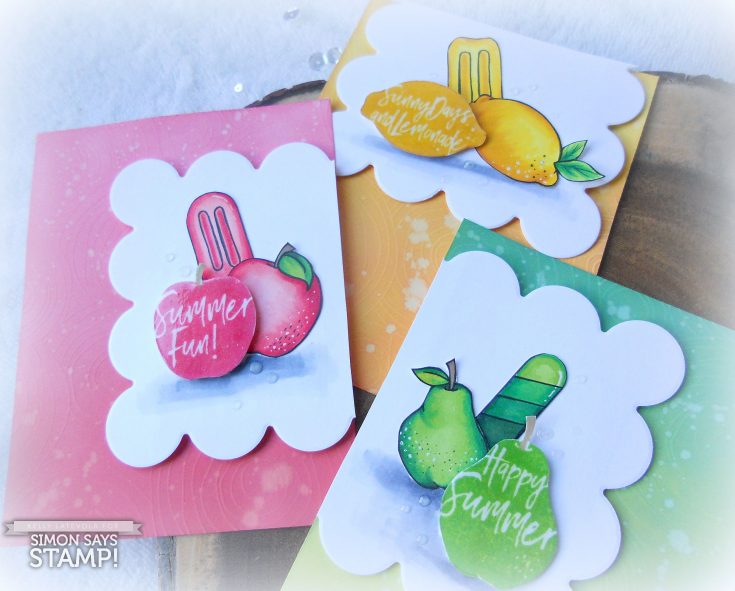
Hi friends! Happy Sunday! Kelly Latevola is back with another exclusive inspiration post featuring some Distress Oxide backgrounds and Copic coloring and featuring the So Cool and Dancing Fruits clear stamp sets from our new One of a Kind release, as well as our Circle Doodles Embossing Texture Plate, and 3 Sided Scallop die. Be sure to watch the video for more information and enjoy!
WATCH THE VIDEO:
SUPPLIES:
 |
 |
 |
 |
 |
 |
 |
 |
 |
 |
 |
 |
 |
 |
 |
 |
 |
 |
 |
 |
 |
|
|
 |
 |
 |
 |
 |
 |
 |
 |
 |
 |
 |
 |
 |
 |
 |
 |
 |
 |
 |
 |
 |
 |
 |
 |
 |
 |
 |
 |
 |
 |
Thanks so much for reading, and thanks to Kelly for being our guest!

Blog Candy Alert!! Follow our blog via email and comment on this post for a chance to win a special blog candy!


