Dwell in Possibility by Paula Cheney
Hi friends! Thanks for popping by the blog today! Please welcome back special guest Paula Cheney to the blog! She made this gorgeous art to feature!! Please read on for more info on how to recreate and enjoy!
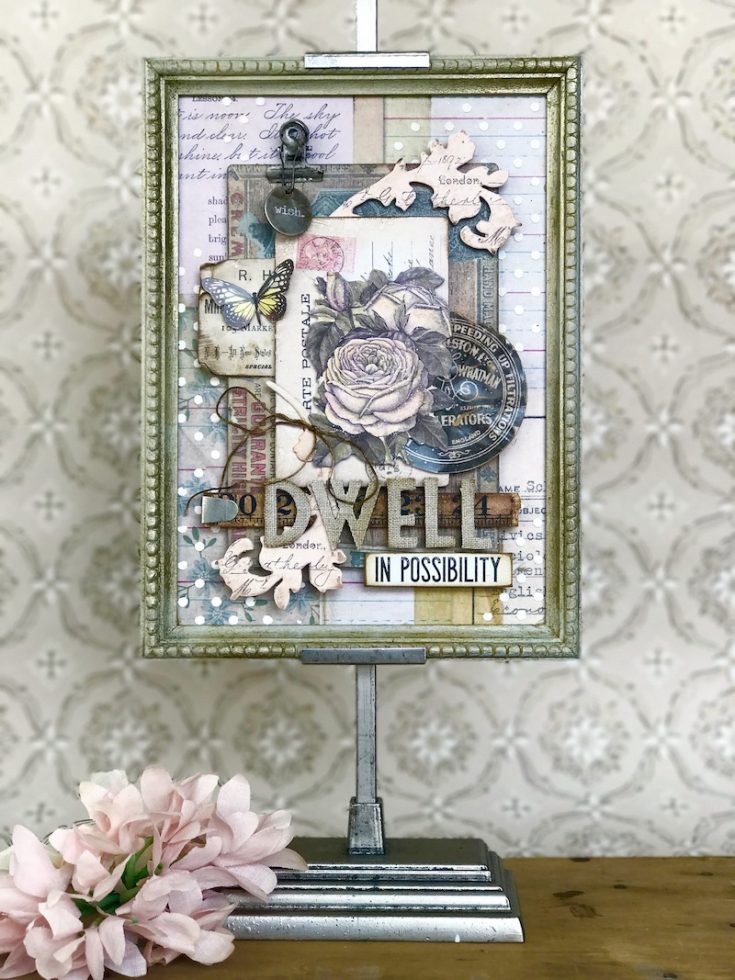
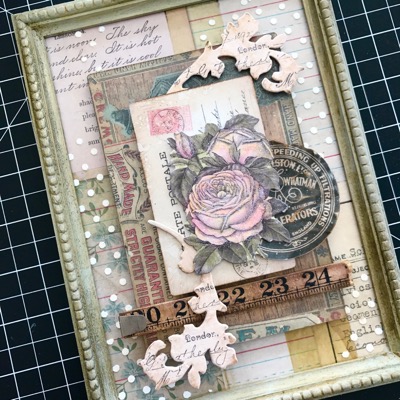
At the beginning of 2017, Tim Holtz idea-ology released Baseboards, Layers and Paper Dolls; they are a group of products specifically created to be used together. The idea behind these products is that no matter the substrate, whether using a Vignette Tray, a Burlap Panel, or a Framed Panel, you can easily layer these products to create a collage. Today I am going to use a Framed Panel and incorporate Baseboard and Layers elements, as well as a couple of my favorite Sizzix Bigz dies, to create a beautiful layered collage. Enjoy!
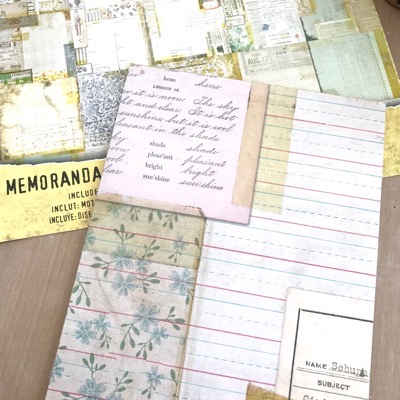
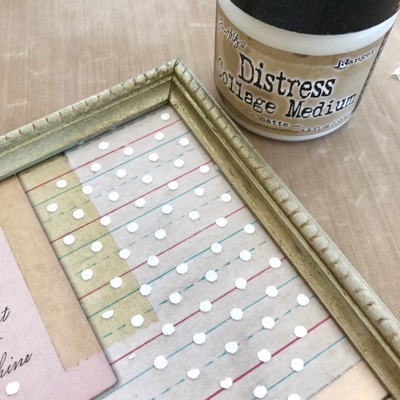
1. Using Collage Medium and a brush, adhere a piece of Tim Holtz Memoranda paper to the back board of the Framed Panel. Cut away any excess paper.
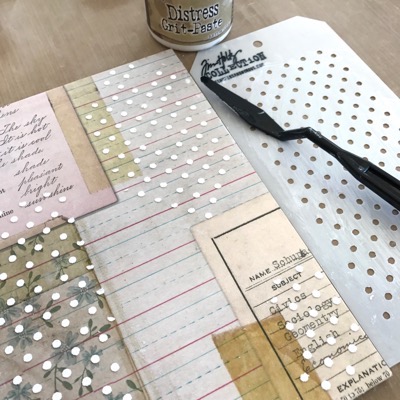
2. Use the Stampers Anonymous Polka Dot stencil and Distress Grit-Paste to create a raised pattern over parts of the patterned paper. Let dry.
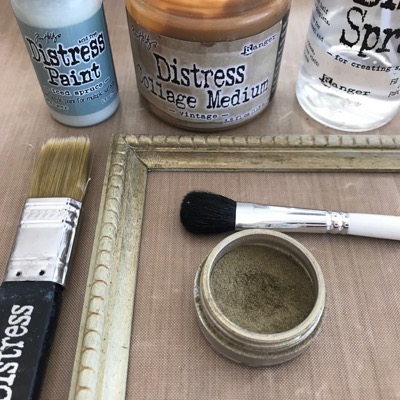
3. The frame has been painted and given a gilded patina using Ranger products. Here’s how I did it:
- Paint the frame with Iced Spruce Distress Paint. Let dry.
- Coat the half of the frame surface with Distress Collage Medium VINTAGE. While the Collage Medium Vintage is still wet, randomly brush on Heirloom Gold Perfect Pearls. I concentrated the powder in the corners and feathered it out from there. NOTE: Vintage Collage Medium dries very fast so it’s best to only paint it on half at a time.
- Brush away the excess powder with a fluffy brush.
- Repeat steps on the other half of the frame, then spray powdered areas with a mist of water. Dry with a heat tool to set the powder. (Do not skip this step.)
4. Adhere Adhere the finished frame to the back panel with Distress Collage Medium.
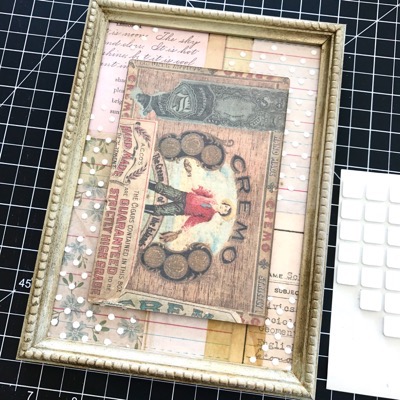
5. Adhere Baseboard to the Framed Panel with foam squares.
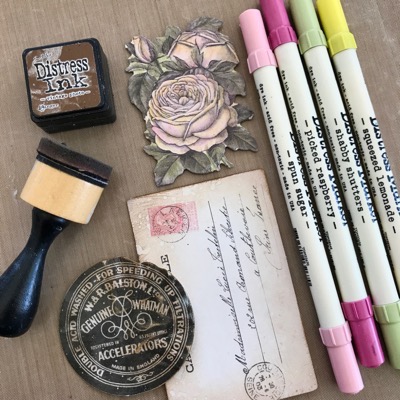
6. Choose elements from the Layers packs (Botanical and Collector) to create the center collage. Tint black and white pieces with Distress Markers (roses) by coloring the image and then wiping away the ink with a soft cloth. This will leave just a tint of color.
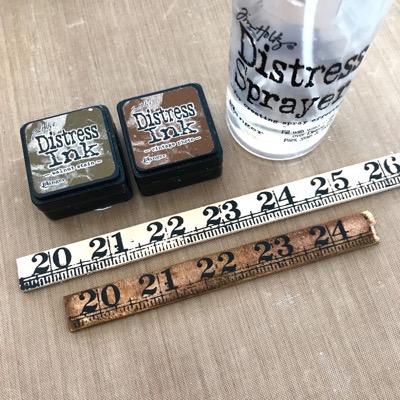
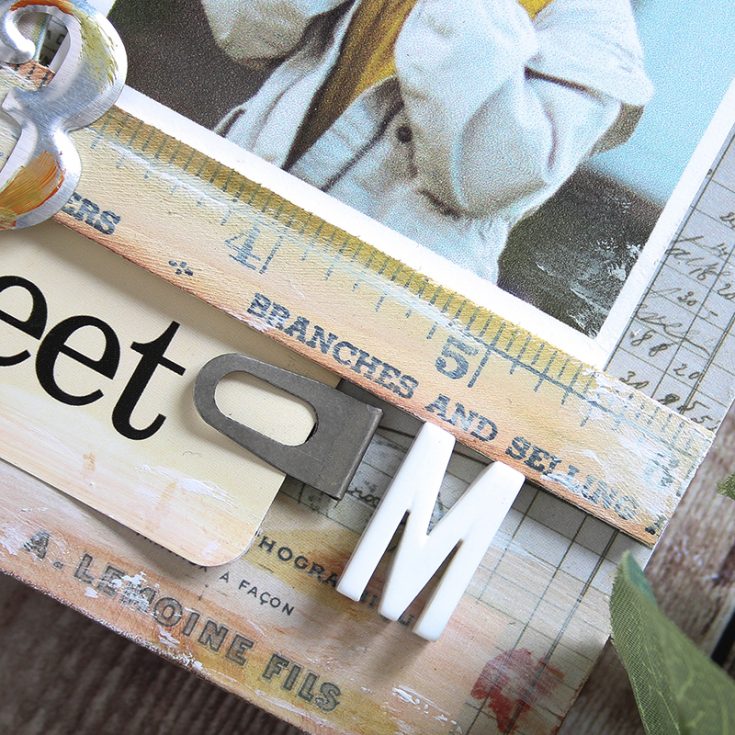
7. Rub wood Ruler Piece with Vintage Photo and Walnut Stain Distress Ink. Spritz with water and pat dry. Break off the end of the ruler to fit the collage.

8. Adhere Layers elements to the Baseboard with foam squares. Add an Index Clip to the end of the Ruler and adhere to Baseboard with Collage Medium. Let Dry.

9. Cut a least two flourishes from chipboard using the Sizzix Scroll die. Paint with Media White Gesso to seal the chipboard before painting.
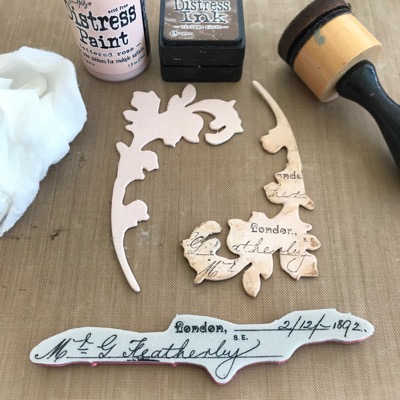
10. Paint the Scroll elements with two coats of Tattered Rose Distress Paint. Once dry, use a Blending Tool to add Distress Ink over surface. Pat inked surface with wet wipe to remove parts of the ink. Stamp over the surface using a permanent ink such as Ranger Archival and any text stamp.
11. Add Scrolls to the collage with foam squares.
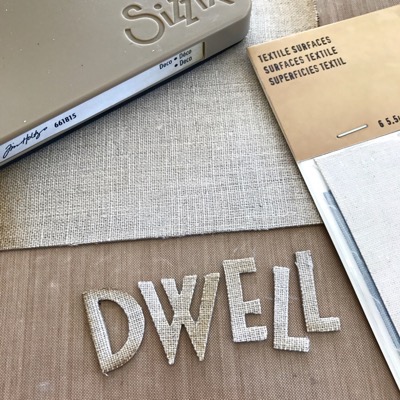
12. Adhere linen Textile Surfaces to a piece of chipboard (this product is self-adhesive). Run the chipboard through the Vagabond Machine using the Deco Alphabet (DWELL).
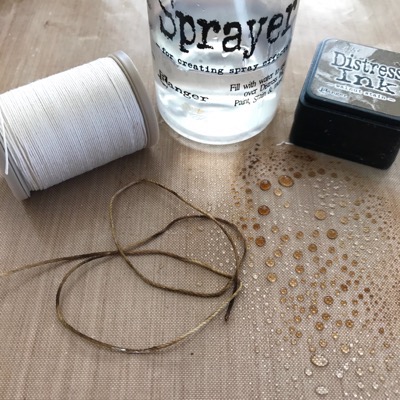
13. Color Tim Holtz Craft Thread with Distress Ink and water. Dry with a heat tool.
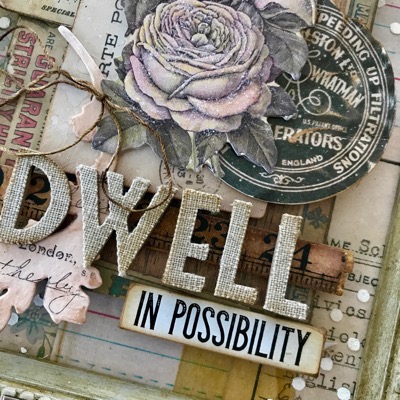
14. Add cut out Deco letters over the Ruler (some letters may need foam squares to level the word over the uneven surface). Part of a Quote Chip was used to create the rest of the sentiment.
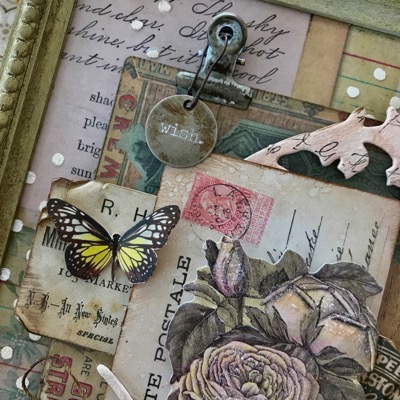
15. Add Hinge Clip, Loop Pin and Typed Token to the Baseboard. Then finish the piece with added Layers elements and a bow made from the colored Craft Thread.
Optional: I added a thin layer of Collage Medium over the rose element, then sprinkled it with Clear Rock Candy to give it a bit of sparkle!
SUPPLIES:
 |
 |
 |
 |
 |
 |
 |
 |
 |
 |
 |
 |
 |
 |
 |
 |
 |
 |
 |
 |
 |
 |
 |
 |
 |
 |
 |
 |
 |
 |
 |
 |
 |
 |
Thanks for reading today and to Paula for being our guest!

Blog Candy Alert!! Follow our blog via email and comment on this post for a chance to win a special blog candy.
Celebrating Milestones: Mixed Medium With Shari Carroll

Putting together a simple mixed medium collage using a milestone photo or event as your inspiration is rewarding especially when it’s a loved one.
The Tim Holtz Memoranda Paperie papers have printed collage sheets so cutting one to the size of the Tim Holtz clipboard is all I needed to get started. I was was pleasantly surprised when I opened up my pack of Tim Holtz Botanical Layers Ephemera and found flowers and other items that match the colors in my photo. Putting this project together was a breeze and I hope to inspire you to try one of your own.
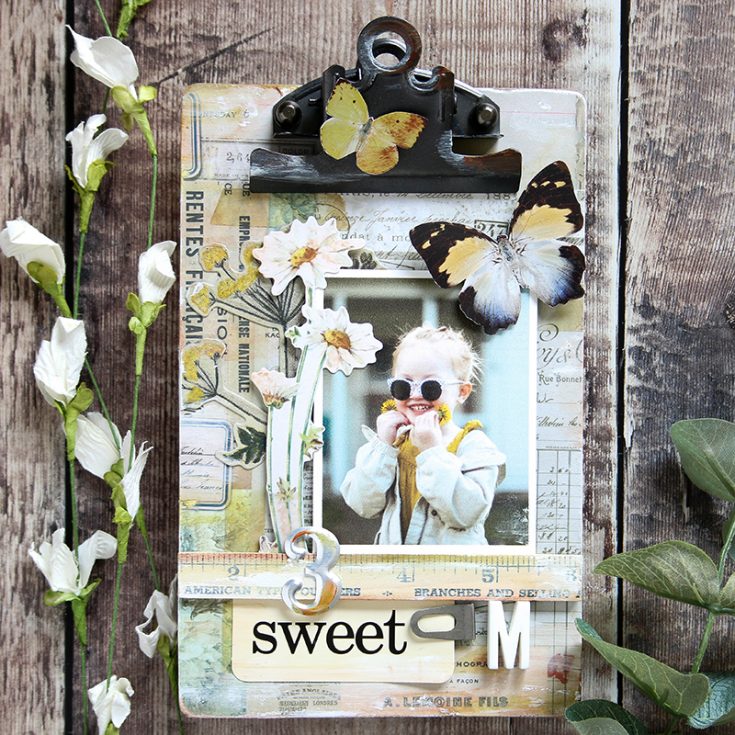
Once I had my paper in place I added a flash card and clip along with a Tim Holtz ruler to anchor my photo. I’ve also used a bit of foam tape under the photo and ephemera to give my project dimension and depth. I’ve stacked up a couple different style flowers to frame the photo.
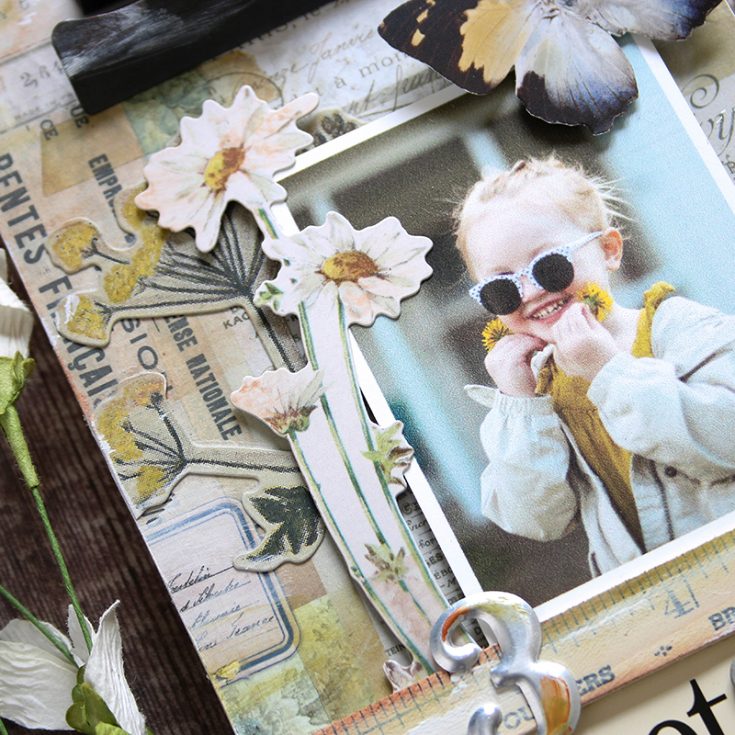
I used a bit of paint to bring out colors from the papers and also white gesso for a shabby chic look. To finish things up, I’ve incorporated a couple embellishments to celebrate Melody’s third birthday.
I’ve filmed a video of the process which you can view below or on our YouTube channel HERE.
Blog Candy Alert!! Follow our blog via email and comment on this post for a chance to win a special blog candy!
Remember a collage can be whatever you want to create, keep it simple and make it fun! Thanks for stopping by today!!
 |
|
|
|
 |
 |
|
 |
 |
 |
 |
 |
 |
 |
 |
Yippee for Yana: Stamped & Watercolor Pattern with Nuvo Aqua Flow Pens

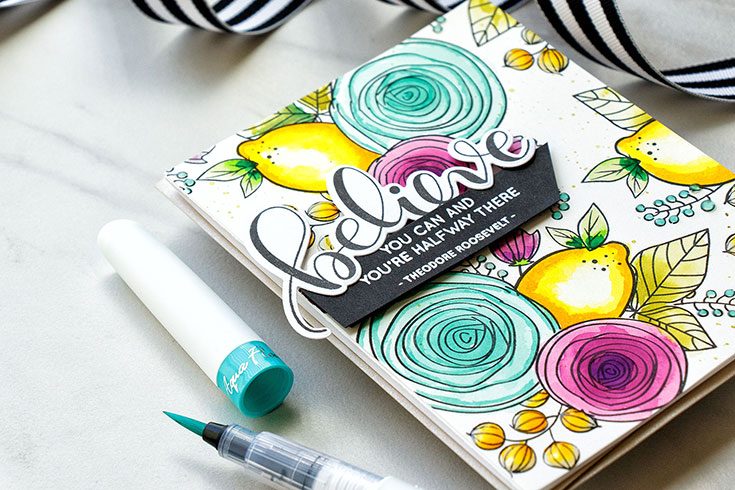
Hi friends! Happy Friday!! Welcome to the latest edition of Yippee for Yana with Yana Smakula! I love the brightly colored watercolor card design she came up with! Please be sure to watch the video and enjoy!
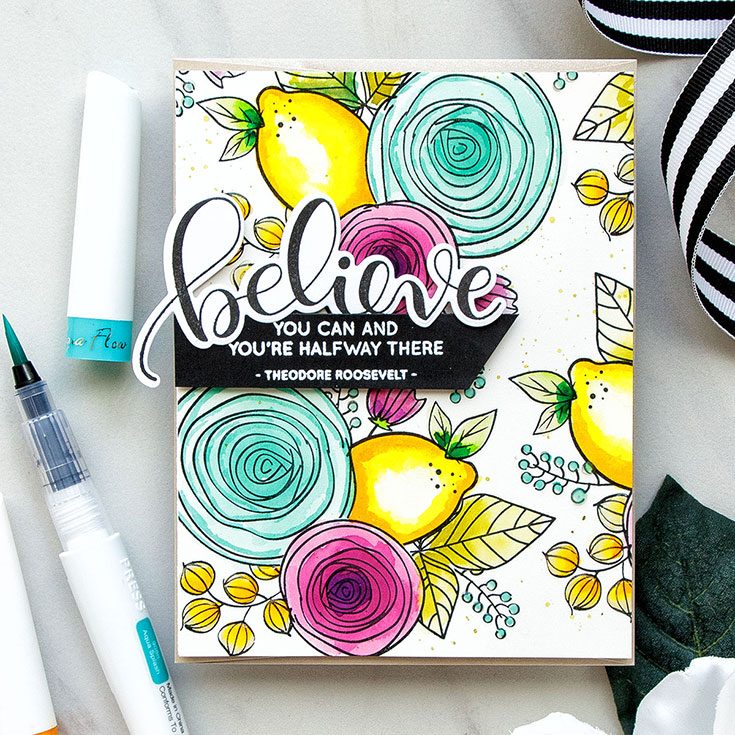
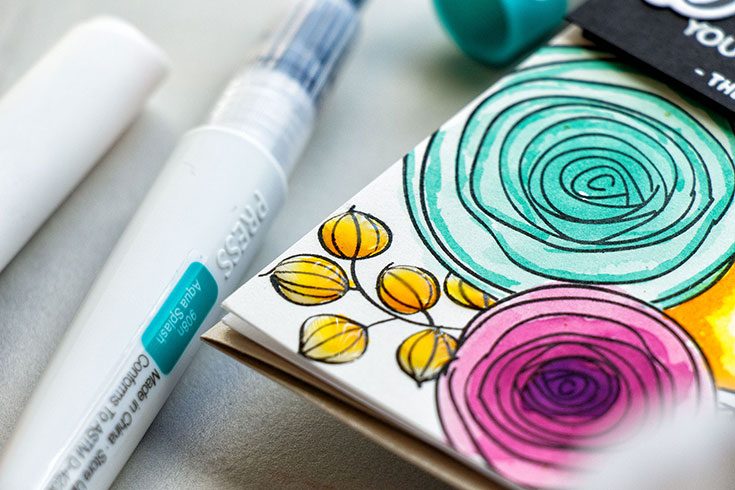
Hi everyone, this is Yana Smakula and I’m excited to bring you another episode from my by-monthly “Yippee For Yana” video series! In today’s video I’m combing fruits and flowers to create a stamped and watercolor pattern for a card. For my watercoloring I am going to use new-to-me product – Nuvo Aqua Flow Pens. I have found these to be fun and convenient for some quick coloring.
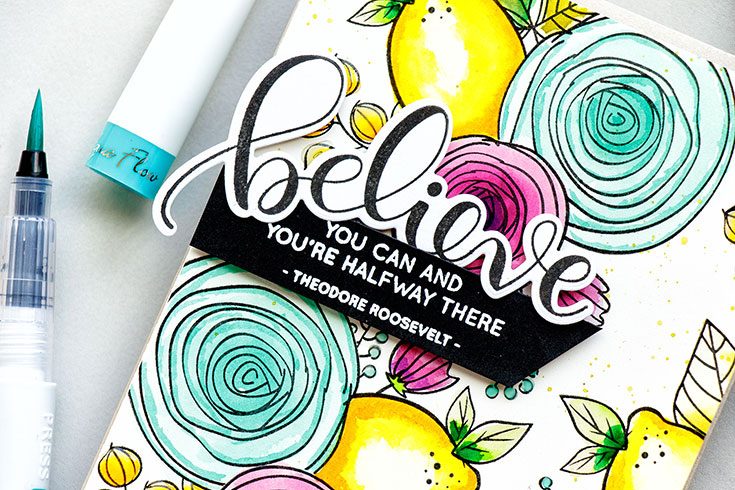
I started working on my card by creating masks for the 4 main images I planned to group into a cluster. I stamped images onto post it notes and cut out with the help of scissors. Next, I started working on my pattern. Because I knew I’d be doing lots of watercoloring I used Arches Hot Pressed watercolor paper for my stamping. I love to use paper from Arches and whenever I plan to do a lot of stamping (and later watercoloring) as Hot Pressed paper performs best; it is nice and smooth and allows for crisp stamped impressions even without the use of a stamping tool like MISTI or similar.
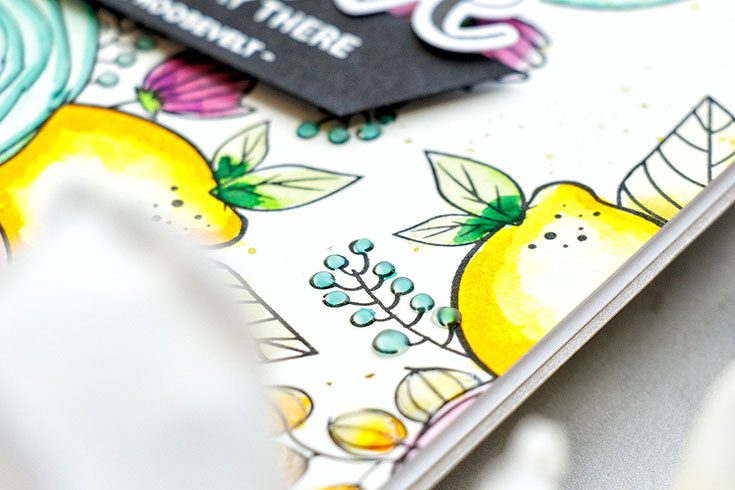
I used images from Dancing Fruits (Lemon), Sketch Ranunculus (2 ranunculus flowers and filler images) and Handwritten Floral Greetings (Large Leaf) sets. If you don’t have these exact stamp sets look for similar images. You’ll need a fruit, two large flowers, a leaf cluster, and some additional floral branches.
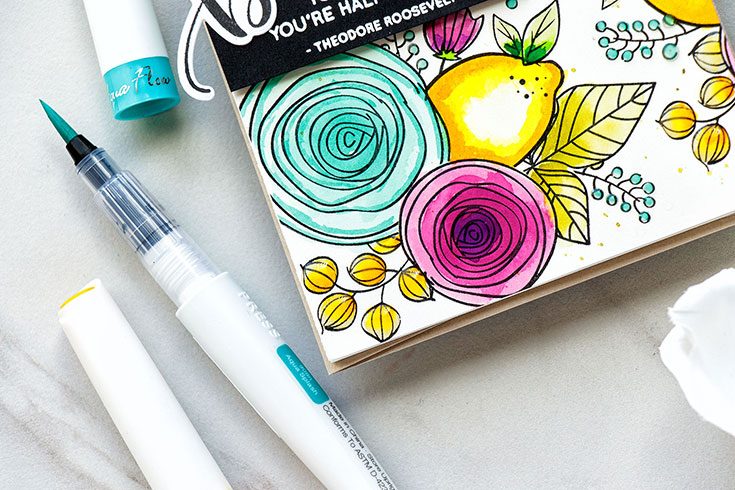
I stamped 3 nearly identical clusters onto my panel and added some filler images coming in from the sides to create the illusion of a continuous pattern. Next, I watercolored my pattern with the help of Nuvo Aqua Flow Pens and Black Velvet Silver Brushes #2, #4 and #6. Watch my video tutorial for details.
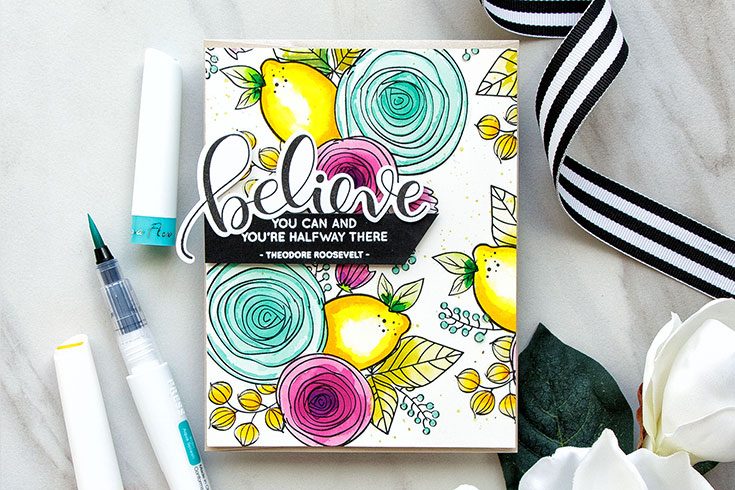
After my coloring was done I used Simon’s Believe in the Season stamp set; stamped and die-cut the word “Believe” and also heat embossed a sub sentiments that reads “You Can and You Are Halfway There”.
Lastly, I coated several of the watercolor images with Nuvo Crystal Glaze for a pop of shine and dimension.
I hope you’ll give this a try. Have fun stamping!
WATCH THE VIDEO:
SUPPLIES:
 |
 |
 |
 |
 |
 |
 |
 |
 |
 |
 |
 |
 |
 |
 |
 |
 |
 |
 |
 |
Thanks for reading today and thanks to Yana for being our guest!
Blog Candy Alert!! Follow our blog via email and comment on this post for a chance to win a special blog candy!


