In the Garden Burlap Panel by Emma Williams
Hi friends! Happy Sunday! I hope you’re having a fabulous weekend! Please join me in welcoming back the always fabulous Emma Williams to our blog as a guest writer! Want to be inspired by her on a weekly basis? Tune into our Monday Challenge Blog for a weekly chance to win $50 to our store! Now sit back, read on, and enjoy!
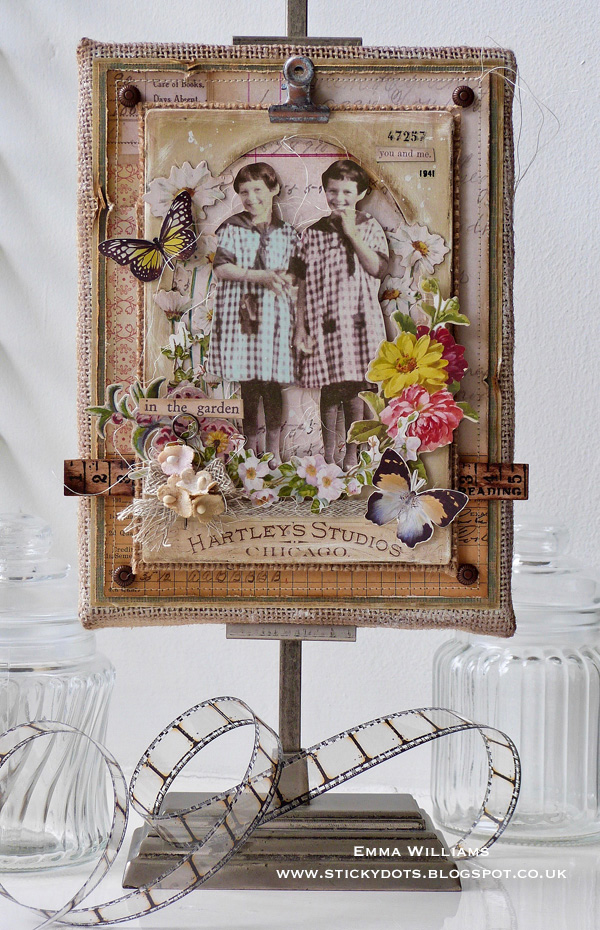
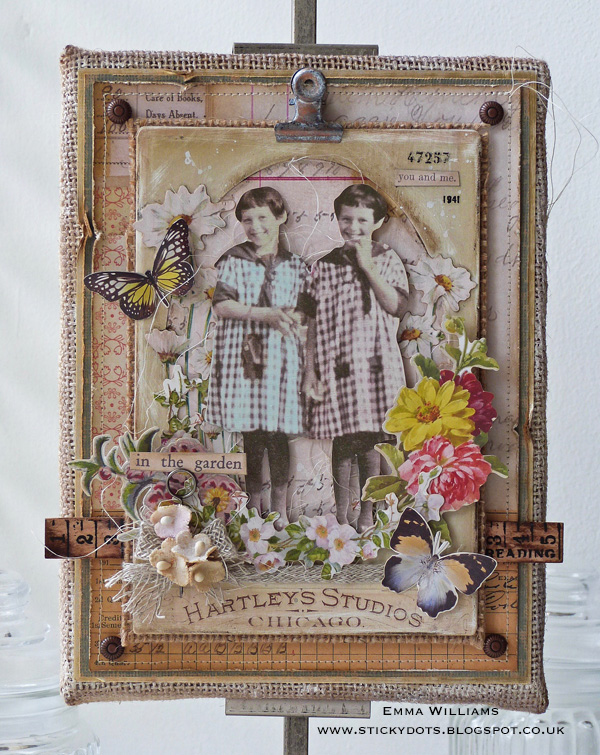
Hello everyone, it’s Emma here and I’m so happy to be back on the Simon Says Stamp blog sharing a home decor project, inspired by the lazy days of summer and this wonderful photo of two giggling girls from Tim Holtz’s Paper Dolls collection. So, with this in mind I’ve designed a dimensional, multi layered vintage style panel, using this fabulous image as my focal point and surrounding them with many more beautiful Tim Holtz products.
1. Using the burlap panel, use your fingertip to smear a small amount of gesso around the outside edges and set aside to dry. This will create a shabby chic look to the burlap.
2. Cut a panel of the Memoranda Paper Stash to measure, 13.5 x 18 cm and ink the edges of the paper. Machine stitch in a neutral coloured thread around the outside of the paper and then, Using a paper distresser tool, run the tool around the edges of the stitched paper to create a worn, vintage look adding small rips and tears as you work your way around.
3. Cut a panel of green card from the Classic Kraft Stock, slightly larger in size than the patterned paper. Using the sanding tool, gently sand the edges of the card stock before matting the stitched panel of paper over the top. Mount the layered panels onto a piece of gold metallic kraft paper measuring, 14.5 x 19cm and then adhere the matted layers onto the front of your burlap panel.
4. Using one of the Cabinet Card Frames, lightly sand around the outside of the frame.
5. Cut a further piece of Tim Holtz Memoranda paper to fit inside the Cabinet Card Frame and adhere the paper into place.
6. Using the Collage Brushes, apply a layer of Collage Medium over the entire Cabinet Card before taking the Walnut Stain Distress Crayon and running it around the edge, blending out the colour with your fingertip. At this stage, I also ran the crayon around the inside of the aperture to create some more depth to the layers.
7. Flick small amounts of gesso over the surface of the Cabinet Card Frame and allow to dry.
8. Attach the Cabinet Card to a piece of burlap from the Textured Surfaces pack and leave a border of the burlap showing around the outside of the card frame. Cut a strip of Linen Ribbon and wrap this around the Cabinet Card, placing it just above the writing and securing the ends of the ribbon at the back.
9. Choosing a selection of flowers of various colours and heights from the Botanical Layers pack, I arranged and attached some of the flowers using Collage Medium directly onto my Cabinet Card Frame, arranging them around the oval aperture and attaching them with Collage Medium.
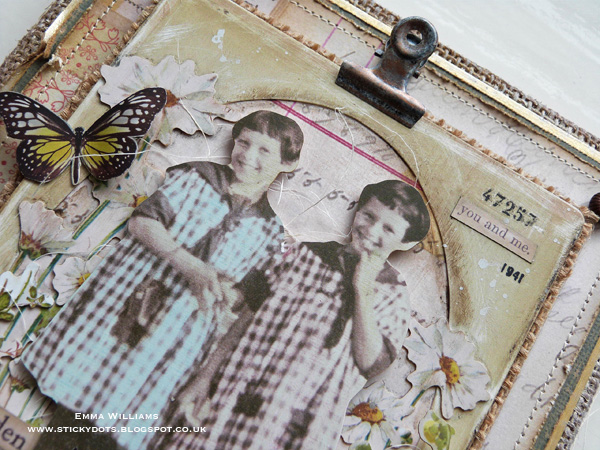
10. Take the image of the two adorable girls from the Paper Dolls set and colour the dress of the girl on the left by using the Tumbled Glass Distress Marker Pen and applying the colour directly to the surface, before gently wiping away any excess with a soft cloth. Apply Picked Raspberry to the other dress, again wiping away the excess ink before adding Brushed Corduroy to their arms and faces and a touch of Picked Raspberry to give them rosy cheeks.
11. Place foam pads on the back of the image and attach to the centre of the aperture of the Cabinet Card Frame, placing them over the top of some floristry fibres.
12. Using the remaining flowers that I’d chosen from the Botanical Layers pack, I attached these with foam pads, placing them around the bottom section of my Cabinet Card Frame and at the feet of the Paper Doll girls, giving the appearance that the girls are standing in the garden, surrounded by flowers.
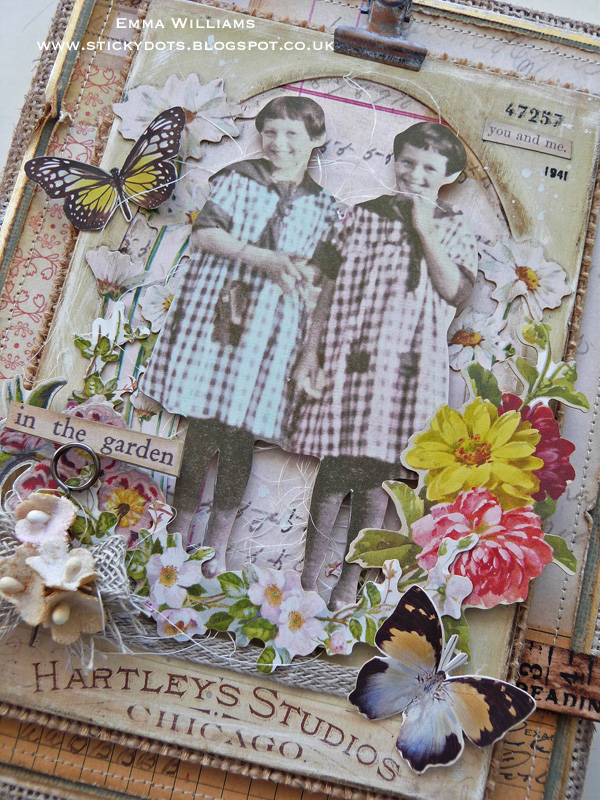
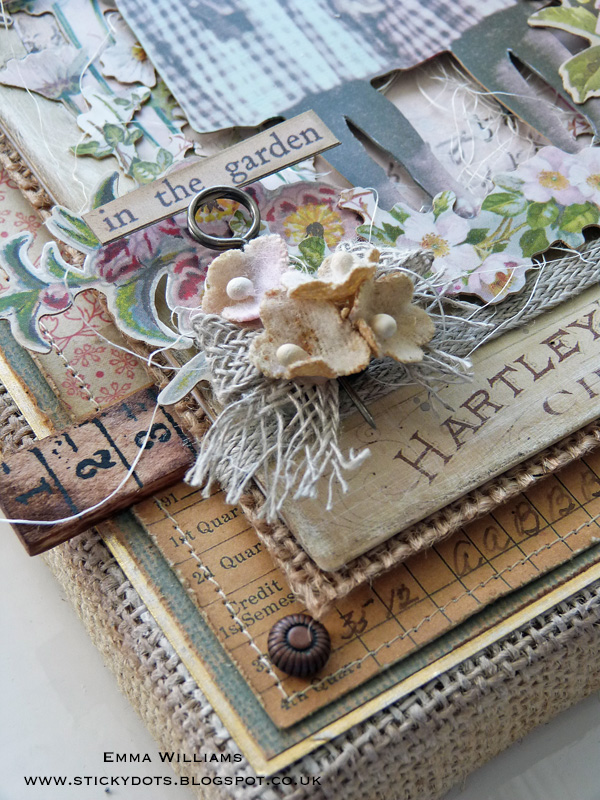
13. Cut a further piece of linen ribbon and tie into a small bow and attach this bow to the left hand side of the Cabinet Card frame. Place the Clipping Sticker, “In The Garden” into a memo pin and insert the pin into the knot of the bow.
14. Cut away four of the flower heads from one stem of the Bouquet Findings. Spritz the flower heads with Spun Sugar and Antique Linen distress Spray Stains and allow to dry before attaching them to the base of the memo pin, arranging them to cascade down the pin.
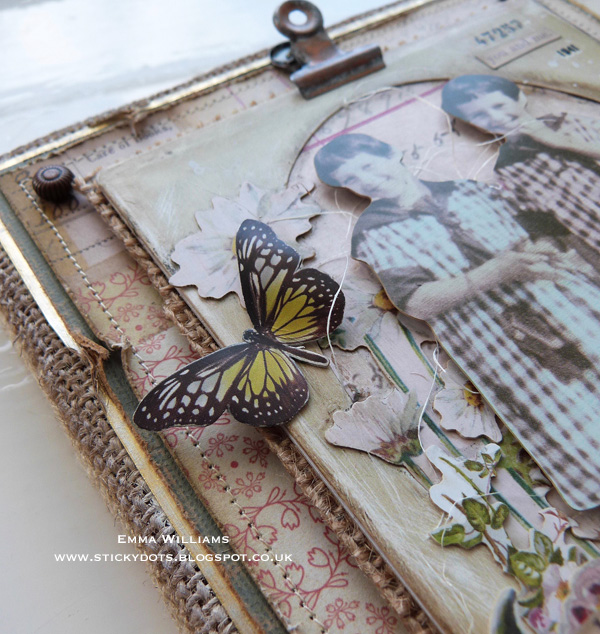
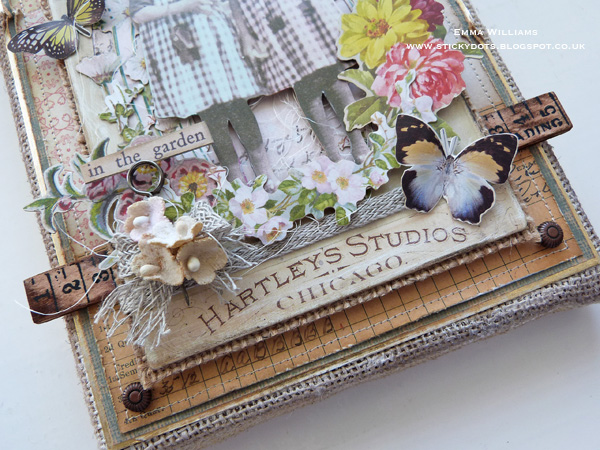
15. Attach two butterflies from the Botanical Layers Pack to complete the scene on the front of the Cabinet Card.
16. Add Remnant Rubs and a Clippings Sticker to the top right hand corner of the card frame.
17. The ruler pieces are slightly smaller than the width I wanted to use on the burlap panel, so for this I created an illusion by taking one of the Ruler pieces which I cut into two sections measuring approx 3cm. Rub the wood with Walnut Stain and Vintage Photo Distress Ink before spritzing each piece with a light misting of water and allow to dry. Attach the two pieces onto the covered burlap panel, placing them approx 4.5cm from the bottom edge and adhering them into place on either side with Collage Medium, allowing them to slightly overlap the left and right hand edges of the burlap panel.
18. Place foam pads on the back of the completed Cabinet Card Frame and attach centrally onto the front of your burlap panel, placing it over the top of the ruler pieces, which now appear to be one length of ruler.
19. Apply Picket Fence Distress Paint to the surface of the Hinge Clip, allow for the paint to be-come tacky before wiping away some of the paint from the clip. Attach the clip to the top of the frame.
20. Finally, add four of the Prima Knobs to each corner of the panel and I’ve added it to the Tim Holtz Adjustable Easel to display it.
I really hope you’ve loved the creative process behind this project and that you’ll be inspired by the piece I’ve created especially for you! Thanks so much for stopping by today and I’ll see you again very soon!
Emma
Supplies:
 |
 |
 |
 |
 |
 |
 |
 |
 |
 |
 |
 |
 |
 |
 |
 |
 |
 |
 |
 |
 |
 |
 |
 |
 |
 |
 |
 |
 |
 |
 |
 |
 |
 |
 |
 |
 |
Thanks so much for reading today, and thanks to Emma for being our guest!

Blog Candy Alert!! Follow our blog via email and comment on this post for a chance to win a special blog candy!
Encouraging Words Blog Hop with LOADS of PRIZES… Part 2!
Welcome to day TWO of our blog hop celebrating our new exclusive release. Be sure to click HERE to see yesterday’s hop, if you missed it. Read on to see day 2 of our celebration of the latest collection, Encouraging Words. Please hop along and enjoy! Every stop along the way has a $25 gift card!
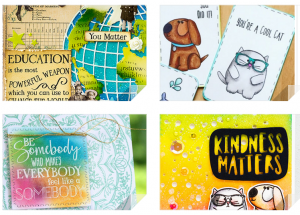
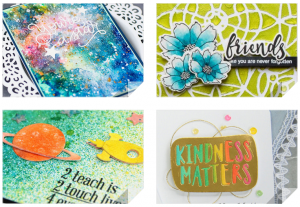
Did you see yesterday’s hop? Here are some sneak peeks ;)
Please leave “Encouraging Words” in the comments section of each stop on the hop. We will be randomly selecting from comments to give away $25 Gift Card to someone at every stop on the hop.
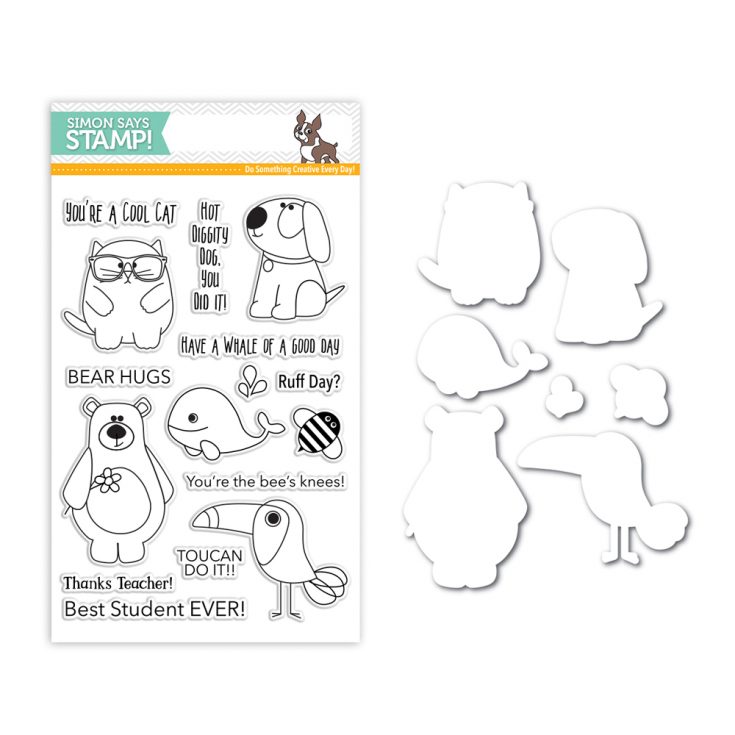
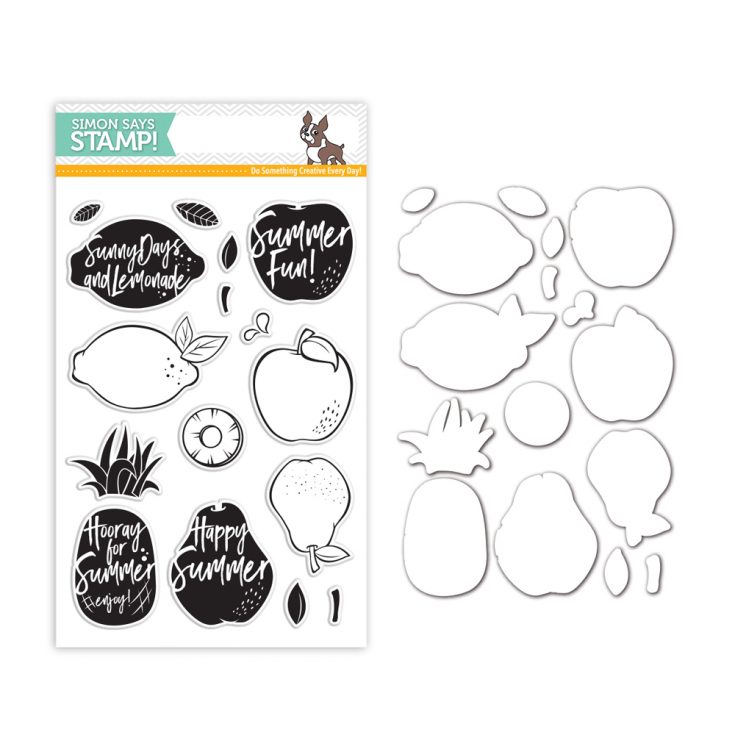
Check out our new “Encouraging Words” release below. It’s perfect for back to school and every day encouragement!


Thanks again for joining us today! Now….Go get hopping! It’s an explosion of encouraging inspiration!!!!! :) Remember, Please leave “Encouraging Words” in the comments section of each stop on the hop. We will be randomly selecting from comments to give away $25 Gift Card to SimonSaysStamp.com for someone at every stop on the hop.
Have a great weekend!!
Encouraging Words BLOG HOP… Part 1!
Welcome to day ONE of our blog hop! Yes, you read that right ;) We will have 2 back to back days of inspiration in celebration of our latest collection, Encouraging Words! We hope that it will get your crafty mojo kicking! Please hop along and enjoy!
Simon Says Stamp Blog <<<You are HERE
Please leave “Encouraging Words” in the comments section of each stop on the hop. We will be randomly selecting from comments to give away $25 Gift Card to someone at every stop on the hop.
Check out our new “Encouraging Words” release below. It’s perfect for back to school and every day encouragement!
Thanks again for joining us today! Now….Go get hopping! It’s an explosion of encouraging inspiration!!!!! :) Remember, Please leave “Encouraging Words” in the comments section of each stop on the hop. We will be randomly selecting from comments to give away $25 Gift Card to SimonSaysStamp.com for someone at every stop on the hop.
xoxo


