Studio Monday with Nina-Marie: 5 Ideas for Foiling

Hello crafters and welcome back to my latest Studio Monday with Nina-Marie series video! This week I am featuring five ideas for foiling, as well as how to achieve the best foiling results with a laminator.
Each of the five cards I made today showcase new products I’ve been dying to use; and I love how this first one has an autumn vibe to it with its intense, rich colors.
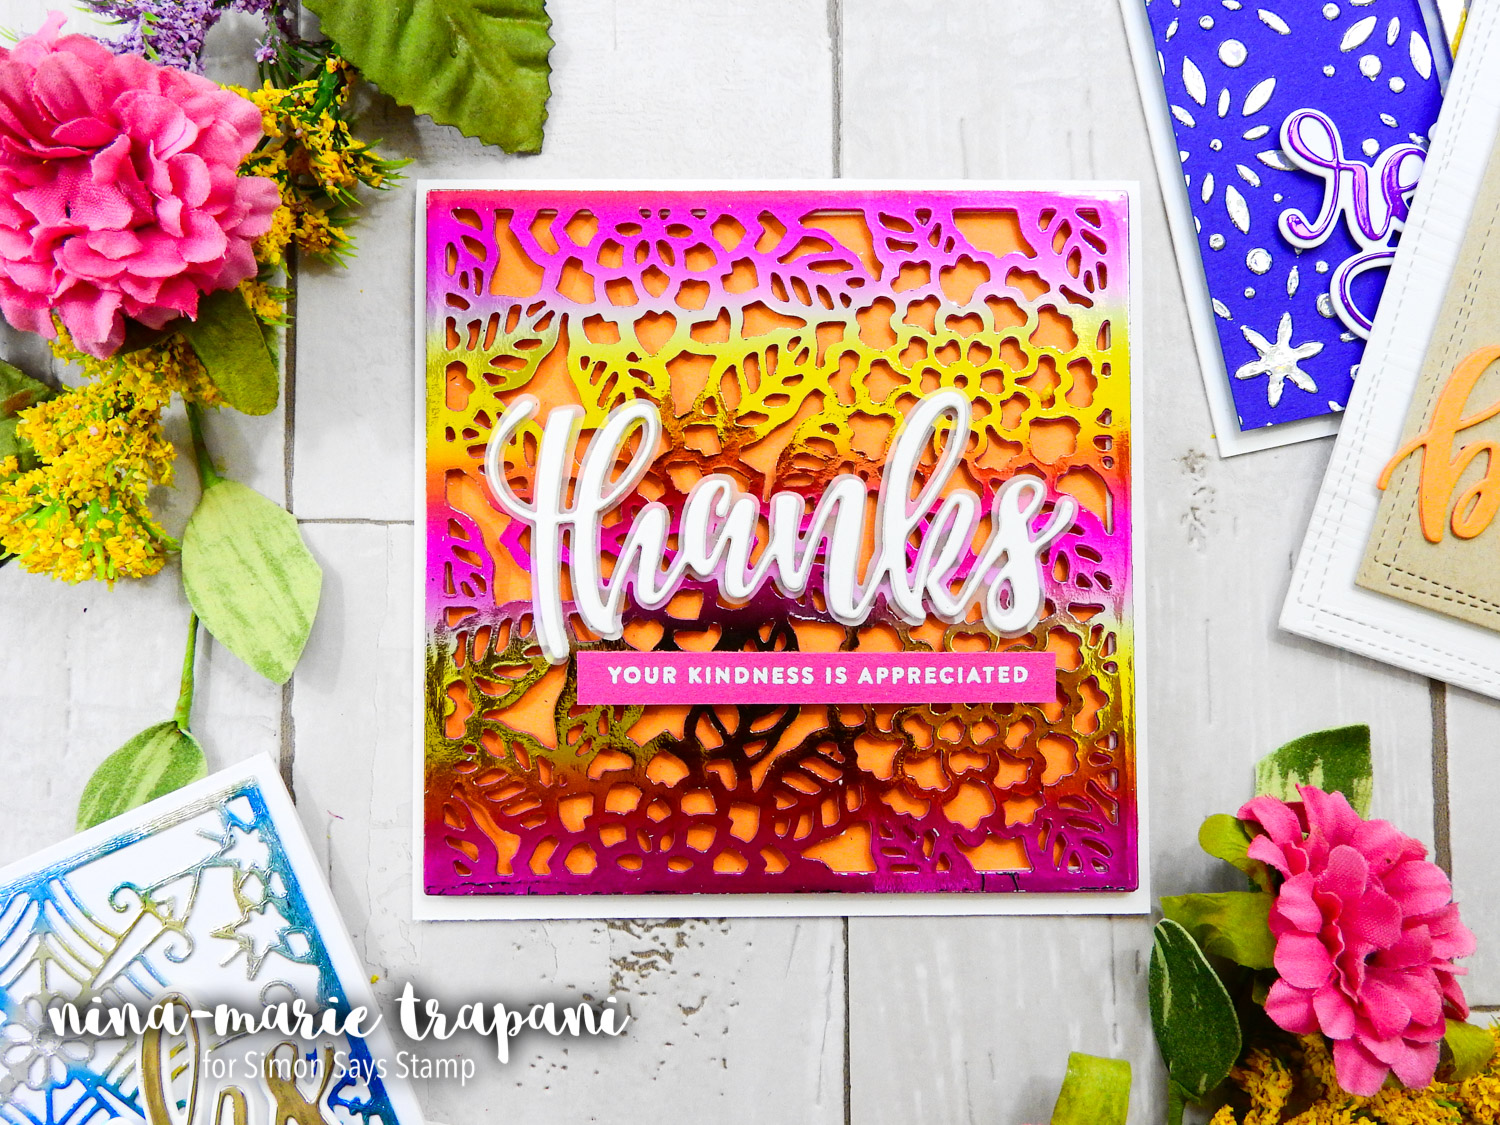
The beautiful foiled background was created with DoCrafts Floral Tile die and ThermoWeb Summer Rainbow foil. To add some interest and relief to the background, I popped it up with foam tape on some orange cardstock.
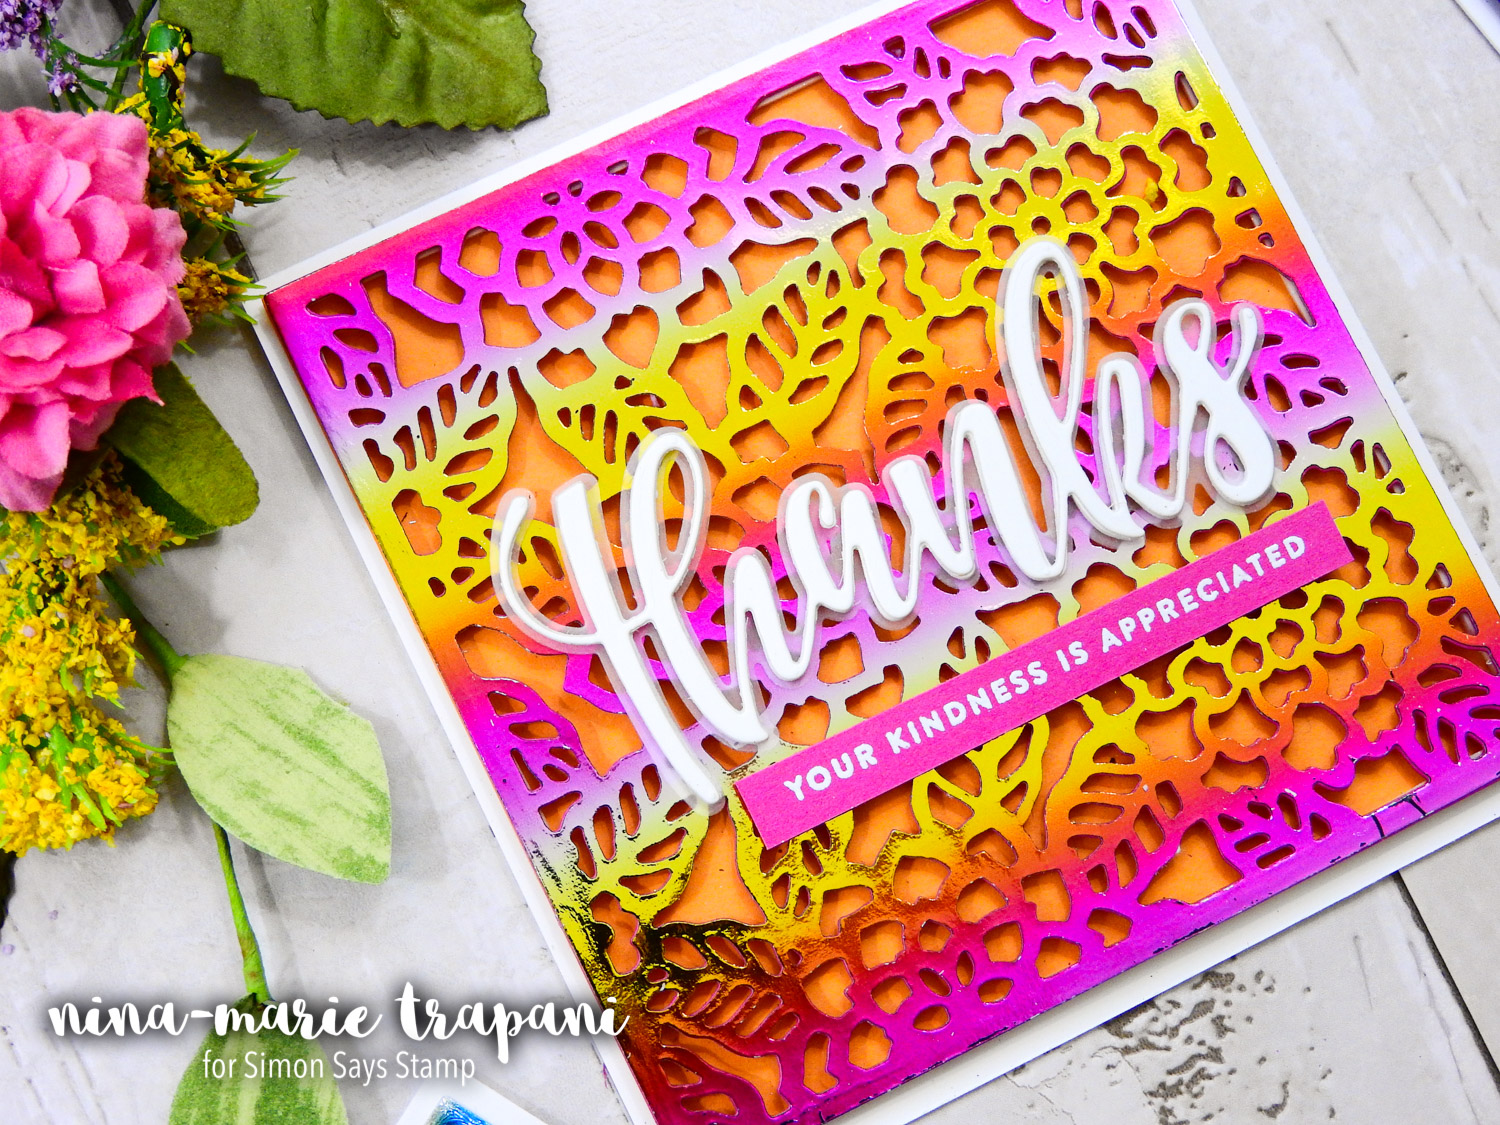
Because I wanted this card to have more of a Fall feel to it, I felt that a nice thank you greeting would be fitting. The gorgeous script font is from the Honey Bee Stamps Large Thanks die set. Underneath it, I white heat embossed a sentiment from Simon’s new Kind Flowers stamp set. I love the colors of the card and the simplicity of the design.
The second card I created with an autumn theme features our new Bare Tree Oval Collage die. By pairing this die with Memory Box’s Leaf Collage die, I was able to create a beautiful tree of colorful fall leaves!
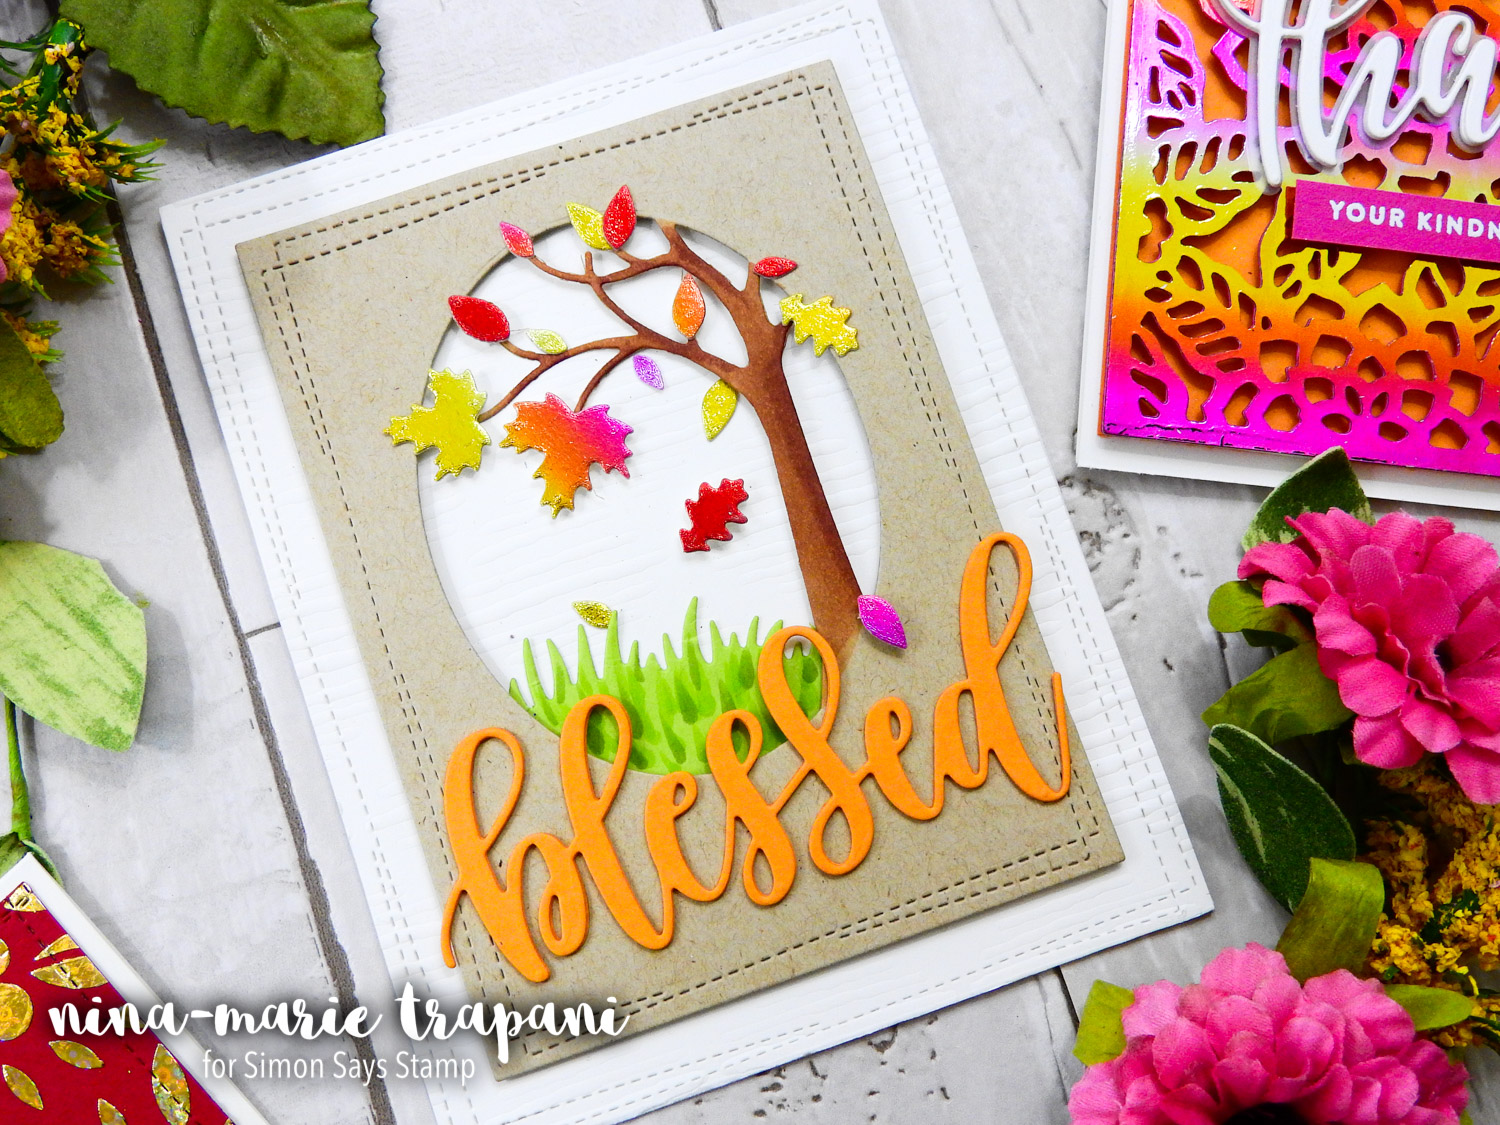
With some of the leftover scraps of the Summer Rainbow foil from the first card, I created multi-colored leaves, and to create the red leaves I used some Gina K. Designs Red Velvet foil. The variegated tones of the Summer Rainbow foil helped make these leaves look almost life-like!
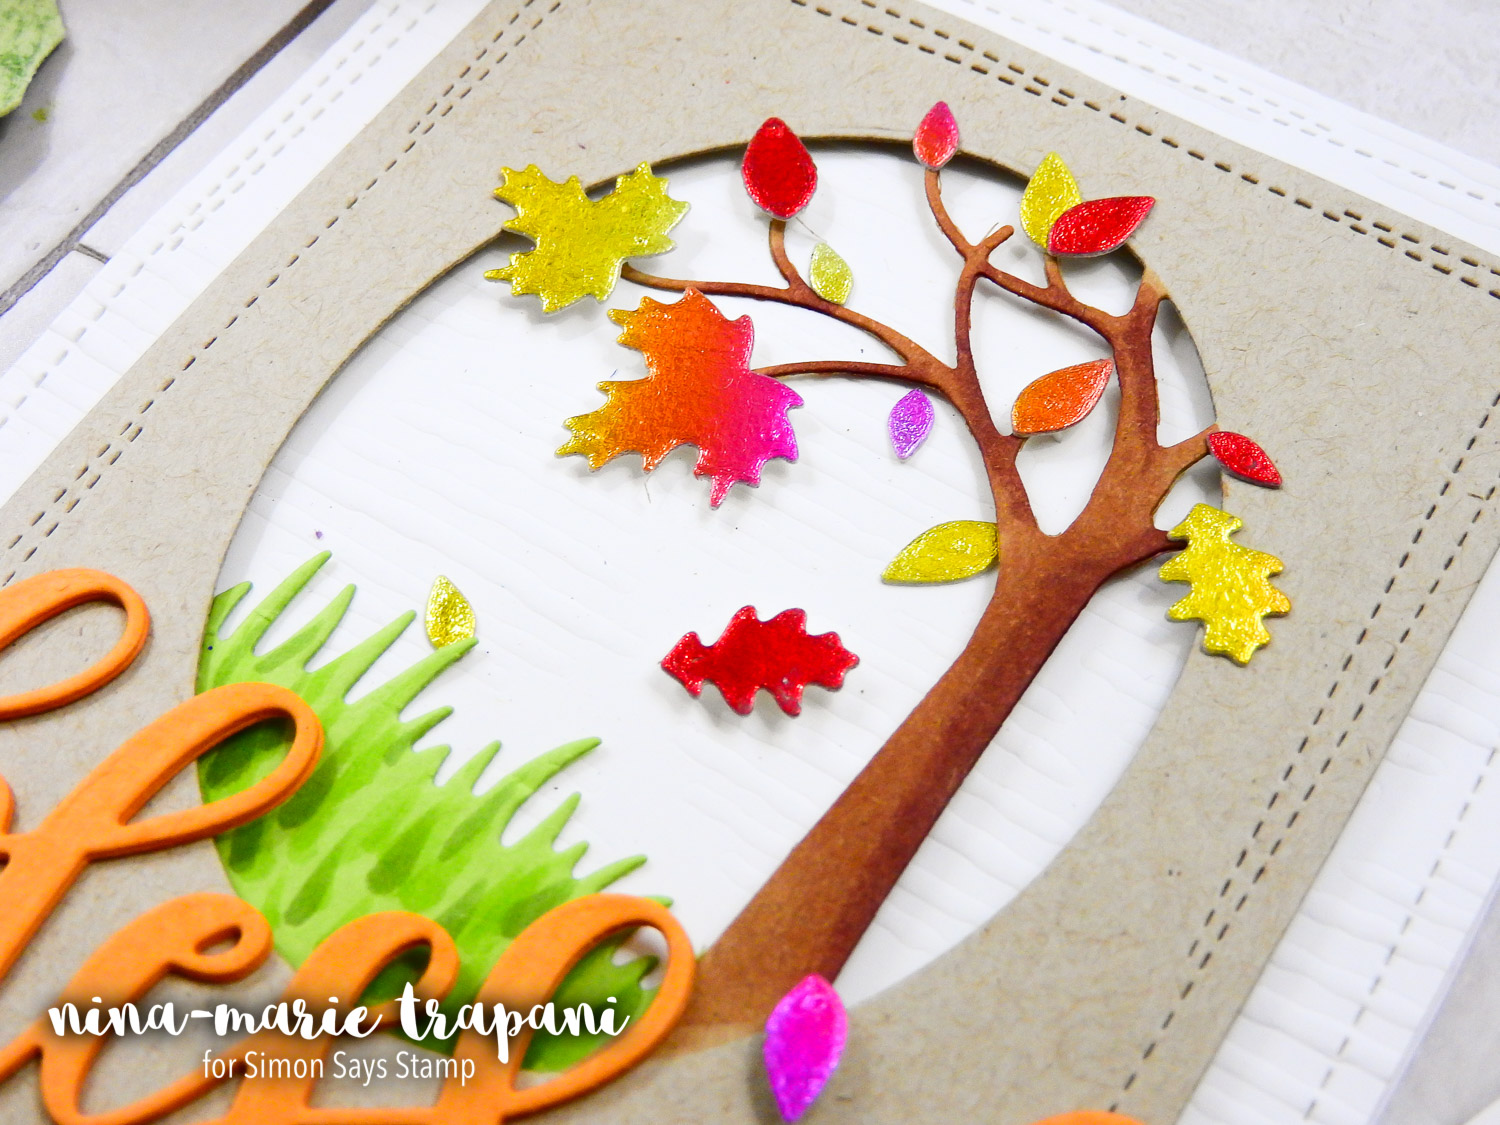
I created a simple backdrop behind the oval negative space by dry embossing an Altenew Sketched Lines stencil into some white cardstock; the uneven, textural lines of the stencil give the background interest without taking away from the foiled tree.
The die cut sentiment I included is from My Favorite Things’ Blessed and Blessings die set.
With the holiday season rapidly approaching, I wanted to include a few Christmas-themed cards also! This one is my absolute favorite foiled card that I made today…
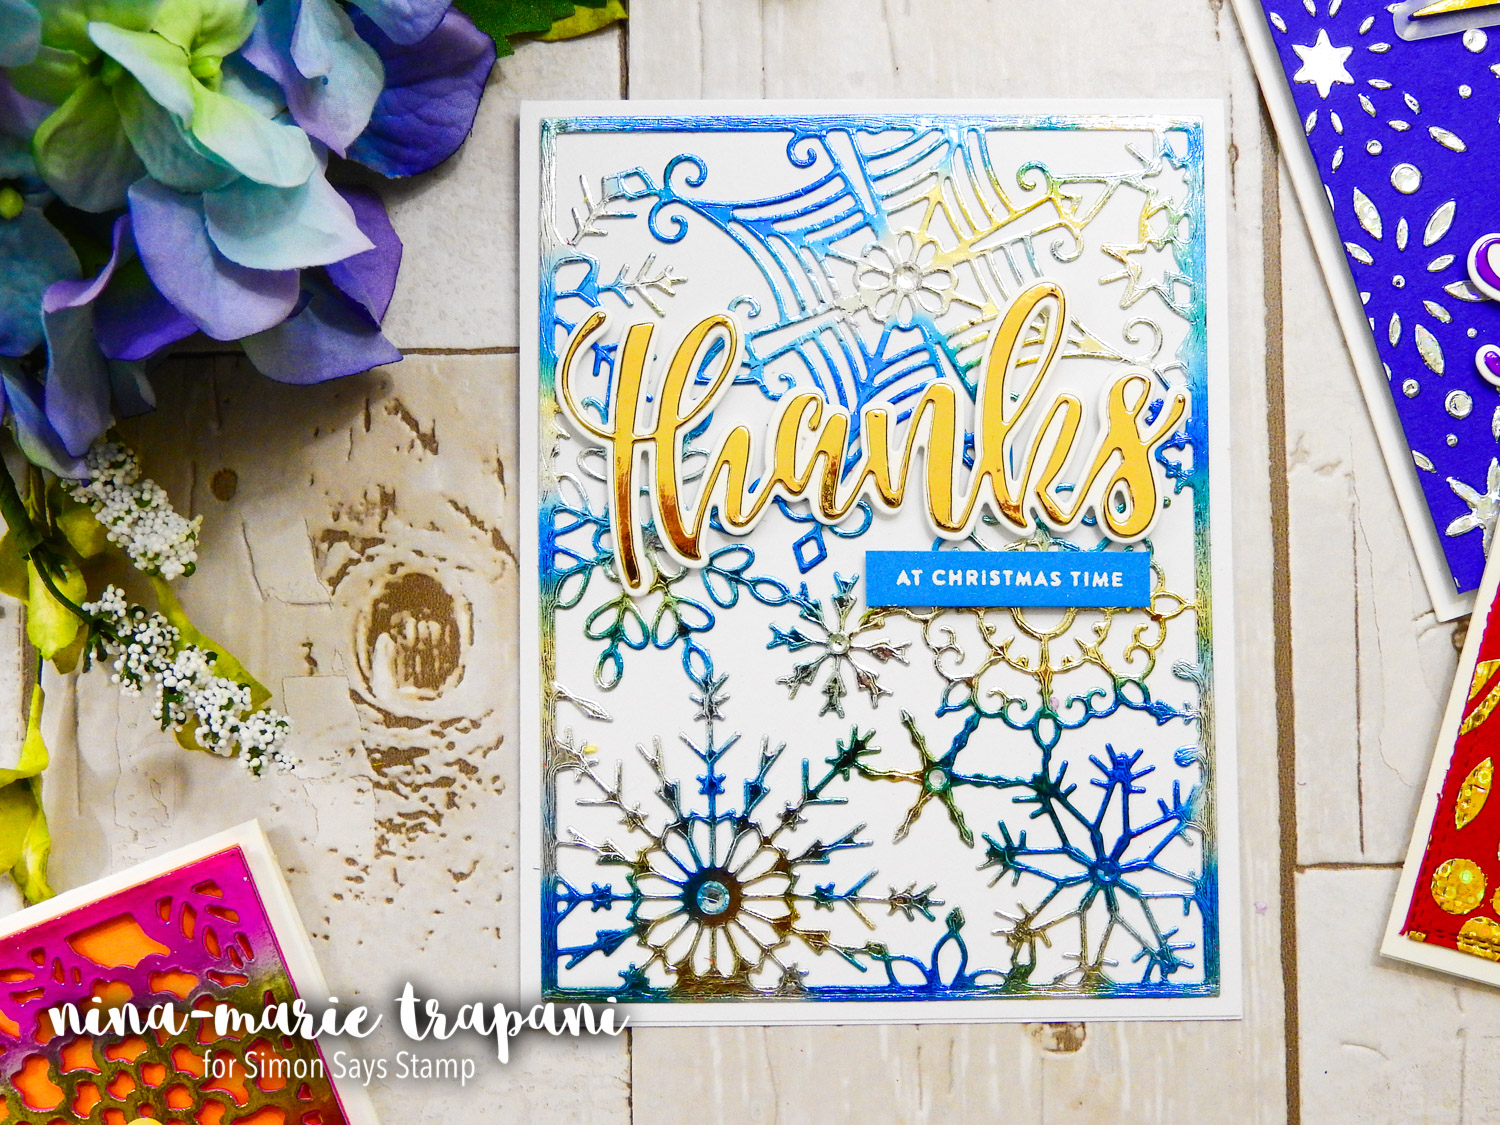
I am completely in love with the Lapis Watercolor foil from ThermoWeb. When you pair this foil with the gorgeous No Two Are Alike snowflake background die from Penny Black, you end up with an icy masterpiece (that took no time at all to put together!). To dress up the snowflakes just a bit, I placed some Ice Cube jewels from Lucy’s Cards into the centers of each one.
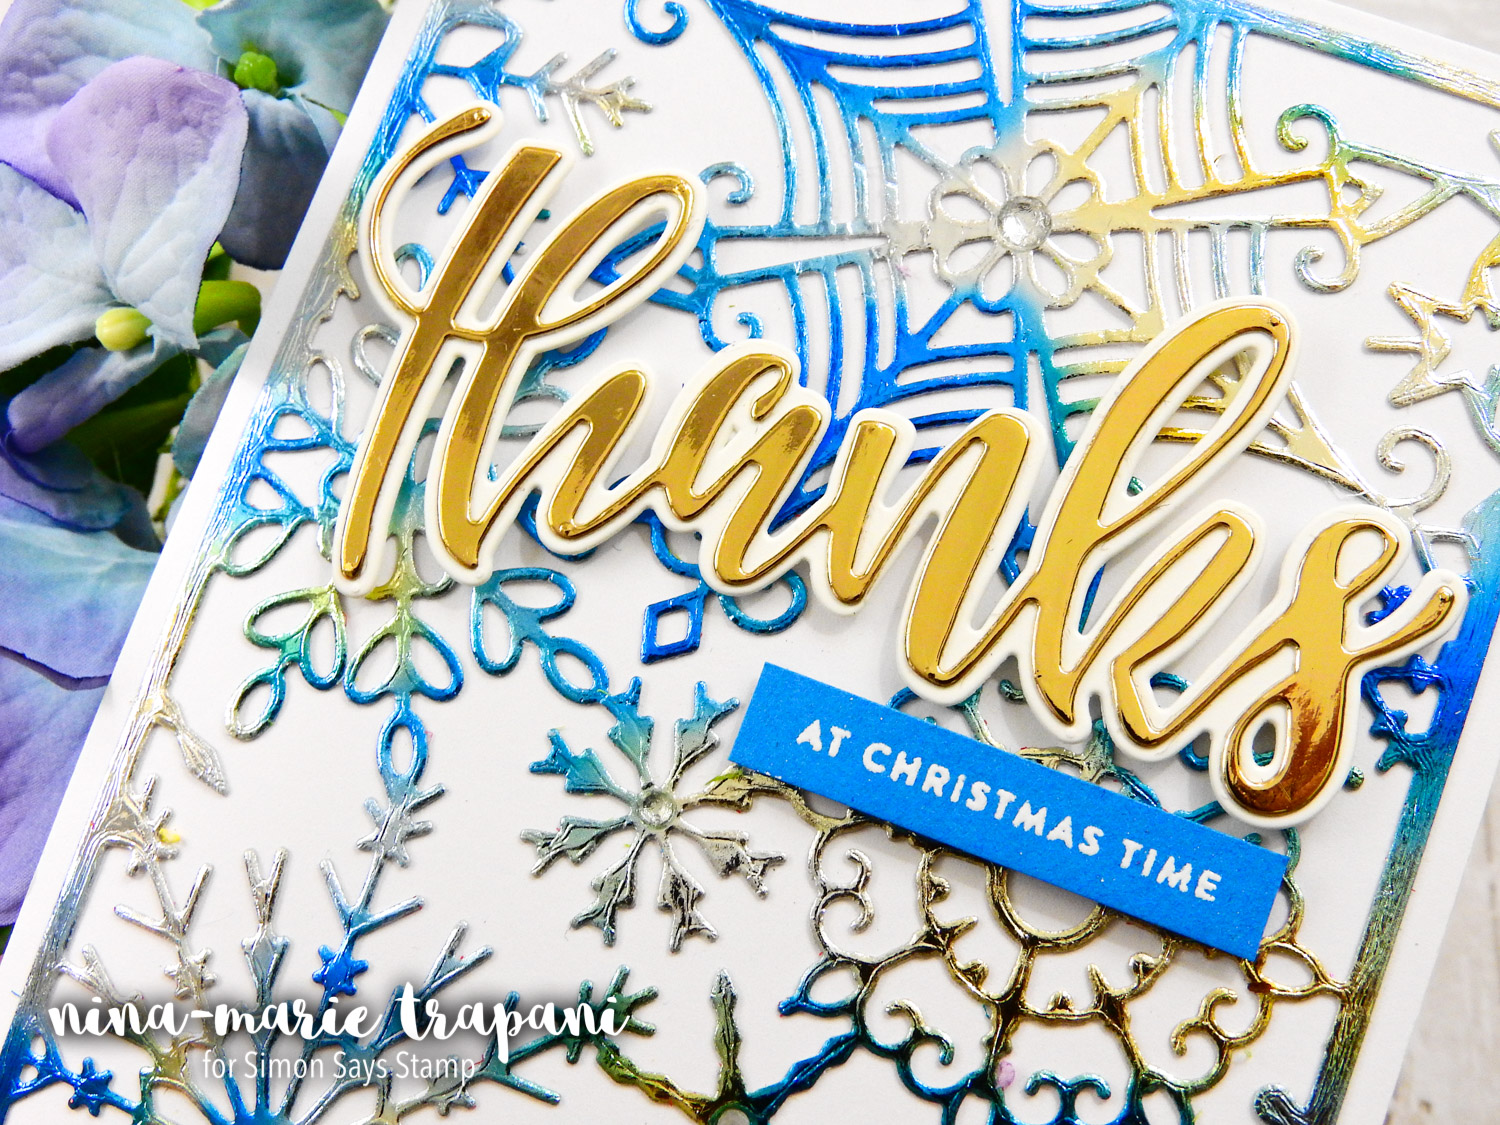
The gold tones mixed into the Lapis Watercolor foil inspired me to use gold foil for the sentiment, which was created with the Honey Bee Stamps Large Thanks die. I also found a perfect greeting from our new Simon exclusive Stained Glass Greetings stamp set to pair with the thanks die (which heat embossed in white onto blue cardstock).
Have you ever tried foiling with stencils and Transfer Gel? This is another great way to create foiled effects on your cards! You simply apply the gel through your stencil and let the medium dry completely before applying foil over top (I demonstrate this technique in the video, so make sure you check that out!)
This next card is a foiled dream and features Transfer Gel applied through Hero Arts’ Leaf and Berry stencil. After everything dried overnight, I foiled it with some stunning Gold Sequin foil from Gina K. Designs.
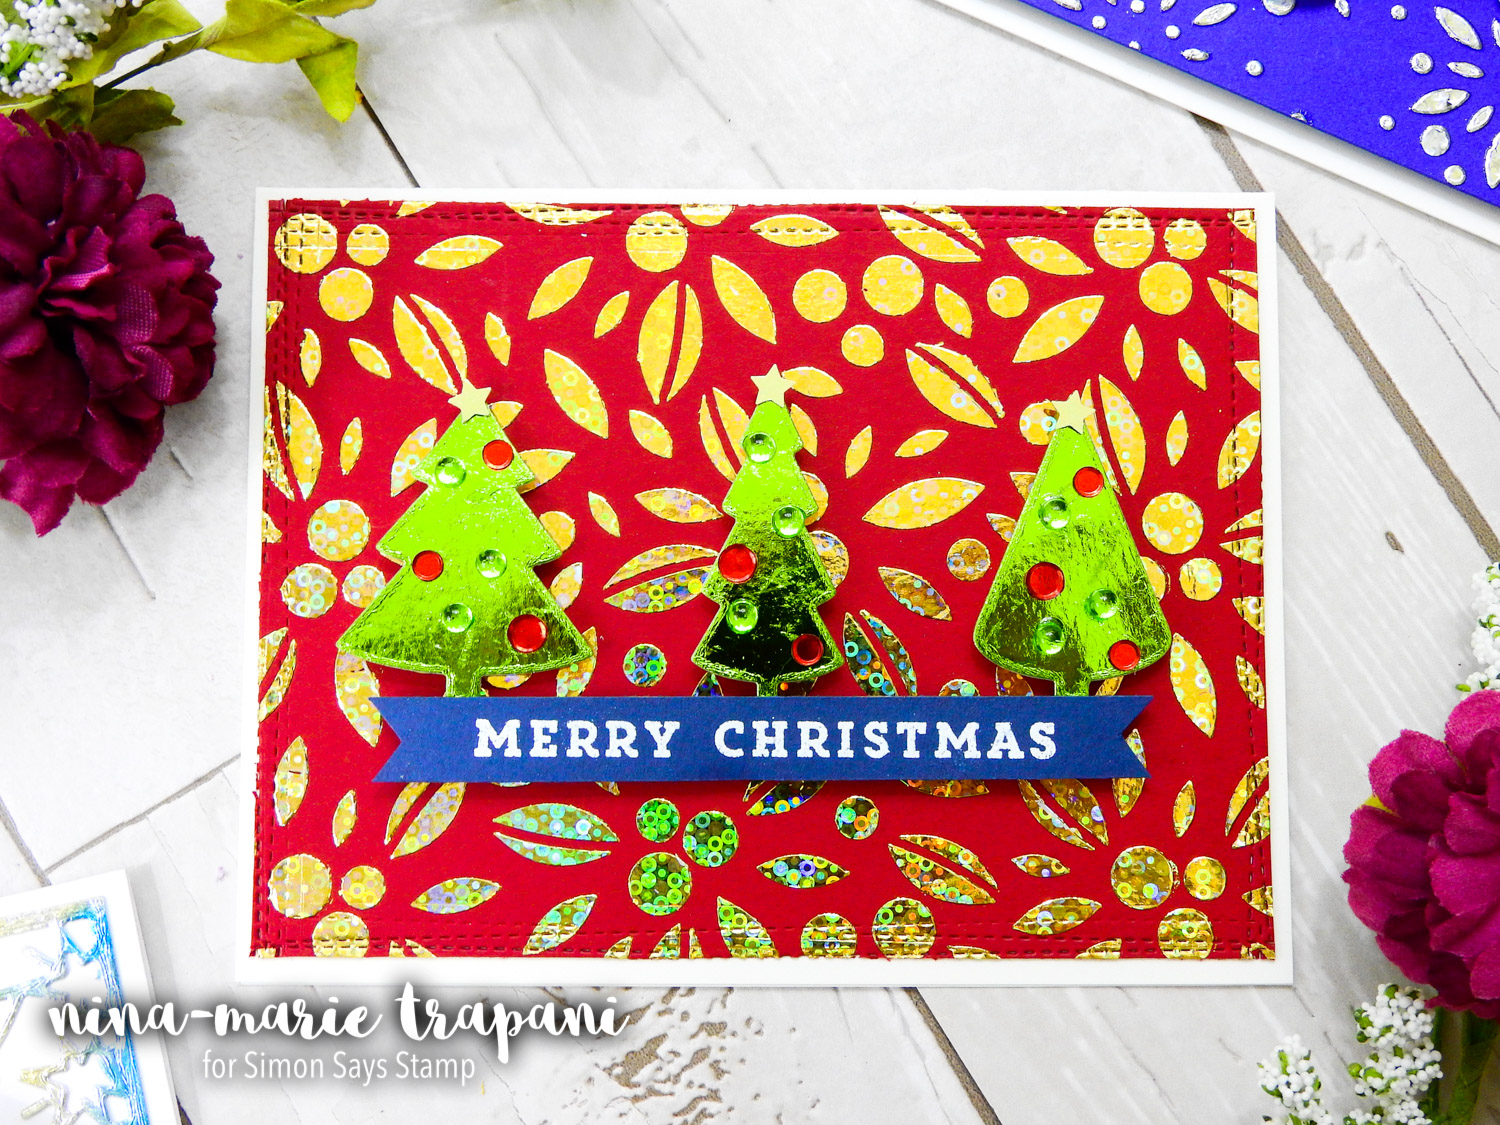
I adore the cute trees from Simon’s new Christmas Trees die set and thought they would be fun to cut from some Spring Green foil. This demonstrates a way you can foil without any need for heat. Simply press your foil into some double sided adhesive sheets (I like ThermoWeb adhesive sheets and Scor Tape sheets). The double-sided adhesive holds the foil perfectly and you get clean foiled results every time.
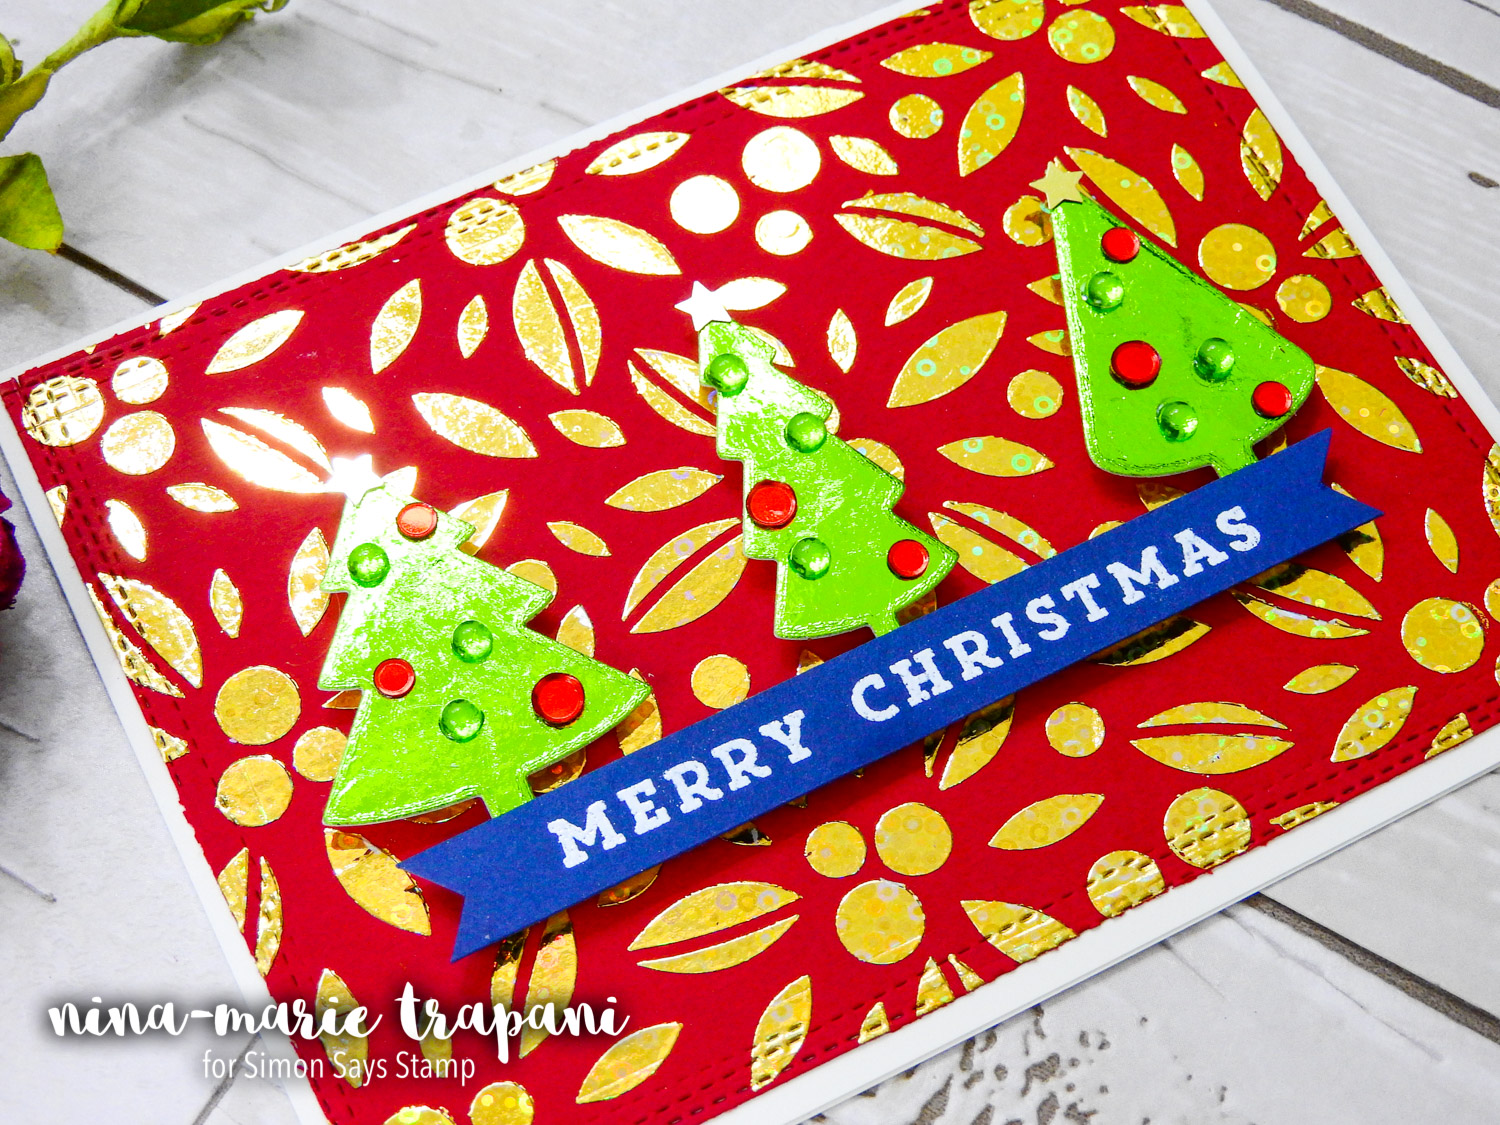
And of course a Christmas tree is not complete without some decoration! I used a few red confetti sequins from our Simon Rainbow Confetti mix, as well as some Clear Droplets from Studio Katia. The sentiment I chose for this card is from another Simon exclusive stamp set called Happy Christmas.
One more card to share! We have some new Simon exclusive dies that are perfect for creating beautiful, religious-themed Christmas cards, and I particularly am fond of the Holy Stars die set. I used the largest of those stars to be the focal point of this card.
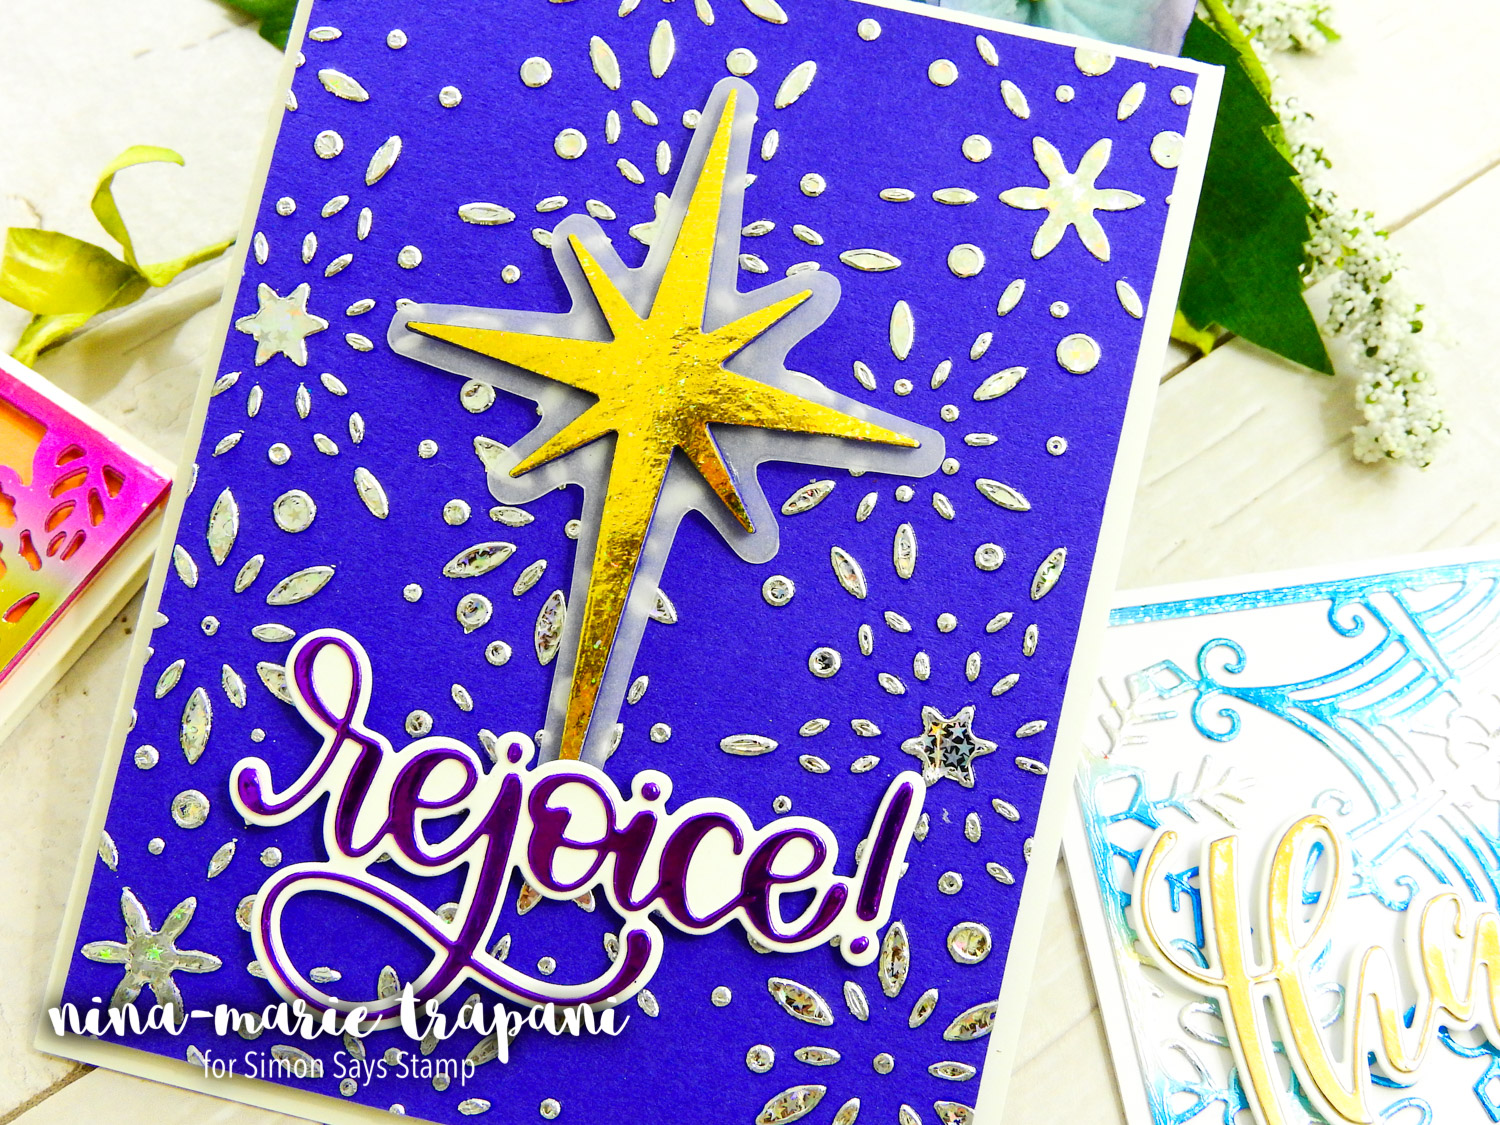
WOW! has some amazing glitter foils such as the Glitter Gold that I used for the star; when you tip the card in the light, the star has the appearance of real glitter!
And speaking of glitter, the silver and blue background behind the star also sparkles thanks to the gorgeous Sparkling Silver foil from Gina K. Designs. You may even recognize the design of the background from our new Simon Snowburst Collage die. I cut my own stencil with the die and as with the card above, applied Transfer Gel through it.
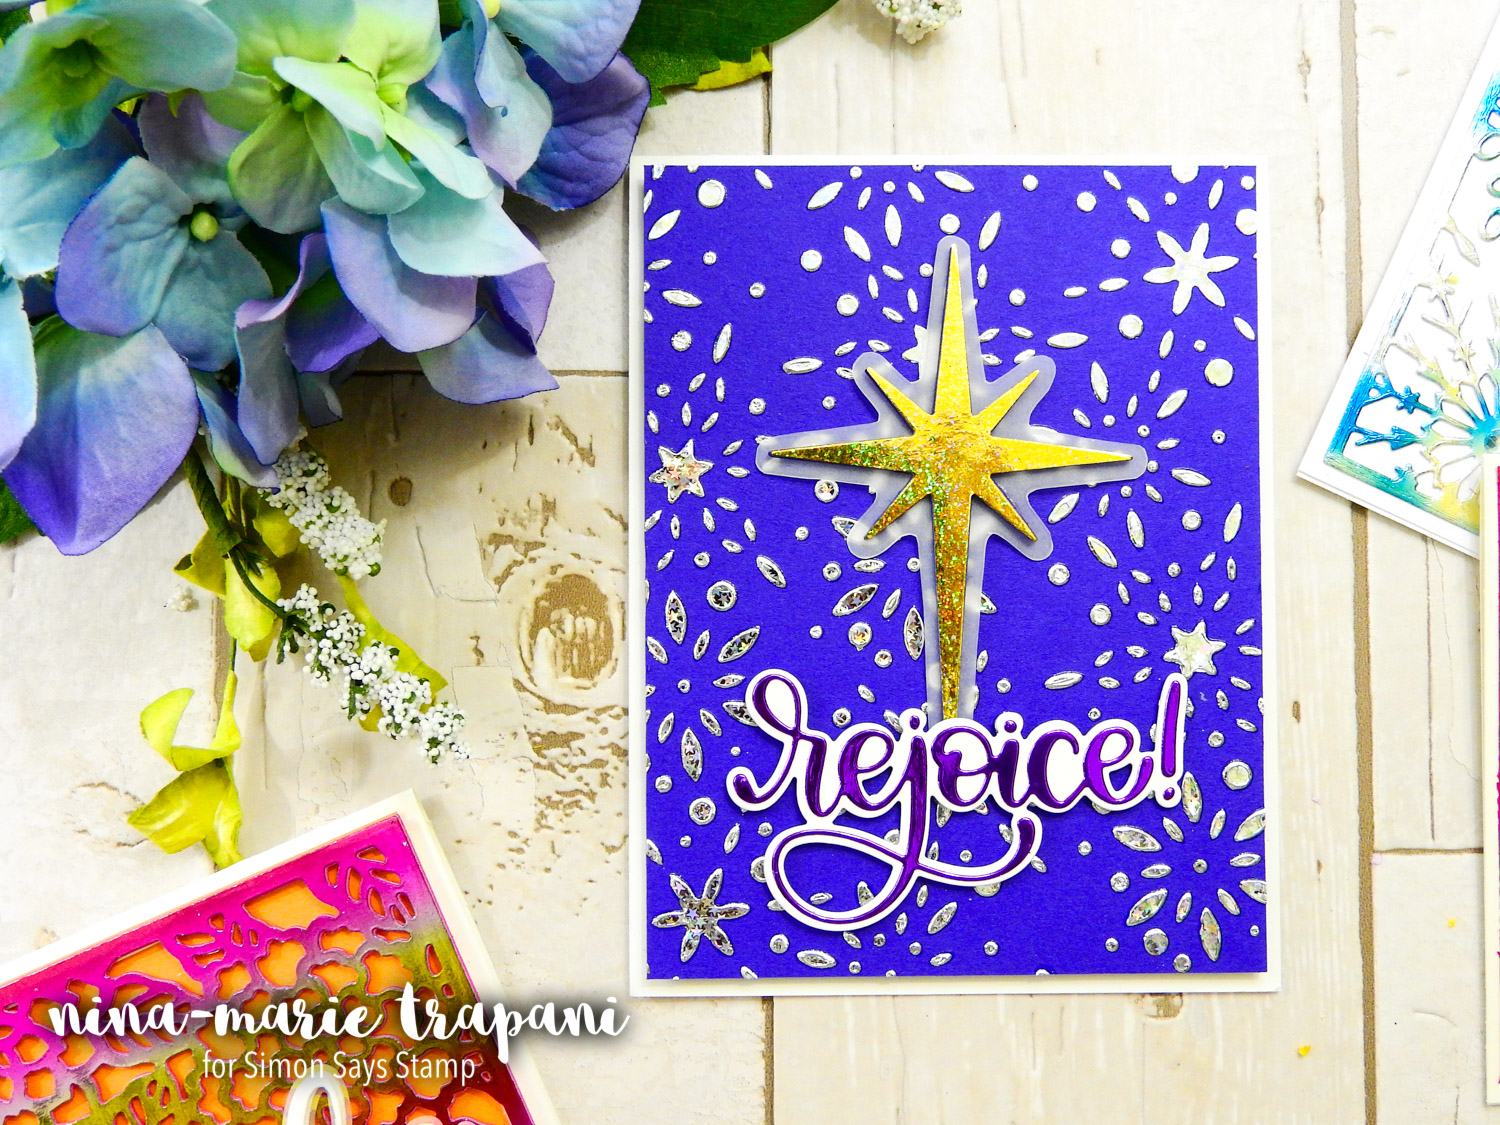
The new Rejoice script die from our Making Spirits Bright release made for a perfect sentiment to complete this card! Because I didn’t have any purple foil, I was able to use the Tonic Studios Mirror Card in Electric Purple to create the same foiled effect. Isn’t that color luscious??
Be sure to check out the video below to see how I did all the foiling techniques on these cards as well as a close up look at all of the main elements used on each card! Thanks for visiting with me today! I will be back next week with another Studio Monday tutorial!
WATCH THE VIDEO
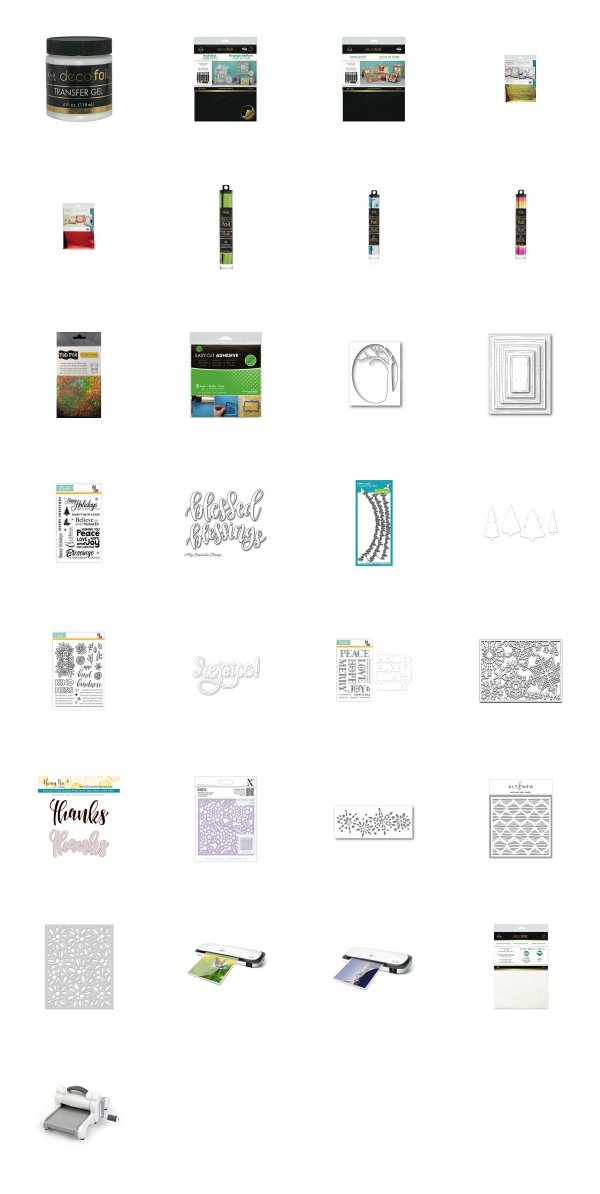
SUPPLIES
Blog Candy Alert!! Follow our blog via email and comment on this post for a chance to win grab bags and blog candy! Remember to tag your awesome projects with #simonsaysstamp on social media so we can see what you are creating!

Yippee for Yana: Christmas Night in Watercolors
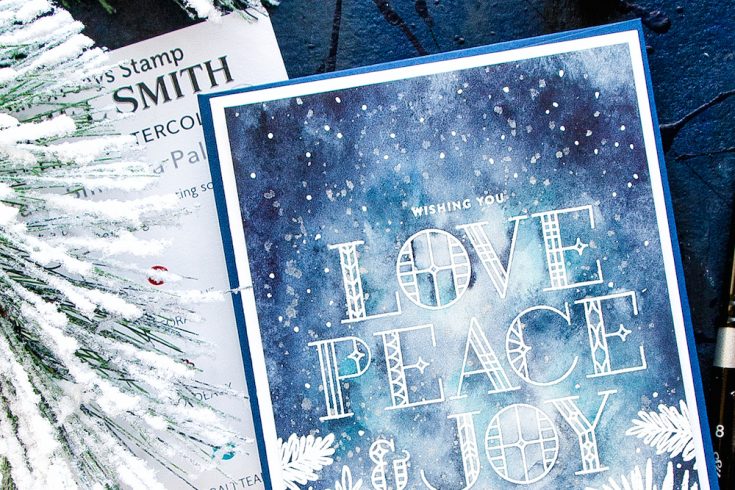
Hi friends! Happy Sunday! Thanks for stopping by today! Please welcome back special guest Yana Smakula with her second edition of Yippee for Yana in October! She made a gorgeous Christmas card featuring a chilly night sky and a bold sentiment. Be sure to watch the video for more details and enjoy!

Hi everyone, this is Yana Smakula and I’m excited to bring you another episode from my by-monthly “Yippee For Yana” video series! Today’s episode is all about watercolor! I’ve always been a fan of dark, bold colors so to create the card I’m sharing in this video I picked my favorite Lunar Blue and Indigo colors from Daniel Smith and watercolored a background.
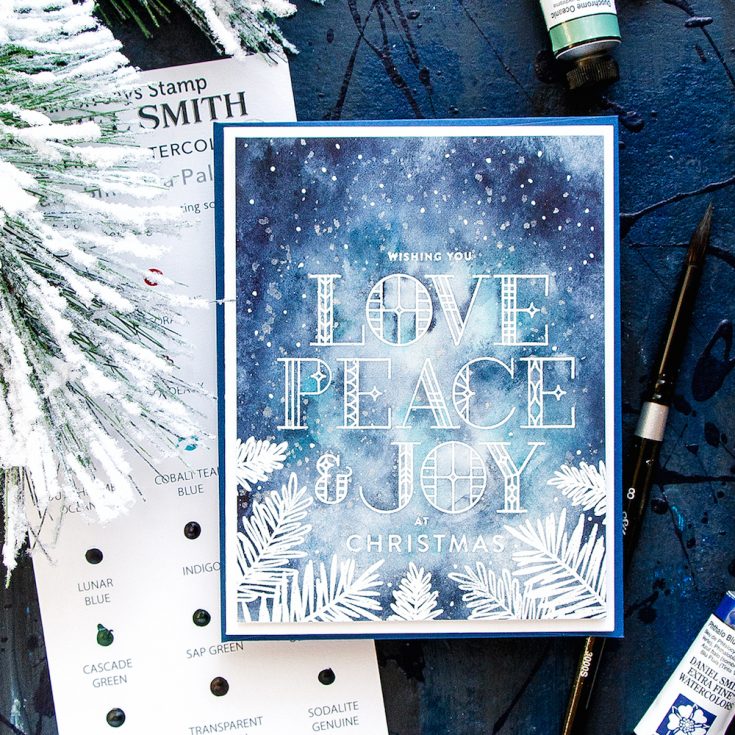
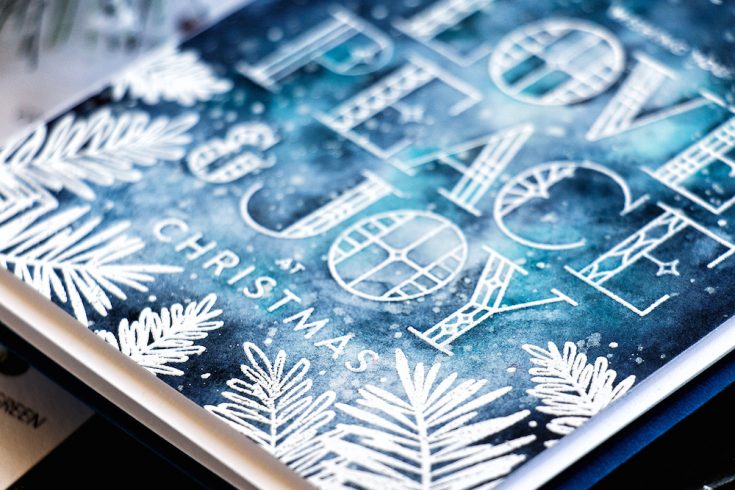
I used Stained Glass Greetings stamp set from the latest release from Simon Says Stamp To create a sentiment for this card – “Wishing You Love, Peace & Joy at Christmas”. I heat embossed it in white embossing powder onto Arches Hot Pressed watercolor paper.
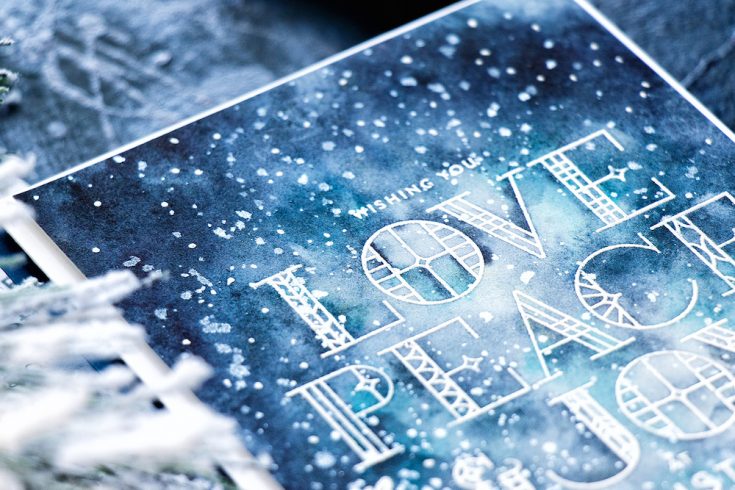
Next, I pulled out my watercolors (I used colors you can find in my exclusive Daniel Smith Yana’s watercolor palette) and watercolored a night sky. Be sure to watch my video tutorial to see the process from start to finish.
I also added lots of pearlescent splatter onto the background mimicking snow. I used my Finetec watercolors for this and also later added a lot of white dots onto the upper part of the card using a white gel pen.
Once my coloring was done I heat embossed several pine branches from the Holiday Boughs stamp set from WPlus9 at the bottom part of my card. You can go all the way around your sentiment and frame it with these heat embossed branches or you can also stamp branches in black ink for a silhouette look.
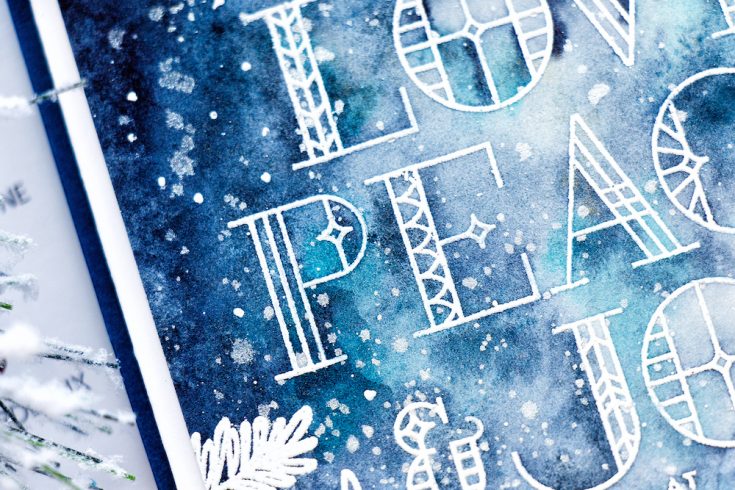
I trimmed my background to 4 x 5 ¼” and foam mounted onto an A2 side folding card. While this card took quite a bit of time to make (the watercolor process took about an hour) I had a blast making.
I hope you’ll give this idea a try. Have fun stamping!
WATCH THE VIDEO:
SUPPLIES:
|


Thanks so much for reading, and thanks to Yana for this fabulous inspiration!
Blog Candy Alert!! Follow our blog via email and comment on this post for a chance to win a special blog candy!
A Fall Lawn Fawn Slider!
Hello crafters! I am popping in this weekend to share a fun and playful slider card featuring some of Lawn Fawn’s fun, interactive products! Have you ever made a slider? They are really quite easy and in the video below I’ll show you how to do it.
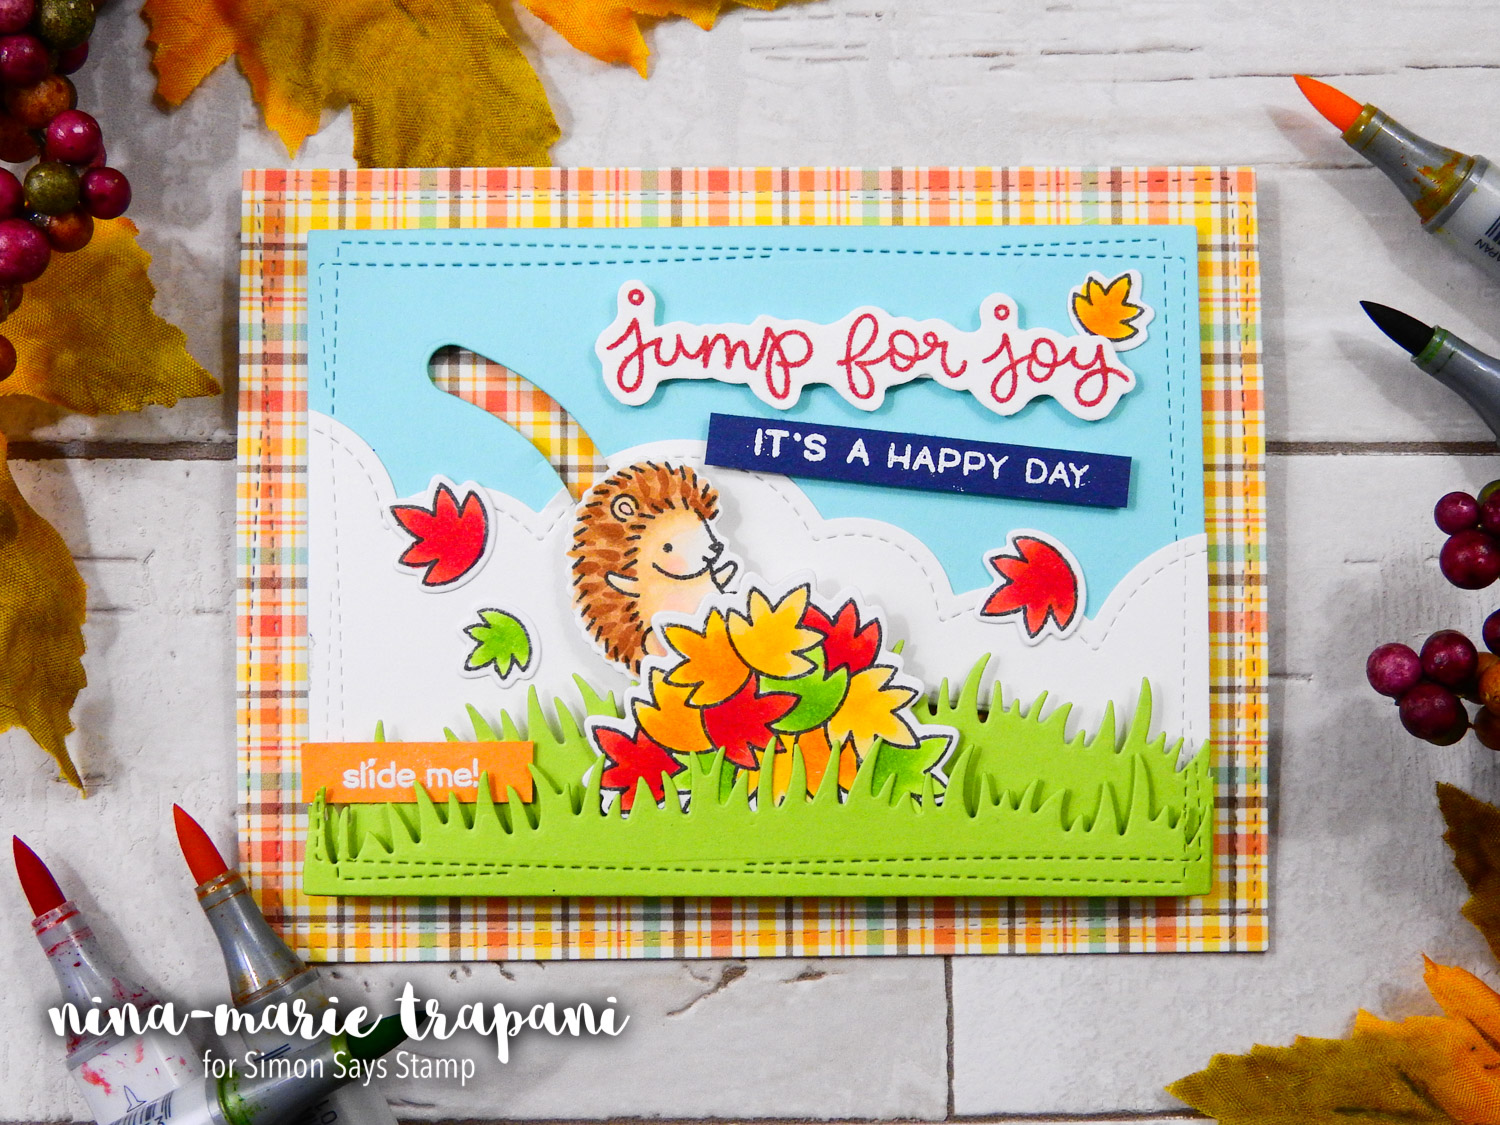
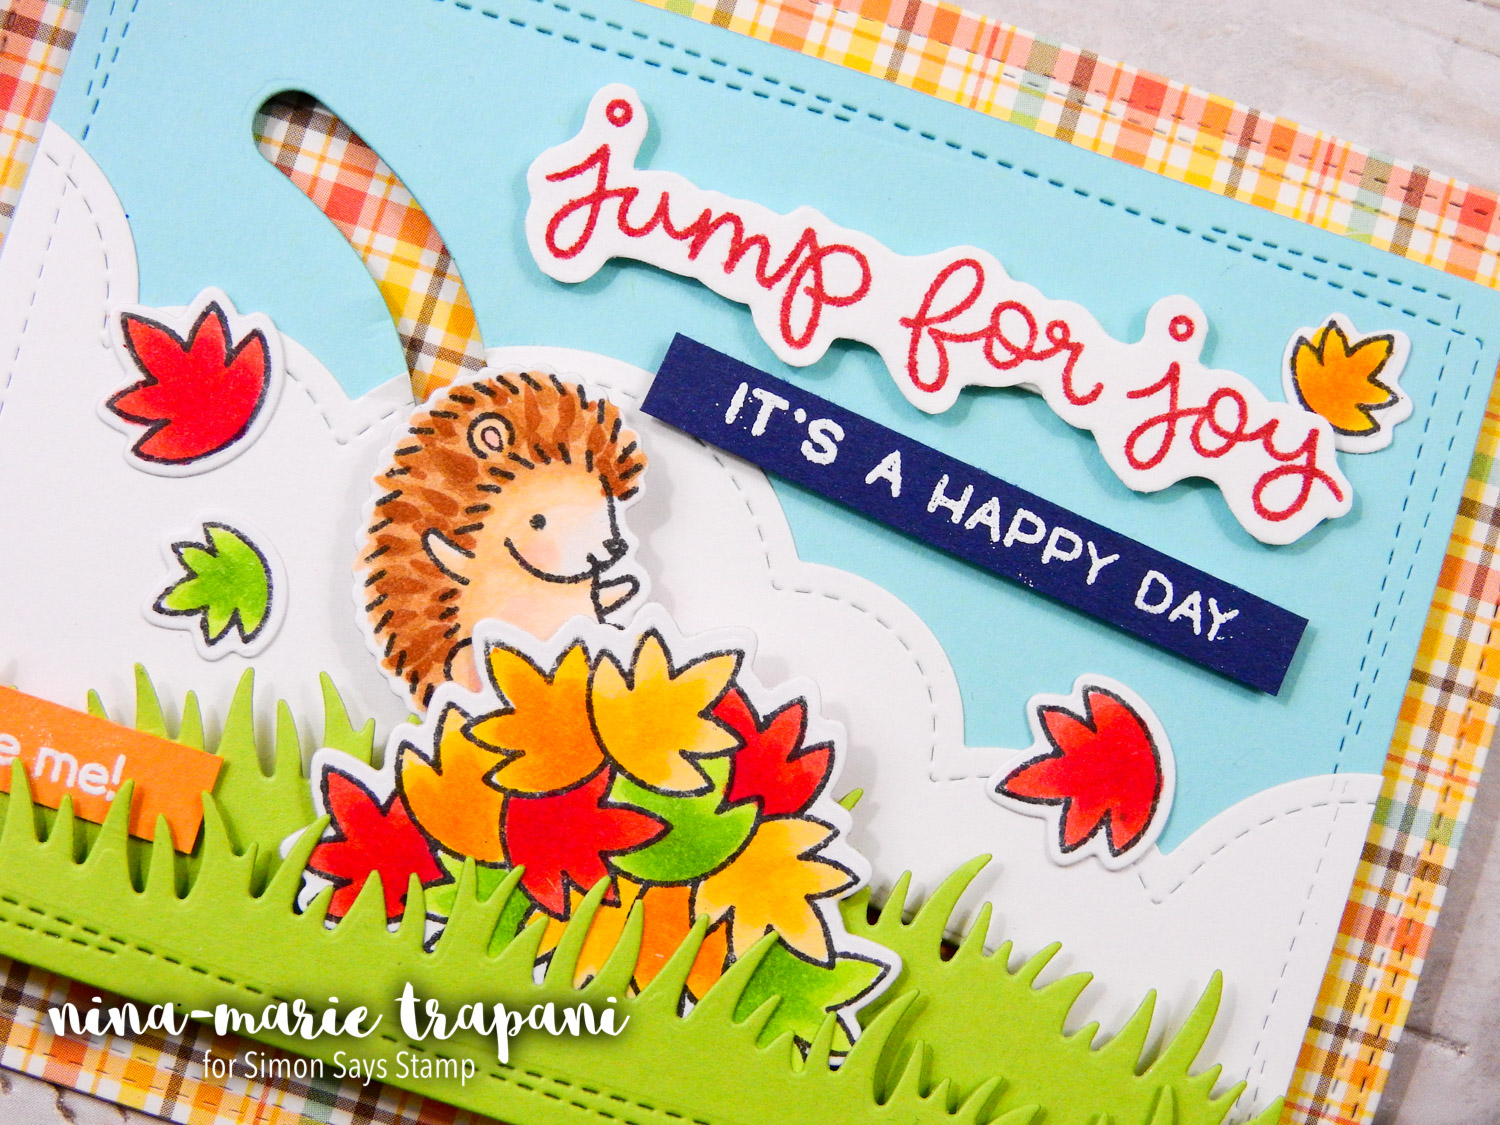
I used the super-cute Jump for Joy stamp set (from Lawn Fawn) and colored a few of the images from the set with Copics. My idea was to make this jumping hedgehog slide into the pile of leaves that is included in the set.
Because Lawn Fawn has many die sets that are perfect for creating scenes, building this card was as much of a breeze as building the slider! You’ll notice their Puffy Cloud Borders and Grassy Hillsides dies for the main scene elements.
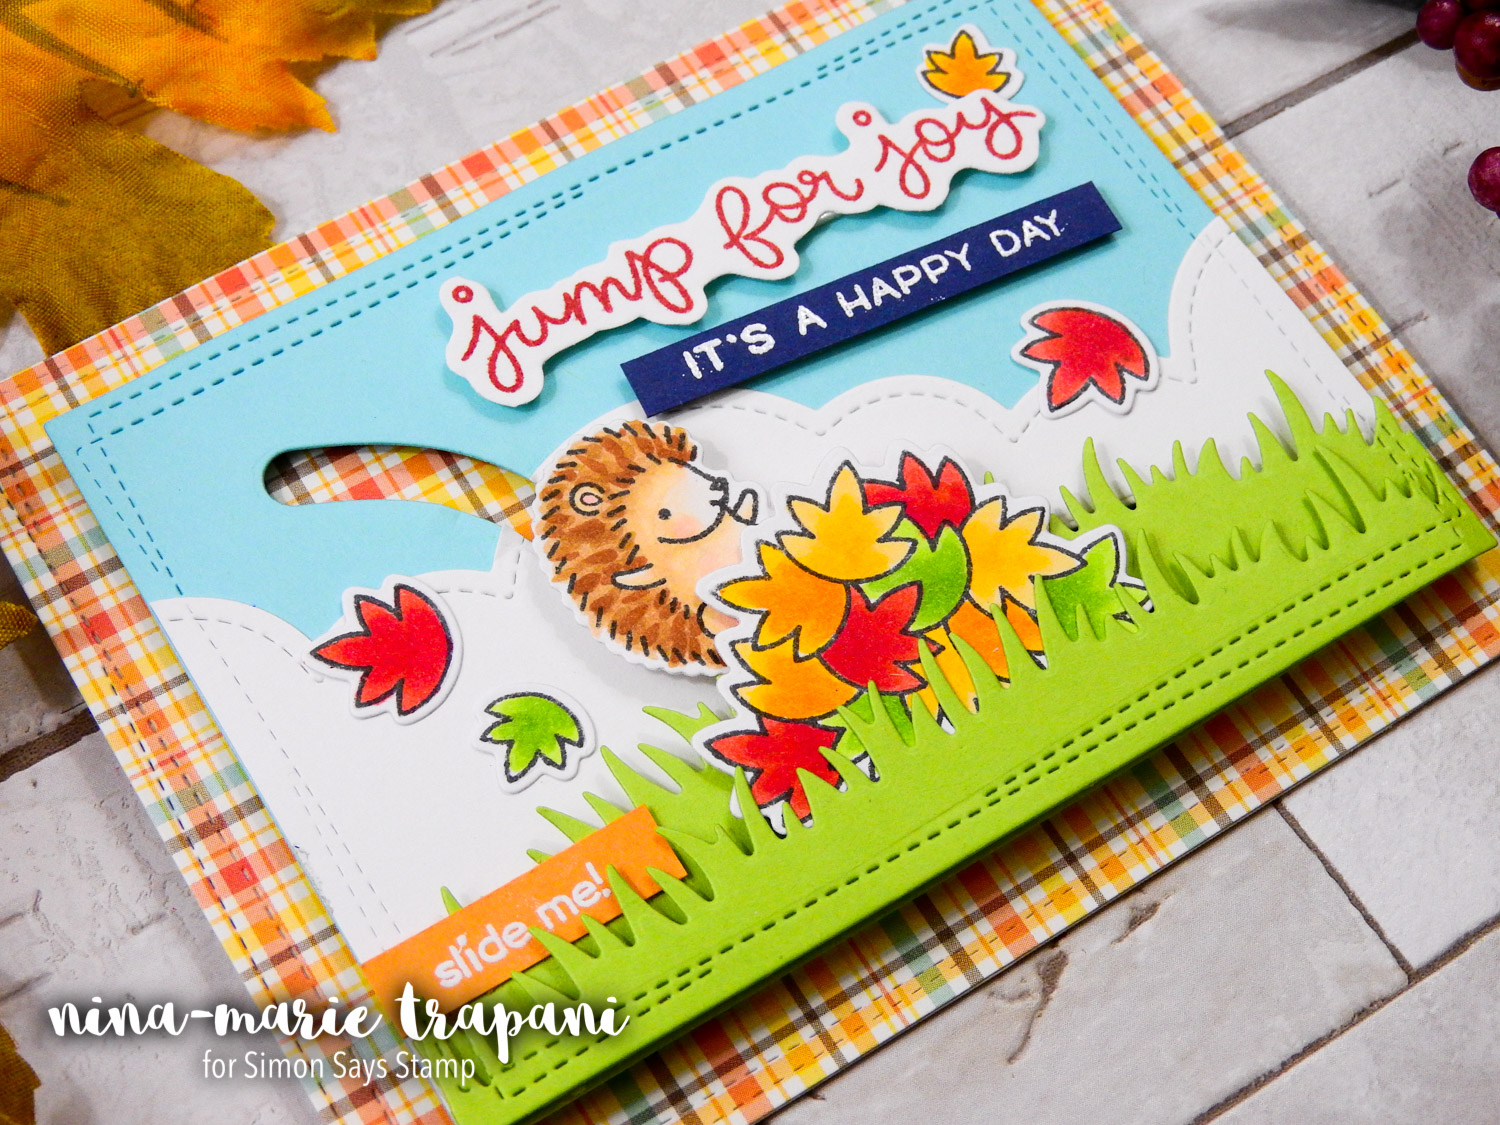
The Slide On Over dies are where I got the slider track from; and the fun sentiments are created with the Jump for Joy and Push Here stamp sets. Finally, I adhered my entire slider scene onto some pattern paper from the Lawn Fawn Perfectly Plaid Fall collection. This really pulled the Autumn theme of the card together.
Be sure to watch the video to see how I created the card; you’ll see how fun and simple slider cards are! Thanks for visiting with me today… I’ll be back on Monday with a Studio Monday video to share!
WATCH THE VIDEO
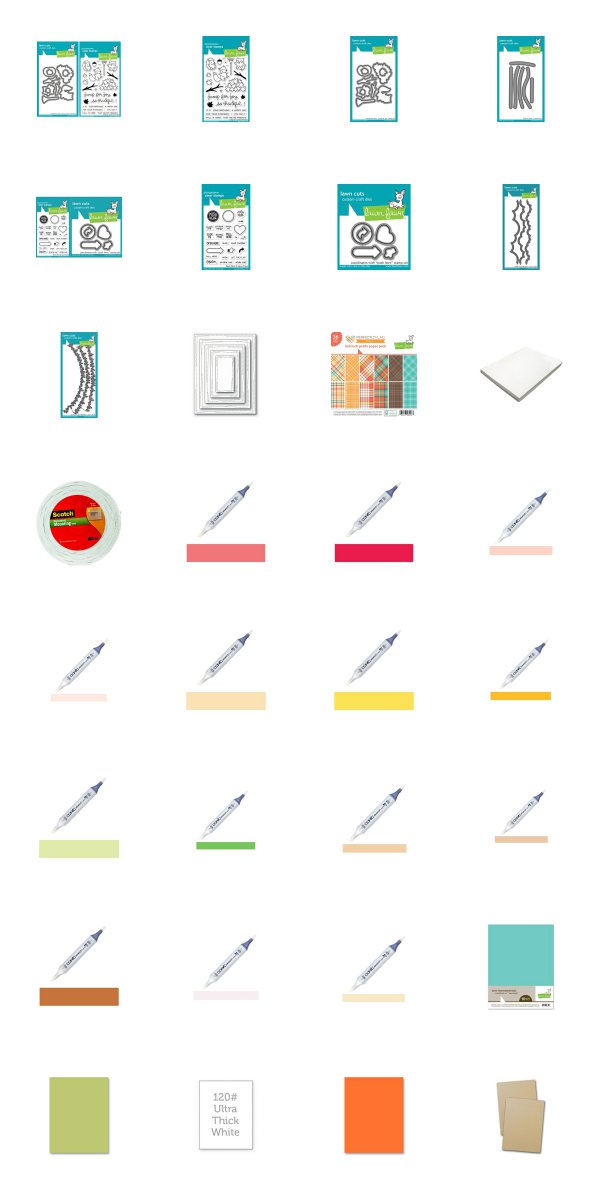
SUPPLIES
Blog Candy Alert!! Follow our blog via email and comment on this post for a chance to win grab bags and blog candy! Remember to tag your awesome projects with #simonsaysstamp on social media so we can see what you are creating!


