Be Brave Journal Page
Hi friends! Happy Sunday! Thanks for tuning in today! I’m so pleased to welcome back the amazing Anna-Karin Evaldsson back to our blog as a guest writer today! To see more of her fabulous work, be sure to tune into our Monday Challenge Blog each week. For now, keep on scrolling to see how Anna-Karin created this gorgeous canvas page and enjoy!
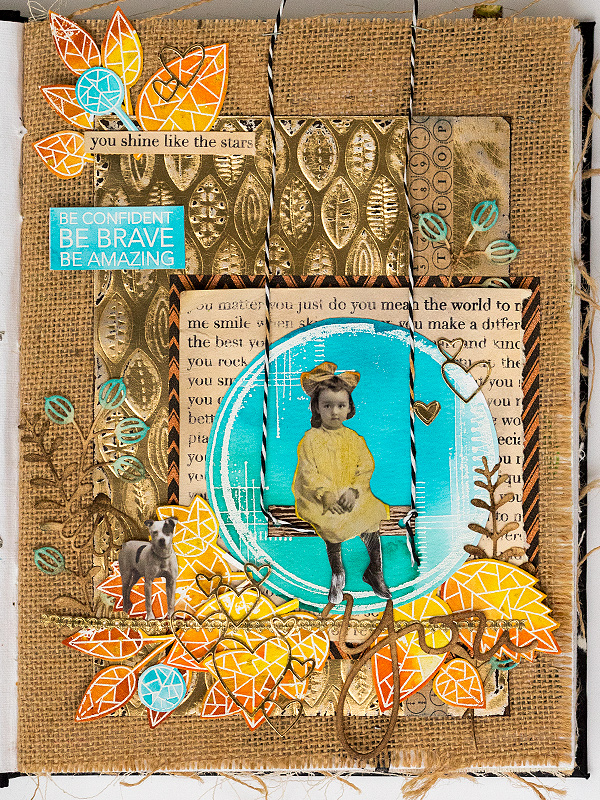
Hi everyone! I am so happy to be here today with a fun and easy tutorial. Outside my window, most leaves have now fallen, after a really beautiful autumn season, and winter is knocking on the door. We had our first flurries of snow today. I was in the mood for an art journal page with some lovely fall leaves, but the techniques work just as well for cardmaking, scrapbooking, tags or 3D projects.
Fall is such a beautiful and vibrant part of the year, full of color and texture, and I wanted to capture that on an art journal page. I really like Dina Wakley’s Media Journal, which has four different surfaces: cotton rag watercolor, canvas, kraft and burlap. The latter works great for depicting the texture of fall, so I worked on one of the burlap pages. There are different types of leaves, and various layers on the page, but I avoided bulky elements, so that my art journal will close relatively flat.
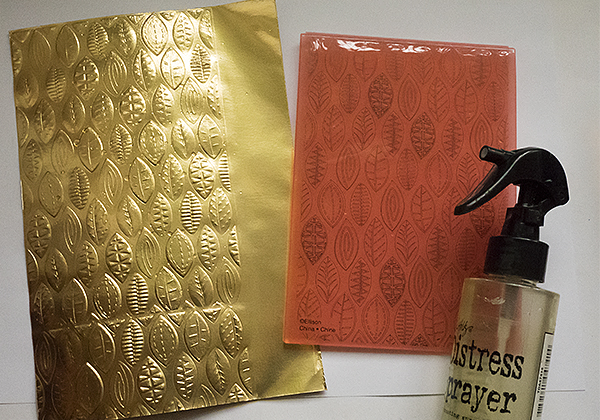
1.I wanted lots of gold on the page and embossed a piece of gold kraft paper (5.5 x 8 in) with Sizzix Impressions Leaves 3-D folder. These folders work best if the paper is slightly moist, so mist the gold paper on the back with water first. Use this sandwich: Sizzix Multipurpose Platform Tab 1, 3-D folder with paper inside, Cutting Pad. Repeat for the lower part of the paper. As you can see, I left the right-hand side of the panel without embossing, just for a different look from what I normally do.
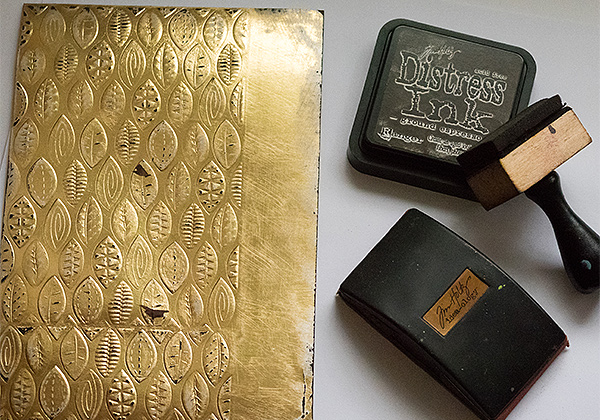
2.Sand the embossed area and the edges slightly and then ink with Ground Espresso. The ink will stick to the areas where the gold was sanded off.
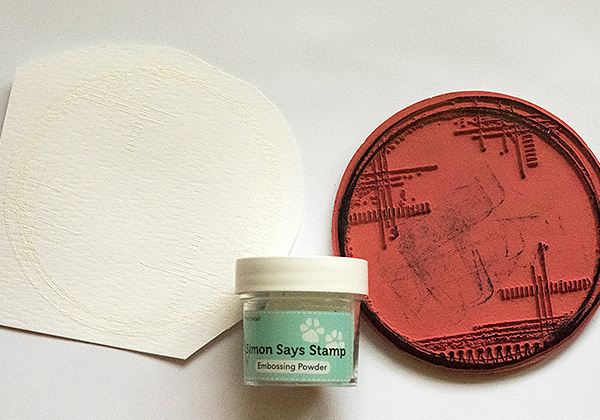
3.White emboss Wendy Vecchi’s Collage Circle on watercolor paper. Always be careful when using a heat tool so that you don’t burn yourself. (I am sorry about the slightly grainy photo, I had forgotten to change the ISO settings on my camera).

4.White emboss various leaves from the SSS Fractile Leaves set, also on watercolor paper.

5.Roughly cut out the circle and leaves. Smear Distress Inks on a non-stick craft sheet, mist with water and press the papers into the ink. The embossing will resist the ink. Try to vary the look of the leaves.
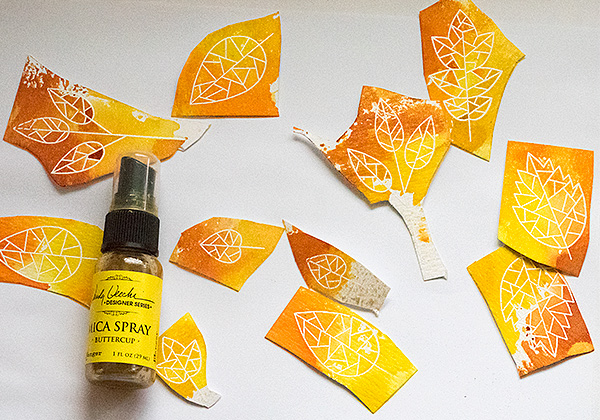
6.To make the leaves shine, they were misted with Buttercup Mica Spray.
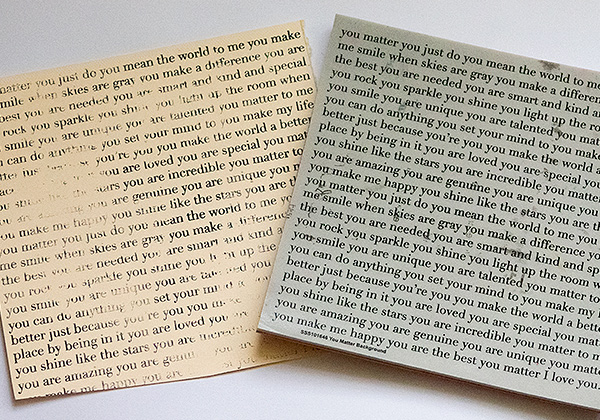
7.Stamp the You Matter Background stamp with Jet Black Archival Ink on manila cardstock. Don’t worry about getting a perfect impression. I wanted a partially stamped look.
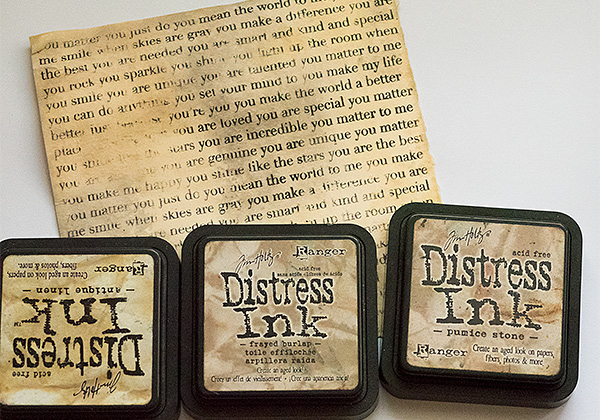
8.Smear Distress Inks on a craft sheet, mist with water and press the paper into the ink to distress it.
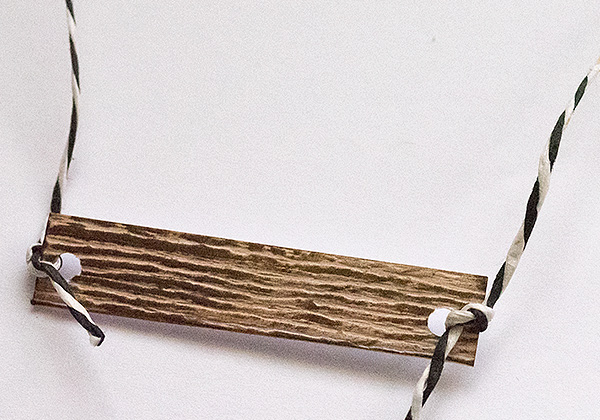
9.Cut a rectangle of woodgrain paper and ink it with Ground Espresso. Punch holes in the ends and tie with twine, to create a swing.
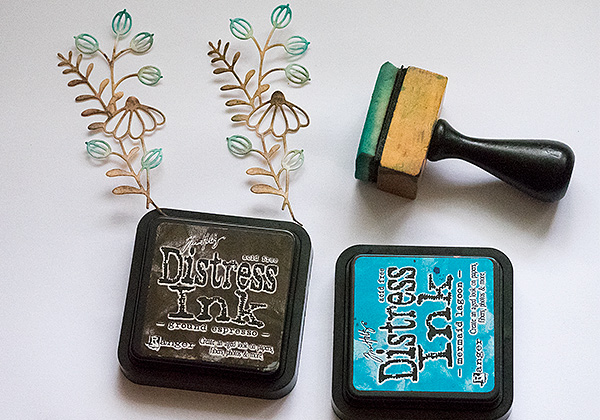
10.Die cut two Cottage Stems from manila cardstock and ink with Ground Espresso and Mermaid Lagoon.
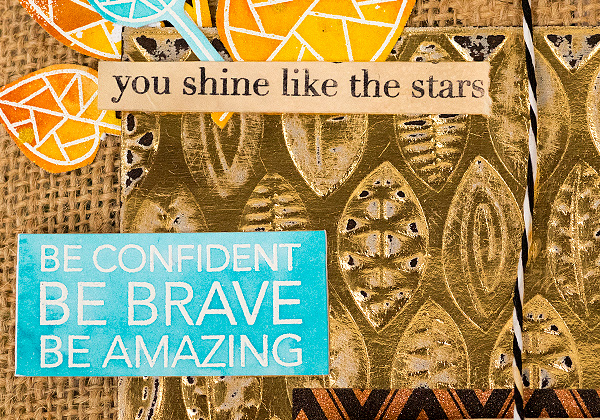
11.For the sentiments, I cut a line from the You Matter stamped background and also white embossed a sentiment from Uplifting Thoughts. The panel was colored in the same way as the blue circle. Here you can also see the effect of the sanding and inking on the gold paper better.
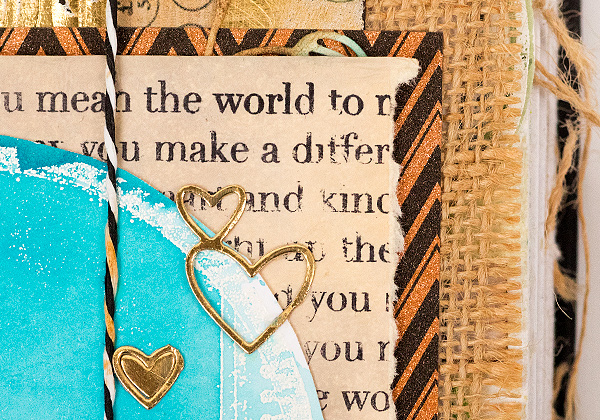
12.Tear some of the edges of the You Matter stamped paper and place a Halloween Deco Sheet underneath. Glue the blue circle on top. Everything was glued down with Distress Collage Medium Matte. The hearts were die cut with the Clipping Heart die.
13. I adhered a piece of design tape down the length of the embossed gold panel.
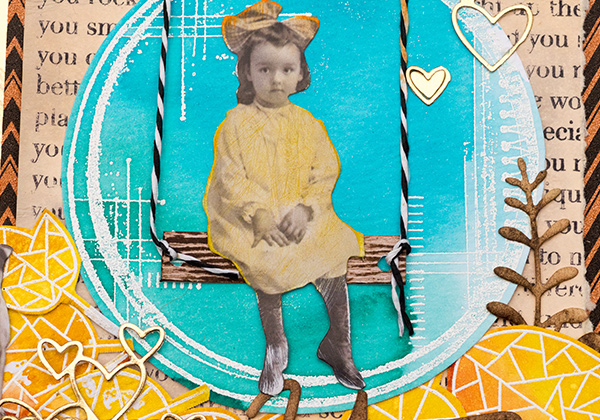
14. Glue the swing and a girl from Tim Holtz’s Paper Dolls set on the blue circle. She was colored slightly with Mustard Seed and Spiced Marmalade Distress Ink.
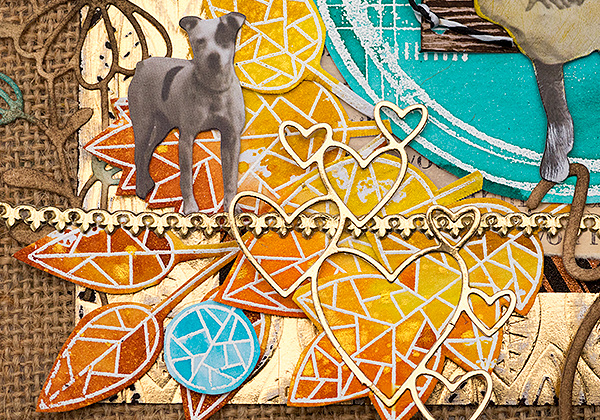
15. Tuck leaves below the circle to make it look like the ground is covered in leaves. I also added a Paper Doll dog, more hearts and a piece of Prima Dresden trim.

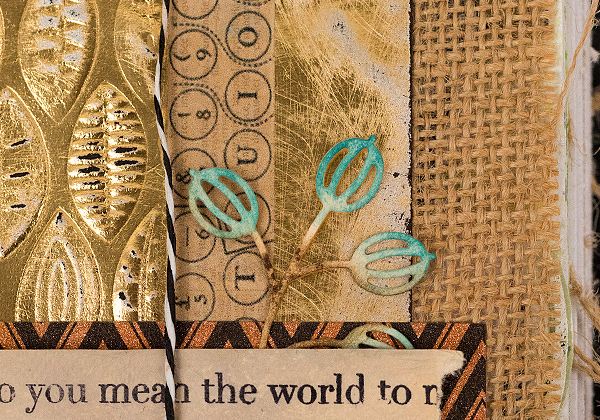
16.Glue the Cottage Stems in place. I cut one of them into two pieces.
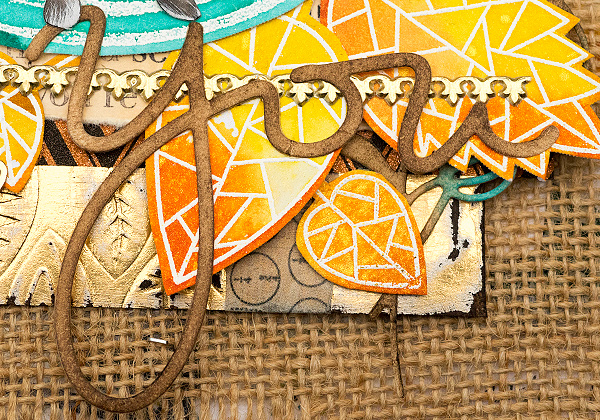
17.I also die cut You from manila cardstock and inked with Ground Espresso. This is a favourite die of mine, since it is so versatile.
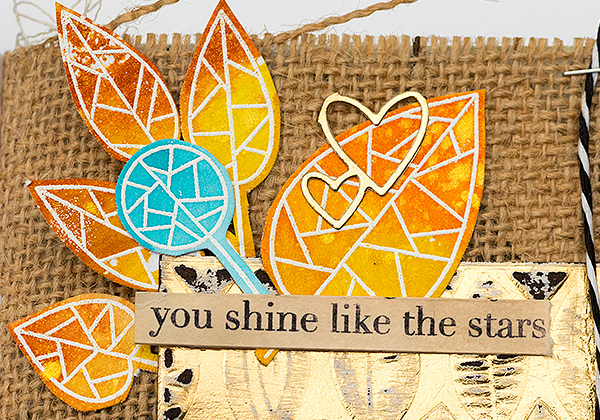
18.Add a little group of leaves at the top left corner of the page too. I hope you enjoyed this tutorial and that it inspired you to do a fall themed project, or play around with textures or Distress Inks.
Thank you so much for looking! Happy crafting! Anna-Karin
Supplies:
|


Thanks so much for reading, and thanks again to Anna-Karin for the fabulous inspiration!

Blog Candy Alert!! Follow our blog via email and comment on this post for a chance to win a special blog candy!
Art Journaling: To Dreamland with Shari Carroll
One of the things I like most about art journaling is the process. I also love how my ideas morph as I am creating. The morphing is not visible to you so I’ll try to explain it a bit.
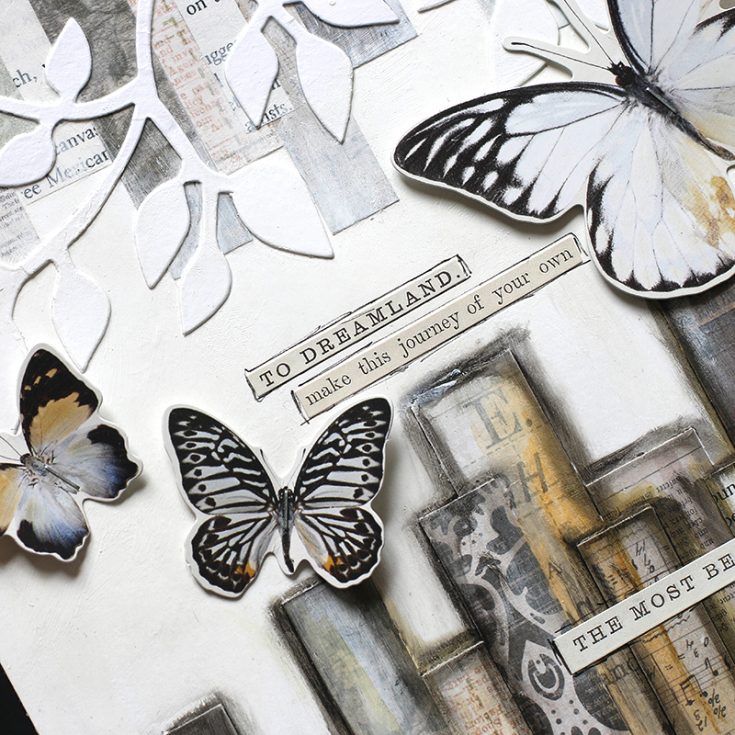
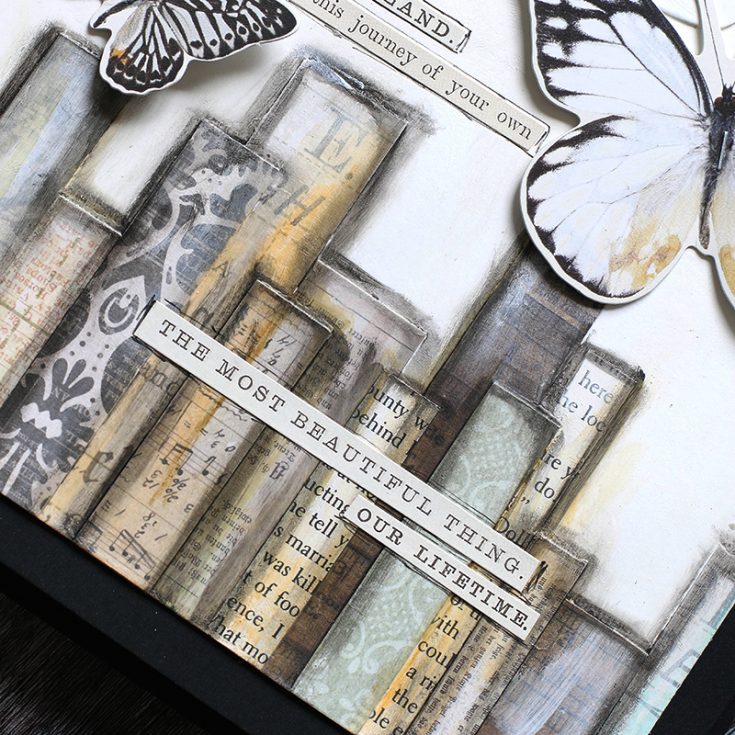
I started with strips of paper to create a border which I was going to paint with more vibrant colors and use bold words for journaling in the center. But once I had my strips glued in place they looked more like a cityscape to me. I went with the city scene feeling and dulled down my color choices with muted tones. I added white gesso to the top to fade the papers to resemble a sky. My new thought was an escape from the mundane…taking flight to the sky!
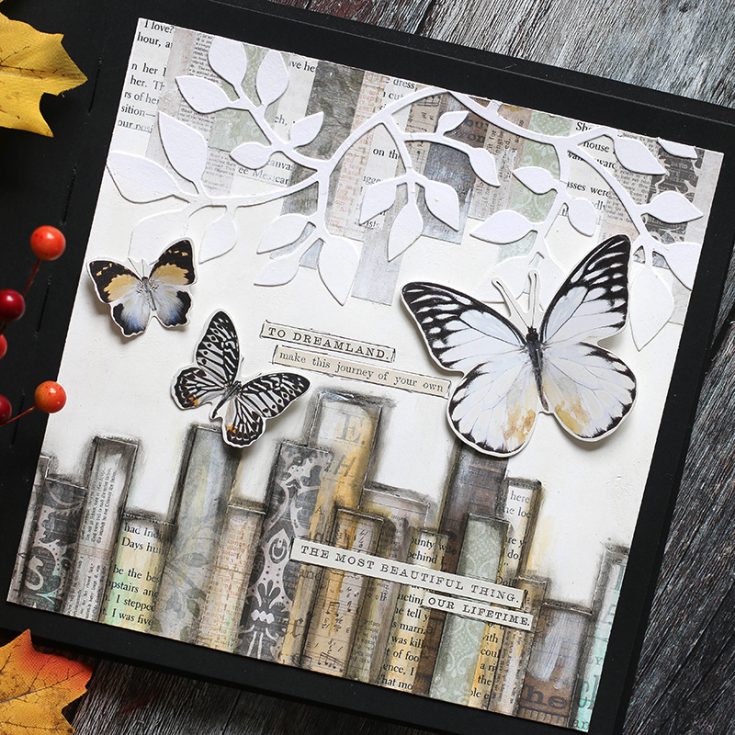
I added white vines of leaves for the butterflies to have a place to go. This was feeling right to me to escape and fly away with my dreams. BUT…. it also resembles books where the stories can take you off to dreamland as well.
Either way… the elements on this page along with the word strips work together to take me away to my journey.
I have filmed the process of this page which you can view below or on our YouTube channel HERE.

Blog Candy Alert!! Follow our blog via email and comment on this post for a chance to win a special blog candy!
Does your work change as you are in the process of creating? I’d love to hear about it. Thanks for coming by, I hope you find time to create something magical this weekend! enjoy!
|


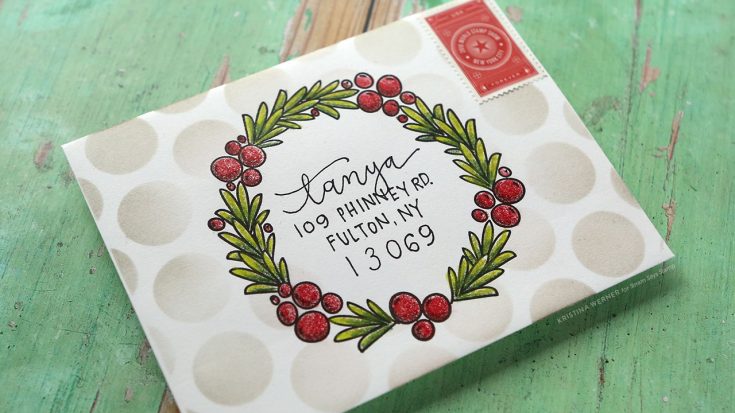
Monthly Mail Art with Kristina Werner – November 2017
Happy Friday, all! Kristina here with another Monthly Mail Art installment. :)
For this month’s envelope, I thought I would create a festive, holiday-themed envelope. I used Avery Elle’s Festive Wreath stamp set to stamp a large wreath in the center of a white envelope. I then used Prismacolor colored pencils to color the wreath.
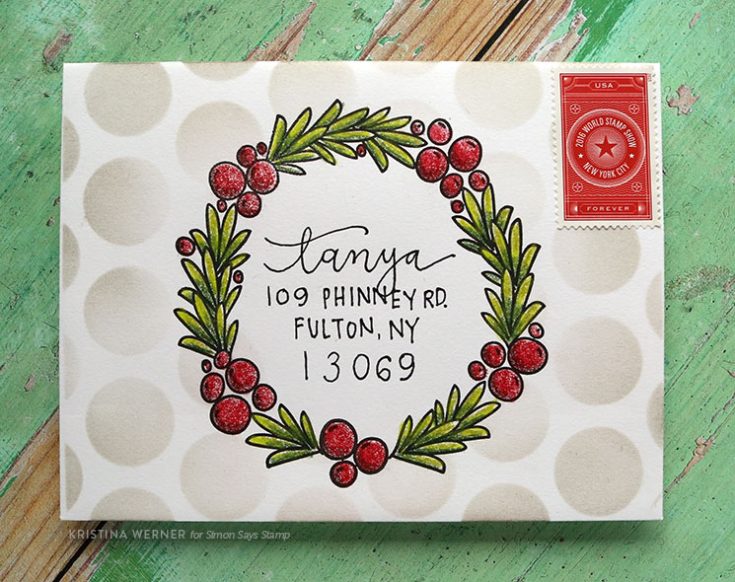
The envelope seemed a bit blank, so I then used a large dot stencil and Pumice Stone Distress Ink to add a pattern to the area outside of the wreath. I did the same thing last month to finish that envelope scene. This does the same effect for this envelope. It helps it to look finished. :)
For a bit of shimmer, I added some Wink of Stella Glitter Brush Pen in clear to the red berries on the wreath. The mailing address was written with a Pilot Envelope Addressing pen.
NOTE: Address used with permission. Thanks, Tanya!
Thanks for stopping by today! :)
Supplies
|


