50% Off ALL Simon Plush Dies in March!

Happy March 1st, crafty-peeps! If stitching makes you HOPPY, then you’ll want to hear this…
While supplies last, a select assortment Simon Says Stamp brand Plush dies are 50% off! No code is required to take advantage of these fabulous Spring savings; start shopping the Plush Die collection HERE or click/tap on the image above!
What Would Kelly Make: February 2018
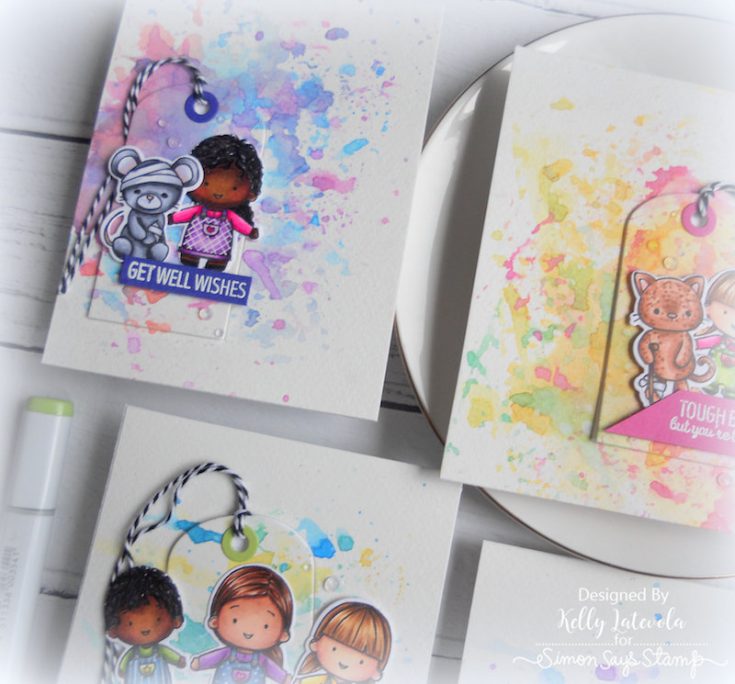
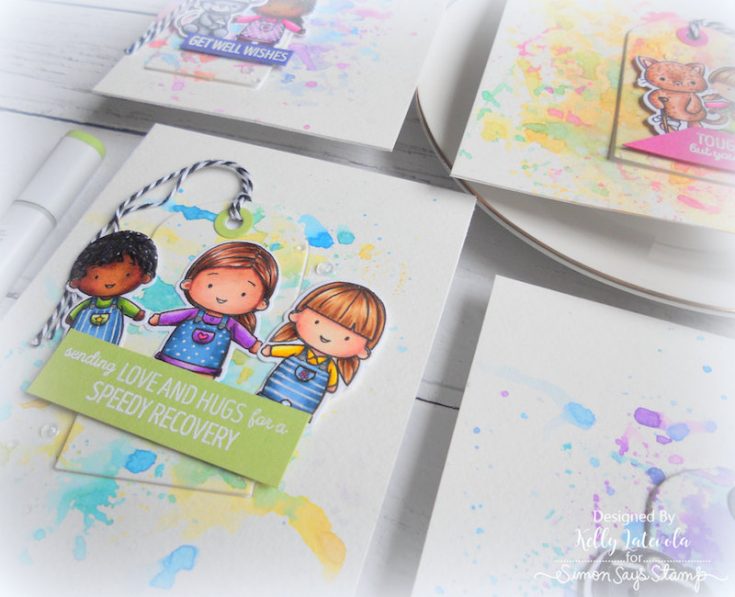
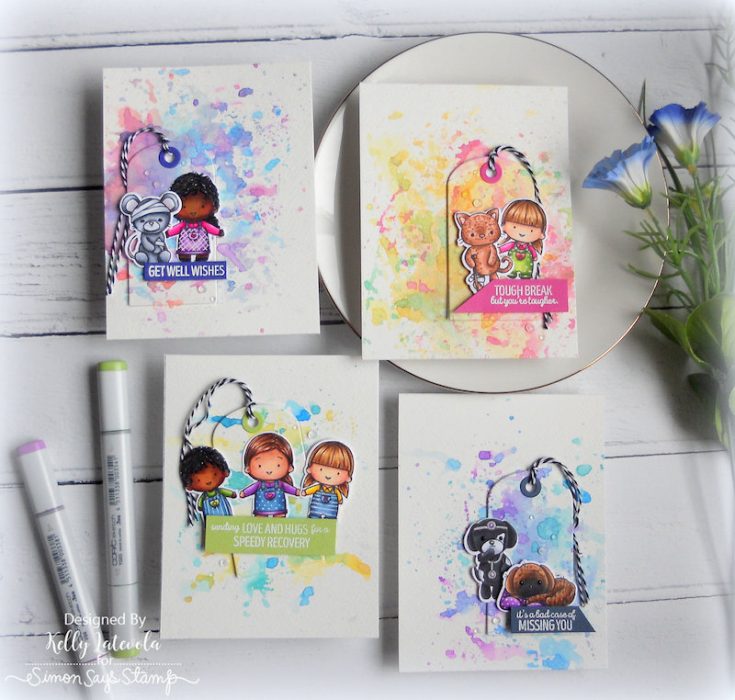
Hi friends! Welcome to the second installment of What Would Kelly Make for 2018! This month, Kelly Latevola focuses on a very fun ink smooshing technique using the super adorable Garden Buddies and Get Well Gang clear stamps and dies from WPlus9! She also used the Timeless Tags 2 from WPlus9. Smooshing was achieved using Oxide Distress Inks! Be sure to check out both the Technique and Full Card video for more information and enjoy!
WATCH THE TECHNIQUE:
WATCH THE FULL VIDEO:
SUPPLIES:
|


Thanks for reading today, and thanks to Kelly for being our guest!

Blog Candy Alert!! Follow our blog via email and comment on this post for a chance to win special blog candy!
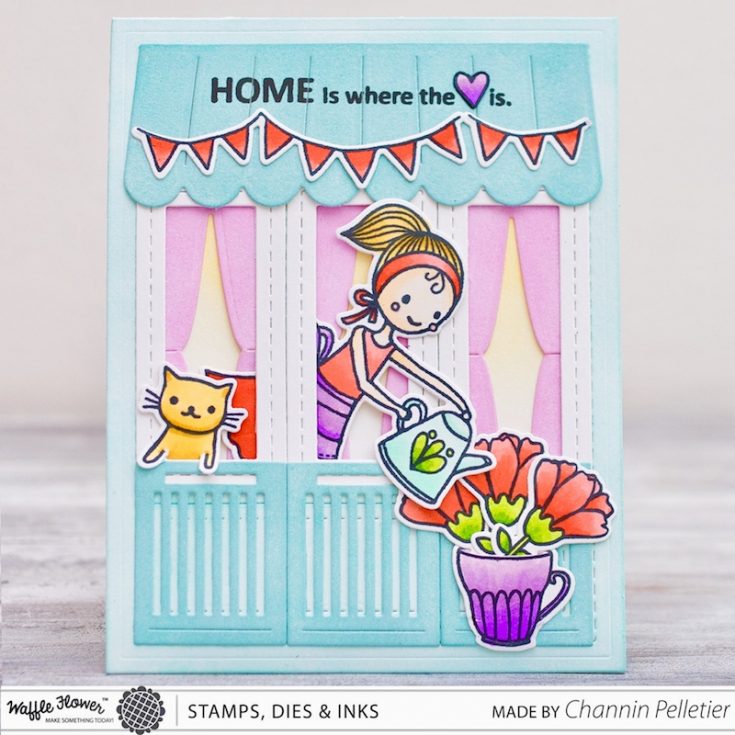
Home is Where the Heart Is by Channin
Hi friends! Happy Tuesday! Thanks for popping by this afternoon for a second post! I think you’ll LOVE this brand new super sweet Waffle Flower inspiration by Channin Pelletier. Be sure to watch the video for more information and enjoy!
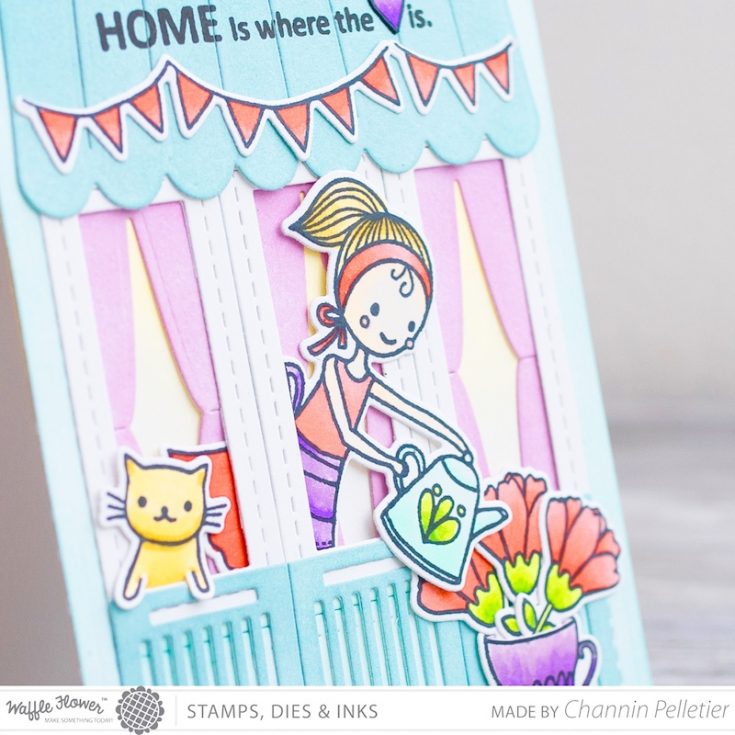
Hello everyone! It’s Channin here and I am so excited to be back at Simon Says! Today I’m sharing with you all a sweet card I created with some of the new products from Waffle Flower Craft’s Spring Release!
WATCH THE VIDEO:
First, I die cut a grid panel using the A2 Grid Panel Die and then 3 window frames, 3 curtains, 3 balcony railings, and one awning using the Apartment Builder Die from 110lb Neenah Classic Crest Solar White cardstock. Next, I cut off the center sections dividing the 2nd and 3rd rows of squares with a pair of scissors to create 3 columns. I then ink blended the entire grid (including the rectangle negative piece at the bottom of the grid) with WF’s New Fish In Pond Dye Ink and a Mini Ink Blending Tool. I then blended the awning and balcony railings in WF’s Peace of Mind Dye Ink and the curtains in WF’s Happy Go Lucky Dye Ink.
I then stamped several images from the Tea Party Stamp Set in Memento Tuxedo Black with a MISTI on a scrap of white cardstock. I also stamped the heart portion of a sentiment from Flora Home Stamp Set. I then Copic colored the images and then die cut them out with the matching dies, except for the heart, which I cut out with scissors. I then trimmed the saucer off from the teacup and used a white Gelly Roll Pen to cover the remaining lines of the saucer. I also colored the edges of the tiny fussy cut heart with a Black Tombow Brush Pen so it will blend in seamlessly when I later adhere to the sentiment.
I then stamped a sentiment from the Flora Home Stamp Set in Versafine Onyx Black on the balcony using a MISTI. Next, I assembled the apartment, using Tombow Mono Multi Liquid Glue to hold all the elements together. With the apartment fully assembled, I then adhered the stamped images. Lastly, I ink blended WF’s Oh Happy Day to the front of an A2 top-folding (4.25” x 11”, scored & folded at 5.5”) white card base then glued the apartment panel to the front.
I hope you enjoyed today’s card, thanks so much for stopping by!
~Channin
SUPPLIES:
|


Thanks for reading, and thanks to Channin for being our guest!
Blog Candy Alert!! Follow our blog via email and comment on this post for a chance to win special blog candy!


