Mixed Medium: Oh Christmas Tree with Shari Carroll

It’s Christmas Eve!!! I’d like to take a quick moment and wish you all the very best the season can bring. I hope that all your wishes come true and you have a chance to enjoy time with your family and friends; cherish the moments and don’t forget to take pictures!!!
I thought it would be fun to create a bright and cheery mixed medium project where the happy just pops! I’ve used some new product that I’m absolutely in love with. It’s by Jane Davenport. The papers and pieces make collage so easy. You may think I painted the background, but it’s actually Jane’s paper! Woah…. right??
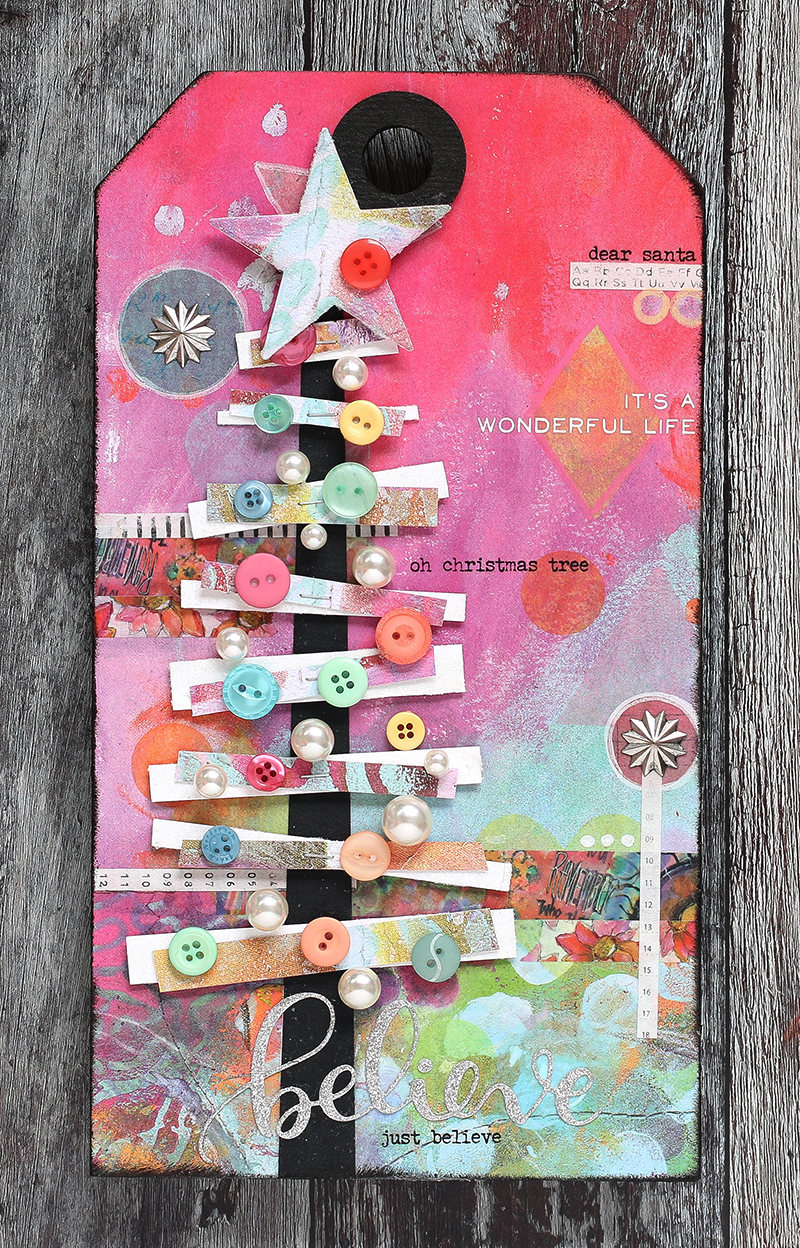
I started off by covering the Tim Holtz Small Tag Thickboard with paper using her Medi-Yum. From there I added tissue shapes, Fantastical Washi Tape, Journal Tape strips and Self Adhesive Tissue shapes.
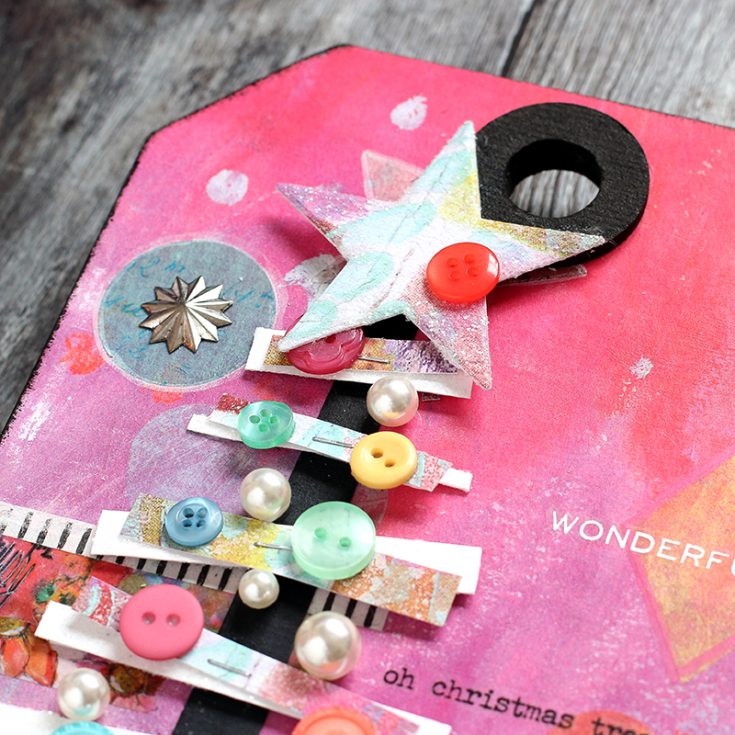
Then I went to town cutting strips of white paper and Jane’s paper for my tree. I added Rock Candy Distress Glitter to the white pieces and stapled the pattern pieces on top. Then I added colorful buttons (from my stash) and some Tim Holtz Baubles for decorations.
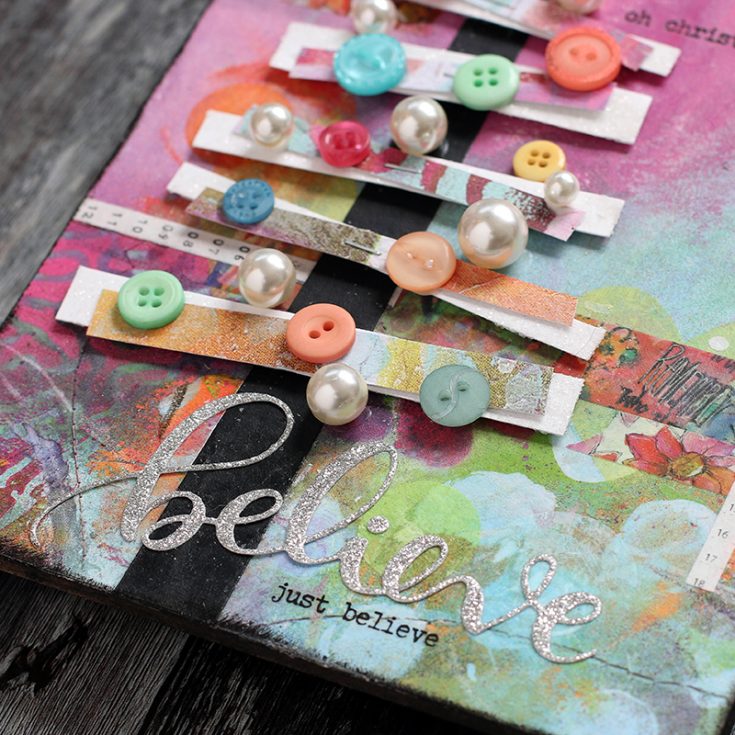
Once I had my tree decorated I added some wording. I used the Tim Holtz Christmas Remnant Rubs for my small messages and the Simon Says Stamp Believe Die for my main title.
I filmed the complete process which you can view below, or on our YouTube channel HERE.

Blog Candy Alert!! Follow our blog via email and comment on this post for a chance to win a special blog candy!
Thanks for stopping by. I hope you have a blessed holiday!
|


Doodling with Debby: Winter Thanks
Hi friends! Happy Saturday, thanks for stopping by today! Today we’re back with a brand new Doodling with Debby feature where Debby Hughes makes a truly beautiful winter thank you card! It’s perfect for replicating to send out cards to those you received gifts from around the holidays! Be sure to watch the video and enjoy!

Hi, it’s Debby here today with my monthly feature for Simon Says Stamp, Doodling With Debby. Although Christmas is almost here, I’m still using my Christmas supplies but changing up the sentiment to create a thank you card. In the modern world of texting and messaging, I still find that a handmade card goes down a treat to truly express gratitude for a Christmas gift.

I started this card with a design I like and often use – a collection of overlapping circles creates a dynamic design which draws the eye around the card. I decided to watercolor a richly colored background to showcase the beautiful Joy Snowflake die. However, this design works great to use up patterned paper too.
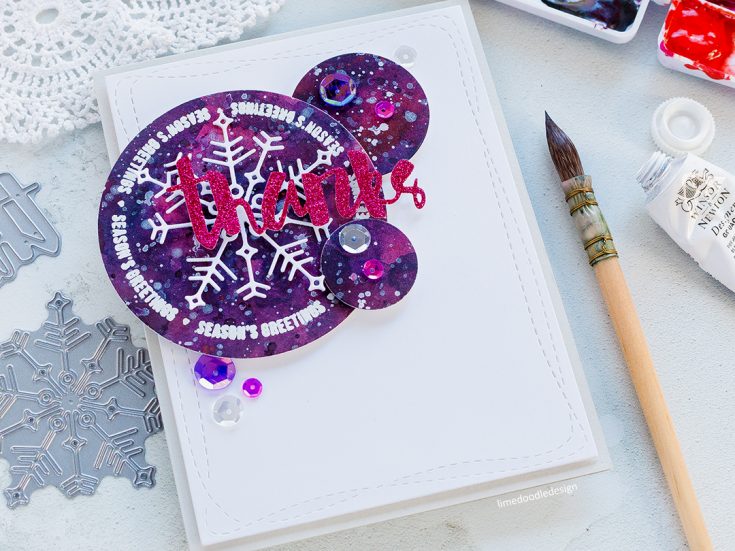
I taped a piece of Arches Hot Pressed watercolor card to a board and loosely watercolored a base layer of Quinacridone Coral and Rose of Ultramarine. I layered over the top of this brighter layer a deep Indigo, leaving lighter areas so that the colorful base layer shone through in places. I splattered the piece with a solution of Perfect Pearls and then white gouache to give sparkle and bright white highlights respectively.
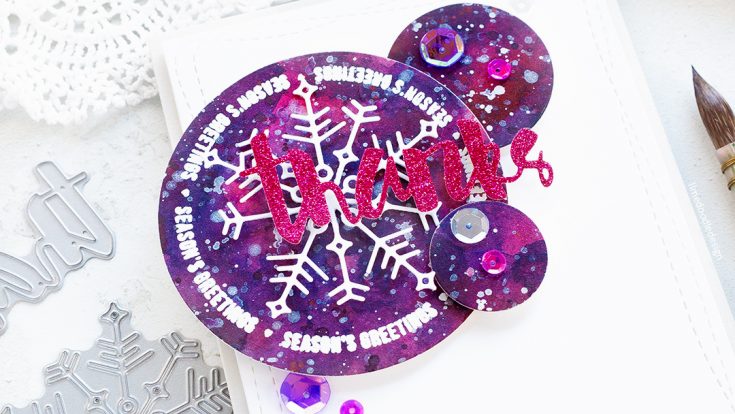
I dried the watercolor panel and stamped a Circle Sayings Holiday sentiment with clear embossing ink and then white heat embossed. After which, I used the Nested Circle dies to die cut the sentiment circle as well as two other circles. From white card, I also die cut a Joy Snowflake and a Wonky Rectangle and from Magenta glitter card I die cut the Painted Thanks die.
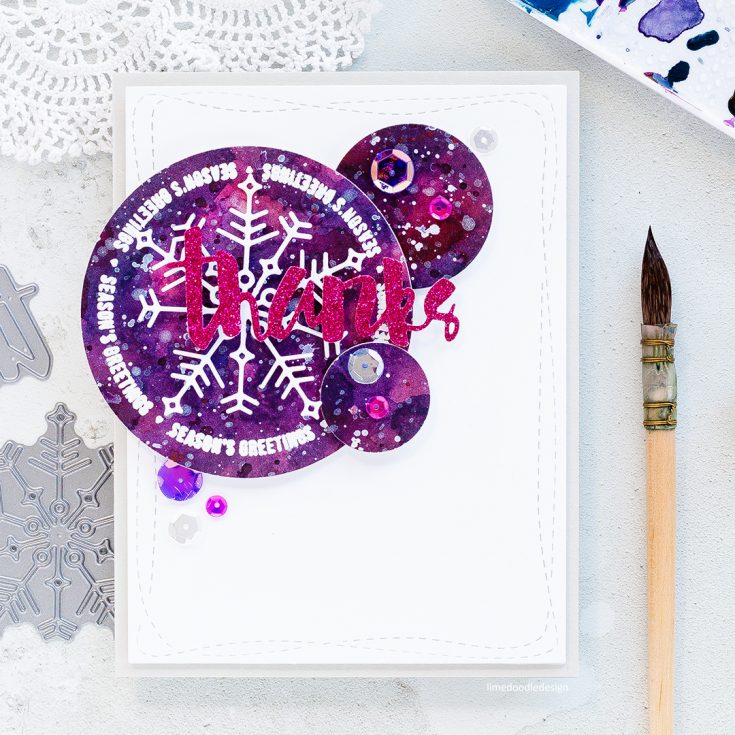
With all the elements prepared, I foam mounted the design together with the white Wonky Rectangle on to a Fog card base and then the circle elements, snowflake and thanks sentiment offset to the top left of the card. I embellished with Amethyst, Pixie Dust, and Snowfall sequins to finish.
Thank you for joining me today and I’ll see you next time for Doodling With Debby!
Watch the VIDEO:
Watch below or in HD on YouTube.
SUPPLIES
|


Thanks so much for stopping by today, and thanks to Debby for being our guest!
Blog Candy Alert!! Follow our blog via email and comment on this post for a chance to win a special blog candy!
Easy One-Layer Blended Cards – More Monthly Card Kit Inspiration with Kristina Werner!
Hi all! Kristina here with some more card kit inspiration using the January 2018 card kit! I know Christmas hasn’t quite come yet, but as cardmakers our Christmas cards are in the mail (hopefully!) and we’re now looking toward the next big card holiday–Valentine’s Day! The January 2018 card kit is perfect for some fun, easy one-layer cards.
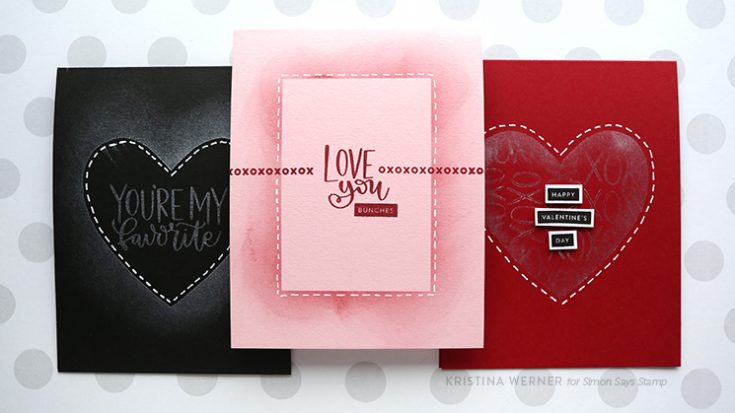
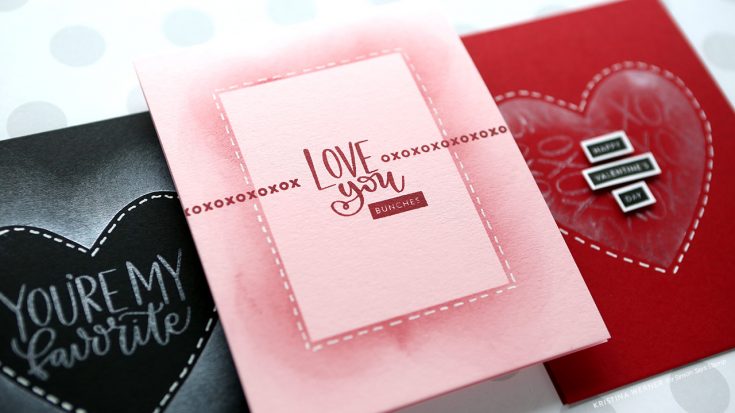
I created three simple cards using stamping and blending, and the new Really Like You stamp set (available in the kit, or separately as well). The Pink Shimmer Delicata ink in the kit in perfect for this since it’s a pigment ink and shows up on darker surfaces.
To create a heart mask, I folded a piece of masking paper in half and cut out half of a heart shape. Once unfolded, it created the perfectly symmetrical heart mask. I used this heart mask for blending off the heart shape on the black card, and for stamping and blending within the heart shape on the red card.
On the pink card, I did simple stamping with Schoolhouse Red ink, and then placed a rectangle mask over the stamping area. I blended more red ink off the edges of the mask. Once peeled away, the masked area created a faux-layer effect.
I hope you enjoyed today’s cards! You can pick up the card kit HERE, or subscribe to have the kit and future kits automatically shipped to you.
Supplies
|


