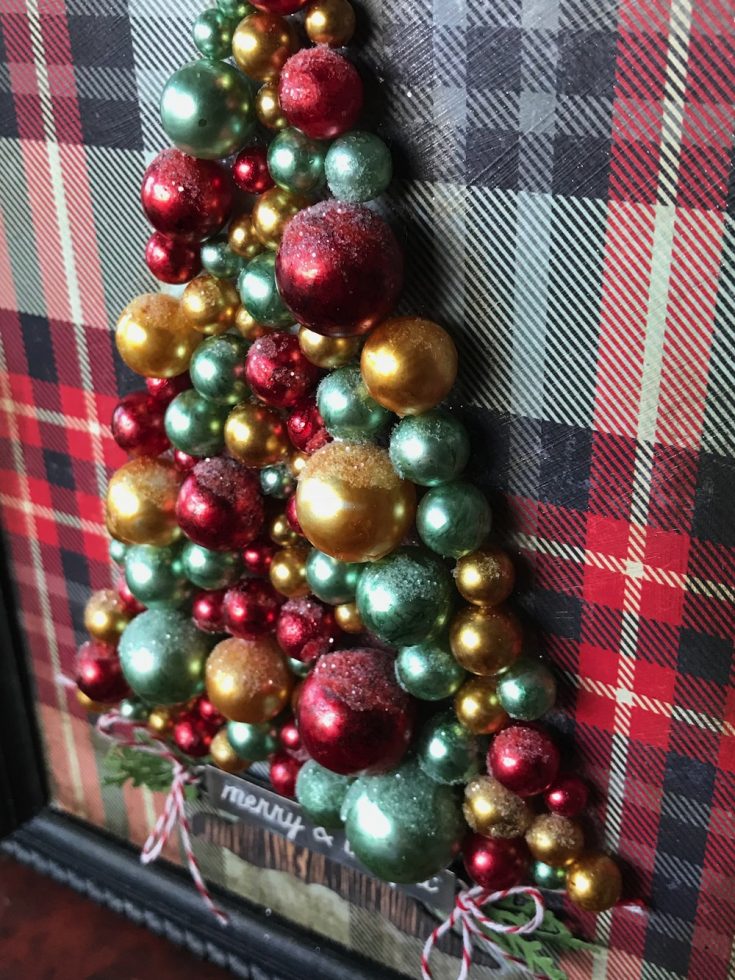
Tim Holtz Bauble Tree by Paula Cheney!
Hi friends! Please join me in welcoming back the incredible Paula Cheney as a guest on our blog! She has made a truly gorgeous Bauble tree that would be super fun to recreate and add a festive decoration to your home! Read on to learn more!
Hi friends!
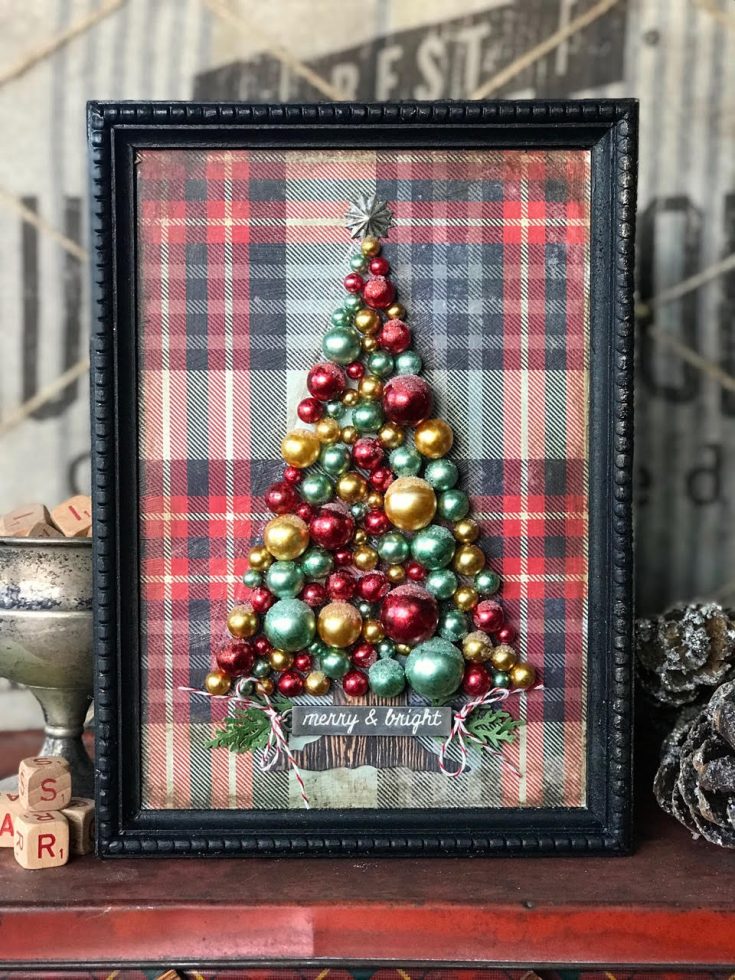
I’m glad to be here on the Simon Says Stamp blog sharing a super fun Christmas project! I absolutely loved making this project and to be honest I want to make more with different colors of Alcohol ink! Once you read through the instructions you will see how easy this project is…a little chipboard, Alcohol Ink and Baubles and you are half way there! Follow along and I’ll show you how I did it:
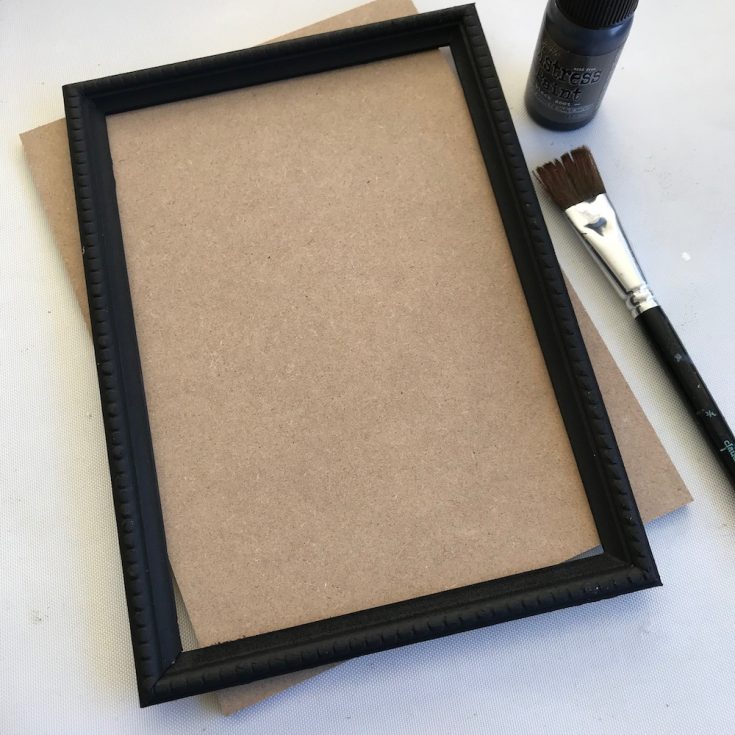
Step 1: Paint Framed Panel with Black Soot Distress Paint. Let dry.
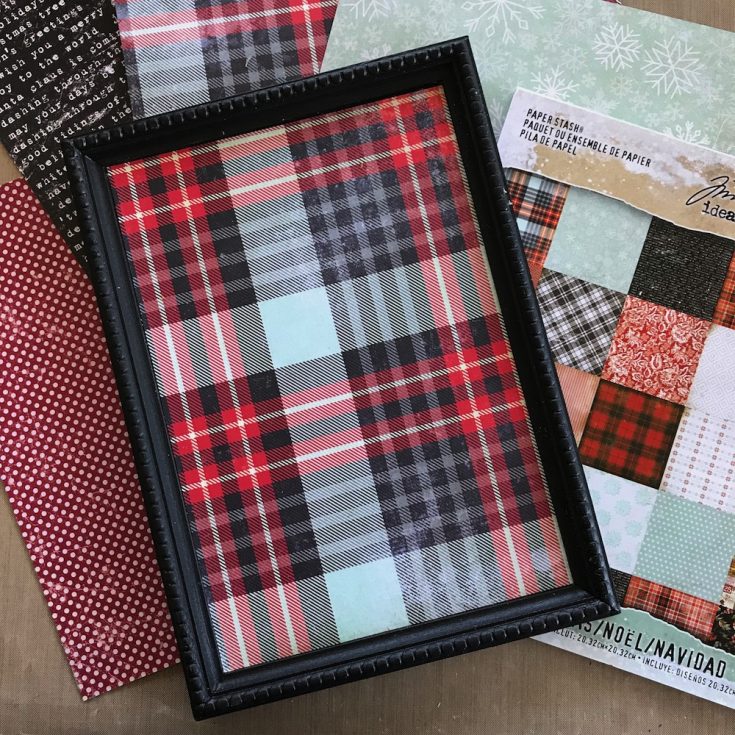
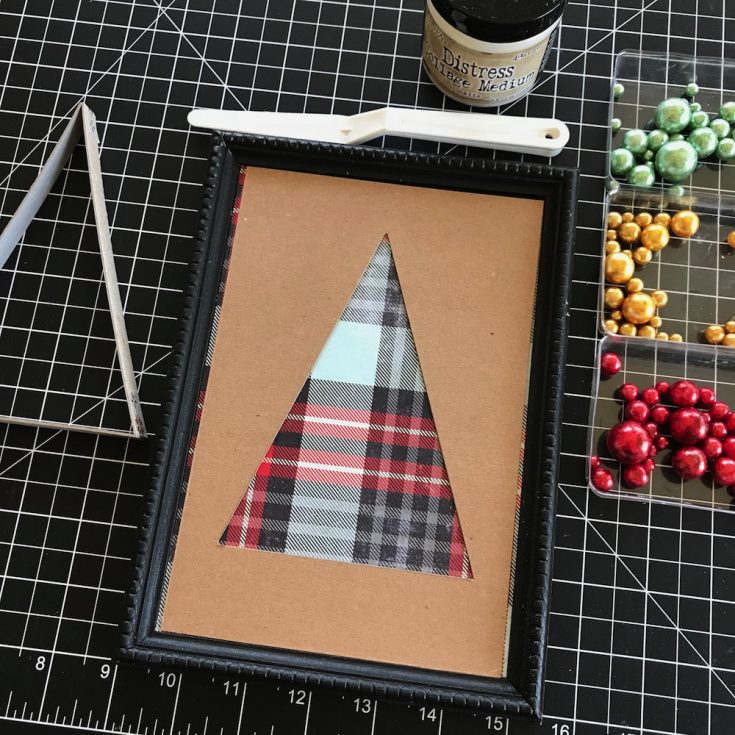
Step 2: Use Collage Medium to glue the painted frame to the panel. Cut paper to fit the frame. I used the turquoise and red plaid found in the Christmas Paper Stash but there are many other choices on the pad that would work beautifully. Paint a thin layer of Collage Medium over the surface of the paper to seal (do not skip this step). Let dry.
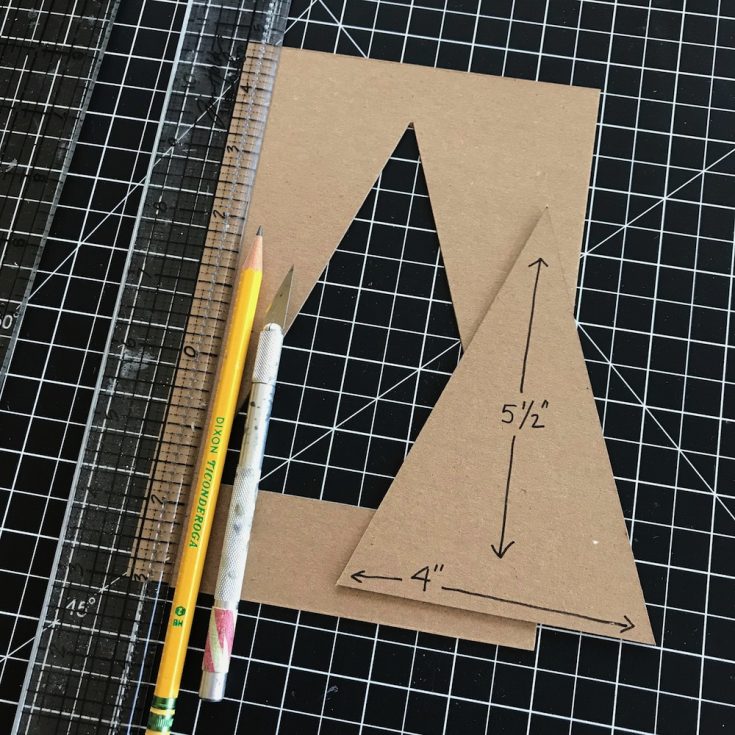
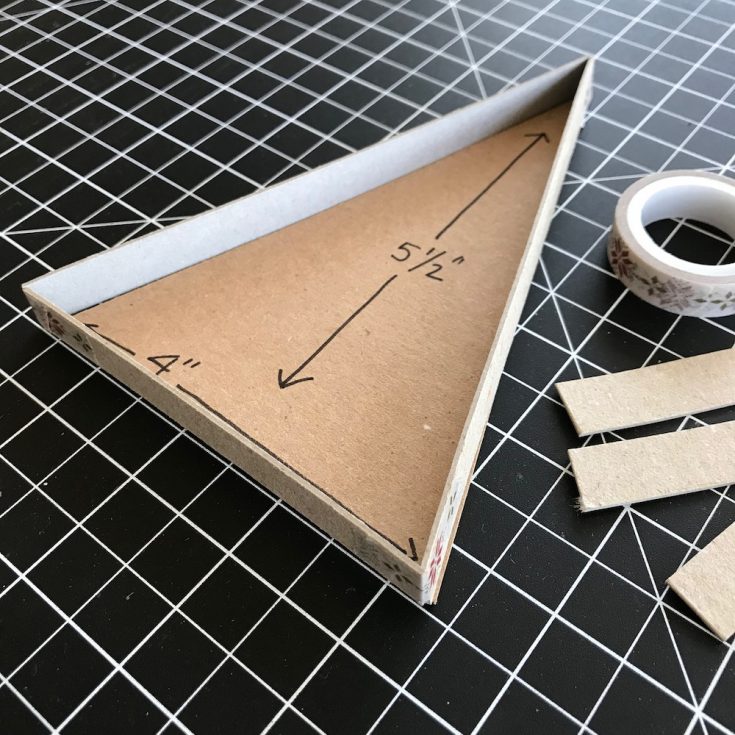
Step 3: Using a piece of chipboard, cut out a triangle 4” wide and 5 1/2” tall. Cut another piece of chipboard to fit the opening of the Framed Panel. Place the triangle on top of the chipboard exactly where you want the tree to be in the Framed Panel. Use a pencil to draw a line around the triangle, then cut out using a Design Ruler and knife. Discard the center cutout.
NOTE: I found it much easier to cut the triangle shape first so I could test the size in the opening of the Framed Panel before cutting the final stencil.
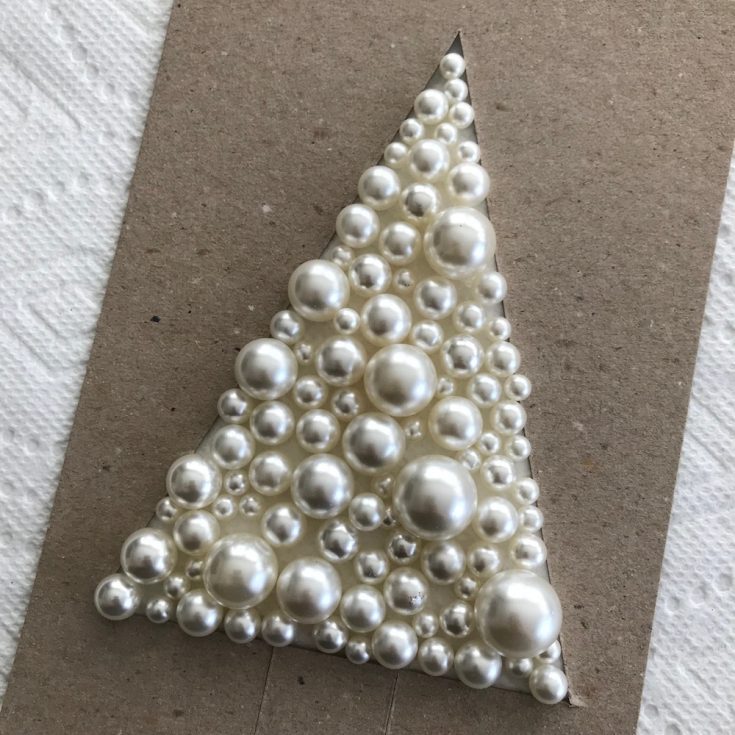
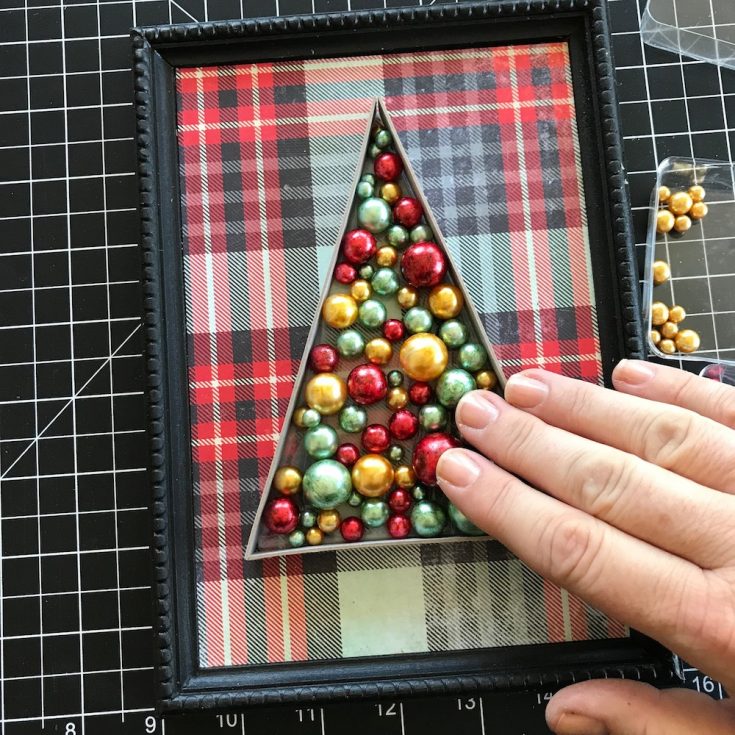
Step 4: To find out how many Baubles you will need to create your tree, lay the stencil over a paper towel and fill the space (the paper towel helps keep the Baubles in place). I used 1 full package + about half of a second one. You can see in the picture that you need quite a few of the smallest size to fill in the gaps.
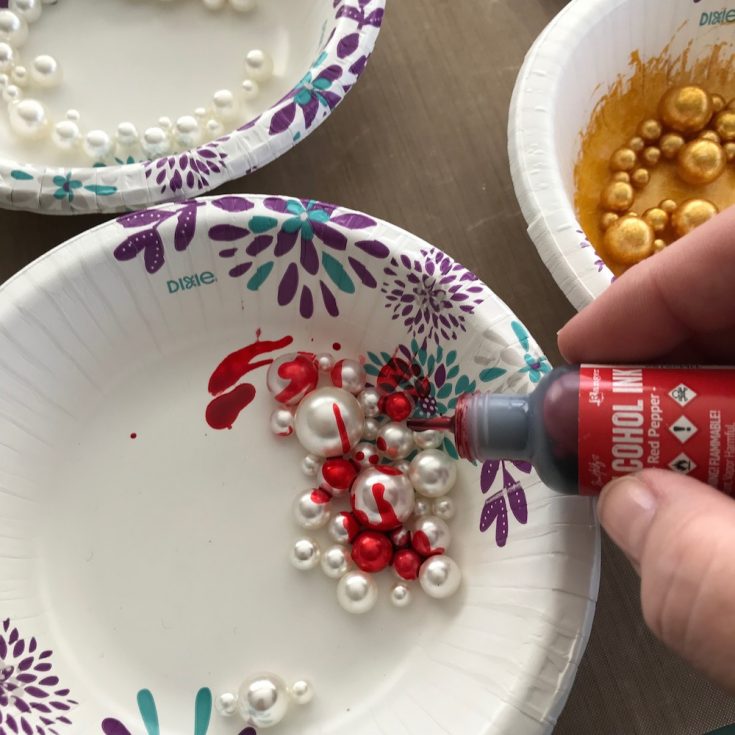
Step 5: Once you determine the amount, randomly split the Baubles into three dishes or plastic bags. Drip a bit Alcohol Ink over the top (a little goes a long way) and roll them around in the dish or if you are using a plastic bag, squish them around until they are covered, then dump them out onto a paper plate to dry.
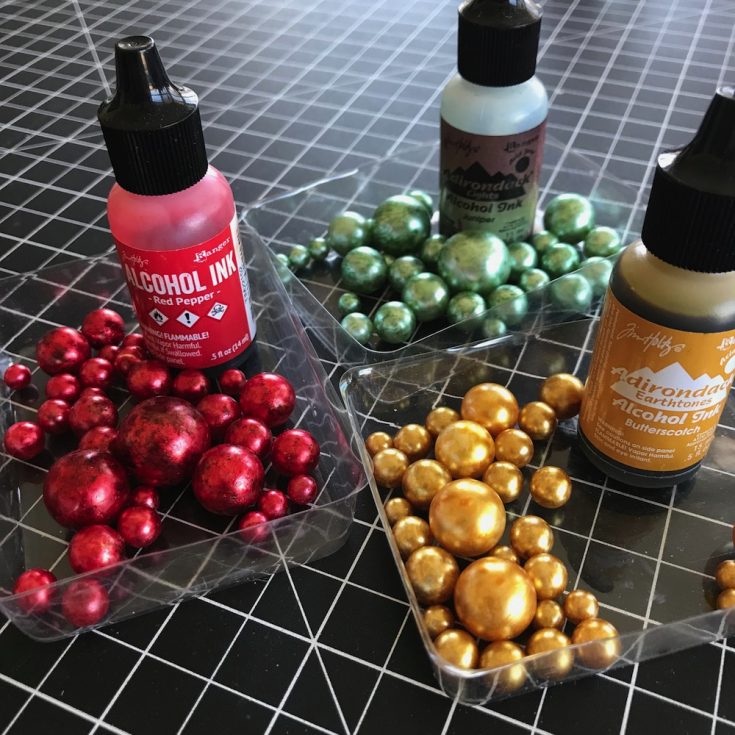
Step 6: I used Red Pepper, Butterscotch and Juniper (one of my all time favorite colors) to color the Baubles. I swear I could color these all day long!
Step 7: Back to our original triangle template. Lay it on a flat surface. Cut three chipboard strips at least 3/4” wide. Cut each strip to match one side creating a triangle “corral”. Use tape to secure each corner. The original triangle should be able to drop out of the corral like cutting out cookies with a giant cookie cutter.
Step 8: Place the stencil you created earlier into the Framed Panel. Gather all supplies needed for the next few steps as you want to work quickly.
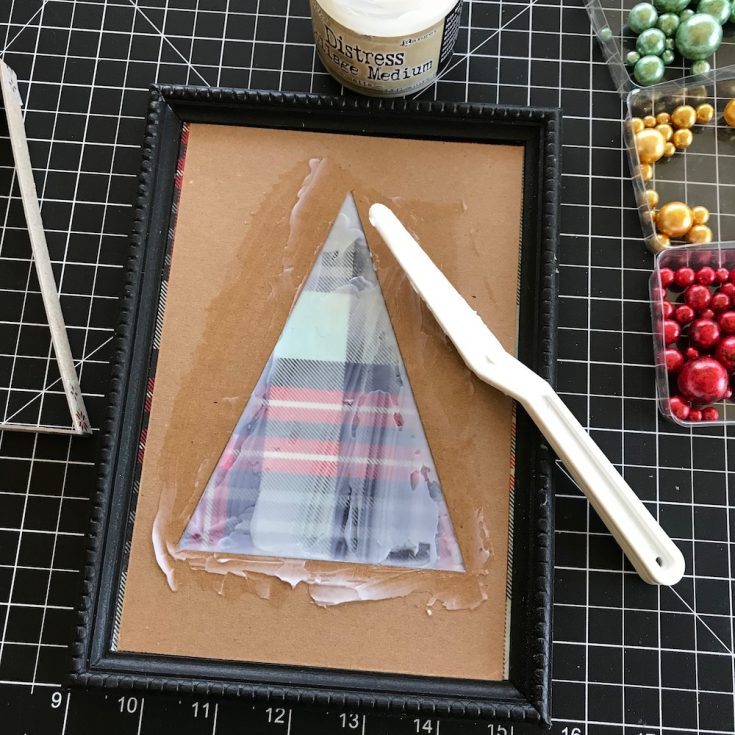
Step 9: Using a palette knife, spread a thick layer of Collage Medium over the homemade stencil. This is where using chipboard is helpful, the thickness of the chipboard allows for a thick layer to build up. If you were to use just paper or cardstock the Collage Medium would be too thin to secure the Baubles in place.
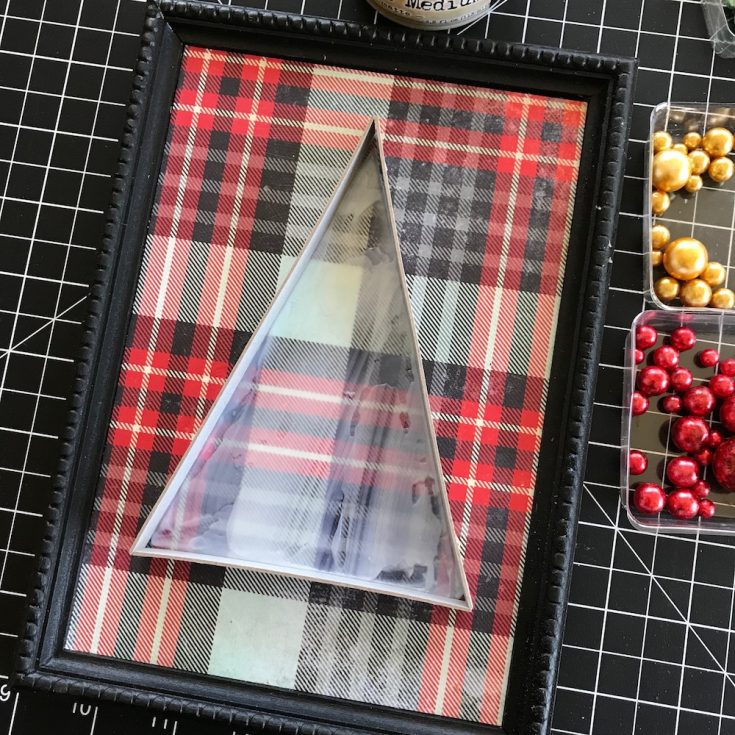
Step 10: Peel back the stencil and add the corral over the glue. Because the corral was created with the triangle inside, the corral will fit right up against the edge of the Collage Medium.
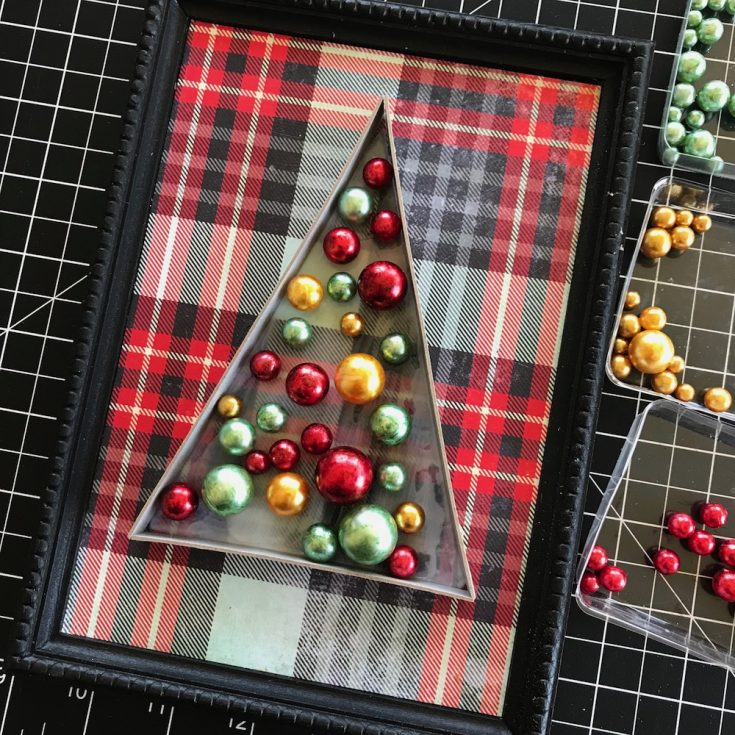
Step 11: Grab a handful of each color Bauble and start to fill the triangle, just dropping them into place.
Step 12: As you start to fill the triangle you might notice that some beads fall on top of others. You will need to press them down into the Collage Medium.
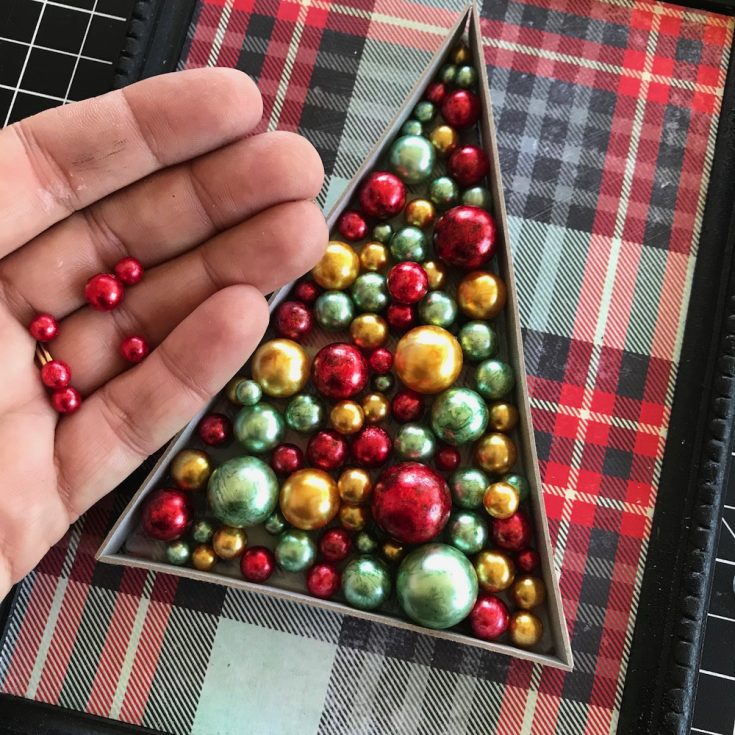
Step 13: Fill the remaining tiny spaces with the smallest of beads.
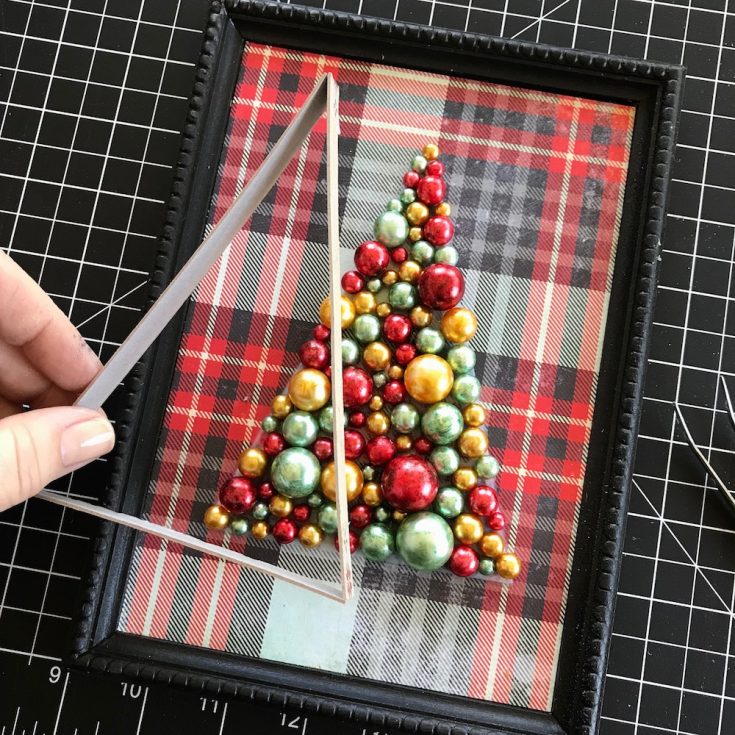
Step 14: Remove the triangle corral from the Framed Panel. NOTE: You will have plenty of open time for the thick layer of Collage Medium to dry, but unfortunately the chipboard corral could dry in place if you leave for too long. Collage Medium loves paper!
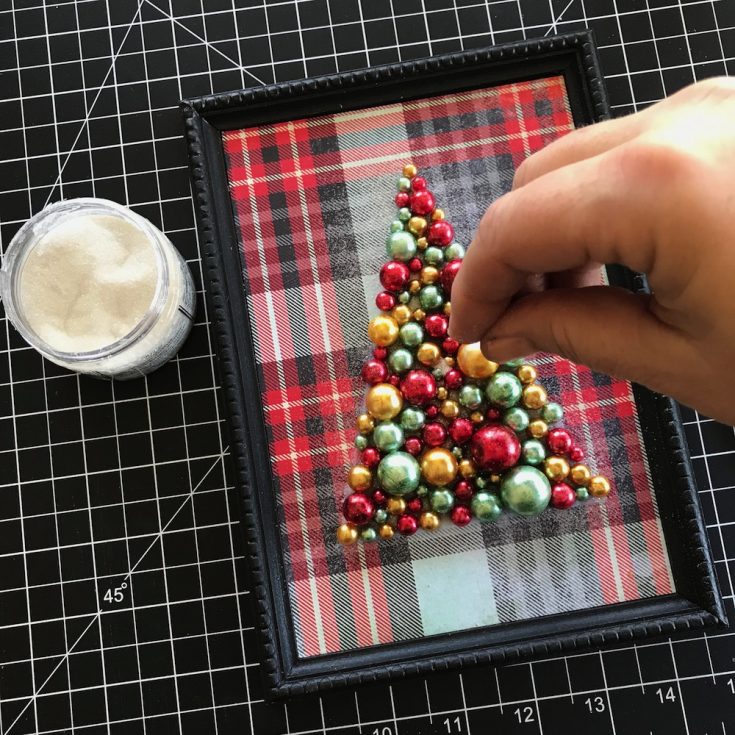
Step 15: Sprinkle Clear Rock Candy Glitter over the tree. It will stick to any Collage Medium that is exposed. Now the hard part…LEAVE IT TO DRY for at least an hour (depending on the thickness of Collage Medium it may take more time).

Step 16: Once the tree is DRY you can stand up the Framed Panel. Use a paintbrush to randomly add Collage Medium at the very top of the Baubles (think where snow would fall if it was coming from the sky).

Step 17: While the panel is in standing position, pour Clear Rock Candy glitter from the top so it cascades down the tree and hits all the places you painted on the Collage Medium. Tap of any excess and return to the jar.
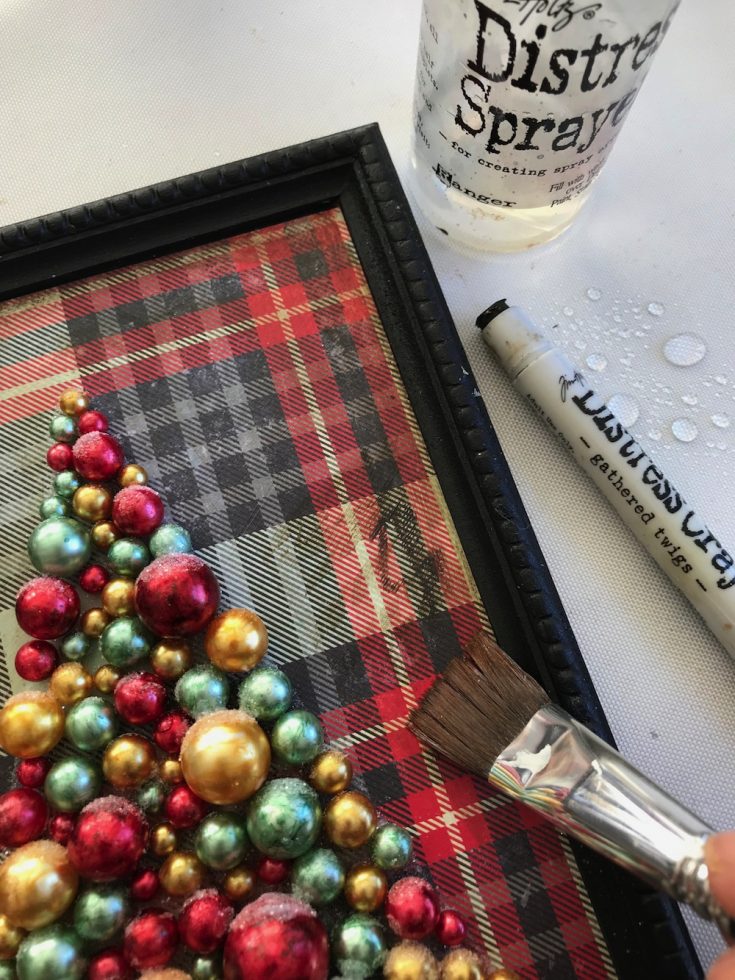
Step 18: Scribble Gathered Twigs Distress Crayon around the edge of the panel. Using a damp paintbrush disperse the scribble lines, creating a more aged appearance. If you get too much on you can always wipe it away since the surface of the paper has been sealed with Collage Medium.
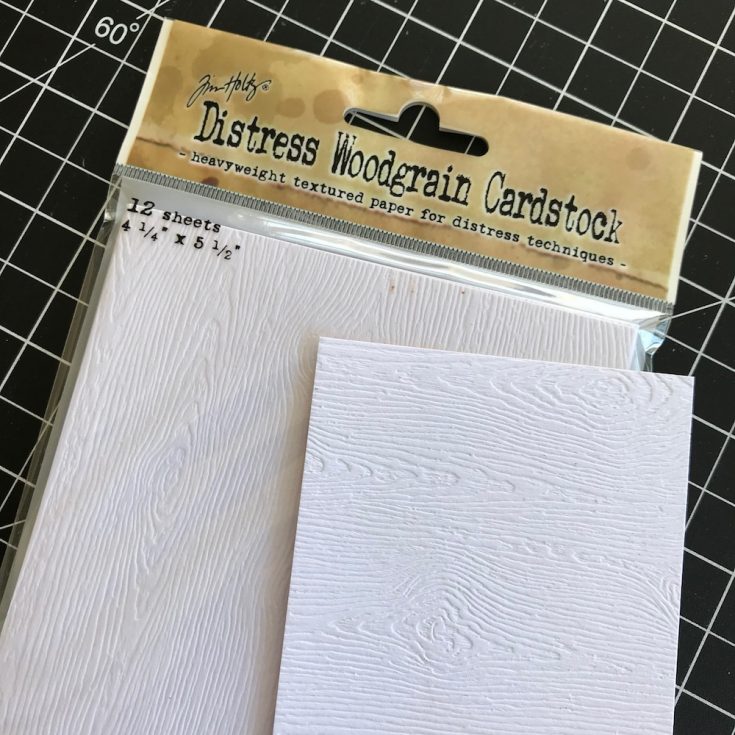
Step 19: Cut a piece of Distress Woodgrain Cardstock.
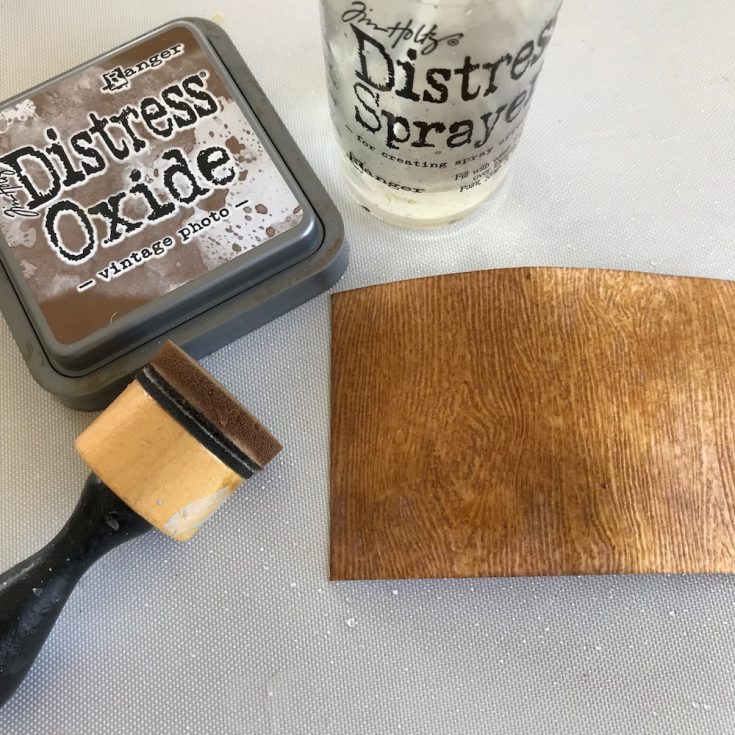
Step 20: Use a Blending Tool to add Vintage Photo Distress Oxide over the surface. Spritz with water and dry with a heat tool (do not skip the drying portion of this step).

Step 21: Using Ground Espresso Distress Ink, rub the pad directly over the surface so the pad just skims the raised portion of the woodgrain. Let dry.
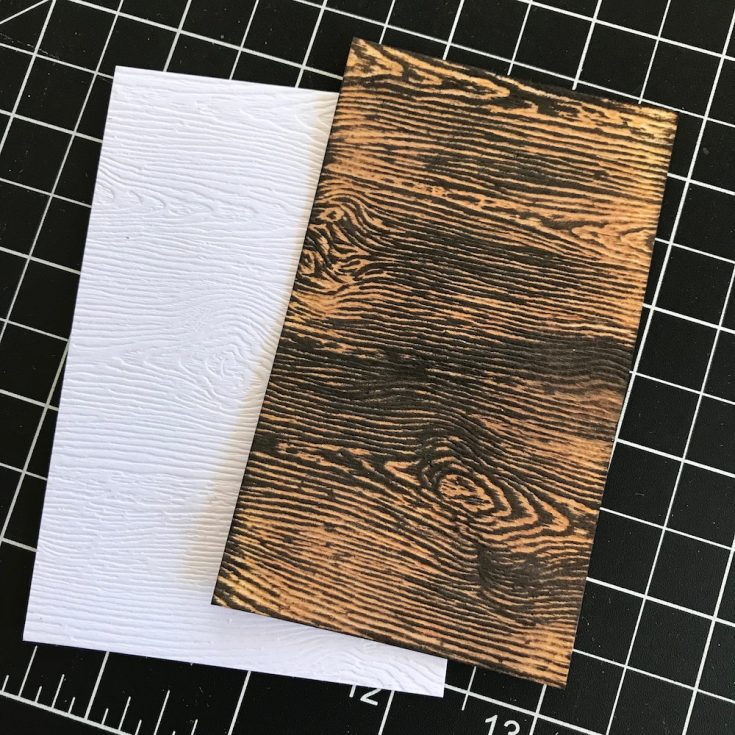
Step 22: Now that is a great before and after! Amazing what a little ink can do to make such realistic looking woodgrain.
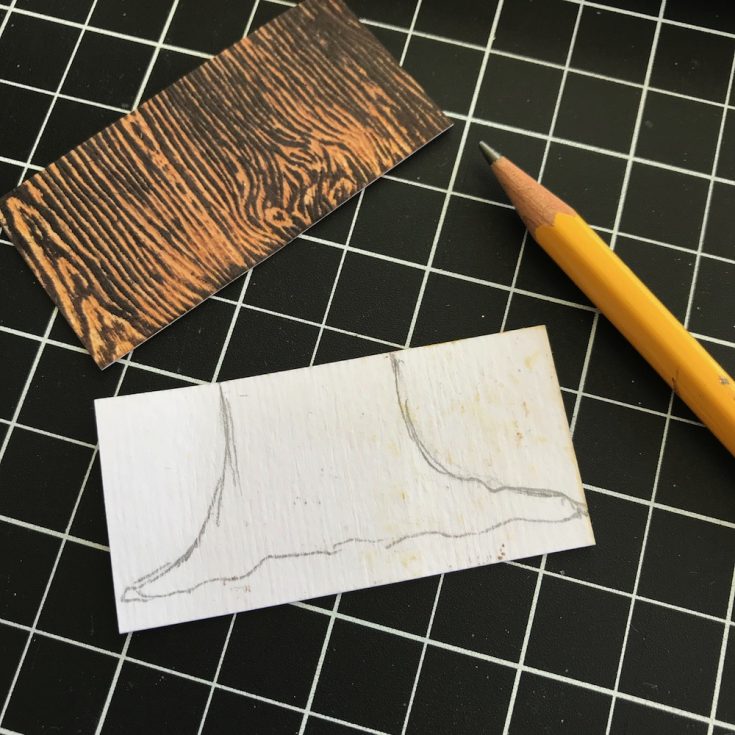
Step 23: Cut the paper to the height you want the trunk to be (make sure the woodgrain is going the right direction!) Flip the cardstock over to draw a tree trunk and cut out.
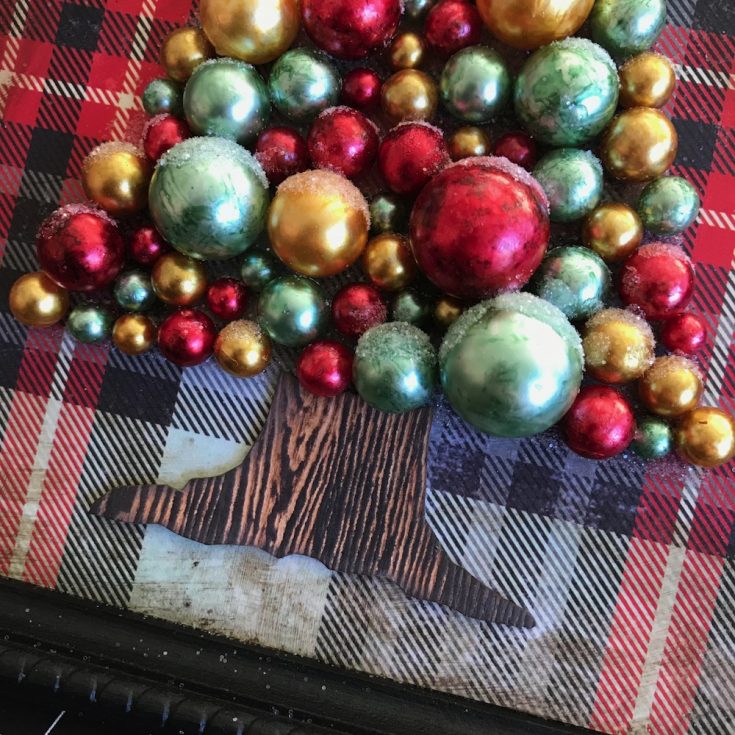
Step 24: Add the trunk to the base of the tree. I used THIN Scrapbook Adhesives foam squares to adhere the trunk to the surface.
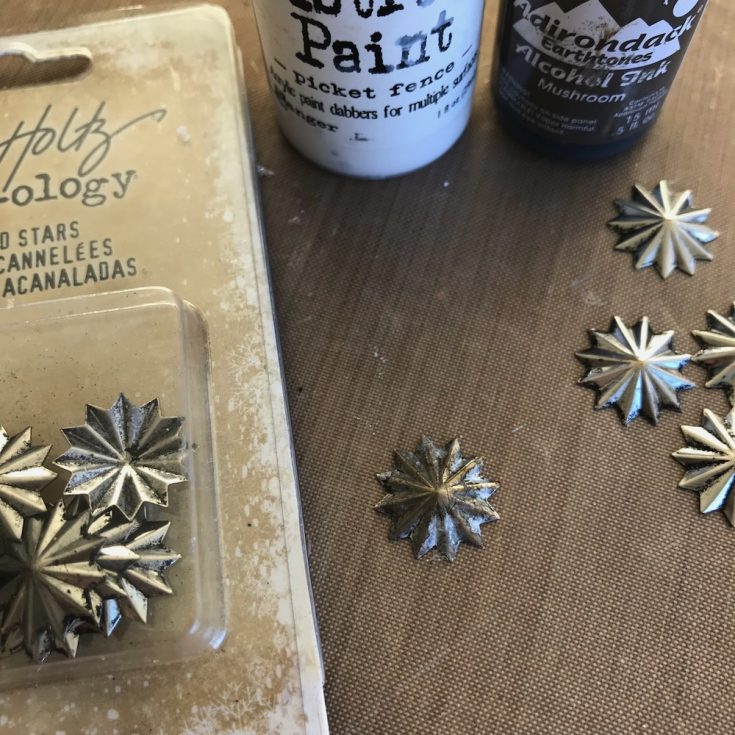
Step 25: Using your fingertip, wipe Picket Fence Distress Paint over the top of a Fluted Star. Once dry, pounce Mushroom Alcohol Ink over the star. Let dry.
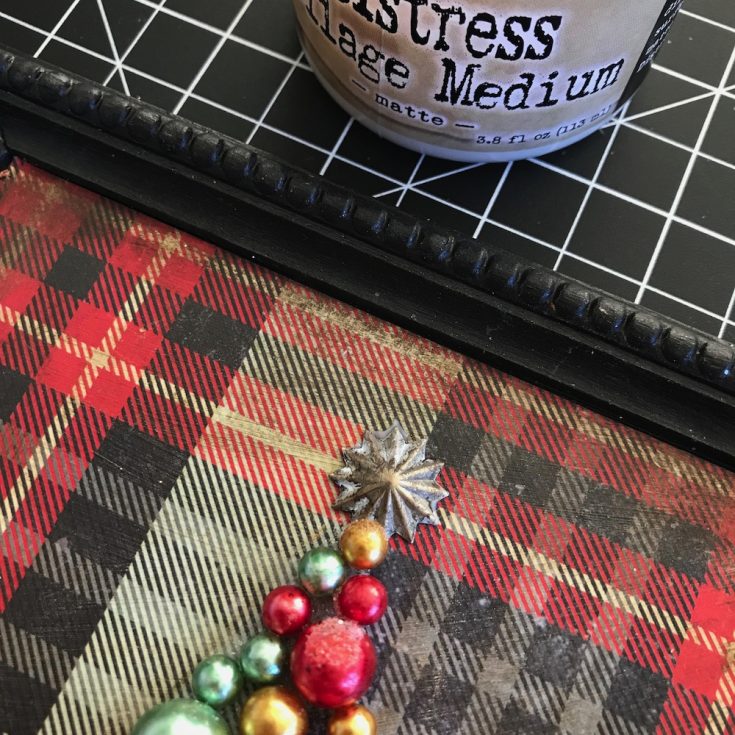
Step 26: Adhere Fluted Star to top of tree with Collage Medium.
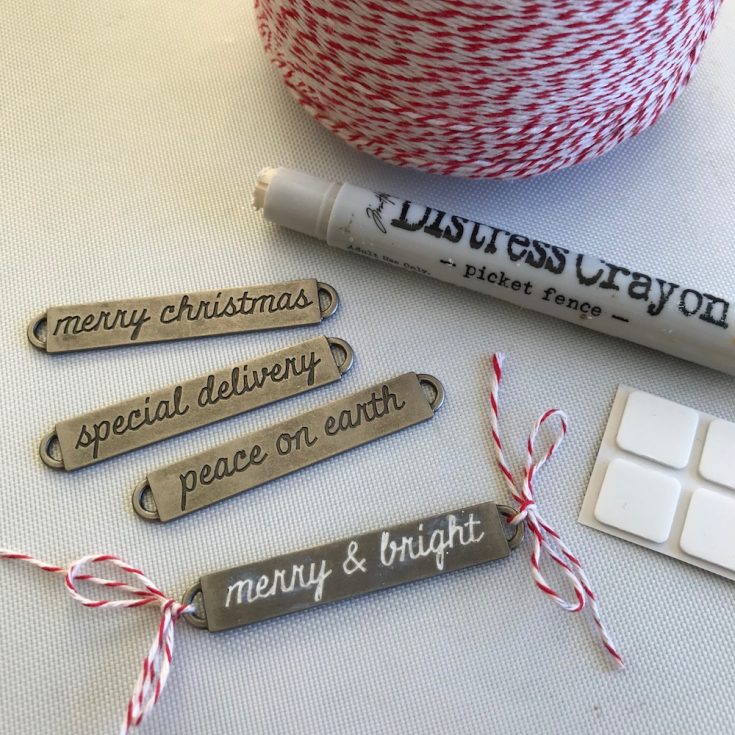
Step 27: Use a Picket Fence Distress Crayon to color in the words on a Christmas Word Band, wiping away the excess. Tie a bow on each end of the Word Band with red and white bakers twine.

Step 28: Adhere Word Band over tree trunk using thin foam squares. Punch a few pieces of juniper with the Tim Holtz/Sizzix Juniper punch. Using a little Collage Medium, slip the juniper under each end of the Word Band.
SUPPLIES:
|


Thanks for reading today, and thanks to Paula for being our guest!

Blog Candy Alert!! Follow our blog via email and comment on this post for a chance to win a special blog candy!
Yippee for Yana: Clean and Simple There’s Snow Place Like Home Christmas Card
Hi friends! Follow along as the fantastic Yana Smakula takes us through a gorgeous clean and simple Copic Colored card featuring an adorable Sunny Studio stamp set in her latest episode of Yippee for Yana! Be sure to watch the video and enjoy!

Hi everyone, this is Yana Smakula and I’m excited to bring you another episode from my bi-monthly “Yippee For Yana” video series! In today’s episode, I am sharing Clean & Simple There’s Snow Place Like Home Christmas card featuring stamps from Sunny Studio.
I am a huge fan of little images of houses, trees, cars, basically anything that you can use to build your own little scenes. So when I first saw the Christmas Home stamp set by Sunny Studio I knew I wanted to use it to make a simple card for the Holidays.
I started working on my card by stamping several images from this stamp set onto white cardstock (Neenah Solar White 80 LB). I picked thinner cardstock and not the usual 110 LB for my stamping because I was planning to cut these images out by hand and if you use thicker cardstock it makes it rather difficult to cut out. I stamped a house, car and two lamp posts.
I like to use various coloring mediums for various purposes, looks and images. I adore watercolor for background, for hand-painted backgrounds, and to color background stamps; I love to use colored pencils for flowers and leaves. When it comes to little images like these I prefer to use my alcohol markers – Copics. These surely can be colored using other mediums, but alcohol markers are what I prefer for these kinds of images.
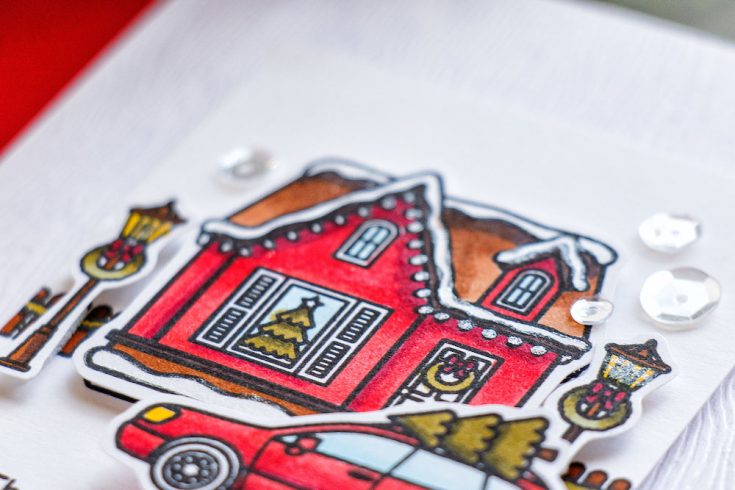
Whenever I color I always try to color in groups. I’d color all images or all parts of images using one color first, it just makes the coloring process go faster for me (not that I am trying to speed things up, but I always try to be as efficient as possible). I used R39, R27 and R24 to color reds; E79, E37 and E33 to color browns, YG99, YG95 and YG93 to color greens. I also used B00 and B000 to color windows as well as Y19 to color the lights on the car.
I don’t have a lot of Copics, I have just a handful and I pretty much always use the same color combos when I color. This works well for me and I always remember what combos work and what don’t.
There are coordinating dies available for this stamp set, but I don’t have them, so I cut my images out using scissors – while these are small images they weren’t too hard to cut out mainly because I was using good pair of scissors.
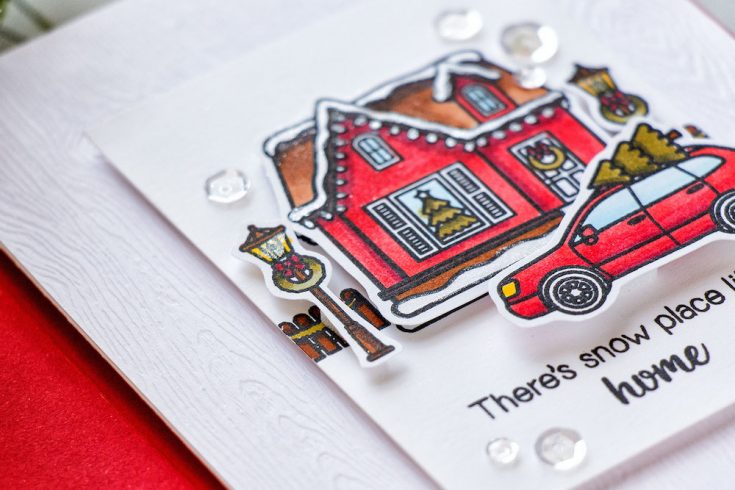
Next, I grabbed a piece of white cardstock and stamped another house (I needed it just for alignment purposes) and a sentiment that reads “There’s Snow Place Like Home”. I added a fence on both sides of the house and colored it using same browns and greens. I thought about leaving the fence white, but I wasn’t planning on coloring the background, so in order for my fence to not get lost on the card, I colored it brown.
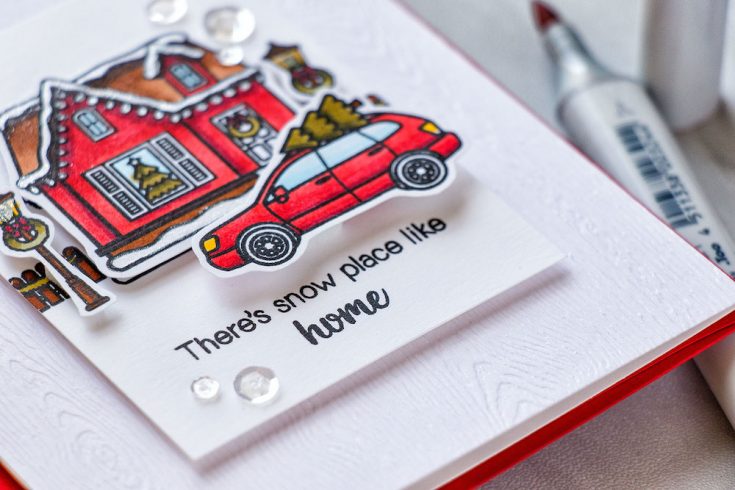
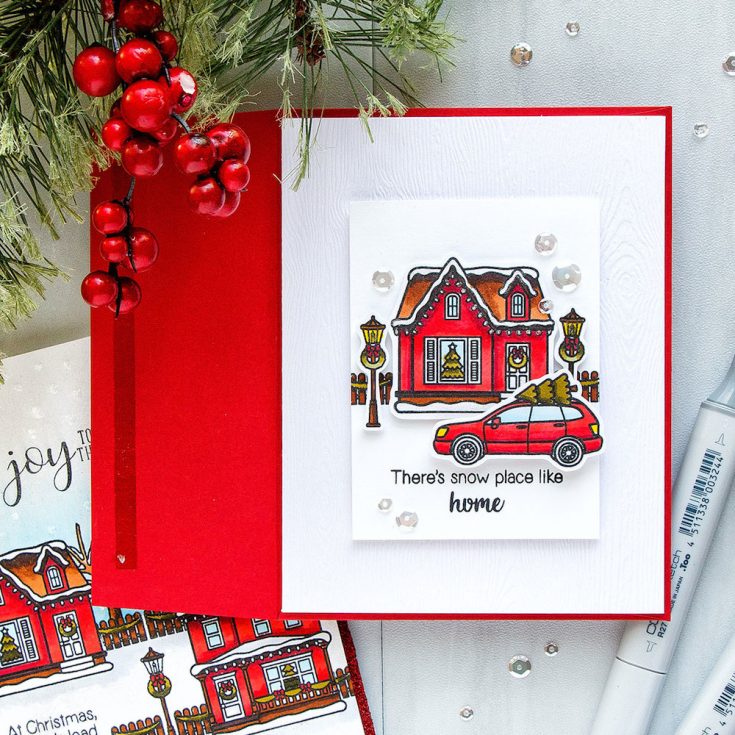
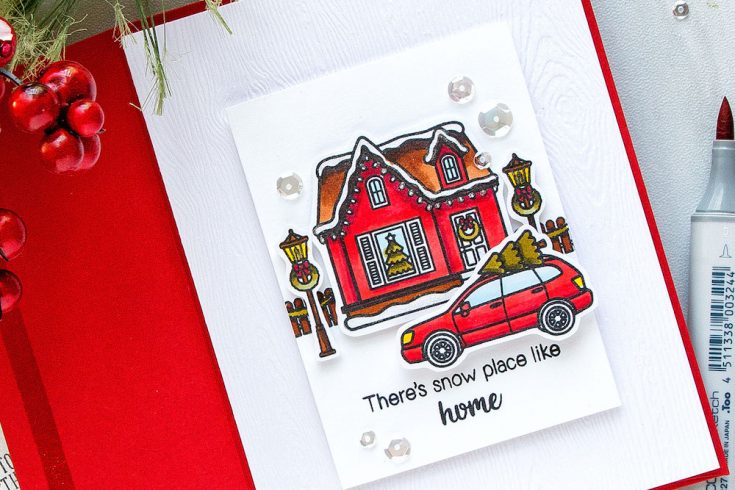
I foam mounted all of my cut out pieces onto this panel forming a scene – there’s a house with a fence on both sides, two lamp posts in front of the fence and a car parked in front of it with a Christmas tree on its roof.
I used Tonic Aqua Shimmer brush to add glitter to the white sections of my house – the snow and also to the little lights hanging from the roof and I think that added just the perfect amount of sparkle to this card.
To complete my card I adhered a sheet of white woodgrain cardstock onto an A2 side folding card base. I adore this cardstock and I use loads of it, it simply is perfect and adds enough texture to clean & simple cards. Finally, I foam mounted my scene panel on top and added Sparkling Clear sequins from Pretty Pink Posh to embellish this card.
I stamped a sentiment on the inside of the card that reads “May The Christmas Season Fill Your Home With Joy and Laughter” – I don’t usually decorate my cards on the inside, but I decided to do so this time especially since I had such a nice sentiment to stamp there.
I hope you’ll give this idea a try. If you do, please tag Simon Says Stamp and me on social media – we’d love to see what you make!
Have fun stamping!
WATCH THE VIDEO:
SUPPLIES:
|


Thanks so much for reading, and thanks to Yana for being our guest!
Blog Candy Alert!! Follow our blog via email and comment on this post for a chance to win a special blog candy!
It’s Christmas Card Day! Want a $100 Gift Card from us?!

Hi friends! How is your Christmas planning coming? I feel like I’m behind but hoping to get caught up soon! Eeshk! We thought in the spirit of today being National Christmas Card Day, we’d love to see what Christmas cards you’re making this year! Take a picture of one or more and share by uploading the link through the linkup below for a chance to win a $100 Gift Card to our store! Would you like another chance to win? Add an image of your card/s on our Facebook post about Christmas Card Day as well!
The winners will be announced after Christmas!
We can’t wait to see what you’ve been working on!


