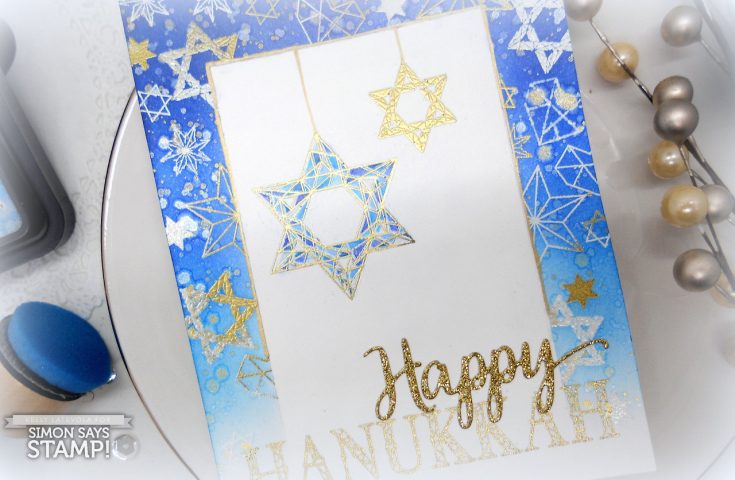
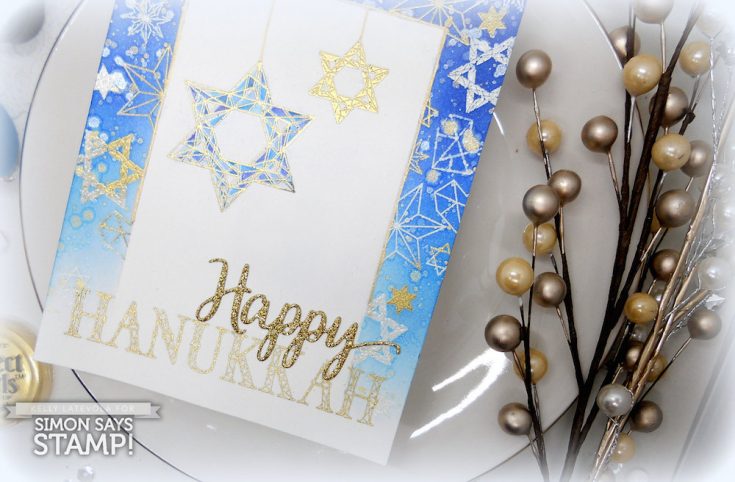
Happy Hanukkah!
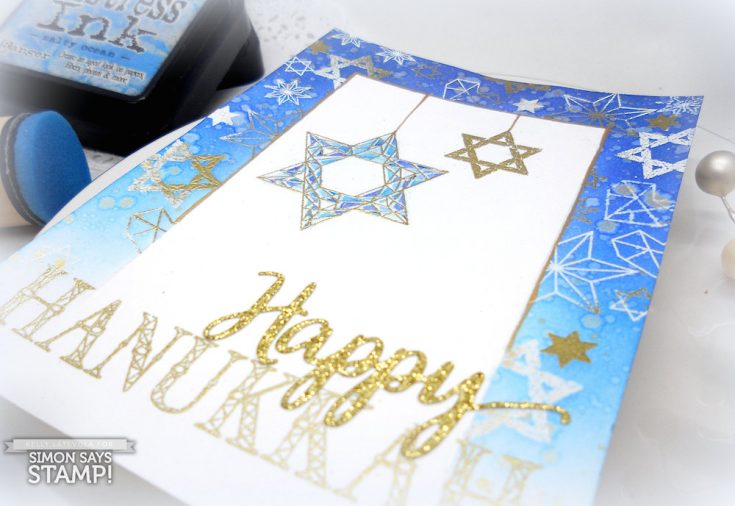
Hi friends! Today is the first day of Hanukkah! To our friends that celebrate, we’d like to wish you 8 very happy and joyous nights of celebration! The very awesome and talented Kelly Latevola made a card to celebrate the occasion using the Happy Hanukkah stamp set from Hero Arts along with our Happy Holidays wafer die from our Simon Says Stamp collection. Be sure to watch the video for more information on how to recreate the card and enjoy!
WATCH THE VIDEO:
SUPPLIES:
|


Thanks so much for reading, and thanks to Kelly for being our guest!

Blog Candy Alert!! Follow our blog via email and comment on this post for a chance to win a special blog candy!
Waffle Flower Crafts NEW Release: Stitched Love
Hi friends! Happy Tuesday! Please welcome back the fabulous Channin Pelletier as a guest on our blog today! She is using BRAND NEW Waffle Flower Crafts stamps that are perfect for Valentine’s Day or anytime you’d like to share some love! Be sure to watch the video and enjoy!
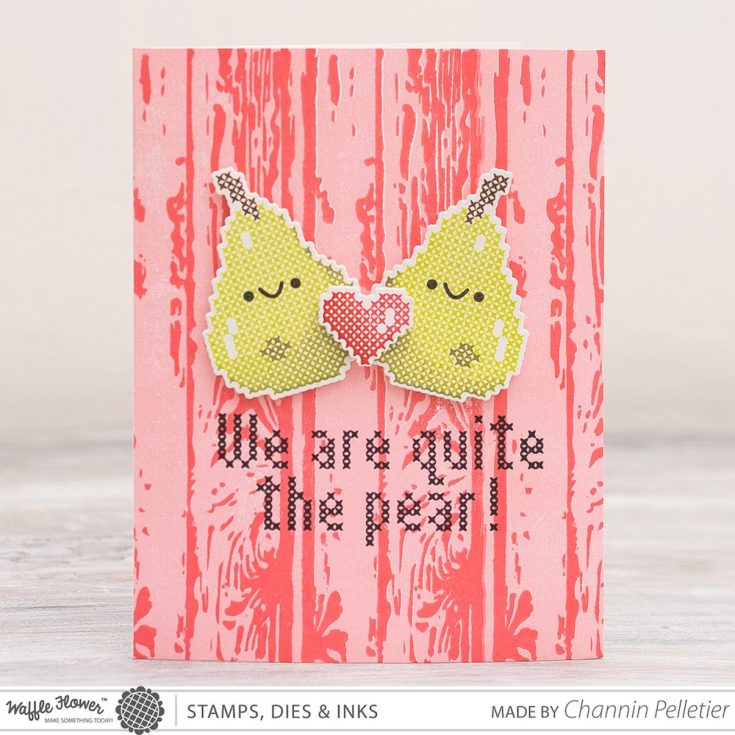
Hello everyone! It’s Channin here and I’m thrilled to on Simon Says Stamp’s blog today sharing how to create this adorable card using some new products from Waffle Flower Crafts!
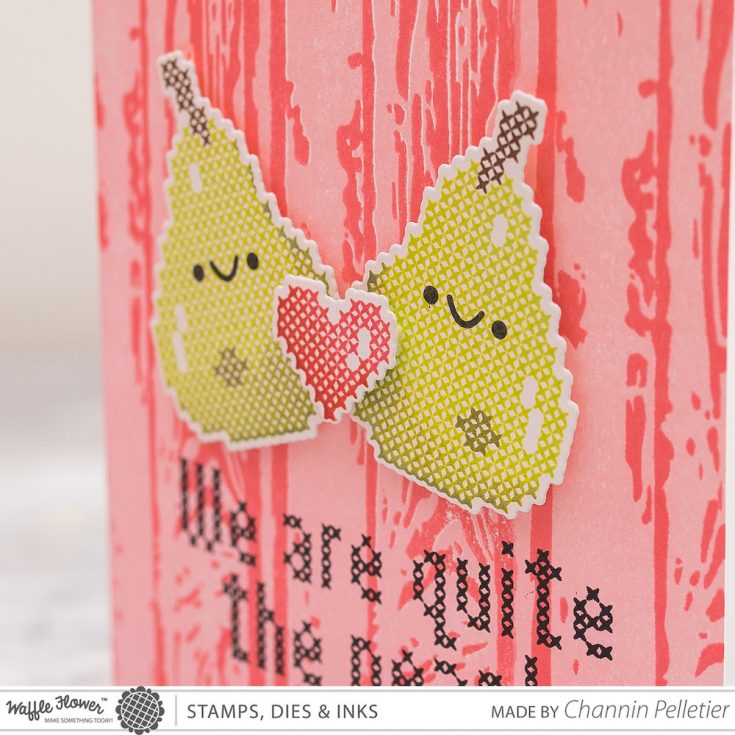
I just love all the cross stitch-themed sets by Waffle Flower and this Stitched Love Stamp Set is definitely another winner. I love that there are matching dies making positioning these pears an absolute breeze!
First, I stamped a woodgrain background on an A2 card base (8 ½” x 5 ½”) made from white cardstock using the Layering Woodgrain Stamp Set. I used Waffle Flower inks, My Pleasure and Tickled Pink. I then stamped both pears from the Stitched Love Stamp Set in Distress Oxide Twisted Citron on some white cardstock. Then without even cleaning the stamps, I partially inked the pears with Distress Oxide Peeled Paint and stamped again. This creates a gradation on the pears and creates a nice sense of volume. Next, I stamped the second layer for the pears in Peeled Painted, then the stems in Walnut Stain, and lastly, their little faces in VersaFine Onyx Black. I then stamped the largest heart from the set in My Pleasure and then partially inked it up in Candied Apple and stamped the heart again. Next, I die cut the images out with the Stitched Love Matching Dies and then stamped a sentiment on card front in VersaFine Onyx Black. Lastly, I adhered the die cut images with foam tape.
Thank you for joining me today! Have a wonderful day!
~Channin
WATCH THE VIDEO:
Supplies:
|


Thanks for reading today, and thanks to Channin for being our guest!
Blog Candy Alert!! Follow our blog via email and comment on this post for a chance to win a special blog candy!
Congrats! Blog Candy Winners!
From: Studio Monday with Nina-Marie: Lawn Fawn Spinner Card: Kate Dykstra!
From: Tim Holtz Bauble Tree by Paula Cheney!: Amy Cooley!
From: Yippee for Yana: Clean and Simple There’s Snow Place Like Home Christmas Card: Debbie Siddle!
From: Amore Laura Fadora: Love Joy and Peace on Earth: Becca Yahrling!
From: Pink & Main: Java Merry Christmas: Cindy Aguirre!
From: Tim Holtz Victorian Carolers: Amanda Pink!
Studio Monday with Nina-Marie: Lawn Fawn Spinner Card

Hello crafters! I hope you are enjoying your holiday season so far! Today I am sharing a new SPIN on holiday crafting with some adorable Lawn Fawn spinner cards! Have you ever tried a spinner card? If you haven’t, I encourage you to give it a try; I think you’ll find it is very simple indeed!
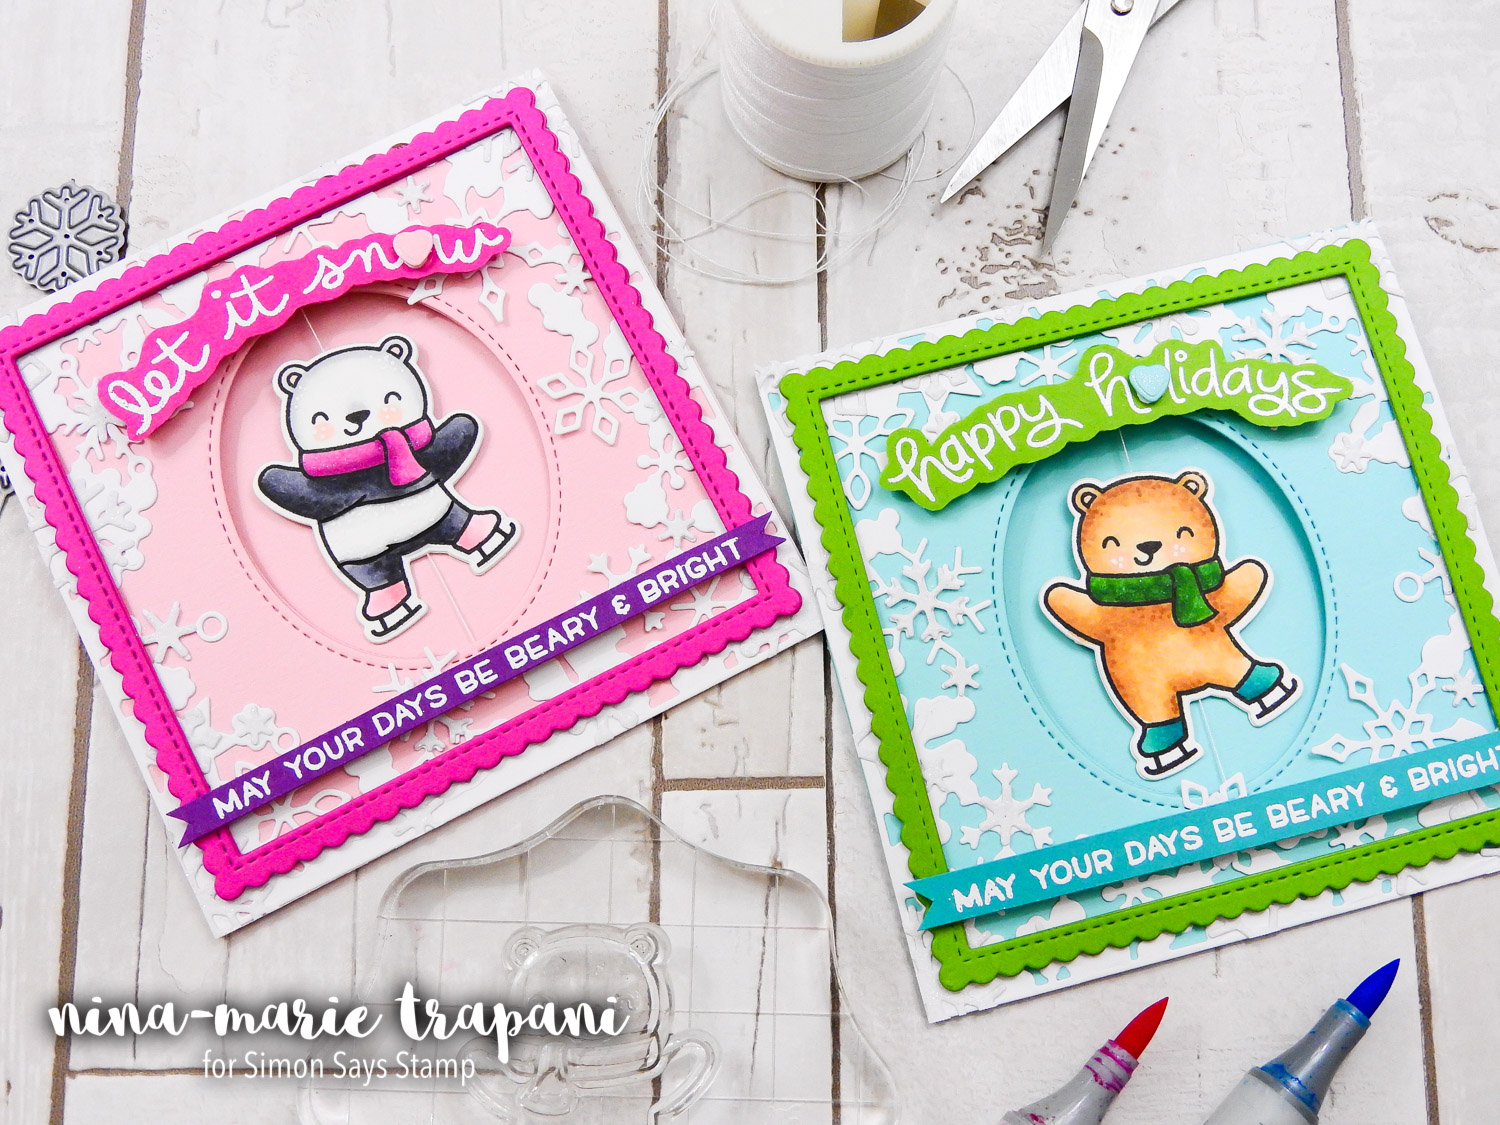
I had such a blast creating these spinners; you can see I made two of them! Each features a non-traditional holiday color scheme, one more masculine and the other more feminine. This is a great example of how by simply changing the colors around, you can achieve a completely different feel on your card!
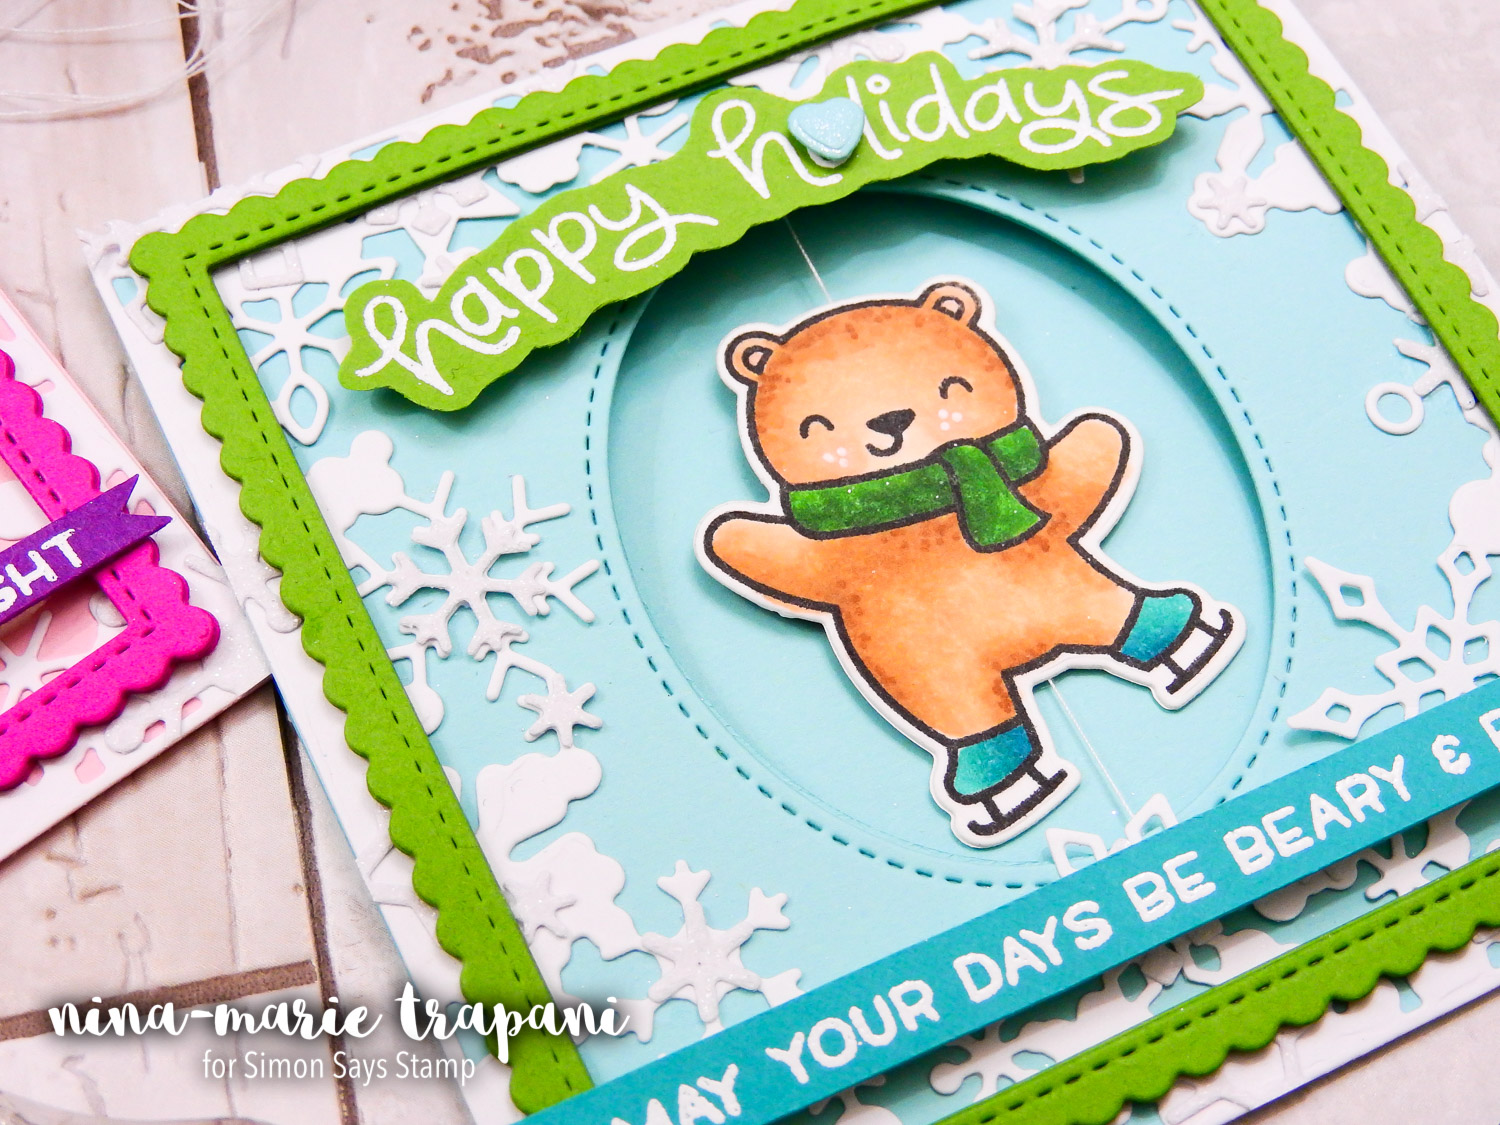
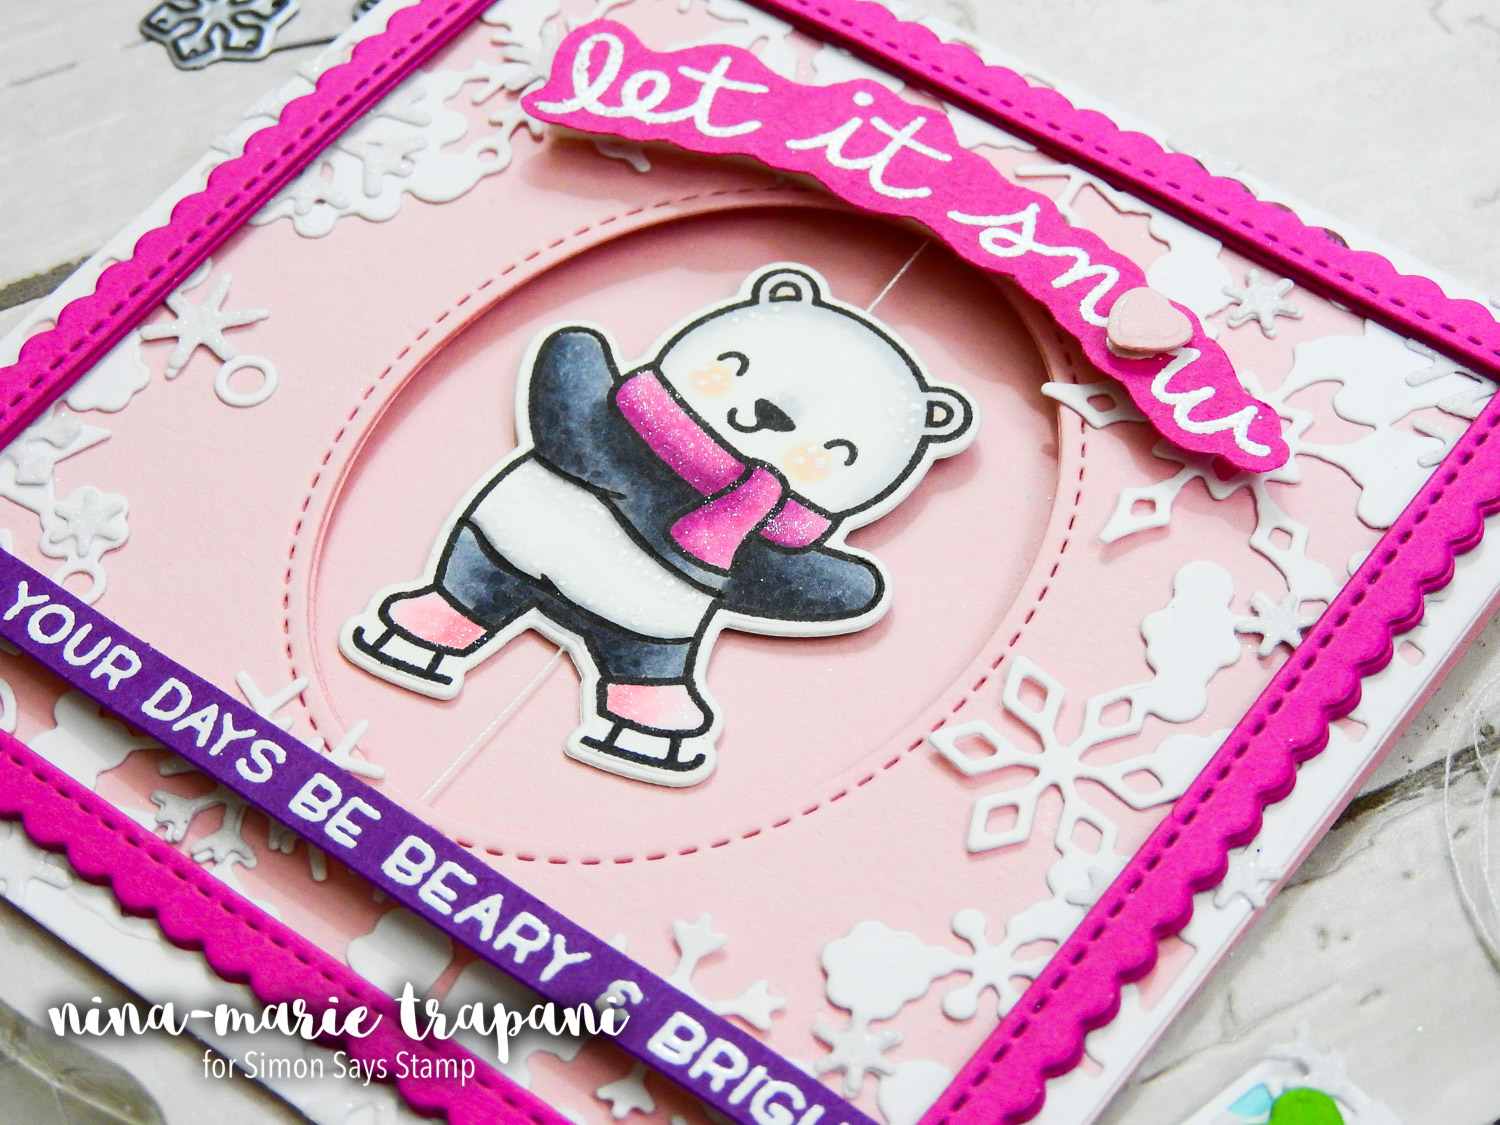
That adorable bear from Beary Happy Holidays is absolutely precious (and super-easy to color!). I even turned the bear into a panda!! In the video I’ll show you how I did that. ;) The Beary Happy Holidays stamp and die set from Lawn Fawn makes creating a spinner card like this simple and fun because the set includes a front and back to the bear.
The snowflakes in the background are from a Memory Box frame die that I was dying (pardon the pun!) to use again; Dancing Snowflakes. The playful feel of the snowflakes coordinated perfectly with Lawn Fawn’s Mini Snowflake die set; this is the die set I used to further embellish the frame around the ice skating bears.

Because I love adding little details to my cards, I played around and added small hearts in place of the letter “o” on each of my cards. The die was a random mini heart die I found in my stash. You could use any heart die you like or even mini heart stickers (like the Doodlebug Rainbow Heart Sprinkles).
I hope you will be checking out the video below to see how I built these precious spinner cards using some of Lawn Fawn’s fabulous stamps and dies! Thanks so much for visiting with me today; stop back next week for another Studio Monday tutorial from me!
WATCH THE VIDEO
SUPPLIES
|


Blog Candy Alert!! Follow our blog via email and comment on this post for a chance to win grab bags and blog candy! Remember to tag your awesome projects with #simonsaysstamp on social media so we can see what you are creating!


