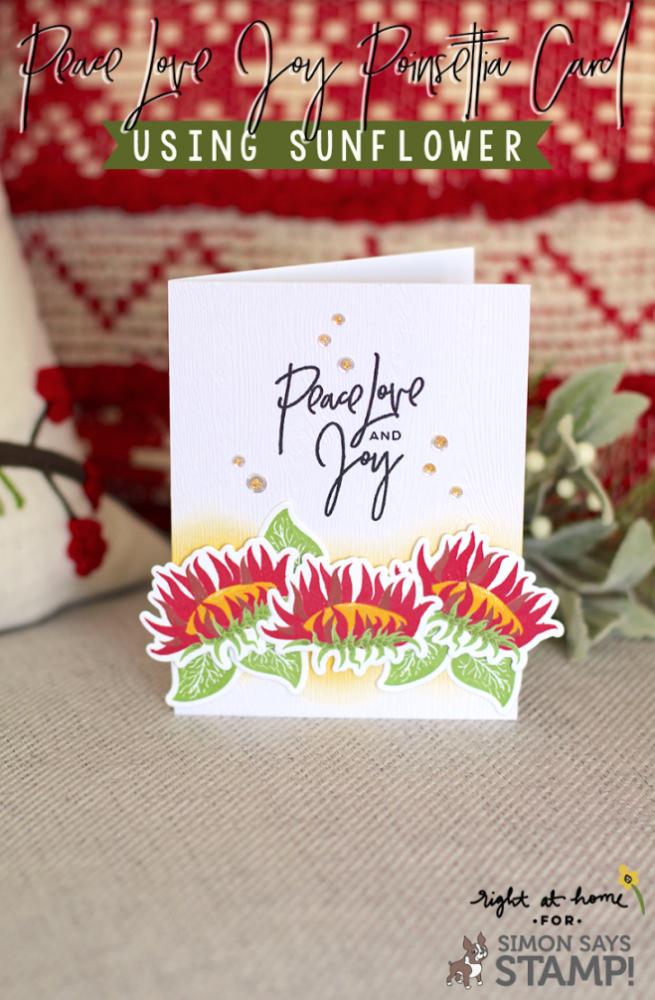
Peace Love Joy Poinsettia Card using Right at Home Sunflower
Hi friends! Happy Tuesday! Thanks for stopping by today! Please join me in welcoming back guest designer Nicole (the owner and designer of Right at Home) Please read on to see how you can stretch everyday stamps into designs for all season long!
Hi, stampers!
This is Nicole, the owner, and designer behind Right at Home. I’m thrilled to be guesting on the Simon Says Stamp blog today featuring my Sunflower stamp set! Now you may be thinking, “Sunflowers? In December?!”, and I would tend to agree HOWEVER I was able to stretch this stamp set to create a more winter appropriate flower: a poinsettia!
Now would you know this card was made using a sunflower stamp set? I didn’t think so…wink, wink. If you end up picking up this set, make sure to download my stamping guide for easy layering!
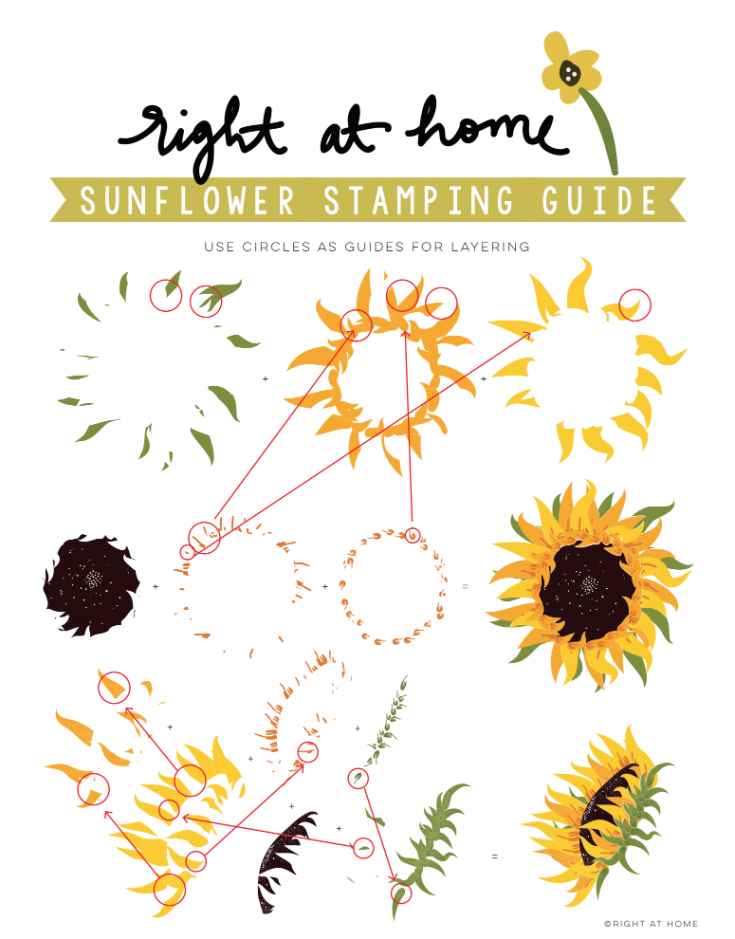
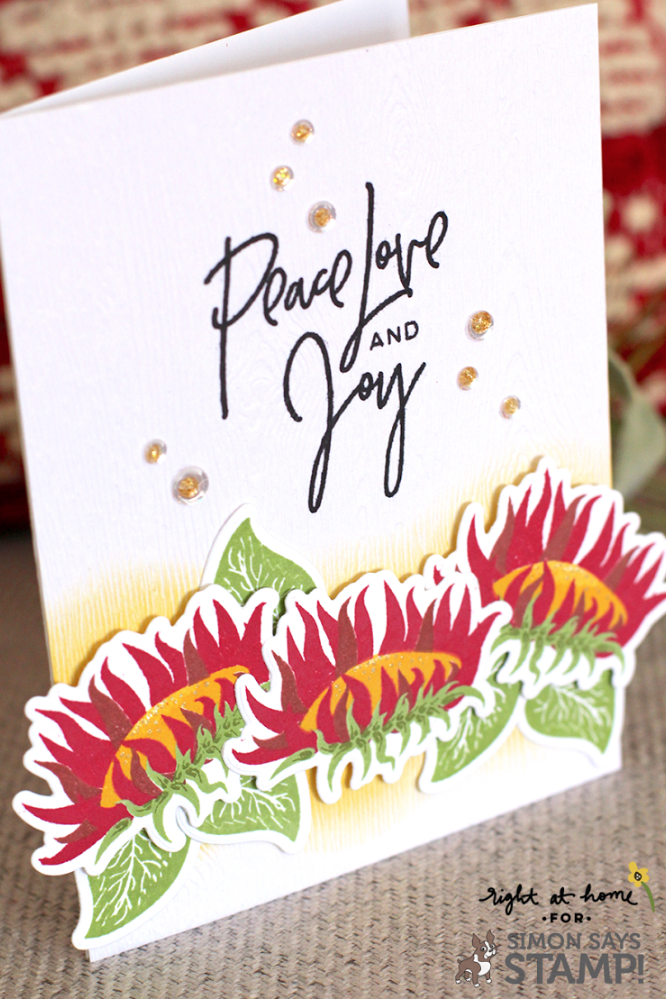
For this card, I decided to only use the side-profile pieces from the stamp set and the little leaf. To create my three poinsettias, I grabbed out some of my favorite red ink colors and got to stamping. For the light red I used Lobster by Lawn Fawn, for the dark red I used by My Favorite Things, then I mixed in some Sunshine by Simon Says Stamp for the center and Gumdrop Green by My Favorite Things for the leaves. I urge you to experiment with different shades though as not all poinsettias are bright red!
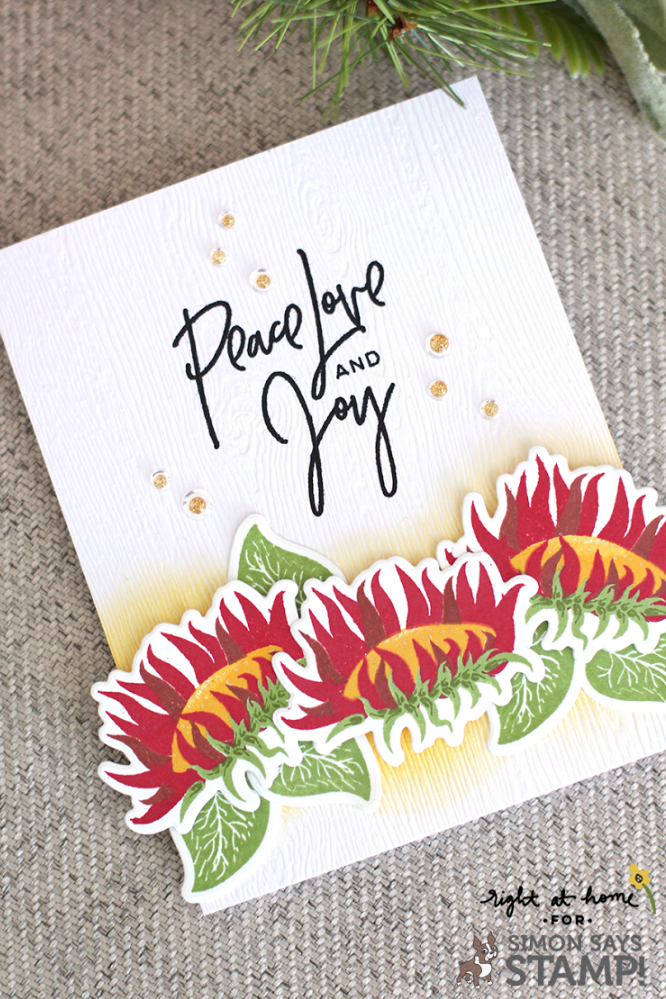
Once I was finished with my flower pieces I started working on my background. I used a sheet of woodgrain cardstock as my base (obsessed with this paper lately!) and inked a little portion towards the bottom with Ranger Distress Oxide Ink in Fossilized Amber. When I add my poinsettias on top it will create a halo effect. Above that, I stamped my sentiment from Peace Love Joy. Because of the texture of the woodgrain cardstock, you’ll have to stamp your sentiment multiple times to achieve a complete image. Thank goodness for the MISTI tool, am I right?!
To finish off the card design I added some flat sequins and squeezed some Honey Gold Nuvo Glitter Drops into the center. Oh! I almost forgot. I also added some little dots to the center of the poinsettias using a Sakura Stardust Glitter Pen.
And that’s my card! I hope you enjoyed this idea for stretching your floral stamps for different seasons throughout the year.
Happy crafting, friends!
Nicole
SUPPLIES:
|


Thanks so much for reading, and thanks to Nicole for being our guest!

Blog Candy Alert!! Follow our blog via email and comment on this post for a chance to win a special blog candy!
Congrats! Blog Candy Winners!
From: Studio Monday with Nina-Marie: 4 Ways to Use Sequins: Loly Borda!
From: Yippee for Yana + Spellbinders SALE!: Angela Rice!
From: January 2018 Card Kit” Set of 5 Inlay Cards: Kirsty Vittetoe!
From: Happy Hanukkah!: Heather Nelson!
From: Waffle FLower Crafts NEW Release: Stitched Love: Jacki Hedlund!
Please email [email protected] with the name of the blog you won from, the prize you won, and your address (if applicable), to redeem your prize(s)!
Studio Monday with Nina-Marie: 4 Ways to Use Sequins

Hello everyone! I am super excited to share a new round of sequins inspiration with you this week! I love working with sequins and there are literally a million ways to use them on your projects. Today I have 4 different ideas to share using our sparkly embellishments on a total of six cards!
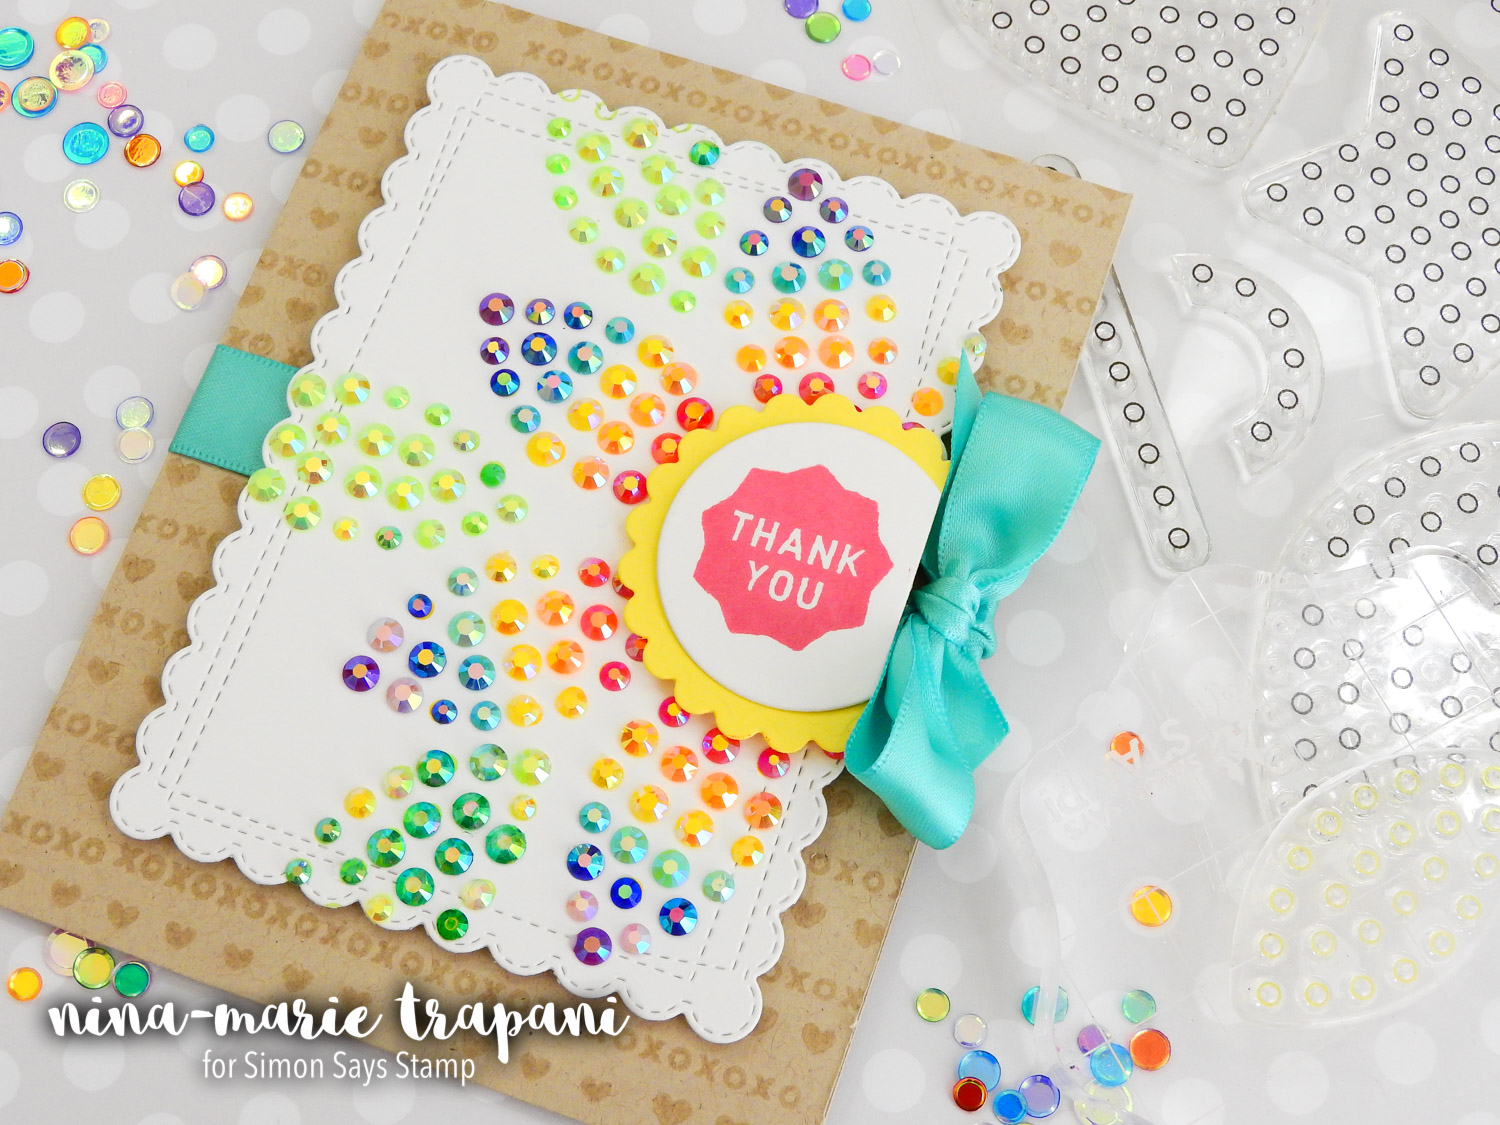
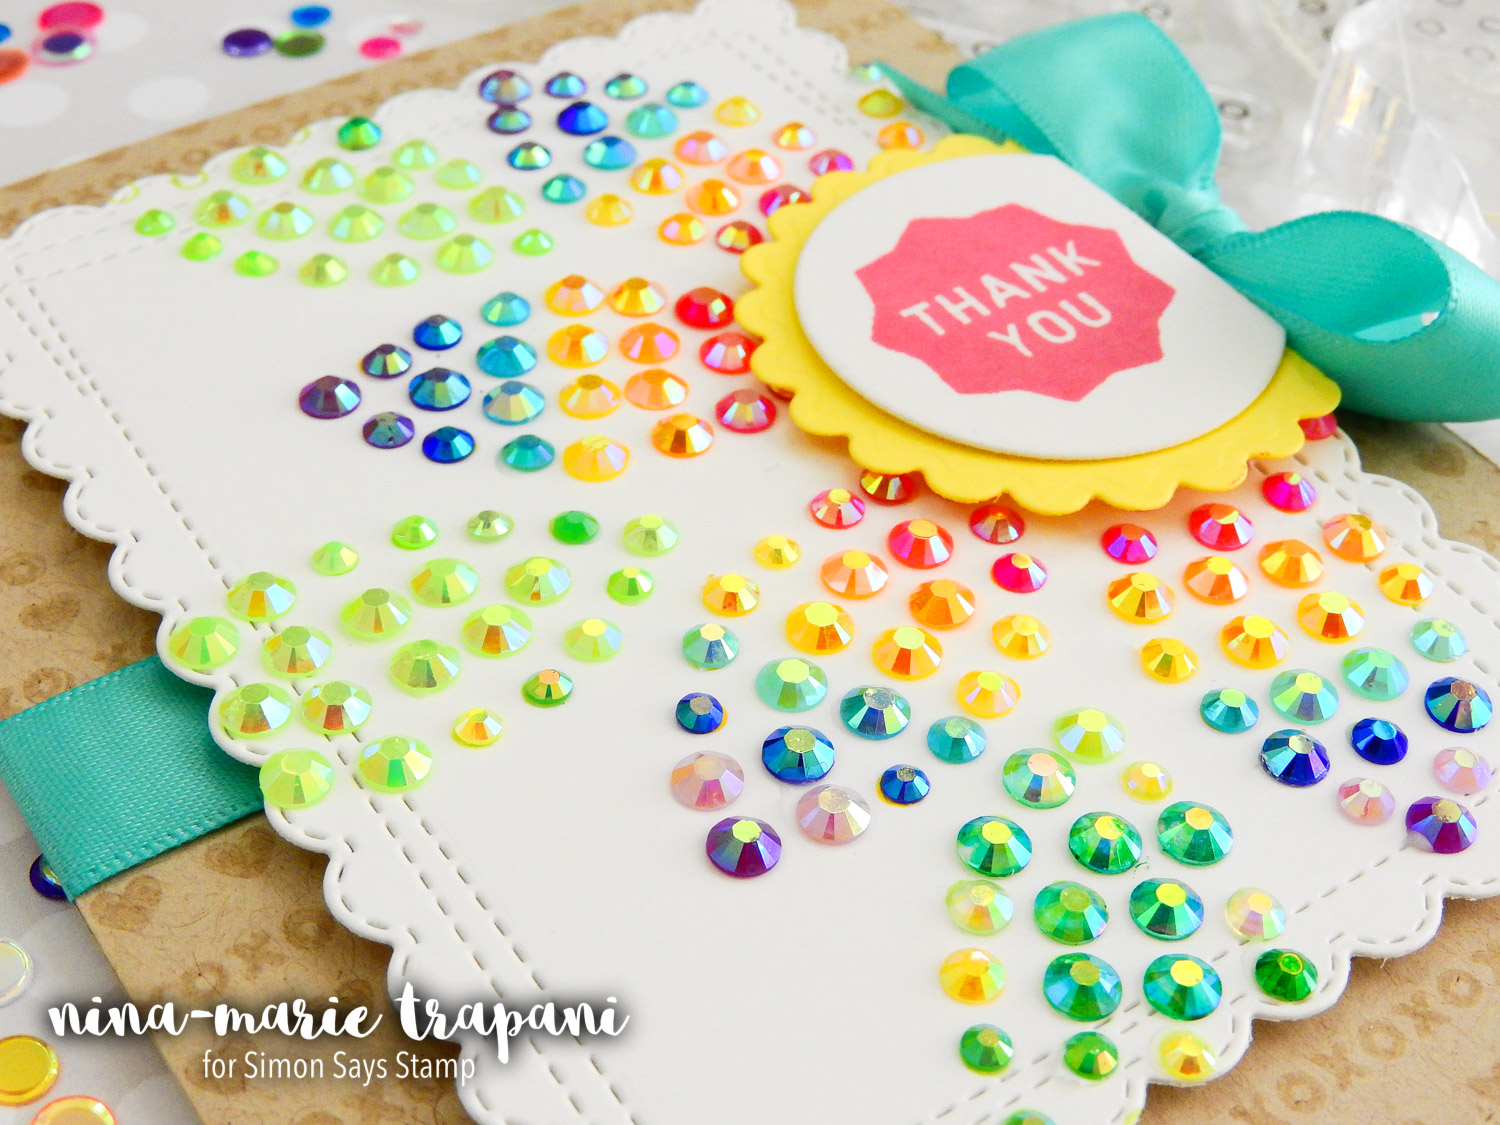
Idea one is all about creating a pattern! Have you seen the clever Sparkle Dot Pattern stamp set from Pretty Pink Posh yet? I couldn’t wait to put this into use! This stamp set helps you perfectly arrange sequins into a beautiful pattern.
Here I created a rainbow-styled flower using Lucy’s Cards Rainbow Sparkle Jewels. You could use this stamp set with ANY of your favorite sequins and gems!
The super-cute sentiment by the way is from one of my favorite thank you sets; Hero Arts’ Thank You Messages stamp set. I also added some patterns to the card base with our new Simon Really Like You stamp set.
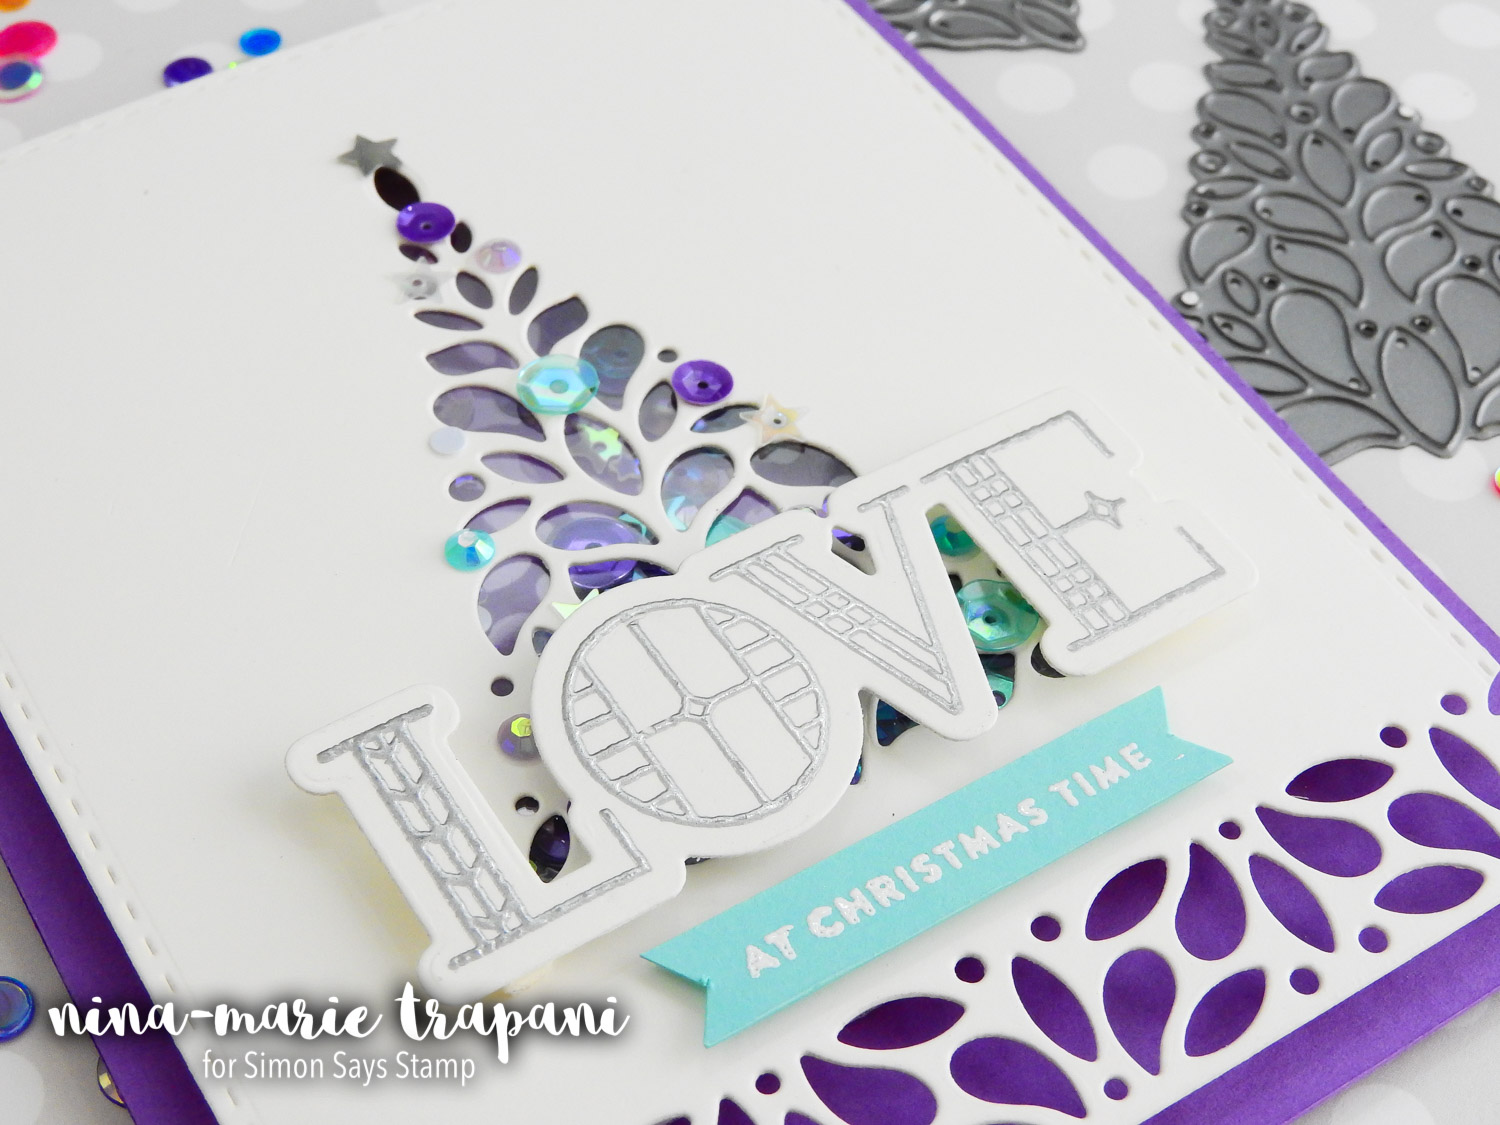
Ready for another idea? How about shaker cards with a bit of additional, decorative bling?? Our Simon Says Stamp Corbel die collection is so easy to turn into shaker cards. I created two cards with the Corbel Heart, the Corbel Tree Collage and the Corbel Cut Border dies.
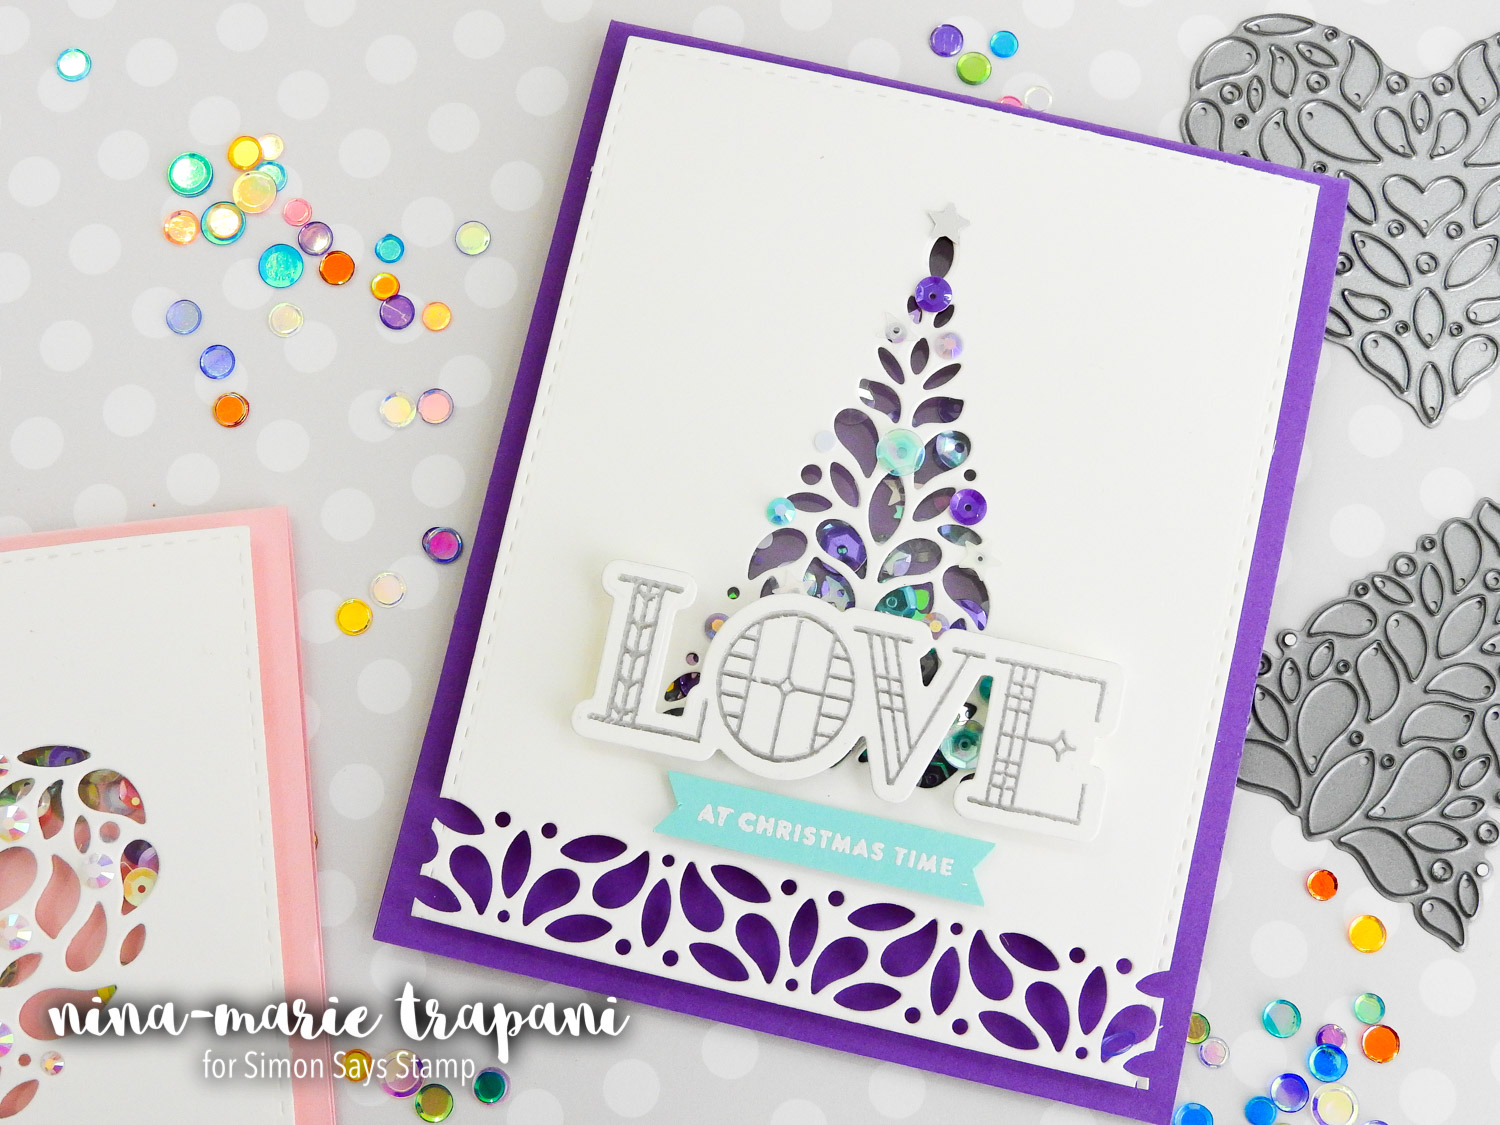

These Corbel dies are so delicate and beautiful; just adding an assortment of colorful sequins behind them, brings the designs completely to life! In the video, I also share my favorite method for building shaker cards. And not only did I create shakers with these embellishments, I also added additional decorative accents around each design.
On the Christmas tree card, I filled the shaker with Lucy’s Cards’ Magical Sparkly Shaker mix (those purples are stunning!). The sentiment comes from our Simon exclusive Stained Glass Greetings stamp set (I used the coordinating dies to cut the word “love” out).
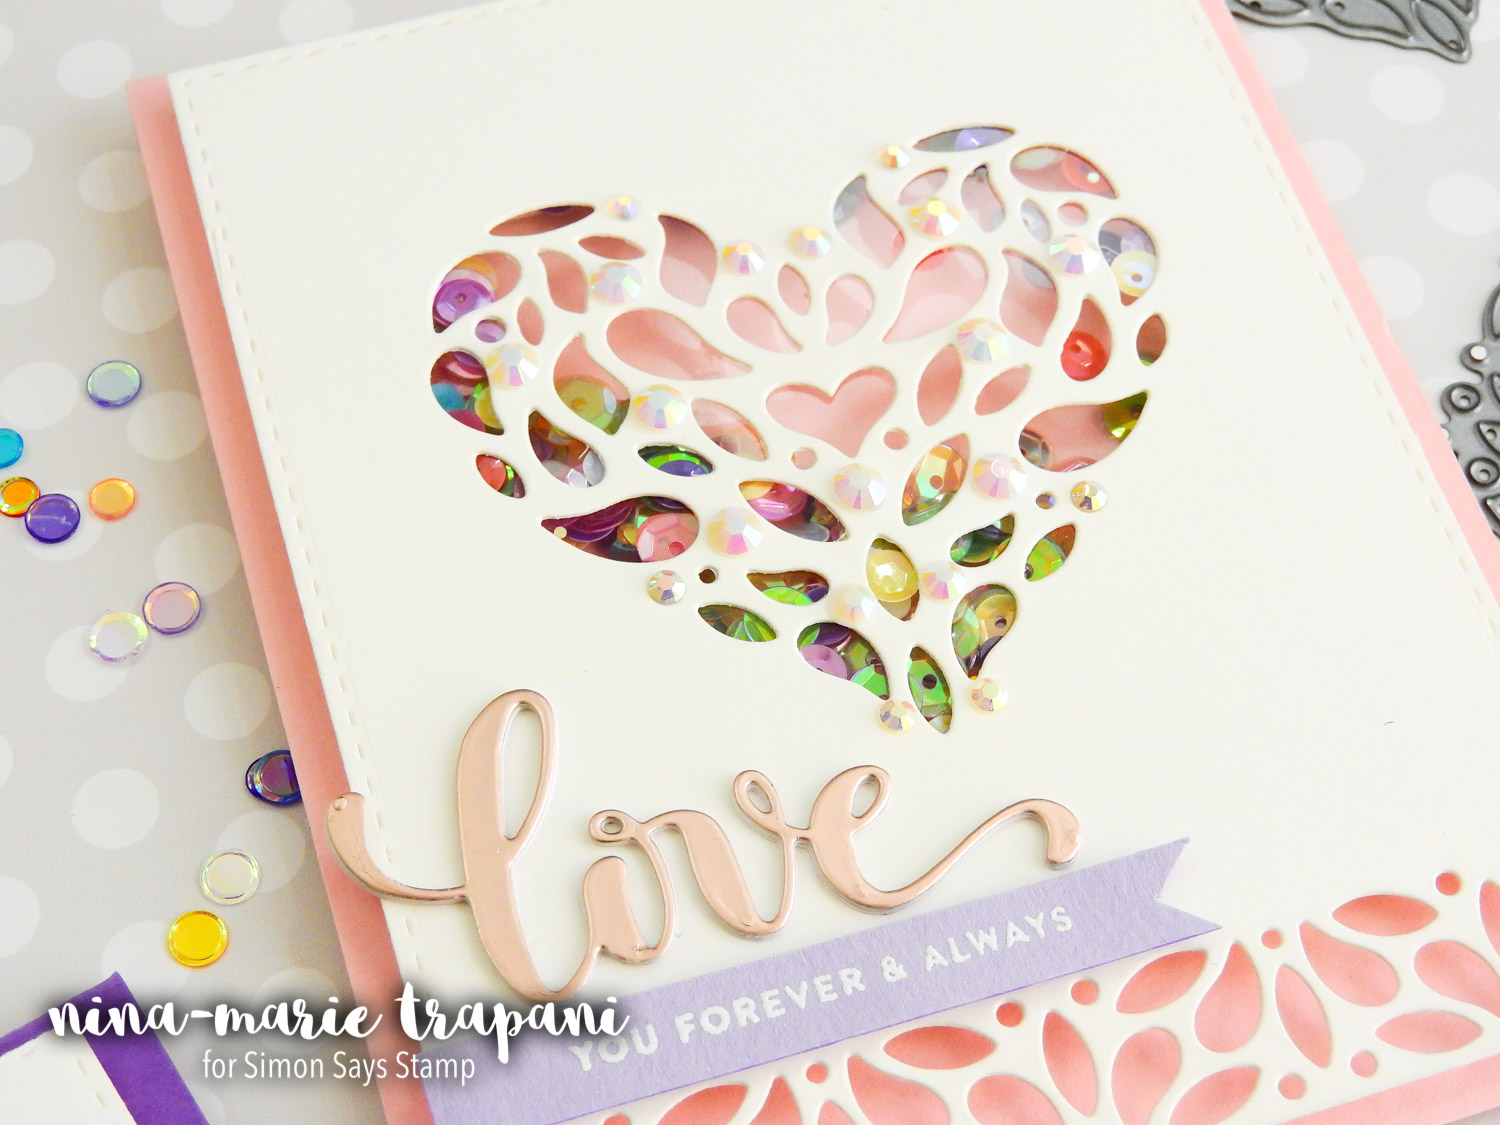
On the other card (using the Corbel Heart die), I went with more of a Valentine color scheme; the soft pinks and light pastel tones matched up beautifully with the intricacy of the heart design. Inside this shaker I used the lovely Happiness sequin mix from Lucy’s Cards.
The gorgeous script font is part of the Hey Love word die from Simon and is cut from Tonic Studios’ Burnished Rose Mirror Cardstock. That soft rose gold is simply stunning. I also was really pleased with how the supporting sentiment from our new Simon Stained Glass Love stamp set finished off the greeting on this card.
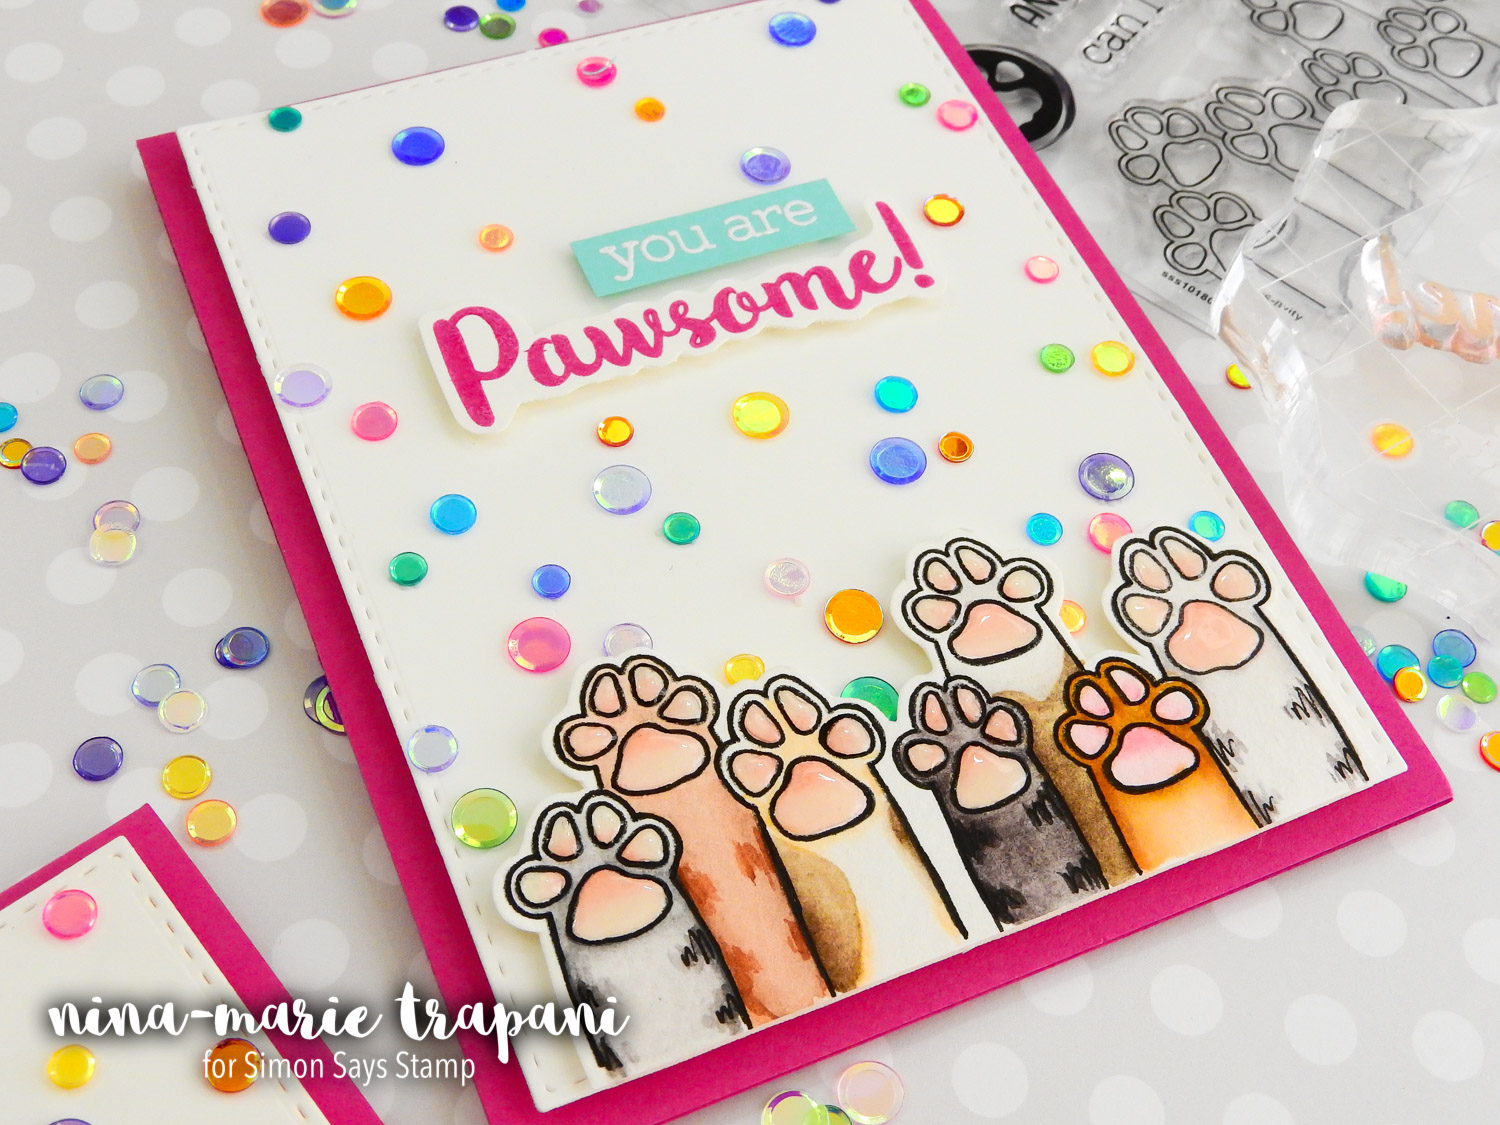
Okay, now let’s move on to idea three… this one is a bit two-fold. You could either use this as an idea for making a background from sequins, or for helping create a scene! In my mind, I saw these fun cat paws from our new Paws-itivity stamp set as cats celebrating, throwing confetti in the air! I had such a blast making this card that I created two of them!
We have a mix of Colorful Confetti sequins that simply scream PARTY! I used these for the confetti on my card and love how they catch the light. If you don’t have the Colorful Confetti sequins, you could also use the Studio Katia Crystal Rainbow Fusion sequin mix for the same kind of effect!
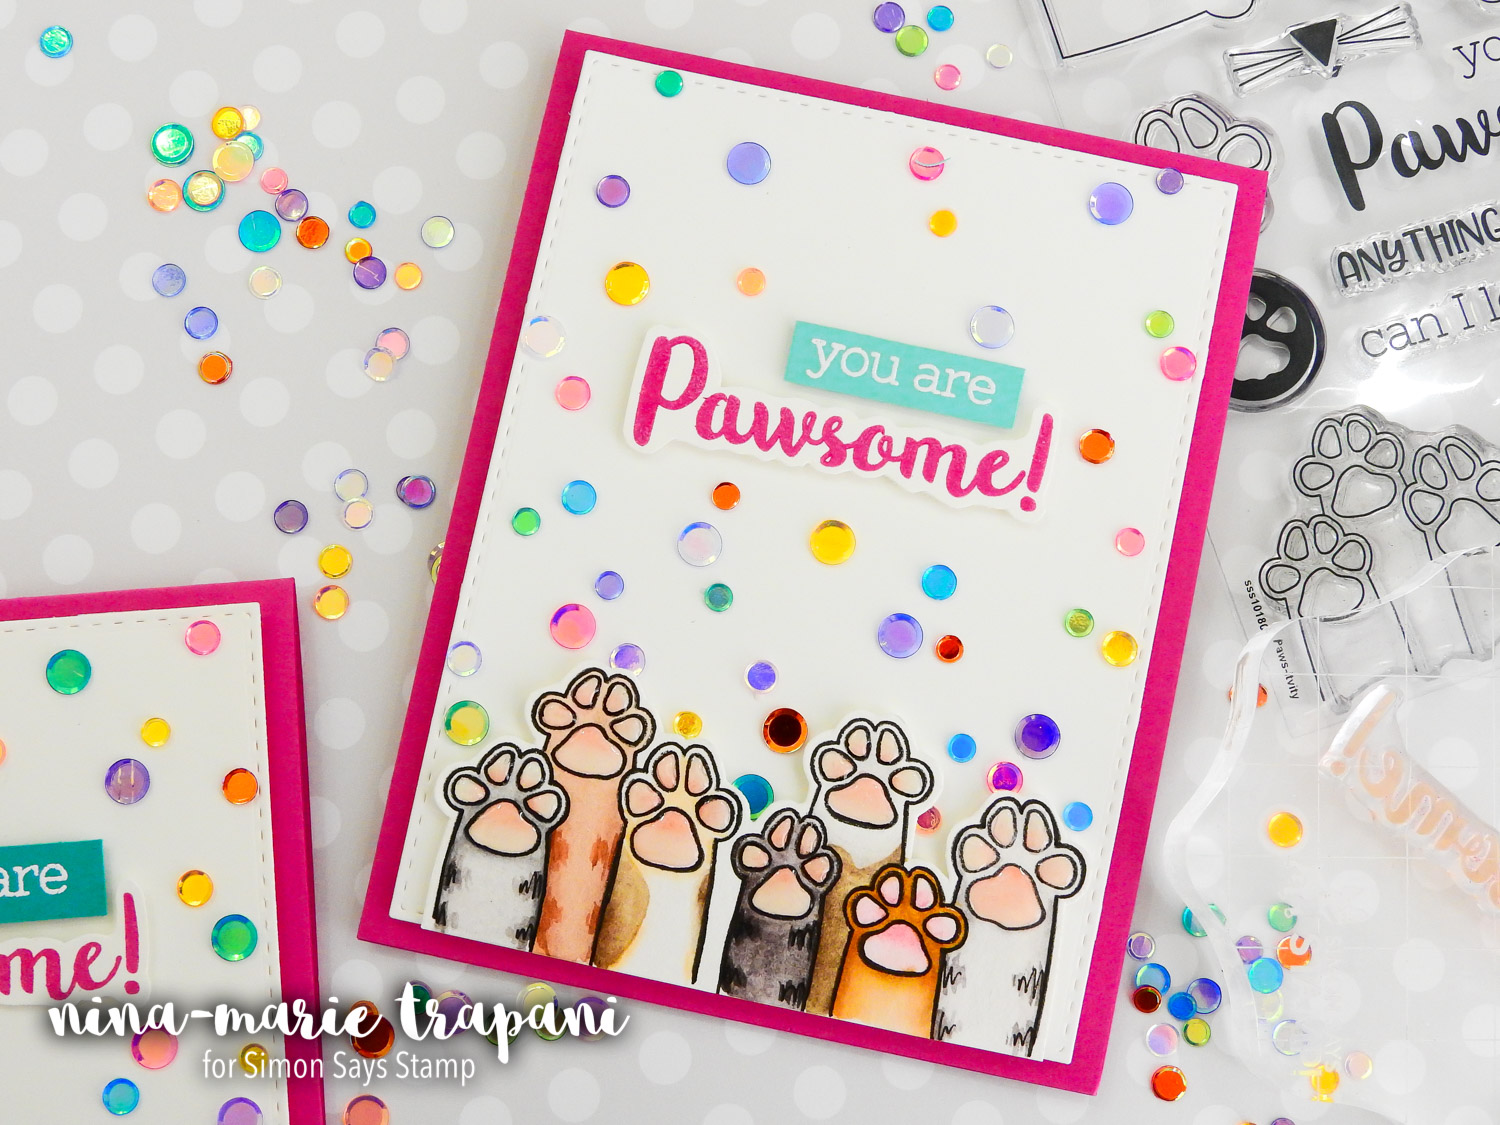
The sentiments on my card are also from the Paws-itivity stamp set. And to color in the cat paws, I used watercolors. Over each of the paw pads on the cats, I applied a layer of Glossy Accents. This gave the paws a little bit more dimension and interest!
Alrighty, my fourth and final idea today is possibly my most-favorite of all; on this next card I used my sequins to cover die cut letters!
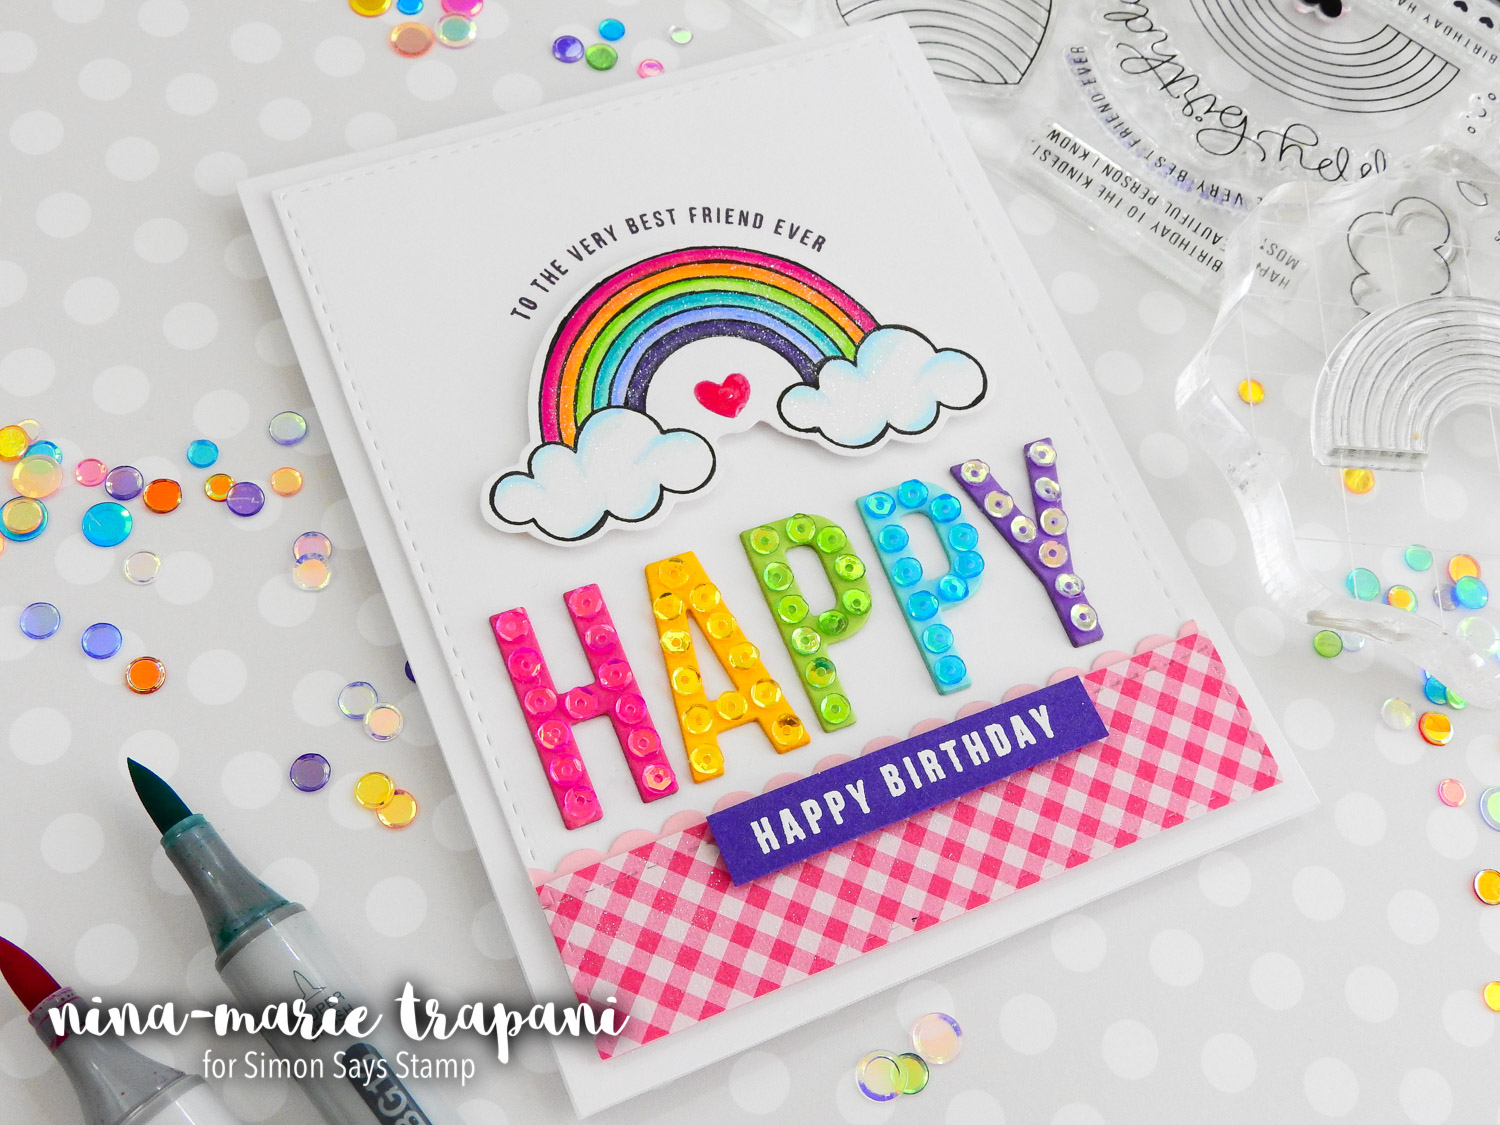
I am a huge fan of the awesome All Caps No. 1 die set from CZ Design (created exclusively for Simon). I die cut the word “happy” with the letter dies and then covered each letter with a corresponding color of sequins. These embellishment-beauties are from Pretty Pink Posh; I used the colors Fairytale Fuchsia, Sunshine Glow, Peridot Mist, Ocean Spray and Lavender Moon.
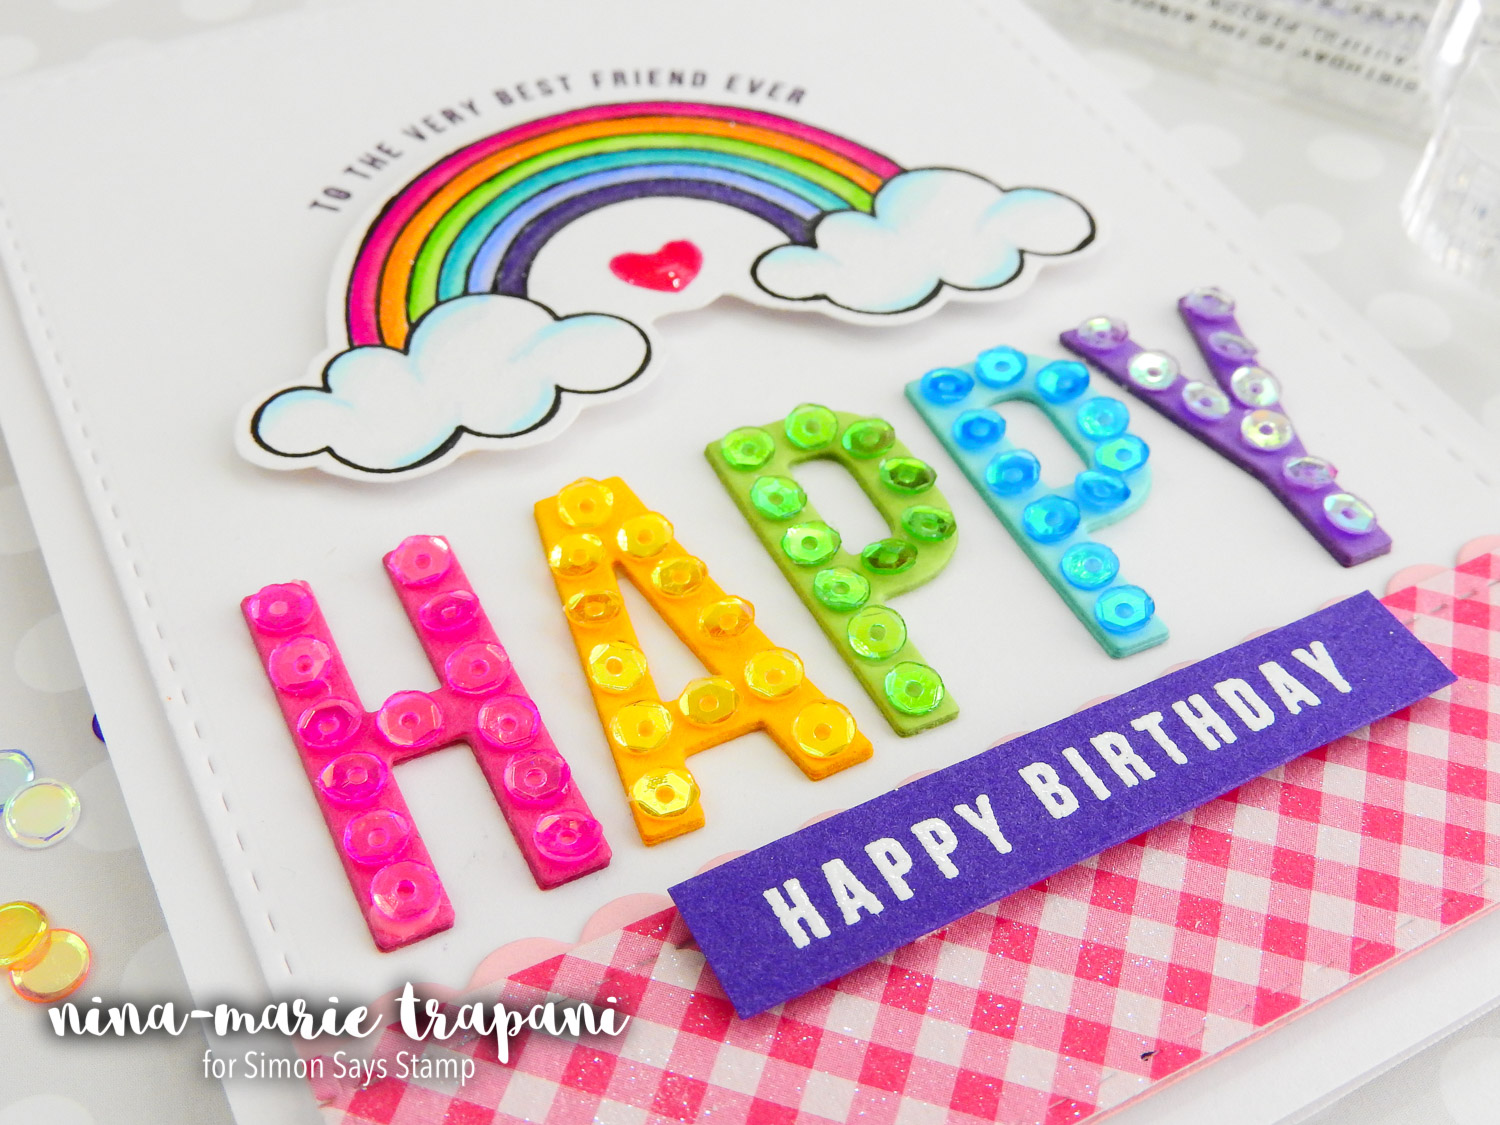
The style of this card looks perfect with the HAPPY (pardon the pun!) Best Ever Simon stamp set. I created the rainbow and colored it in with Copics; the patterned paper is from Pebbles’ Forever My Always paper collection. I added a bunch of shimmer to the paper and the rainbow with a Spectrum Noir clear overlay pen; with all the shine on the letters, I thought it would compliment the card nicely to have some glitter elsewhere!
WOW, so many cards and lots of ideas! I hope you have enjoyed seeing each of these cards and picked up some inspiration for using those gorgeous sequins and embellishments you have in your stash! Make sure you watch the video below to see all of these ideas in action.
Thanks for visiting with me today; I will see you next week – Christmas Day! – with a project to send the holidays out in cardmaking-style! :)
WATCH THE VIDEO
SUPPLIES
|


Blog Candy Alert!! Follow our blog via email and comment on this post for a chance to win grab bags and blog candy! Remember to tag your awesome projects with #simonsaysstamp on social media so we can see what you are creating!
Yippee for Yana + Spellbinders SALE!
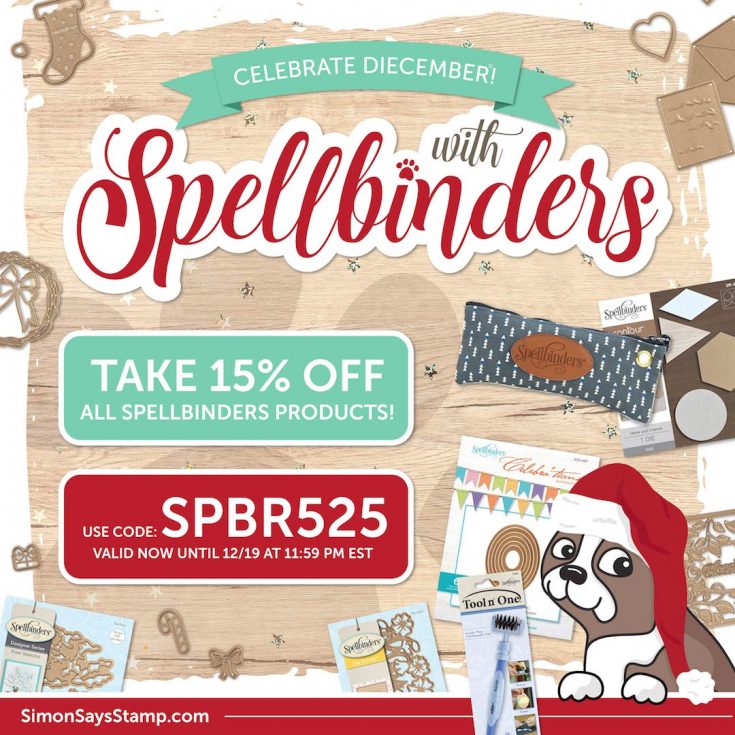
Hi friends! Happy Sunday, and happy DieCember® 17th! This month is flying by! We’re celebrating DieCember® today with a very special and rare discount code on the Spellbinders brand. Take 15% off any in-stock Spellbinders products with code SPBR525 at checkout! Remember to shop early for the best selection and enjoy!
In a special edition of Yippee for Yana today, Yana Smakula made a gorgeous project with Spellbinders products to inspire you! Be sure to watch the video for additional information and enjoy!

Hi everyone, this is Yana Smakula and I’m excited to bring you another episode from my bi-monthly “Yippee For Yana” video series! In today’s episode, I’m sharing a masculine Valentine’s Day card featuring several Spellbinders dies.

I wanted to incorporate a galaxy background into my card as I feel like galaxy prints aren’t going away anytime soon and they are still hugely popular. I started working on my project by creating a watercolor galaxy background using my Daniel Smith paints, I made sure to paint a background large enough to accommodate all of my die cutting needs.
Once my background piece was done I added a generous amount of shimmer using Distress Mica Spray in Brushed Pewter and started die-cutting the elements out using my Spellbinders Platinum 6 Die Cutting & Embossing Machine.
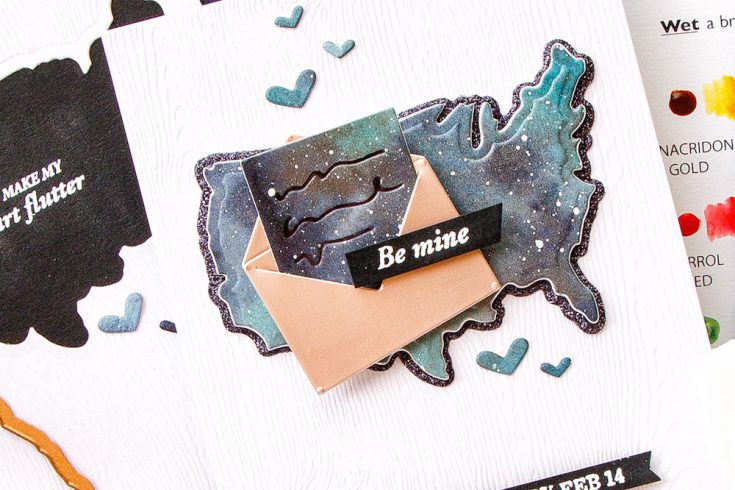
I used several dies from Spellbinders to do my die cutting. I cut a US map out of galaxy background using a map die from the Near Or Far Stamp and Die set (there are sentiment stamps that go together with this map, but I just used the map on its own, the sentiment for today’s card came from another stamp set).
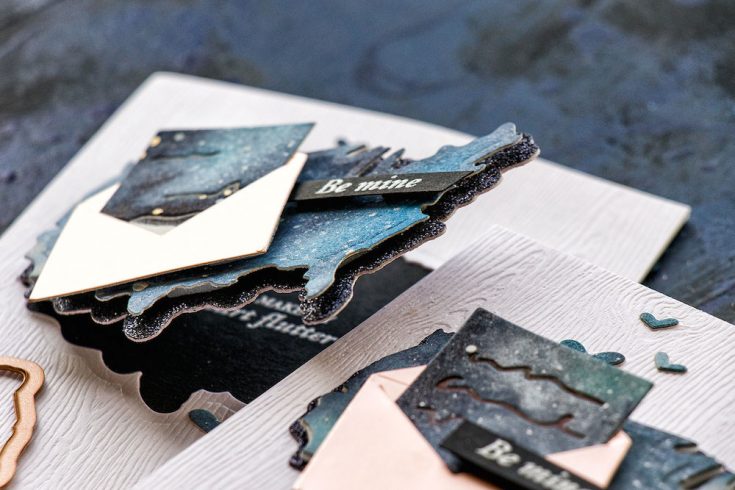
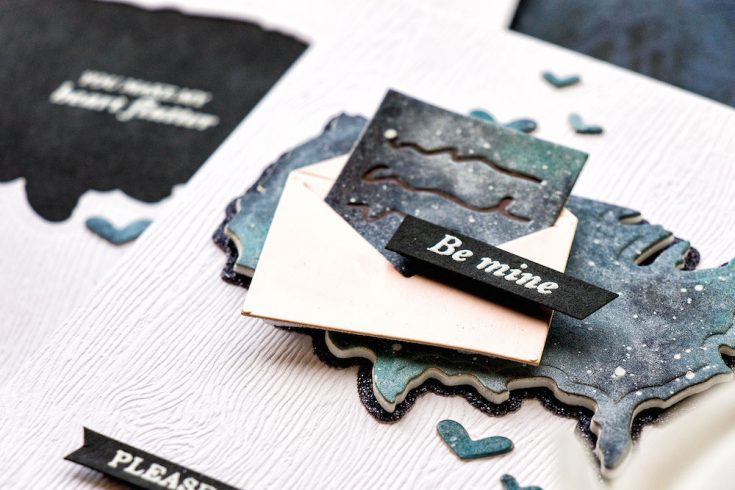
I love that this map has 2 pieces to it – there are an actual map and a mat layer to it. I cut the mat layer out of Simon’s Black Glitter paper (I love this glitter paper – it cuts like butter!). I also die-cut a love letter out of galaxy paper and an envelope out of Tonic’s Burnished Rose metallic paper, these dies came from the Love Letter die set from Spellbinders.
The love letter die cut adds beautiful debossing to the paper making it look like an actual letter with some illegible writing. To emphasize the writing I later used a black pen and just outlined the debossed areas in black. The envelope die is also a unique one as it is designed to look as if it is an assembled envelope – there’s a slit where you can insert your letter. Yet, no assembly is needed for this die, just cut it out and use it.
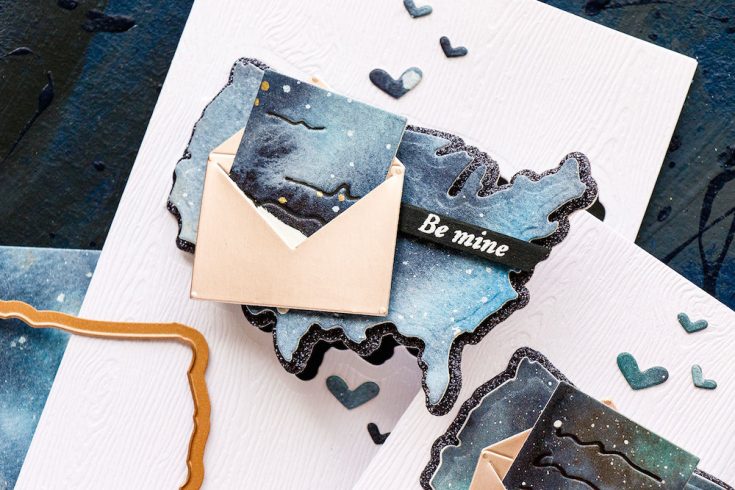
I used Wood Grain White cardstock for the background panel for my card. I adhered my glitter map and foam mounted the galaxy map layer onto it. I also foam mounted the envelope with the letter, added tiny die-cut hearts (these came from the Near or Far stamp & die set) and added two simple white heat embossed sentiments that read “Be Mine” and “Please Deliver By Feb 14th”.
Be sure to watch my video until the very end to see a way you can step this card design up and add a secret compartment for a hidden message!
I hope you’ll give this idea a try. If you do, please tag Simon Says Stamp and me on social media – we’d love to see what you make!
Have fun stamping!
WATCH THE VIDEO:
SUPPLIES:
|


Thanks for reading today, and thanks to Yana for being our guest!
Blog Candy Alert!! Follow our blog via email and comment on this post for a chance to win a special blog candy!
—————————————————————————————————————————————————–
Don’t forget!!