Amore Laura Fadora: Love You Sassy Lass
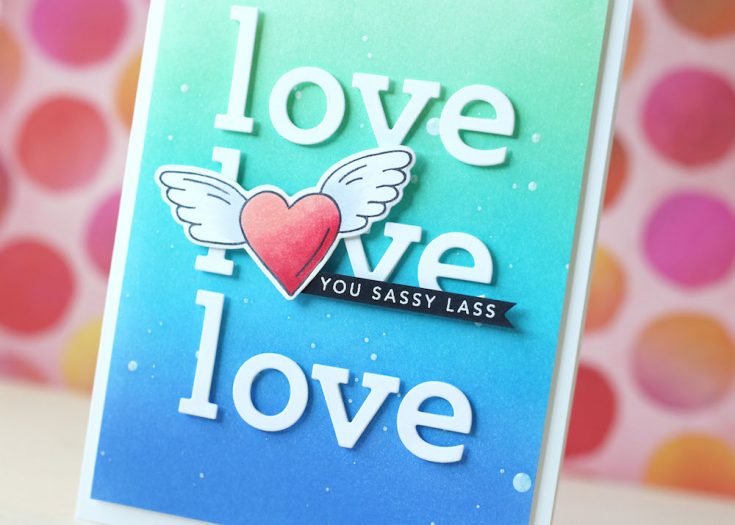
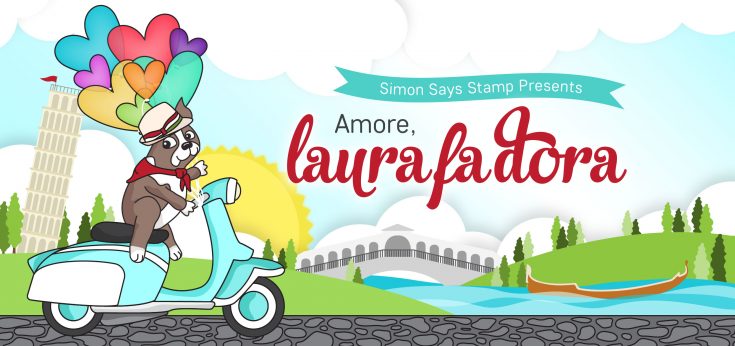
Hi friends! Happy FriYAY!!! Please welcome to the latest edition of Amore Laura Fadora where the always fabulous Laura Bassen to our blog with this cheeky and fun love card featuring Heartthrob clear stamps and dies, Archie Alpha dies, and Hello You stamps (you sassy lass)! Be sure to watch the video for Laura’s top 12 Distress Oxide Ink picks (hint: linked below) and some other fun tips along with of course a tutorial of this fabulous card! Enjoy!
Laura’s Top 12 Distress Oxide Ink Picks:
|


WATCH THE VIDEO:

SUPPLIES:
|


Thanks for reading, and thanks to Laura for this awesome inspiration!

Blog Candy Alert!! Follow our blog via email and comment on this post for a chance to win special blog candy!
New Spring 2018 Lawn Fawn is HERE + Pivot Pop Up Intro!
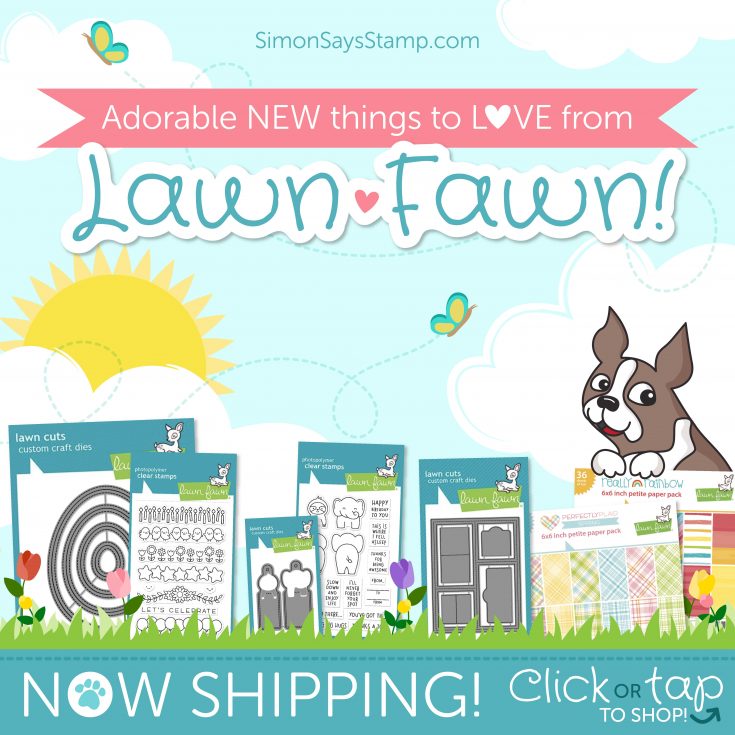
Hi friends! Happy Thursday AND happy Lawn Fawn release day! All of these happy designs will be shipping out NOW! Be sure click or tap the image above to peruse the whole collection if you haven’t yet done so!
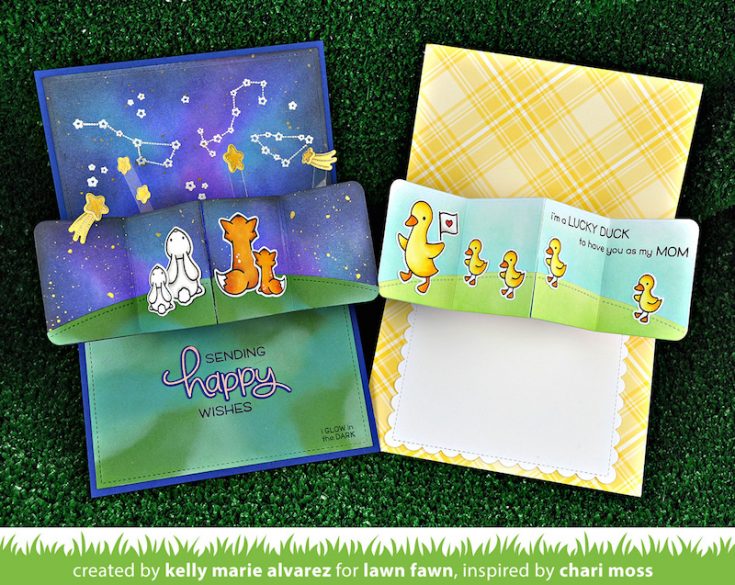
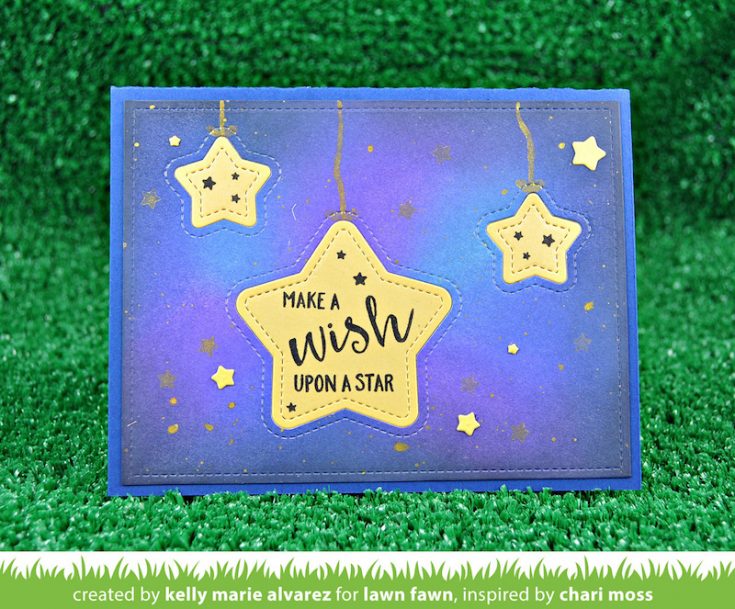
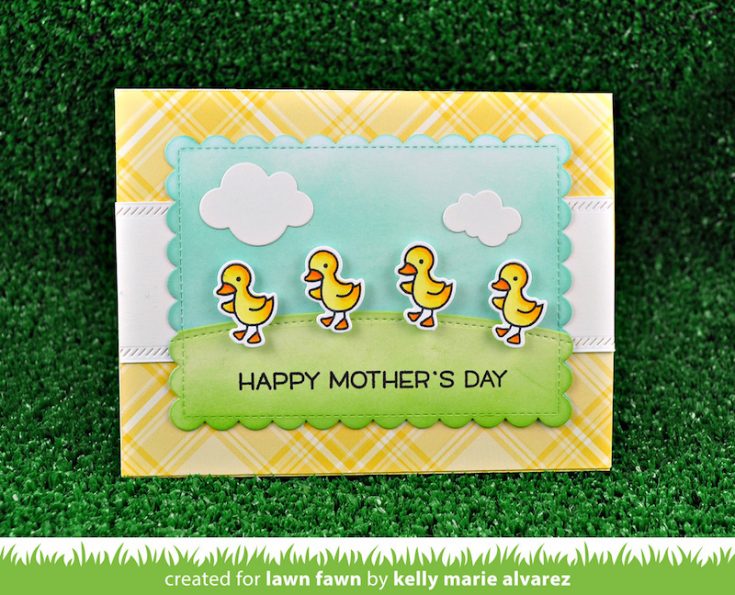
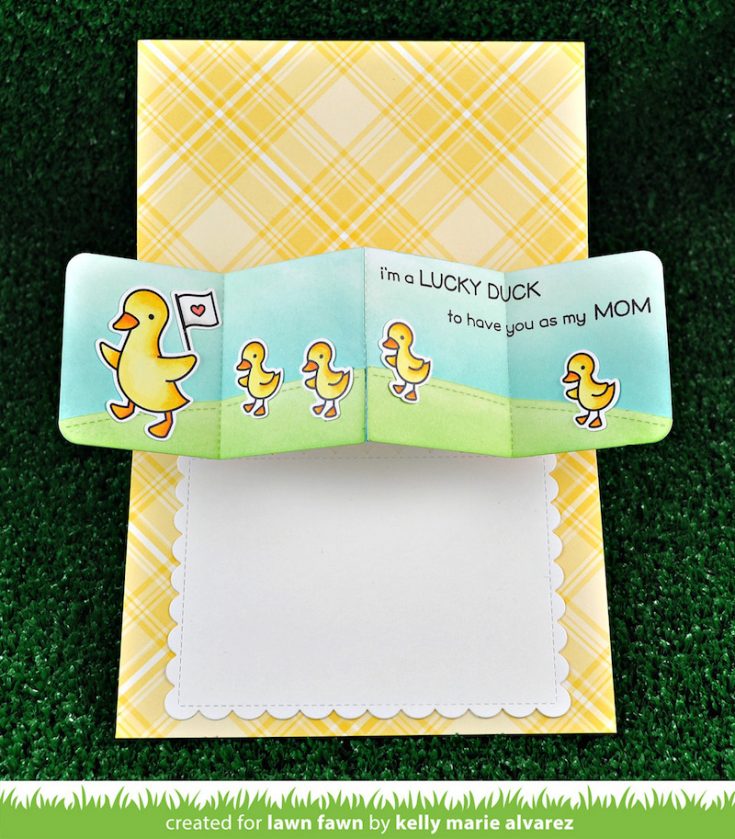
In honor of release day, the amazing Kelly Marie Alverez made two super sweet cards for us to share featuring the super cool and new interactive die called “Pivot Pop Up“. The duck card also features the brand new Perfectly Plaid Spring collection pack, and the Rub-A-Dub-Dub stamps and dies! The constellation card features the brand new Outside In Stitched Star dies on the cover! Be sure to scroll on and watch the video for all the details! Enjoy!

WATCH THE VIDEO:
SUPPLIES:
|


Thanks so much for reading, and thanks to Kelly for being our guest!
Blog Candy Alert!! Follow our blog via email and comment on this post for a chance to win special blog candy!
Yippee for Yana: Polychromos Pencils Coloring Basics
Hi friends! Happy Wednesday! Welcome to the latest in our bi-monthly Yippee for Yana series with the fabulous Yana Smakula! If you follow along with her series you may notice that she loves Polychromos pencils! Read and watch on to learn some fun tips and tricks about them and enjoy!

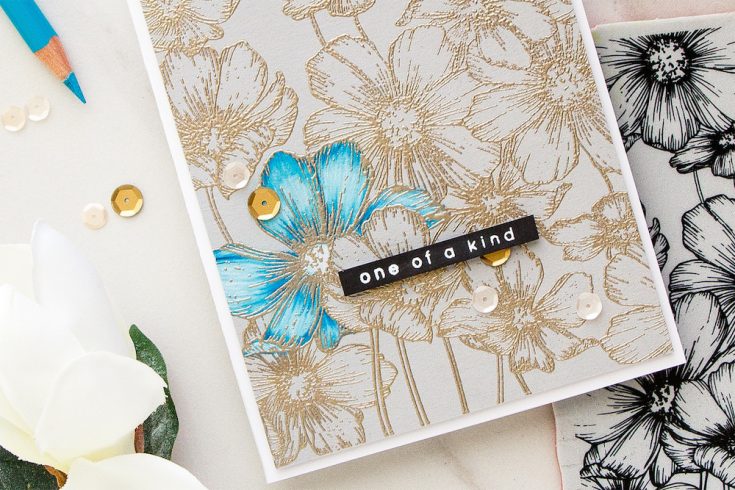
Hi everyone, this is Yana Smakula and I’m excited to bring you another episode from my bi-monthly “Yippee For Yana” video series! In today’s episode, I’m making a simple floral card showing some basic pencil coloring using Polychromos pencils.
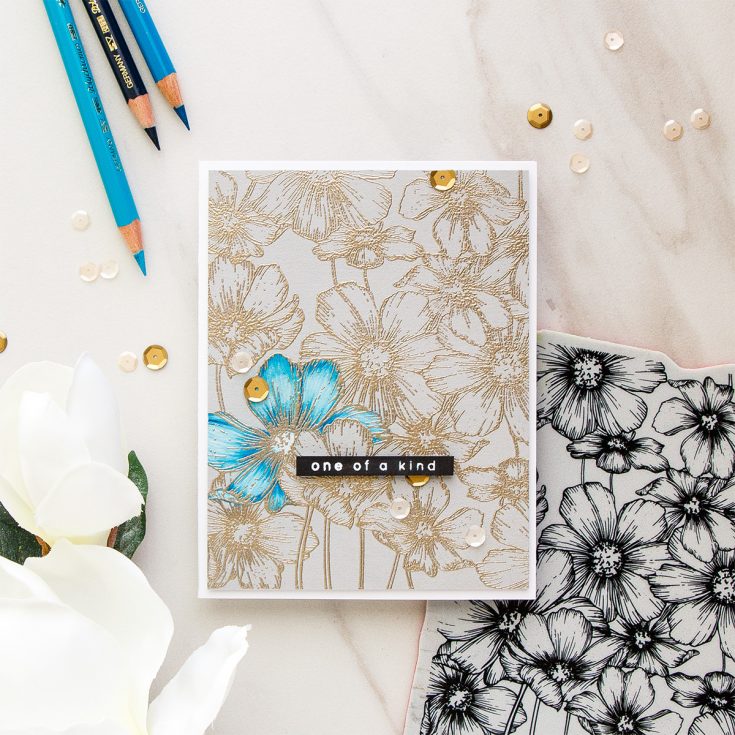
If you’ve been following me for some time you might have noticed how in love I am with these pencils. Today I’m using just 4 pencils to color one of the flowers from Simon’s Cosmos background stamp.
I started to work on my card by stamping this beautiful background in Simon Says Stamp Fog ink onto a Smoke Gray cardstock panel. You’ll need to use any kind of stamp positioner tool if you’d like to recreate this card as later we will be heat embossing this image over the stamping and to make sure the stamped and heat embossed lines matchup is crucial to have a stamp positioning tool.
I’ve stamped this in Simon’s Fog ink although the ink color isn’t of much importance here as again, we will be heat embossing over it. I wouldn’t use a black ink for stamping especially if you plan to heat emboss this in white, but any neutral color of ink can work. You can also use embossing watermark ink at this point.
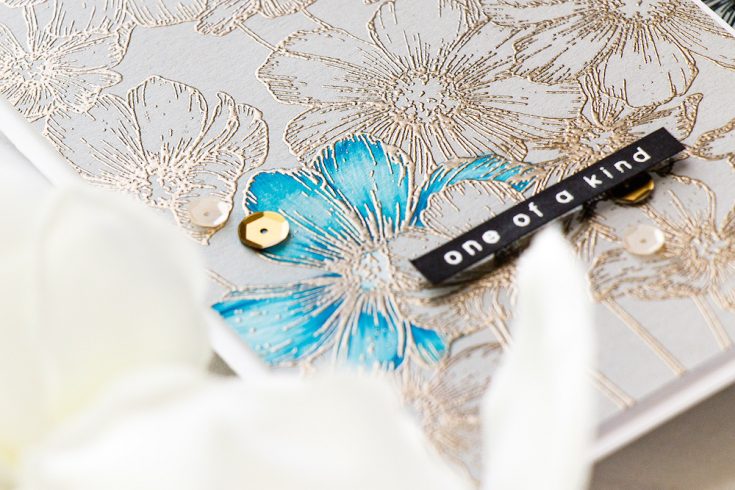
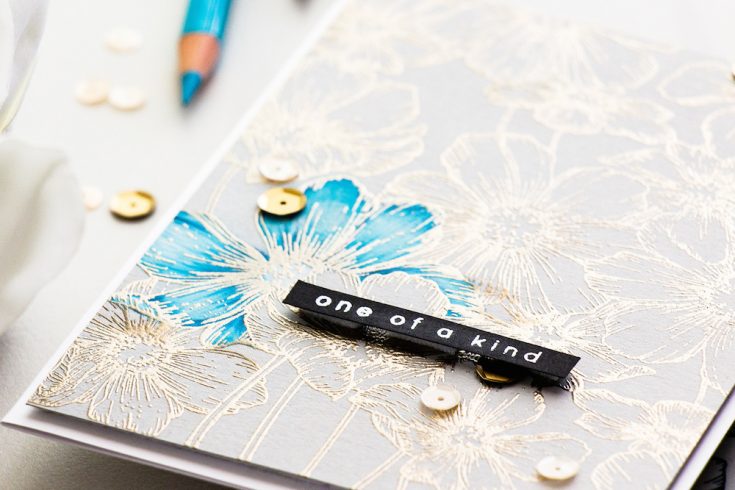
I used the following pencil colors – Cobalt Green #156, Cobalt Turquoise #153, Dark Indigo #157 and White #101.
I started my coloring with white pencil and I lightly colored the section of each petal that will be the lightest or will be the highlight. Next, I added my colors beginning with the lightest color and working my way to the darkest. Finally, I came back to the white pencil or lightest colored pencil and used either to blend and smooth out the coloring.
If you are new to Polychromos pencils and would like to give these a try I always suggest starting small with a 12 or 24 pencil set and explore these pencils from there.
If you get the largest 120 pencil set right away it might feel intimidating and overwhelming, you might not know where to start and the worst part is – you might not like the pencils. So always start with a smaller set first – you can add to your collection as explore these pencils further. Also having a smaller set on hand will force you to stretch the colors that you do have to achieve those you don’t – so you will learn more about your pencils and ways to blend them when you have less. And therefore you’ll become more skillful at using them.
The kind of paper you use is very important. When you color with colored pencils, any kind of colored pencils, you need to use paper that has tooth to it as this is what the pencil grabs onto when you color. The tooth of the pencil and the pressure with which you apply the pencil matter. If you apply your pencil with a heavy pressure you will smooth out the tooth of paper right away and you won’t be able to apply any more pencil on top of it, you won’t be able to blend and add more color. Think of this as burnishing the surface of your paper with a tool to make it silky smooth. When your paper loses it’s texture, however fine that texture is, you lose the ability to blend with the pencils.
Watercolor paper is also another good paper to color on with colored pencils. It has texture and tooth to it and that allows the pencils to blend beautifully. That being said – you can always combine watercoloring and pencil coloring for adding fine details.
When you go to color start by applying the pencil with a light hand. Don’t press down too hard as you’ll have trouble adding additional color on top.
Anytime you want to preserve the area of your image white or as light as possible it’s best to apply white pencil prior to anything else. The order in which you apply the color matters, so you won’t have the same result or the same look if you color with colored pencils first and apply a white pencil later as a final layer. You’ll have darker colors. So if you need to have a very light area remember to first lay down a layer of white.
I use my white pencil a lot – its blender and a highlighter for me. Regardless of what other colors I used I almost always have white to go along with those colors to be able to stretch them and get more out of my pencils.
Once my coloring was done I placed my image back into my stamp platform. I treated my paper with an anti-static tool and heat embossed in Platinum Embossing powder from Hero Arts. I think it complemented this Smoke Gray background paper nicely.
The rest was very simple – I foam mounted this panel onto an A2 side folding card base, I used white paper for this. I heat embossed One Of A Kind sentiment from the Fingerprint Doodles stamp set in white embossing powder onto a black cardstock strip and foam mounted it onto my card.
Lastly, I used sequins from the Satin Gown sequin mix from Simon Says Stamp to embellish my card. I cut some of them apart to be able to tuck under the sentiment panel and have just a partial sequin show.
Have fun stamping!
WATCH THE VIDEO:
SUPPLIES:
|


Thanks so much for stopping by and thanks to Yana for being our guest!
Blog Candy Alert!! Follow our blog via email and comment on this post for a chance to win special blog candy!


