New Neat & Tangled Inspiration!
Hi friends!
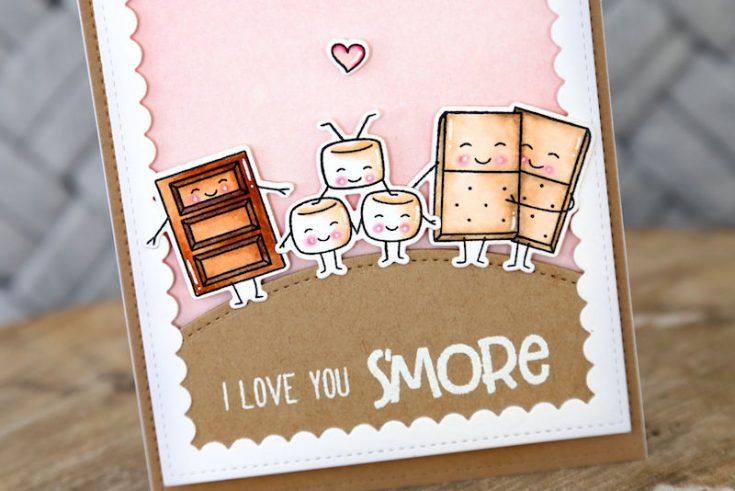
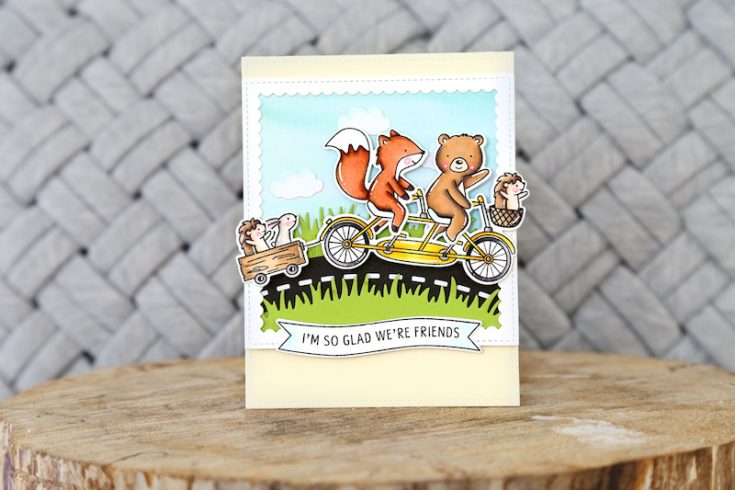
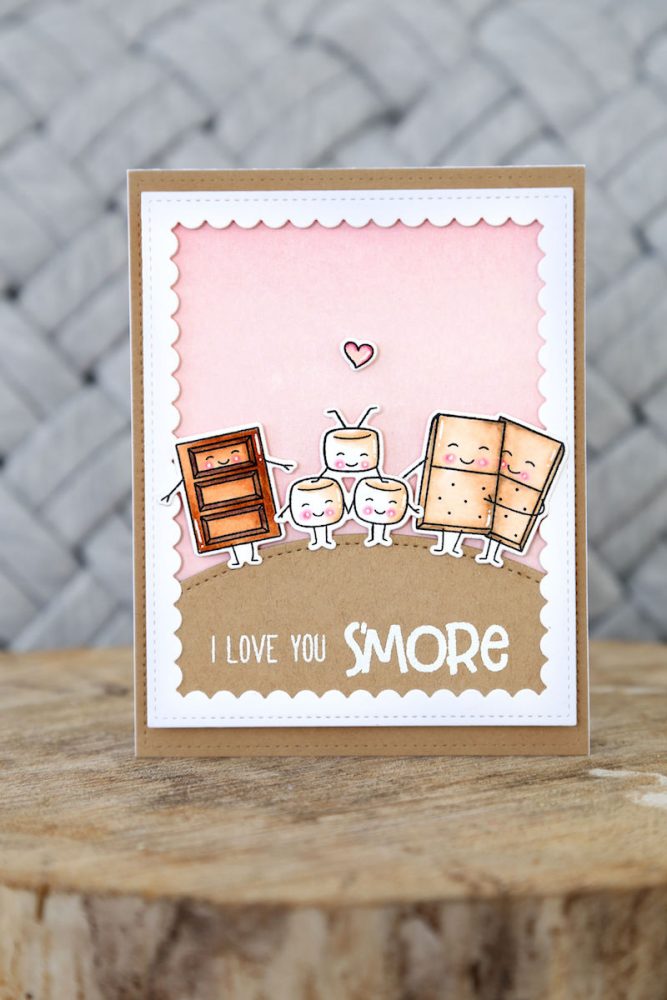
Happy Tuesday! I’m so thrilled to welcome back special guest Elena Roussakis with two absolutely adorable card ideas using brand new Neat and Tangled stamps and dies! The sweet tooth themed stamp and die set is appropriately called S’more Fun and the characters bicycling is called Ride with Me. I just love the way Elena colored in some sweet rosy cheeks on the chocolate bar, marshmallows, and graham crackers. It adds even MORE sweetness! This great stamp set would really be great to use for a love card all year long.
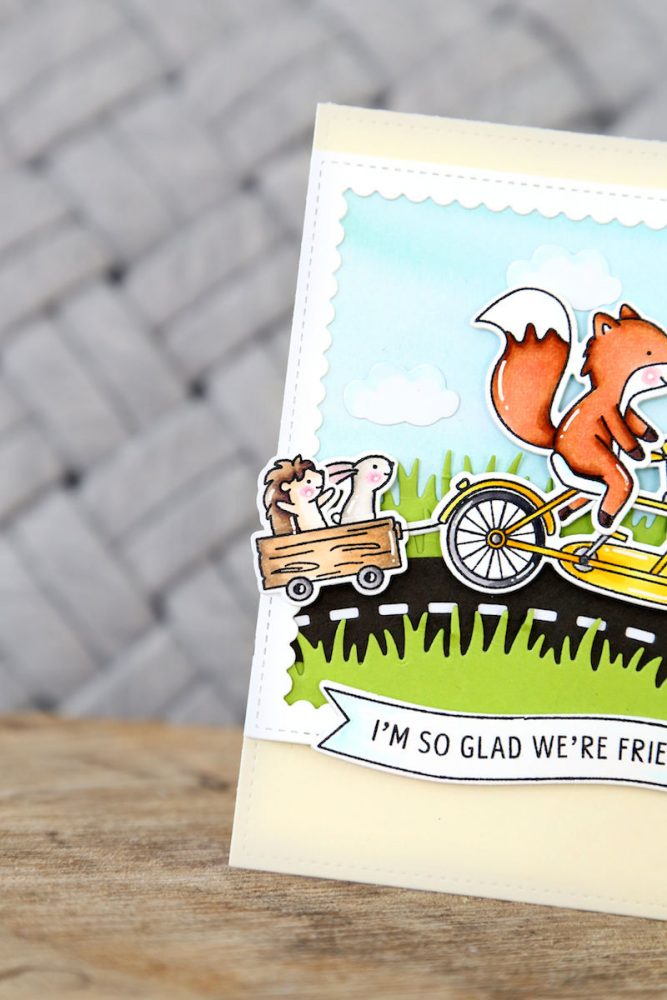
Using the Ride with Me stamp and die set, Elena set a sweet scene by grounding this fun crew using a Simple Road border and the Simple Grassy Hillsides dies on either side from Lawn Fawn. How sweet is this inspiration?! Have you shopped the new Neat & Tangled collection yet?!
 SUPPLIES:
|


Thanks for reading, and thanks to Elena for the inspiration!

Blog Candy Alert!! Follow our blog via email and comment on this post for a chance to win special blog candy!
Congrats! Blog Candy Winners!
From: Studio Monday with Nina-Marie: Stenciling 5 Ways: Arianna Barbara
From: Watercolor Cosmos Background with Bibi Cameron: Michelle Gleeson!
From: Dreamer of Dreams: Heather Nelson!
From: Amore Laura Fadora: Love You Sassy Lass: Chris Eder!
From: New Spring 2018 Lawn Fawn is HERE + Pivot Pop Up Intro: Nandini Karmarkar!
From: Yippee for Yana: Polychromos Pencils Coloring Basics: Cathie Lillie!
From: Stenciling with Translucent Embossing Paste: Judy Bowlby!
Please email [email protected] with the name of the blog you won from, the prize you won, and your address (if applicable) to redeem your prize(s)!
Studio Monday with Nina-Marie: Stenciling 5 Ways

Hello crafters! I am super-excited to be bringing you a new Studio Monday tutorial featuring one of my favorite techniques; stenciling! In the video for today, I will share 5 different ways you can use stencils to make some fun effects on your cards. Let’s quickly highlight a of them before watching the video!
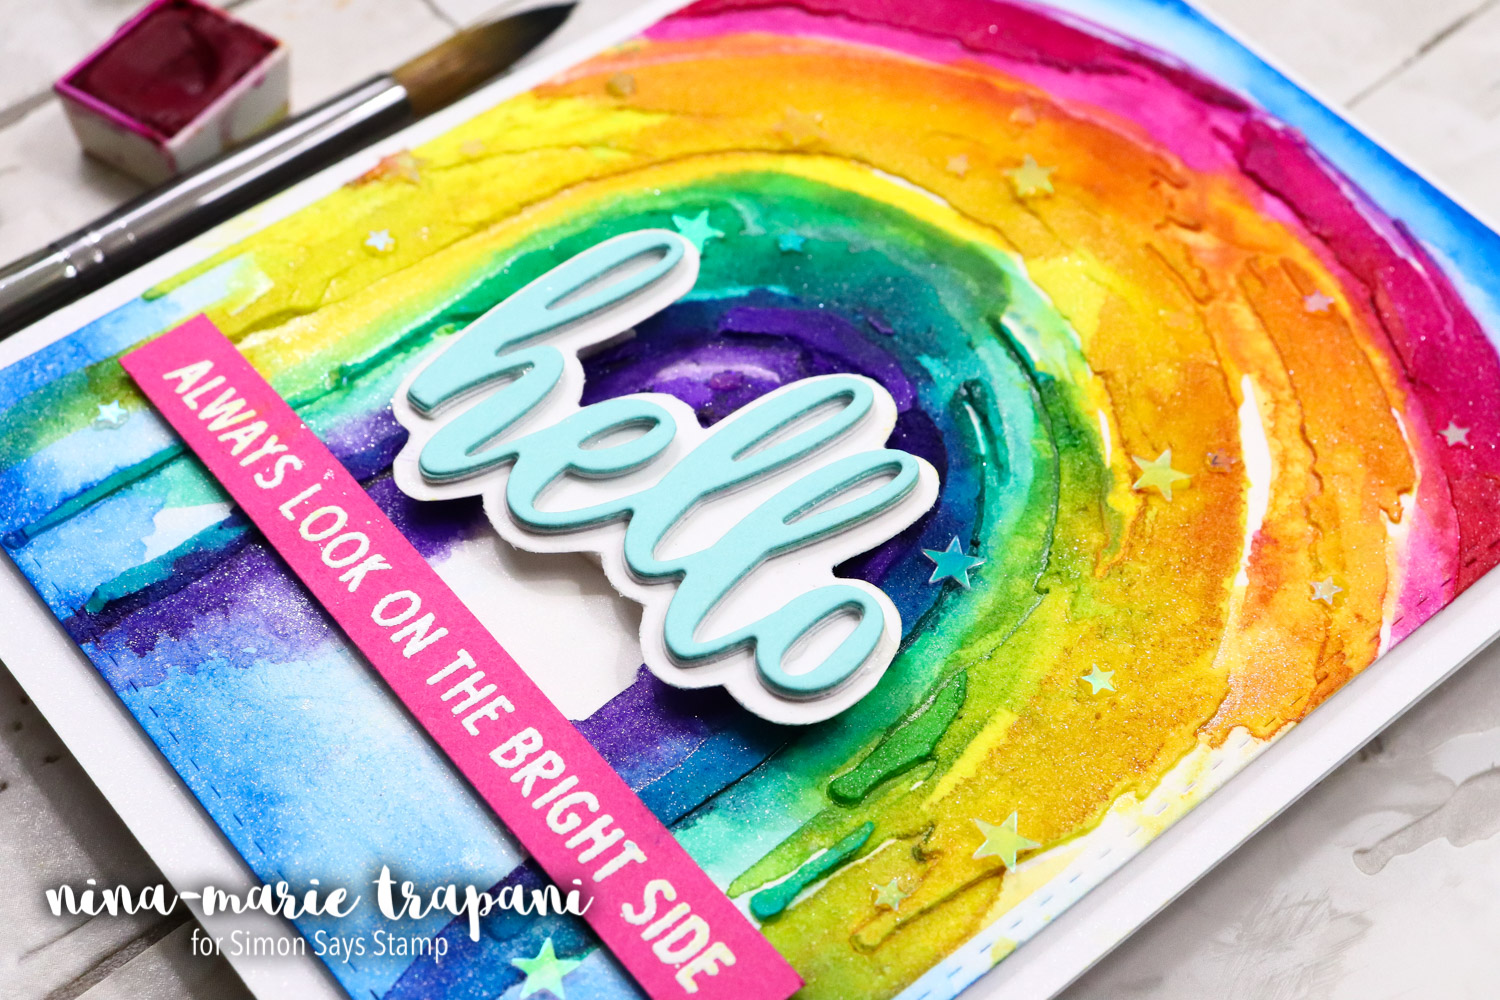
First up, we have stenciling with embossing paste; and to step it up a notch, I’ll show you how you can COLOR that embossing paste to get this stunning rainbow! The rainbow is a stencil from Stencil Girl called Little Painted Rainbow. Don’t you just love it? After applying my embossing paste through the stencil, I was really inspired to enhance the brushstroke effect with a bit of watercoloring!
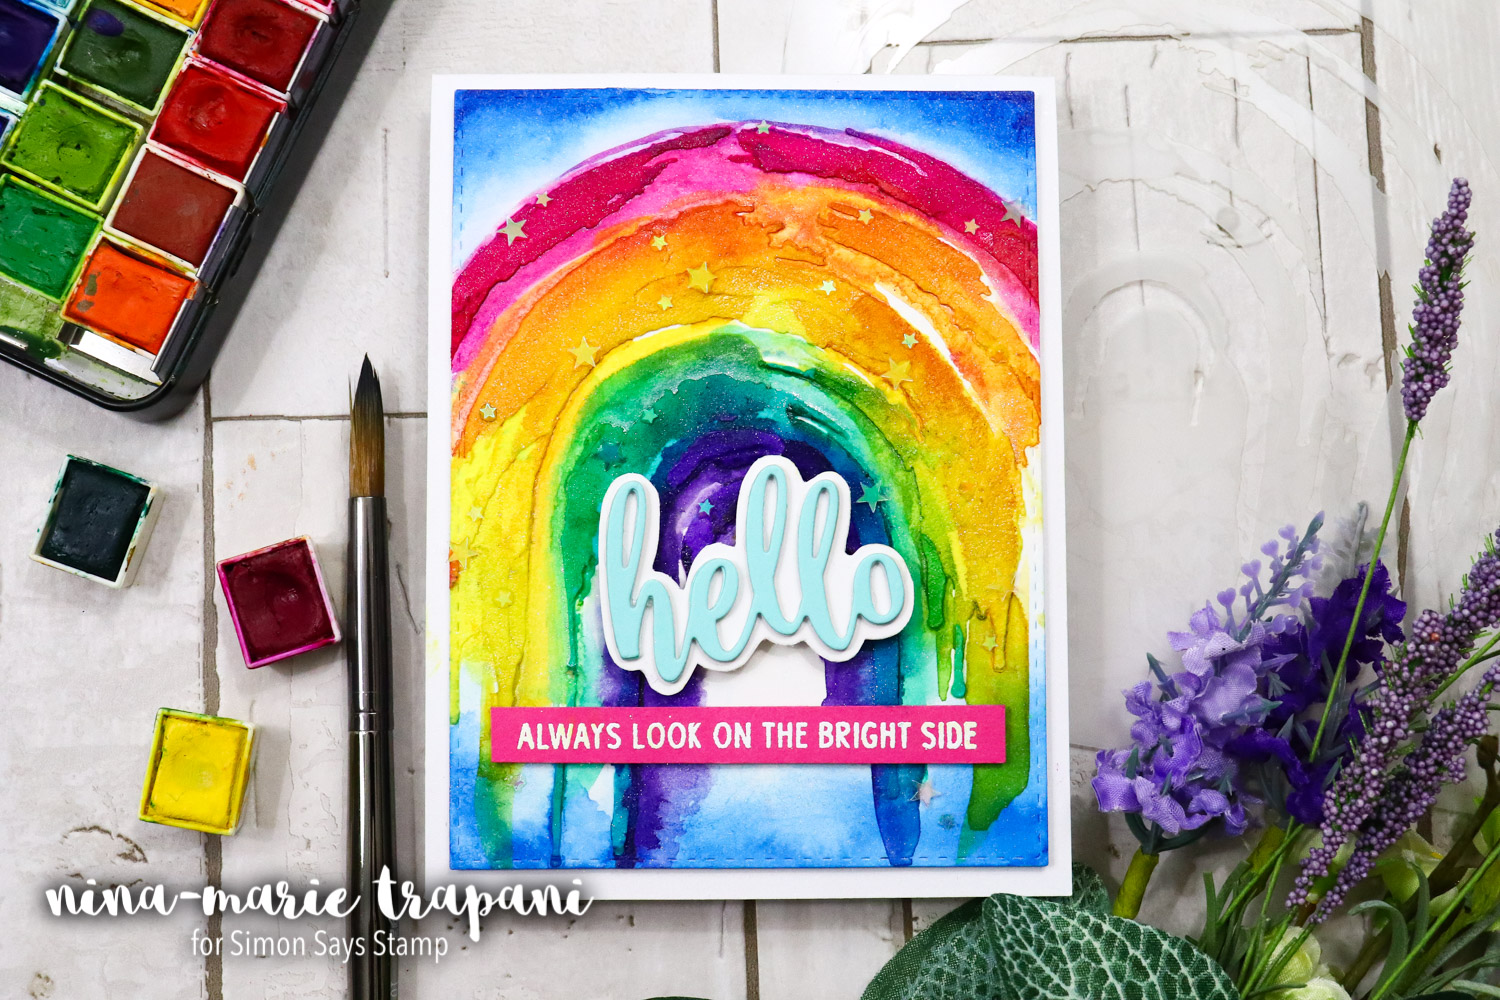
The sentiments I added are from My Favorite Things’ Hello and Thanks die set and Neat & Tangled’s So Many Sentiments stamp set. One of my favorite parts of this card are the tiny Iridescent Stars that “twinkle” on the rainbow!
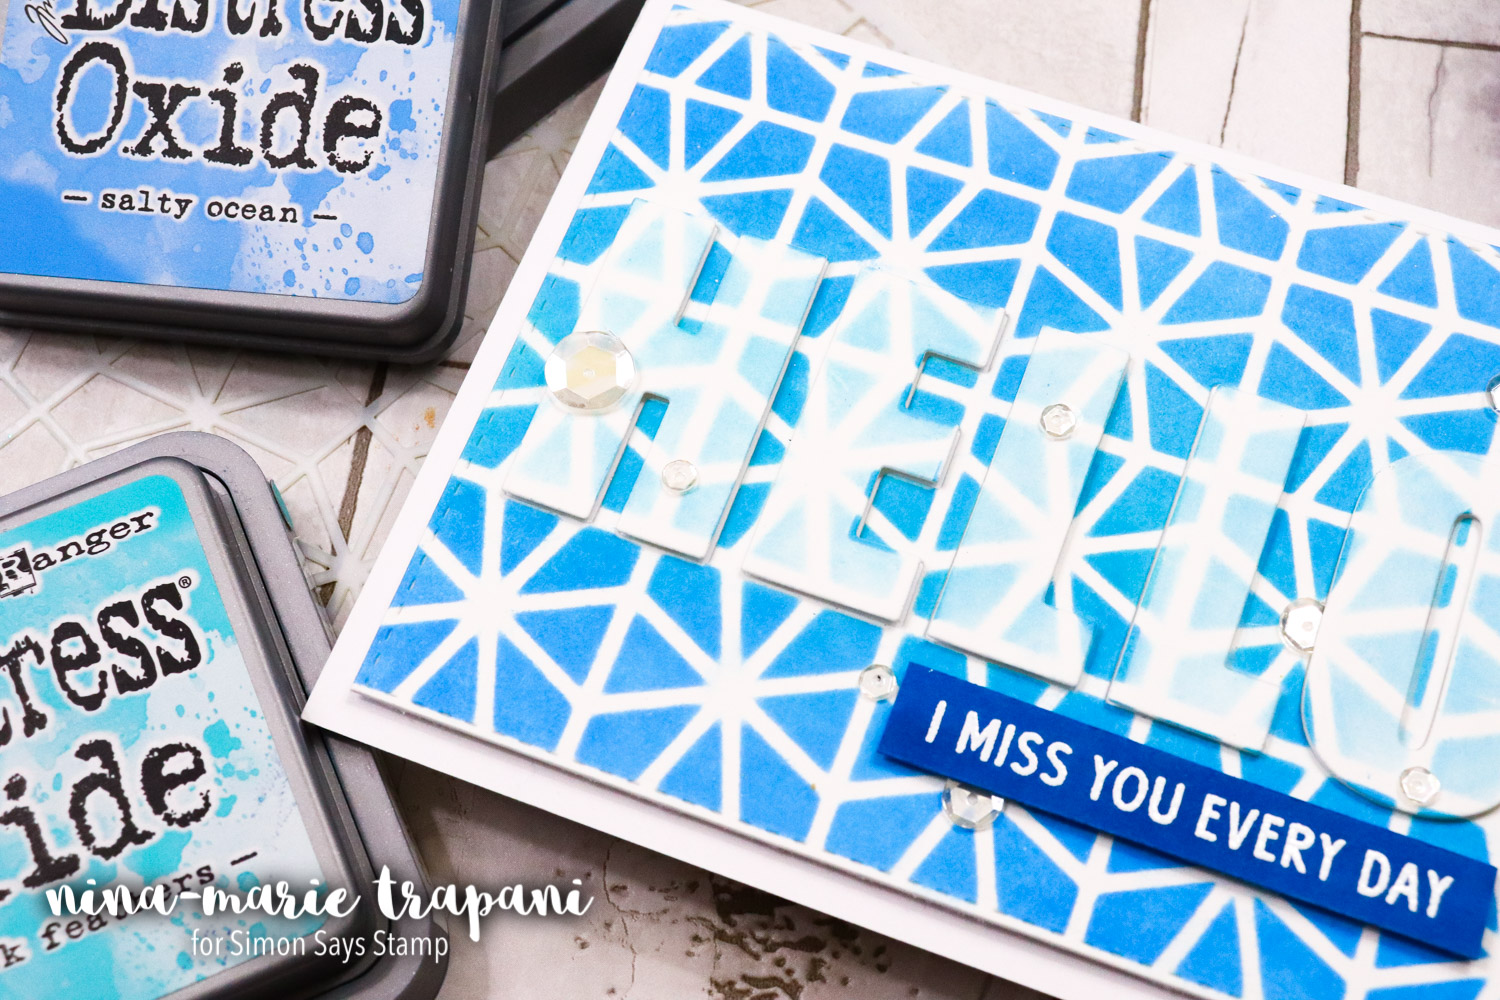
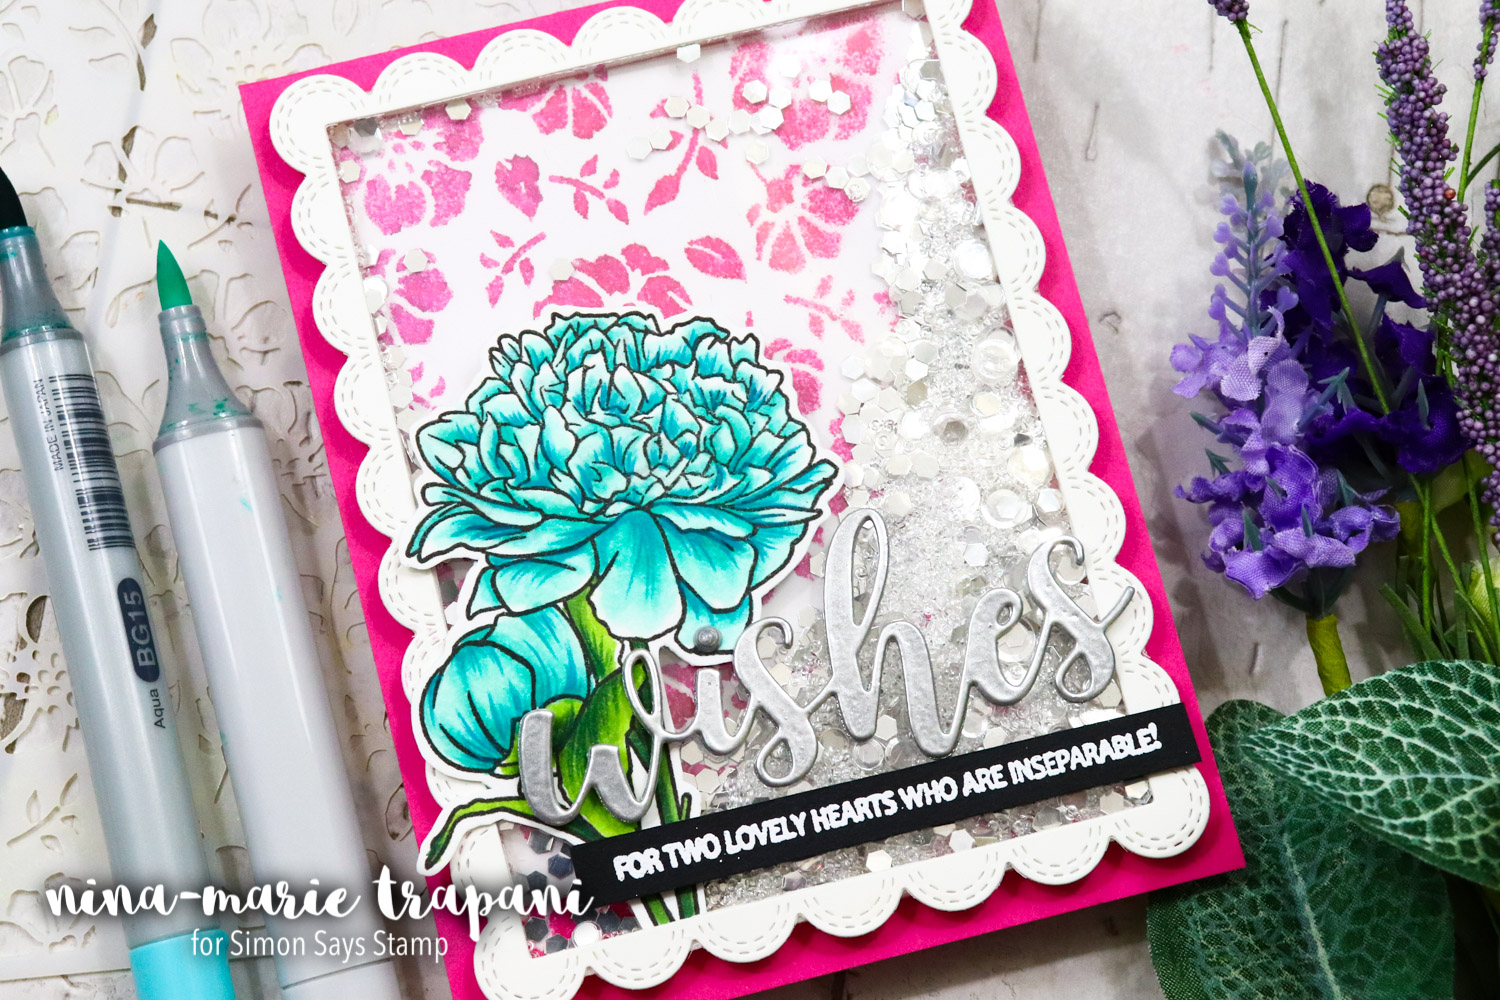
Next in the video, I’ll show you how to create a ghosted sentiment with stenciling. Can you see the “hidden” greeting in the stenciled pattern??
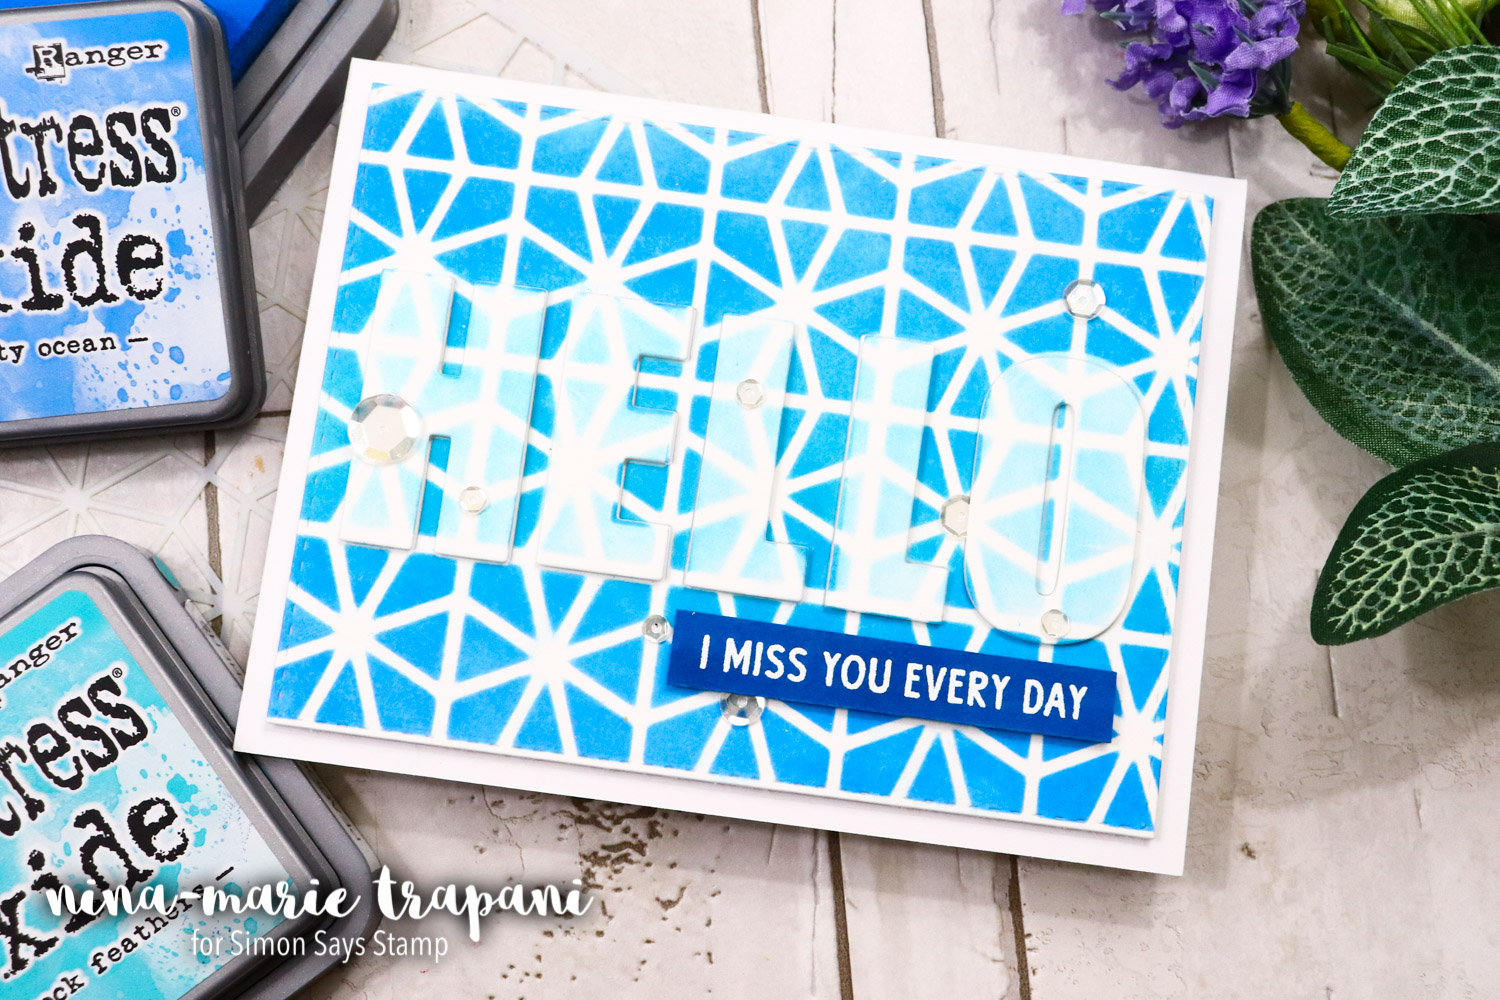
The letters that create the ghosted effect are from Altenew’s Bold Alphabet die set; the stencil design was Neat and Tangled’s Geometric Circles.
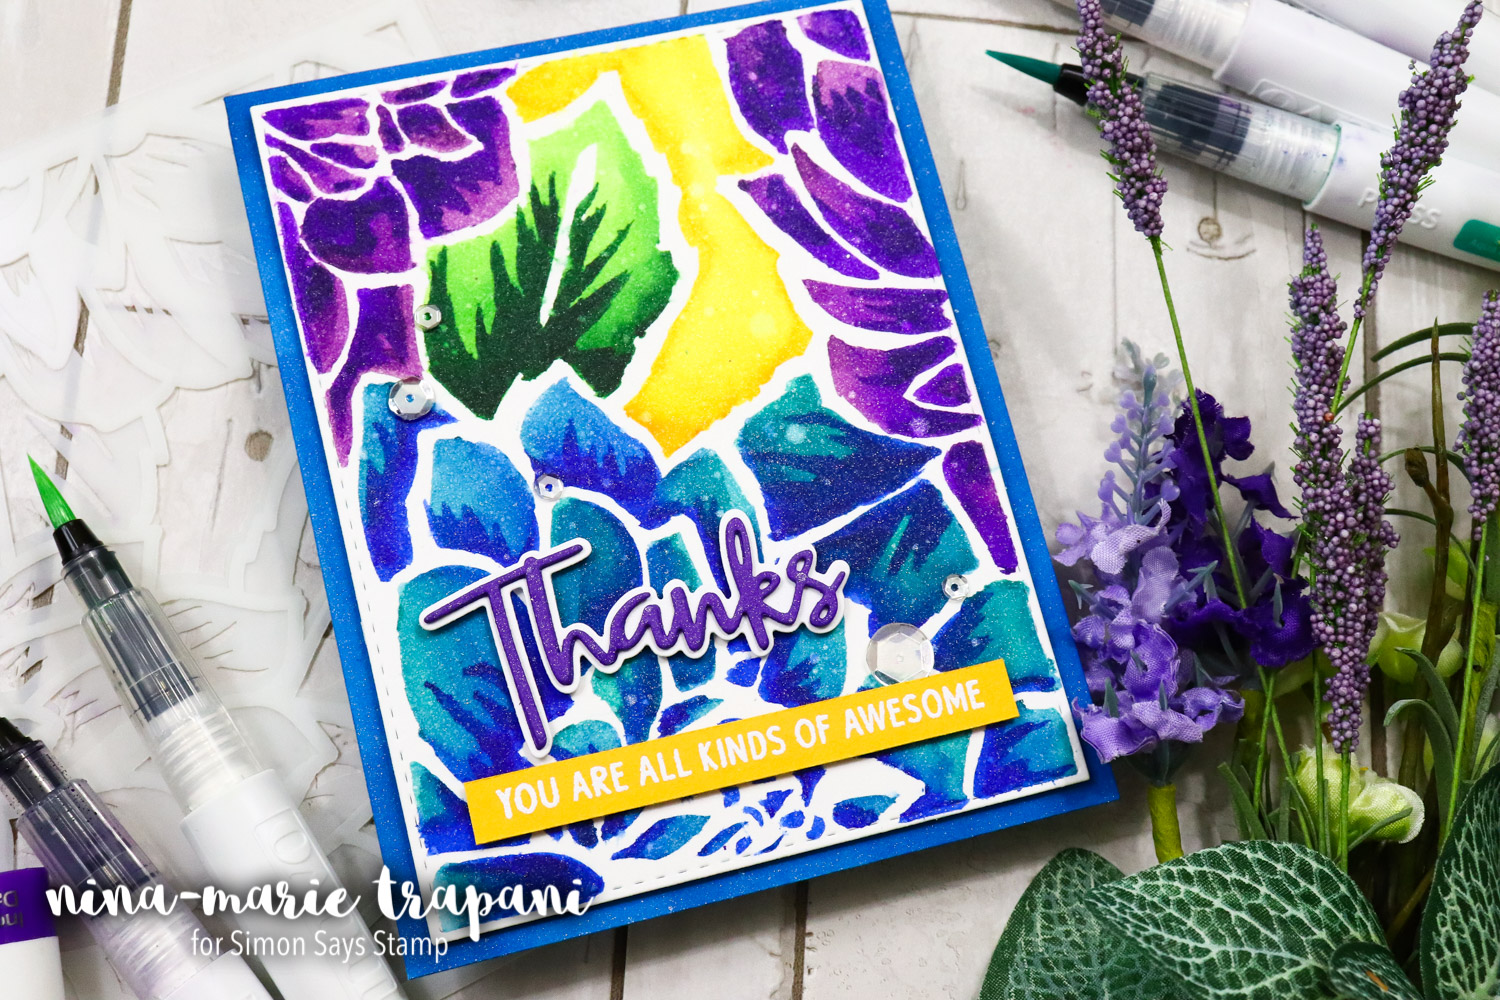
In the video I also shared a look at doing some ink spray stenciling – 2 ways! A clean and simple style like the background behind my shaker…
Or you can go wild and create something with a lot of interest and texture like this one!
Both have an awesome look and use Ranger Dylusionals ink spray. I enhanced the second card with Translucent embossing paste for extra dimension and texture.
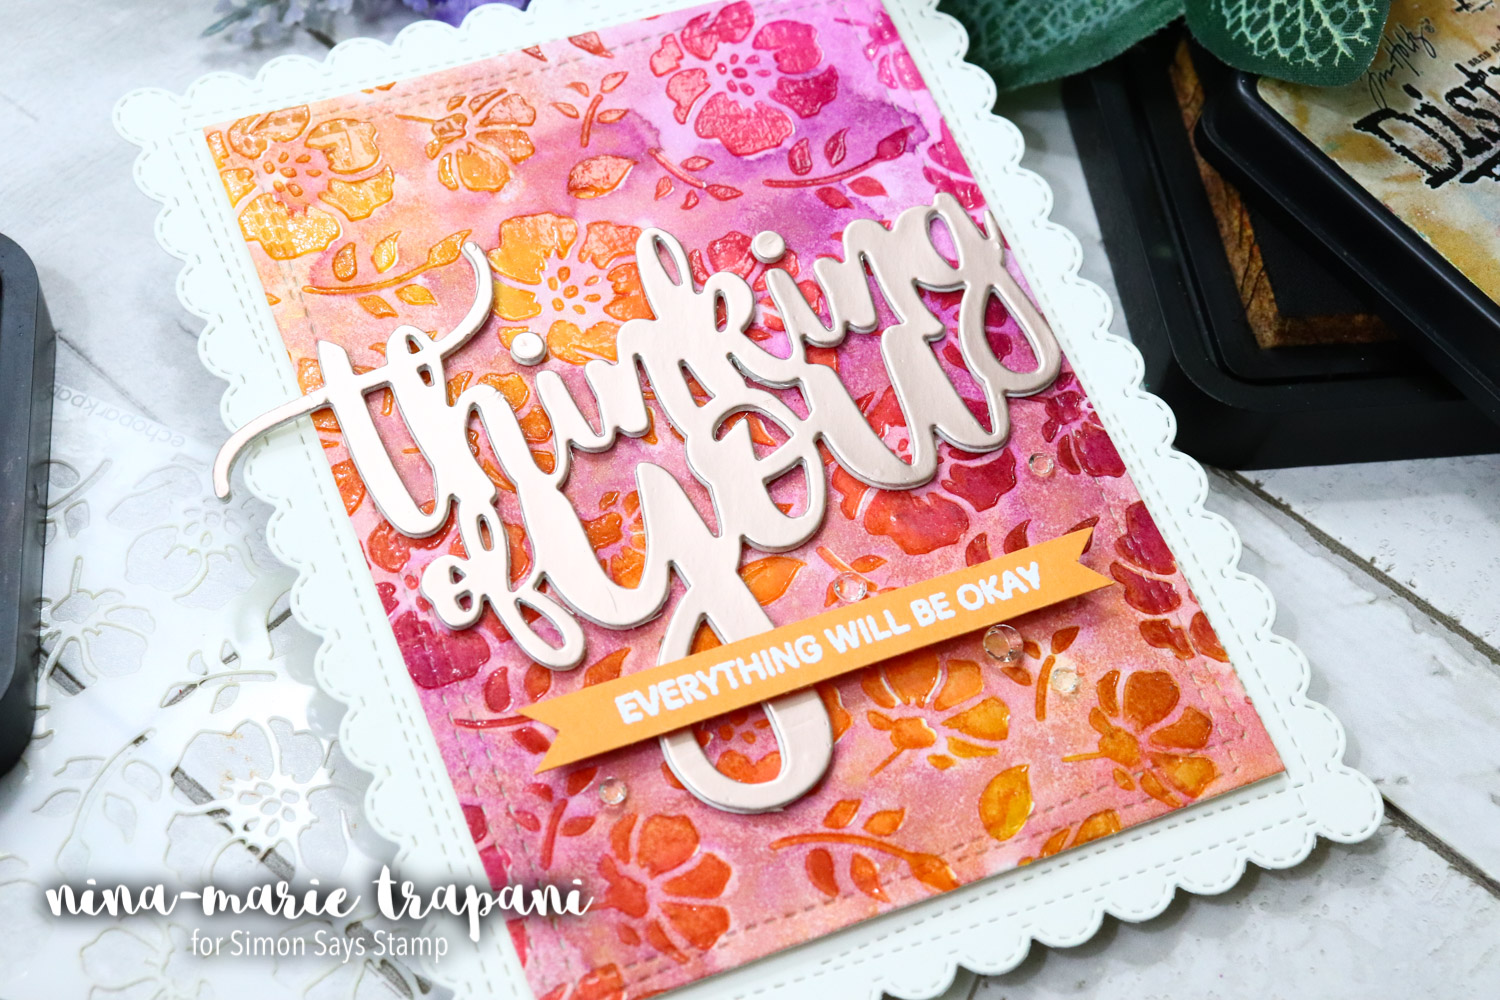
Have you ever tried coloring with a stencil? It is another fabulous way to create a unique, stenciled effect! I recommend either tracing your stencil and coloring inside the traced lines, or use a medium that is not super-saturating. The trick is to not let a wet medium seep underneath the stencil and make a mess of your crisp lines. I’ll touch on this more in the video. For my card I used Tonic Studios Aqua Flow pens and colored directly through the Altenew Layered Dahlia stencils (there are two layering stencils).
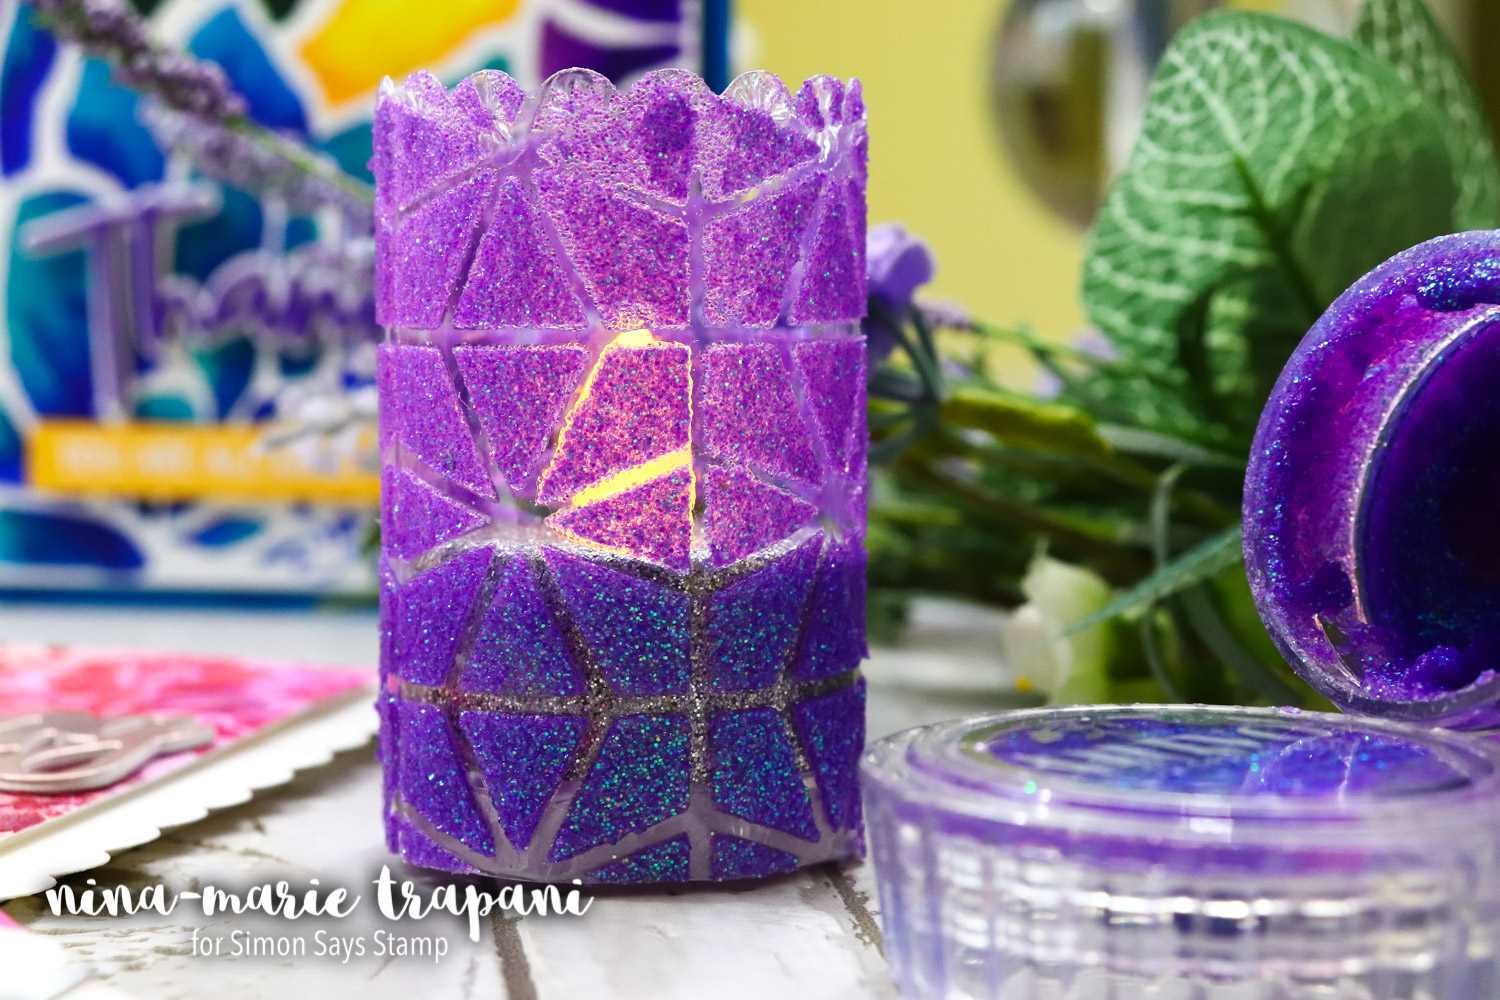
Finally, the last technique I will be sharing in the video is how to make a cute stenciled candle holder! With a bit of acetate and a translucent paste (I prefer glitter pastes for the translucency and shimmer!), you can make a stunning candle holder for a tea light very quickly. The hardest part is waiting for everything to dry!
Be sure to watch the video below to see all these techniques in action! :) I hope you enjoy and are inspired to do some stenciling on of your own! Thanks for stopping by, I’ll see you next week with a brand new Studio Monday!
WATCH THE VIDEO
SUPPLIES
|


Blog Candy Alert!! Follow our blog via email and comment on this post for a chance to win grab bags and blog candy! Remember to tag your awesome projects with #simonsaysstamp on social media so we can see what you are creating!
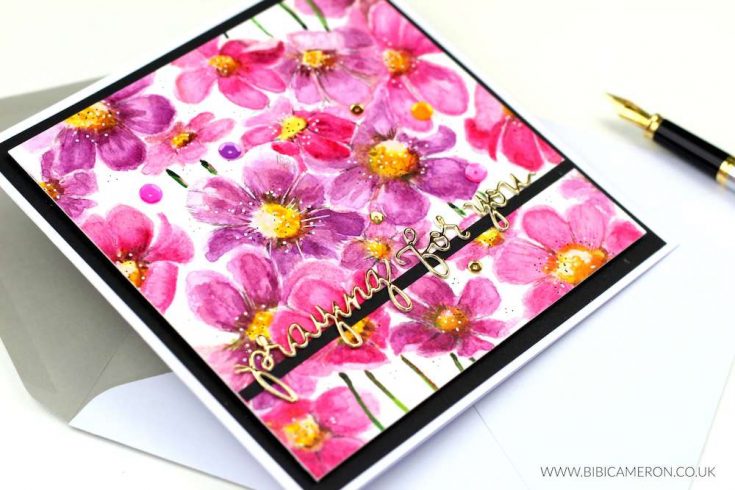
Watercolor Cosmos Background with Bibi Cameron
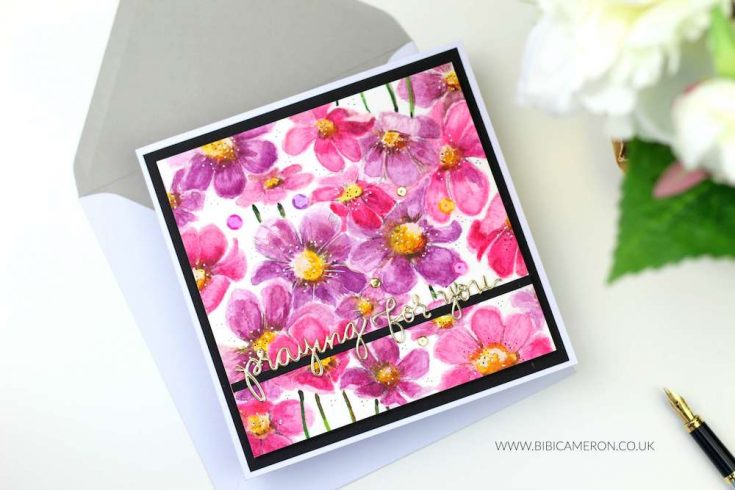

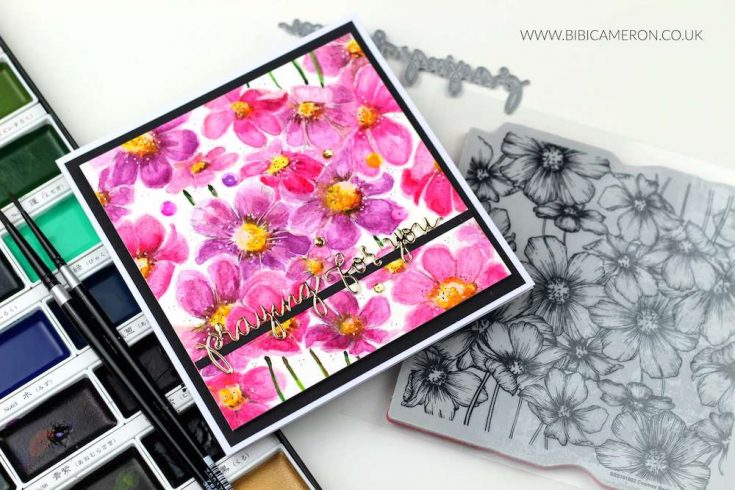
So all this started with uncertainty… I didn’t know what the outcome might be so I grabbed my Tim Holtz Platform and I stamped the Cosmos image several times on different cardstock colors (even on Vellum). However, the one stamped on watercolor paper caught my attention after seeing how pretty the stamped image looked when I tried to stamp with a contaminated Versafine clear ink pad… It did look clear but also a bit grey… gorgeous!
I also used my 36 color set Kuretake Gansai Tambi watercolors. Incredibly affordable and versatile. I like to dilute these paints with water, mixing and blending them with other colors to get new shades.
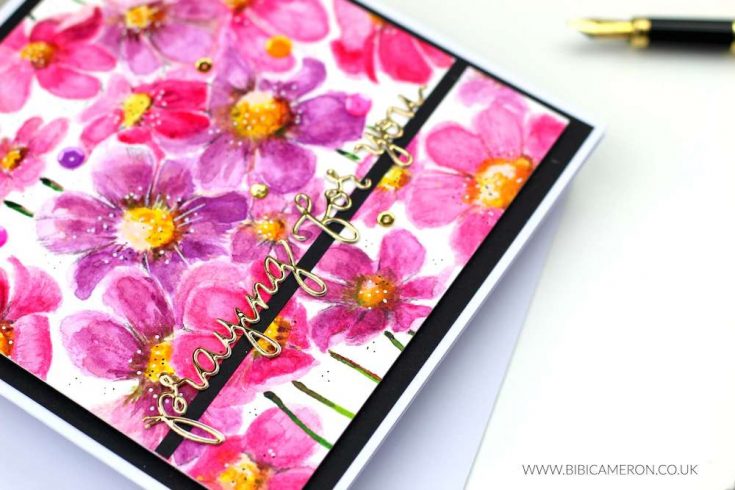
To apply them I used a rounded Silver Velvet brush # 4, and a super fine brush to add details ( lines – dots) as well…
So I put Spanish guitar music on and I enjoyed applying many washes of color to get a highly pigmented tone.Last but not least I added details…. the sentiment, a couple of sequins and using markers I added black and white dots over the flowers.
 Have you tried watercolors yet? I would really encourage you to give it a try.
 I hope you like my card and a big thanks to Simon Says Stamp Team for having me today.
Happy crafting
x
Bibi
SUPPLIES:
|


Thanks for reading, and thanks to Bibi for being our guest!
Blog Candy Alert!! Follow our blog via email and comment on this post for a chance to win special blog candy!


