Studio Monday with Nina-Marie: Craft Room Organization

Hello everyone, it’s Nina-Marie back here with you again and I have a few craft room organization quick tips for you! I know most of us love looking for fresh, new ways to organize our creative spaces and I hope today’s video helps you with that task!
In the video I will be sharing some of my most-favorite organization ideas, including…
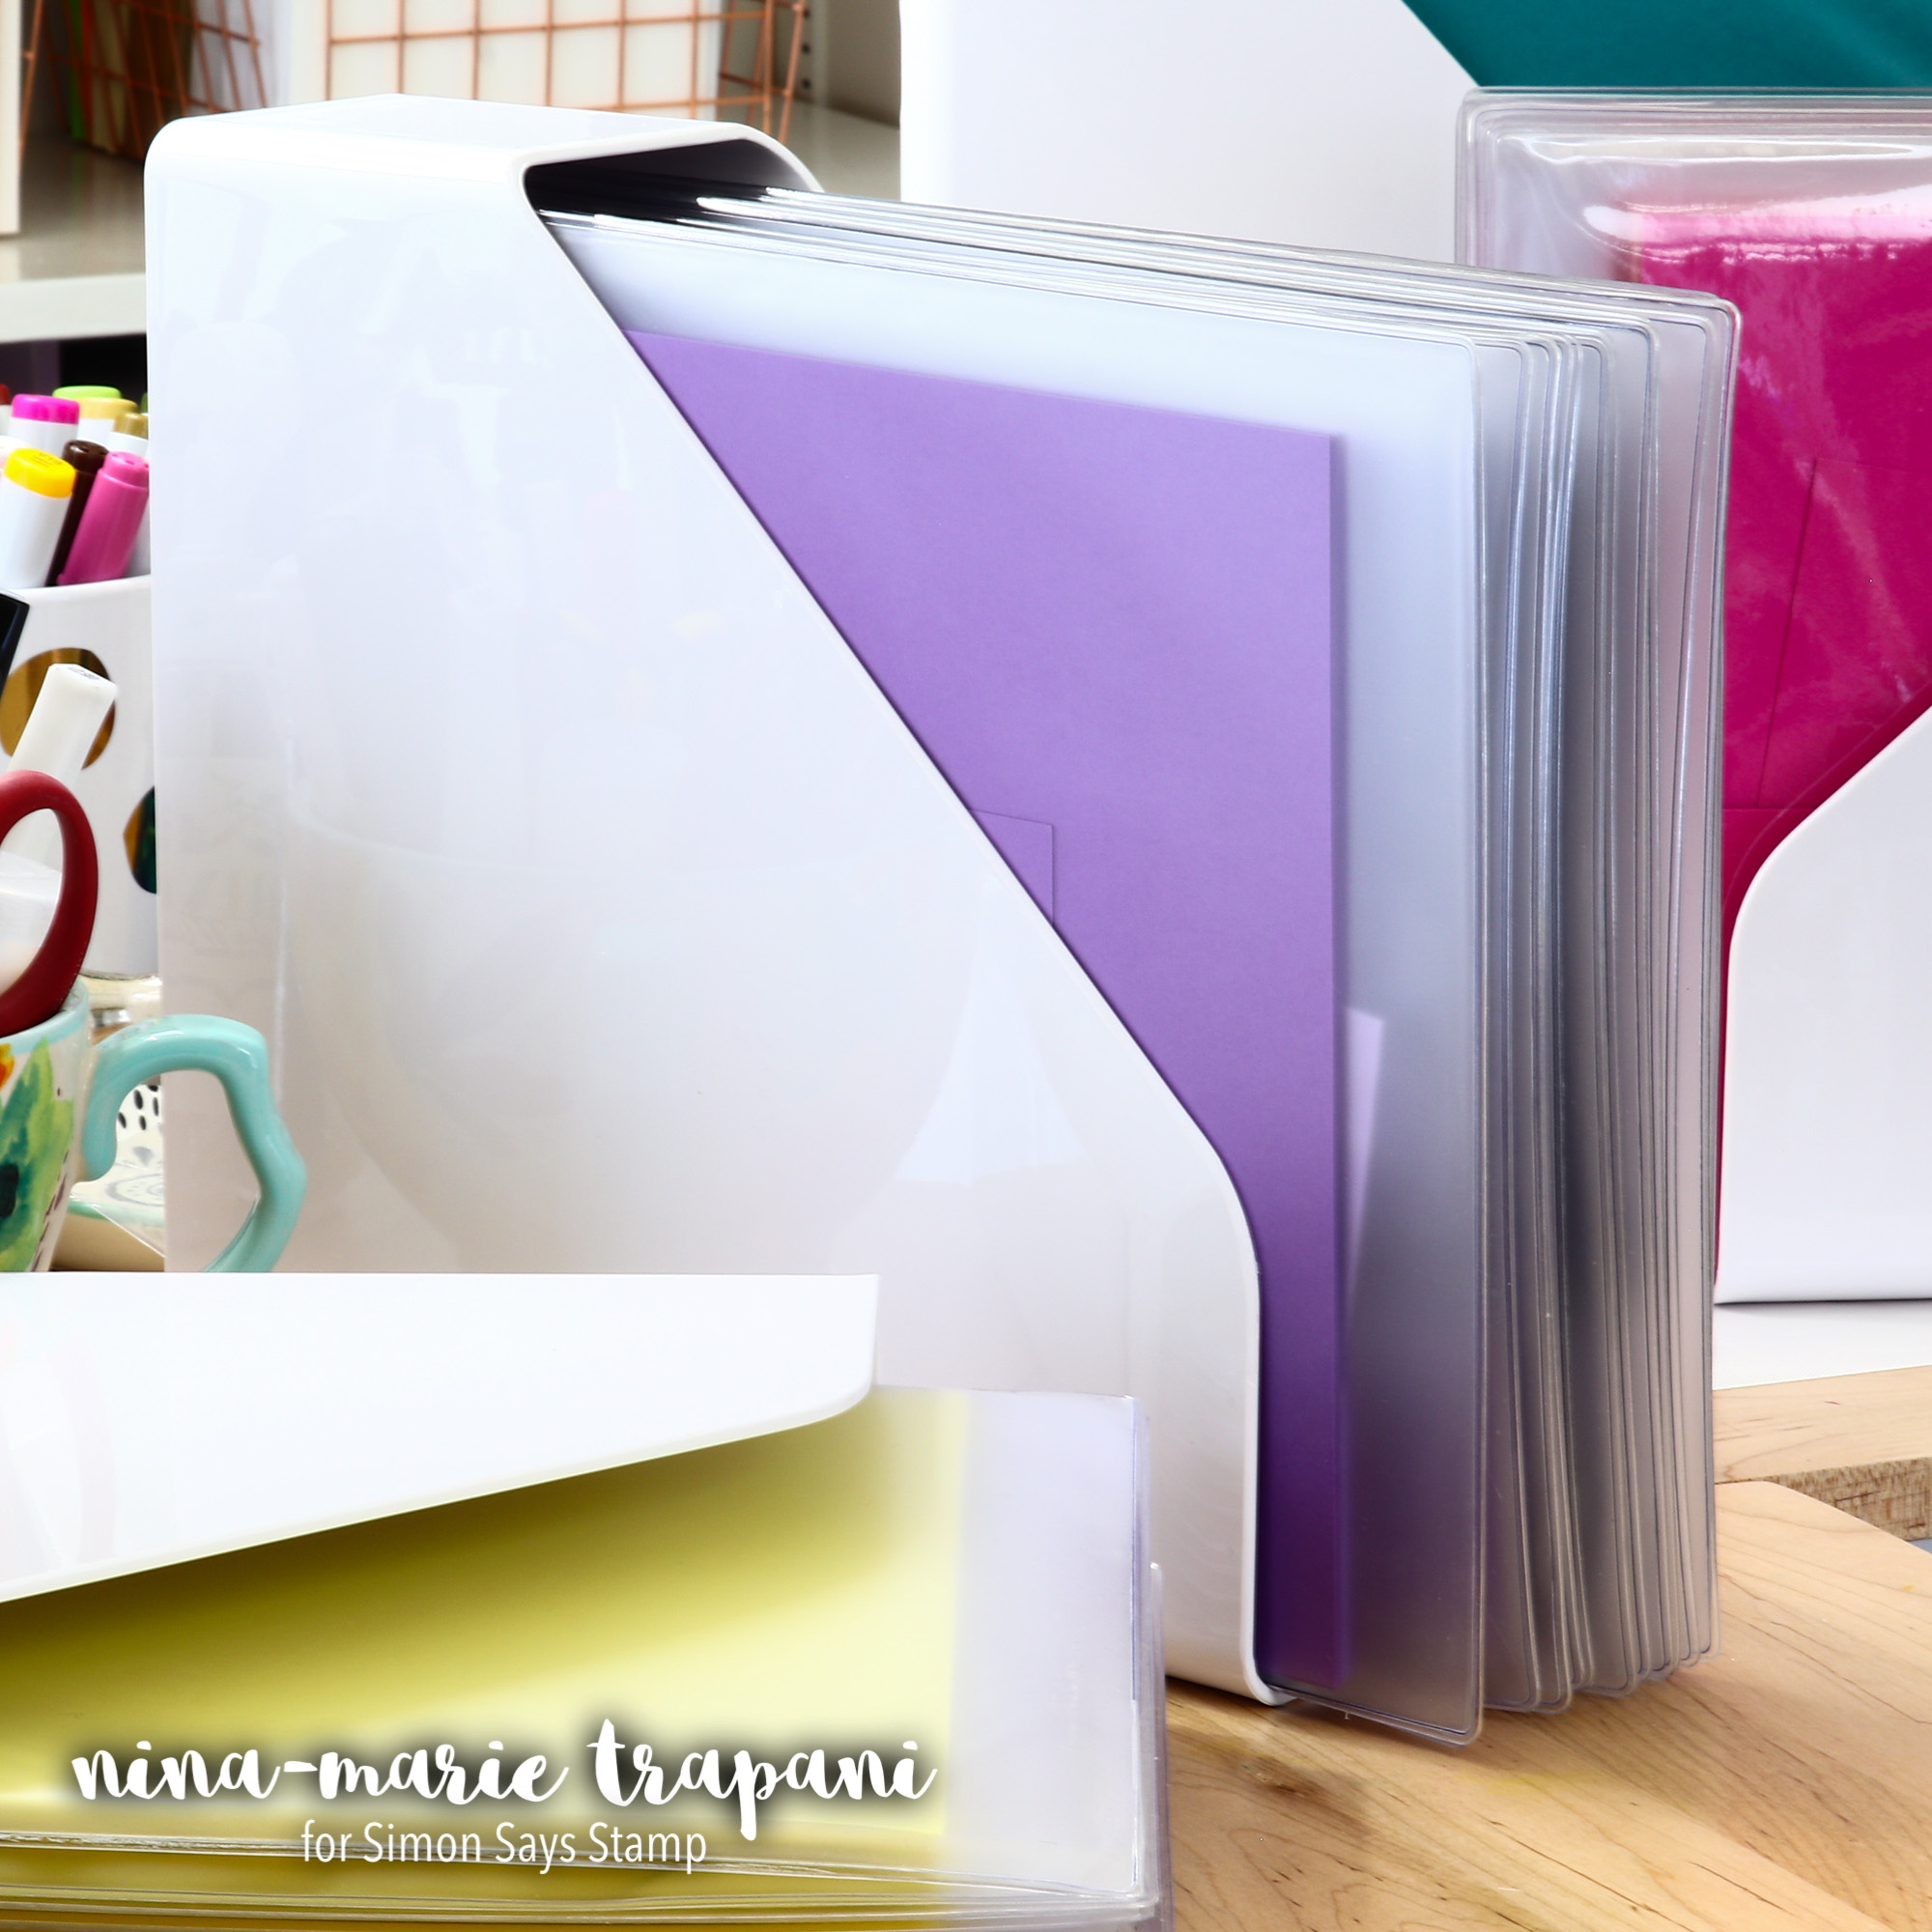
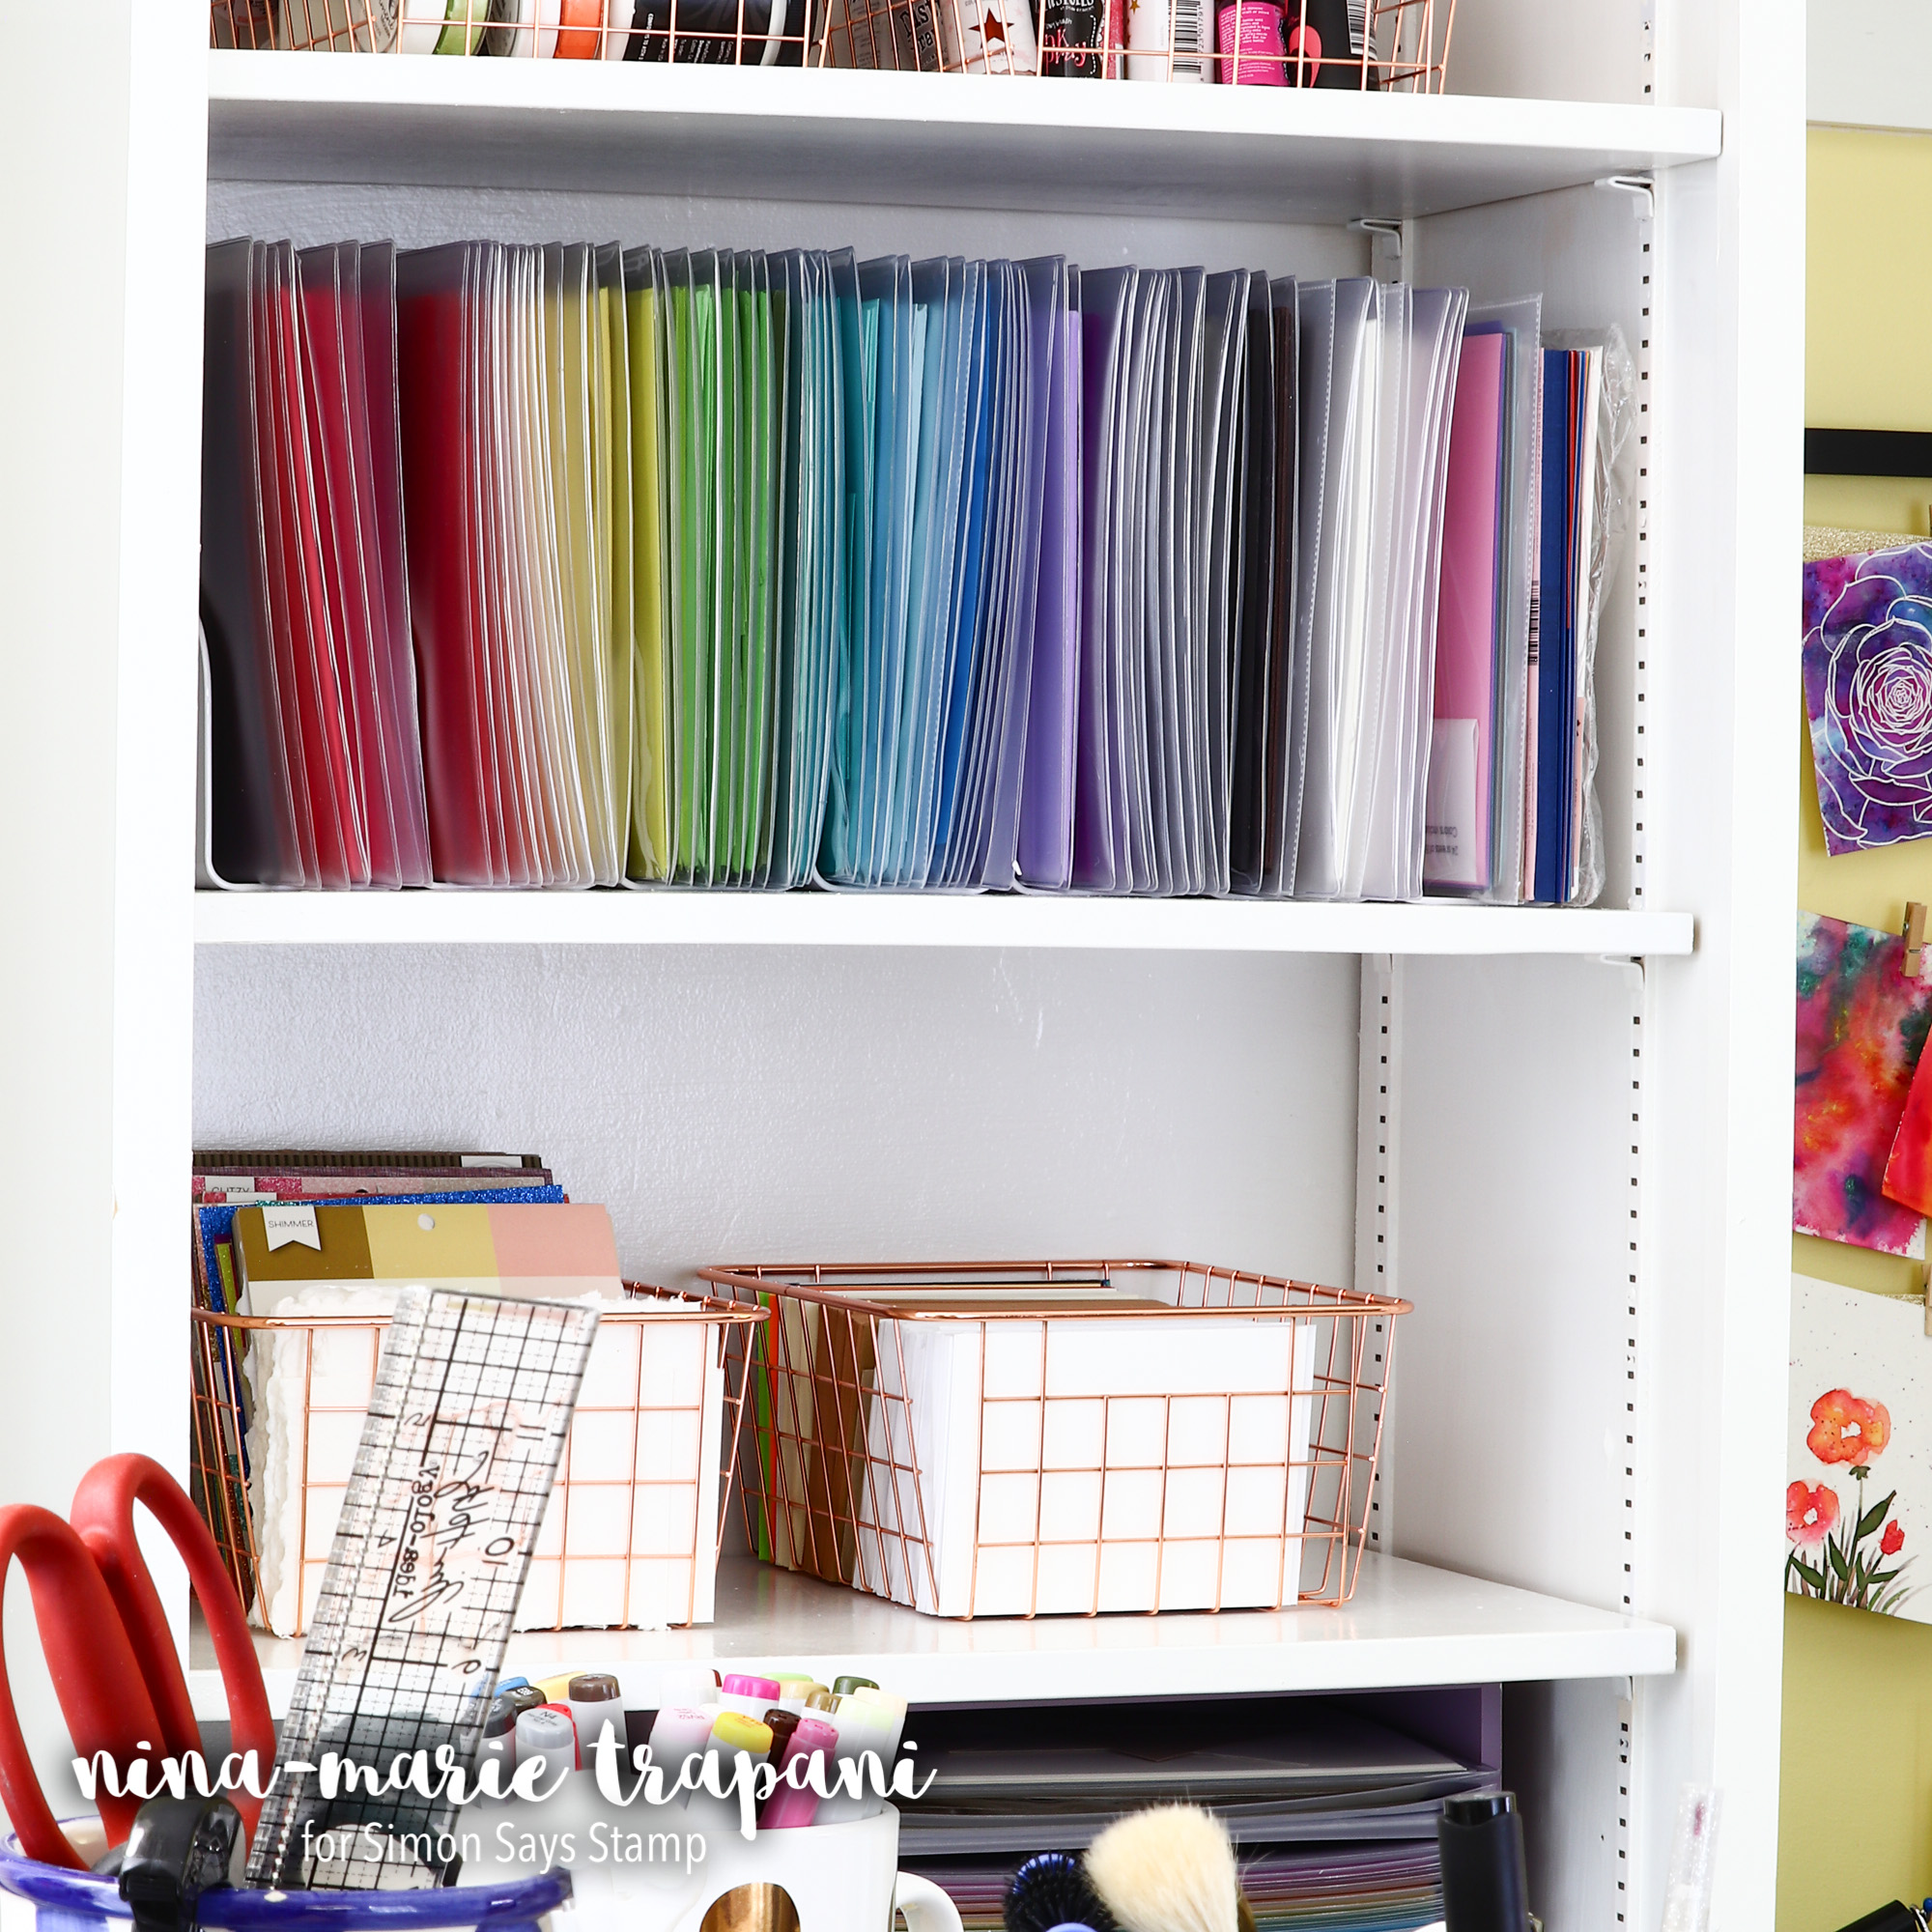
Paper storage with the InterDesign Magazine File Holder. I love these units so much for holding my cardstocks. I keep each individual color of cardstock in a plastic file sleeve; those sleeves are then stored inside the Magazine File Folder. I keep the folders tucked onto my built-in bookcase sideways; this allows me to see all the colors and easily access the paper. I can fit approximately 12-15 individual colors of 100lb cardstocks in these Magazine File Folders.
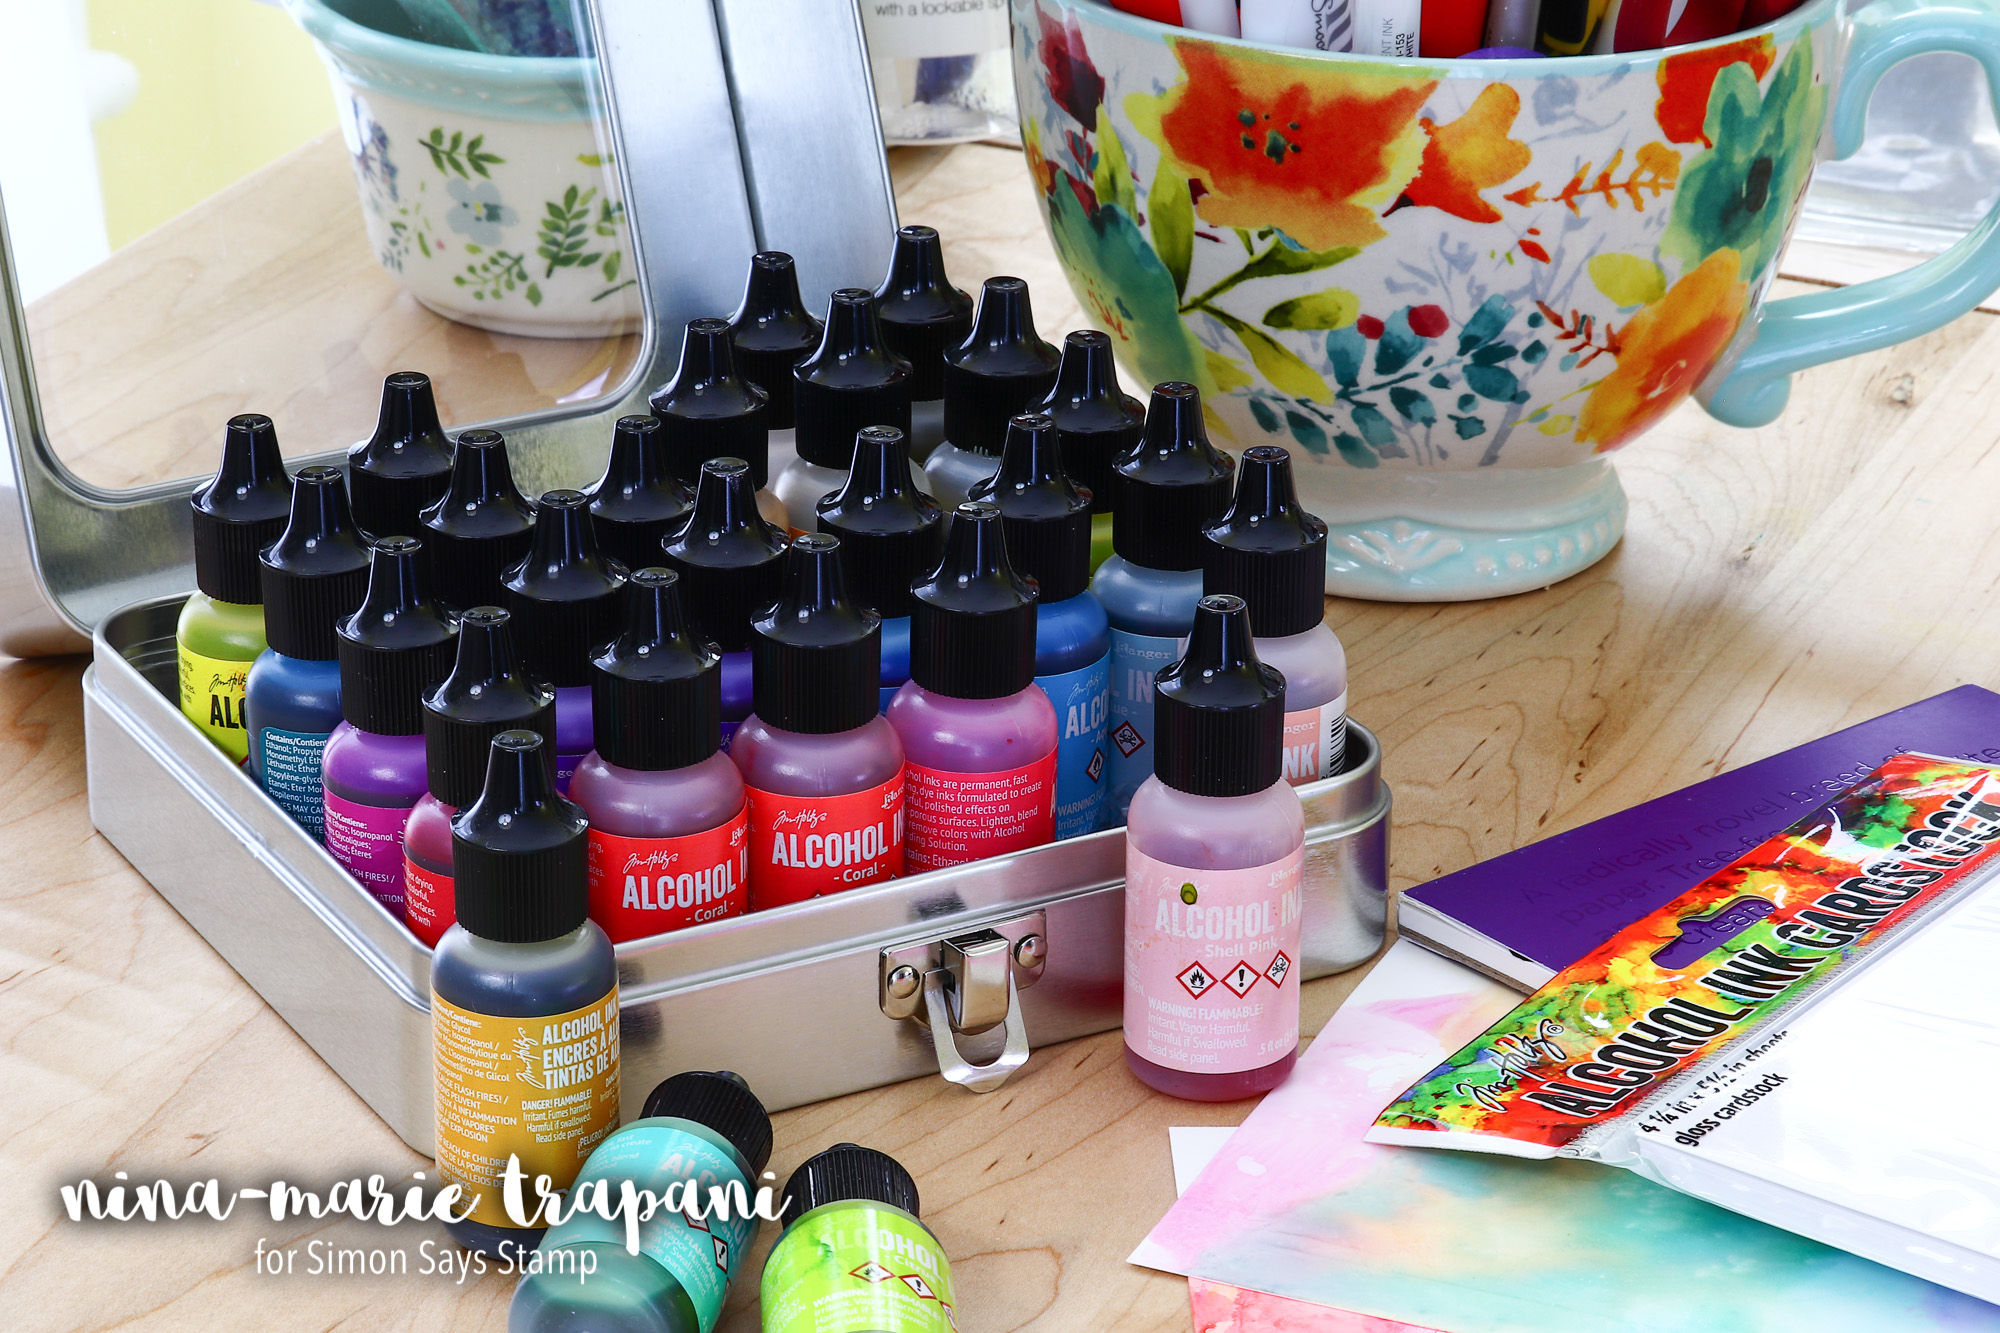
Another storage idea is for Alcohol Inks. Ranger and Tim Holtz recently debuted their handy Alcohol Ink Storage Tin; this is a definite must-have for your little bottles of ink!
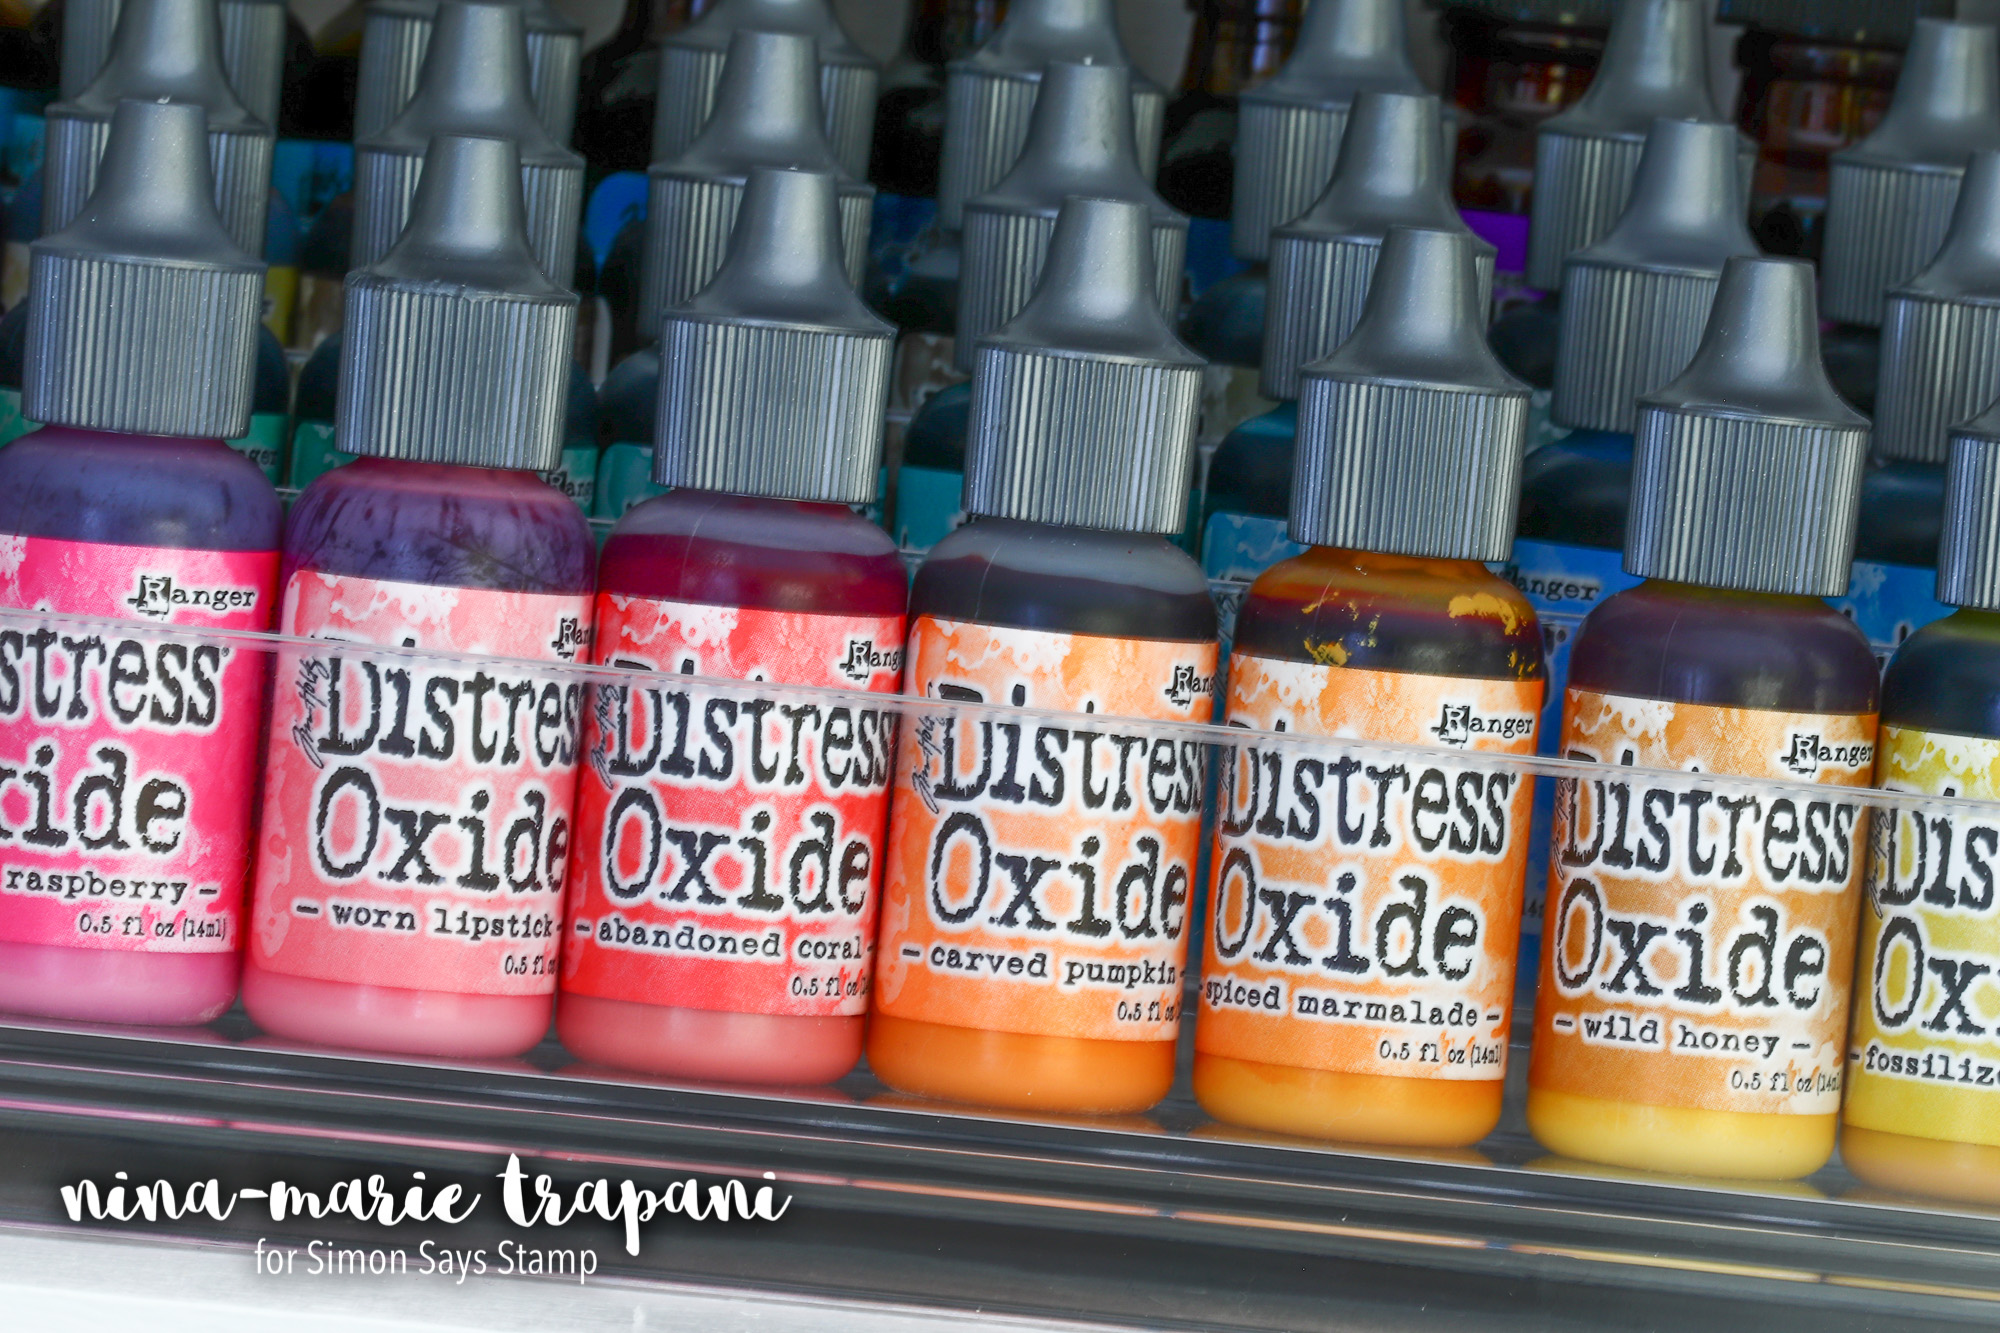
I really like the lockable lid, so nothing can fall out of the tin. The inks also fit nice and snug inside, which makes this a very secure method of storing Alcohol Inks. You can store 30 inks inside the tin. If you don’t have alcohol inks, you could also store Enamel Accents, Stickles, Distress Oxide refills, or other similar sized bottles into these tins (Nuvo Drops will not fit!).
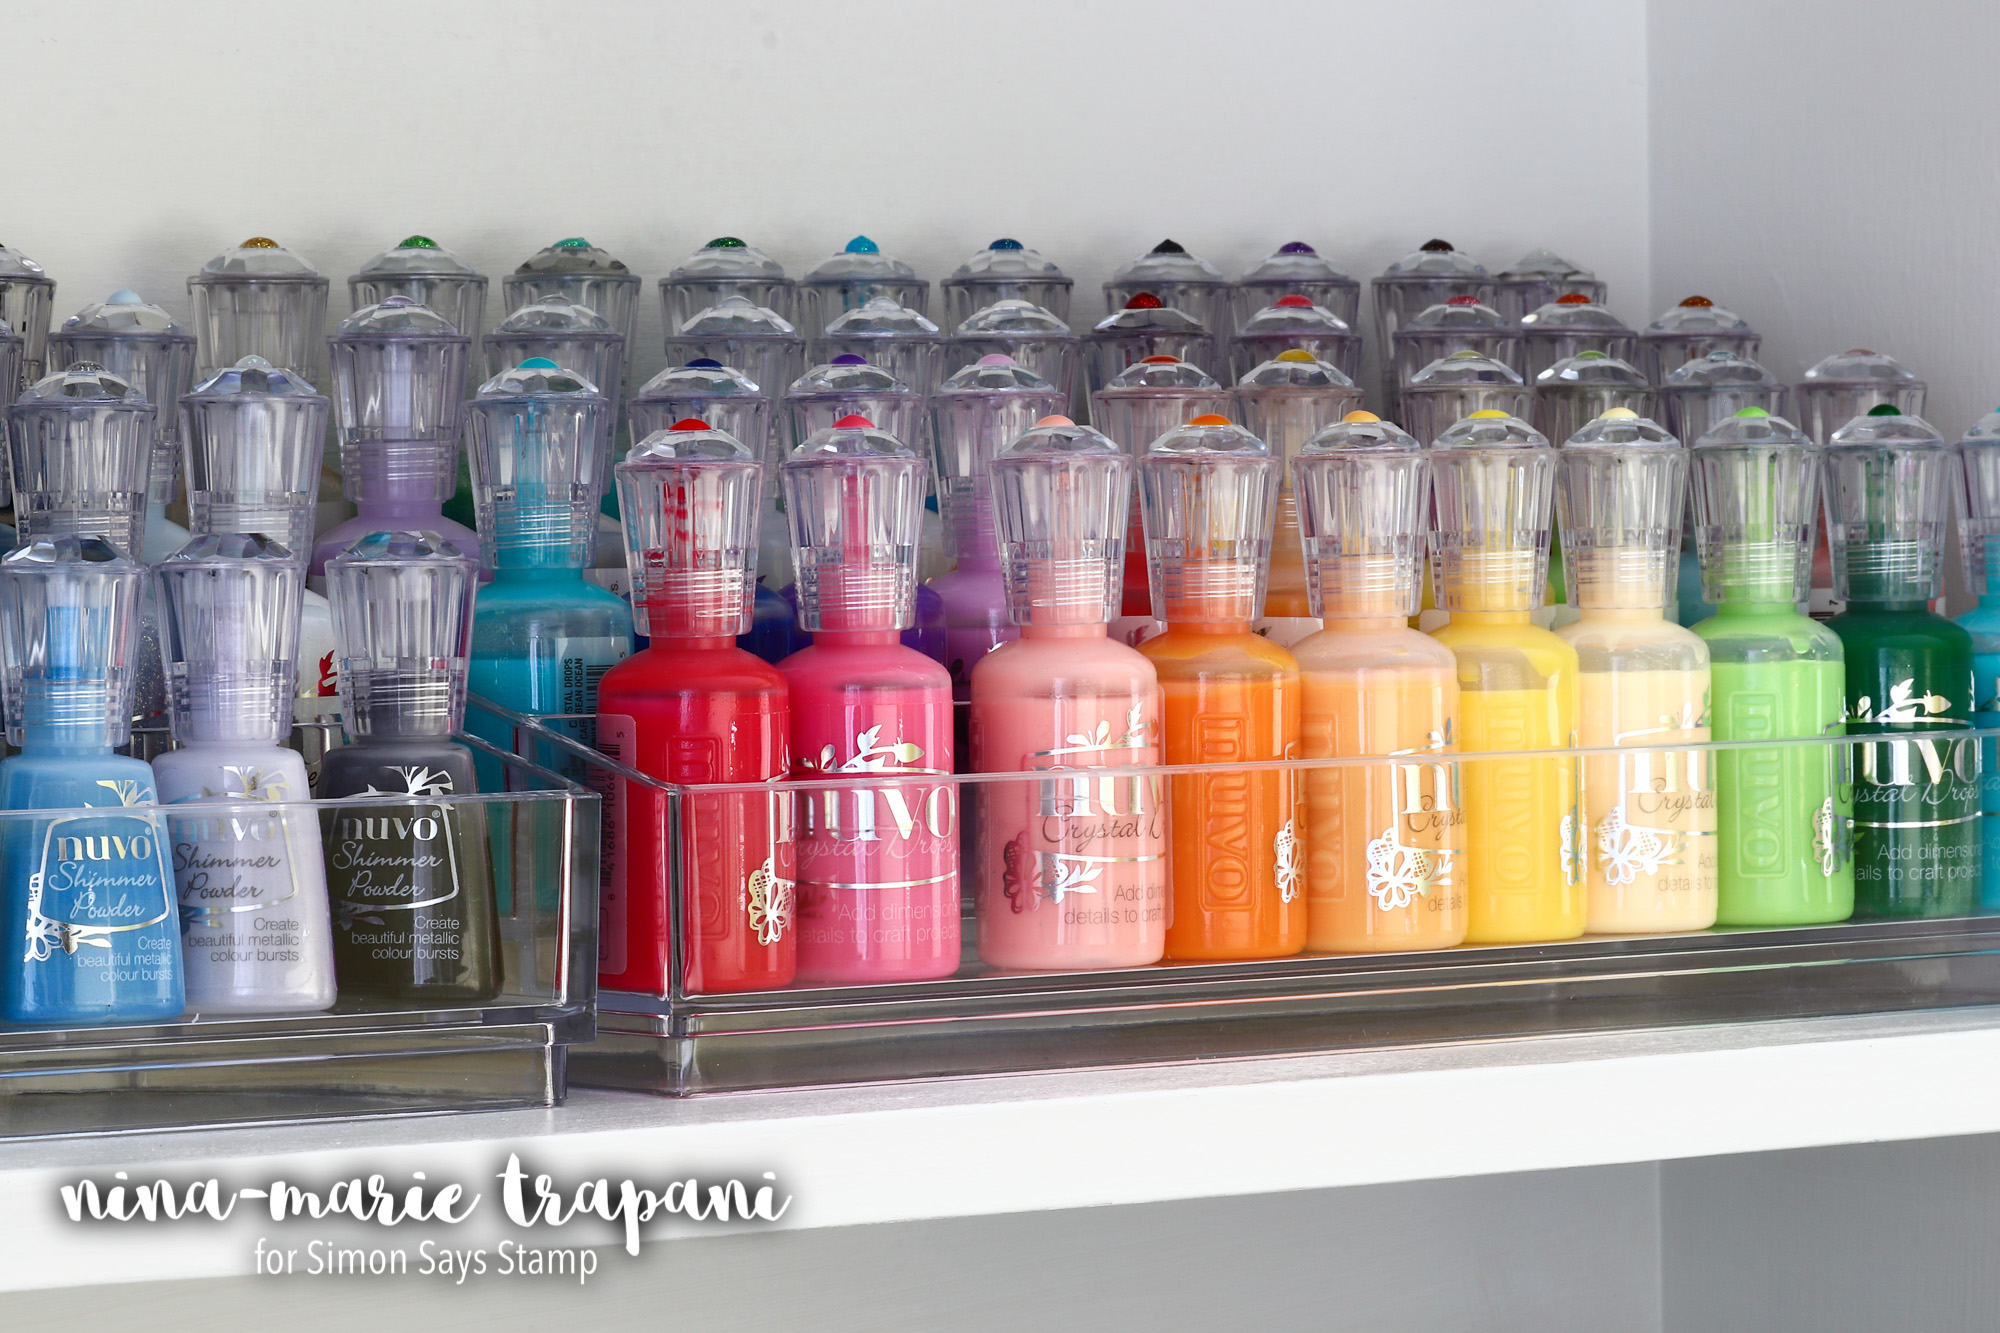
But if you are looking for a way to store your Nuvo Drops, then you may want to check out these cute InterDesign Tiered Compartments. I love using these for all my Nuvo Drop bottles, Shimmer Powder bottles, Distress Ink refills, and more. It maximizes my storage space and also displays them beautifully! I’m of the mindset that craft supplies double as decor too! ;)
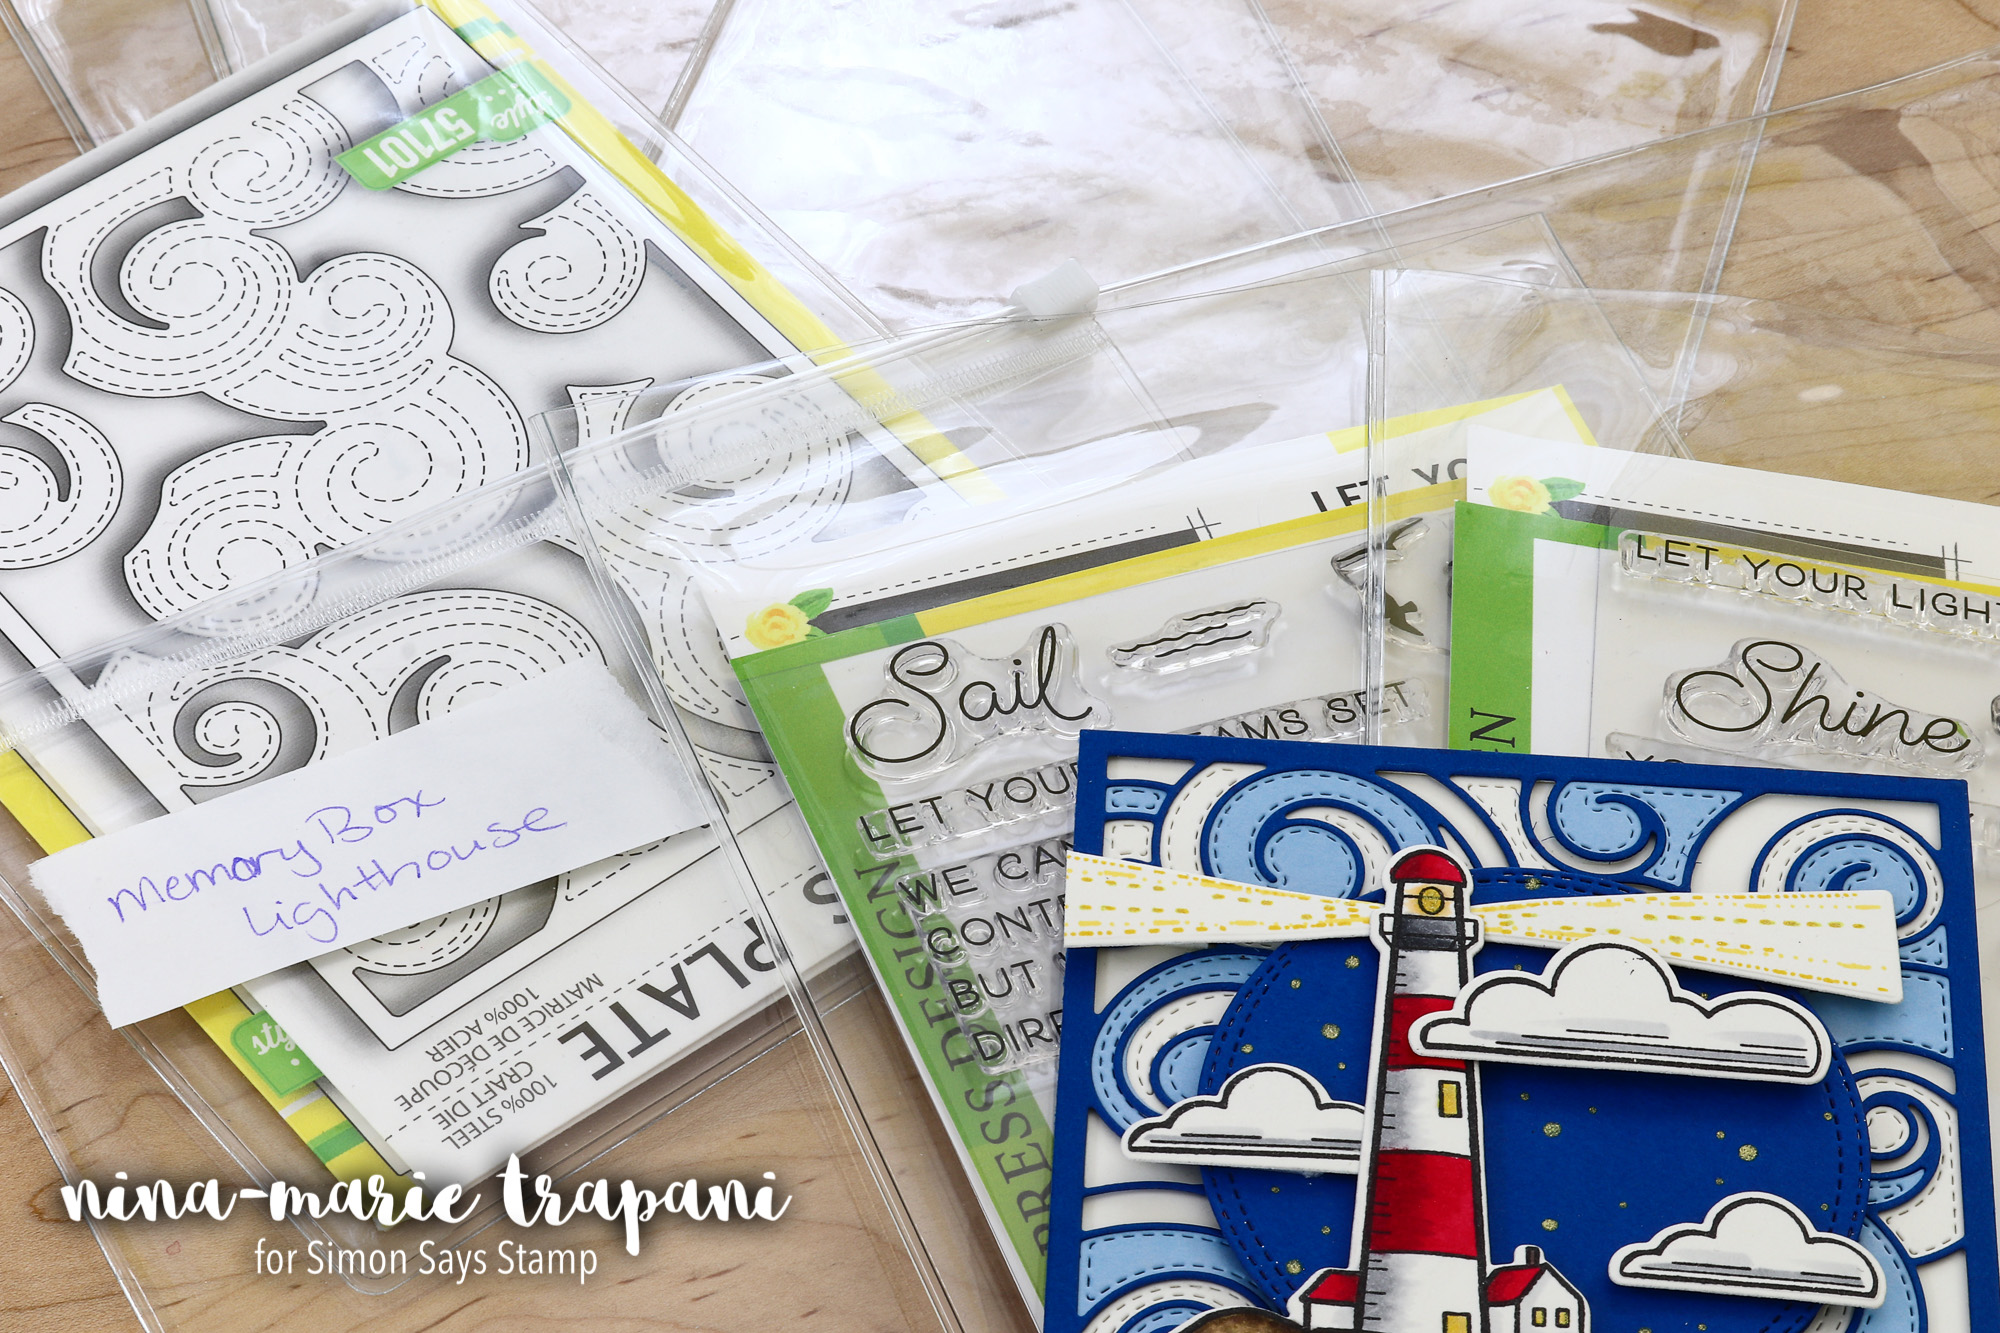
My final organization idea is using the Altenew Medium and Large storage pockets for both stamp and die storage, but also as project organizers! I love how thick and sturdy these are; in my opinion, they will last you for forever. I’ve often had to replace other storage pockets because they wear out depending on how hard they are used. I’ve yet to replace a single pocket, and I have been using them for almost a year.
Be sure to see the video to find out how I use them for keeping my in-progress projects organized!
I hope that a peek at some of my favorite storage solutions for crafting supplies has helped you find new organizational ideas for YOUR creative space! Thanks for joining me; I’ll be back soon with more inspiration for you!
WATCH THE VIDEO
SUPPLIES USED
|


Blog Candy Alert!! Follow our blog via email and comment on this post for a chance to win grab bags and blog candy! Remember to tag your awesome projects with #simonsaysstamp on social media so we can see what you are creating!

Art Journaling With Shari Carroll
Happy April and Happy Easter!!! For some of you…it’s April Fools day!!
I’m here to share my most recent art journal page. I’m working in the Dina Wakley Media journal and have decided to use one of the burlap pages. These may be one of the most challenging type of pages because of the texture so I thought it would be helpful to show you an easy way to work out a clean and simple collage.
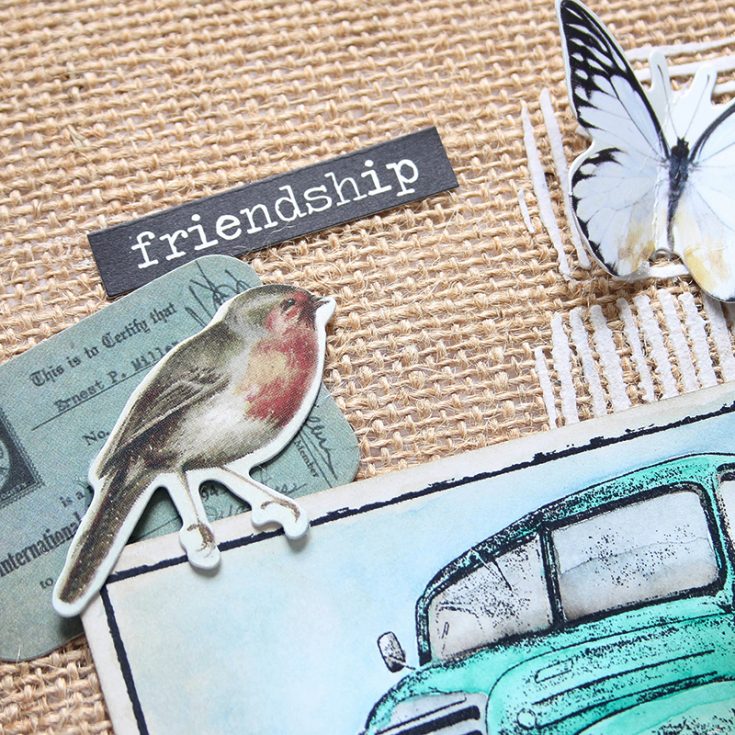
This page says it all for me, family, friends, happiness and home.
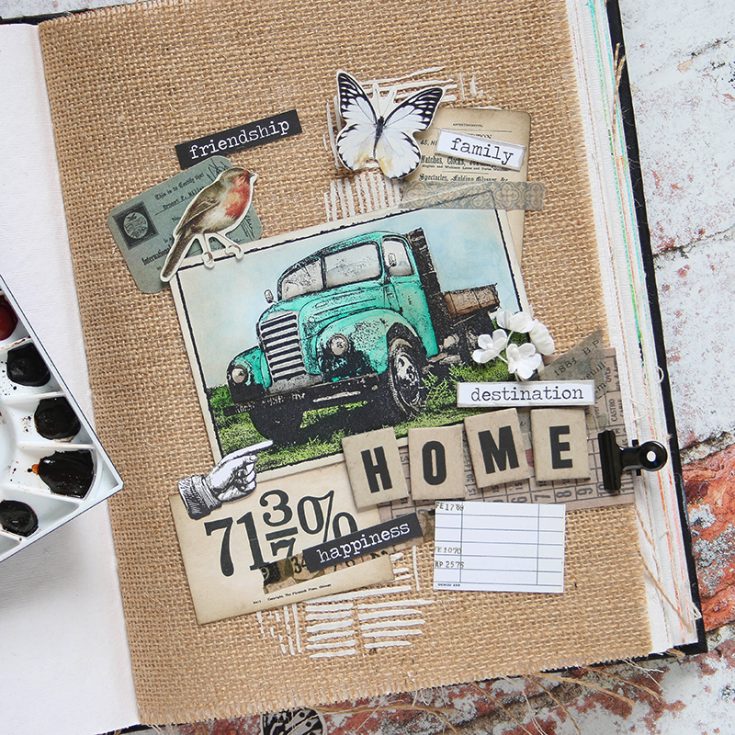
I started with some Wendy Vecchi embossing paste with the Thatched Layering stencil by Tim Holtz. Then I added my focal point, the Farm Truck from Darkroom Door. I stamped it and painted with watercolors. Then added Walnut Stain Distress ink with a blending tool to tone down the brightness.
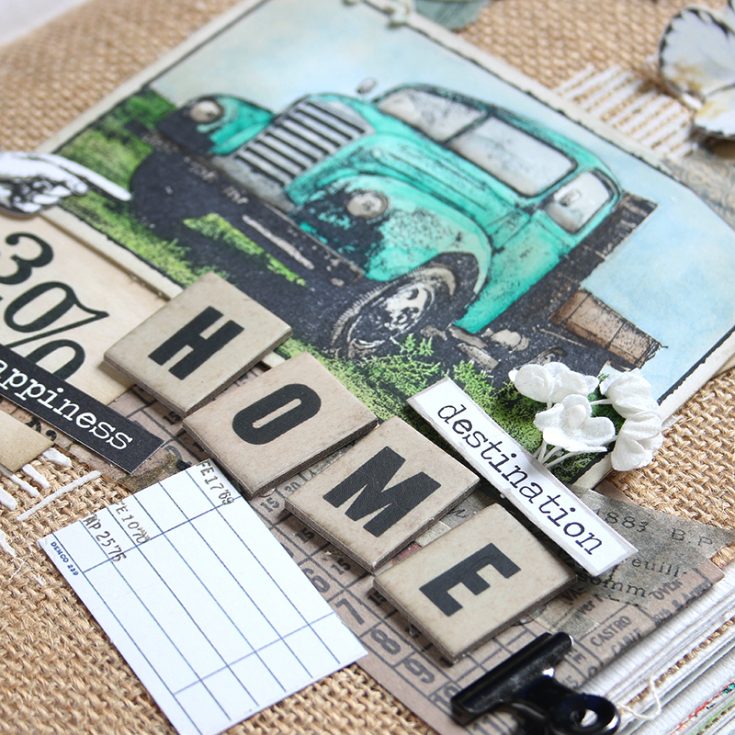
I used some pieces from Tim Holtz ephemera packs to build up elements around the truck. I’ve even folded one piece over the page and added a clip to give it some interest.
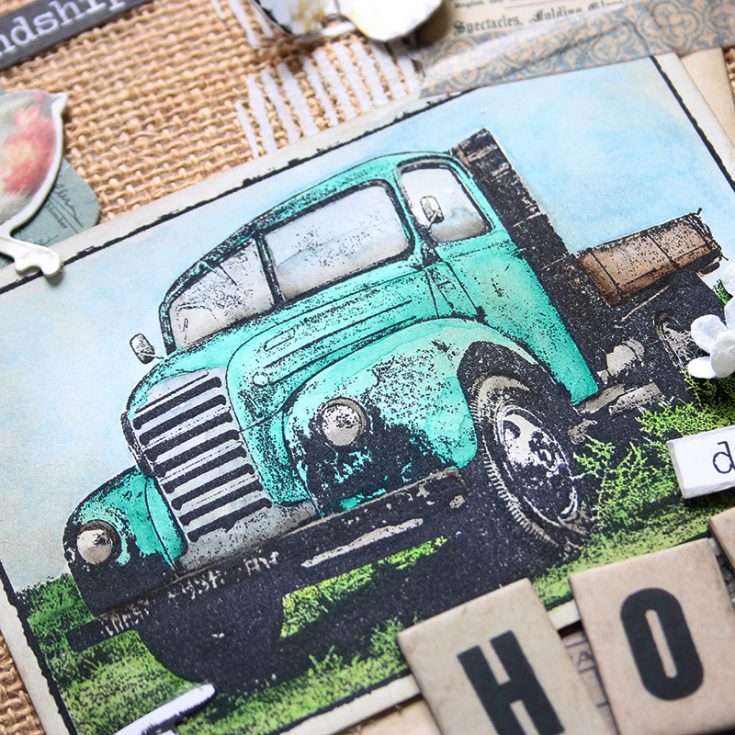
I used Tim Holtz French washi tape here and there and once I had all my pieces in place, I added simple Tim Holtz Big Chat word stickers suggesting what came to mind as I was working on this layout.
I have filmed a video which you can view below or on our YouTube channel HERE.
Blog Candy Alert!! Follow our blog via email and comment on this post for a chance to win special blog candy!
Thanks for stopping by today, I hope you’re enjoying time with family and friends!
|


Color Coordinates and Swatch Book with Shari Carroll

Happy Saturday everyone and welcome to the blog!!! I have a nice classic Springtime Color Coordinates recipe for you today.
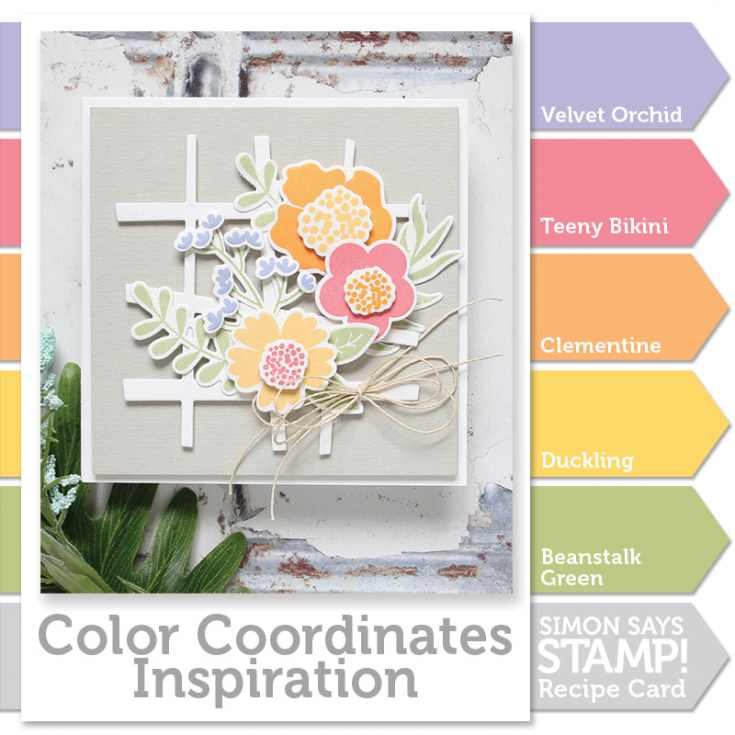
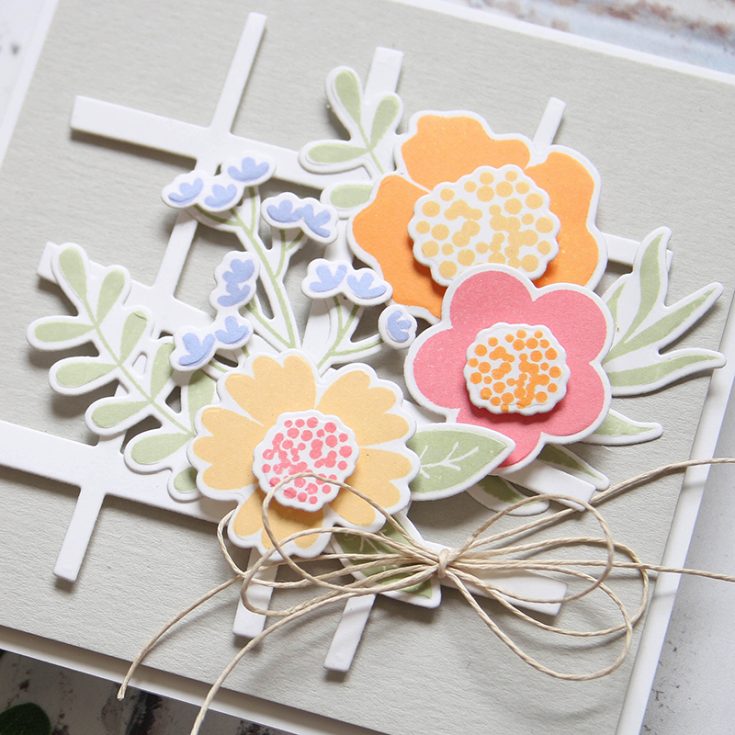
I used the Simon Says Stamp Bold Flowers and coordinating dies with Velvet Orchid, Teeny Bikini, Clementine, Duckling and Beanstalk Green inks. Once I had my flowers and greens stamped and die cut, I placed them onto the Wonky Hashtag die which I used as a trellis.
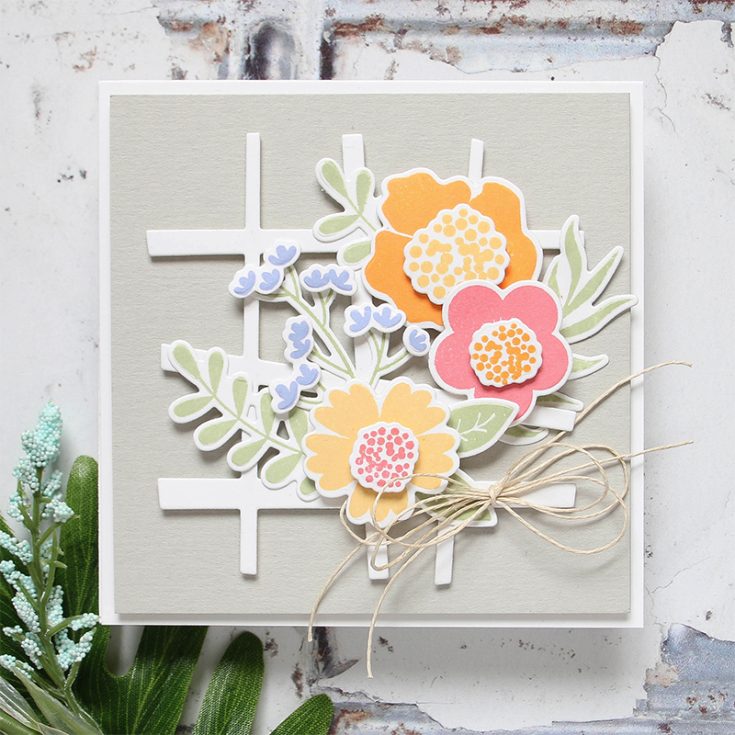
I arranged the flowers by stacking and overlapping them then placed the arrangement onto a panel of Fog cardstock with a twine bow. I finished it up by placing the panel onto a square card made from Neenah white cardstock.
SWATCH BOOK!
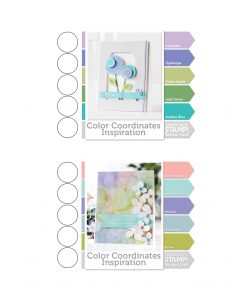
I’ve had a lot of requests to have our Color Coordinates all in one place so I created a PDF that you can download and print. I have two, this first one HERE is a lower resolution and this HERE is a higher resolution suitable for printing. I’ve included circles that you can stamp into using your own ink since there can be variables in color printing. Below is a sample of one of the pages.
 I created the cover using Jane Davenports Brights Mixed Media Rub-Ons. They are so pretty and easy to use. I also used my Brother Label Maker to title my book. It’s great for tiny custom words. I bond my pages using some old brads, you could also use twine or ribbon to dress it up a bit.
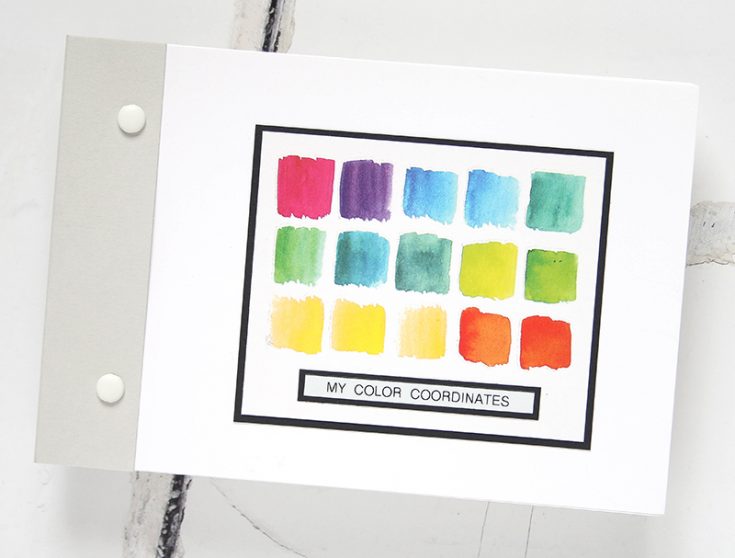
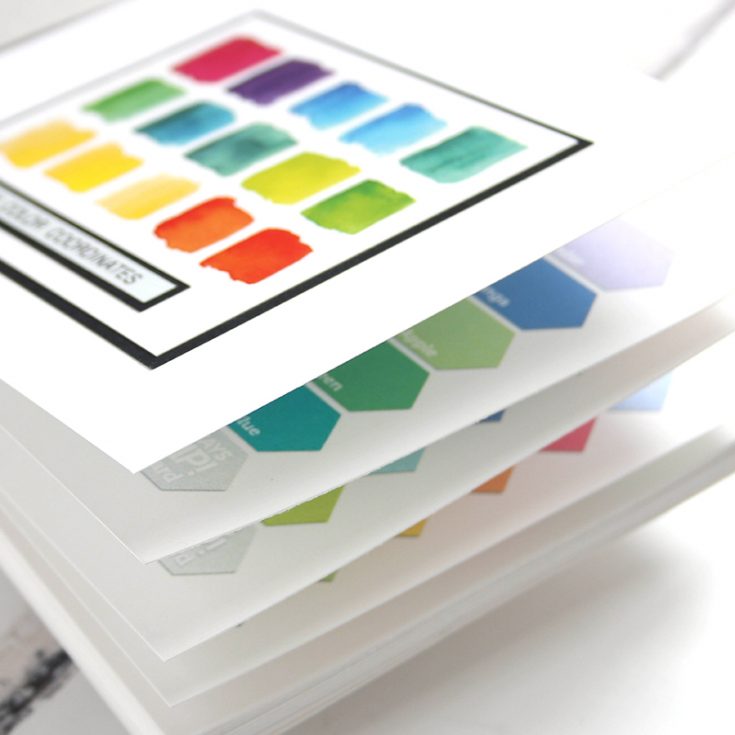
Before binding, be sure to put your recipes in the order that you like. You can section them off by season, brights or favorites. My final book measures 4.75″x 7″ which is a good viewing size. There are 15 pages total with 29 recipes.
I’ve filmed a video with both the card and the book together. You can view it below or on our YouTube channel HERE.

Blog Candy Alert!! Follow our blog via email and comment on this post for a chance to win special blog candy!
Thanks for stopping by, have a great weekend!!
|


