Doodling with Debby: Spring Pencil Coloring on Kraft
Hi friends! Happy Tuesday! I hope your week is starting out well so far! As always, I’m delighted to welcome back the forever fabulous Debby Hughes back for her latest installment of Doodling with Debby on our blog! Be sure to watch the video and enjoy!

Hello, it’s Debby here for my monthly Doodling With Debby video feature here on the Simon Says Stamp blog. Today I’m coloring with pencils a sweet springtime scene using the Showers & Flowers stamp set.
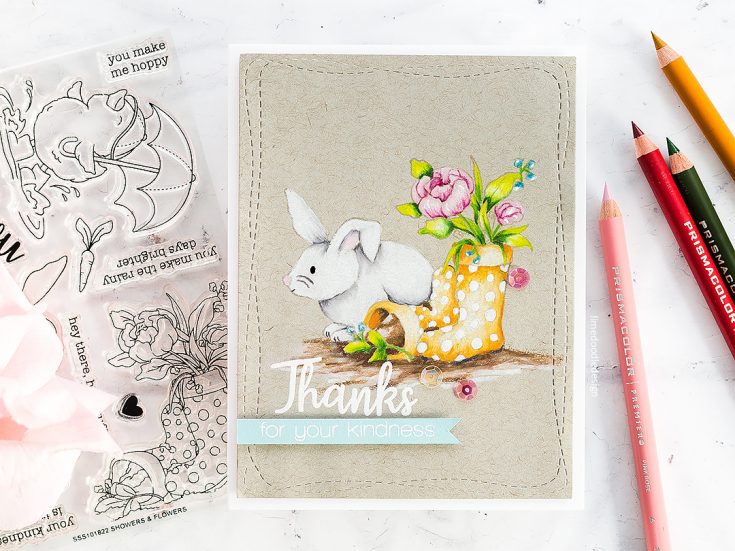
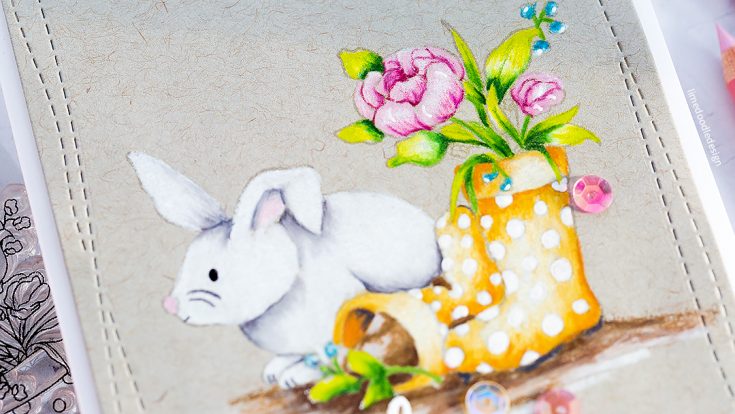
I love the look of pencils on kraft card, and I think the kraft card on this occasion adds a lovely homely feeling to this springtime scene. I stamped the welly boots image from the Showers & Flowers set in clear embossing ink, then cut a mask from Inkadinkadoo Stamping Mask paper and then stamped the rabbit as if he’s sitting behind the boots. We have two white rabbits, and I can fully believe that this cutie has been up to mischief and knocked over the flower-filled welly boot!
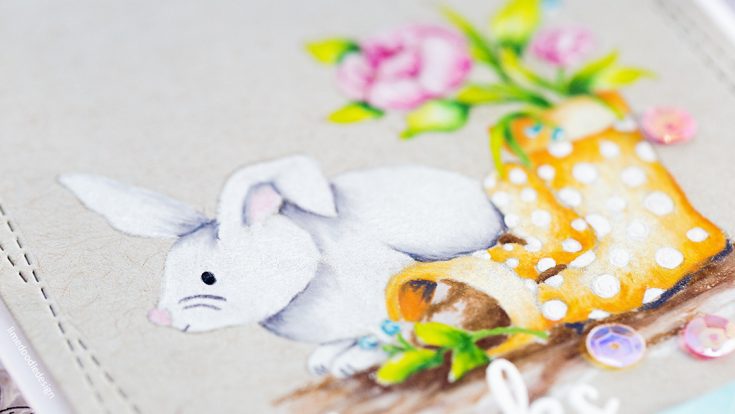
I colored the scene with Prismacolor pencils. I mainly used three shades of pencil for each color along with a white pencil for highlights.
When the coloring was finished, I added white gel pen details for the polka dots on the boots and also to add a few highlights to the flowers. I also darkened the eye of the rabbit with a black glaze pen.
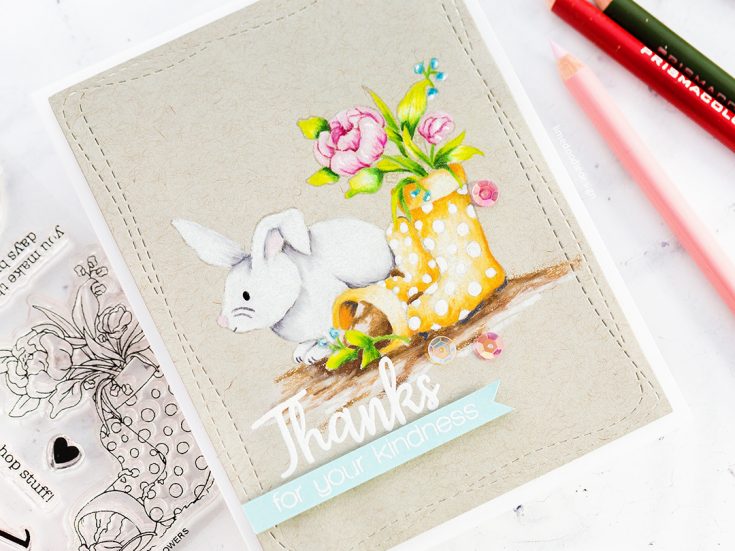
For the sentiment, I stamped the ‘Thanks’ from the Showers & Flowers set in clear embossing ink, sprinkled with white embossing powder and then heat set. I also stamped a coordinating sentiment from the Thanks stamp set on Surf Blue card and white heat embossed before trimming to a banner.
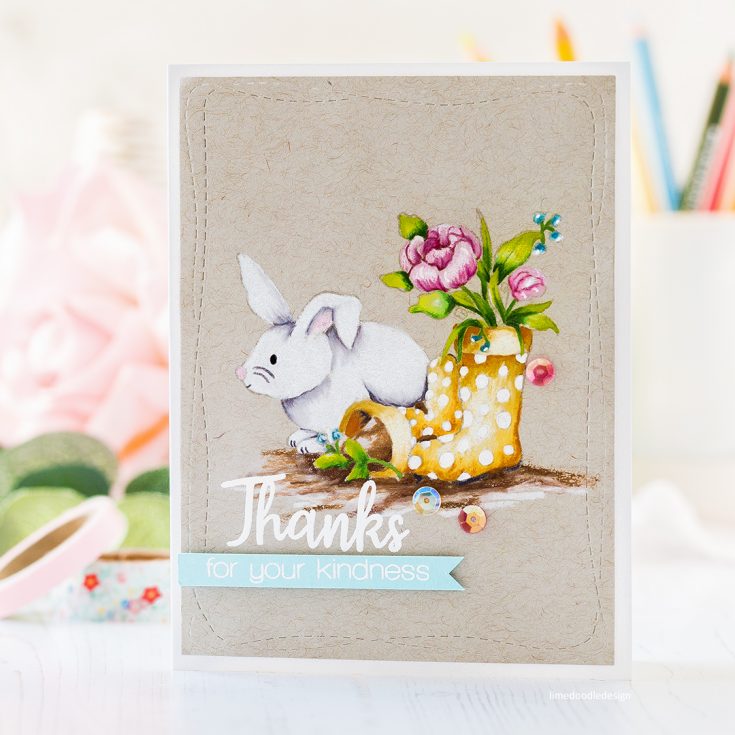
I cut the kraft panel with a Wonky Rectangle die and foam mounted on a Neenah Solar White card base. I also foam mounted the Surf Blue sentiment and then finally added a trio of Sweet Shop sequins to finish.
Thanks for joining me today and I’ll see you next time for Doodling With Debby.
WATCH THE VIDEO:
Watch below or in HD on YouTube.
SUPPLIES:
|


Thanks for reading today, and thanks to Debby for being our guest!

Blog Candy Alert!! Follow our blog via email and comment on this post for a chance to win special blog candy!
Congrats! Blog Candy Winners!
From: Studio Monday with Nina-Marie: Easter Treat Bags with Lawn Fawn: Donna Rinckel!
From: Tree Art Journal Page: Berina Febin!
From: Art Journaling: BE KIND with Shari Carroll: Janice Carl!
From: What Would Kelly Make: February 2018: Iris Soscia!
From: Home is Where the Heart is by Channin: Marie-Christine Denis!
From: New Neat & Tangled Inspiration!: Carol McGregor!
Studio Monday with Nina-Marie: Easter Treat Bags with Lawn Fawn
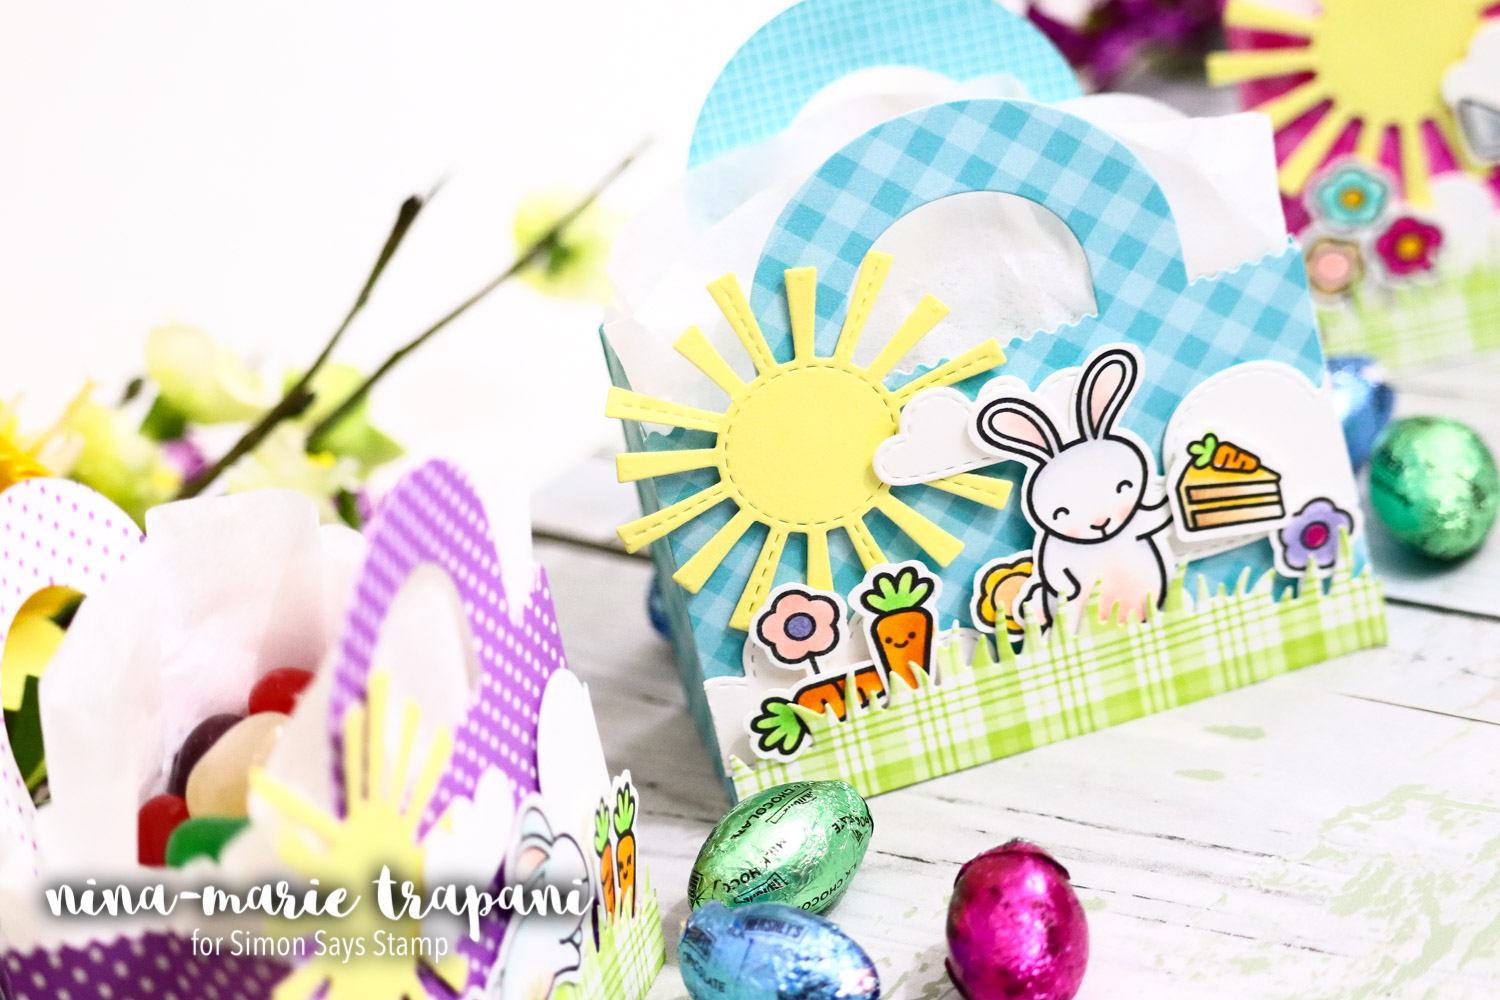
 Hello crafters! Welcome to a brand new Studio Monday tutorial! Did you know that March is National Craft Month? As a special treat, all this month during my Studio Monday series I will be sharing fun ideas for creating unique projects with paper crafting supplies! Today we are making treat bags using some new Lawn Fawn goodies that are simply adorable! The main elements in these projects are the darling Tote Bag Lawn Fawn die and the super-cute Some Bunny stamp and die sets. Here’s a look at how these treat bags look when they are completed!
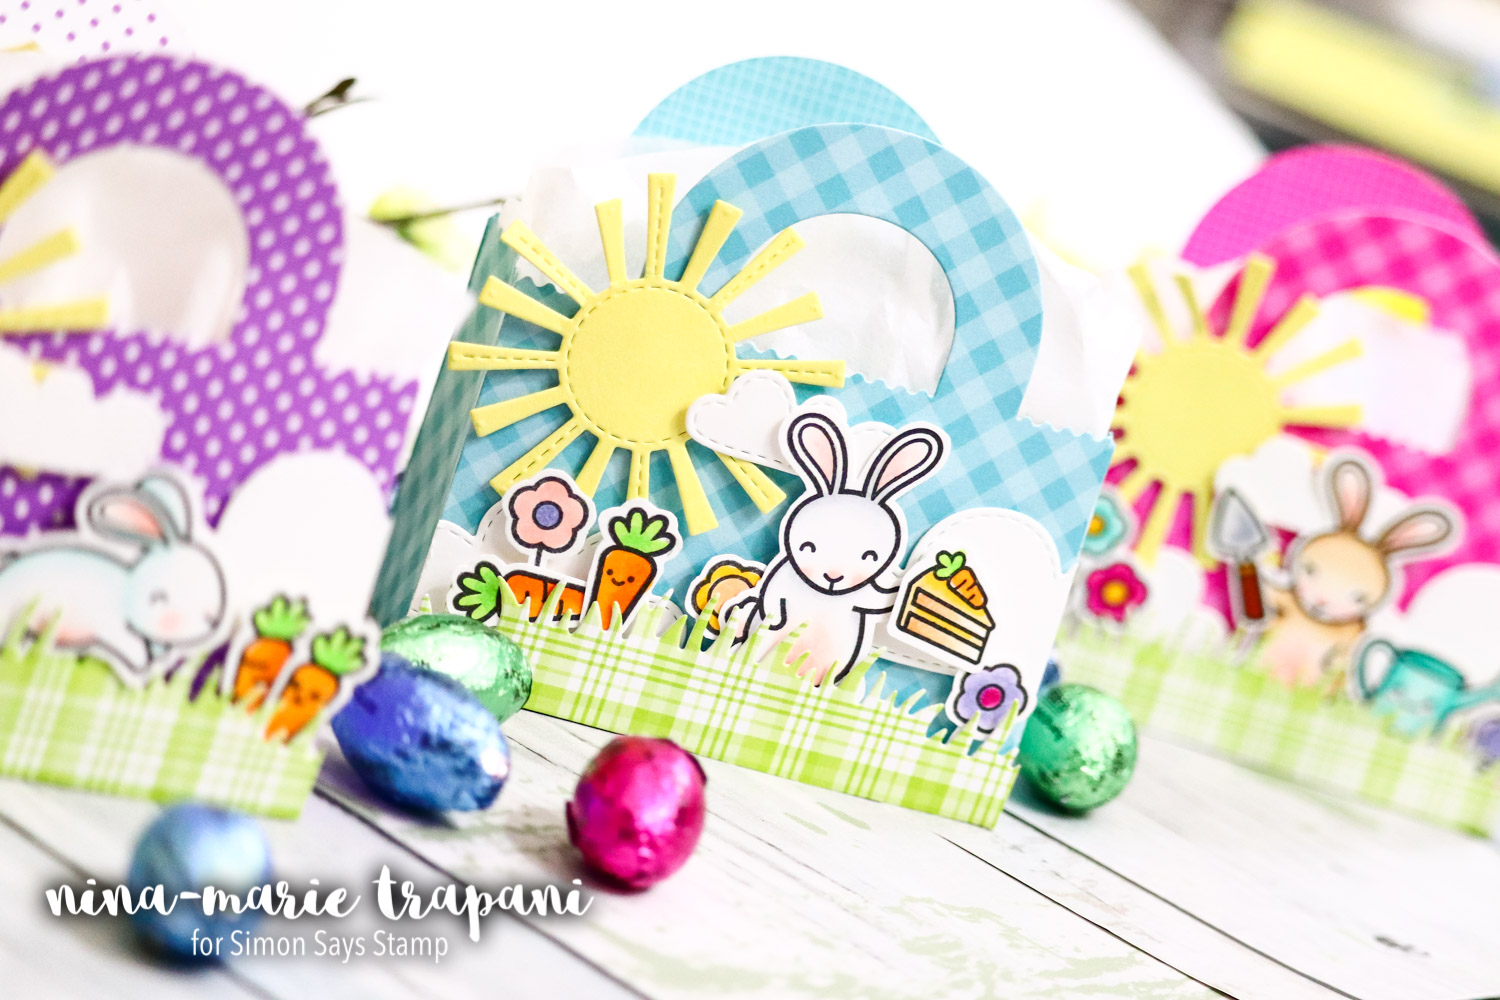
 These little bags are perfect for decorating and then filling with little treats! I placed candy in mine, as the theme of this project is an Easter treat bag (and candy is always a big deal during this holiday!). You could also fill these totes with small goodies, such as a woodblock stamp, a small toy for a kid, a piece of jewelry, even a gift card!
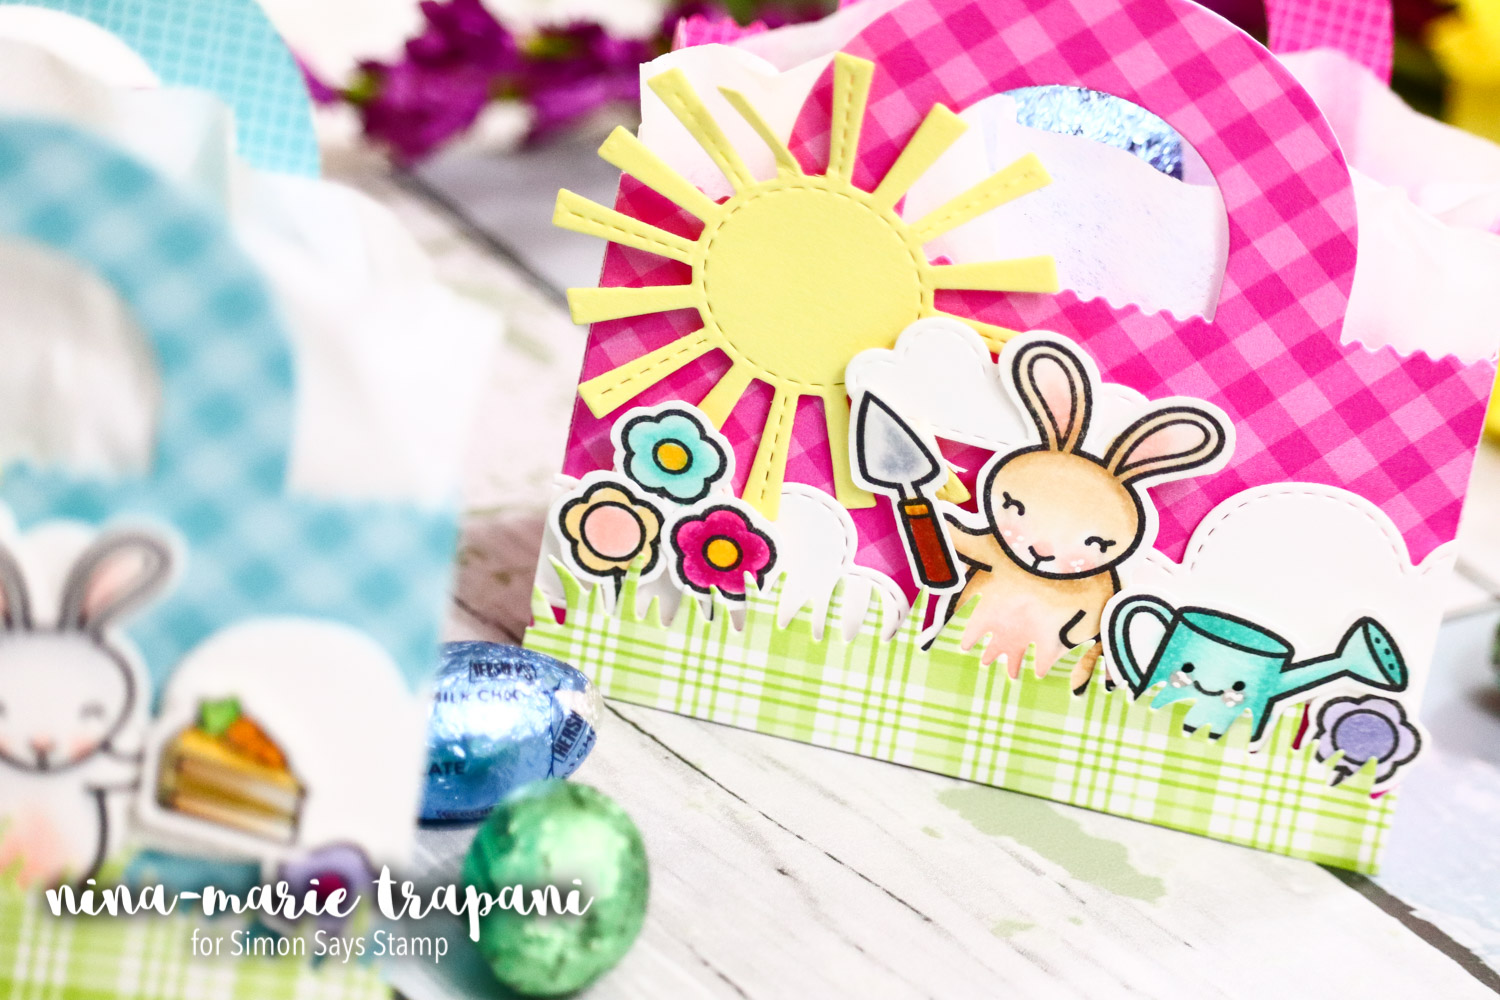
 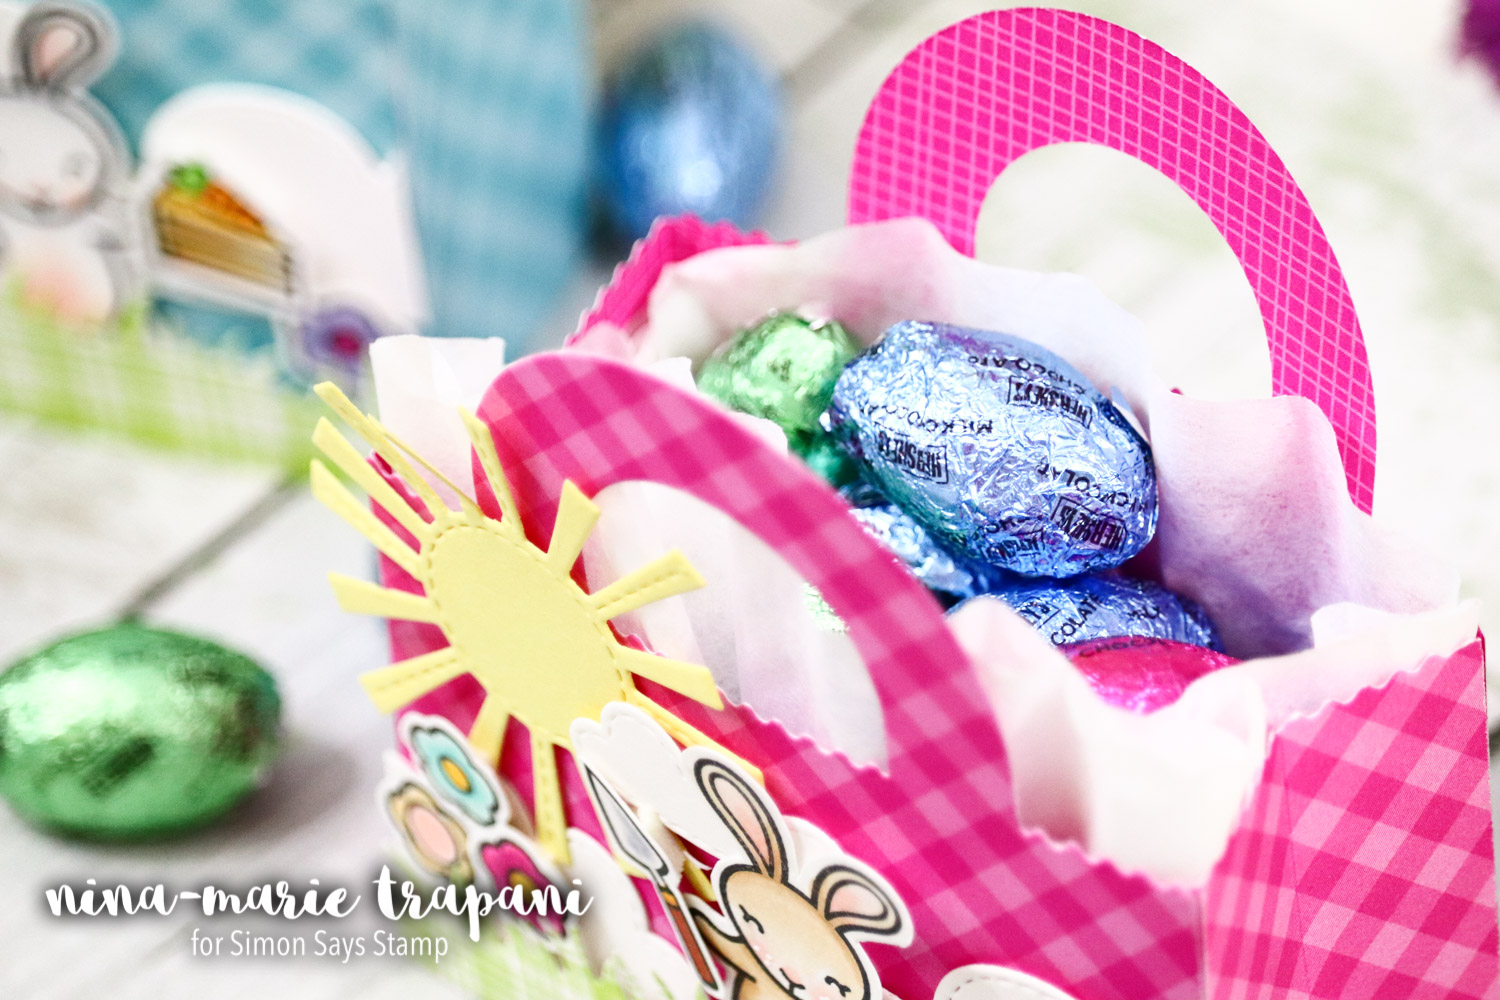 As for decorating, you can go super-simple and leave the tote plain (maybe cut from kraft cardstock for a natural feel or some bright patterned papers for quick and easy fun!). Another option is to break out your favorite stamps and dies and make cute scenes! I love building scenes, so this is what I did to decorate my little treat bags. With a Grassy Hillsides die, I cute a piece of Lawn Fawn Spring Perfectly Plaid paper for the ground in my scene. The sky features the adorable Spring Showers die set (that is an oldie but goodie that I have used for forever and still love)!
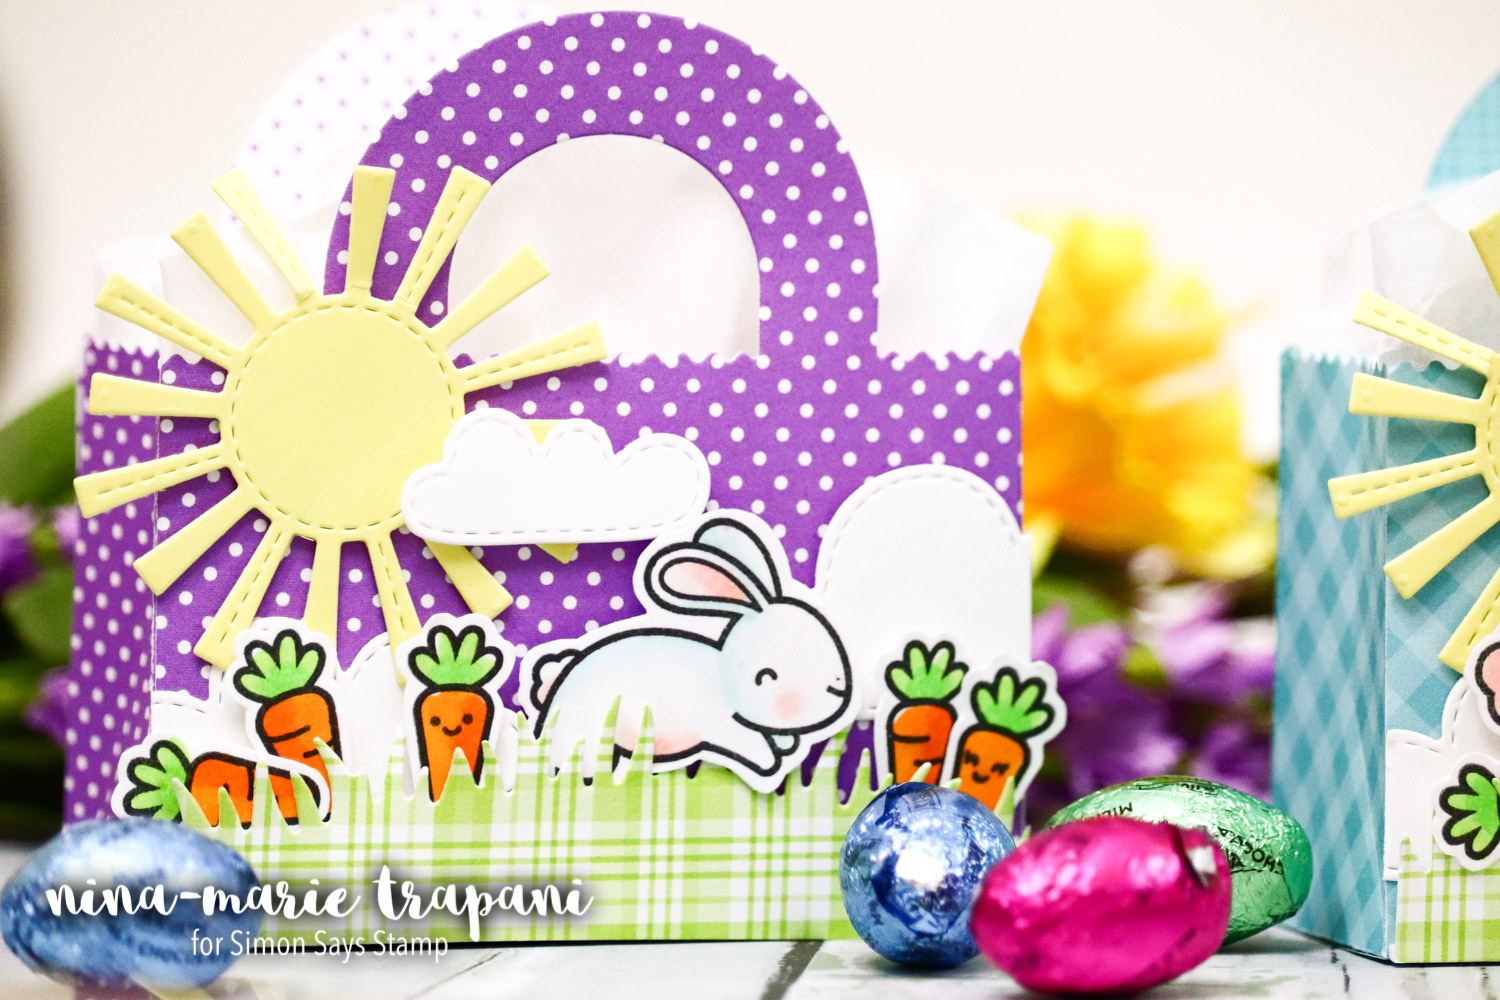
 If you would like to see how these little cuties come together, be sure to watch the video below! I hope you will be stopping back each Monday during March for these extra-special National Craft Month tutorials because I have some fun things in store for you!
WATCH THE VIDEO
SUPPLIES USED
|


Blog Candy Alert!! Follow our blog via email and comment on this post for a chance to win grab bags and blog candy! Remember to tag your awesome projects with #simonsaysstamp on social media so we can see what you are creating!
Tree Art Journal Page
Happy Sunday, friends! I’m so delighted to welcome the always lovely Anna-Karin Evaldsson back as a special guest on our blog to share some gorgeous art journaling. Please read on and enjoy!
Hello everyone! I am so happy to be here today, and I am going to share an art journal page with you, which I really enjoyed doing. The techniques can be used for other types of projects too, such as cards or scrapbooking layouts.
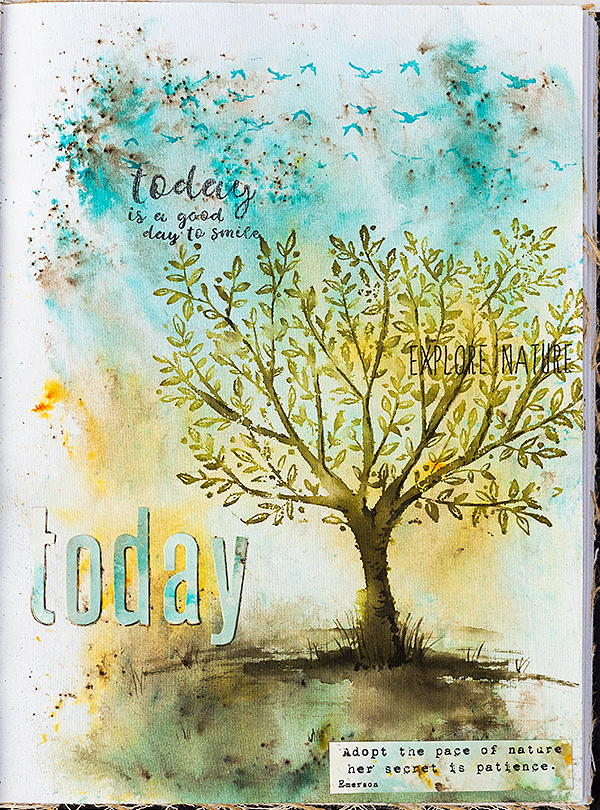
I love trees and when I saw the SSS Brushed Branches stamp, from the Friends Collection, I knew I had to have it. It is a big stamp and the tree works perfectly for the focal point of a project. The page was done in my Dina Wakley Media Journal, working on a cotton rag watercolor paper page. There are also craft, canvas and burlap pages in the journal. I used Paper Arty’s Infusions Colored Stains for the background and Distress Ink for the watercolor stamping. Let’s start.
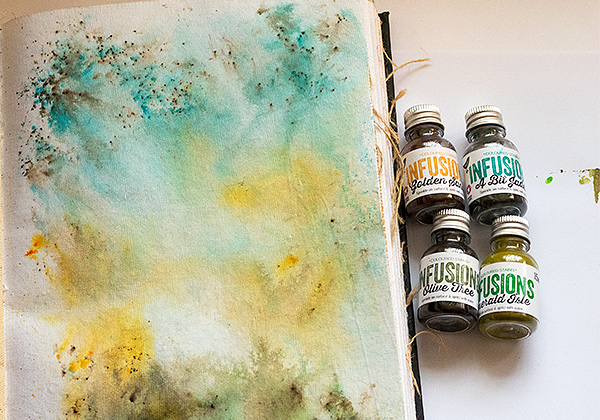 Start by misting the paper quite heavily with water. Sprinkle a very small amount of Infusions Colored Stains into the water. I have pricked a hole in the lid of the bottles so that they work like a salt shaker. Mist more water on the page to help the powders blend. The walnut crystals in the Infusions powders take longer to dissolve and if you want less brown you can dab them off with a paper towel, which I did particularly where I planned to stamp the tree.
You can also do the background with watercolor paint.
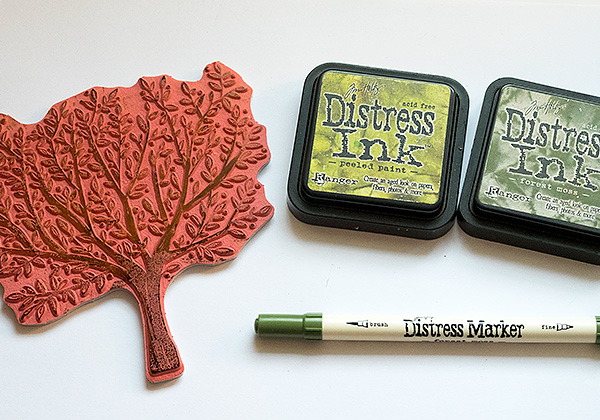 When the background is dry, ink the stamp with Peeled Paint and Forest Moss. I used a Forest Moss marker to color the branches in the areas inked with the lighter green ink.
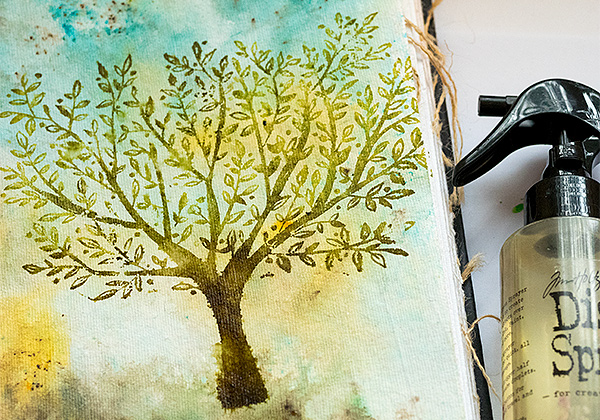 Mist the stamp quite heavily with water (at least five mists) and press onto the background. Leave the stamp in place for a few seconds to give the ink time to transfer.
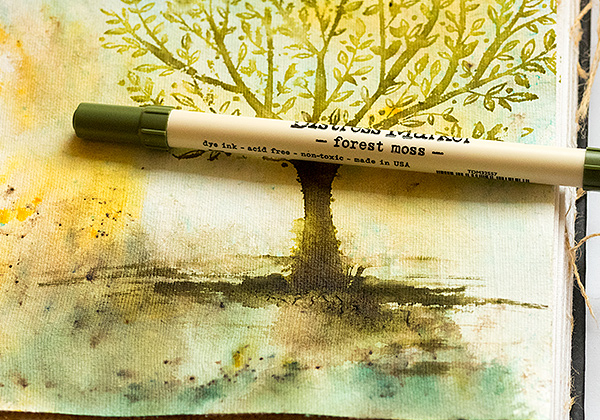 I used the Forest Moss marker to ground the tree to the page and dissolve most of it with water and a paint brush. Leave to dry.
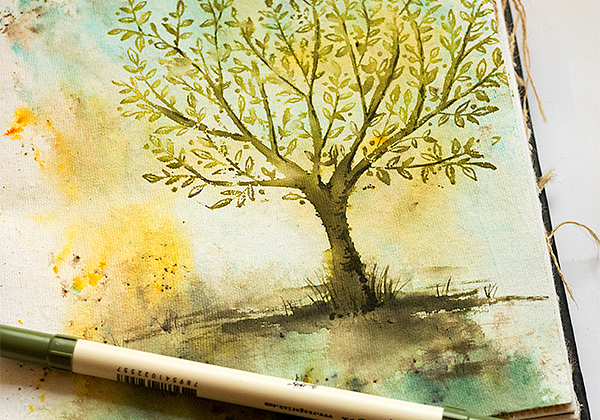 Use the marker to add grass here and there. I also added shadows on the tree and made some of the small branches and twigs darker.
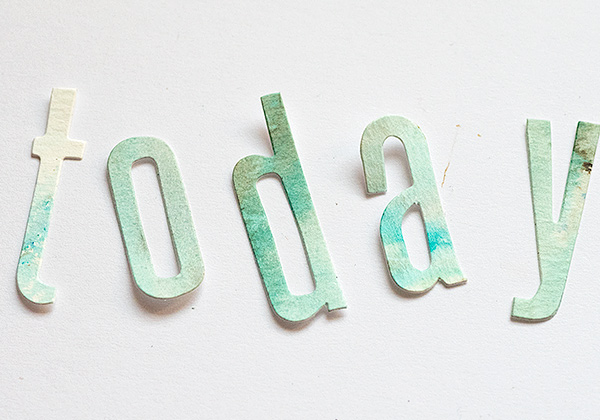 Color a piece of watercolor paper with A Bit Jaded Infusions and die cut a title from it, using Tim Holtz’s Sizzix Block Talk die. I was planning to have used the Deco Alphabet, but couldn’t find it. Of course, I found it right after I finished the page.
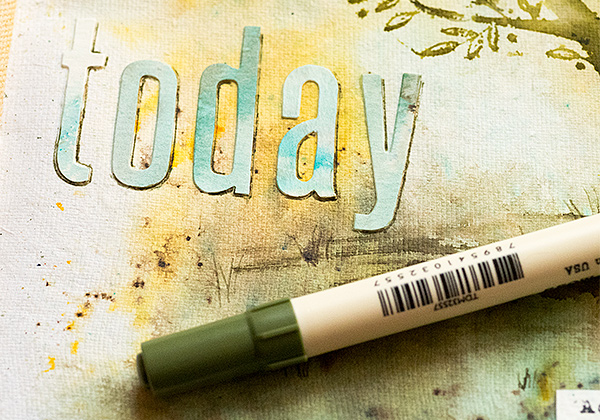 Glue the title to the background and add a shadow with the Forest Moss marker.
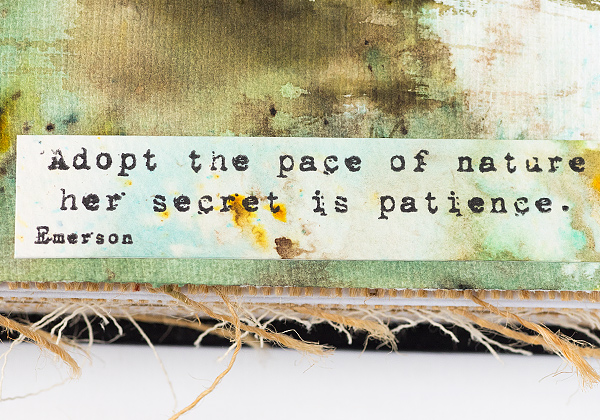 Stamp a quote from the Simon Says Stamp One With Nature set, on another piece of Infusions colored watercolor paper.
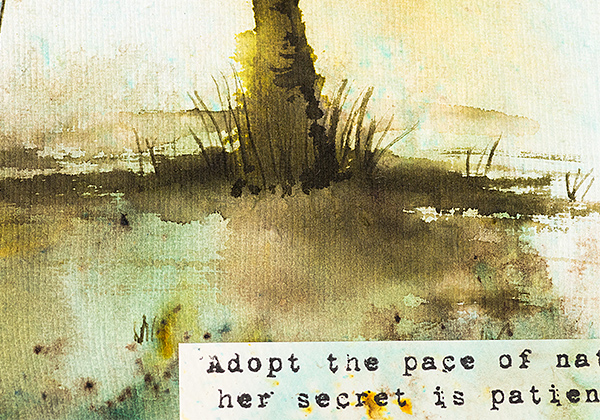 Grounding the tree to the ground makes a big difference and prevents it from looking like it is floating on the page.
 The title letters were quite light and the shadow makes them stand out better.
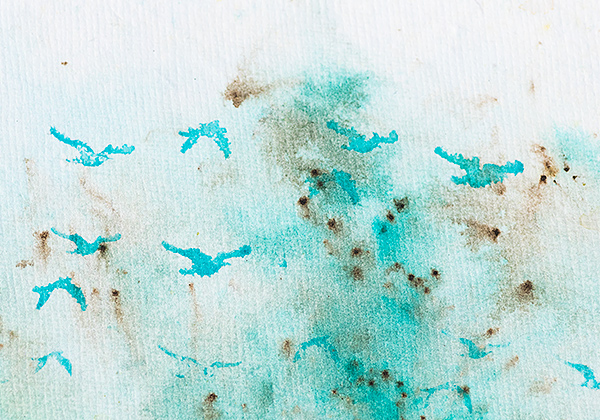 Ink the birds from the Darkroom Door African Trees set with Mermaid Lagoon, mist with water and stamp in the sky.
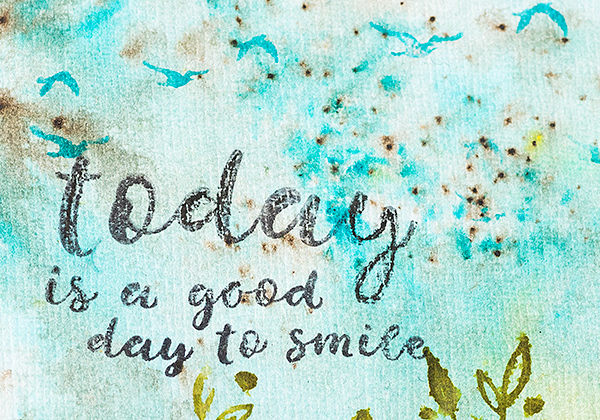 I also stamped a sentiment from the SSS Uplifting Thoughts set.
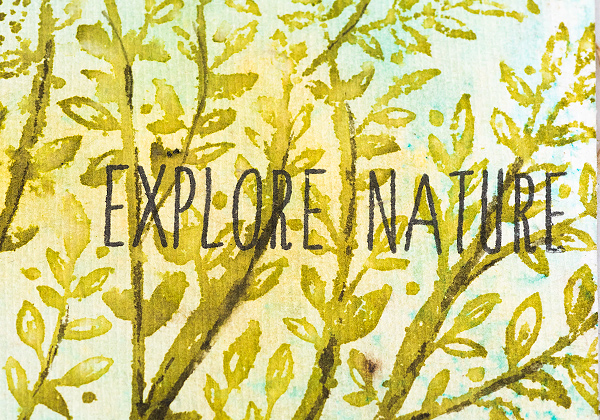 Another sentiment was stamped among the branches of trees, this one is from One With Nature.
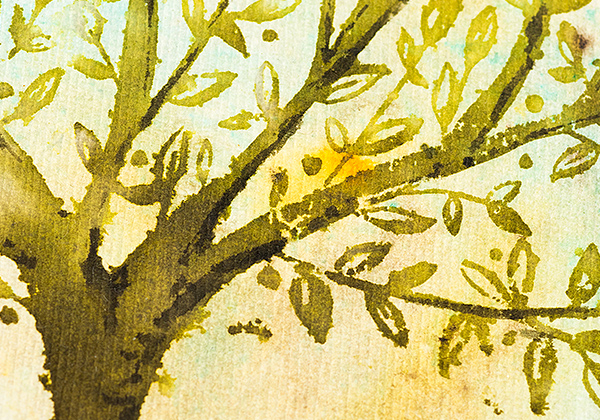 Here’s a close up of the Distress Marker shadows added to the tree after it was dry. It is easy to do and makes a big difference.
Thank you so much for looking at this tutorial! I hope it inspired you to try out watercolor stamping and Infusions Colored Stains.
Happy crafting!
Anna-Karin
SUPPLIES:
|


Thanks so much for reading and thanks to Anna-Karin for being our guest!
Blog Candy Alert!! Follow our blog via email and comment on this post for a chance to win special blog candy!


