Yippee for Yana: Soak Up Some Summer
Hi friends! Happy Saturday! Please join me in a warm welcome back to special guest Yana Smakula in her bi-monthly Yippee for Yana series! Let’s dive in!

Hello friends, this is Yana and welcome back to another Yippee For Yana video! Today I’m using some new and old supplies to create colorful summer vacation cards!
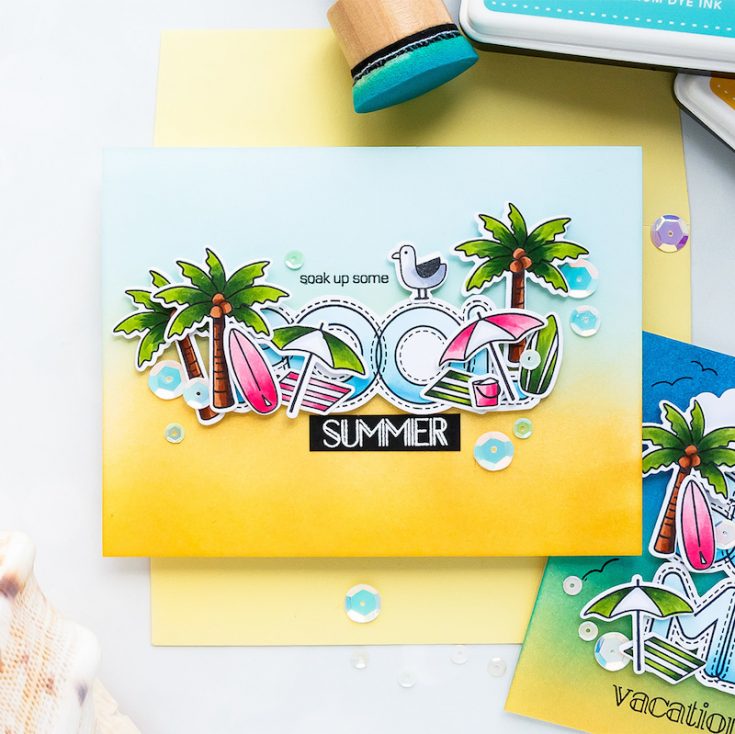
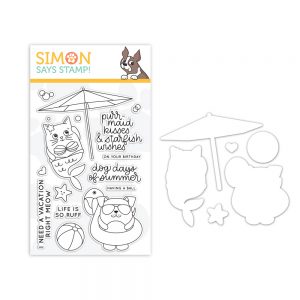
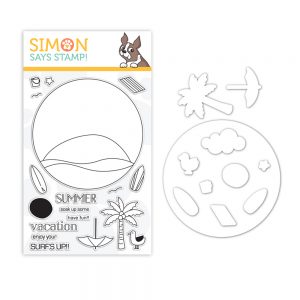
I had this idea to stamp the word “pool” and arrange little summer items around it to create a mini scene for my card. I didn’t have the stamps that would best work as summer/vacation items so I kept putting this idea off and off until I came across Simon’s new Surf’s Up stamp set. The size of a palm tree, umbrella, beach towel and other items in this set was simply perfect for the idea I had in mind.
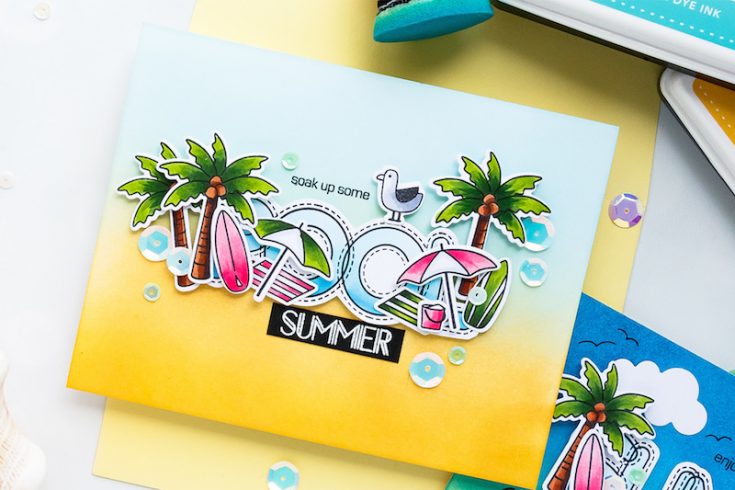
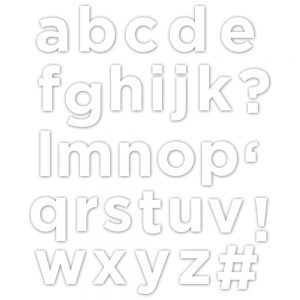
I started to work on my card by stamping the word “Pool” using letters from the Stitched Alphabet stamp set, it’s one of my favorite alphabet sets. The letters here are open here and therefore can be colored and made into any color you need. I used Simon’s Intense Black ink for my stamping as this ink is perfect to work with Alcohol markers and I colored everything with Copics. I overlapped my letters to form a word “Pool” and I also stamped one more word “Summer”, I used it to make another card.
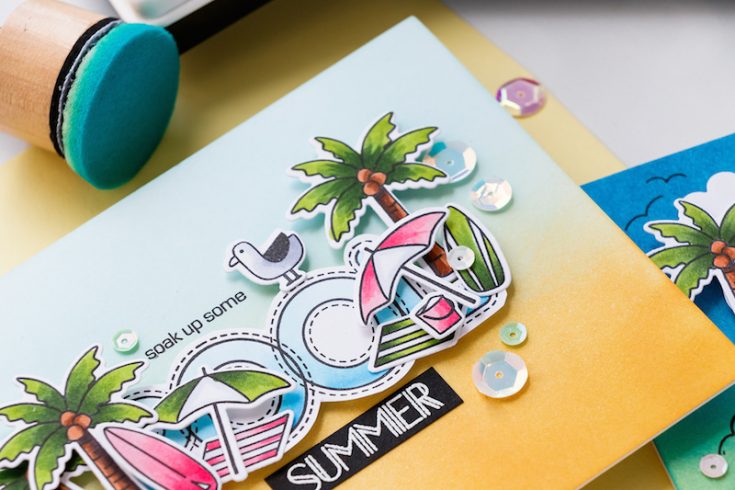
I admit these words will are mostly secondary on my projects, they are covered, for the most part, especially the word “Pool”, so the recipient won’t be able to read it much, but I still wanted to have those words on my cards as a little backdrop.
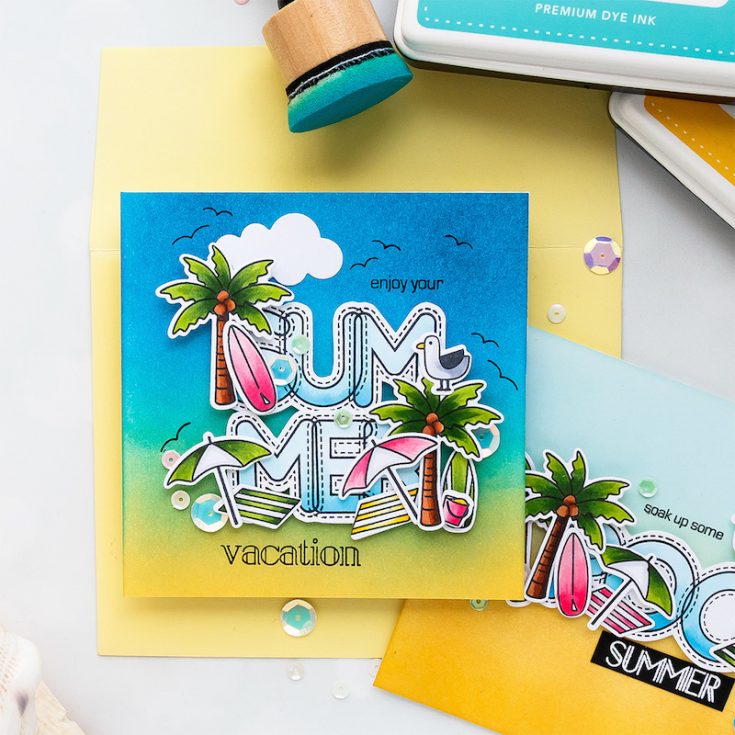
Next, I stamped several palm trees, beach umbrellas, beach towels, surfboards, a seagull and little kids sand bucket, I colored them and cut out with the help of coordinating dies in my Spellbinders Platinum die cutting machine.
I used the following Copic markers for my coloring:
● B02, B00 and B000 to color “Pool” and “Summer”
● YG67, YG17, and YG25
● C3 and C1
● E79, E37, and E33
● RV14, RV13, and RV11
I cut the words “Pool” and “Summer” using my Tonic Scissors. Next, I ink blended backgrounds for my cards. I used Maliblue, Duckling, and Sunshine for the Pool card and Deep Sea, Malibue and Duckling for the “Summer” card.
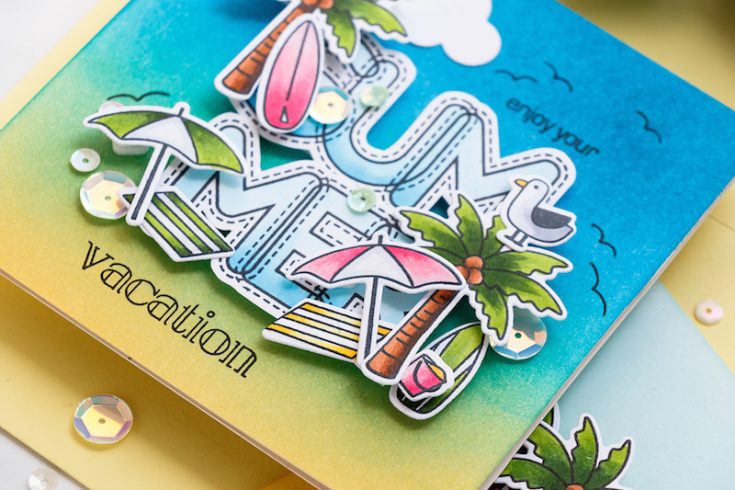
I foam mounted “Pool” and “Summer‘ in place and next filled in and set the scene using little colored and die cut pieces. I stamped “Enjoy Your Summer” and “Enjoy Your Vacation” sentiments added a few Butterfly Kisses sequins and that finished my cards!
Have fun stamping!
WATCH THE VIDEO:
SUPPLIES:
|


Thanks so much for stopping by and thanks to Yana for being our guest!

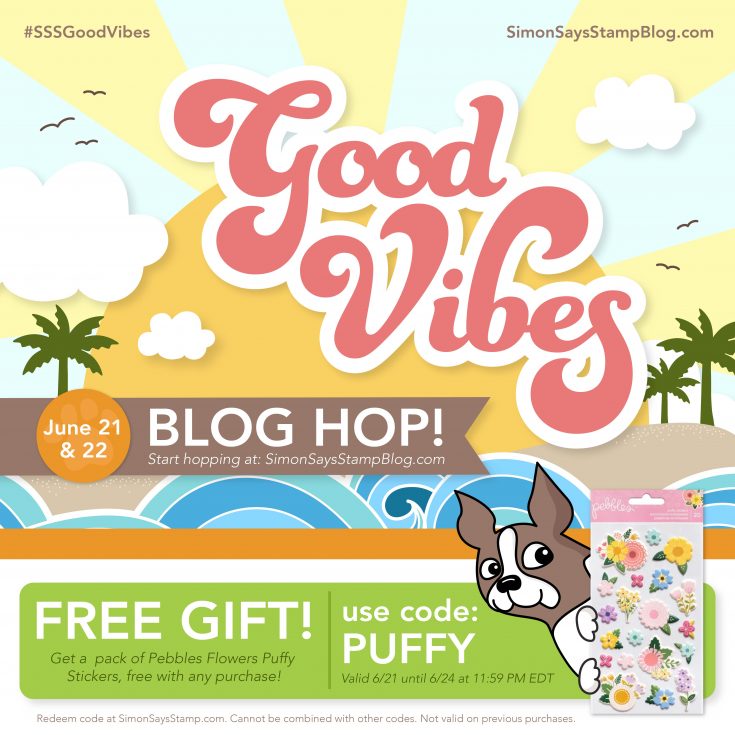
Blog Candy Alert!! Follow our blog via email and comment on this post for a chance to win special blog candy!
Hop for More Good Vibes Release Inspiration!
Hi friends! We’re back with day two of our Good Vibes release blog hop with even MORE inspiration for you! Thanks for joining us again today. If you missed day one’s fabulous hop, you can find it HERE.
We hope you are LOVING the inspiration from our Simon exclusive Good Vibes release, and we are so excited to see what you’ll create!
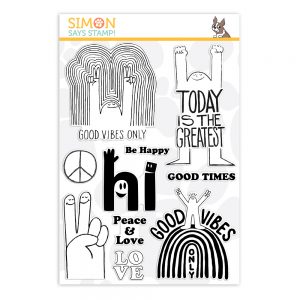
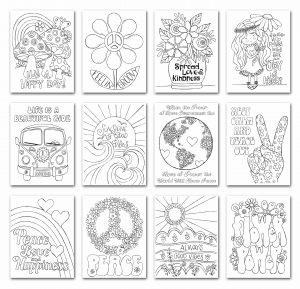
Our Simon Says Stamp exclusive Good Vibes product lineup is filled with summertime fun! There are tropical flowers, beautiful birds, and a mermaid cat (OMG!), brand new background stamps, and products perfect for creating good vibes the whole year through in the form of all kinds of fun stamps, dies, stencils, sequins, and some rad new grid stamp blocks! There is also a super groovy new collection of Suzy’s Watercolor Prints and some hip and hilarious new stuff from CZ Design! We’re so excited for you to be inspired by this amazing release!
Before we hop, let’s take a look at some awesome inspiration from Shari Carroll and Suzy Plantamura:
We’re pretty sure you’re going to find at least a few things that strike your fancy from this release, so Simon wants to give you a little something extra special! No, it’s not a mermaid cat, but it’s a free gift just for being SO awesome! Check out the details on the graphic at the top of this post!
Ready for even more Good Vibes inspiration? We’re super excited for you to hop along with us, as you’ll see loads of inspiration using these new products. Each designer’s blog in the hop will have a $25 gift card up for grabs for one of their commenters. These talented ladies have lots of great projects that we know you’ll love! Make sure to show your appreciation with your awesome comments!
- Simon Says Stamp Blog <<YOU ARE HERE!
- Debby Hughes
- Laura Bassen
- Yana Smakula
- Yoonsun Hur
- Amy Rysavy
- Jean Manis
- Vicky Papaioannou
- Jenn Shurkus
- Barb Engler
- Lisa Addesa
- Lea Lawson
- Stephanie Low
- Olga Direktorenko
- Heather Ruwe
We can’t wait for you to see what these amazing designers have created! Enjoy the hop, and thanks for joining us!
You’ll love browsing our Good Vibes gallery on our blog for loads of inspiration, and you can add your projects to the gallery as well!
You can check out the full Good Vibes collection below!


![]()
![]()
Good Vibes ✨✨✨ Blog Hop
Hi friends! Welcome to part one of our two-day Good Vibes release blog hop!
Our Simon Says Stamp exclusive Good Vibes product lineup is filled with summertime fun! There are tropical flowers, beautiful birds, and a mermaid cat (OMG!), brand new background stamps, and products perfect for creating good vibes the whole year through in the form of all kinds of fun stamps, dies, stencils, sequins, and some rad new grid stamp blocks! There is also a super groovy new collection of Suzy’s Watercolor Prints and some hip and hilarious new stuff from CZ Design! We’re so excited for you to be inspired by this amazing release!
Let’s get a sneak peek of what’s in store with inspiration from Shari Carroll! Shari used products from our Good Vibes release to make these fantastic projects:
We love our customers! And we love your enthusiasm for our new releases and blog hops. To celebrate, Simon has an extra special free gift set aside just for you! Check out the details on the banner at the top of this post.
Ready for even more Good Vibes inspiration? Hop along with these talented designers! You’ll be inspired AND for every comment you leave on each blog, you’ll earn a chance to win a $25 Simon Says Stamp store shopping spree. YAY! Please share some feedback with these artists who work hard to inspire and excite us!
- Simon Says Stamp Blog <<YOU ARE HERE!
- Jennifer McGuire
- Kristina Werner
- Cathy Zielske
- Nichol Spohr
- Nina-Marie Trapani
- Jessica Frost-Ballas
- Amanda Korotkova
- Suzy Plantamura
- Kathy Racoosin
- Anna Kossakovskaya
- Bibi Cameron
- Elena Salo
- Heather Hoffman
- Gayatri Murali
Thanks again for joining us today!
You’ll love browsing our Good Vibes gallery on our blog for loads of additional inspiration, and you can add your projects to the gallery as well!
You can check out the entire Good Vibes collection below:
![]()
![]()


