One-Layer Multicolor Stamping – More Monthly Card Kit Inspiration with Kristina Werner!
Hello, all! Kristina here with more card kit inspiration! The May 2018 card kit is packed with amazing products for creating cards, so today I have two simple one-layer cards for you. I used the Everything Together stamp set, the two ink cubes in the kit, and the color palette from the papers and stickers in the kit to create two one-layer cards.
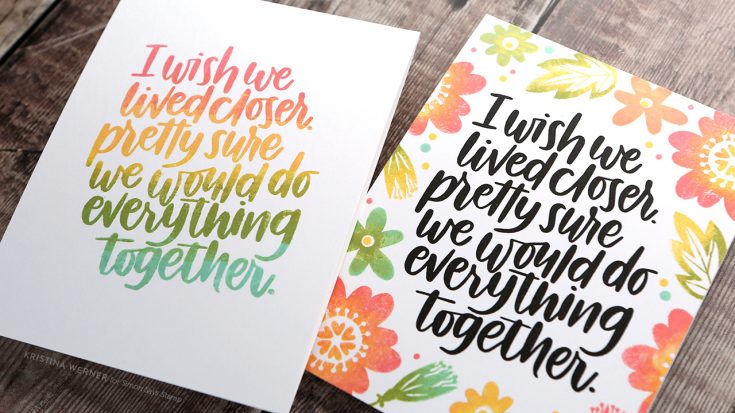
Included in the kit are two ink cubes, Melon and Spring Rain. To round out the ink colors so they are similar to the stickers in the kit, I used three additional ink cube colors: Willow, Duckling, and Teeny Bikini. I used all five of these colors to do multicolor “rainbow” stamping.
This particular stamping technique requires precision stamping, so it’s easiest to use a stamping tool like a MISTI (with the optional Creative Corners also). It’s all about stamping the same stamps over and over again and changing the position where you’ve applied the ink colors. It’s a time consuming process, but the end result is worth the hassle. It looks so awesome!
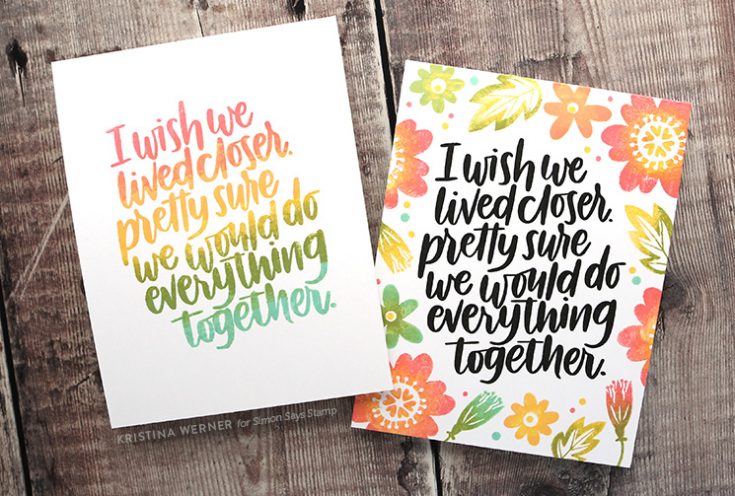
One of the large sentiments from the Everything Together stamp set was perfect for this technique, but I also created another card with the same greeting in black ink and colorful flowers surrounding it.
I hope you enjoy today’s video! You can pick up the May 2018 Card Kit HERE, or subscribe to this kit and future kits HERE.
Supplies
|


Studio Monday with Nina-Marie: Embellishing & Altering Die Cutting

Hell crafters, it’s Nina-Marie here with you today and I have a couple of fun cards to share with you using some fabulous Memory Box and Tonic Studios products!
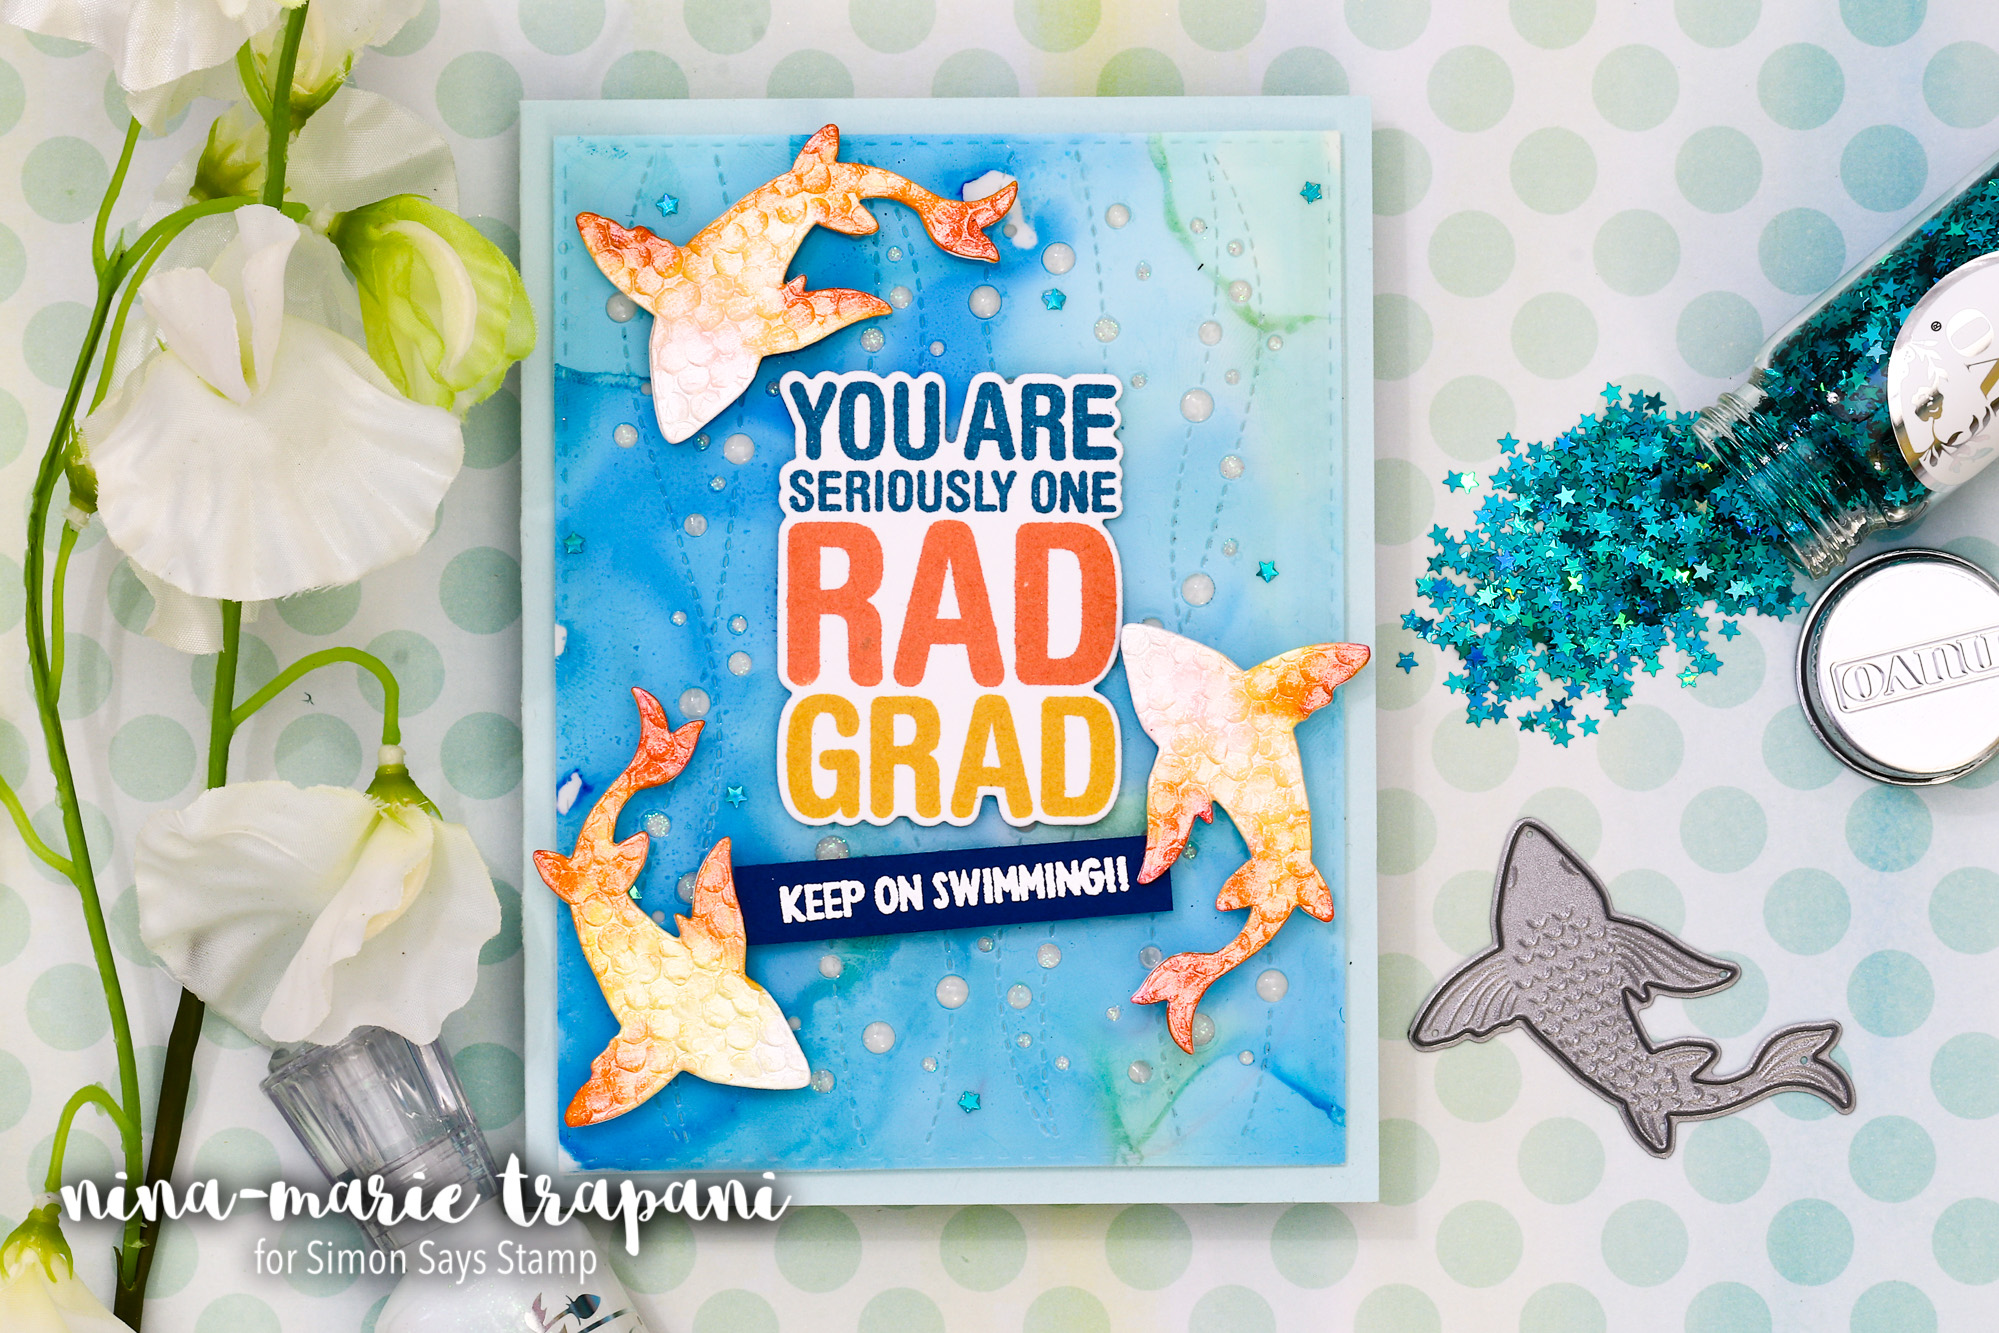
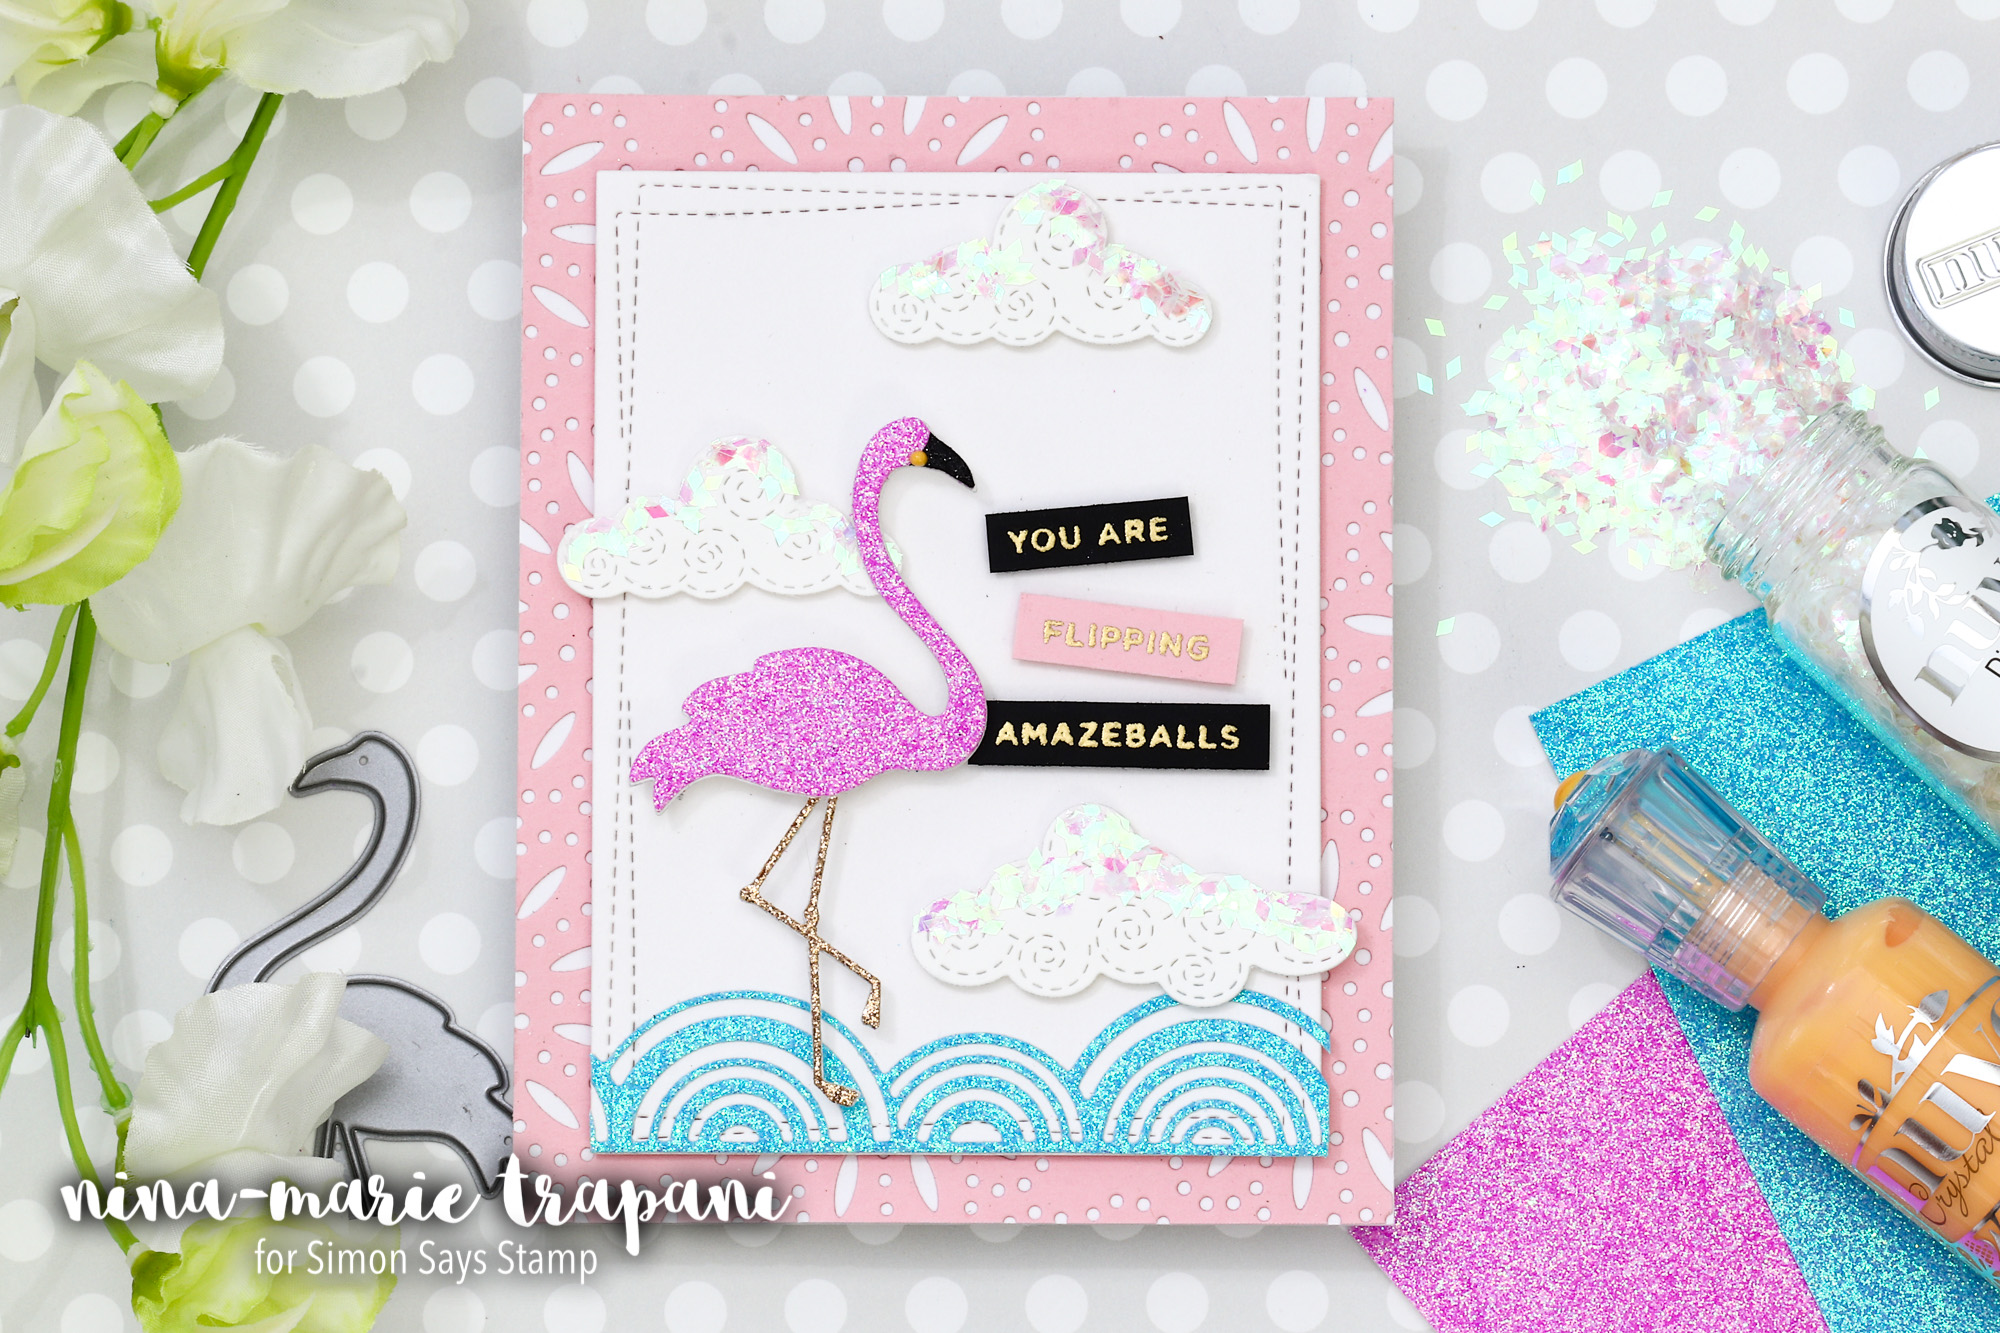
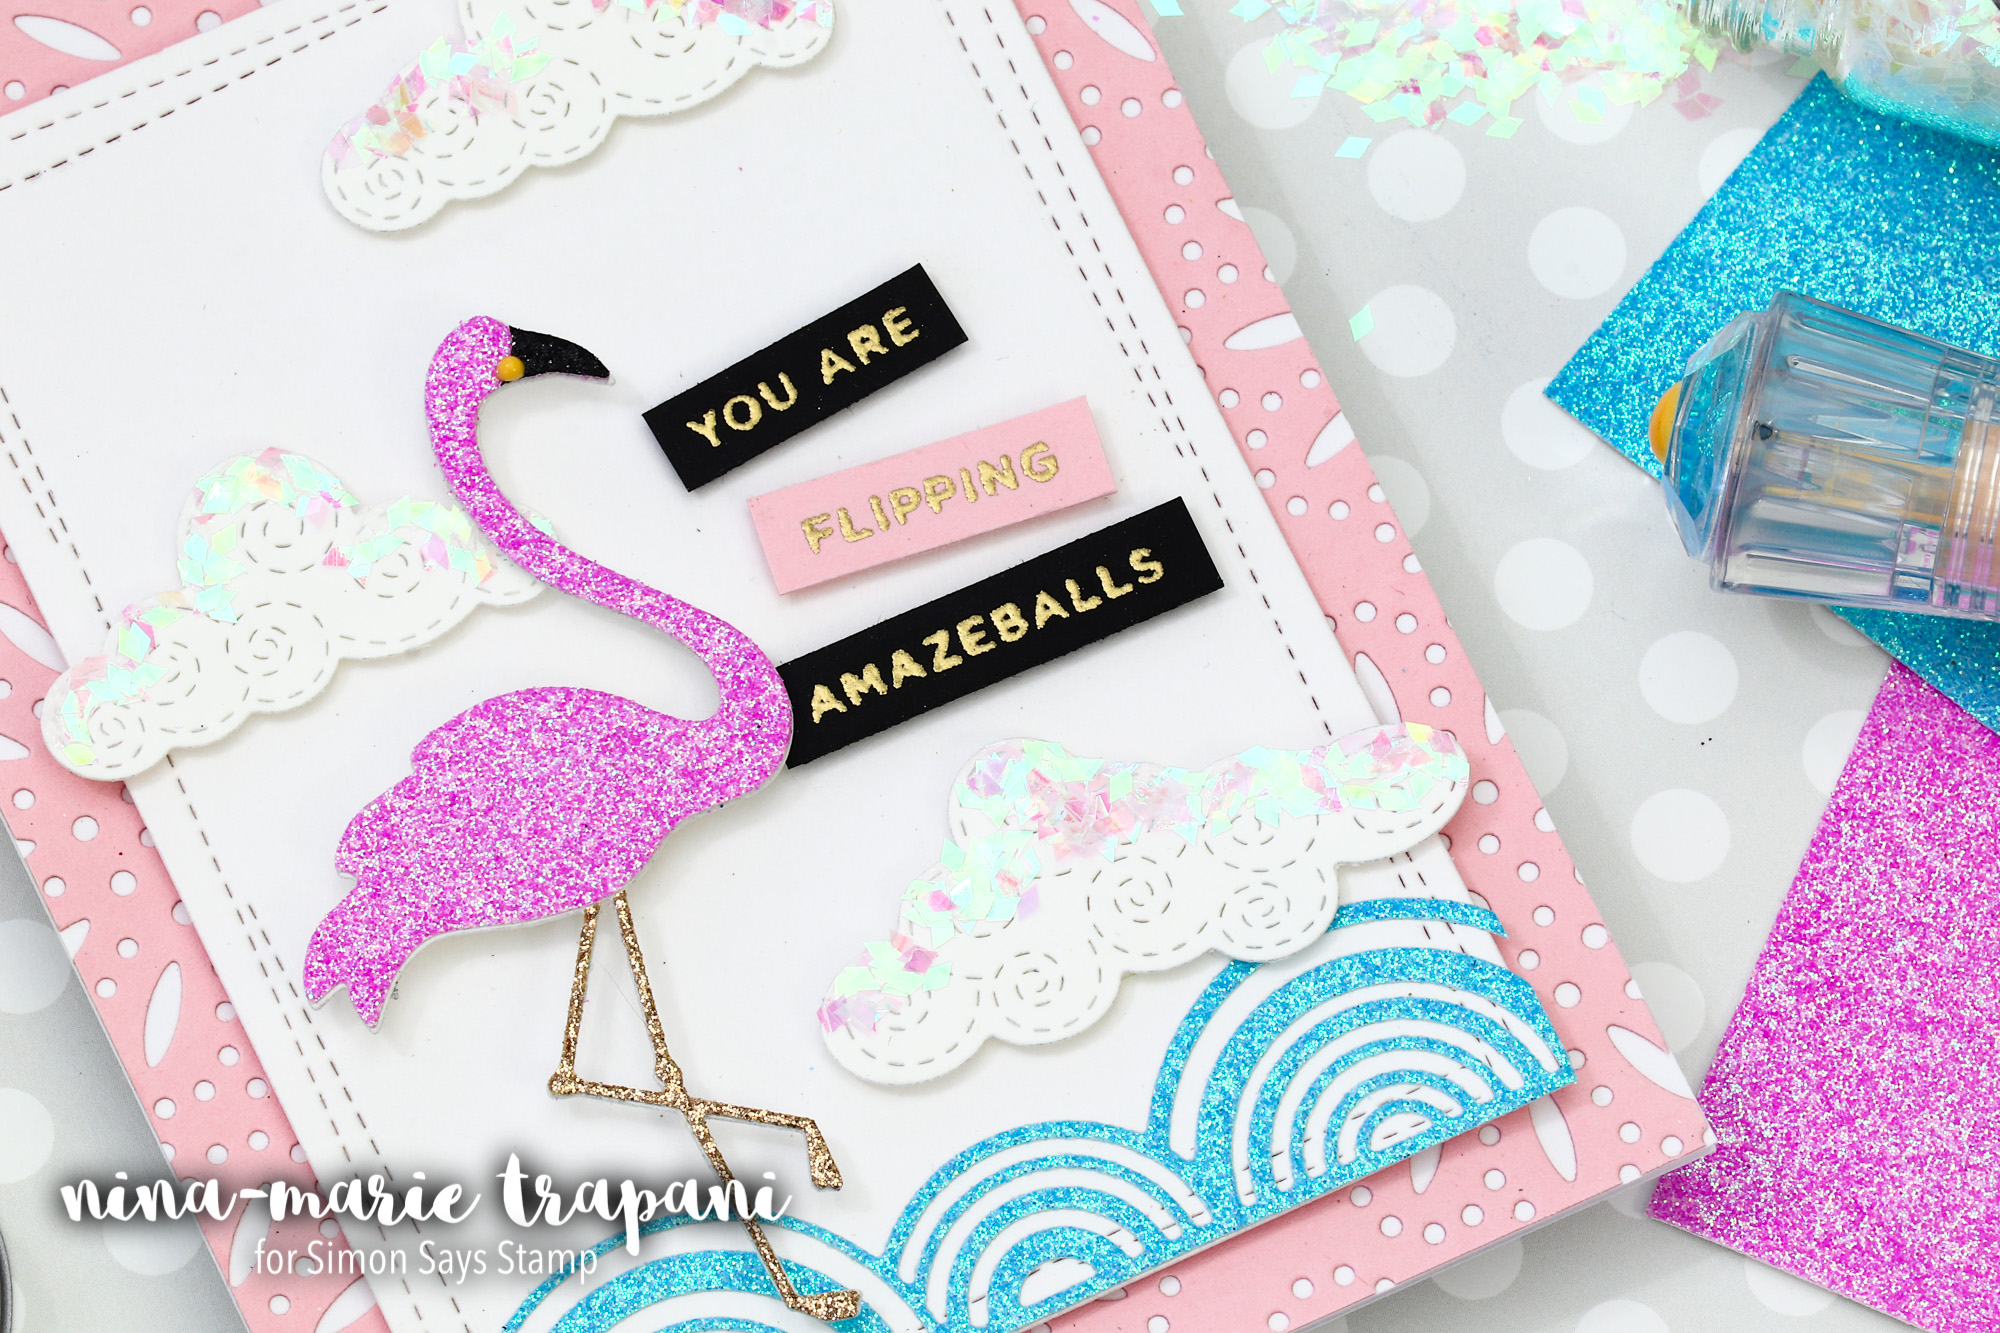
In today’s tutorial I’ll be showing you how to alter and embellish your die cuts; we’ll be using specialty papers such as Tonic Studios Glitter Card and Freshwater Pearls, Confetti and Nuvo Drops! See those pretty fish and confetti-studded clouds? I’ll be showing you how I created those awesome effects, plus others!
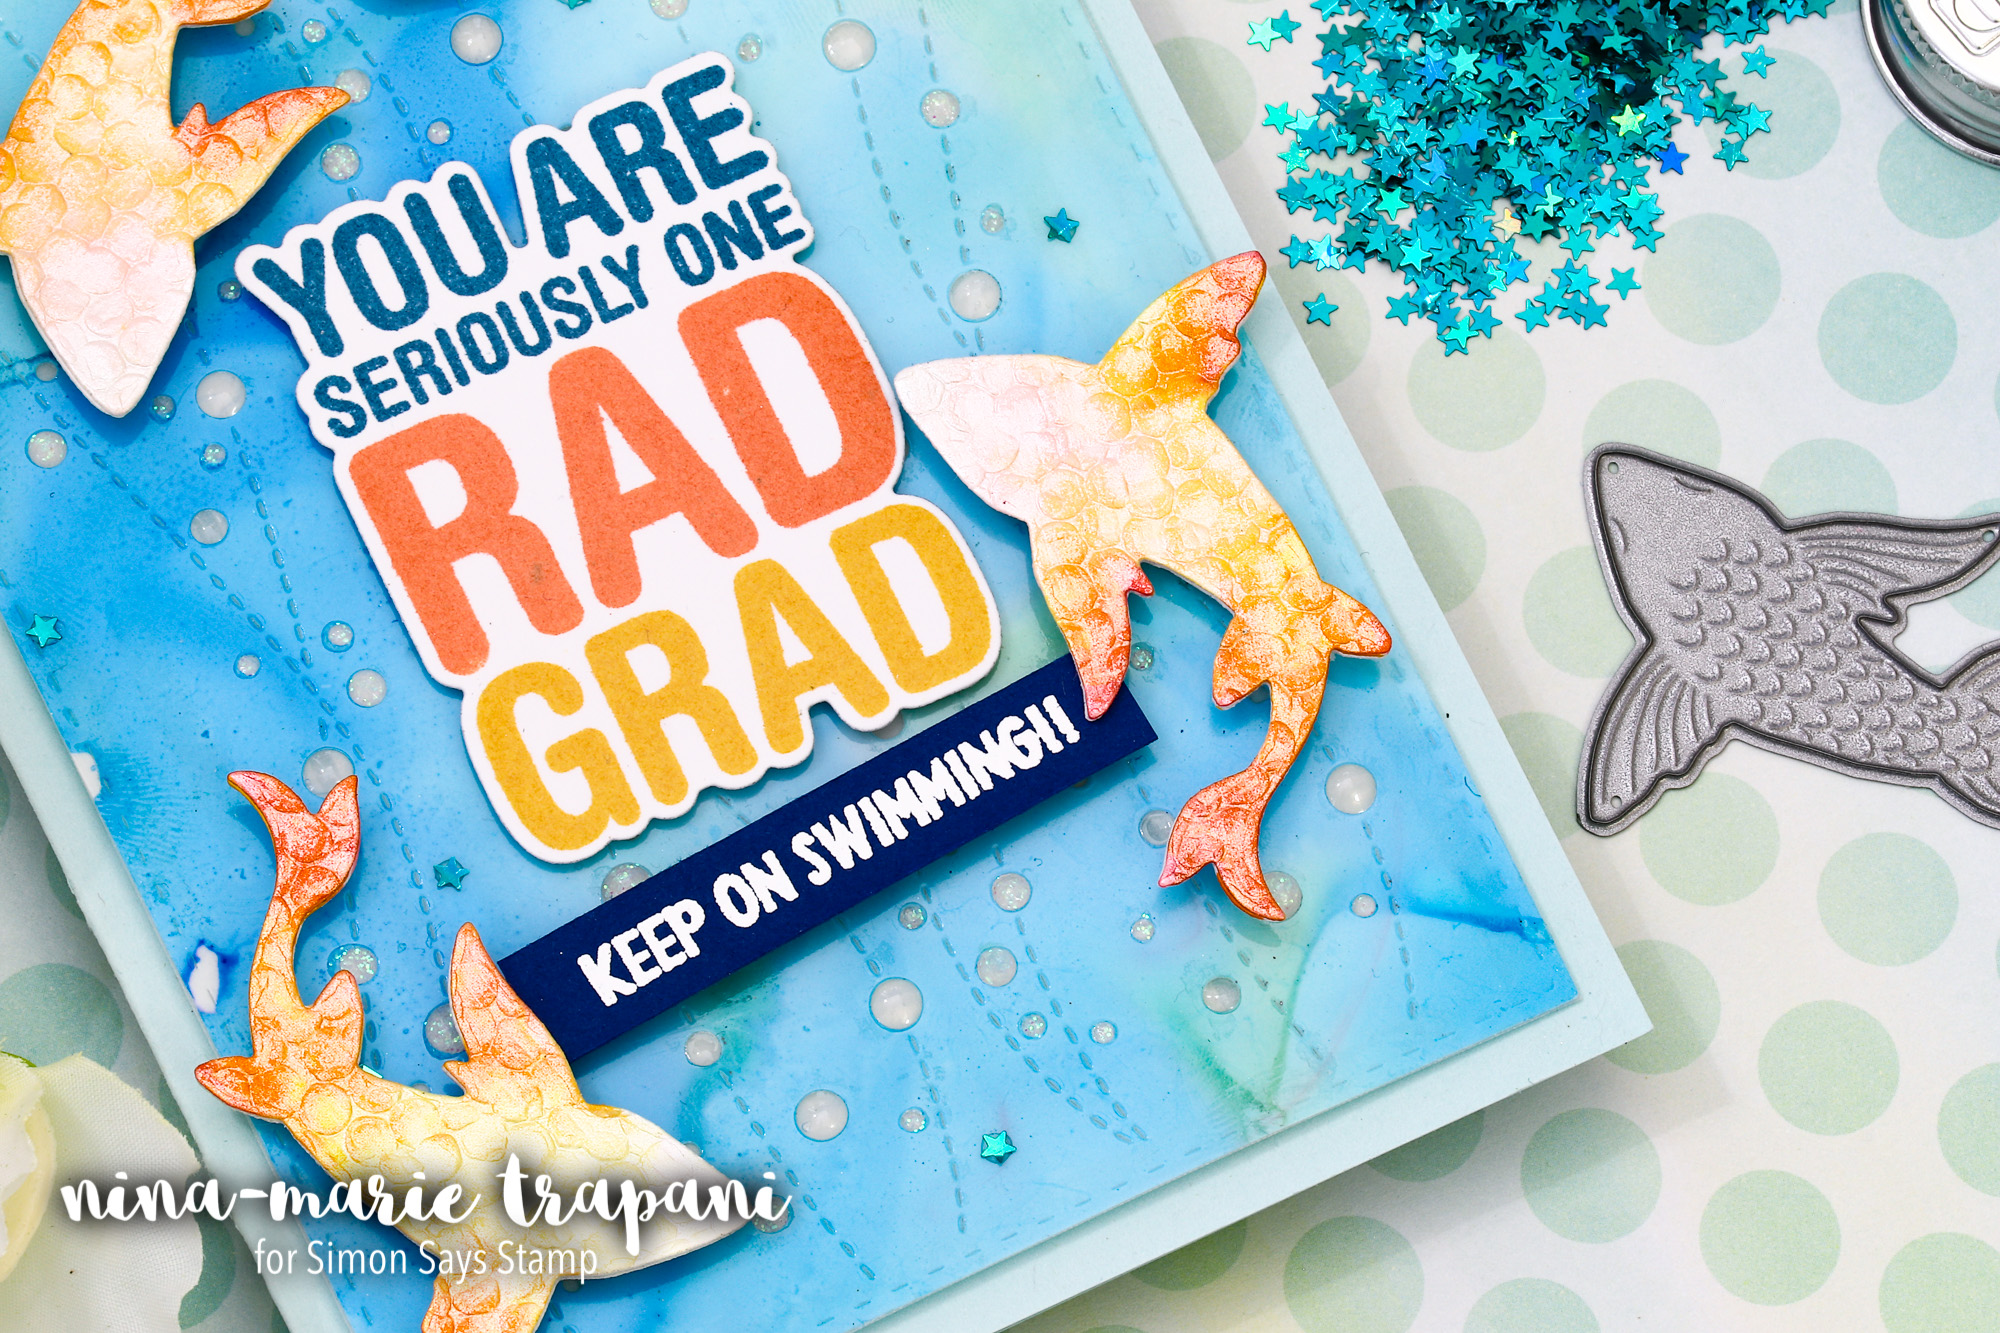
I also used some new Memory Box dies, including the sweet Lovely Koi fish and fabulous Fine Flamingo die! These solid dies work perfect for techniques like I used today, but you can recreate the same effects using your favorite dies too!
I hope you will check out the video below to see all these fun ideas come to life! Thanks for stopping by and visiting me today; I will be back again soon with more tutorials for you!
WATCH THE VIDEO
SUPPLIES
|


Blog Candy Alert!! Follow our blog via email and comment on this post for a chance to win special blog candy!
Yippee for Yana: Stamped Floral Pattern Cards
Happy Sunday, friends! Welcome to the latest edition of Yippee for Yana with the always amazing Yana Smakula. Read on and don’t miss the video for details on this floral trio! Enjoy!

Hello friends, this is Yana and welcome back for another Yippee For Yana video! In today’s episode I decided to go back to basics and what that means for me – is creating stamped patterns using individual stamps. I used to stamp all sorts of patterns using my clear stamps in the past and while I still do that from time to time I kind of miss doing it more.
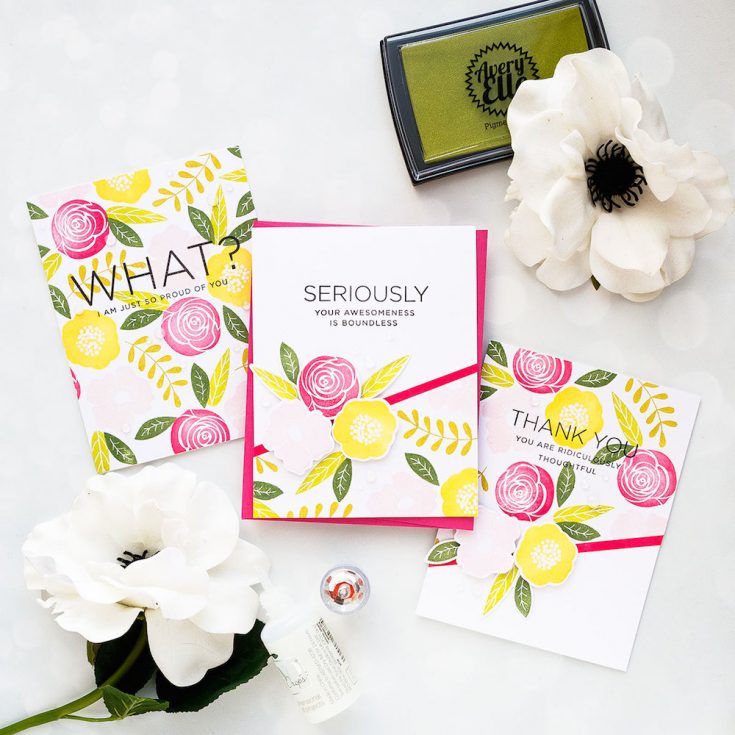
Today I’m sharing my favorite way to stamp a floral pattern to create several cards. My trick is very simple, instead of stamping a background onto an A2 size card front I stamp it onto a larger sheet. In this case, I took a letter sheet of Neenah cardstock and I cut it in half to 5 1/2 x 8 ½” and stamped my floral pattern onto this entire half sheet instead of stamping it onto a card front.
You can also stamp a pattern onto a full letter sheet if you want or even onto a larger paper size if you have larger paper size and than trim it down to A2 card fronts or use that large paper to wrap a gift for example.
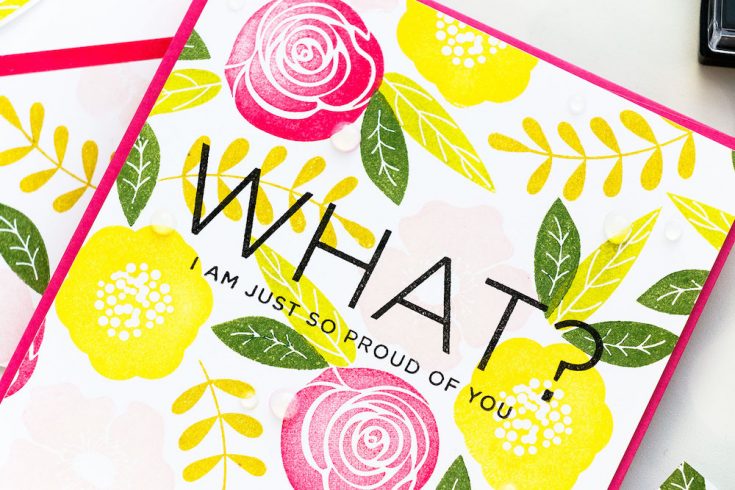
You can use a multitude of images and stamp sets to create patterns such as this one. I decided to use the new Bold Flowers stamp set. I would suggest using solid images for your stamping unless you want to do a lot of coloring.

It’s been a long time since I’ve used pigment inks for my stamping so I reached out for the Avery Elle pigment inks for this tutorial. I love to use pigment inks, they are fantastic for ink blending, for letterpress techniques and they are great for stamping, the only downside to these inks is that they take a bit longer to dry, but that is nothing that can’t be fixed with the help of a heat tool.
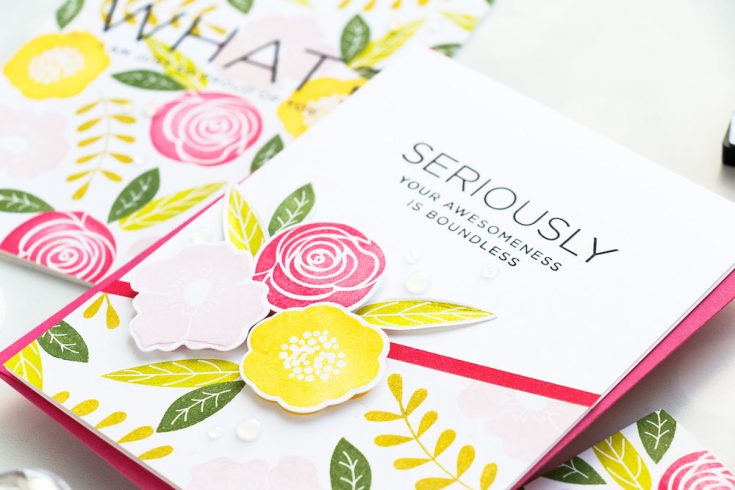
The colors of inks I picked to stamp today are Mimosa, Orchid, Raspberry, Jungle, Lemongrass, and Bamboo. The way I created this pattern is by stamping clusters of images. Each cluster consists of 3 flowers and several leaves.
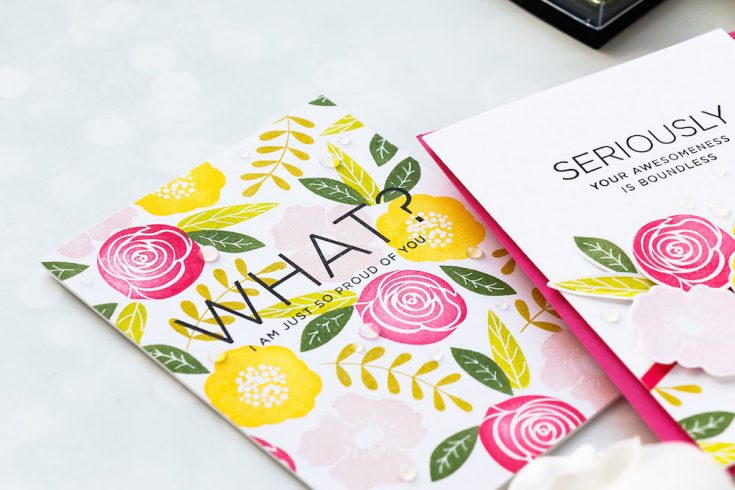
Once my stamping was done I cut my panel into 2 pieces to create 4 1/4 x 5 ½” card fronts. I also cut one of those on a diagonal to make 2 partial patterns. I also stamped additional flowers and leaves using same colors as before and cut them out using coordinating dies.
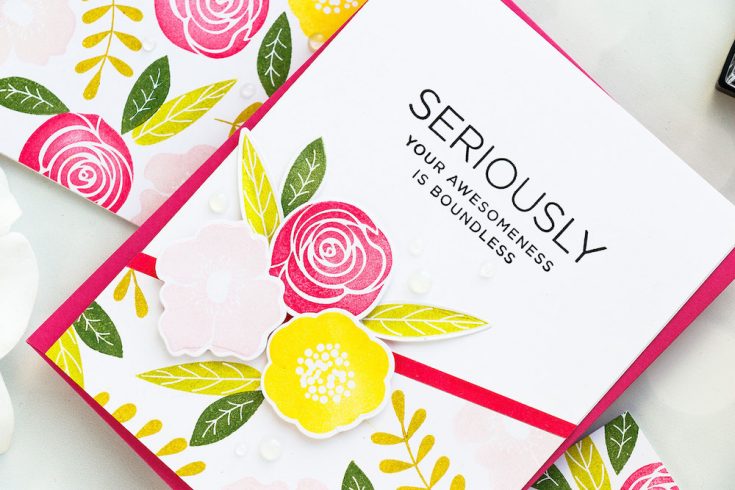
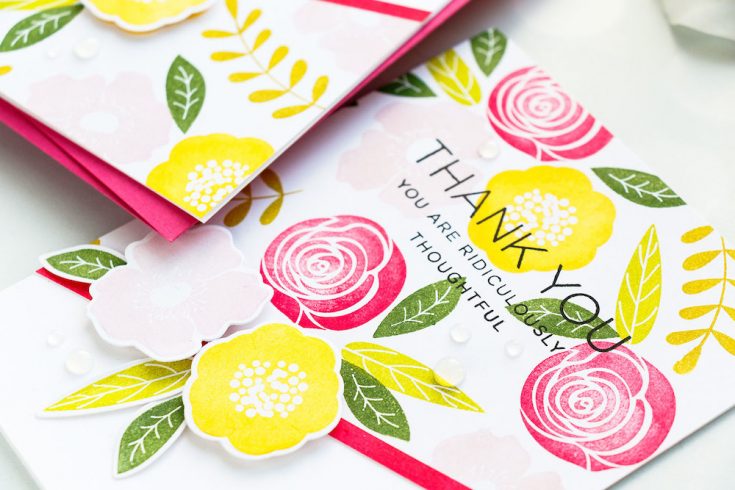
I decided I needed to add a skinny strip to my diagonal cut cards to help separate the stamped pattern from the background. I made it by using my pink ink pad and white paper. I used tape to adhere the stamped patterns onto A2 white side folding card bases, I also used tape to adhere the skinny pink strips. To add a bit of dimension to my cards I used foam squares from Scrapbook Adhesives to foam mount the die cut flowers and have them go outside the stamped patterns.
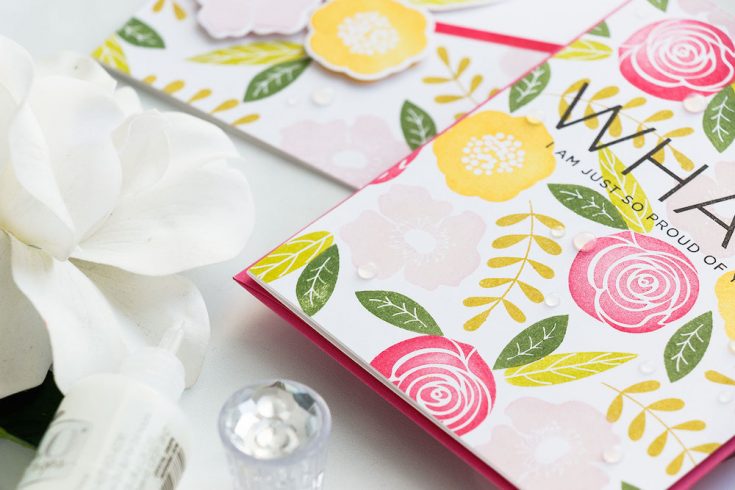
I stamped sentiments in black ink – I used Versafine Onyx Black and messages from the Emphatic stamp set. I stamped them either directly onto the patterns or onto the white card base. I used glue to adhere the leaves and I made sure to shape each leaf with my fingers before adhering it down. Lastly, I used Nuvo Drops in clean and added a bunch of clear drops onto the cards as one finishing touch.
Have fun stamping!
WATCH THE VIDEO:
SUPPLIES:
|


Thanks so much for stopping by, and thanks to Yana for being our guest!
Blog Candy Alert!! Follow our blog via email and comment on this post for a chance to win special blog candy!


