Floral Watercolor Background Cards
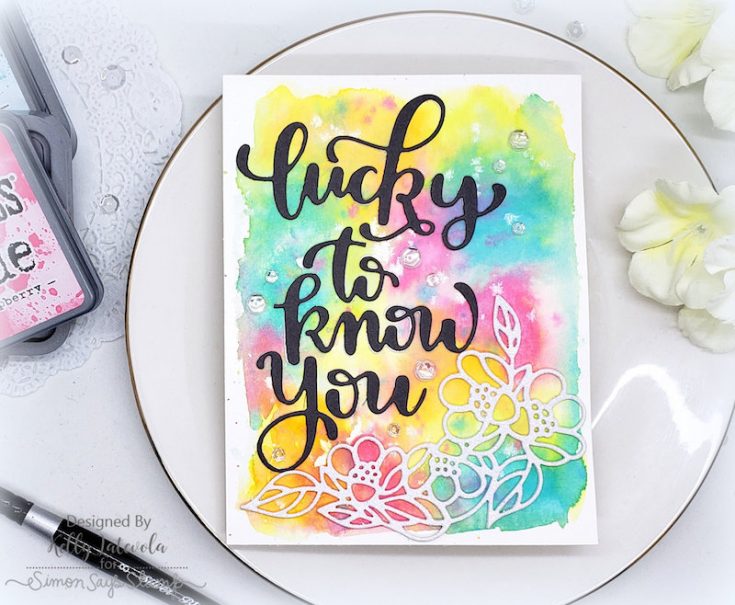
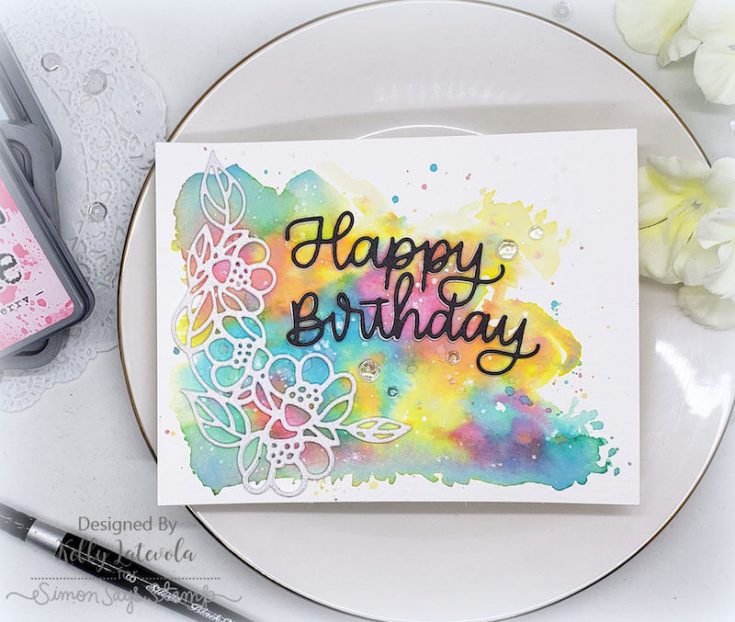
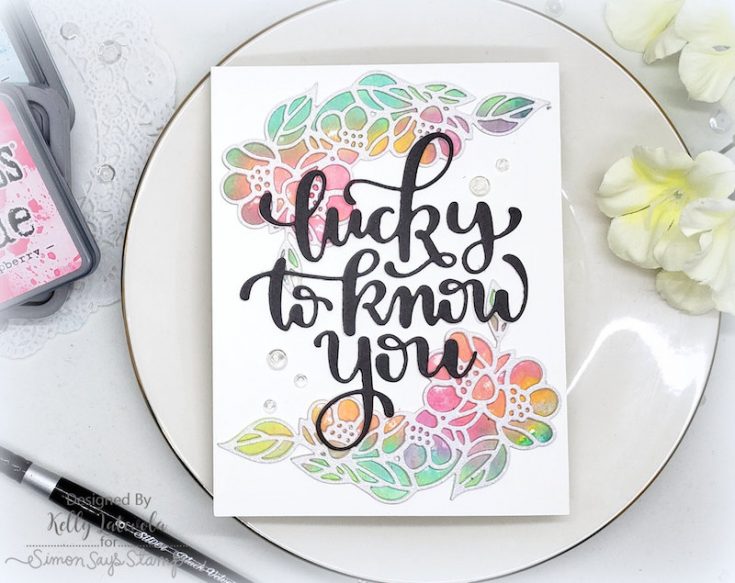
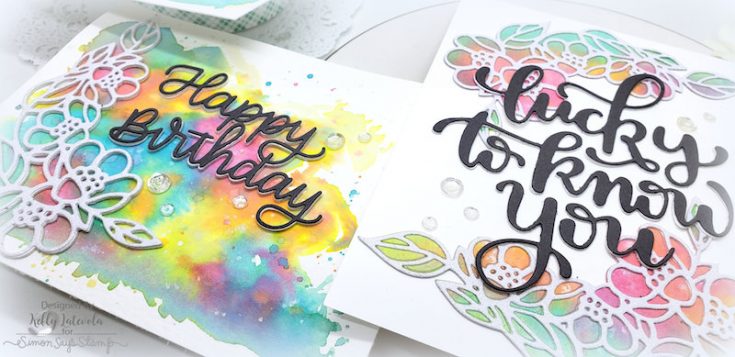 Hi friends! Happy Wednesday and thanks for stopping by our blog today! Please welcome back special guest Kelly Latevola as a guest on our blog today. She’s made three unique free-handed watercolor background cards using Distress Oxide inks and showcasing our Lucky to Know You, Happy Birthday Script, and Flower Cluster dies! Be sure to watch the video for more information and enjoy!
WATCH THE VIDEO:
SUPPLIES:
|


Thanks so much for stopping by and thanks to Kelly for being our guest!

Blog Candy Alert!! Follow our blog via email and comment on this post for a chance to win special blog candy!
Congrats! Blog Candy Winners!
From: Studio Monday with Nina-Marie: Doodlebug Sliders and Wobblers 5 Ways!: Rosann Barnes!
From: Amore Laura Fadora: Love You: Tracy Chambers!
From: New Waffle Flower: Gym Rat Slider Shaker Card: Karen Hale!
From: New Neat & Tangled Inspiration with Danielle Walls: Marisela Delgado!
From: Yippee for Yana: Plam Trees and Blue Skies Summer Card!: Brian Poteraj!
From: Studio Monday with Nina-Marie: Two Color Blending + Pastel Accents: Chris Eder!
From: Congrats! Way to GO!: Holly Mahoney!
Please email [email protected] with the name of the blog you won from, the prize you won, and your address (if applicable) to redeem your prize(s)!
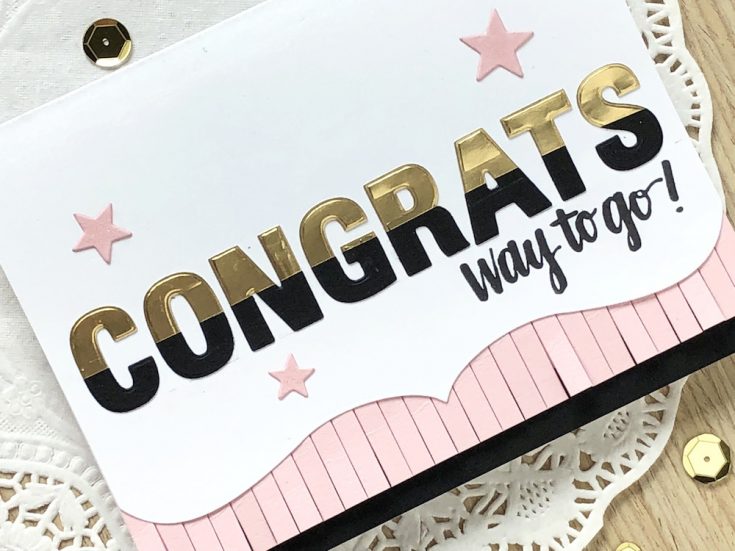
Congrats! Way to GO!
Hi friends! Happy Tuesday! Thanks for stopping by today! Please welcome back special guest Kelly Rasmussen with this fabulous card that is perfect for graduation or simple encouragement. Read on for more details and enjoy!
Hello, crafters! Today I’m sharing a graduation card I made using a combination of Hero Arts and Simon Says Stamp products.
I began by die cutting the word “congrats” and then built my card around that element. To create the black and gold letters, I adhered a strip of Simon Says Stamp black cardstock and a strip of DCVW metallic gold cardstock to a piece of printer paper. Then I lined up the Hero Arts Luggage Tag Alphabet dies on the strips of paper and ran them through my die-cutting machine. I used washi tape to keep the letters in place and lined up straight while die-cutting. The printer paper served as the backing for the letters so they stay together once die cut.
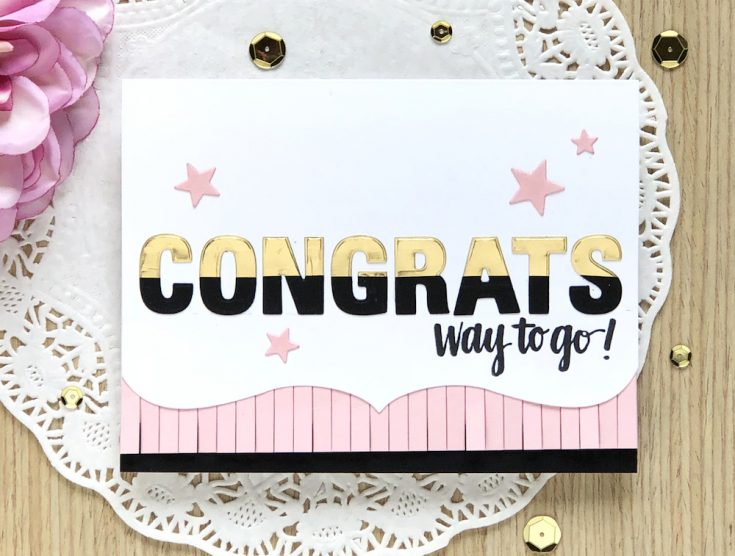
I created a white card base from Neenah Solar White and then began laying out the design. I used the Simon Says Stamp Bracket dies to create a decorative edge along the bottom. And thought it would be fun to use the Hero Arts Fiesta Fringe Die, as it kind of reminds me of the tassel on a graduation cap. I die-cut the fringe from Simon Says Stamp Cotton Candy cardstock and then adhered it on the backside of the front of the card. On the inside of the card, I adhered a black strip along the bottom of the card, which shows just below the fringe.
Next, I adhered the die cut letters to the card base and then decided to add more to the message with a handwritten stamped image from the Simon Says Stamp Hand Lettered Encouragement. I love the combination of the block die cut letters and script “font”!
At this point, the card just needed one more thing. I considered gold sequins but decided on die-cut stars. The Simon Says Stamp Mini Stars dies come in the perfect assortment of sizes for embellishing a card. And I think I’ll include some gold sequins on the inside of the card as a little surprise!
SUPPLIES:
|


Thanks for stopping by and thanks to Kelly for being our guest!
Blog Candy Alert!! Follow our blog via email and comment on this post for a chance to win special blog candy!
Studio Monday with Nina-Marie: Two Color Blending + Pastel Accents

Hello everyone, it’s Nina-Marie here with you. Welcome back to my latest, Studio Monday tutorial! I have fun playing with color, plus I adore a bit of sparkle and shine. So today I thought I would share a technique of blending two colors of Zig Markers together to create a variegated coloring; plus the addition of Pastel Metallic Accents from Prima over top of the coloring for some gorgeous shimmer!
The images and sentiments I am using in this card are brand new from Clearly Besotted. The pretty florals are from the Happy Hibiscus set (and I used the coordinating dies), and the greeting is from the Scrumptious Thank You stamp set.
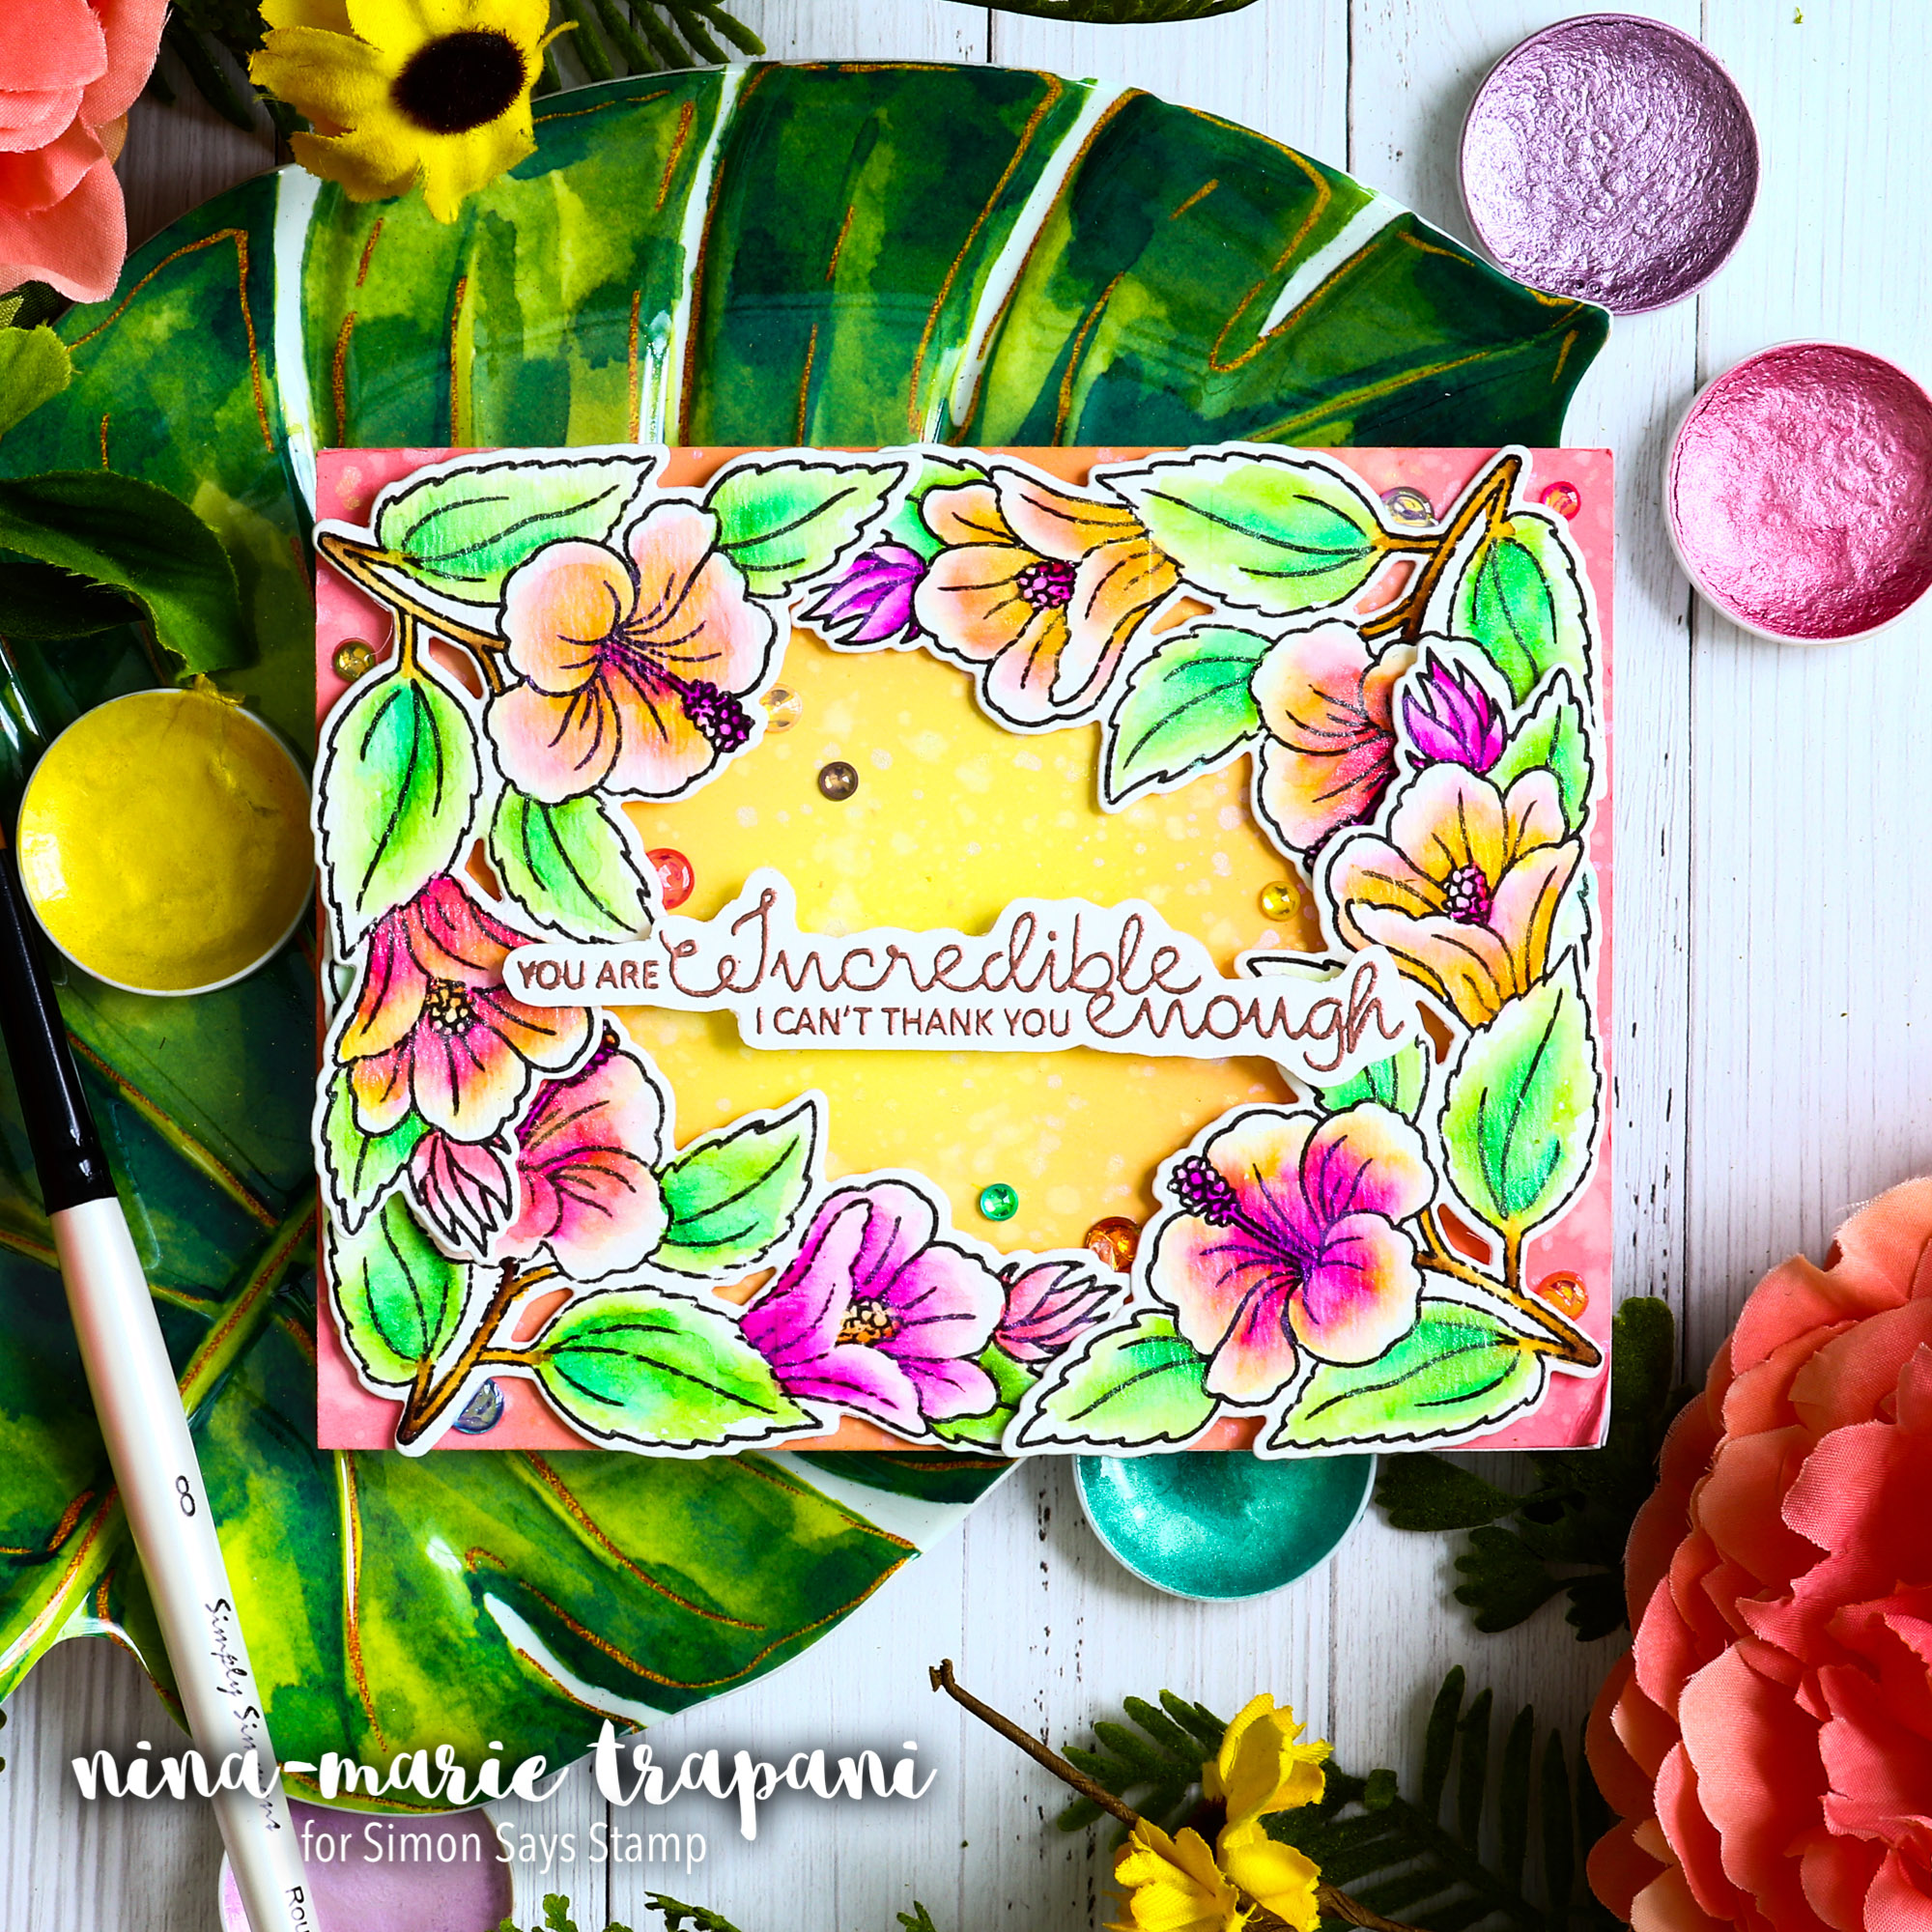
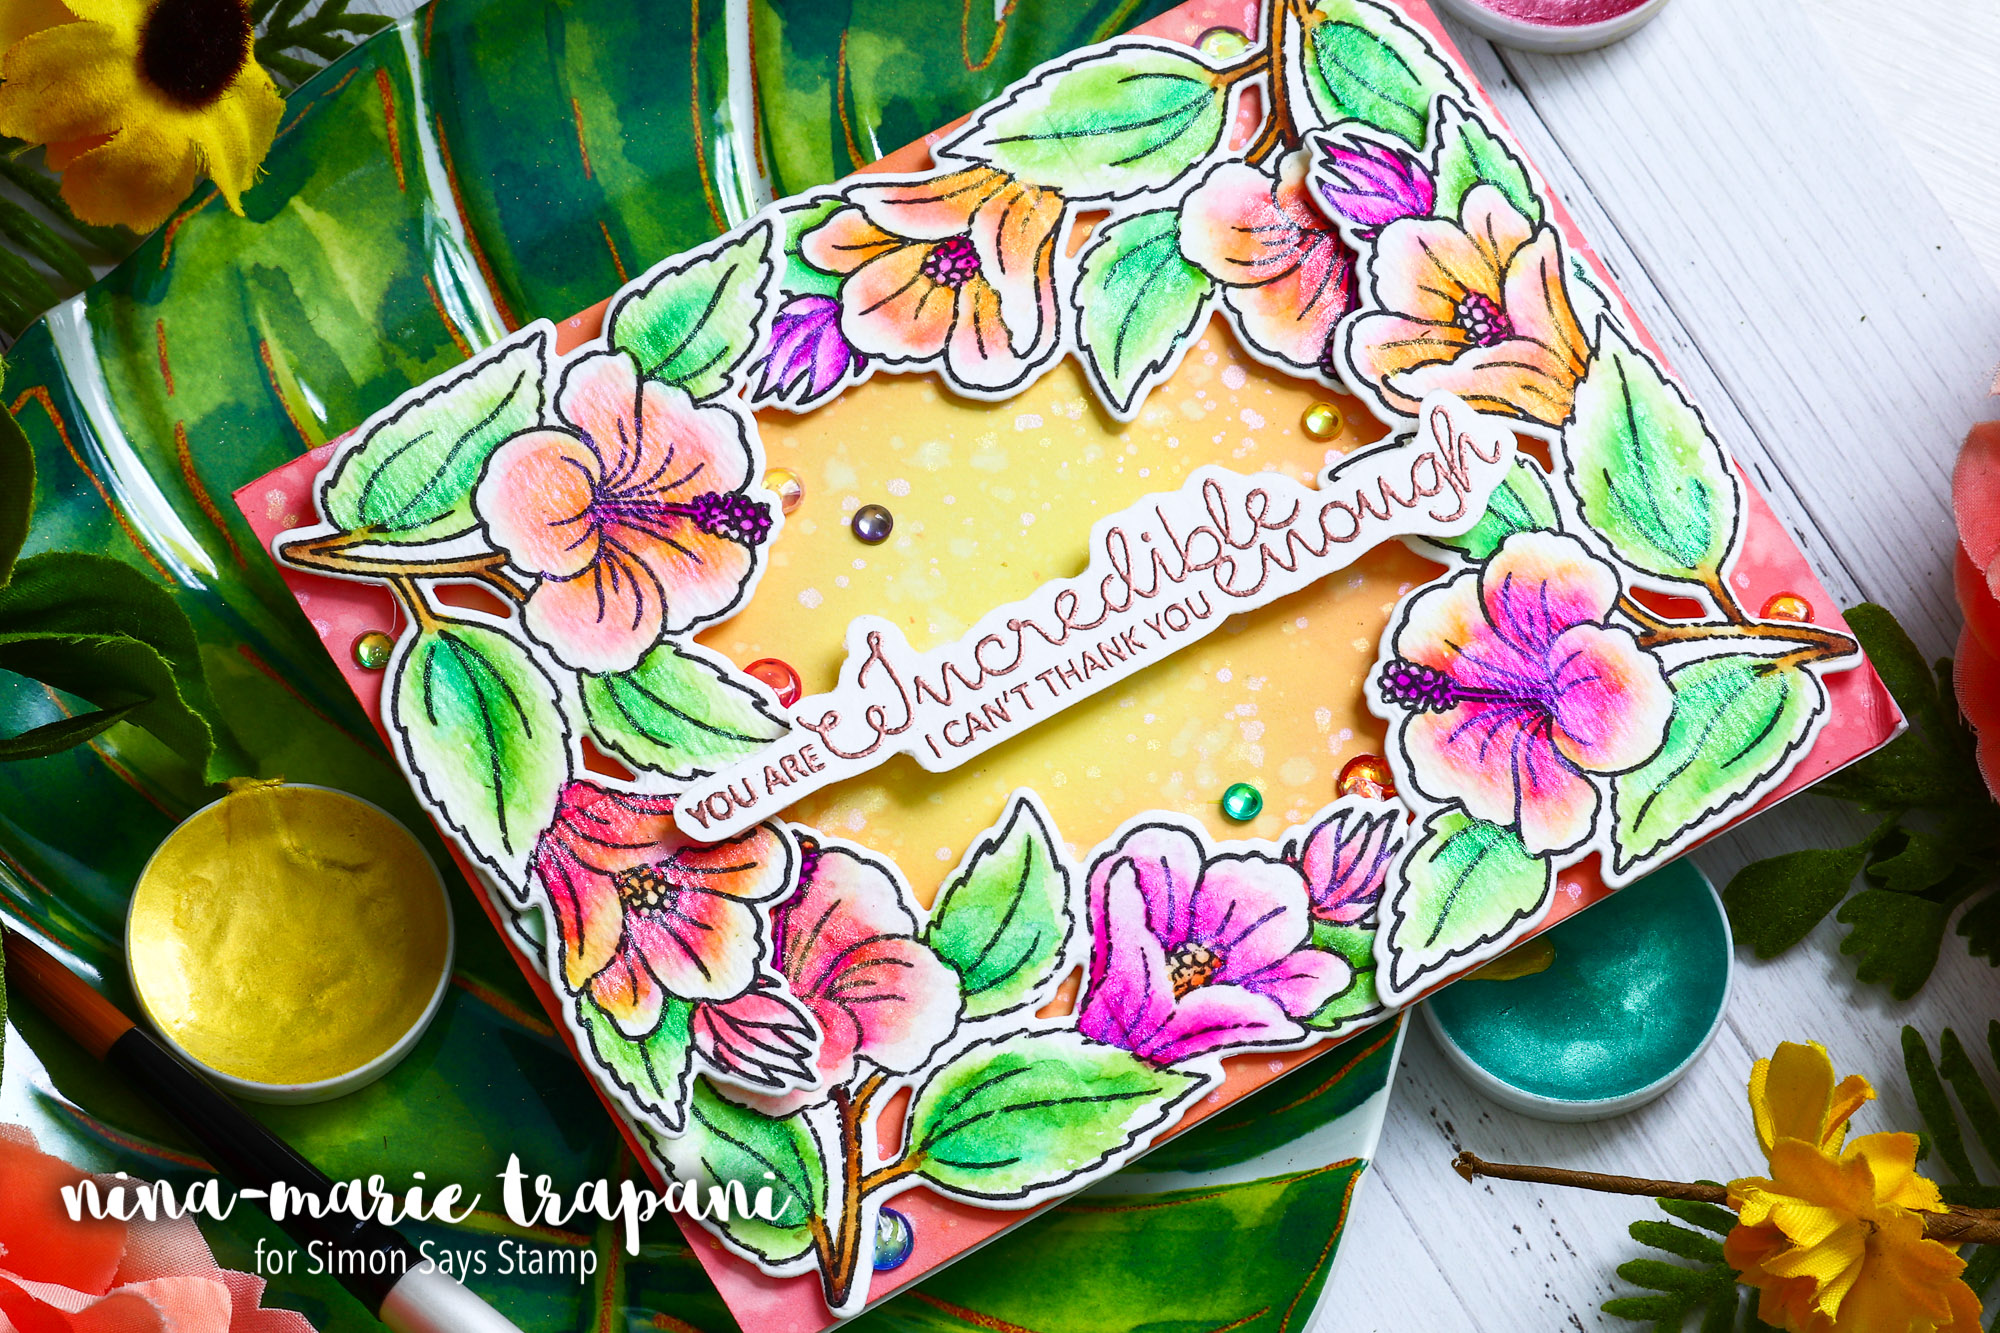
For the coloring part of this technique, I used a few pink, purple and yellow Zig Markers: Dark Pink 027, Light Pink 026, Light Carmine 021, Pink 025, Purple 082, Yellow 050, Bright Yellow 052. The leaves were colored with Light Green 041 and Turquoise Green 042, and I added Light Brown 061 and Dark Brown 062 to the stems. Over all the coloring, I dabbed on Pastel Metallic Accents from Prima. Don’t you love all that shimmer???
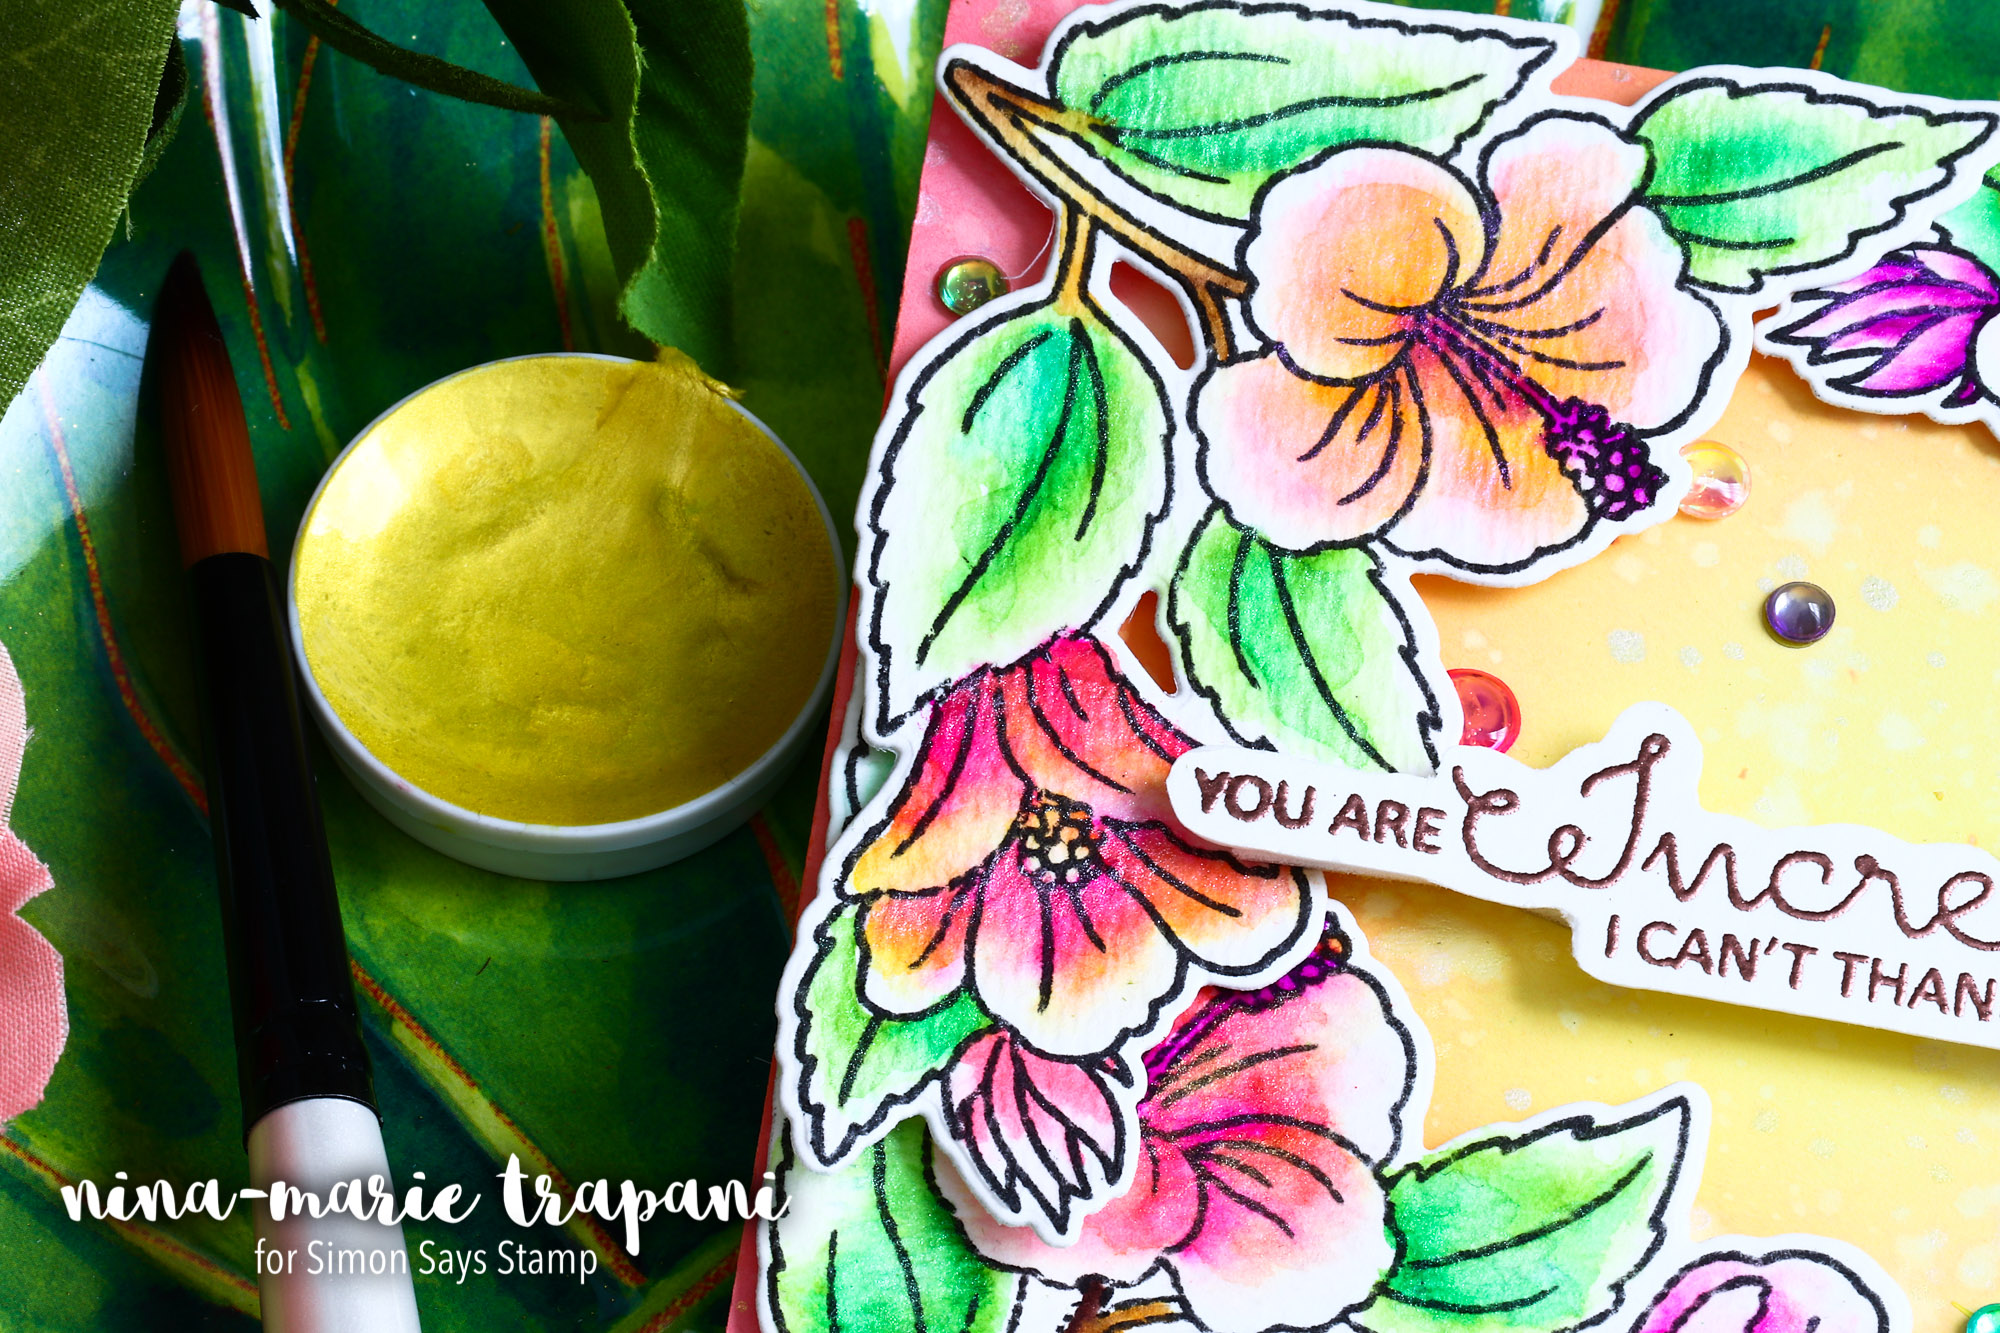
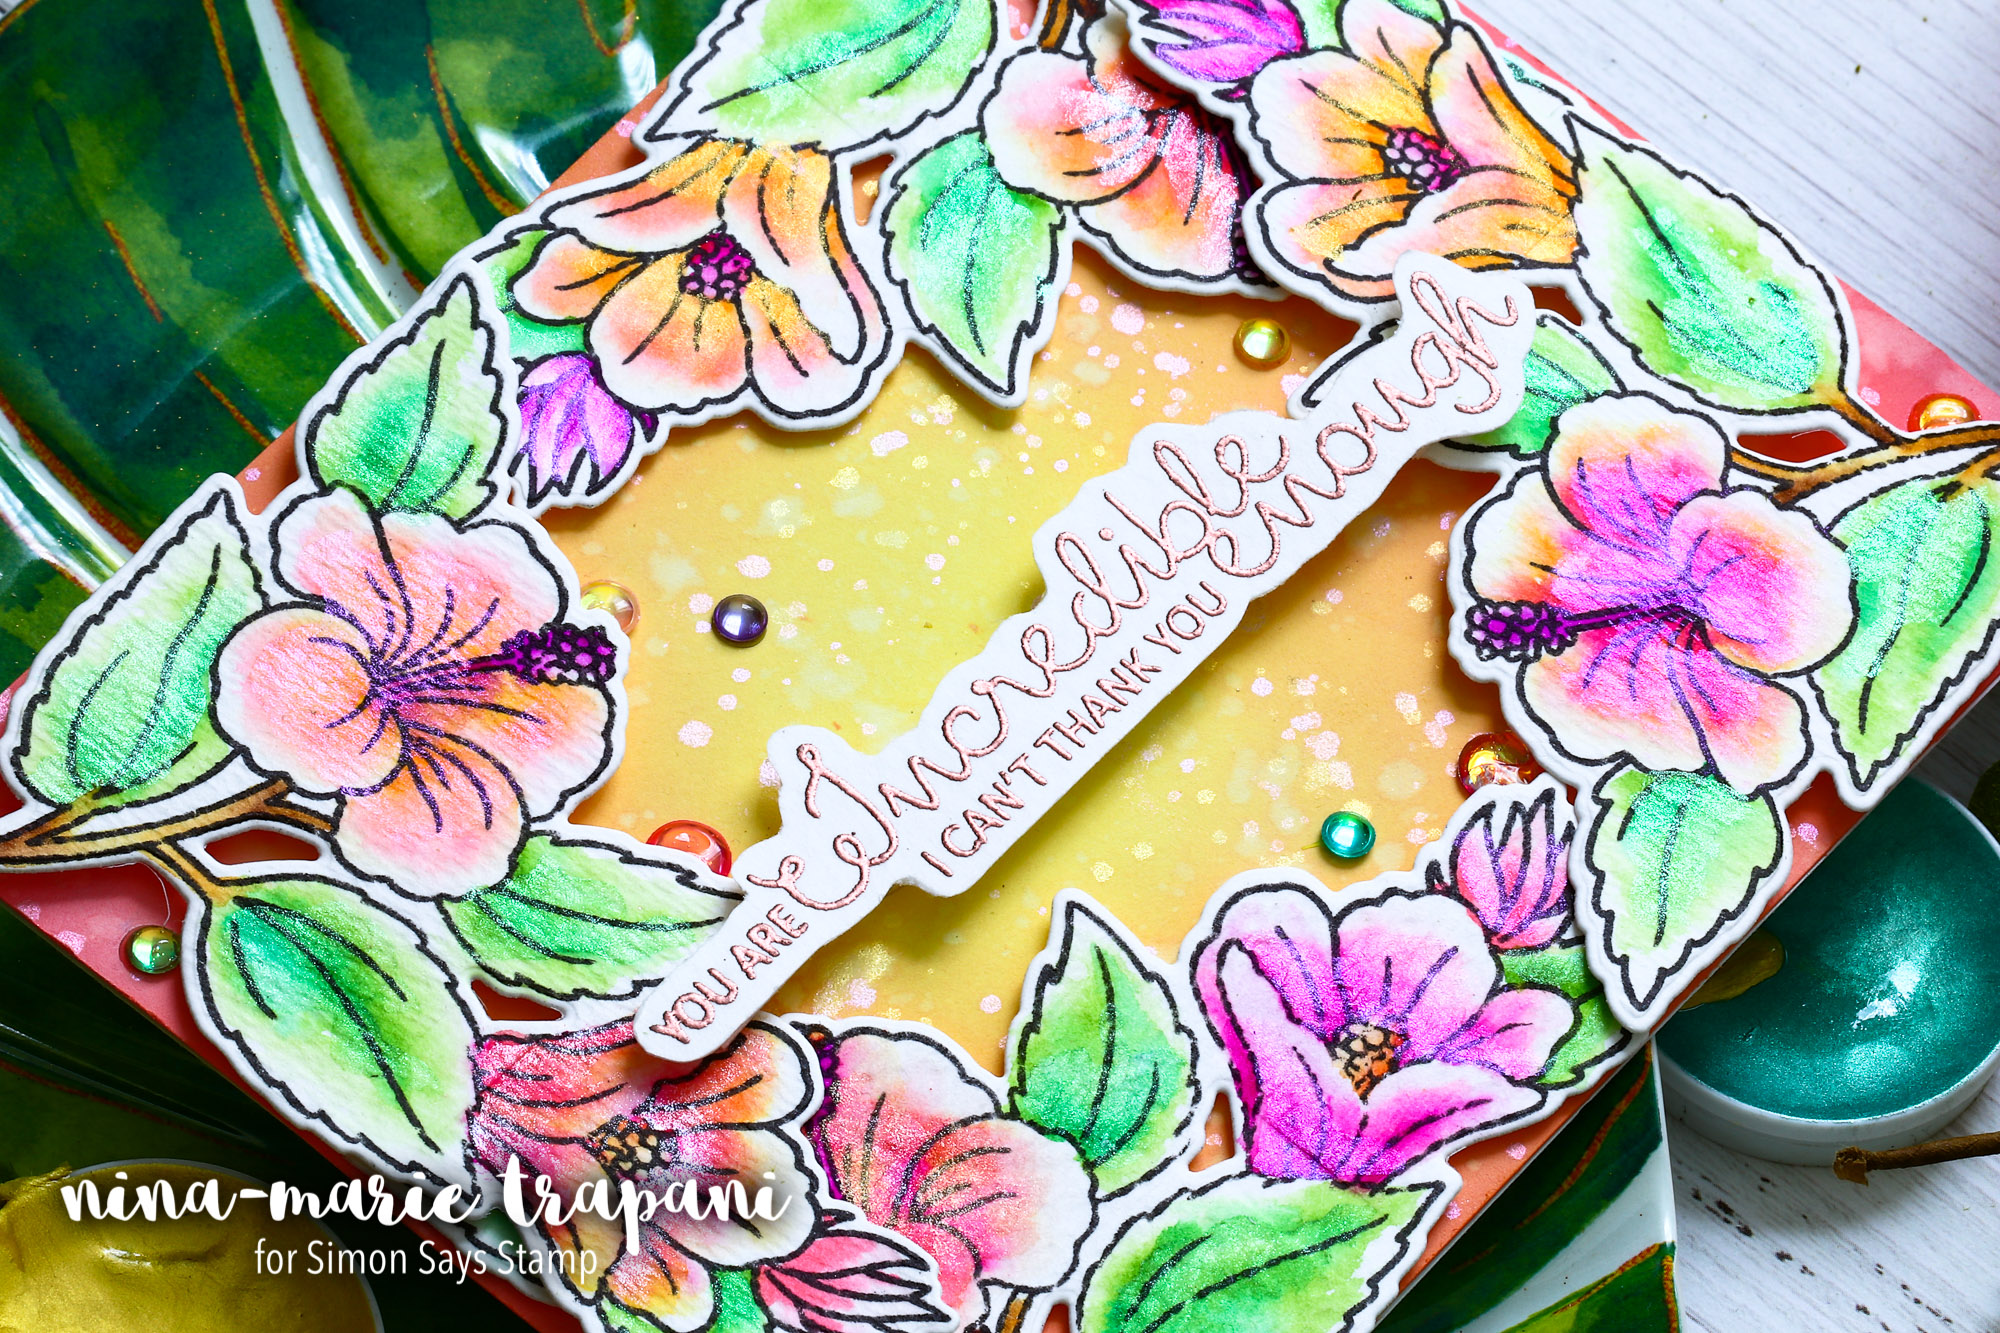
Behind the florals, I ink blended Worn Lipstick, Wild Honey, and Squeezed Lemonade Oxide Inks; there are splatters of water and Pastel Accents to create texture. I also tucked a few Colorful Confetti sequins around the flowers and covered them with a layer of Morning Dew Nuvo Drops.

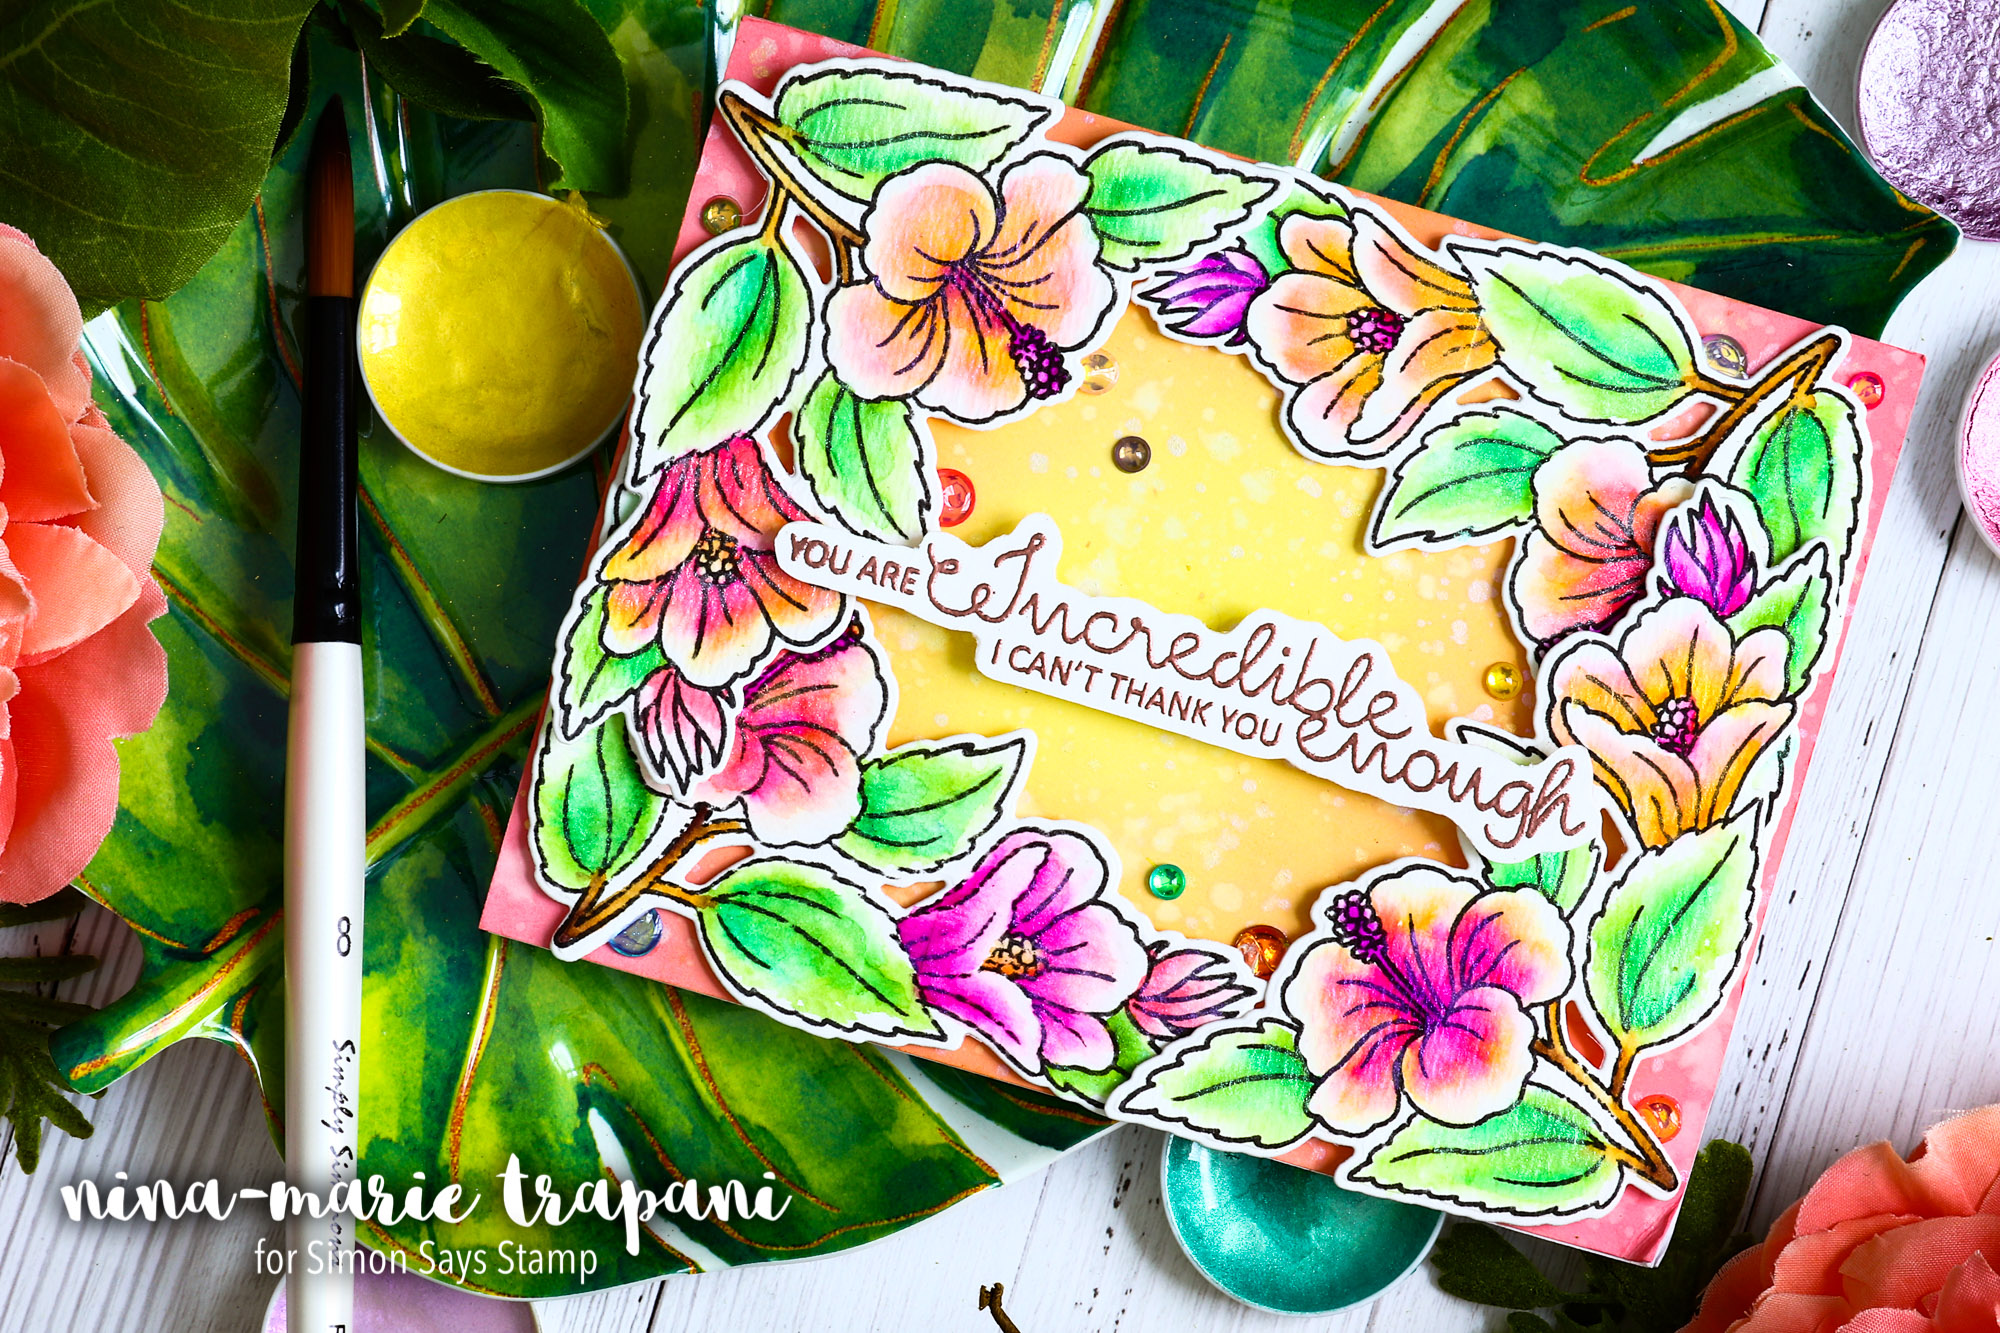
I had so much fun creating this card, and I hope you are inspired by it! Be sure to watch the video below to see how it all came together!
WATCH THE VIDEO
SUPPLIES
|


Blog Candy Alert!! Follow our blog via email and comment on this post for a chance to win special blog candy!


