Easy Ink Smooshed Tree Featuring Waffle Flower’s August Release!
Hi friends! Happy Sunday! Happy new Waffle Flower Crafts release day! Be sure to stop by the store to see all of the newest goodies! But before you go— don’t miss this super fun ink smooshing card by Channin Pelletier showcasing the super fun new Adventures stamp set. Be sure to watch the video and enjoy!
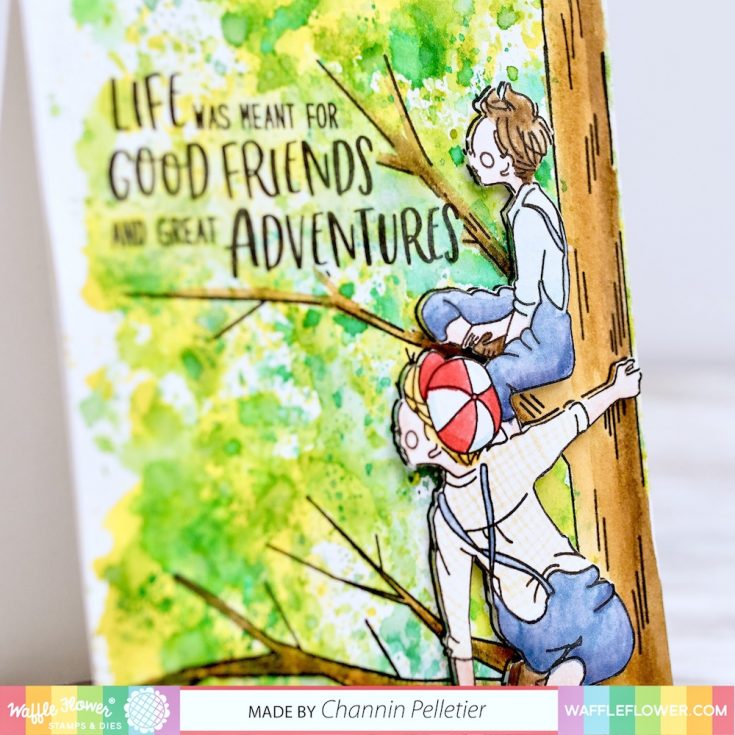
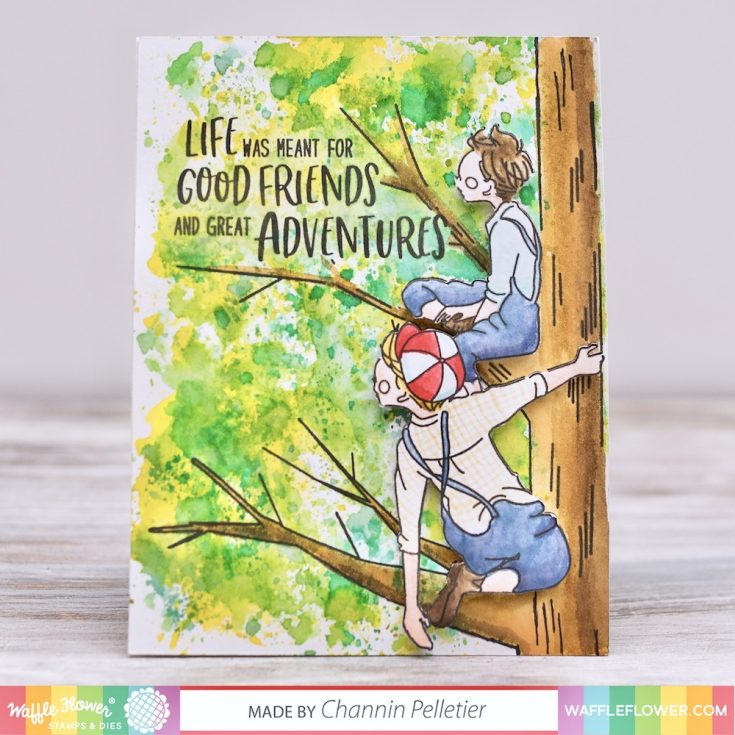
Hello everyone! It’s Channin here and I am so thrilled to be here at Simon Says Stamp sharing a new card video featuring a brand new stamp set from Waffle Flower Crafts’ August Release. In today’s video, I combine the new Adventures Stamp Set with ink smooshing to create an easy yet beautiful summer tree!
I love the new Adventures Stamp Set! It is so fun to design with because it provides the perfect canvas on which to play with a plethora of fun techniques for creating leaves or landscapes.
First, I stamped a sentiment from the Adventures Stamp Set onto an A2 panel of watercolor paper in VersaFine Onyx Black Ink. I then created a mask for the sentiment, placed it over the sentiment and stamped the tree image from the Adventures stamp set onto the panel. I then stamped the tree image again onto another A2 panel of watercolor paper.
Next, I extended the tree on the first panel and the first boy’s hand and foot on the second panel with a sharpie. I then ink smooshed with Distress Inks (Crushed Olive, Mowed Lawn, Evergreen Bough, & Lucky Clover) and a small piece of acetate on the first panel to create the look of leaves. I then used a variety of Distress Inks to watercolor the tree trunk and branches on the first panel and the boys on the second.
Once the boys had dried, I fussy cut them out and then added foam tape to the back. I then adhered the ink smooshed panel to an A2 top-folding card base with liquid glue, then removed the backing on the foam tape and added the boys.
I hope you enjoyed my card and video! Thanks so much for stopping by!
~Channin
WATCH THE VIDEO:
SUPPLIES:
|


Thanks so much for stopping by and thanks to Channin for being our guest!

Blog Candy Alert! Follow our blog via email and comment on this post for a chance to win special blog candy!
Center Rainbow Stamping – Monthly Mail Art with Kristina Werner, August 2018
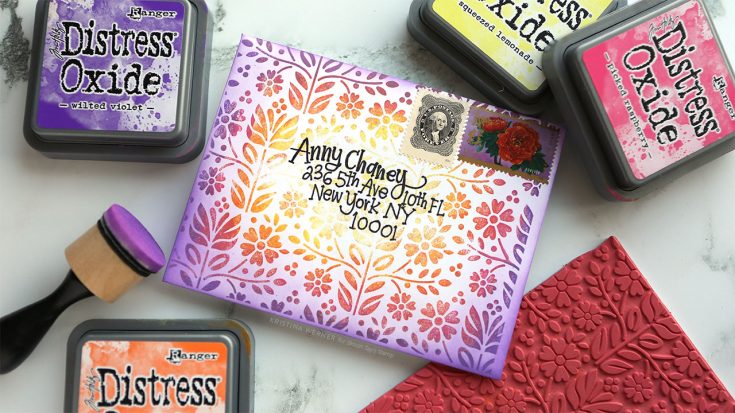
Hello, all! Kristina Werner here. For this month’s Mail Art, I created a center rainbow stamped envelope using the Folk Dance Background stamp and four Distress Oxide Ink colors. This technique is fun, quick, and packs a statement!
I started by stamping only the yellow shade, Squeezed Lemonade, in the center area of the envelope. Before stamping, I used a paper towel to dab away some of the ink around the yellow area (to soften the color where it would transition to the orange).
Then I inked up the stamp using an orange color of ink, Carved Pumpkin (the yellow ink was still visible on the stamp–I did not clean the stamp before moving onto the next color). Before stamping, like with the yellow ink, I used a paper towel to dab away some of the ink around the outer edge of the orange ink. I also dabbed away some of the orange ink around the inner ring of ink. Then I stamped the background stamp in the exact same spot.
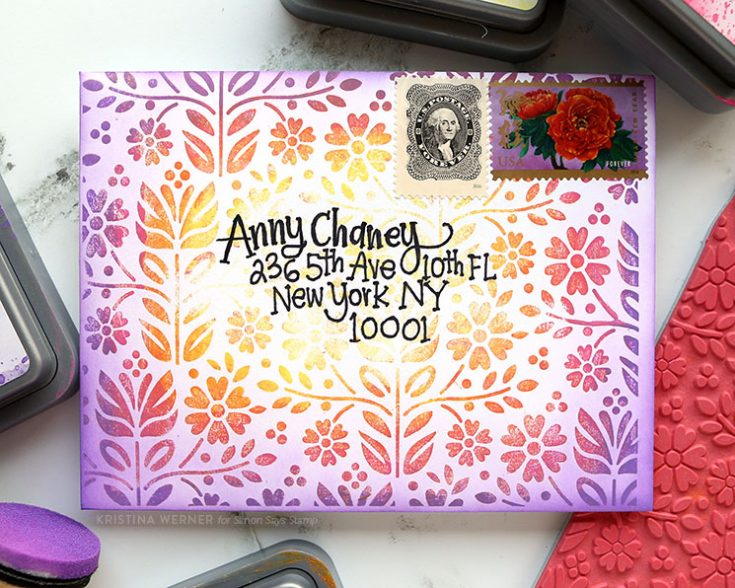
I repeated those steps to add the remaining two colors, Picked Raspberry, and Wilted Violet. To finish the background, I ink blended Wilted Violet ink around the edges of the envelope.
For the address, I used an Extra Fine Sharpie marker.
NOTE: Mailing address used with permission.
Thanks for stopping by!
Supplies
|


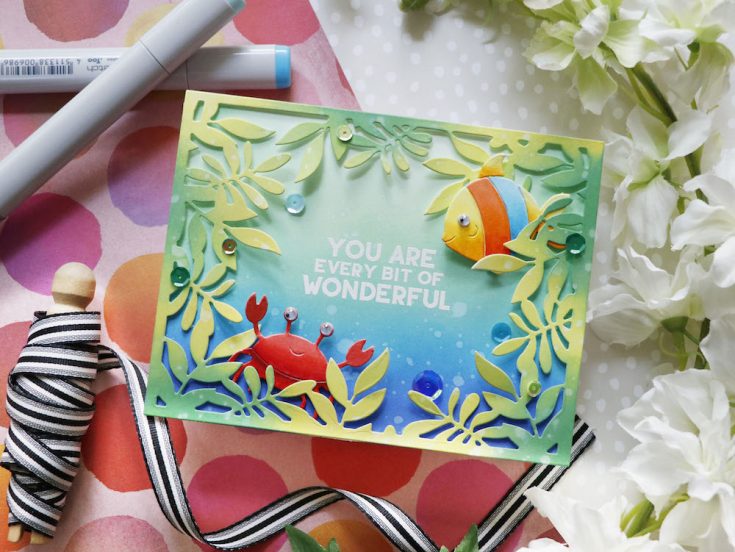
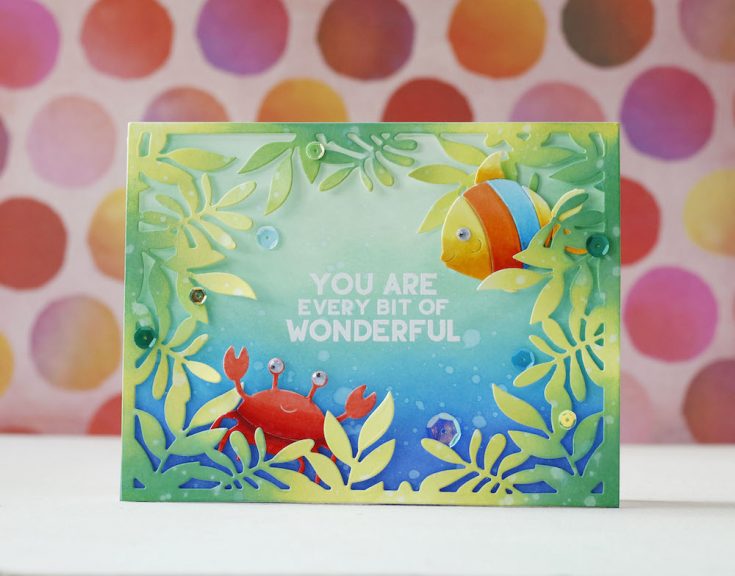
Amore Laura Fadora: Leafy Frame Under the Sea
Hi friends! TGIF! Welcome to the LATEST edition of Amore Laura Fadora! The amazing Laura Bassen is BACK with an absolutely adorable Under the Sea critter Leafy Frame card that you’ll definitely want to try to recreate! She uses some really awesome elements from our new Friendly Frolic release like the Leafy Frame die, Picture Book Crab, Picture Book Fish, and Dino-Mite sequins! Be sure to watch the video for more info and enjoy!
WATCH THE VIDEO:
SUPPLIES:
|


Thanks so much for stopping by, and thanks to Laura for being our guest!


