NEW! The Greeting Farm Presents #CoupleGoals
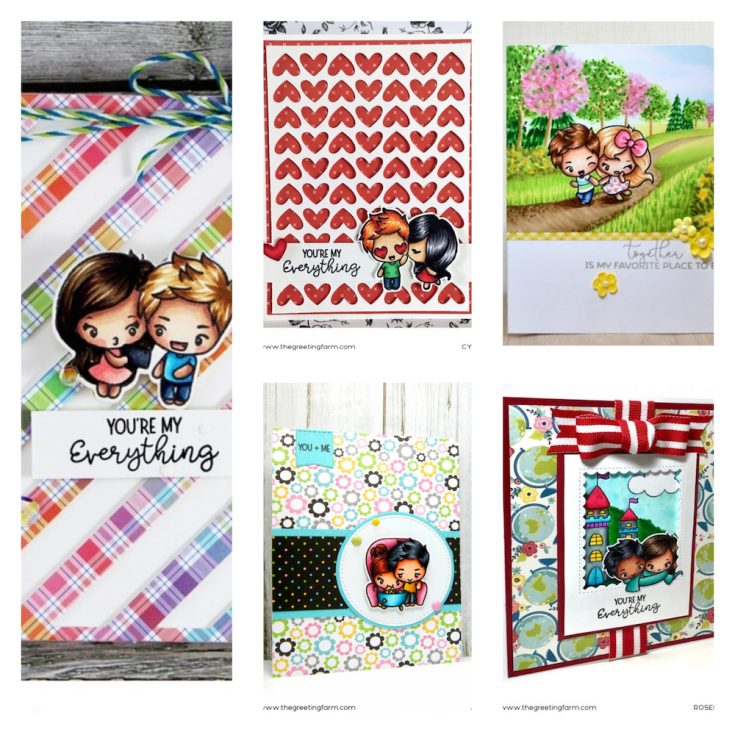
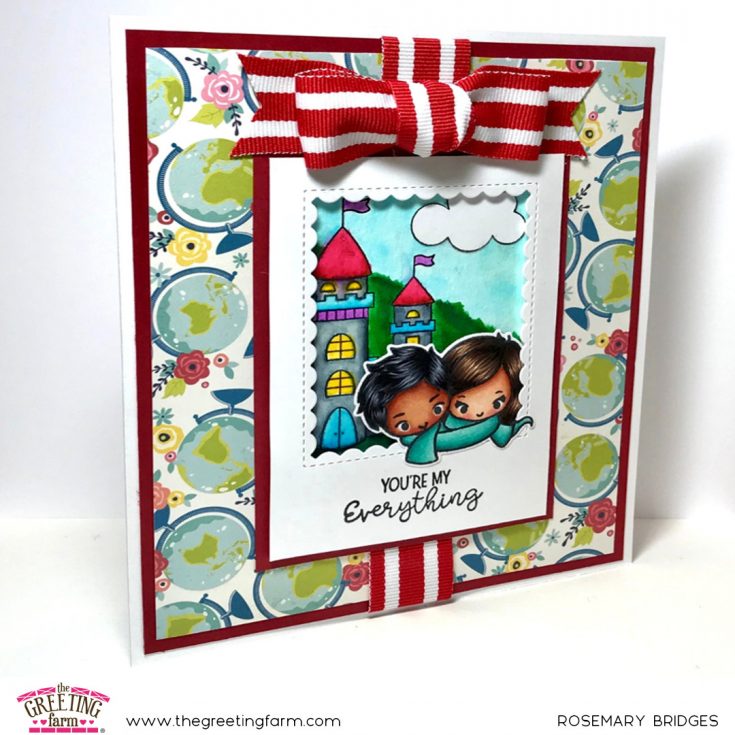
Hi friends! Happy Wednesday!! Have you seen the super CUTE August 2018 release from The Greeting Farm?! Be sure to click or tap HERE to see all of the new fun designs! Today, we’re spotlighting the very fun new set called #CoupleGoals. We’re honored to share gorgeous samples from Stephanie Beauchemin, Amy Young, Cynthia Roybal, Rosemary Bridges, Anita Madden, as well as a fun video by Jessie Banks! Scroll down to watch Jessie’s video and enjoy!
SUPPLIES:
|


SUPPLIES:
|


SUPPLIES:
|


SUPPLIES:
|


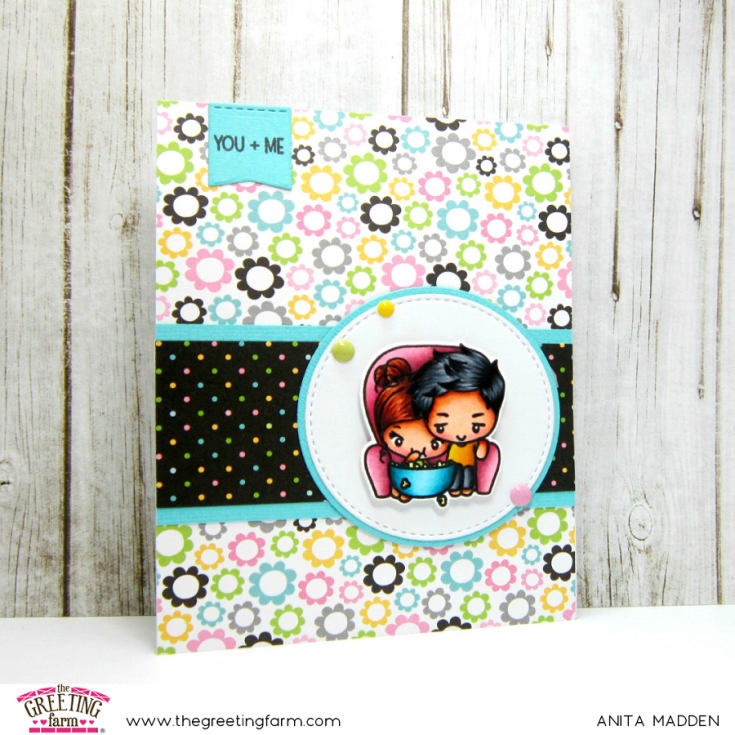
Specific Copic Marker Colors Used:
Skin – E13, E11, E21, E00, E000, R20
Girl Hair – E29, E18, E15, E11
Boy Hair – 100, C7, C5, C3
Chair – R85, R83, R81, RV10
Shirt – YR23, Y18, Y15, Y13
Pants – C7, C5, C3
Bowl – BG09, BG05, BG01, B000
Popcorn – Y11
SUPPLIES:
|


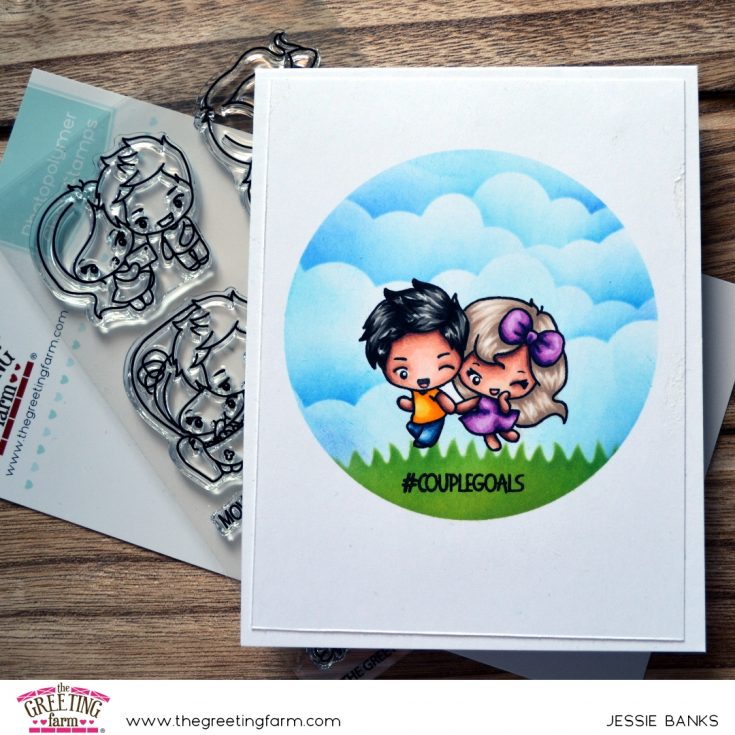
WATCH THE VIDEO:
SUPPLIES:
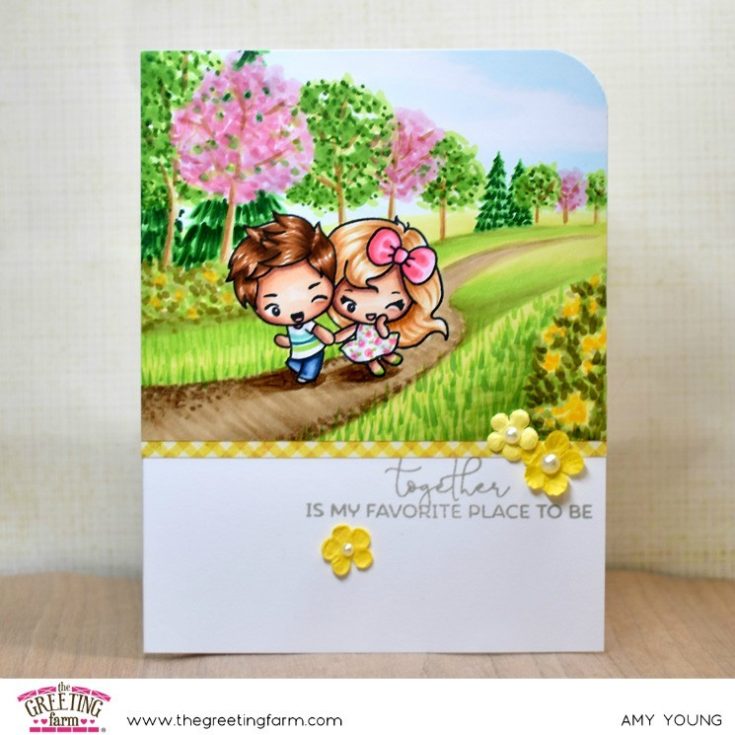
Specific Copic Markers Used: E04, E13, E11, E21, E00, E000, E50, E40, E41, E42, E43, W3, W5, W7, W9, V09, V06, V05, V01, YR23, Y17, Y15, Y13, Y11, B99, B97, B95, B91, C5
|


Thanks so much for stopping by today and a big thanks to Stephanie, Amy, Cynthia, Rosemary, Anita, and Jessie for sharing their talents with us today!

Yippee for Yana: Selective Pencil Coloring
Hi friends, Happy Tuesday! Welcome back to the latest edition of Yippee for Yana with the always awesome Yana Smakula! Read on, be sure to watch the video, and enjoy!
Hi everyone, this is Yana Smakula for Simon! Welcome back for another Yippee For Yana video!
Today I’m sharing a card and a technique that is my favorite when it comes to background stamps and colored pencils. Over the last few months I’ve several videos showing how to color using Polychromos pencils from Faber Castell, however, if you are a beginner in card making or coloring those might have seemed a bit intimidating. For today’s video, I decided to go back to basics and do a simple selective background coloring.
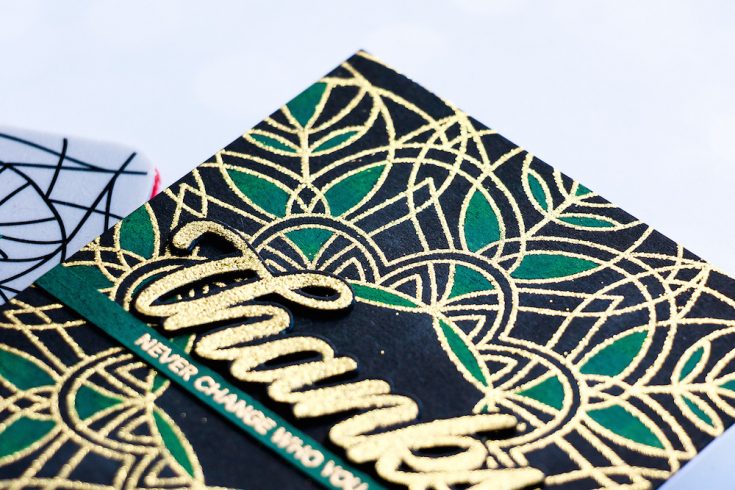
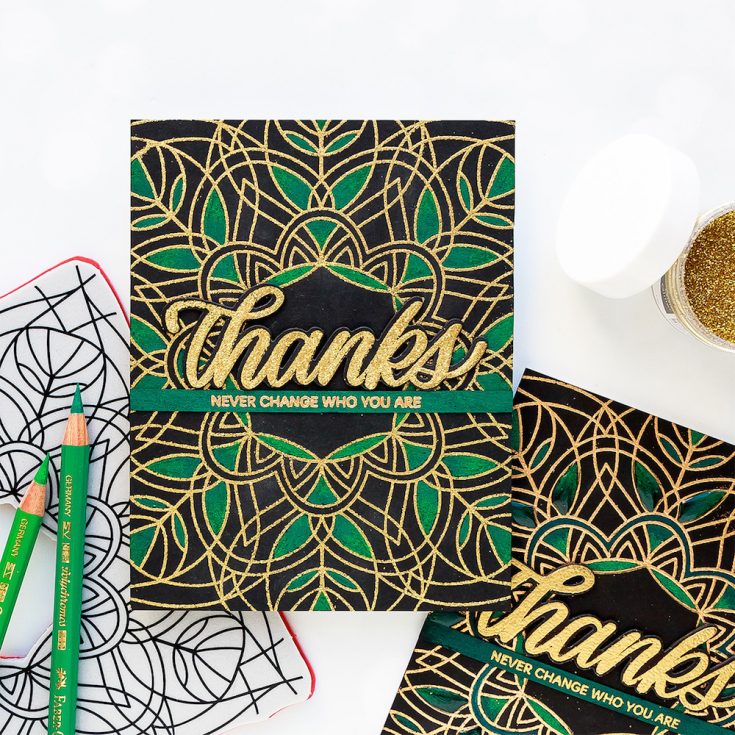
I picked the Center Cut Kaleidoscope background stamp for my project, you can also use other background stamps. It’s best to use a stamp that has a bit of a pattern to it, something not totally random. I started to work on my card by covering a piece of black cardstock with anti-static powder. This is an important step in heat embossing and something that shouldn’t be skipped if
you aim for a clean heat embossed look.
Next, I stamped my image Versamark ink and covered with new Hero Arts Gold Glitter embossing powder. I’ve been wanting to try this product and I absolutely loved it – this might be my new favorite gold embossing powder ever. By the way, Hero Arts also has the same glitter embossing powder in Silver.
I used just 2 pencils to color today. Both are Polychromos from Faber Castell – #163 Emerald Green and #264 Dark Phthalo Green. Both of these come in the 36 pencil set. Coloring a background like this on black paper is a good place to start with colored pencils if you’ve never used them before. Why? Because this black paper is forgiving and it doesn’t take as much time or as much hand pressure to have nice colored surface. This pretty much is how I started using and getting to know my pencils – I colored on black paper. From there I slowly moved onto other colors of paper such as kraft and gray.
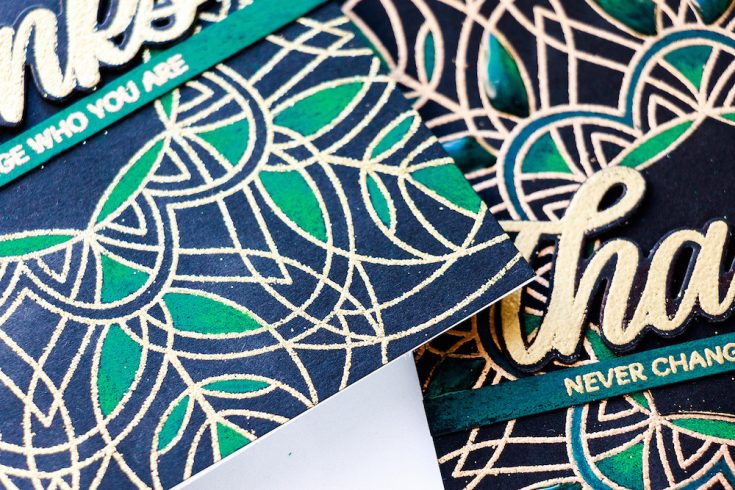
When you color the background like this it’s up to you to decide which section you want to color and which you’d like to keep as is. You can even color all of it if you like, I love to do just simple selective coloring and have a lot of black in the background for the contrast.
To create a sentiment I heat embossed Thanks from the Big Thanks Words stamp set onto black paper using same Gold Glitter embossing powder. To have even more sparkle I’m actually double heat embossed it. I cut Thanks out using a coordinating die and also die-cut a fun foam layer out of black adhesive foam to pop this element up a bit. I also wanted to add another skinny strip with another message. I used my pencil to color a piece of black paper in the same color as the coloring on the background and heat embossed my sentiment over it in Antique Gold embossing powder. I used “Never Change Who You Are” sentiment from the You Got This stamp set.

Have fun stamping!
WATCH THE VIDEO:
SUPPLIES:
|


Thanks for stopping by and thanks to Yana for being our special guest!

Blog Candy Alert! Follow our blog via email and comment on this post for a chance to win special blog candy!
Congrats! Blog Candy Winners!
From: Folk Dance Meets Plantiful Puns: Dee Earnshaw!
From: Doodling with Debby: Simple No Line Watercoloring: Marisela Delgado!
From: Monochromatic Stately Flowers: Teresa Doyle!
From: Tri-Fold One Layer Mermaids Scene Card: Asawari P!
Please email [email protected] with the name of the blog you won from, the prize(s) you won, and your address (if applicable) to redeem your prize(s).
Folk Dance meets Plantiful Puns!
Hi friends! Happy Monday! Please welcome back special guest Anna Kossakovskaya with two gorgeous cards featuring our Folk Dance stamps and dies, CZ Design Tabbed Sentiments, as well as our super fun Plantiful Puns stamp set! Read on and enjoy!
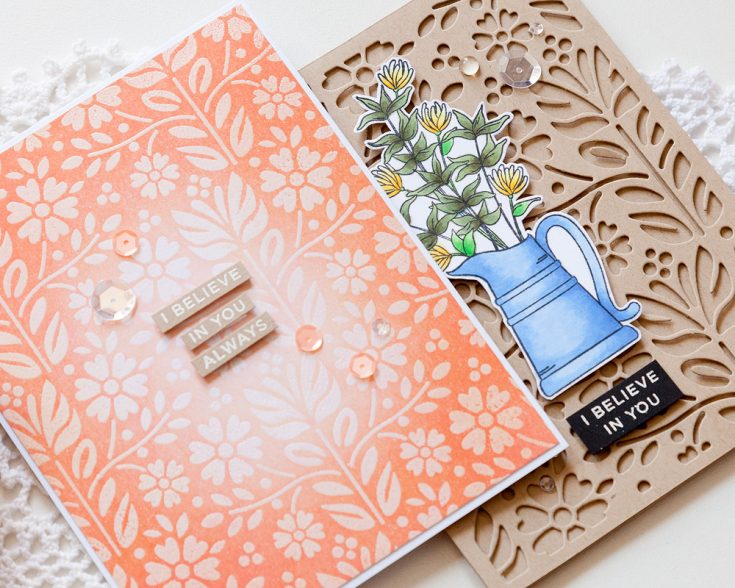
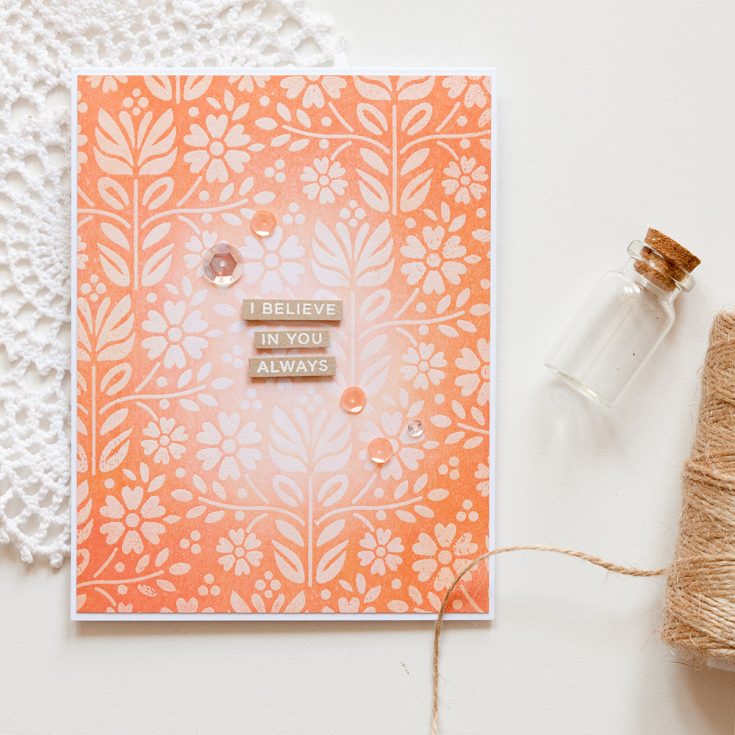
Hello, Anna Kossakovskaya is here today on Simon blog! And I want to share with you two of my cards I made with Friendly Frolic release. The first one is all about the resist effect. I started by blending gently the future front panel with the soft orange ink. I let it dry and heat embossed Folk Dance background stamp with the detailed clear powder. I then blended with the orange ink over the heat embossed image. I made the color lighter closer to the center. it adds the nice shining effect.
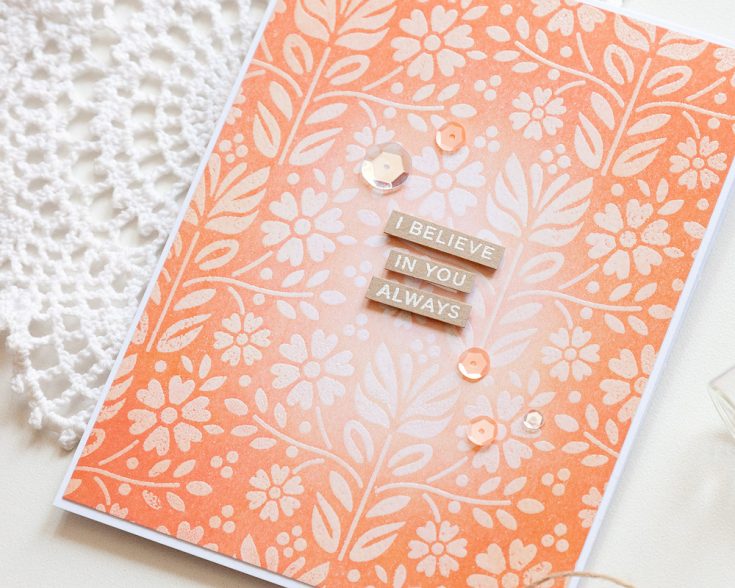
For the sentiment, I white heat embossed two phrases from Tabbed Sentiments stamp set on the narrow kraft banners. I then adhered the ready panel to the card base, foam mounted the sentiment and added some orange and clear sequins as final details.
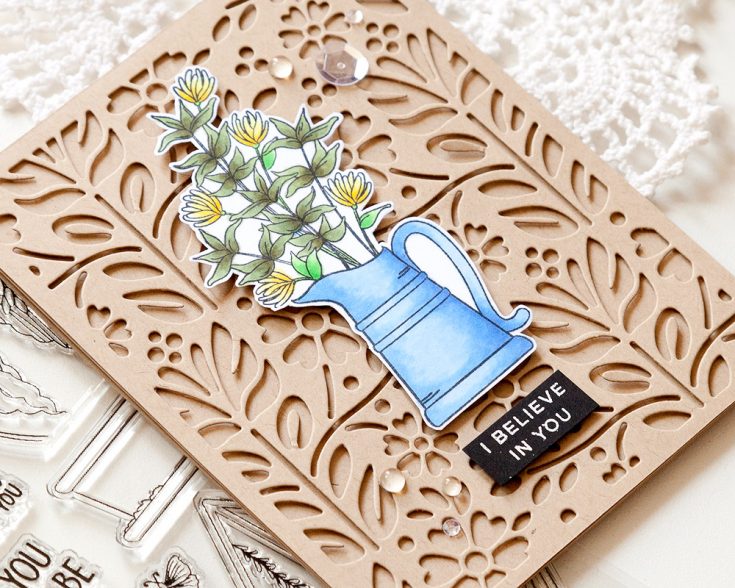
For the second card, I played with Folk Dance die. I die cut the front panel with it and foam mounted it to the kraft card base. I stamped the flowers in the jug from Plantiful Puns stamp set on the white cardstock and colored them with Copic markers. I then fussy cut this image and foam mounted it to the kraft base. I also added the white heat embossed sentiment from Tabbed Sentiments stamp set on the black banner.

SUPPLIES:
|


Thanks so much for stopping by and thanks to Anna for being our guest!


