Holiday Inspiration with Sunny Studio Stamps!
Hi friends! Happy Monday! Please join me in welcoming back very special guest Mendi Yoshikawa of Sunny Studio Stamps to our blog today! It’s beginning to look a lot like Christmas around the blog, don’t you think?! It’s never too early to start your holiday cardmaking and we want to keep you inspired! Read on for 4 new ideas and enjoy!
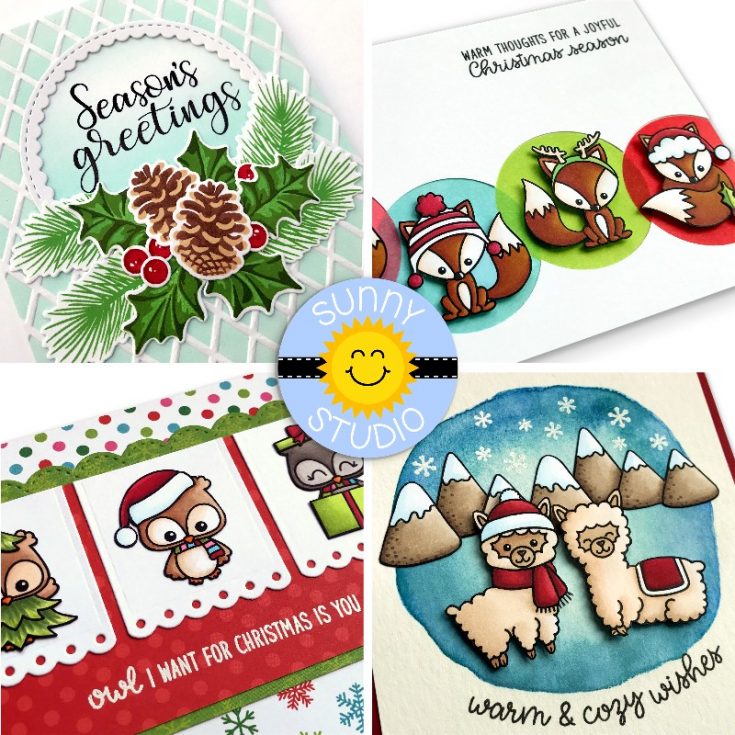
Hello there! It’s Mendi here today sharing four playful Christmas cards featuring some of Sunny Studio’s newest release for Winter, which includes 6 new stamp sets and coordinating dies, 8 standalone dies, 2 embossing folders, and 1 6×6 Holiday Paper Pack.
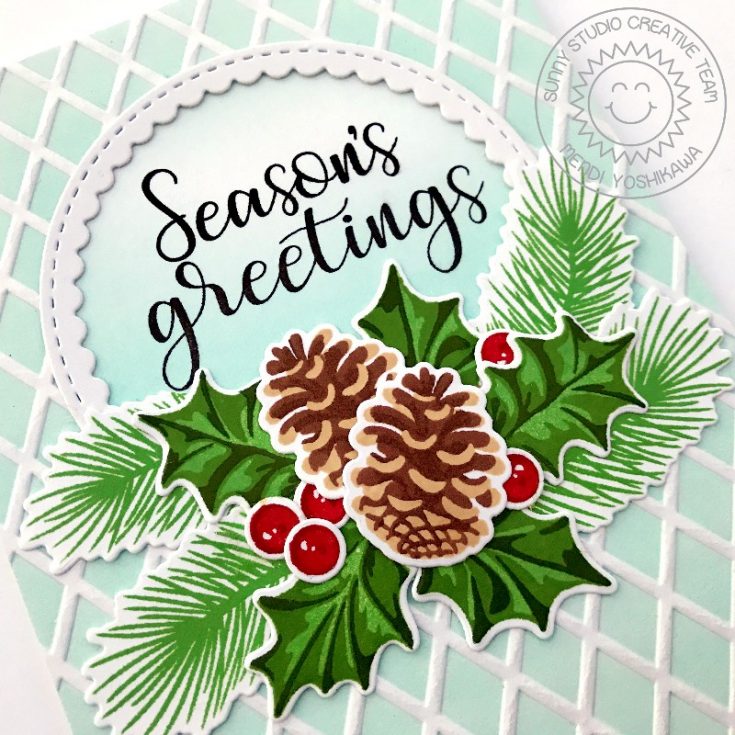
For my first project o,f the day I have an elegant card using our newest layering stamp set called Christmas Trimmings. It comes with three-layered holly leaves, two options for berries, a pine cone and a beautiful Merry Christmas greeting. To create my card I started by die-cutting a 3″ circle from the center of my front card panel. I then used a brayer to roll on some Robin’s Egg pigment ink onto the raised surface of our new Dapper Diamonds 6×6 embossing folder. After the ink was smoothly applied across the raised surface, I carefully sandwiched my front card panel into the embossing folder before running it through my die-cutting machine.

I’m so in love with the results! It adds ink to all the recessed areas of your cardstock, leaving the embossed areas white. Pigment ink is ideal for this technique because it won’t bead up on the plastic surface and the brayer gives you a perfectly smooth application.
I completed my card by cutting apart two stamped tree branches to give me the ability to move them around to the right angle for my grouping and I was able to hide my cuts by layering them beneath the holly. I completed the card by stamping a sentiment from our Festive Greetings stamps.
SUPPLIES:
|


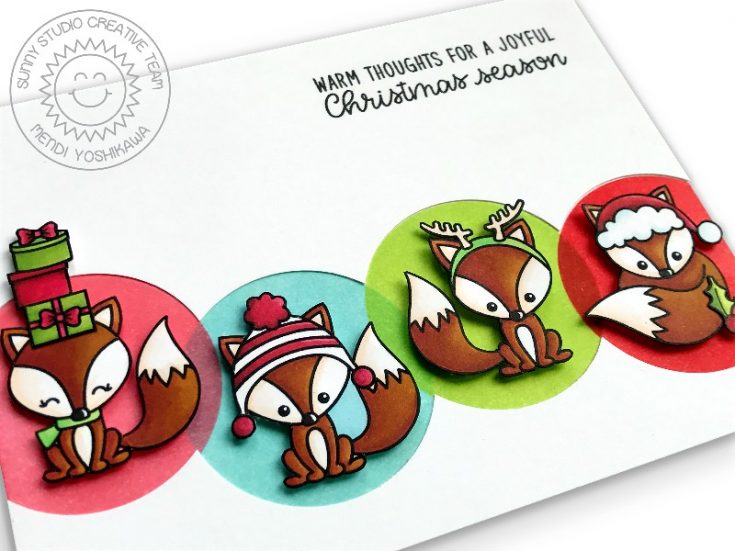
Up next I have a playful Christmas card using our Foxy Christmas stamps and a card inspired by the great Melania Deasy and a card she shared HERE. I have always been completely taken with her beautiful graphic design and the overlapping of her colors! For my card, I used a 1-3/4″ circle punch to punch a circle border approximately a 1/2″ to 1″ from the bottom of my front card panel. I saved those circles and used them to help me position masks I had created by punching a hole of the same size from full adhesive post-it notes.
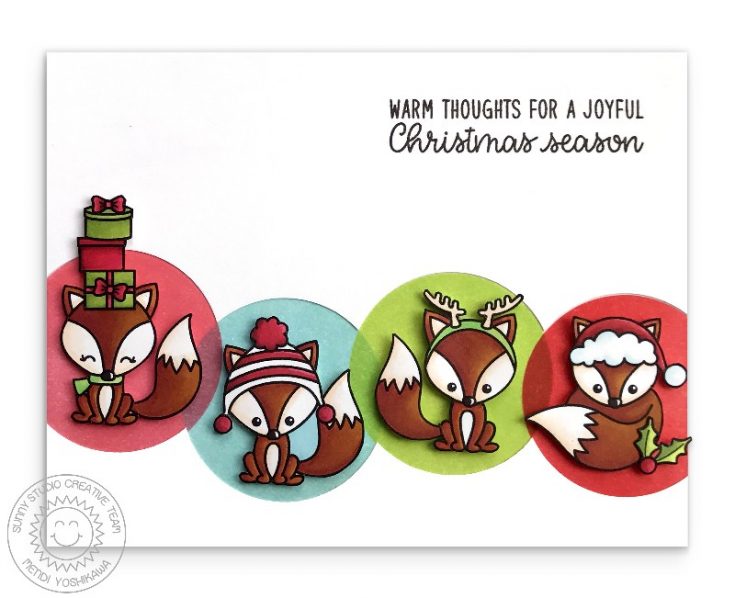
I then took turns moving my masks to color them in with my favorite Jumbo dauber applicator and distress inks in worn lipstick, tumbled glass, twisted citron and candied apple. When I was done inking my circles, I was able to add the negative spaces from my original punched border to my card and stamp a sweet sentiment from the set in black ink. This border is the perfect idea for fitting a number of cute images from your favorite stamp sets!
SUPPLIES:
|


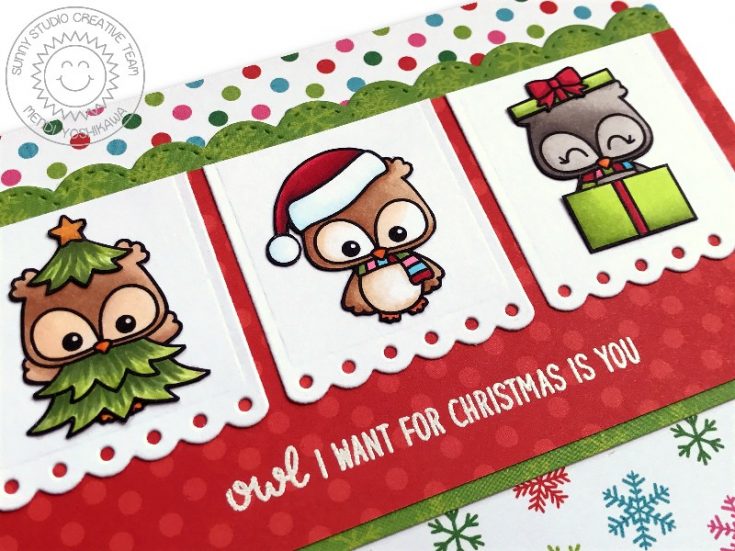
For my next card, I have a holiday card combining the images from our new Happy Owlidays Stamps with the bright and happy papers from our Holiday Cheer 6×6 paper pack. This sets comes with several companion images that allow you to dress the owls up for the holidays with a separate tree costume, reindeer antlers and even a gift box with lid for him to hide in. There are also a number of other fun components in this set for endless scene building options!

To create my little boxes to frame my owls I turned to the scalloped tag from our Sliding Window dies and just cut off the top portion. I then mimicked the scalloped trim along the top of my card using our Stitched Scallop Border dies. A fun punny sentiment heat embossed in white completes my card.
SUPPLIES:
|


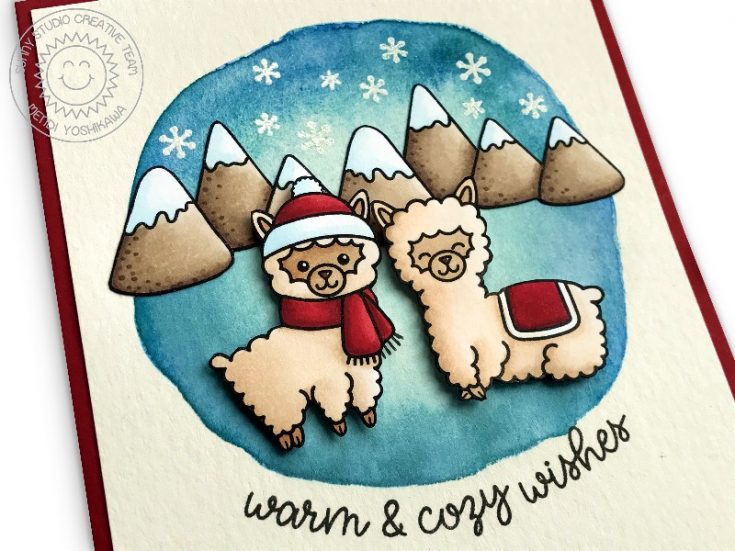
For my last card of the day, I started by painting a loose circle onto a piece of watercolor paper using some Daniel Smith watercolors. When it was completely dry I heat embossed some snowflakes in white along the top from our new Alpaca Holiday stamp set and stamped a sentiment along the bottom curve using Versafine Onyx Black ink.

I then cut down my panel to 4″ x 5.25″ and mounted it onto a piece of heavyweight red cardstock being extra generous with my adhesive to smooth out any warping of the watercolor paper. I colored my little guys & their winter gear using Copic markers to match my cardstock border and mounted them onto my card using foam tape for extra dimension.
Thanks so much to Simon Says Stamp for having me today. I hope I’ve inspired you in all your holiday card making endeavors. I would love to hear which products are your favorite from our new release!
SUPPLIES:
|


Thanks so much for stopping by and thanks to Mendi for being our guest!
Blog Candy Alert!! Follow our blog via email and comment on this post for a chance to win special blog candy!
Simon Says Stamp Card Kit Reveal and Inspiration: Thanks and Leaves
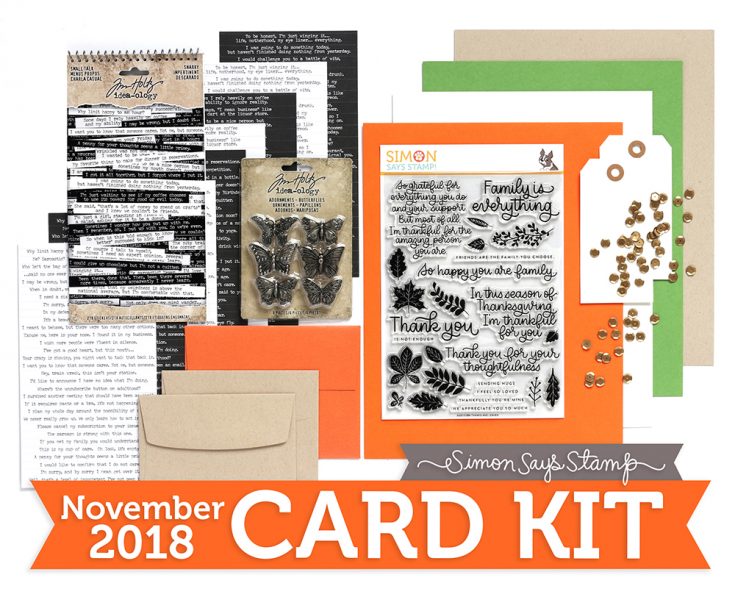
Our November Card Kit Thanks and Leaves is filled with thanks and gratitude (with a side of playful fun!).
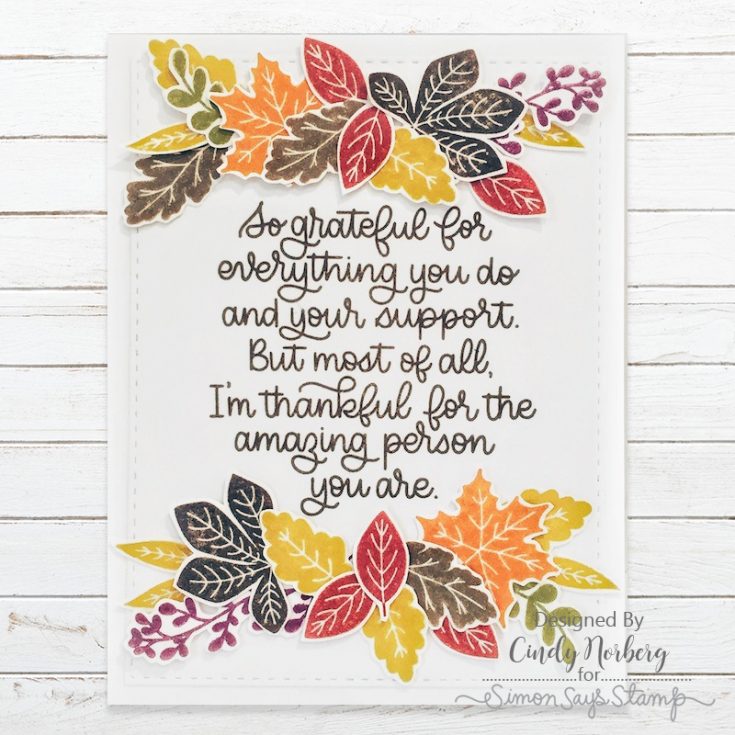
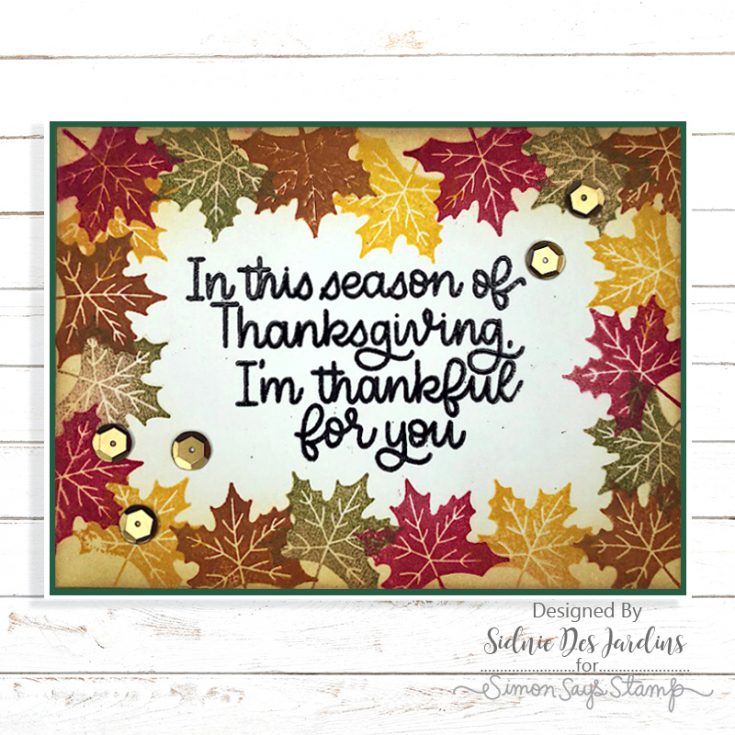
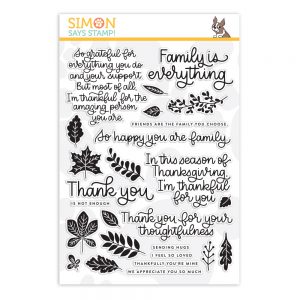
This warm, fall-family-and-thankfulness-inspired kit is anchored by a jumbo 6×8 Simon exclusive stamp set called, Thanks and Leaves. It features gorgeous foliage and greenery from a wide array of trees and plants. The set is perfect for creating a pretty wreath or accenting your designs with a graceful swirl of falling leaves. In addition, you’ll find eleven, lovely sentiments that convey the homey feelings of Thanksgiving, gratitude, and family. The flourishing script and the secondary sentiments in all caps look fantastic when paired together!
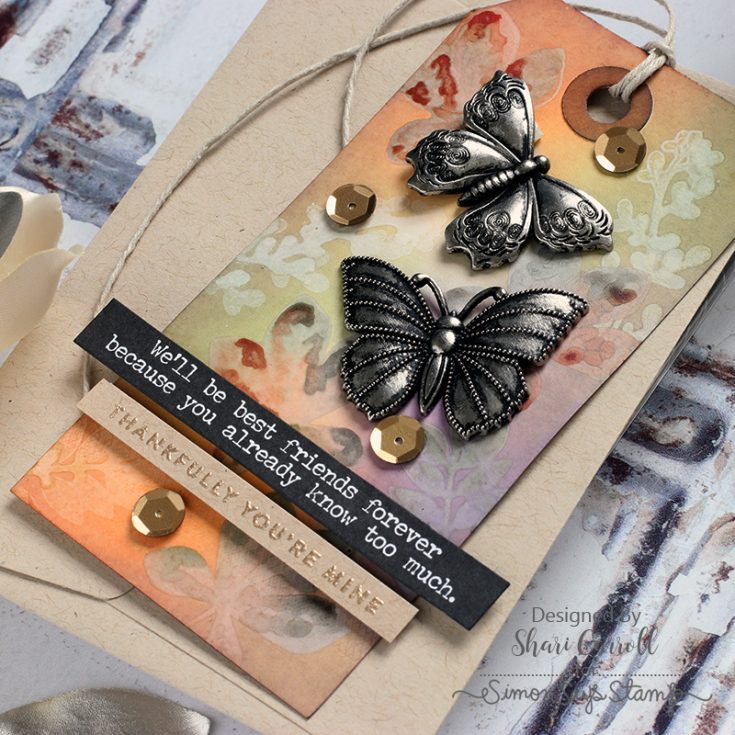
But here’s where the fun comes in! This kit includes an entire Tim Holtz Idea-ology Snarky Small Talk booklet, filled with 218 playful phrase stickers including hilarious lines like, “Is your drama going to have an intermission soon?”, “Sorry I’m late, but I didn’t want to come, “How much better would life be if a liar’s pants really did catch on fire?,” and “She was tempted to cause a scene,”. And there’s a whole lot more where those amusing quips came from!
You can tame those cheeky comments with Simon Says Stamp Bronze sequins (1 pack is included) and Tim Holtz Idea-ology Butterflies adornments (six stunning, metallic and dimensional creatures)… because honestly, sparkle and butterflies make EVERYTHING better, right?
Rounding out this fun and fantastic kit are 2 Simon Says Stamp medium white tags, 2 Simon 4 Bar Kraft envelopes, and 1 Metallic Orange Peel A2 envelope. You also get three sheets of hand-picked, coordinating cardstock from Simon and one sheet of that versatile neutral 100lb Smooth Neenah Desert Storm cardstock.
Our November Card Kit, Thanks and Leaves will give you hours of creative fun!
The Thanks and Leaves 6×8 stamp set is also available for individual purchase in our store.
Don’t forget! We have LOTS of gorgeous card kit inspiration to access and add to in our Card Kit Galleries!
You can purchase the kit at $34.99, or you can subscribe to our kit of the month program for just $29.99 (plus S&H) per month to have our kits delivered right to your door each month!
If you are a subscriber who used Paypal to purchase your subscription, please be sure to pay the invoice that we send you within 3 business days. We have a limited number of this card kit in stock and don’t want you to miss out. For easier and quicker monthly processing, please contact us via email or telephone and we will put your credit card on file as a courtesy for you. Card kits bill and ship between the 16th and 29th days of every month.


