Studio Monday with Nina-Marie: Two Color Blending + Pastel Accents

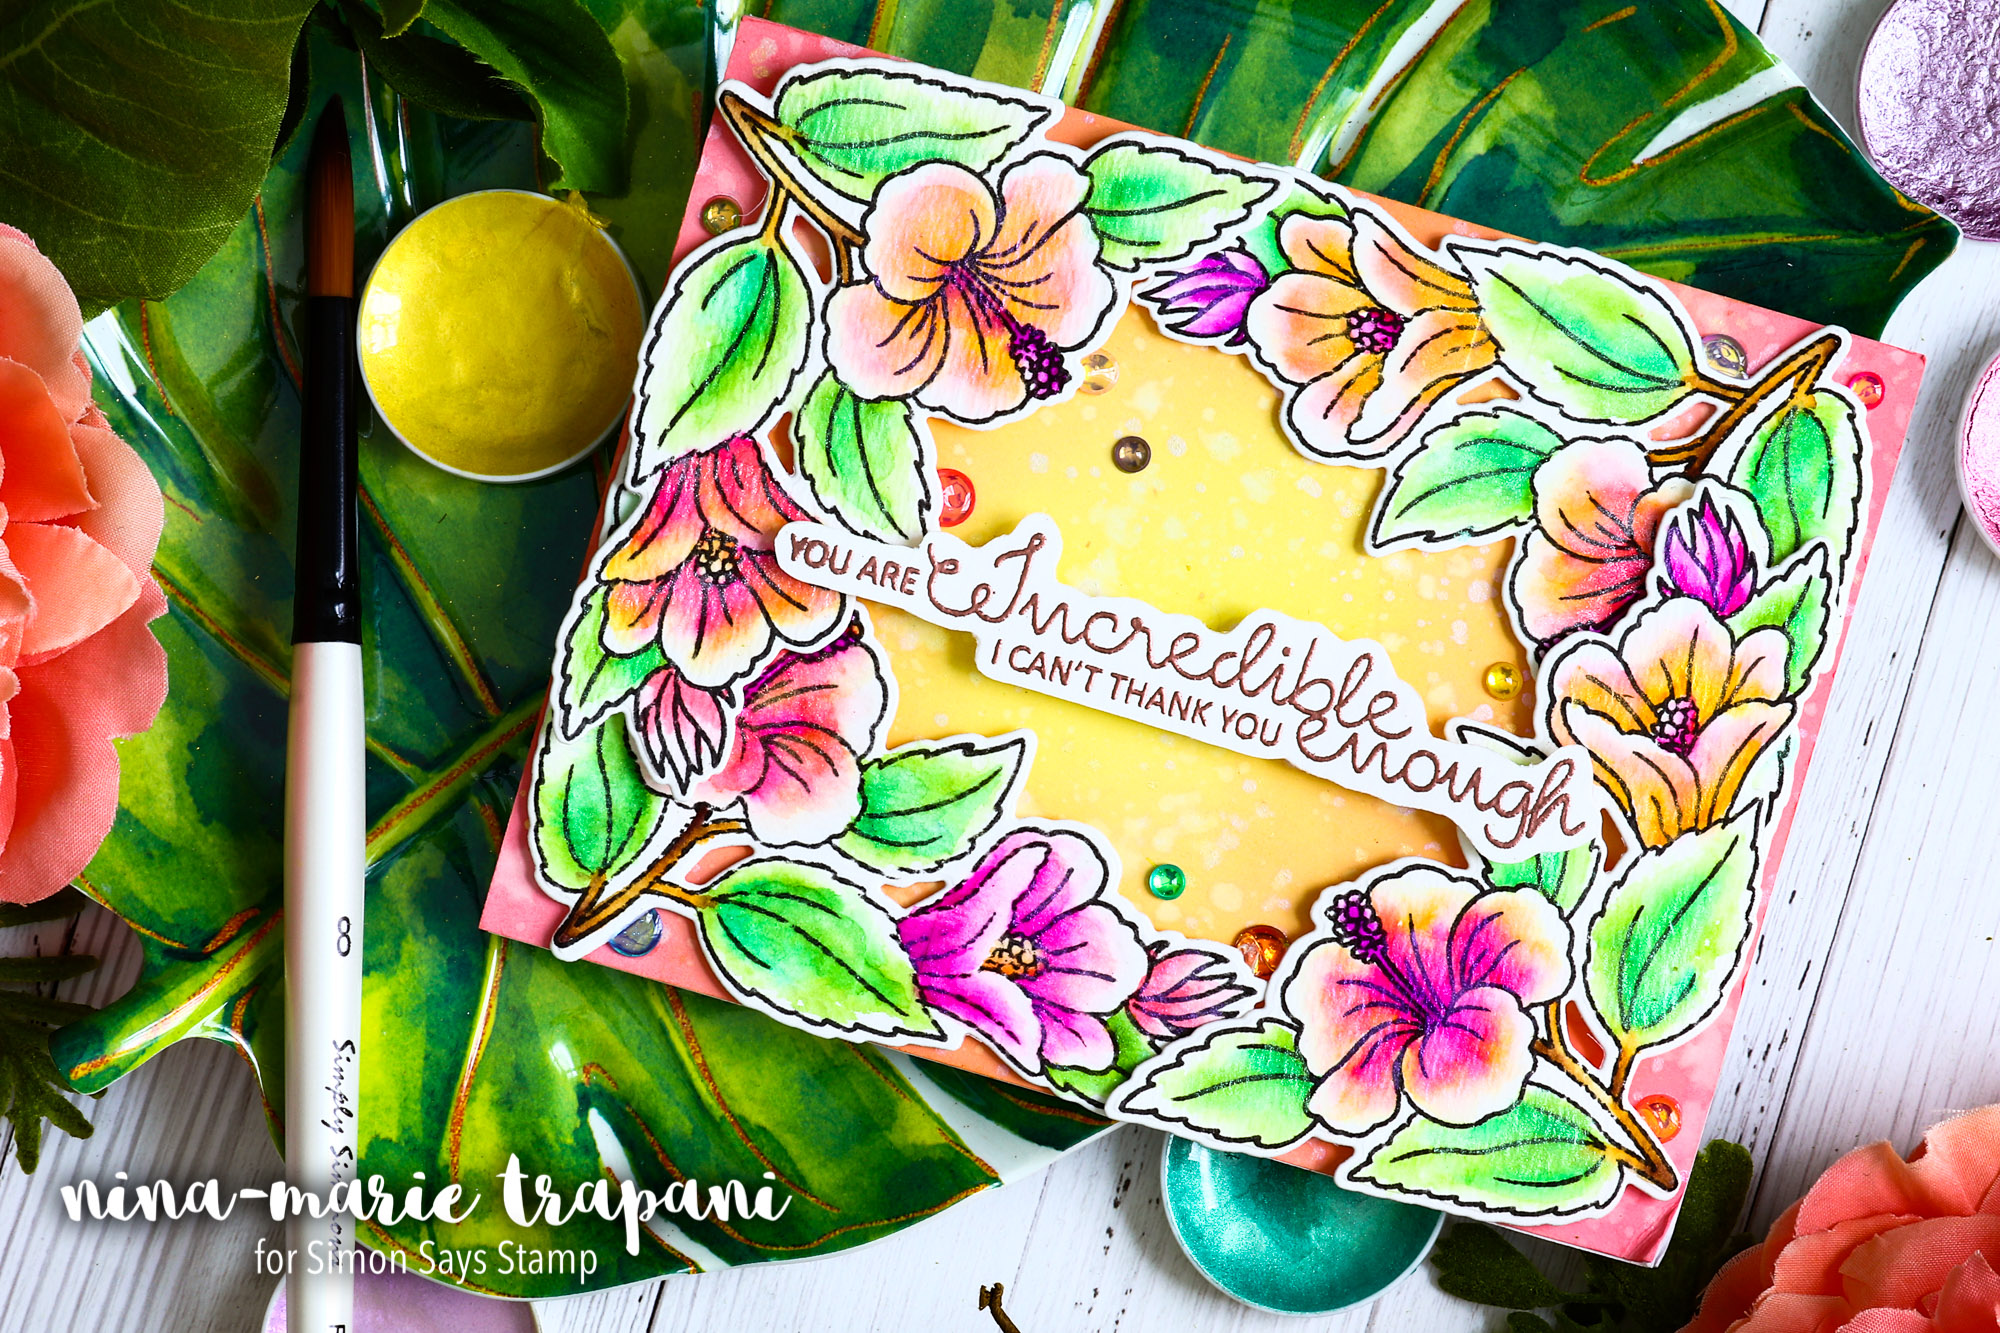
Hello everyone, it’s Nina-Marie here with you. Welcome back to my latest, Studio Monday tutorial! I have fun playing with color, plus I adore a bit of sparkle and shine. So today I thought I would share a technique of blending two colors of Zig Markers together to create a variegated coloring; plus the addition of Pastel Metallic Accents from Prima over top of the coloring for some gorgeous shimmer!
The images and sentiments I am using in this card are brand new from Clearly Besotted. The pretty florals are from the Happy Hibiscus set (and I used the coordinating dies), and the greeting is from the Scrumptious Thank You stamp set.
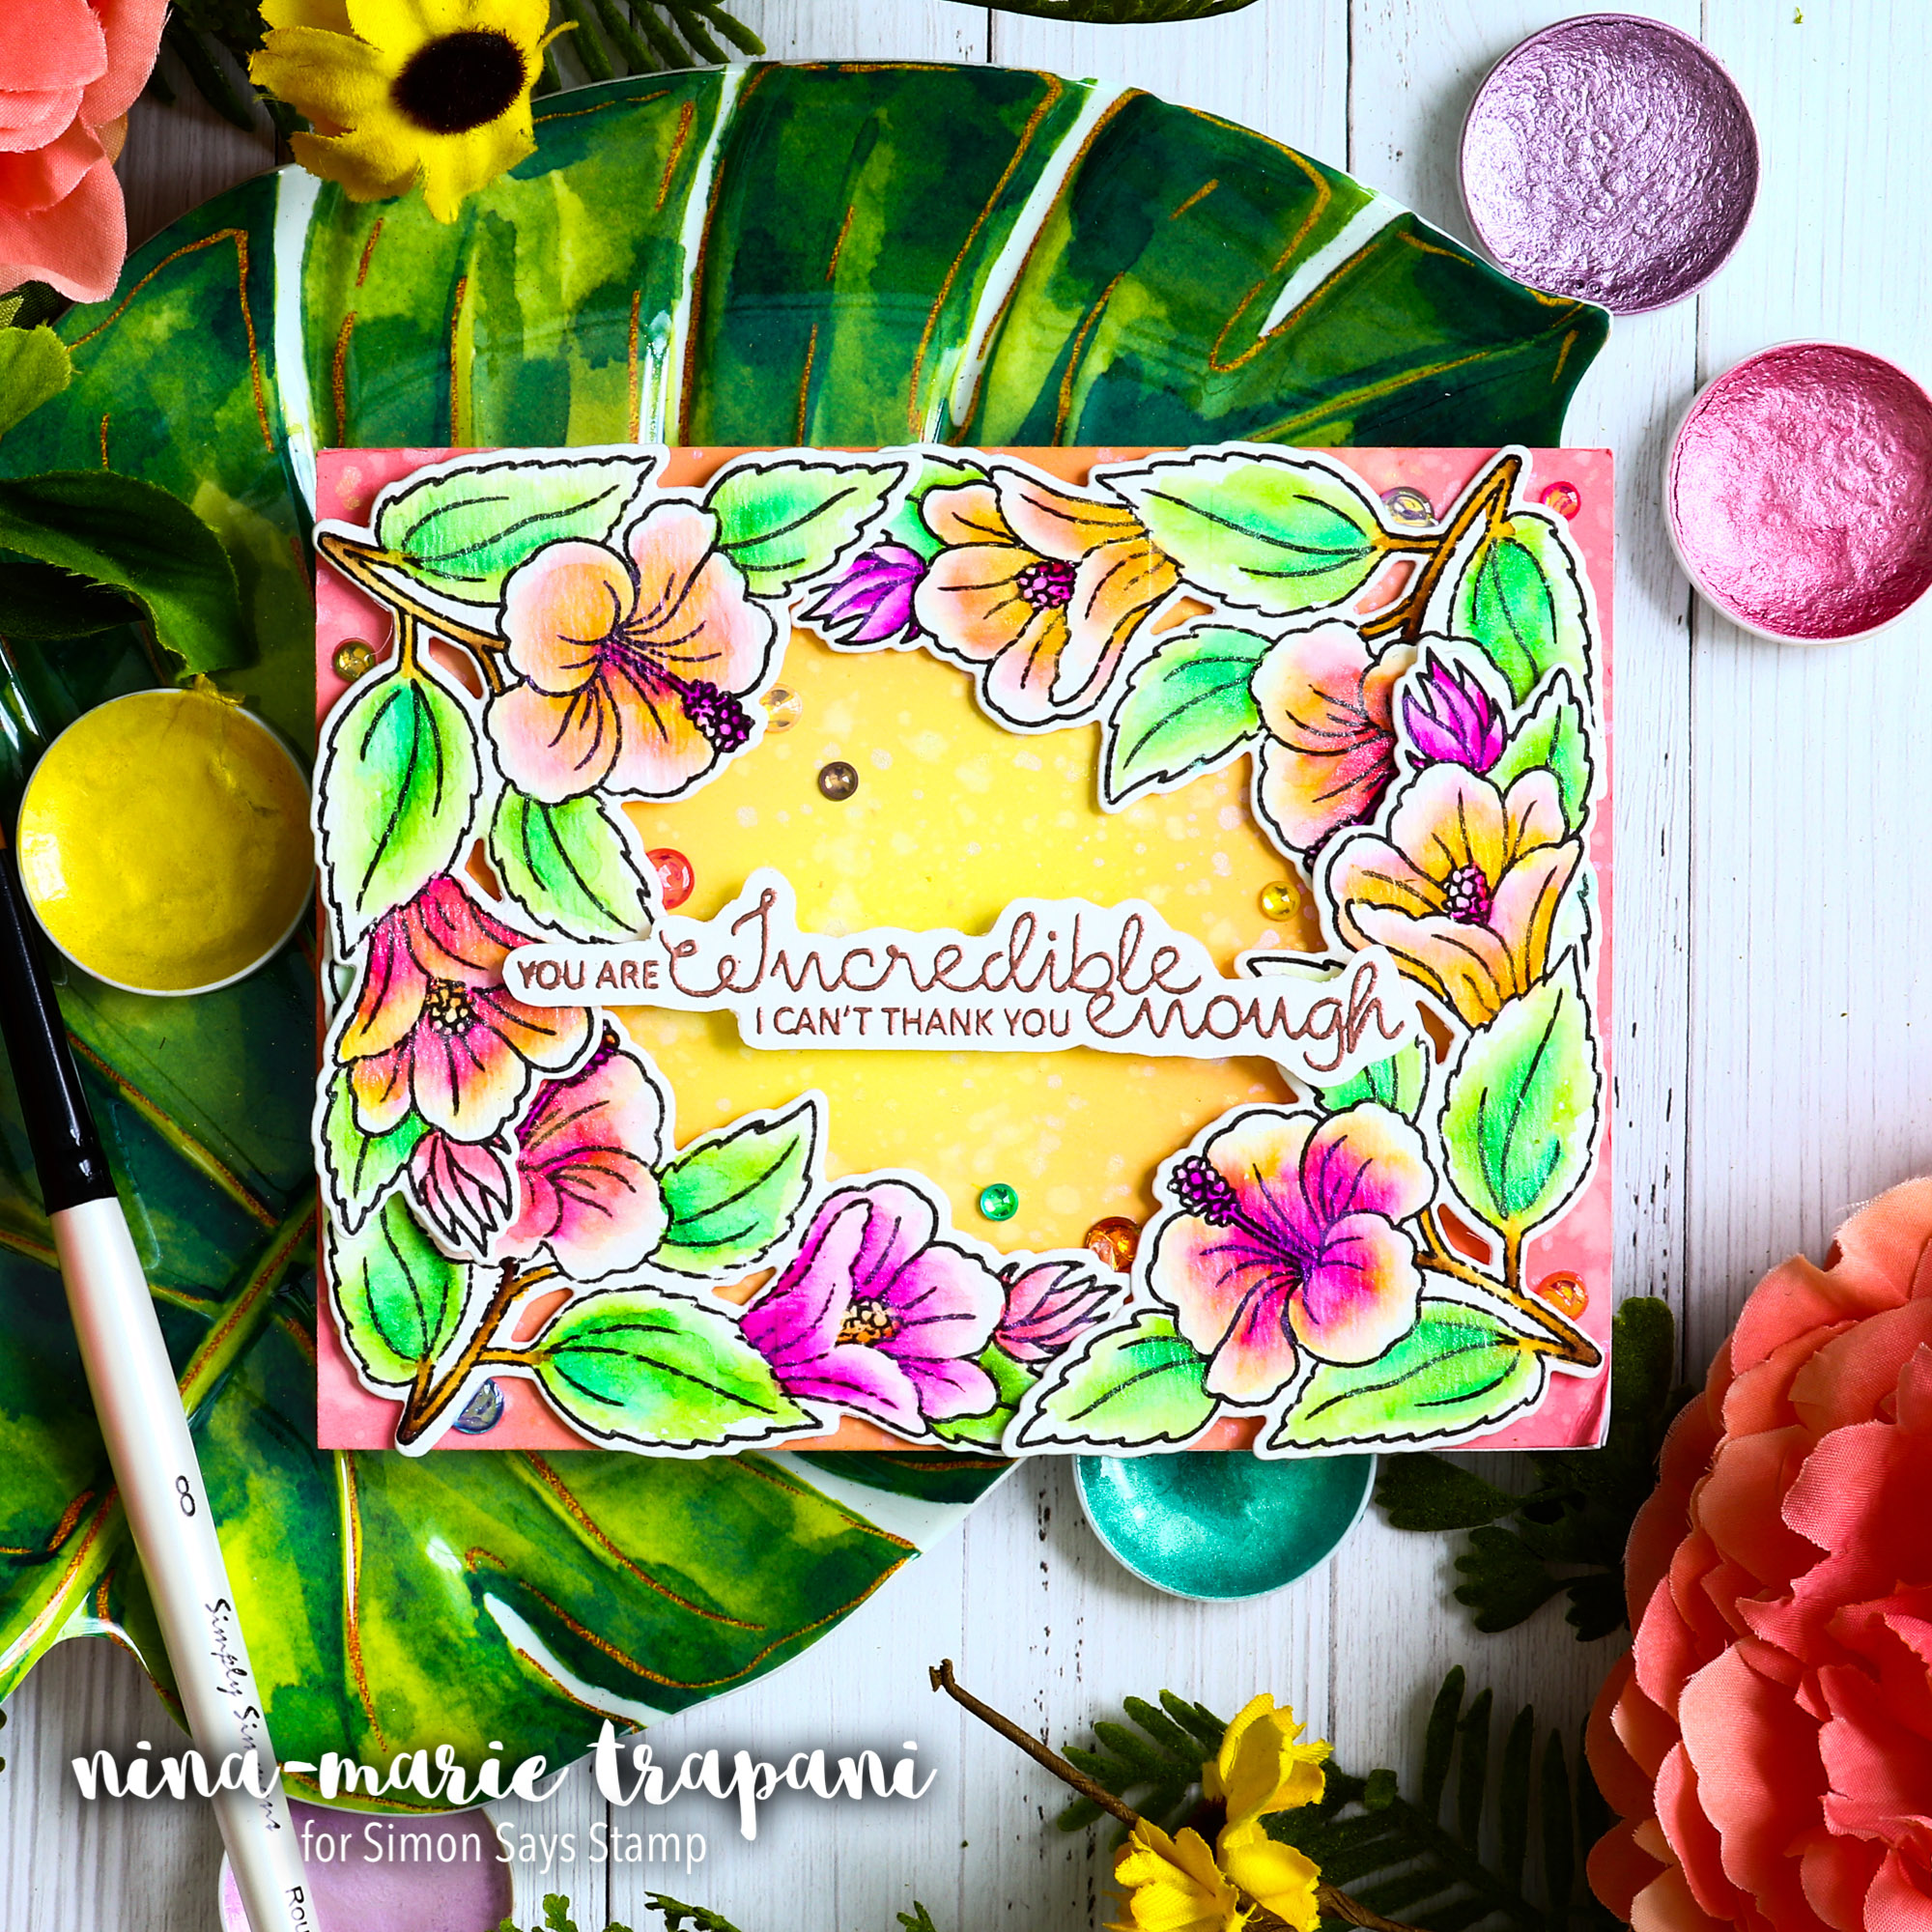
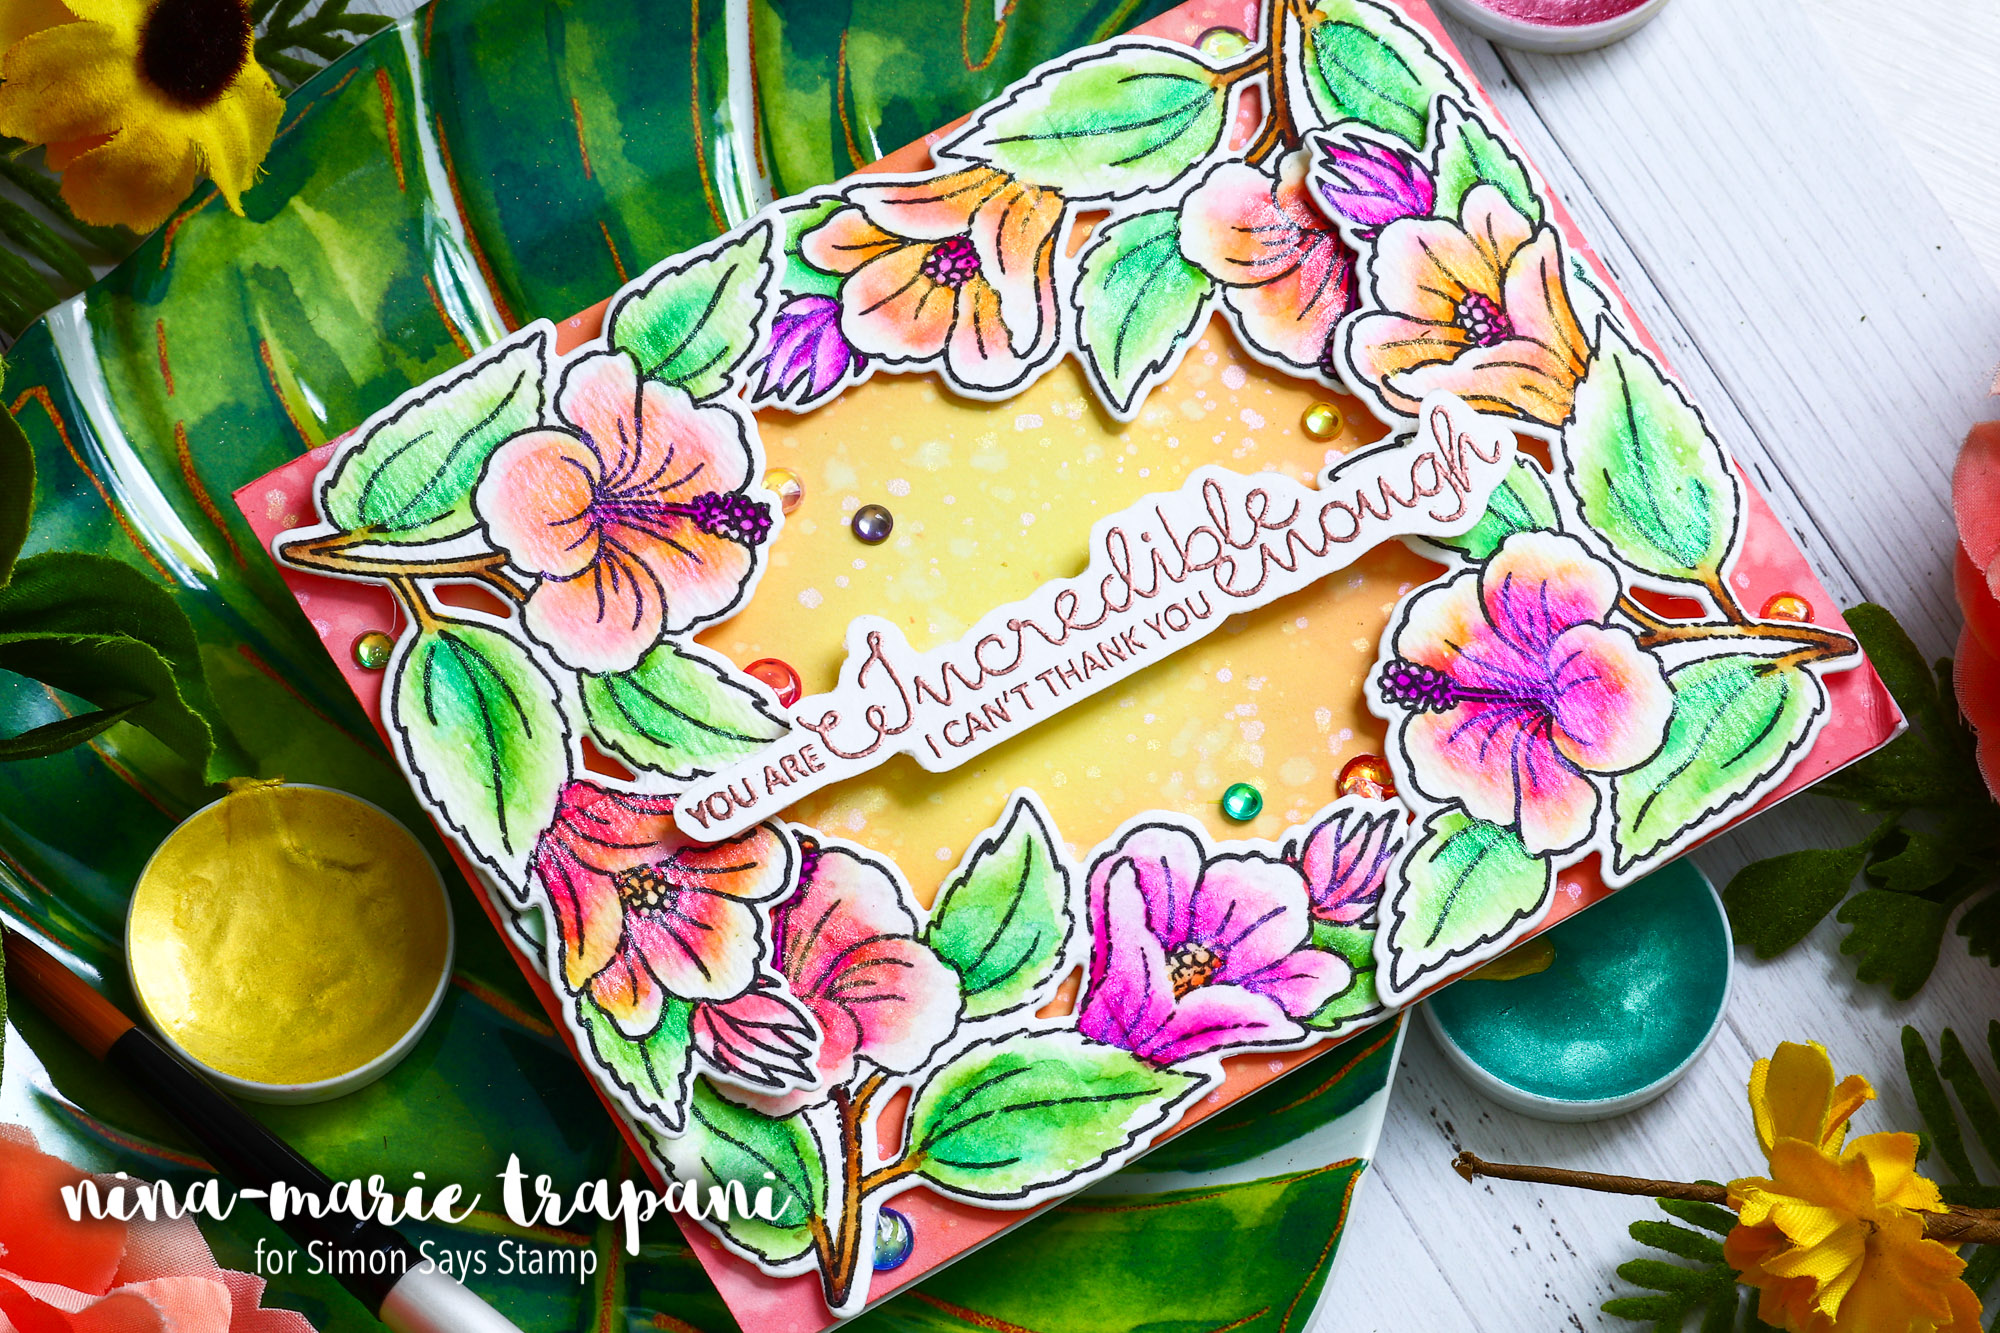
For the coloring part of this technique, I used a few pink, purple and yellow Zig Markers: Dark Pink 027, Light Pink 026, Light Carmine 021, Pink 025, Purple 082, Yellow 050, Bright Yellow 052. The leaves were colored with Light Green 041 and Turquoise Green 042, and I added Light Brown 061 and Dark Brown 062 to the stems. Over all the coloring, I dabbed on Pastel Metallic Accents from Prima. Don’t you love all that shimmer???
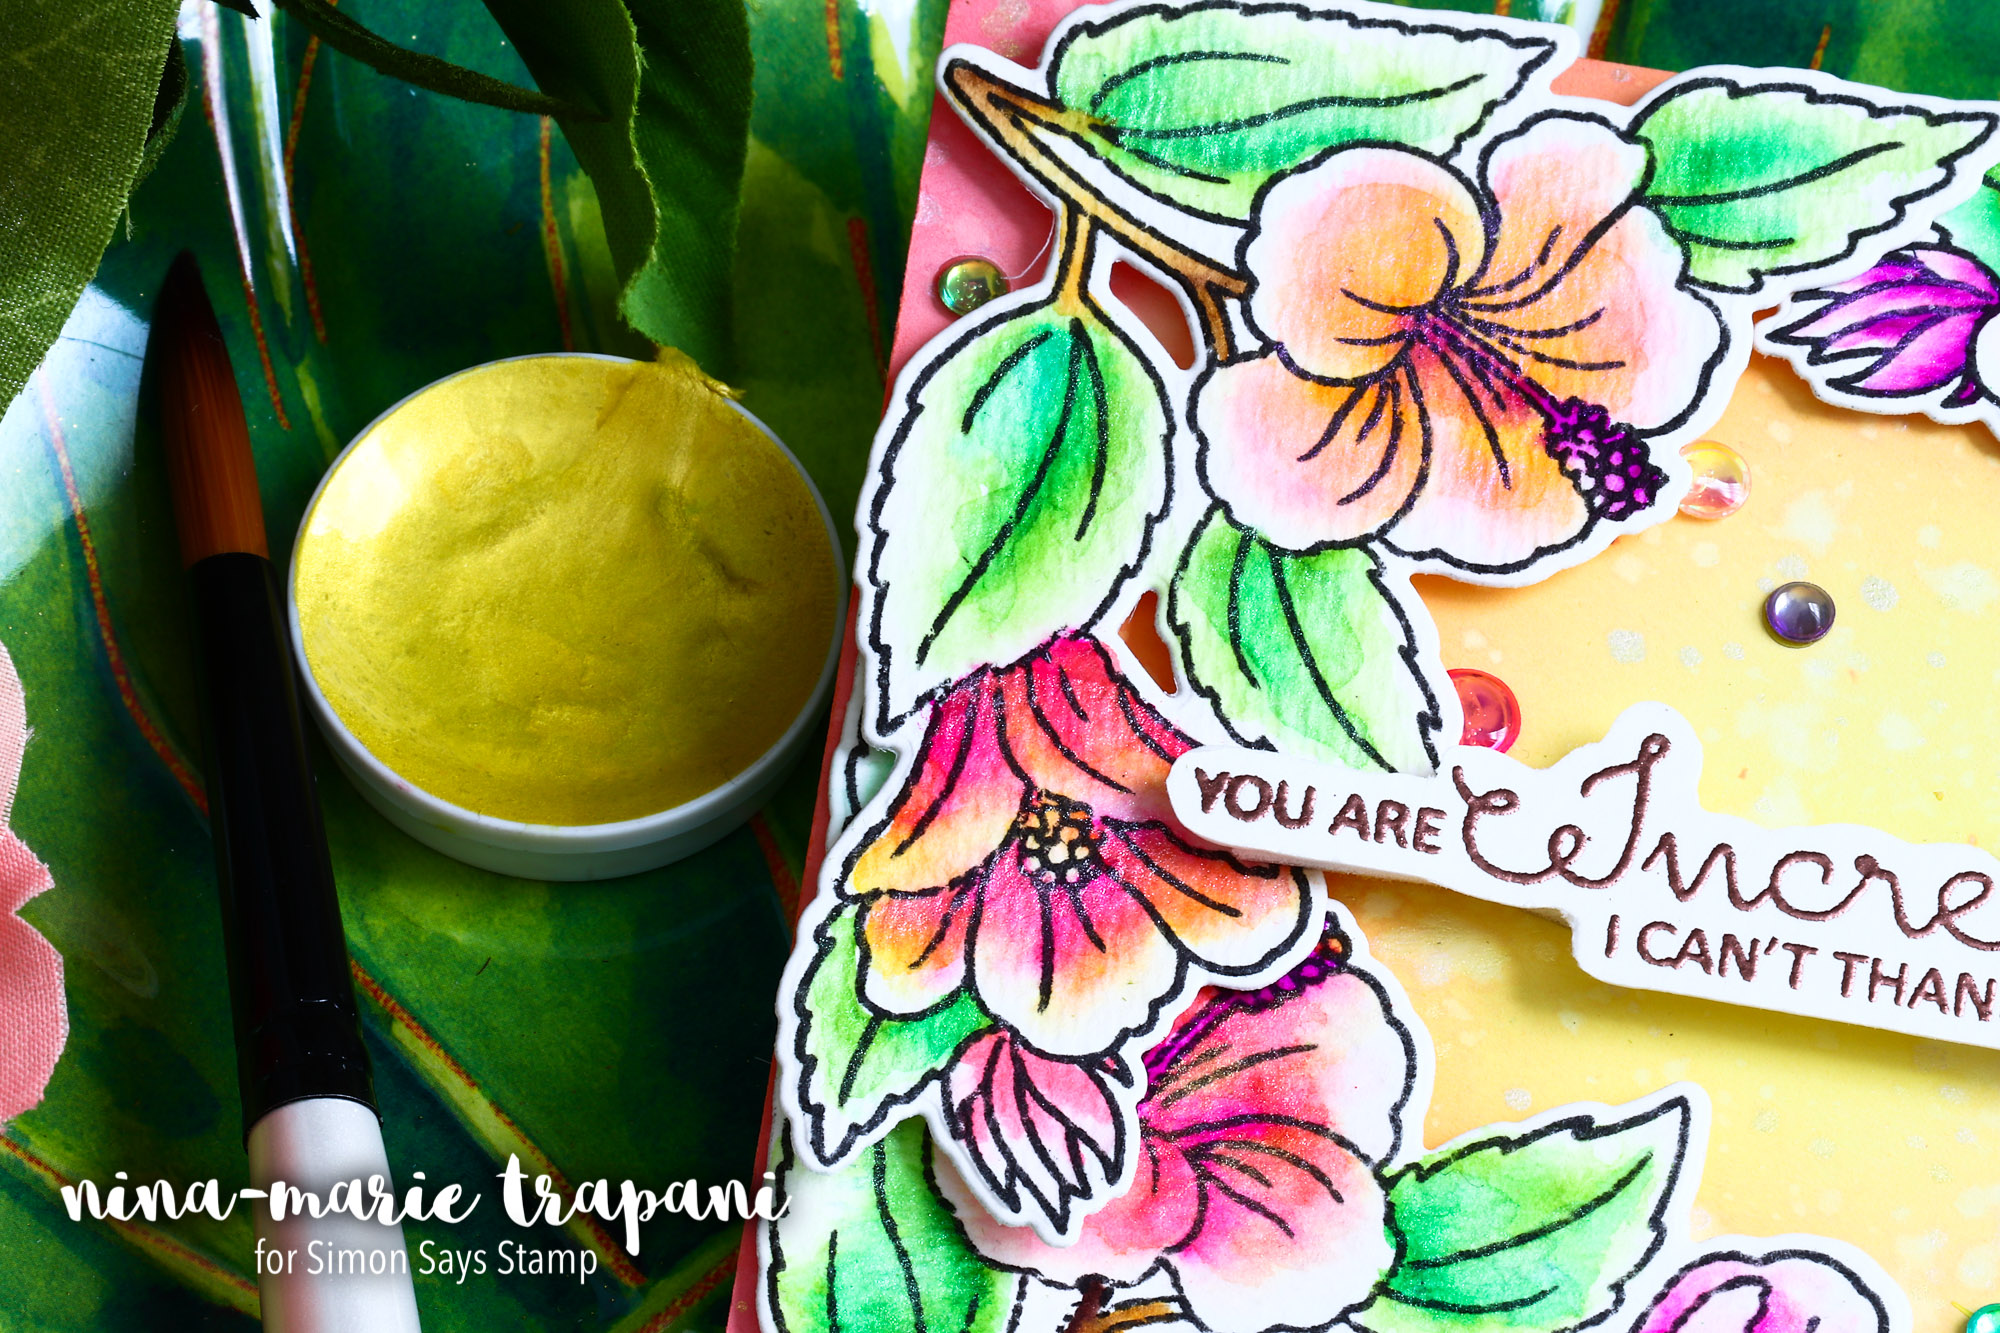
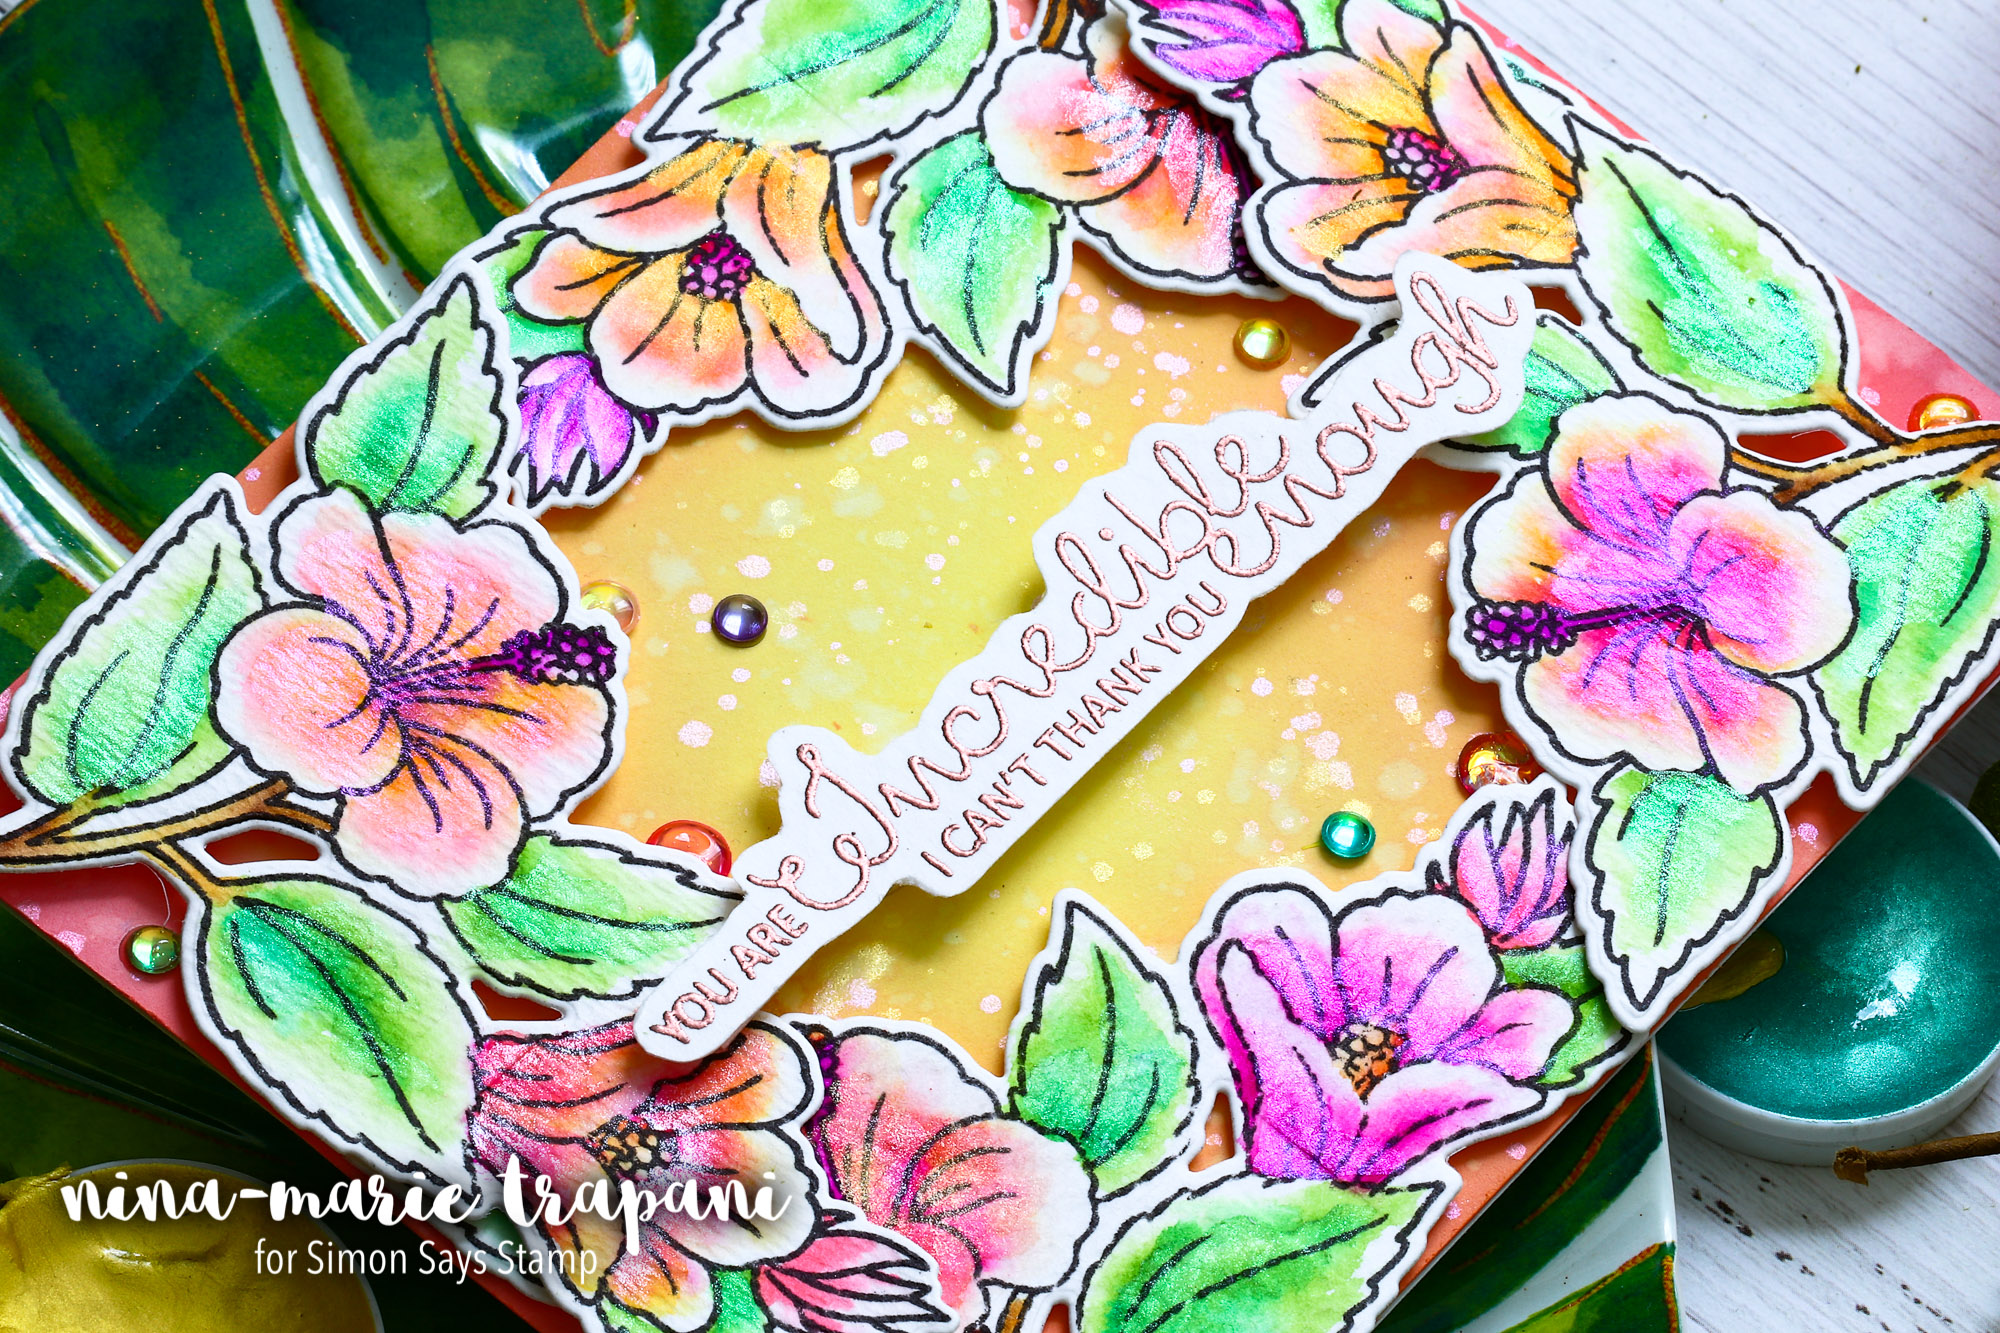
Behind the florals, I ink blended Worn Lipstick, Wild Honey, and Squeezed Lemonade Oxide Inks; there are splatters of water and Pastel Accents to create texture. I also tucked a few Colorful Confetti sequins around the flowers and covered them with a layer of Morning Dew Nuvo Drops.

I had so much fun creating this card, and I hope you are inspired by it! Be sure to watch the video below to see how it all came together!
WATCH THE VIDEO
SUPPLIES
|


Blog Candy Alert!! Follow our blog via email and comment on this post for a chance to win special blog candy!
Yippee for Yana: Palm Trees and Blue Skies Summer Card!
Hello friends, this is Yana and welcome back for another Yippee For Yana video! This time I’m making Summer cards! I’m mixing some old and new products from Simon for this card.
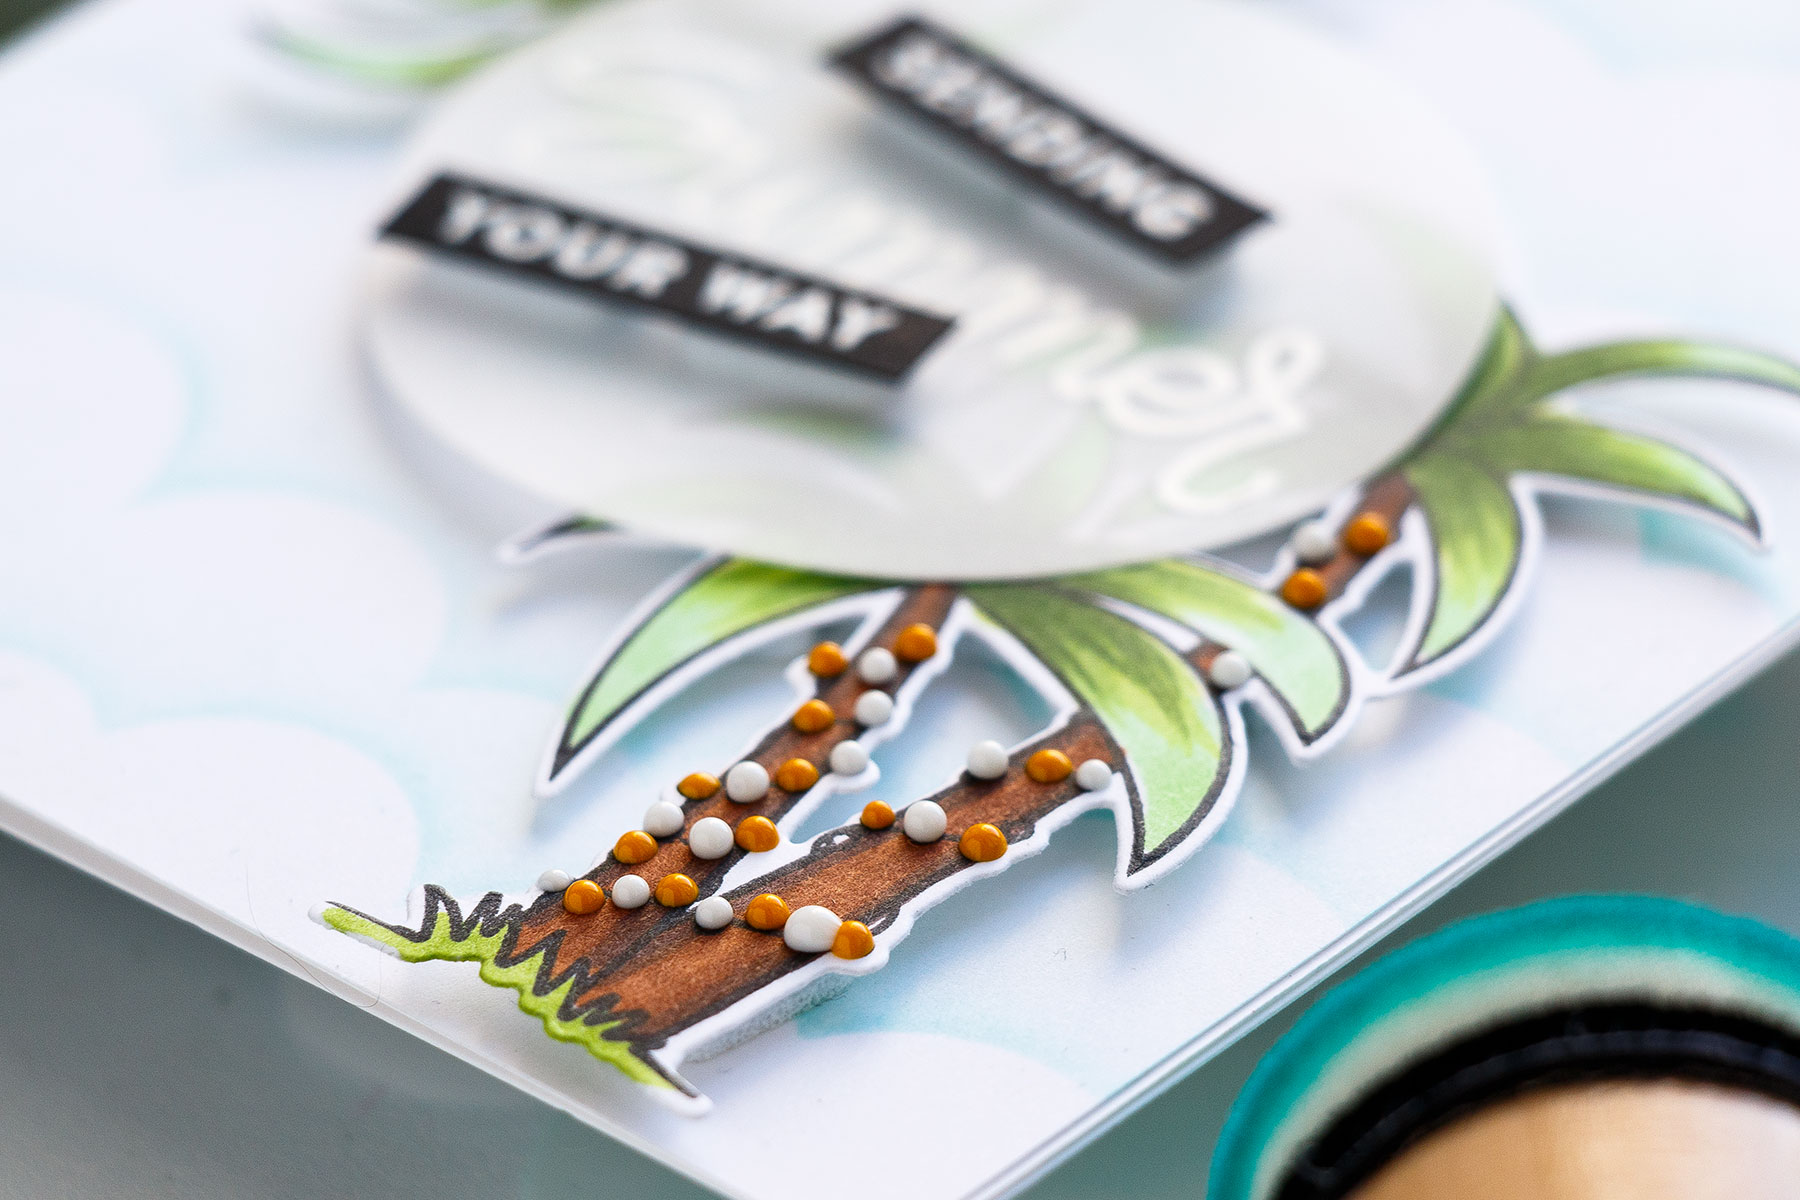
I started working on my project by stamping palm tree images from the Warm Christmas Wishes stamp set. This is an older set from 2 or maybe even 3 years ago, but it’s one of my all time favorites! I particularly love the palm trees in this set and I’ve used them many times over the years for my cards, and funny enough I’ve mostly used them for summer cards (see one of the cards on my blog HERE). So even though it is a Christmas set it is a fantastic one for Summer!
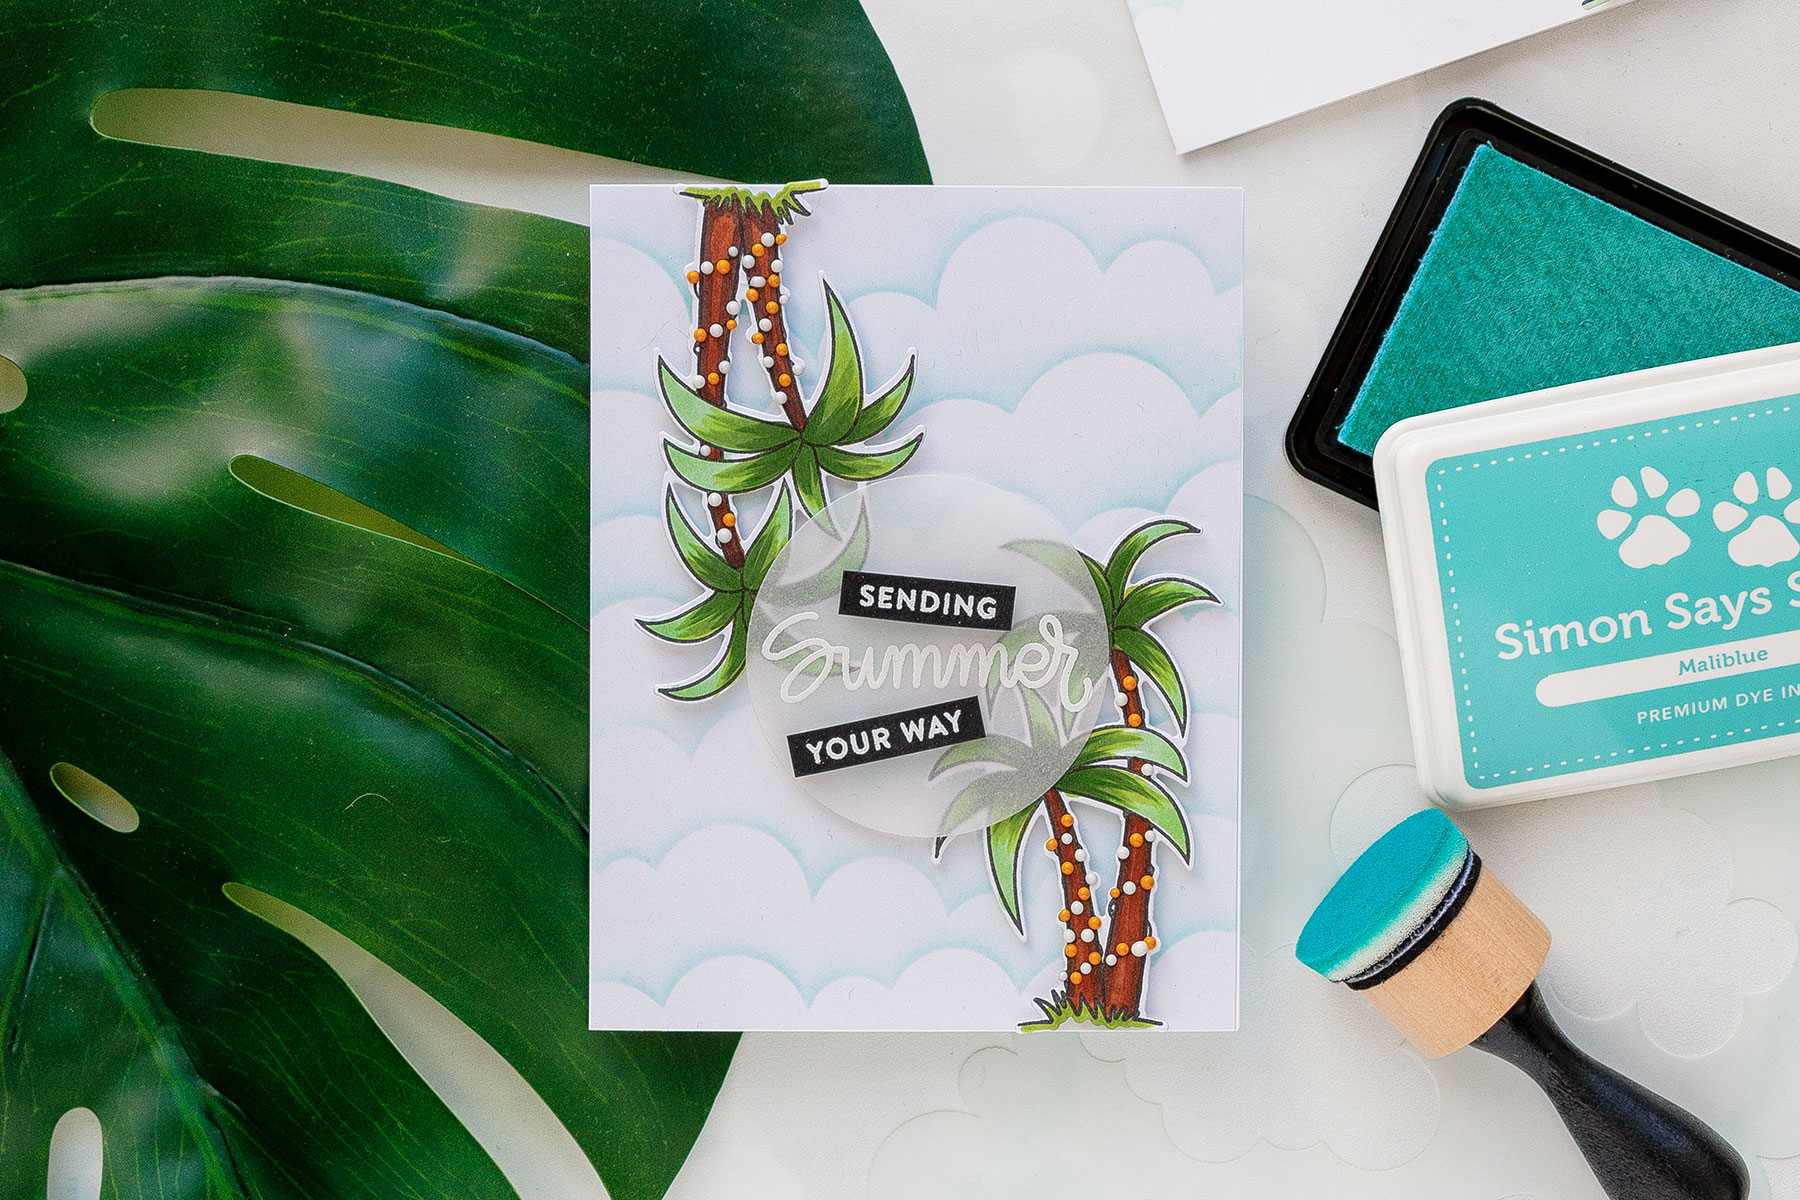
I used Intense Black ink, my mini MISTI and Neenah 80lb cardstock for stamping. To color palm trees I used handful of Copic markers and did simple coloring. I used: YG06, YG25, YG17 and YG67 as well as E37 and E79. These palm trees are wrapped in Christmas lights – I colored over them as I knew I’d be using my Nuvo Drops later to bring lights back to life.
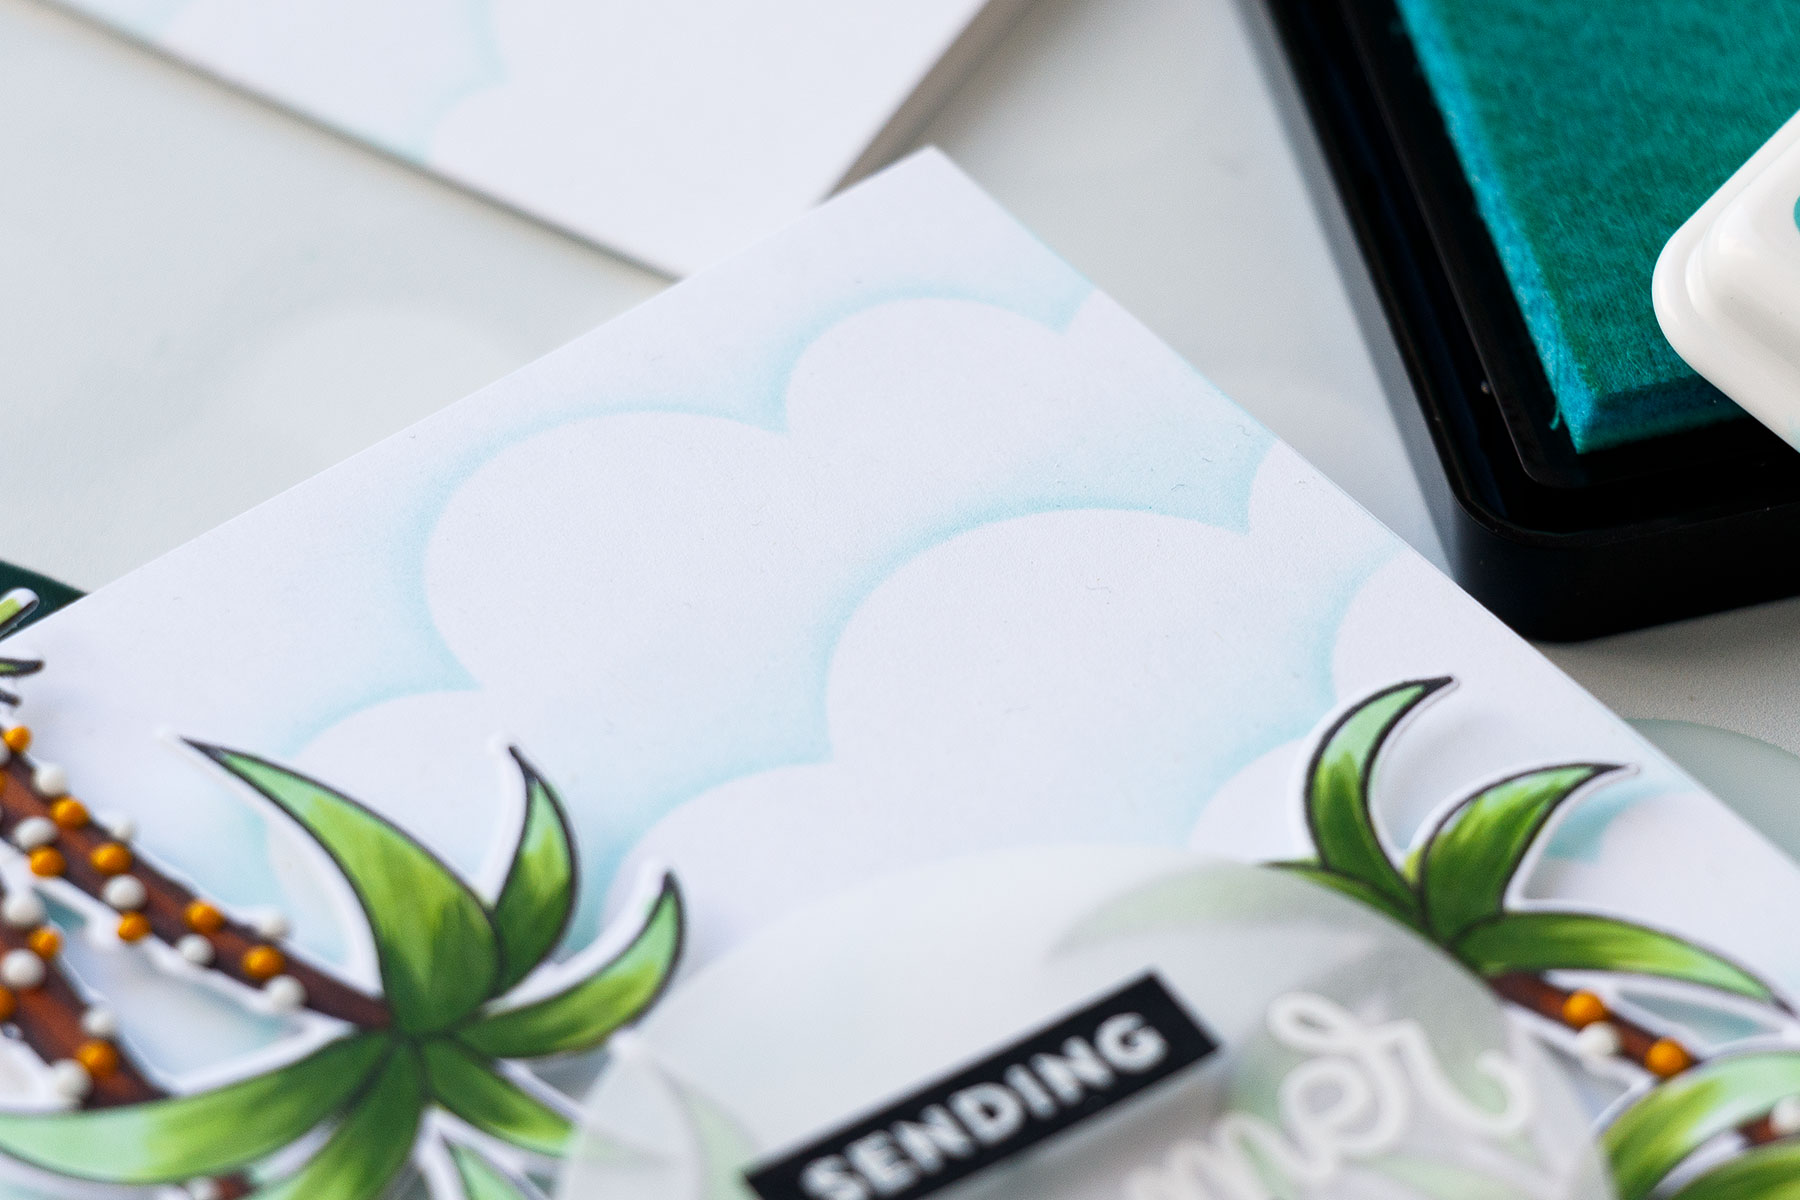
I used coordinating dies and cut those out in my Spellbinders Platinum Die-Cutting & Embossing machine. To create a background for my card I used Clouds For Days stencil from Simon – I love how versatile it is and also how easy it is to create a backgrounds with its help.
If you caught my Instagram Story Takeover for Simon yesterday you might have seen a card where I used this stencil along with the leafy frame stencil and layered them together to make a background. You can also see it on this post on my Instagram account.
I wanted to create a faint sky background for my card and I used Maliblue ink and a mini round ink blending tool. To get a different cloud line every time I rotated my stencil 90 degrees and this way I ended up having a completely different cloud look each time. Once I’ve rotated it 4 times I flipped it and continued to rotate – so technically you can get 8 different cloud lines from just one stencil and you also have 3 other clouds cut out in the center of the stencil so you can also use those. It’s a fabulous stencil for Summer and for cards with scenes – I know I will be using this one a lot. Especially with those palm trees!
I foam mounted palm trees onto my background and the way I positioned them is as if the person that is looking at this card is looking up into the sky. Technically I don’t have my clouds stenciled absolutely correctly, but it’s just card, it doesn’t have to be 100% accurate.
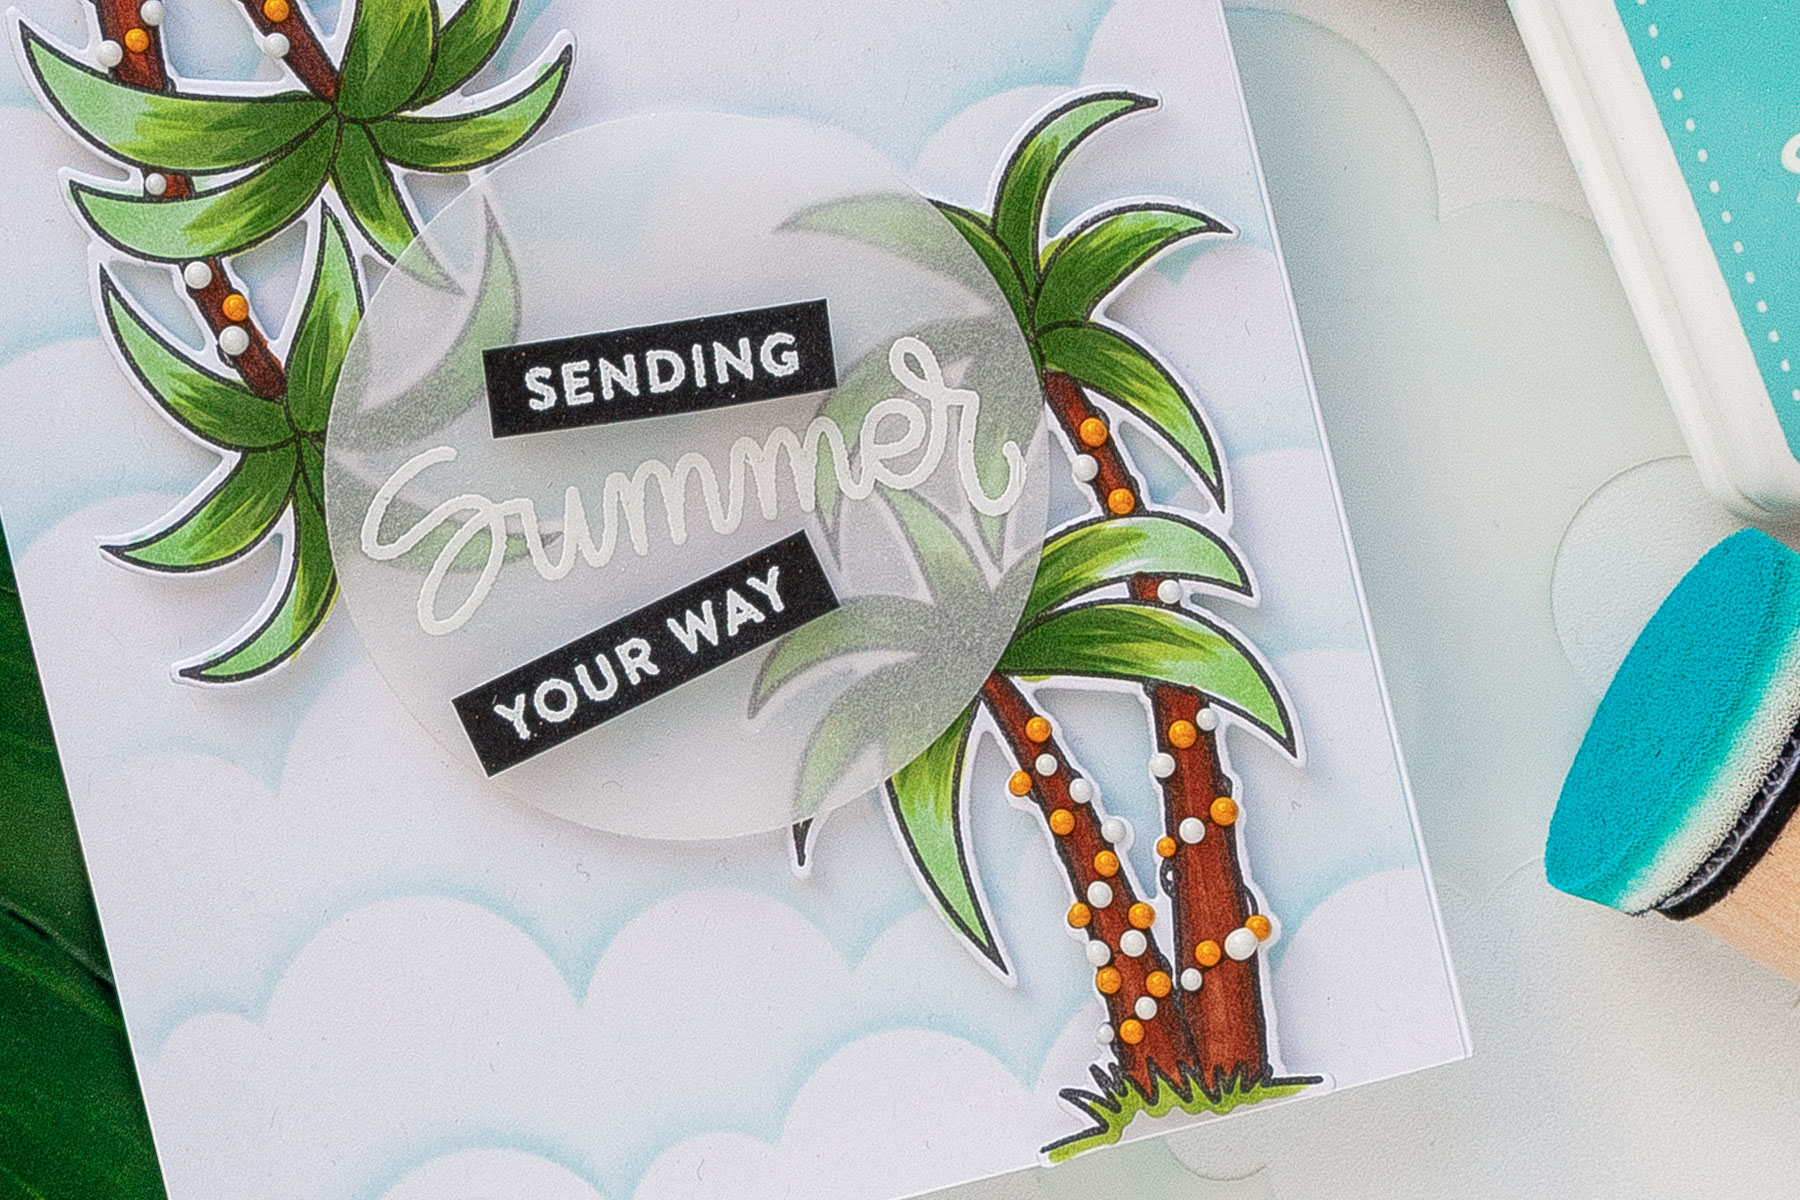
To create a sentiment I die-cut a circle out of Hero Arts vellum, heat embossed Summer in white embossing powder and also heat embossed “Sending” and “Your Way” in white detail embossing powder from Hero Arts onto black cardstock.
The reason I heat embossed “Sending” and “Your Way” on cardstock and not on vellum is because I needed something to hide adhesive under to be able to adhere the vellum circle onto my card. I love to use vellum, but it’s tricky to stick it in place without the adhesive being visible, so I always try to find something that I can put on top of velum that would hide that adhesive.
One I had all of the parts and pieces in place I used Nuvo Drops in White and English Mustard and I added white and yellow dots onto my palm tree lights.
Have fun stamping!
WATCH THE VIDEO
SUPPLIES
|


Blog Candy Alert!! Follow our blog via email and comment on this post for a chance to win special blog candy!
New Neat & Tangled Inspiration with Danielle Walls
Hello friends! Danielle from Neat and Tangled here with some cards using some of the latest products from our June release! This month we revealed the perfect mix of stamps, dies and stencils to spark your creativity – and I wanted to share a few with you!
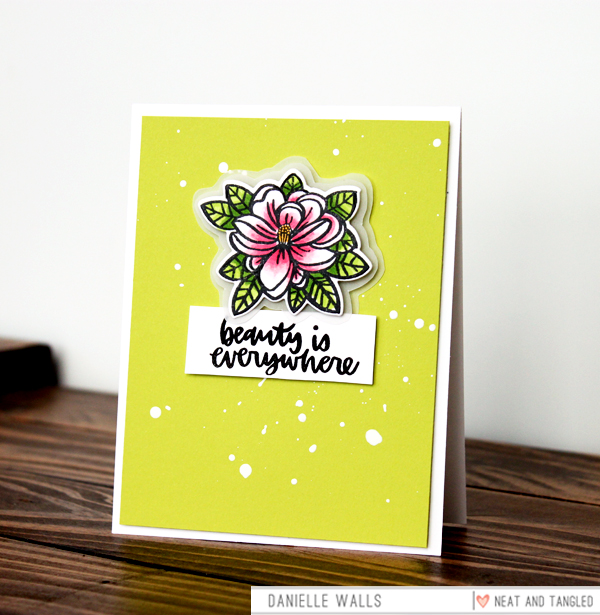
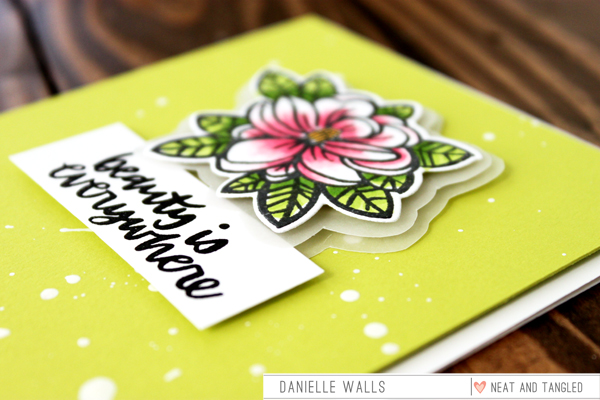
This first card I created using our new Magnolia stamp and die set. This stamp set is filled with bold and beautiful floral images in a variety of sizes and orientations so you can make any combination of arrangements! For my card I chose the larger floral image to make it the focus of the card. I stamped and die cut the flower, and colored using a variety of Copic markers. Next, I cut down a 4” x 5.25” mat using X cardstock. I then splattered it with some white paint, and set aside to dry.

While that was drying, I took my floral image and adhered it to clear vellum using foam adhesive. I then went and hand cut the vellum to follow the shape of the flower. Once complete, I repeated that again, so that underneath my magnolia flower I had 2 layers of vellum. It added so much dimension and interest to what could have been just a flat image!
Once the paint was dry I adhered the flower to the mat panel, and then the panel to my card base. I finished it off by stamping the sentiment on some white cardstock and adhering that under the flower!
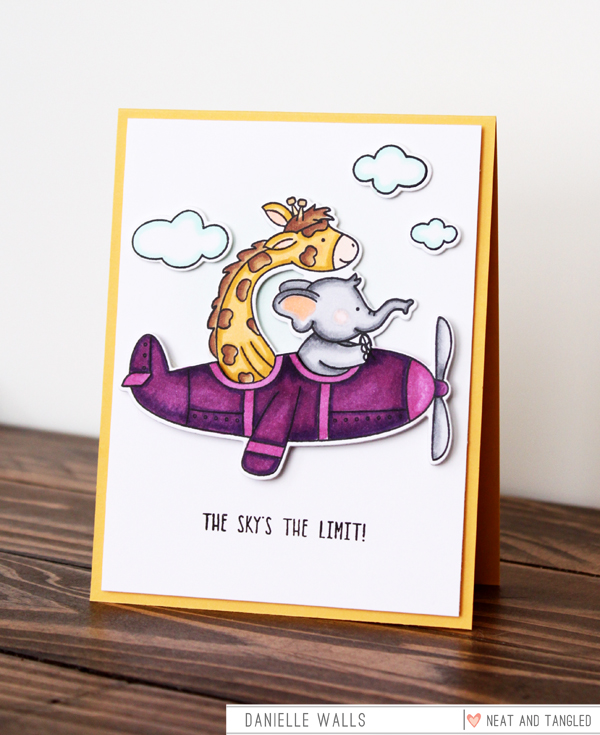
The next card I made to share is using our incredibly adorable new So Fly stamp set. I love that this set has a larger focal image that makes for easy card designs since it can take center stage! It’s also filled with perfectly punny sentiments to match!
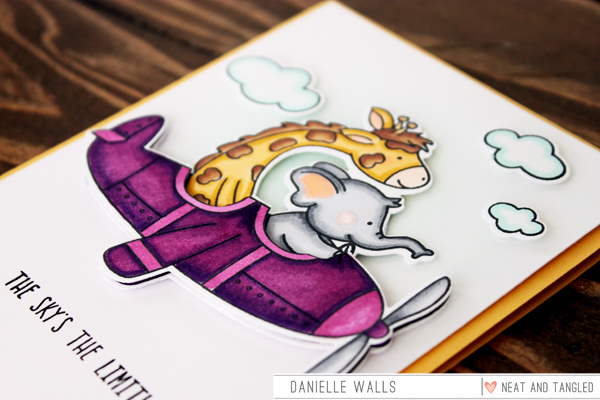
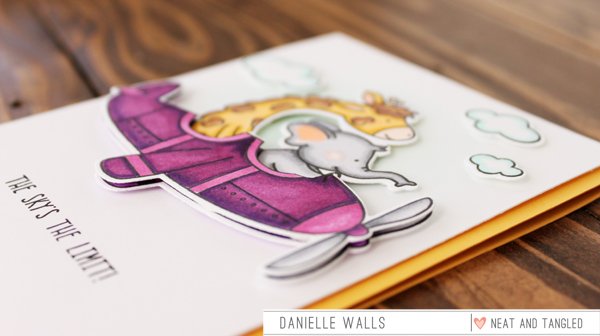
To start this card I stamp and die cut 2 of the large images and used my Copics to color. On one I colored all the parts, but on the second I only colored the plane. Since I’m a clean and simple card maker I love to add more interest to my cards with lots of dimension. So, after I colored my second plane image, I cut out the giraffe and elephant very carefully, and then popped it up on top of my fully colored image. I think it makes it look like those animals are really riding inside the plane!
I set my colored images aside, and grabbed my Distress Ink and foam blending tool to just do some like ink blending on a 4”x 5.25” white cardstock mat. I placed the card mat on my Misti and just arranged the colored images without adhereing them down, so I could see where I wanted the sentiment to go. I removed the images and stamped my sentiment. To wrap it up, I adhered the mat panel to my cardbase, and then added by colored images with foam adhesive!
I hope you’ve enjoyed my cards today, and they leave you feeling inspired!
MAGNOLIA CARD SUPPLIES
|


SO FLY CARD SUPPLIES
|


Blog Candy Alert!! Follow our blog via email and comment on this post for a chance to win special blog candy!


