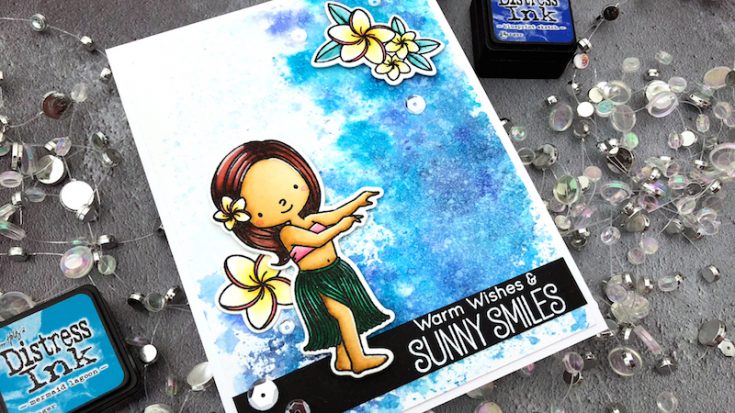
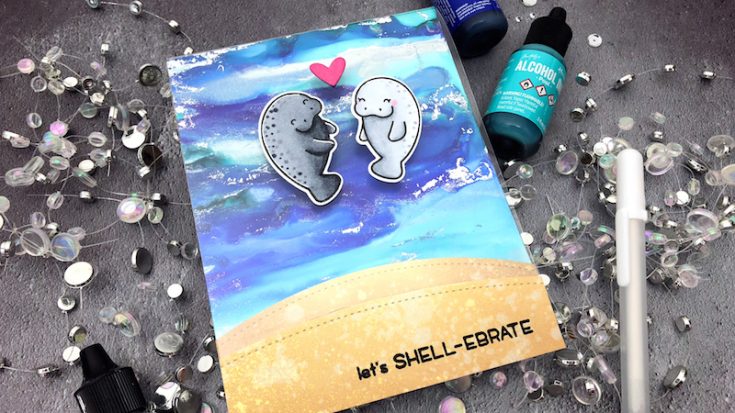
Simon Says Stamp Presents: Crafty Quintet!
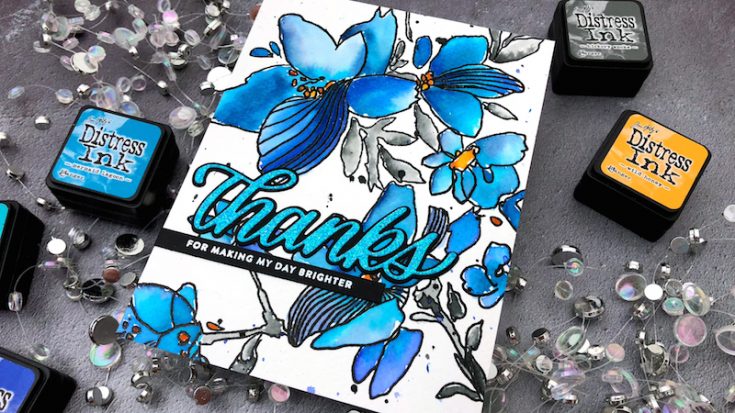
Hi friends! Happy Sunday! Please welcome special guest Jessica Frost-Ballas back to our blog for a very special BRAND NEW blog feature! We hope you love it! It’s called “Crafty Quintet” which is a fun musical play on saying that we will be focusing on “5 of something crafty” to apply it to your projects! The first feature is all about ACETATE! Read on and be sure to not miss the video for additional tips and tricks! Enjoy!
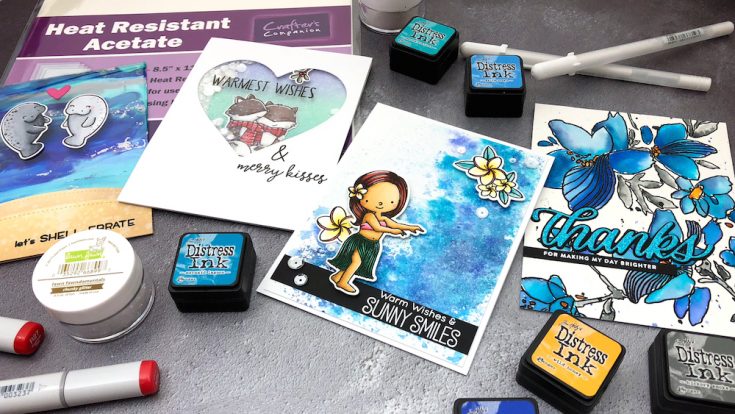
5 Ways to Use Acetate:
SUPPLIES:
|


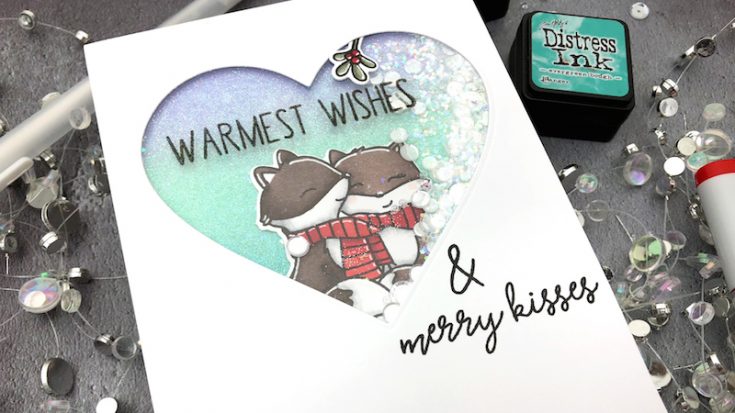
SUPPLIES:
|


SUPPLIES:
|


SUPPLIES:
|


Thanks for stopping by and thanks to Jessica for being our guest!

One Stamp, Five Ways: Surf’s UP!
Hi friends! Please join me in a warm welcome back to the fantastic Suzy Plantamura in her monthly “One Stamp Five Ways” series! This month she’s showcasing the oh so summery and fun Surf’s Up clear stamps and dies that was just released as part of our Good Vibes collection and designed by Shari Carroll when she was fresh from vacation! Get into the summer groove and check out each idea to get a spark of inspiration! Enjoy!
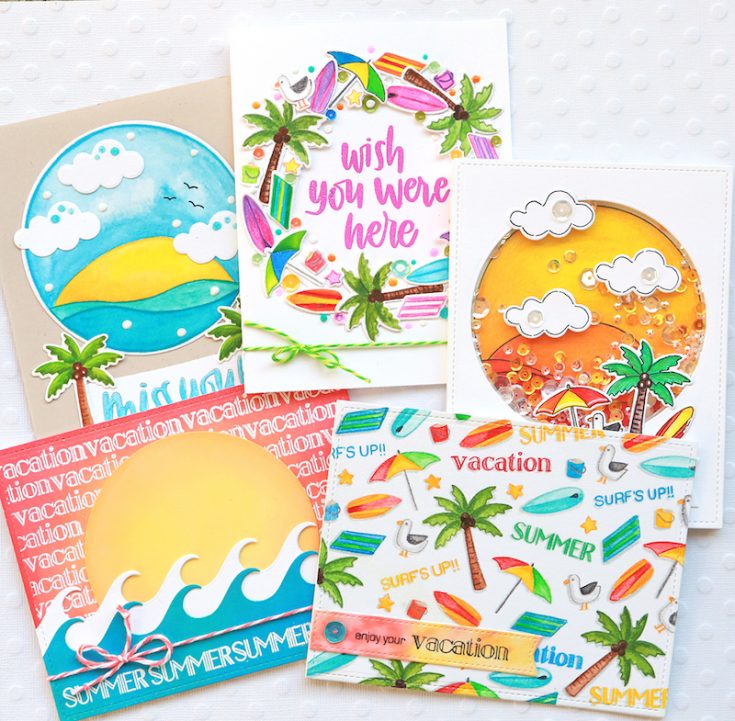
I’m back today with a “One Stamp, Five Ways” post using one of the brand new products from the Good Vibes release called Surf’s Up. Considering I love anything related to the beach as I live right by it and try to visit it daily, this stamp set was definitely up my alley! I have five cards to share with you today that all use the stamp set in a different way to hopefully inspire you to think out of the box and get more use from your stamps!

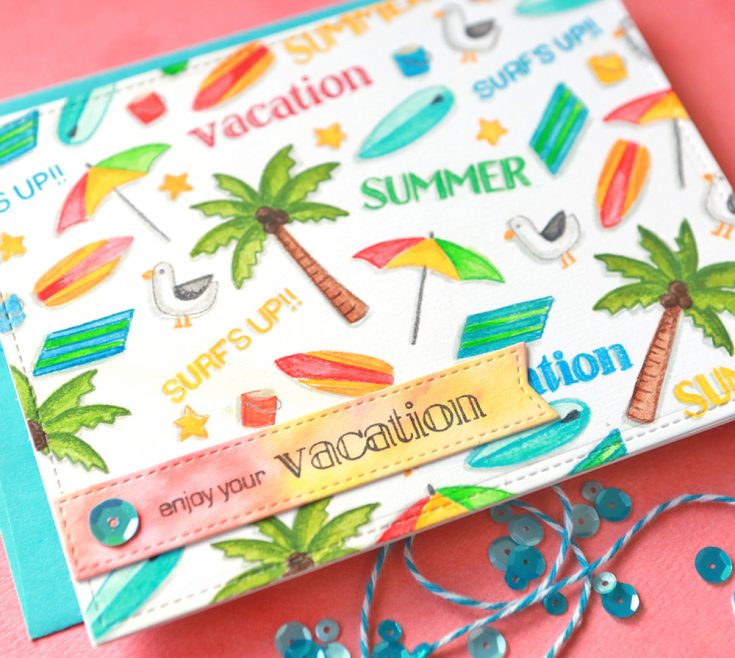
You probably know by now I love doing “random stamping” cards and this set is so perfect for it as all of the images are really tiny! I love how they look against the white background and I used a cool gray colored pencil to add shadows behind each stamped image to make them pop.
Here are some tips for this card:
• As I mentioned above, add shadows to your images with a gray marker or colored pencil so they really pop – this is especially effective against a white background
• Use a Misti when doing random stamping as you can arrange all of the stamps on your paper like a puzzle and stamp them all at one time
• Use a light color ink to stamp your images so when you color them they have no outlines – I colored mine with Copic markers and then added details and shading with colored pencils
• I like to do watercolor washes in different colors when I have free time and then I can use them for backgrounds or to die-cut banners from – I had this one pre-done in corals and yellows and it matched perfectly, so I die-cut the banner from it and stamped my sentiment on it
• In this stamp set, there are many salutations or words that are small and use a fine line font – I stamped them in the same color of light ink so I could outline them with colored pencil, but if you want a more simple way to do it, just stamp them in different colors of ink
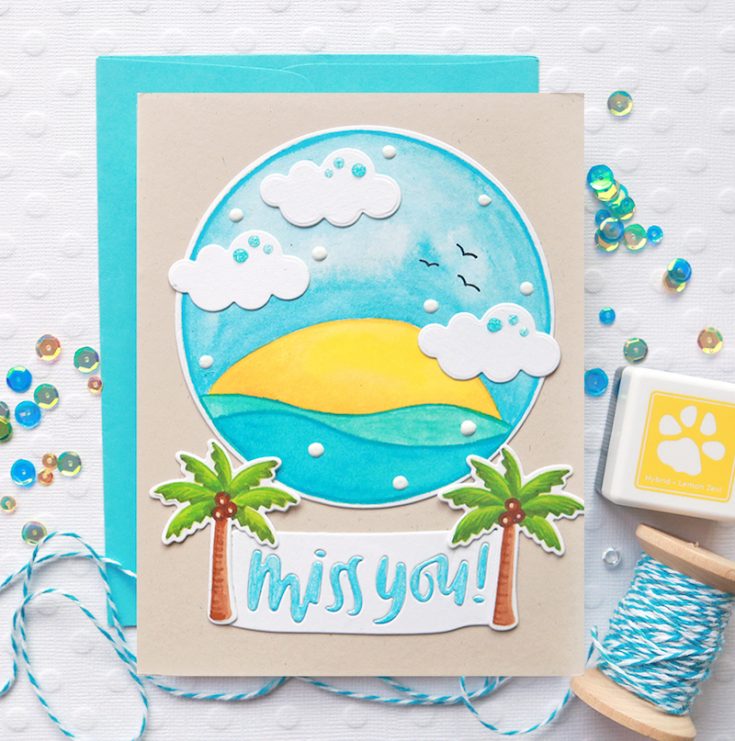
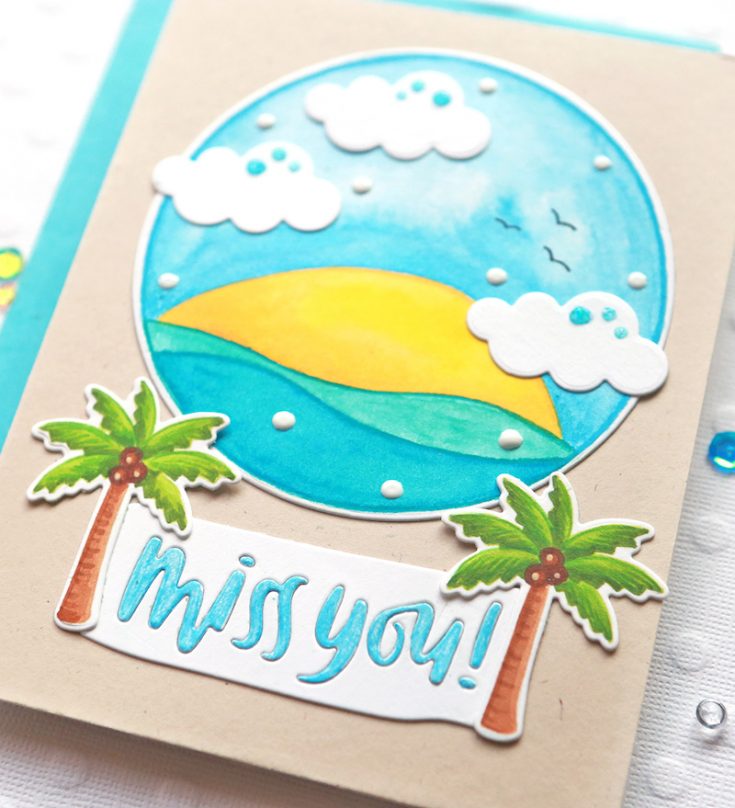
I love this large circle in the stamp set for creating a backdrop for all of the little elements. I stamped it in a light color of ink and then watercolored it in with the top section being the sky, the middle section being the sun, and the two bottom sections being waves.
Here are some tips:
• After watercoloring this circular image, outline each area with matching colored pencils
• Apply water to each area first and then apply the watercolor to the edges so the color moves inward and the center stays light – this is the beauty of watercolor in action
• Color the letters in the “miss you” salutation by popping them out first and then coloring them with colored pencils to match the scene
• Stamp the trees with a light color of ink and color with Copics; then add shading and leaves to the trees with a darker shade of green colored pencil
• Use some Tonic Nuvo Drops in groups of three on each cloud; also add some white ones to the background
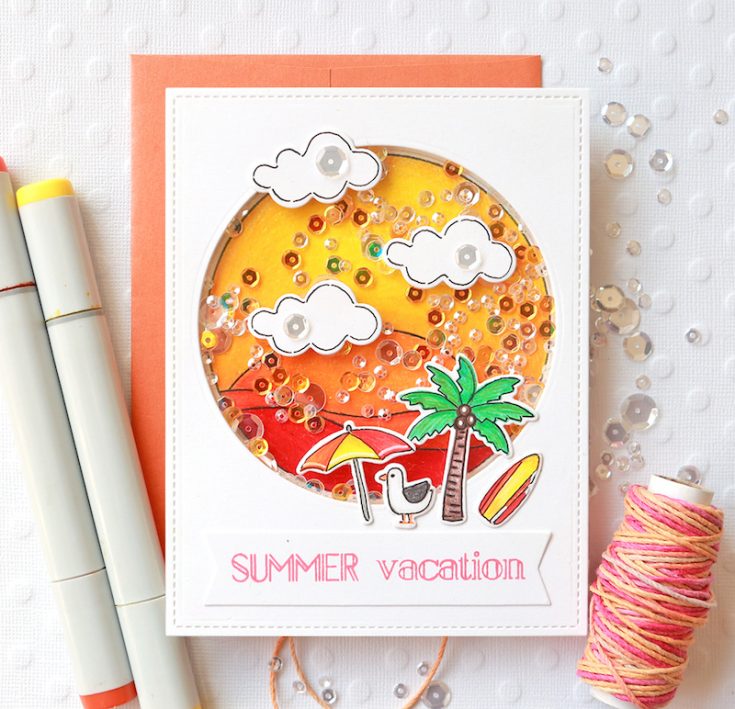
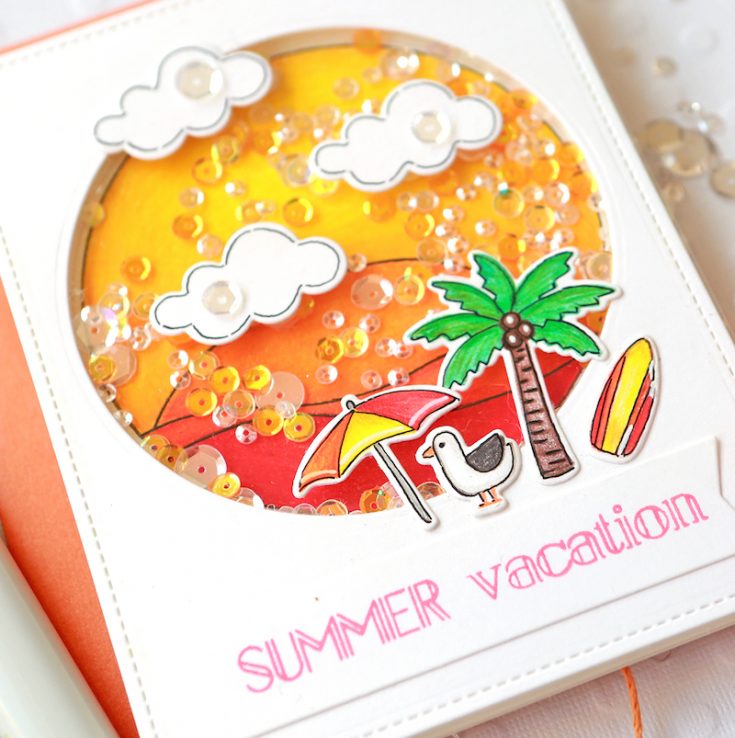
I always like to include a shaker card in my “one stamp, five ways” posts. For this card, I used the large circular stamp as both a sun and a sunset so I used all yellows, oranges, and reds. I die-cut the circle die out of the top center of card size white cardstock to give me an opening for the circle stamp. I used this to create my shaker window.
Tips:
• I stamped the circular image in black ink on watercolor paper and painted it in with watercolors
• Since the “sunset” had black outlines, I also doodled black outlines on the clouds to match the look
• I used sparkly yellow and clear sequins in the shaker window to make the sunset sparkle
• I stamped all of the little items in black ink and colored them with Copics and colored pencils; I added them to the bottom of the circle sunset
• I originally stamped the sentiment right on the white card front, but I messed it up by stamping the word vacation too high; I always find a way to use my mistakes so I covered it with a die-cut banner and stamped the sentiment with SSS Watermelon ink.
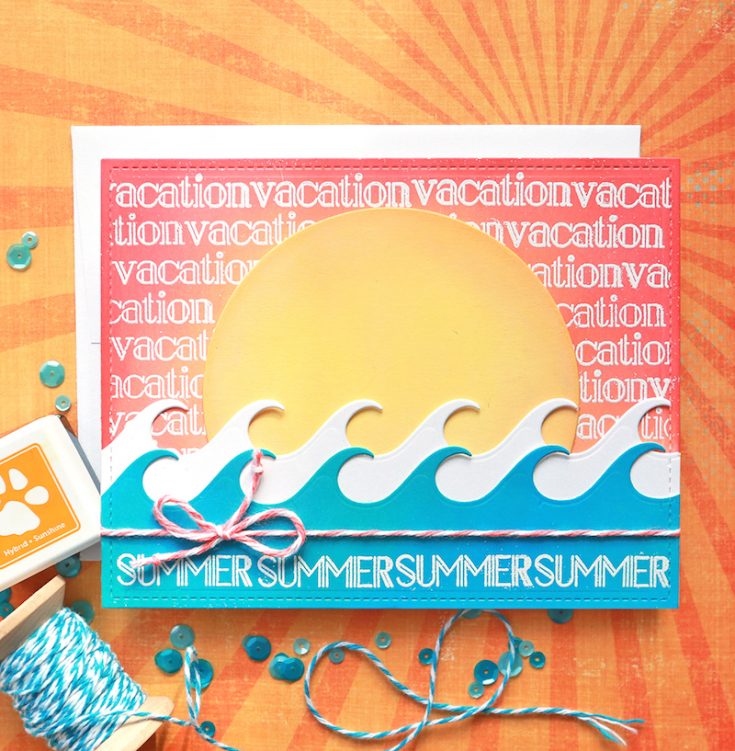
At first glance, this card probably looks high maintenance and like it took hours to make! But it actually only took an hour and I was so happy with how it turned out. I wanted to use the Circle die in a different way, so I didn’t use the circle stamp on this one or any of the smaller images either! I focused on the text to create a more graphic, clean and simple design.
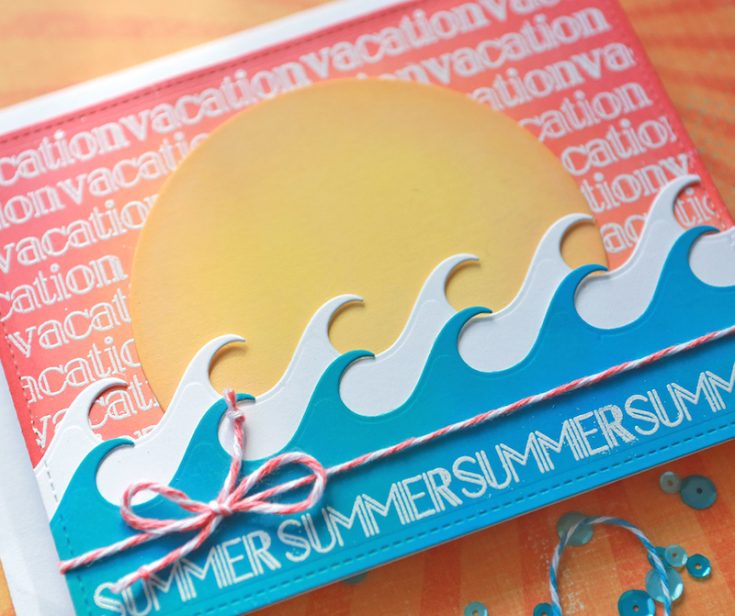
Here are some tips:
• Rub Distress Oxide Inks on the circle image, the wave border, and the background using the colors listed in the supply list
• To emboss the words on these pieces, draw light pencil lines first so you have straight lines to line up the word stamps using your Misti stamping tool
• When you emboss the words in white, use a piece of scrap paper to cover up the edges when stamping so you can start the word at a different point each time
• Arrange the sun over the background and then the die-cut waves over those two pieces; I used a white wave under the blue one so it pops more
• Add some twine above the words to finish the card – it adds some dimension and breaks up the two stamped word areas
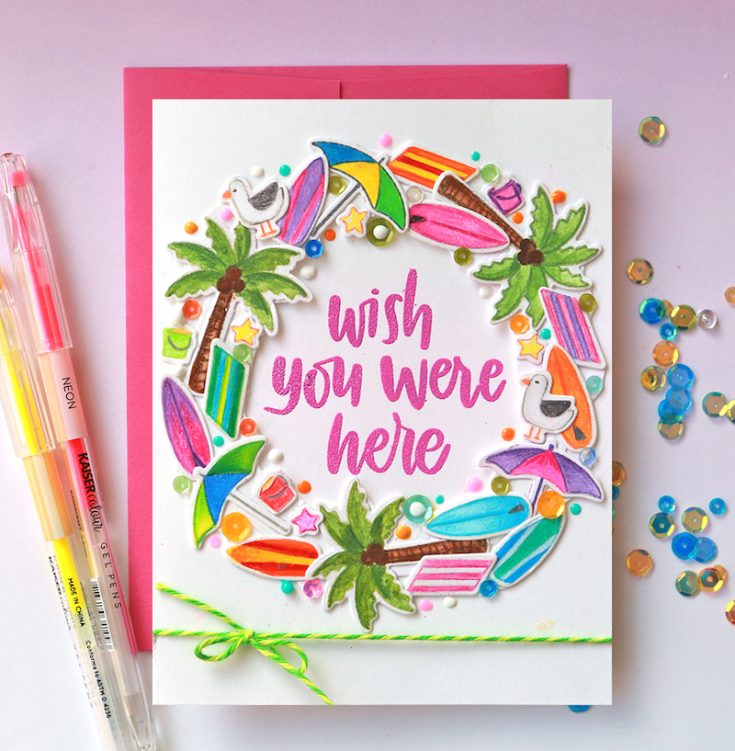
This was the last card I made and I had a lot of small images stamped and colored left. I wasn’t sure how to use them all so I decided to use the circle die as a base to create a wreath around. I arranged all of these smaller stamped images around the wreath shape and then used sequins and Nuvo Drops to fill in open areas.
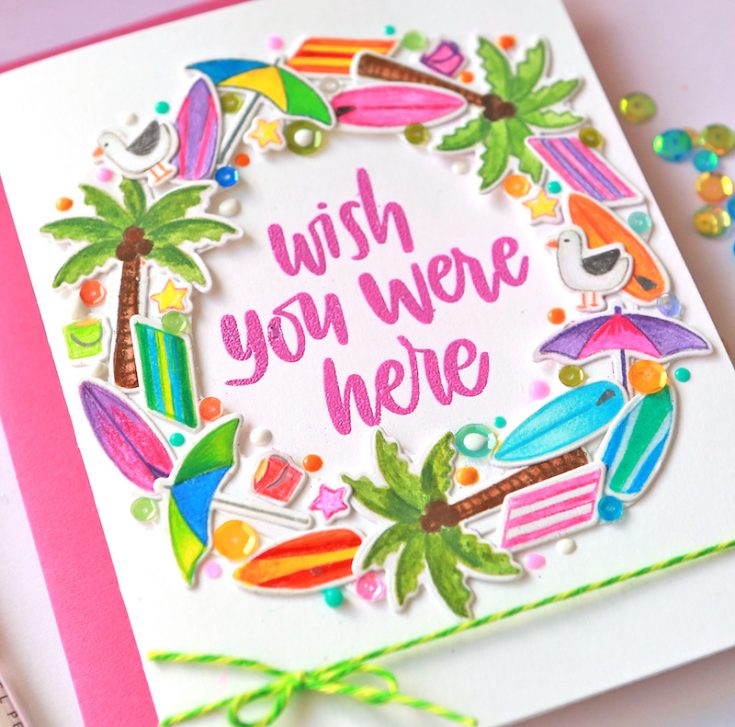
Tips:
• All of the images are stamped with a light color ink and then colored with Copic markers and colored pencils
• Use lots of different colors so the card is bright and colorful!
• Add some 4mm sequins in various colors to fill in open spots between stamped images; then add some Tonic Nuvo Drops around the wreath to fill it out
• Emboss the sentiment in the center of the wreath; I had to cut it apart to rearrange it to make it fit properly
I hope you enjoyed this post today and that it inspired you to create some summer themed cards. I myself am preparing to go on a two week trip to Hawaii, so it definitely got me in the mood for a sun-filled vacation. I hope you are all having a wonderful summer and thank you so much for visiting the SSS blog today! Suzy
SUPPLIES:
|


Thanks so much for stopping by and thanks to Suzy for being our special guest!

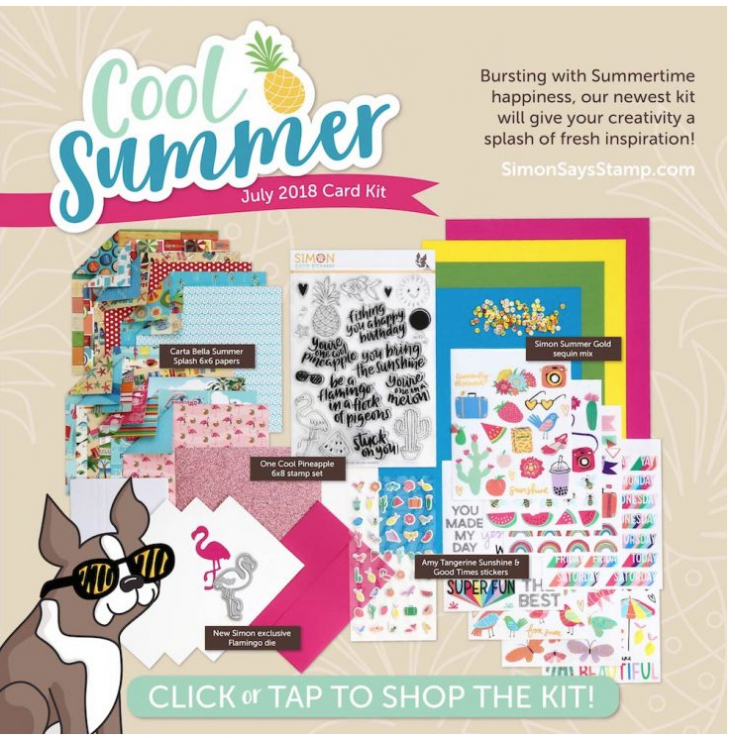
HURRY! Our Cool Summer Exclusive Kit is HOT!
Hi friends! Happy Friday! Have you seen our June 2018 Cool Summer card kit?! If you’re feeling the Summer LOVE as much as we are, be sure to act fast as this kit won’t be around for much longer!
Keep scrolling for some of our favorite inspiration using the kit below!
Don’t let this great kit pass you by!