Art Journaling with Shari Carroll
Welcome to the blog everyone and happy Tuesday!
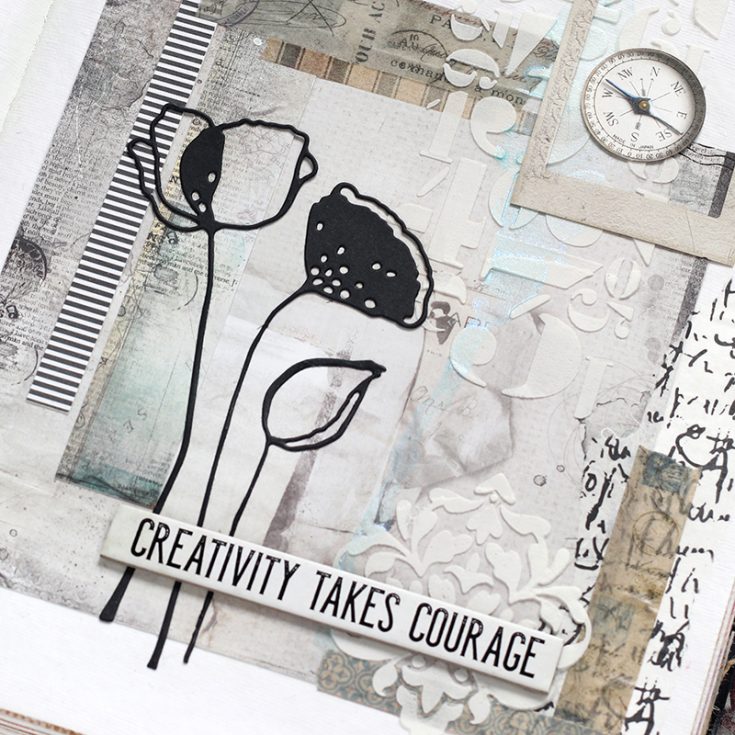
I have an art journal feature today that represents my comfort zone. Of all colors, I love neutrals!! Soft muted tones are easiest for me to design with. What colors are you most comfortable with?
I started out with my Dina Wakley media journal (watercolor pages) and some amazing paper from 49 and Market Captured Adventure collection. These papers are 6×6 double sided and are about a 60lb weight, very sturdy! There are 2 sheets of each of 9 designs, and they have 2 sheets of laser cut elements that you can use on your creations.
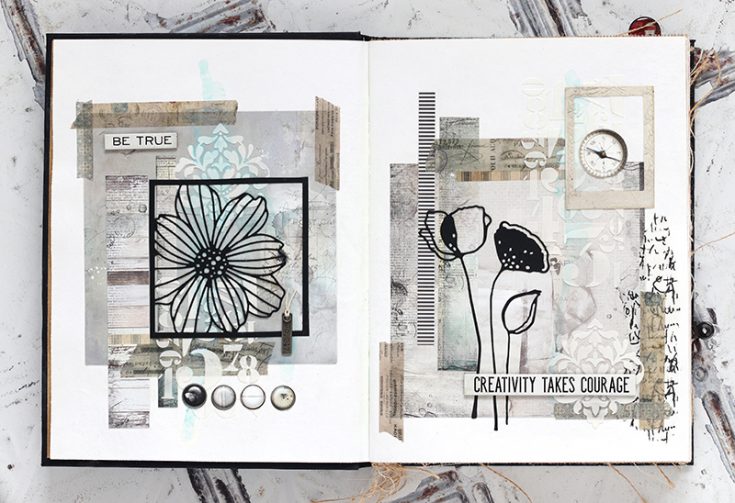
I used a sheet of 6×6 paper on each of the two pages of my journal layout, then added strips of cut paper to balance the page. I added a bit of embossing past with the Simon Says Stamp Damask and Tim Holtz Numeric stencils. Once the paste was dry, I added a hint of color with Prima Metallique Light Patina acrylic paint.
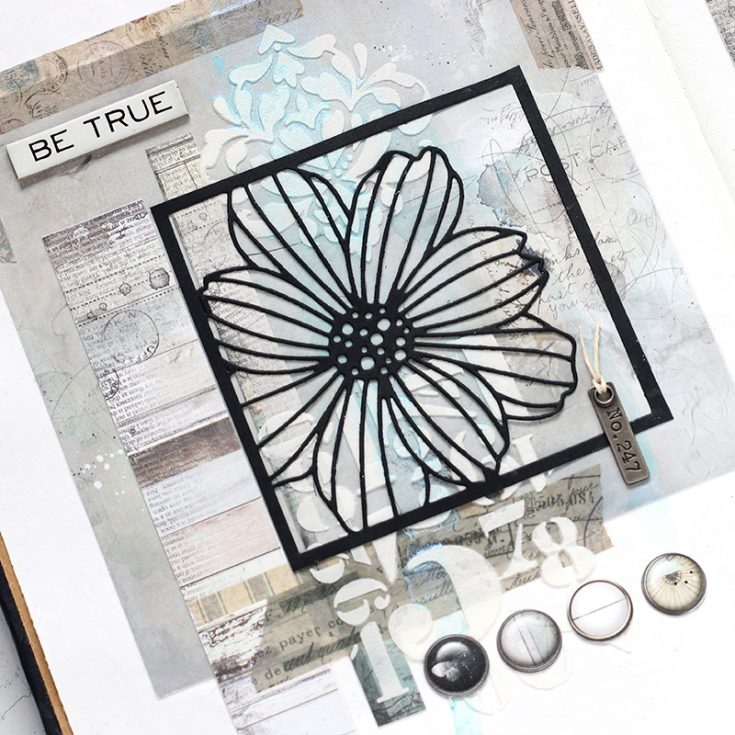
I glued down a Simon Says Stamp Cosmo Flower Frame and Alexandra Renke Poppy flower die cut from black cardstock. Once I had my flowers in place, I added elements from the 49 and Market laser cuts and Tim Holtz Quote Chips for my journal title.
I’ve shot a video of the complete process, you can view it below or on our YouTube channel HERE.

Blog Candy Alert!! Follow our blog via email and comment on this post for a chance to win special blog candy!
Thanks for stopping by today, I hope you’ve enjoyed my art journal inspiration!
|


Studio Monday with Nina-Marie: DIY Summer Inspiration Boards

Hello everyone, it’s Nina-Marie here with you today! I don’t know about you, but DIY projects are so much fun to create! By stretching your imagination a bit, you can find new and exciting ways to use your supplies in unique ways.
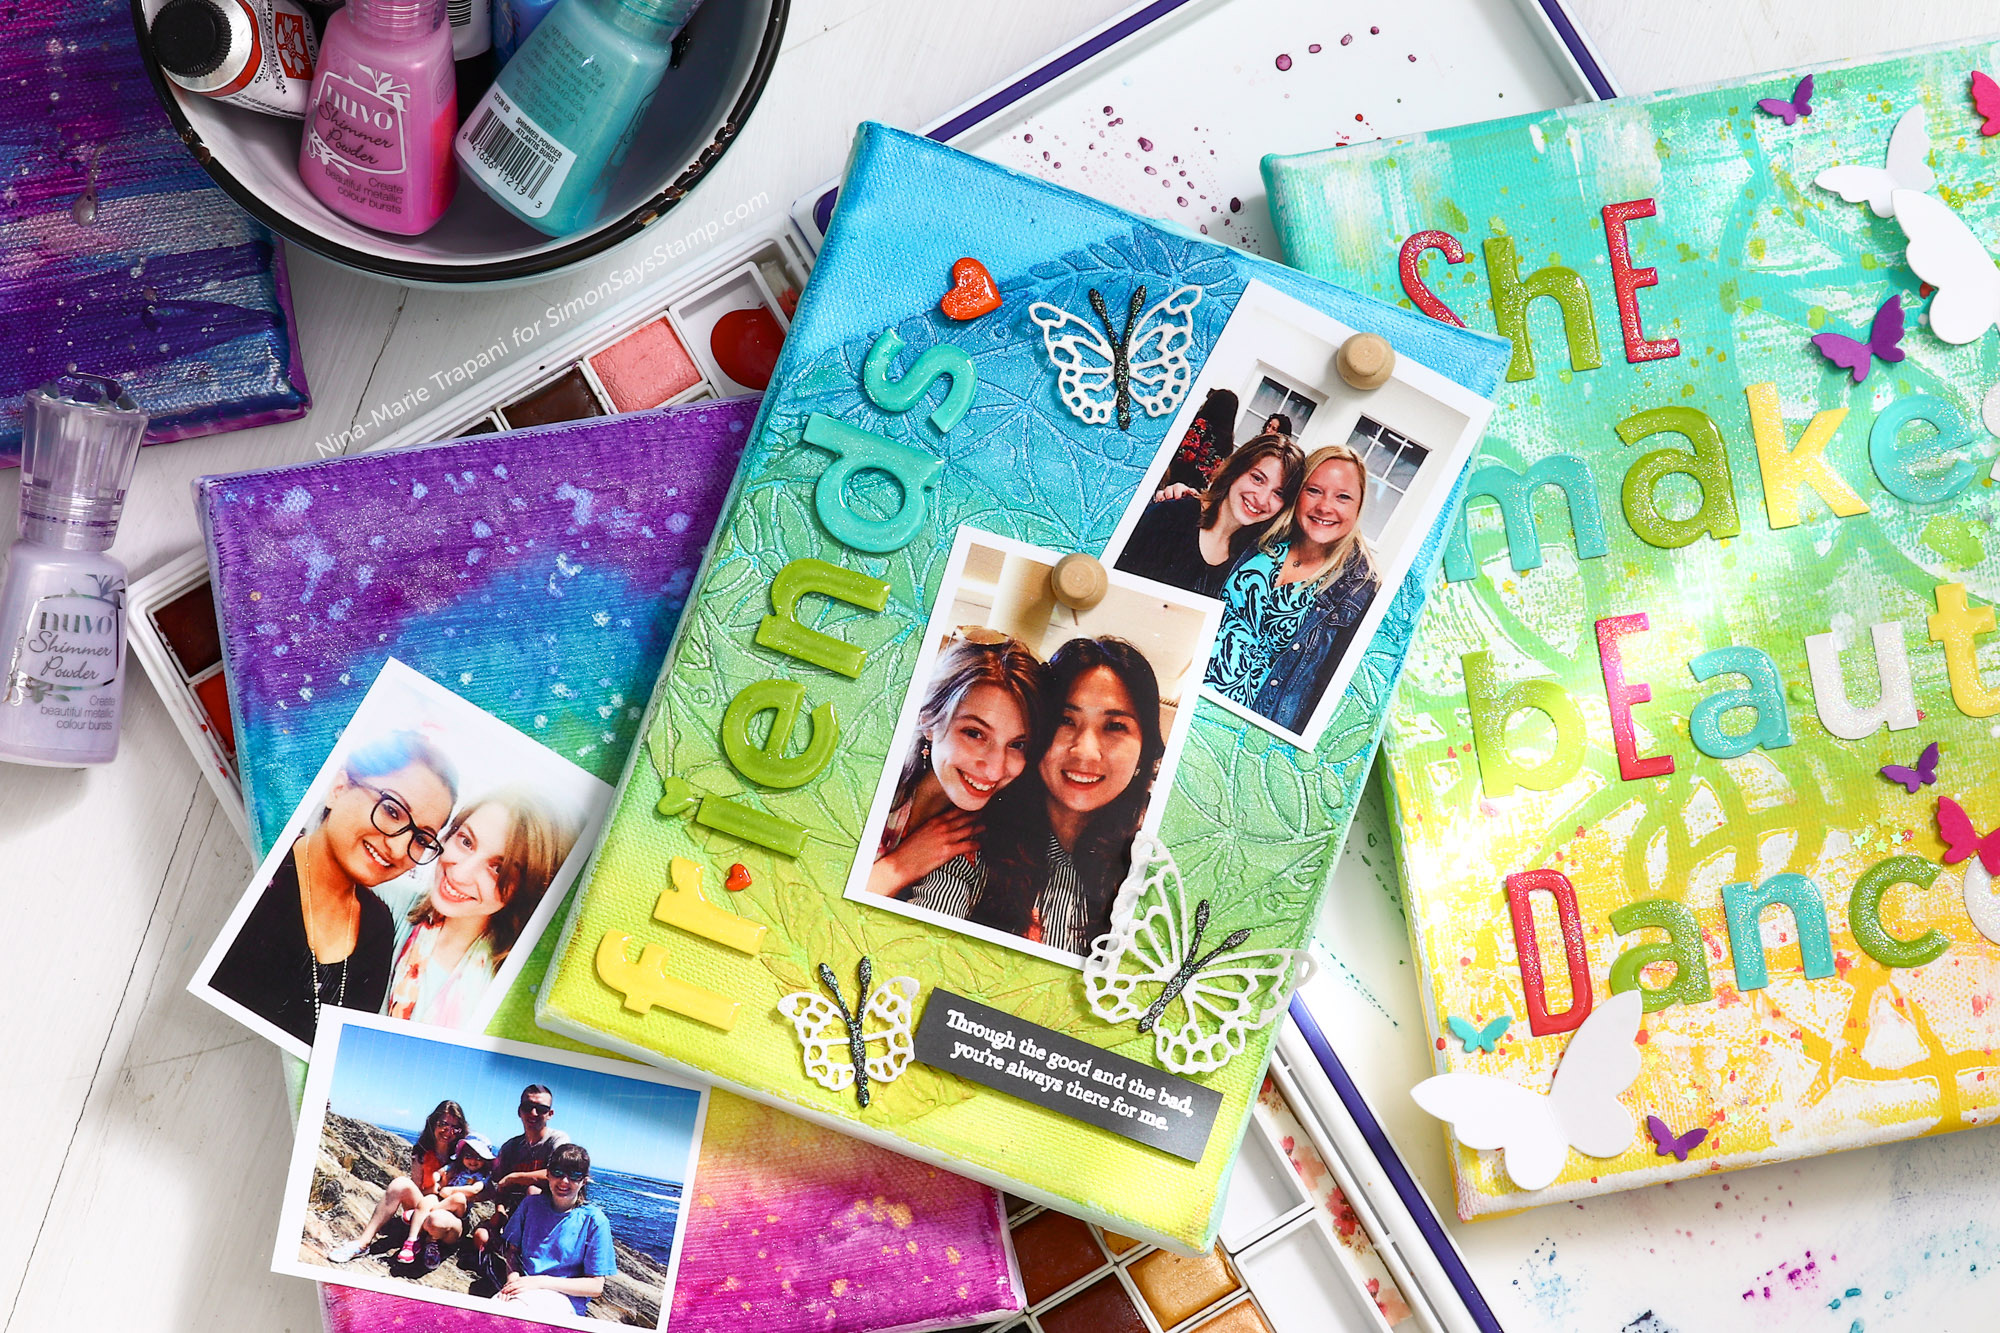
In this week’s Studio Monday tutorial, I will show you how to take some simple, stretched canvases to make pretty inspiration boards! These colorful decor pieces can be used to pin up photographic memories and inspiring ephemera, or add uplifting quotes for some motivational spark!
With a just about any paint medium, you can decorate these canvases in any color that fits your style. I’ve used Tonic Studios Shimmer Powders, Dina Wakley acrylics and Prima Metallique acrylics. Before working on these canvases, I recommend applying a coating of gesso to either create a good surface for your paints, or to add some texture. Further texturizing effects can be added with the Jane Davenport Mermaid Texture brushes!
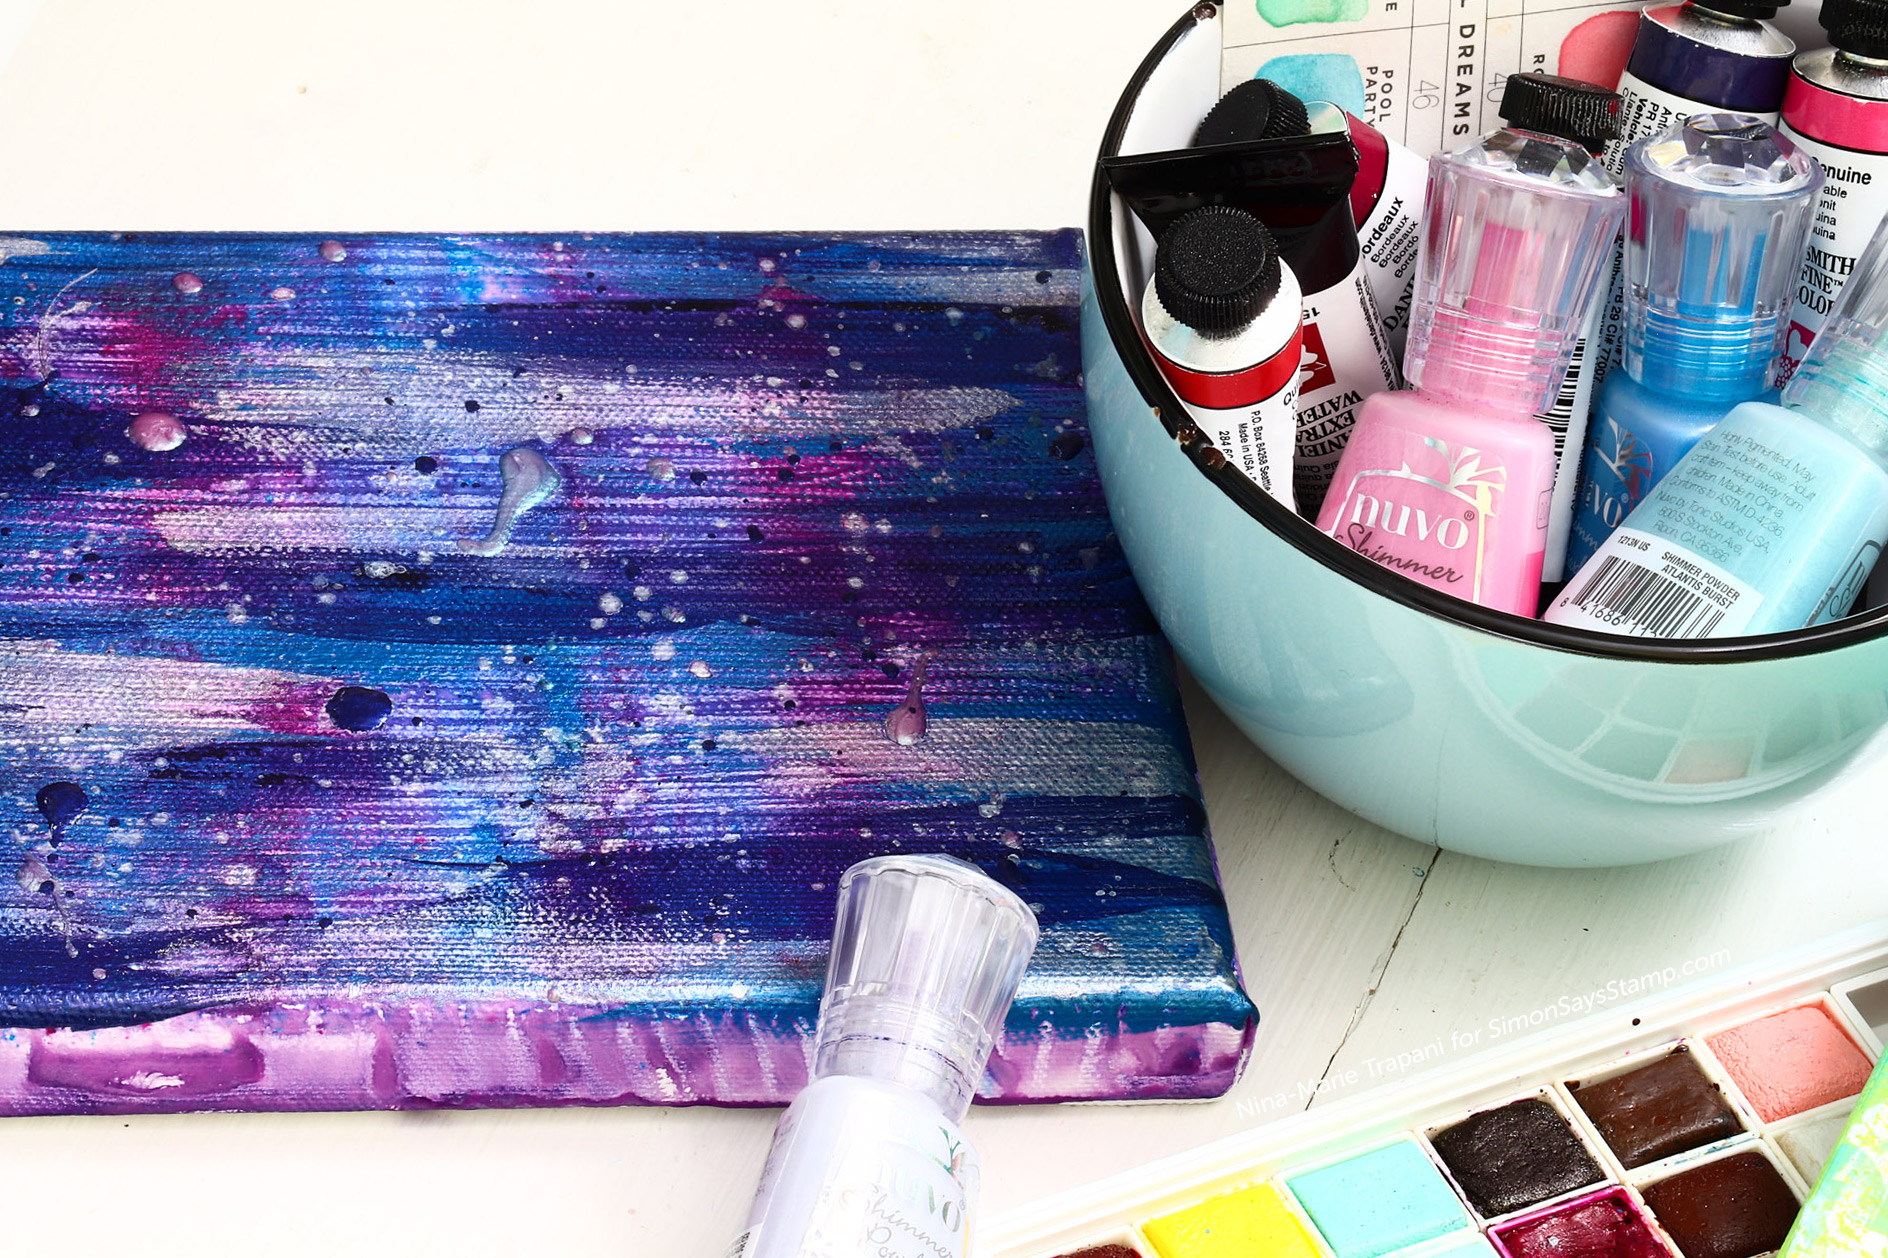
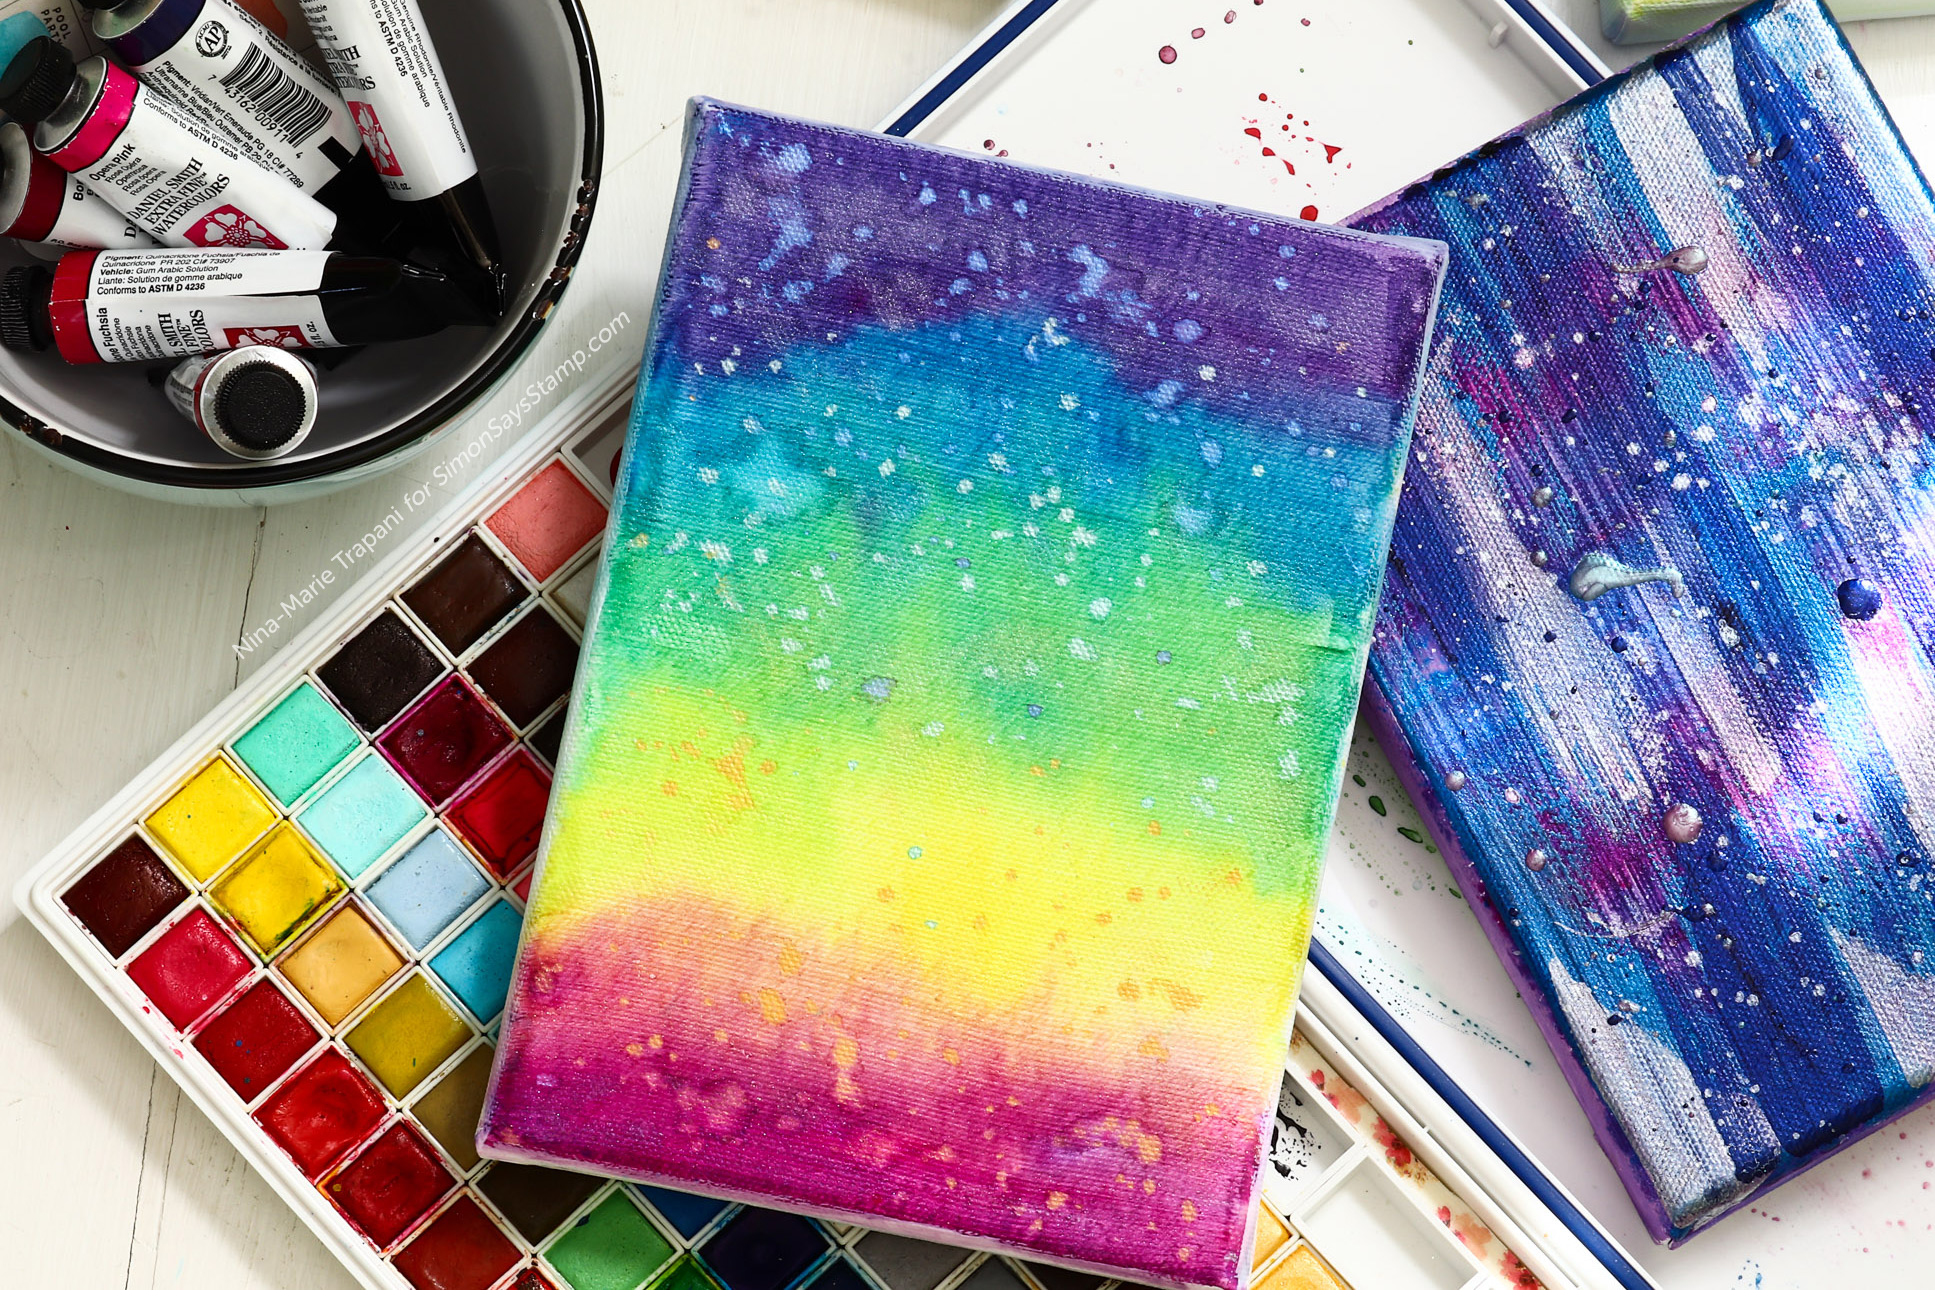
You can further enhance your canvases with stenciling too! In the video I’ll share two fun ways to stencil onto the canvases in a way that does not inhibit you from using them as pinboards.
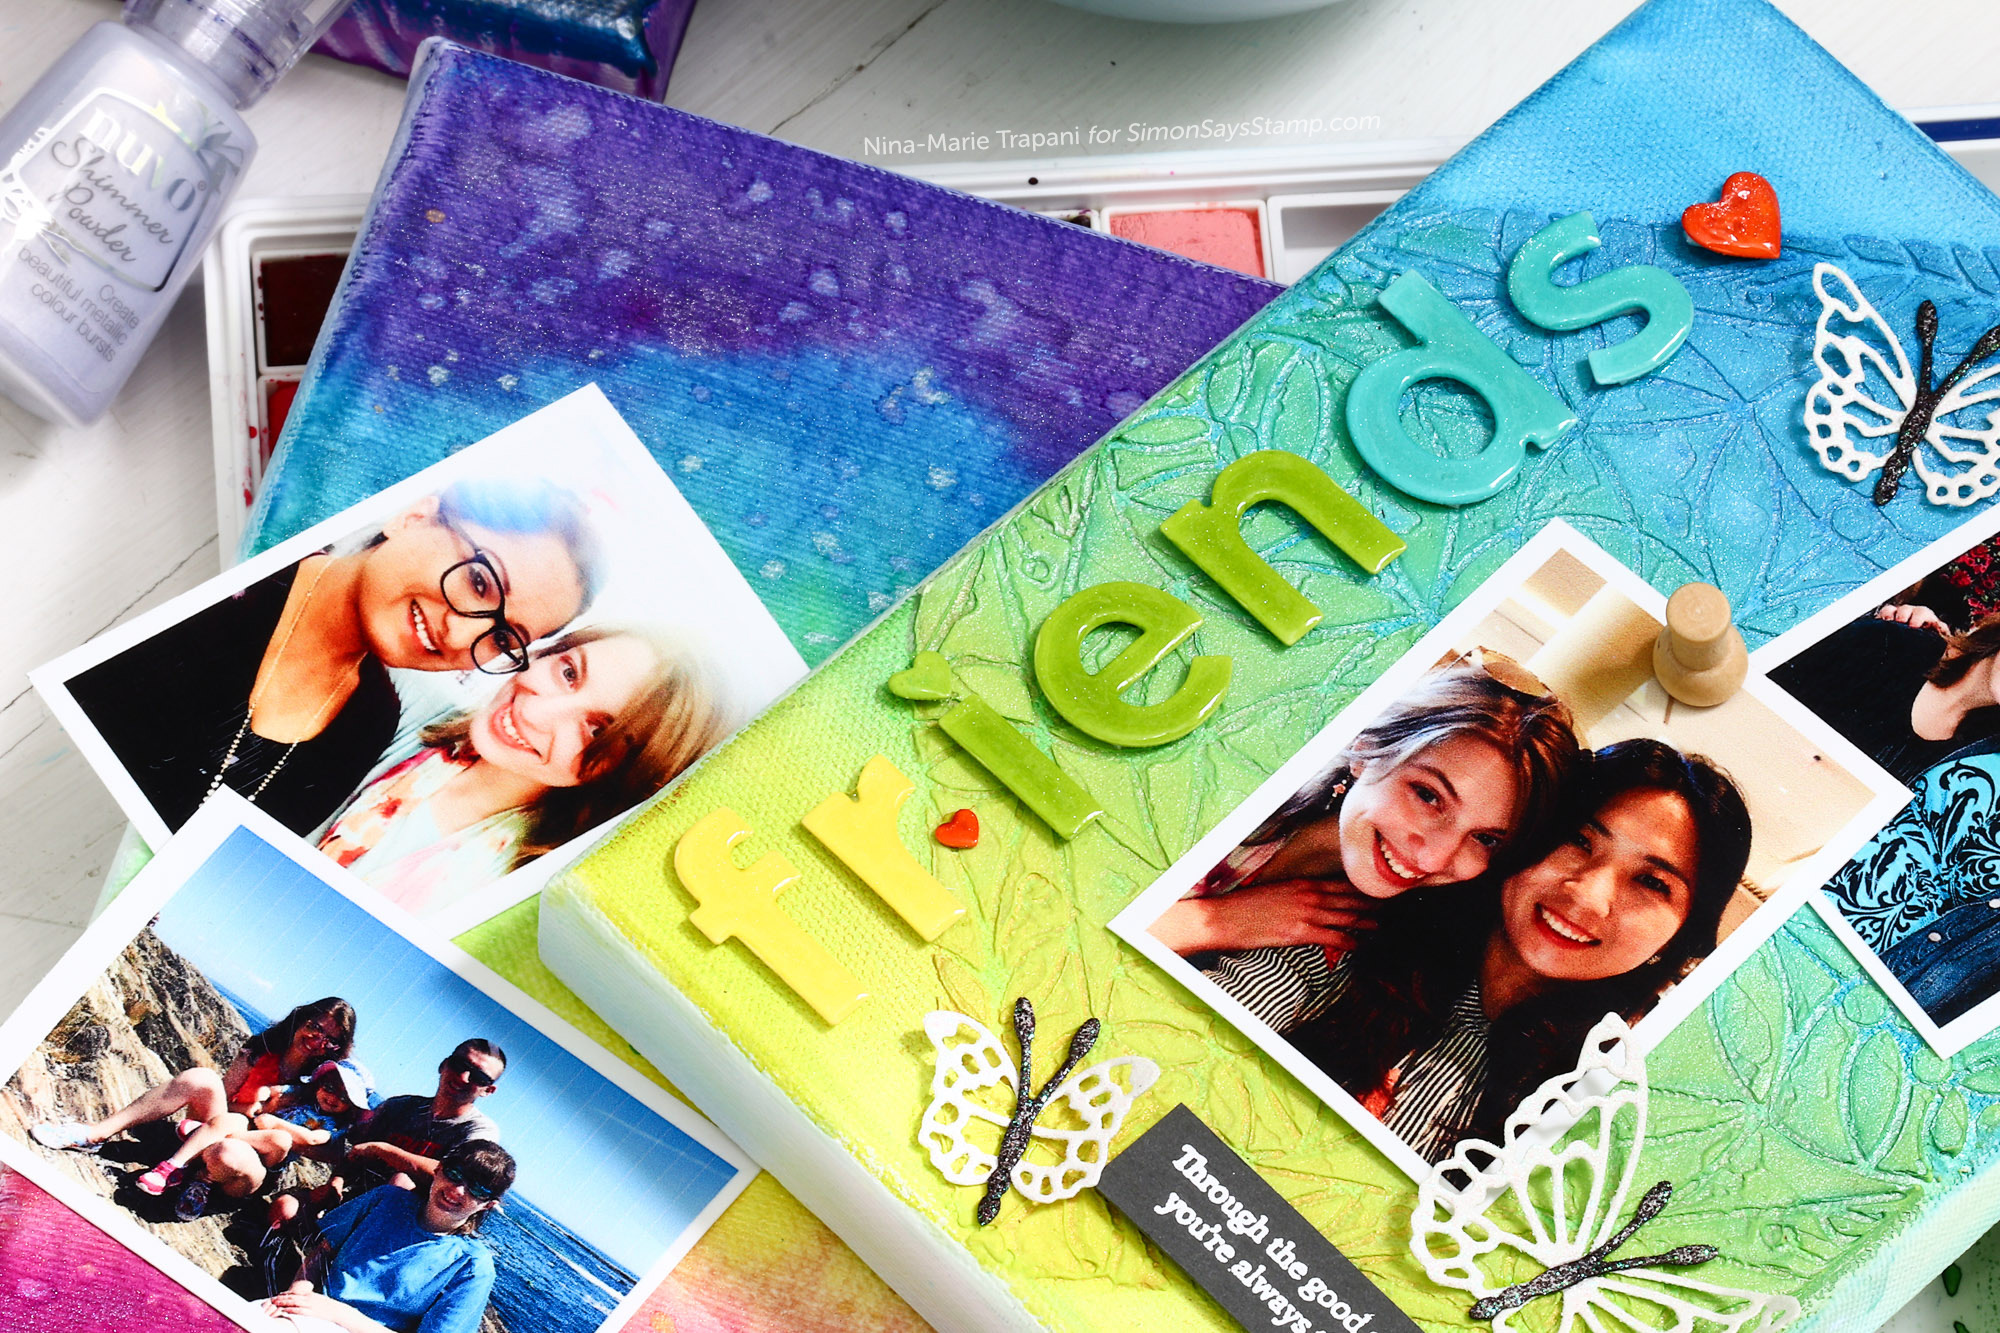
Once you’ve added the colors and textures you love onto your canvases, then comes the next step; embellishing! There are many ways you can embellish these DIY pinboards; from die cut shapes and glitter, to sequins or perhaps even some sentiments! These are great for using up leftover bits and pieces you may have laying around from previous projects (such as the letters on all of my canvases, which were leftover cutouts from the Simon Says Stamp, Everett’s Solid Letters set and Altenew’s Fine Alphabet die set).
Using a few push-pins, you can easily add, and later interchange, photos you have snapped and want to cherish! The size of these canvases are especially perfect for displaying those pictures from your phone!
Finally, all that’s left is to display your pinboards!
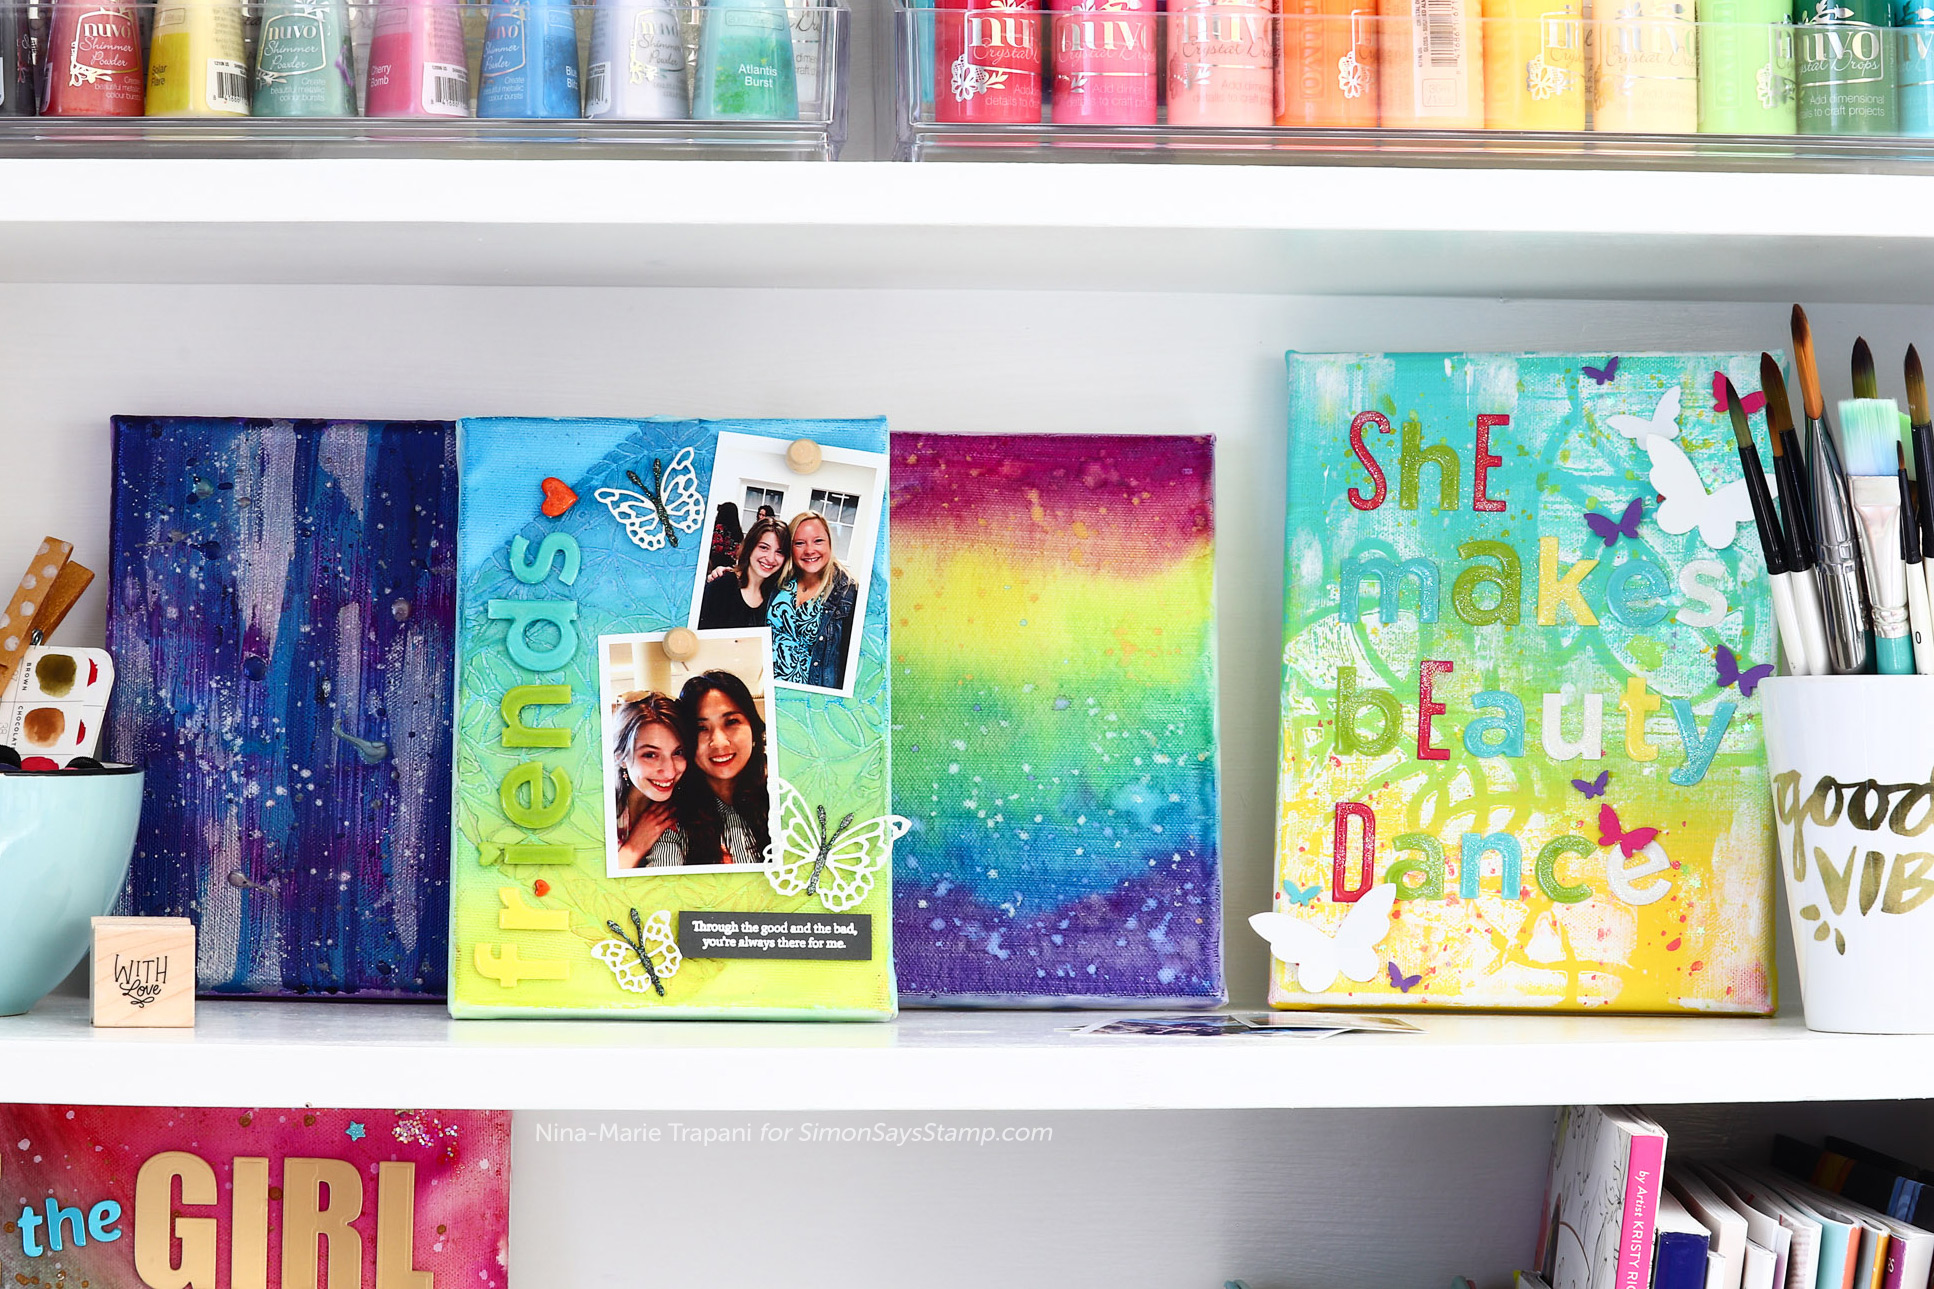
However you end up using these creative canvases, I hope today’s video will inspire you to get a one or two of your own and decorate them in a way that makes you happy! Remember that the styles and colors I used in this tutorial are things that inspire me. I encourage you to look at the techniques, ideas and tips that I feature in the video as guideance for adding mediums to the canvases. Then translate those ideas into YOUR personal style!
Thanks so much for visiting with me today! I hope you enjoyed!
WATCH THE VIDEO
SUPPLIES USED
|


Blog Candy Alert!! Follow our blog via email and comment on this post for a chance to win special blog candy!
Simon Says Stamp Presents: Crafty Quintet!
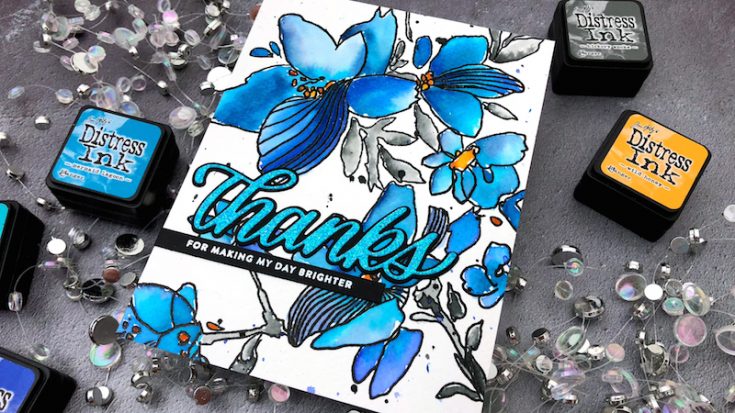
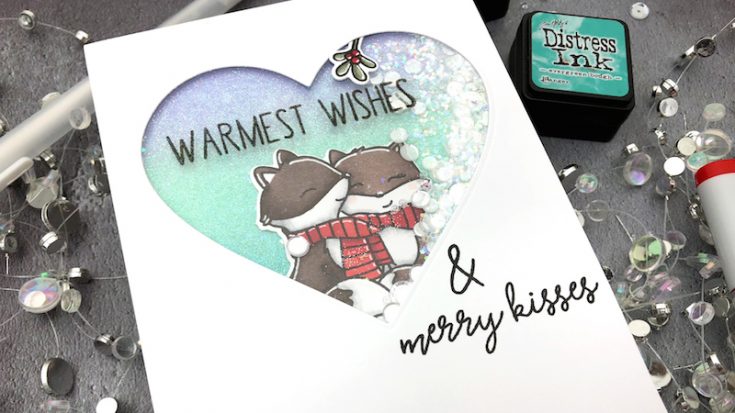
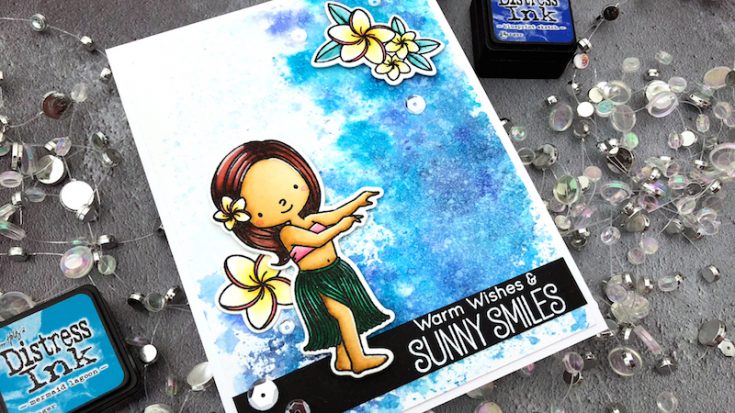
Hi friends! Happy Sunday! Please welcome special guest Jessica Frost-Ballas back to our blog for a very special BRAND NEW blog feature! We hope you love it! It’s called “Crafty Quintet” which is a fun musical play on saying that we will be focusing on “5 of something crafty” to apply it to your projects! The first feature is all about ACETATE! Read on and be sure to not miss the video for additional tips and tricks! Enjoy!
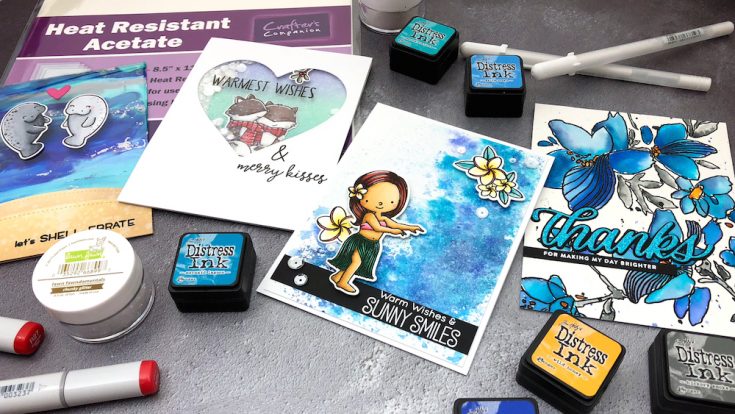
5 Ways to Use Acetate:
SUPPLIES:
|


SUPPLIES:
|


SUPPLIES:
|


SUPPLIES:
|


Thanks for stopping by and thanks to Jessica for being our guest!


