Studio Monday with Nina-Marie: Holiday Tags 5 Ways!

Hello crafters, welcome to the latest edition of Studio Monday! Today I’m sharing five unique ways to create one-of-a-kind and easy tags to use on Christmas gifts or even to attach to cards!
The first tag I made features a cute, shaker element!
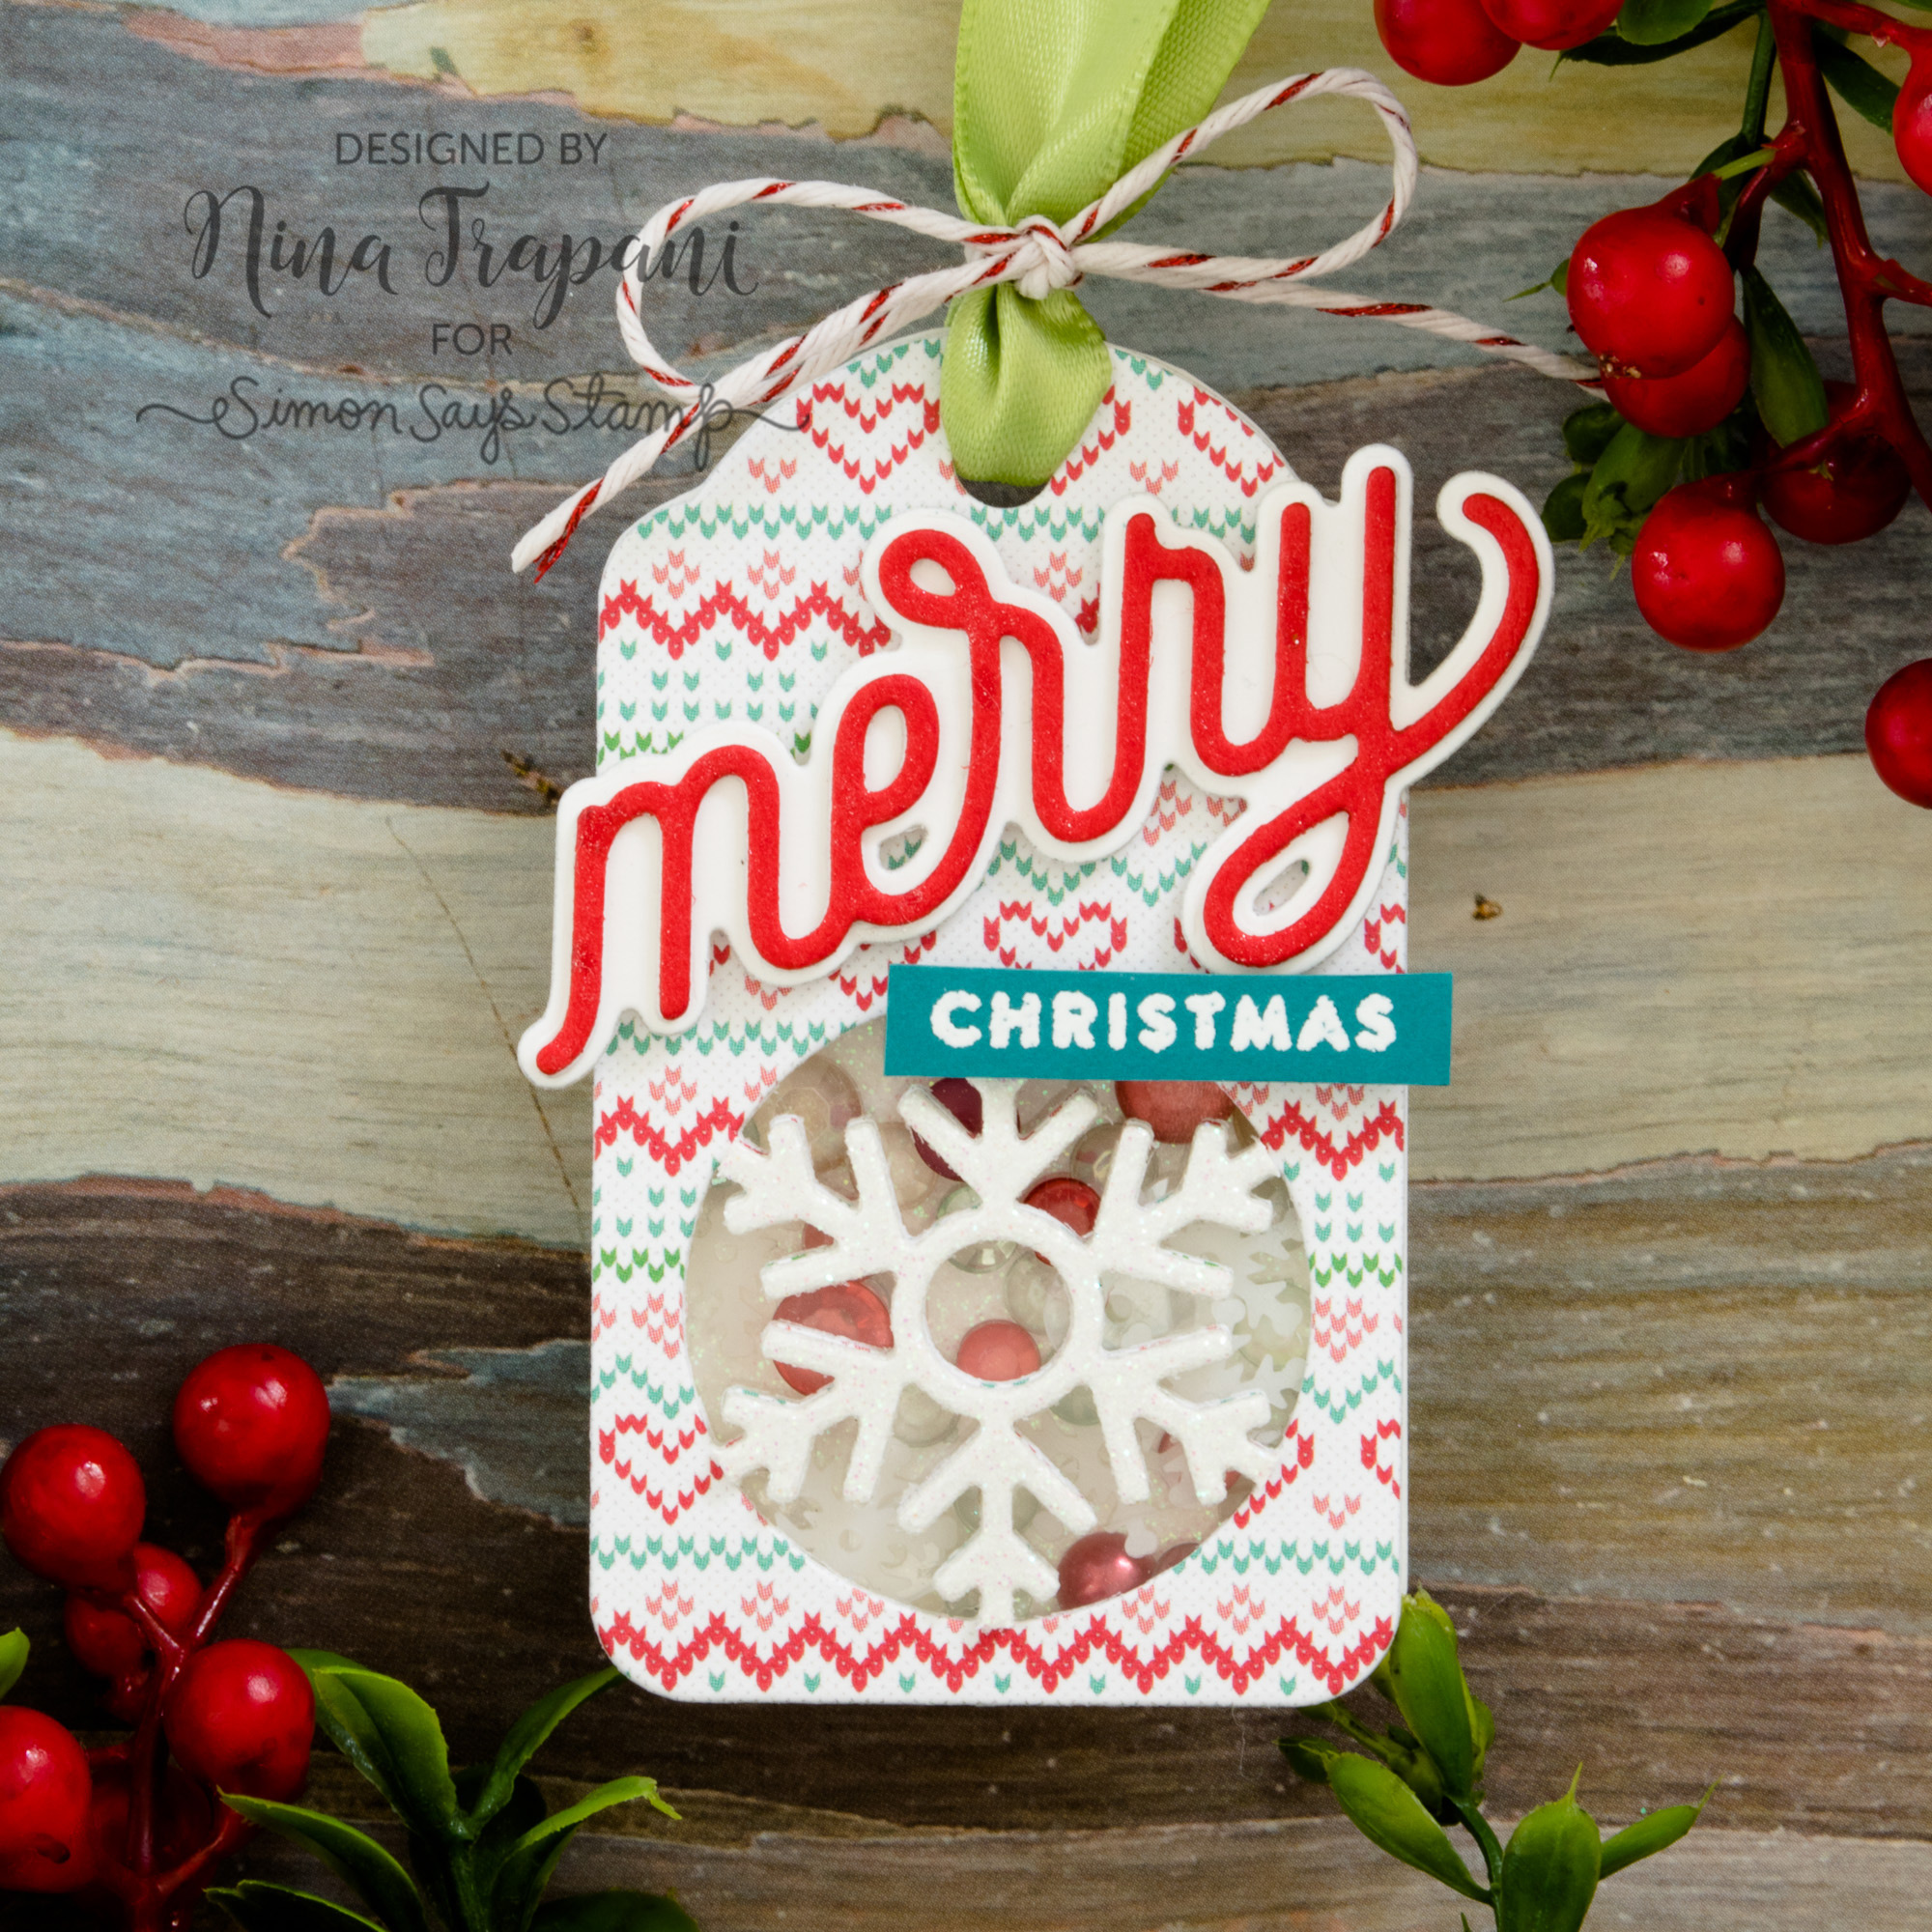
I used our Simon exclusive Snowflake Tags die set and cut the tag with white cardstock, as well as the Lawn Fawn Knit Picky paper collection. Inside the shaker are Snowflake confetti pieces and Christmas Carnival gems, plus a bit of white glitter paper in the background; the shimmer is stunning!
For the sentiments I used the CZ Design Merry script die with a heat embossing Christmas sentiment strip. A bit of twine and ribbon finished off this sparkly, shaker tag!
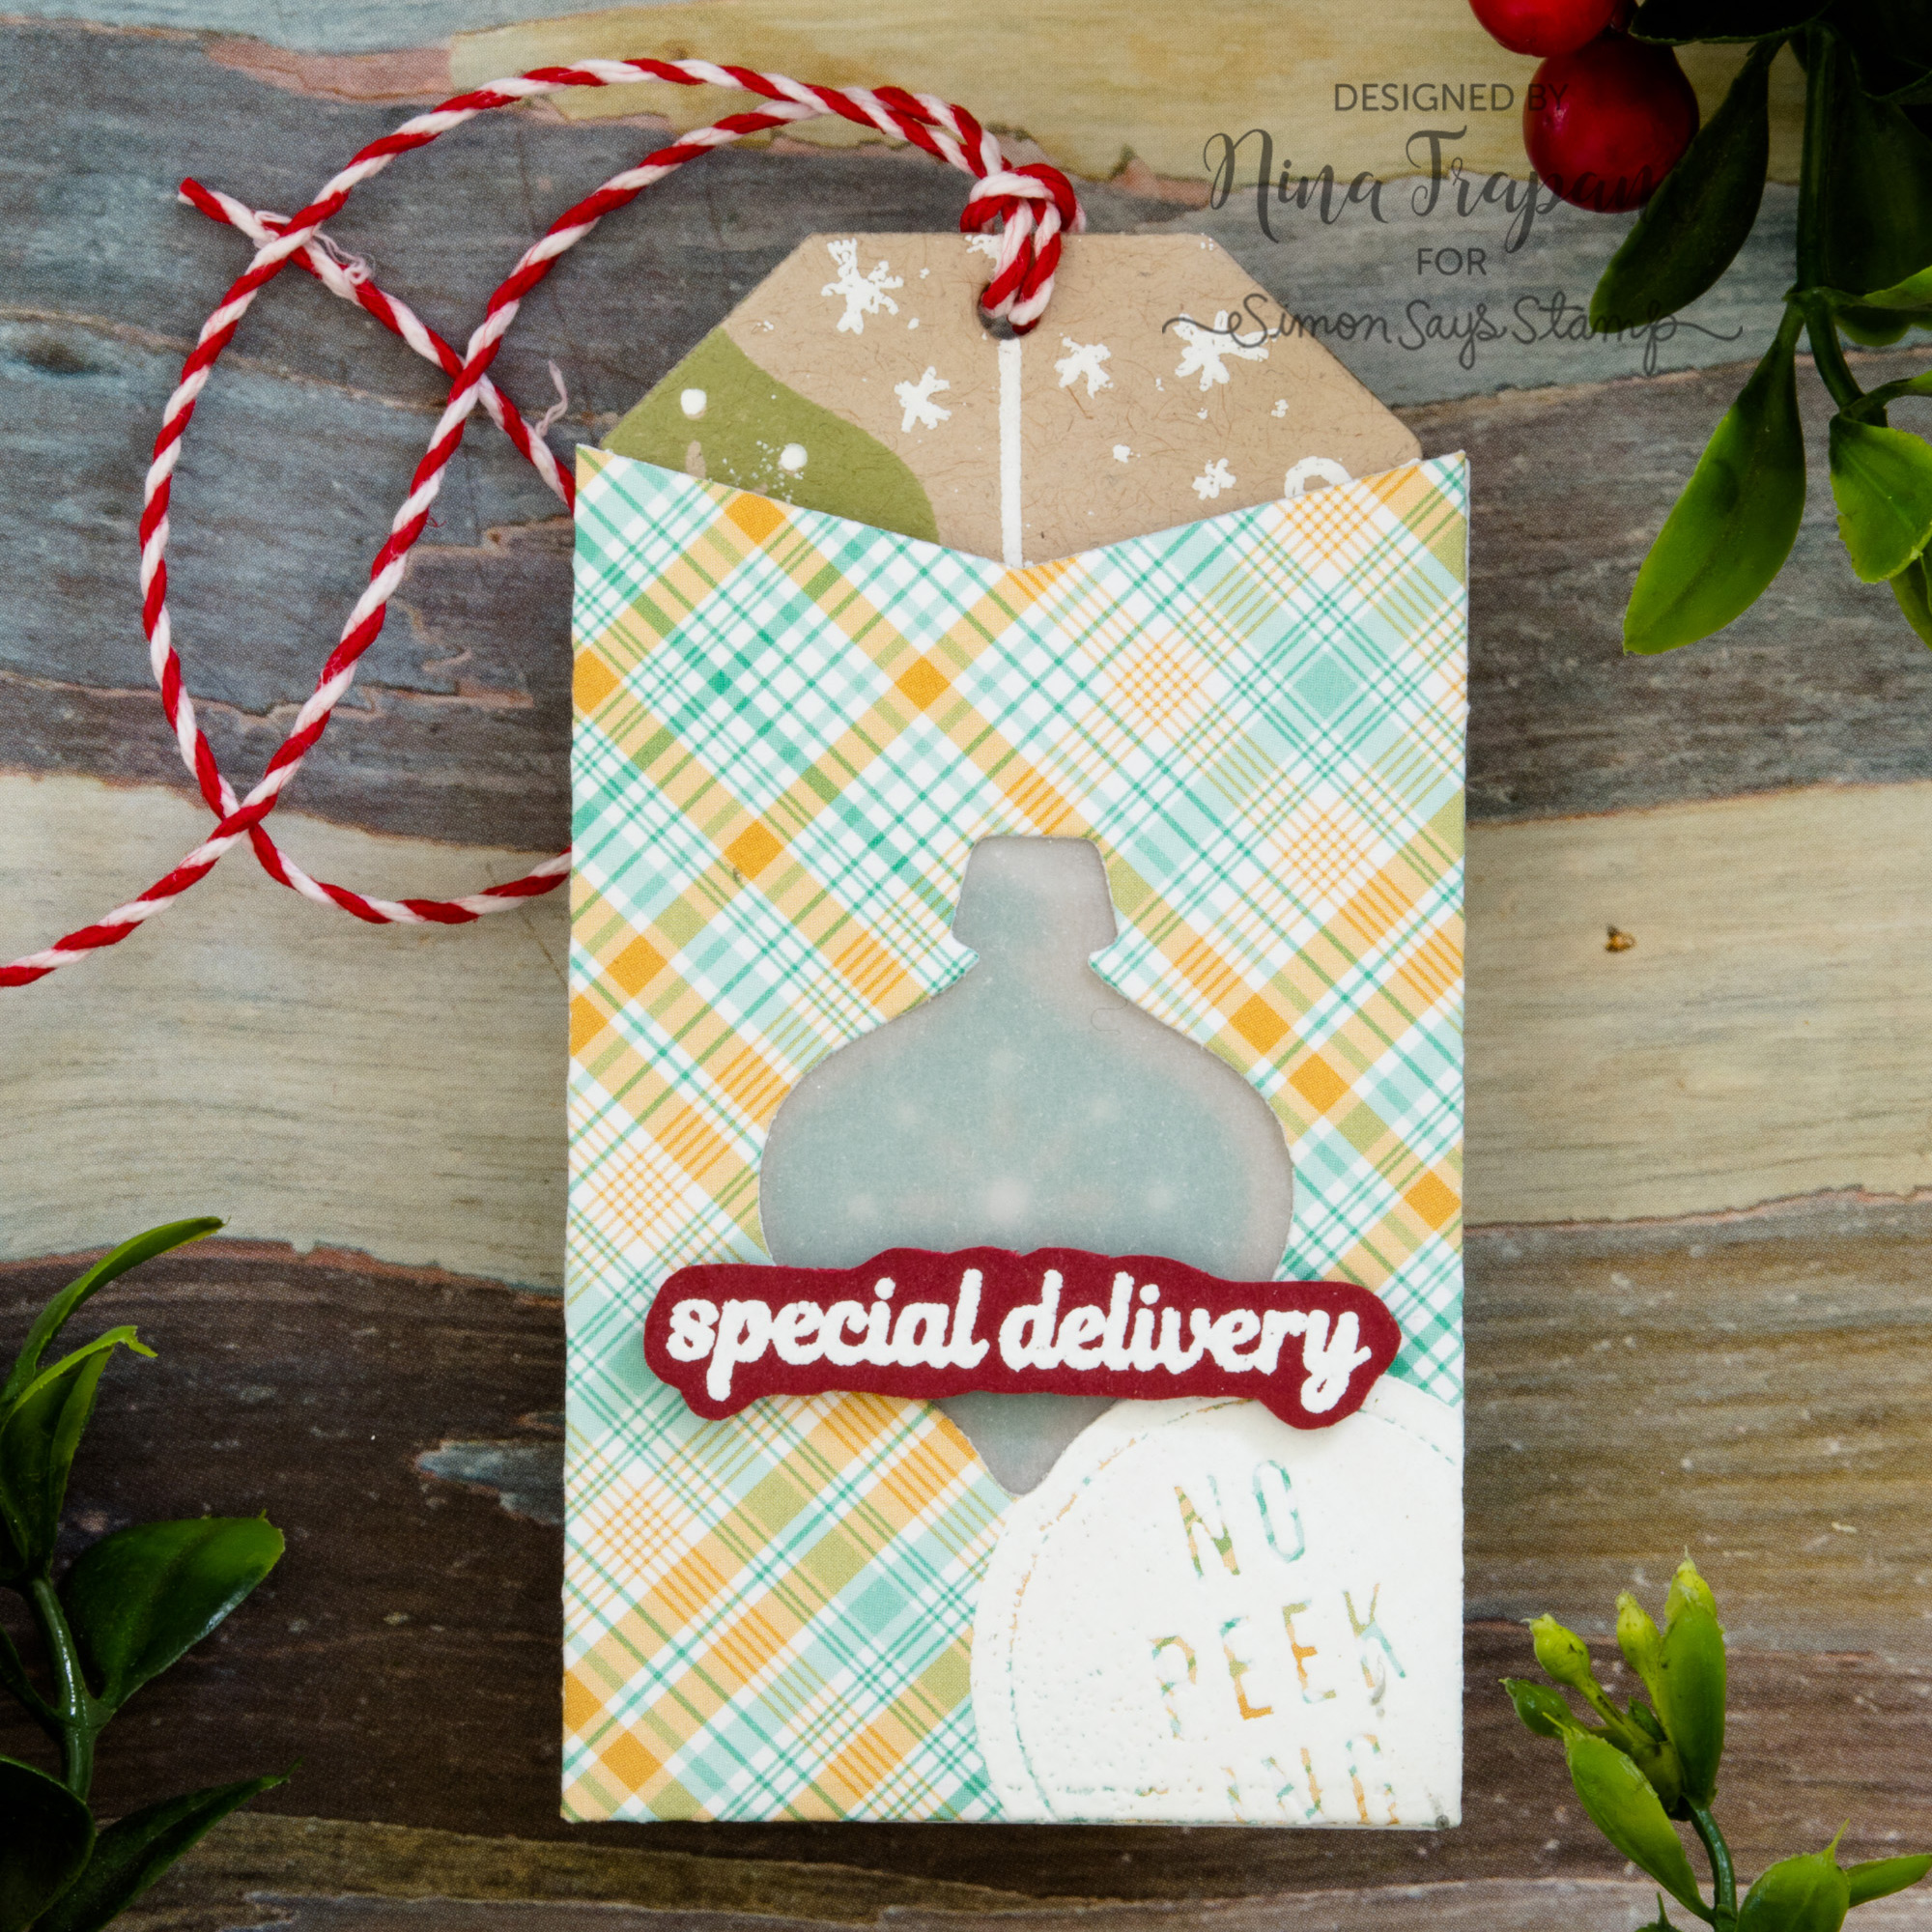
Next, I worked on creating a peek-a-boo tag…
This playful tag features the fun, Fanciful Tags die set that is exclusive to Simon Says Stamp! I paired this with images from the Christmas Squad stamp set, plus papers from Lawn Fawn’s Knit Picky and Really Rainbow Christmas paper collections.
The greeting on the tag is from our Simon exclusive Merry & Bright stamp set, and I included a few Hero Arts snowflake confetti pieces around the tag too!
Be sure to watch the video below to see what I put on the inside of this peek-a-boo tag!
These next few tags were a blast to create…
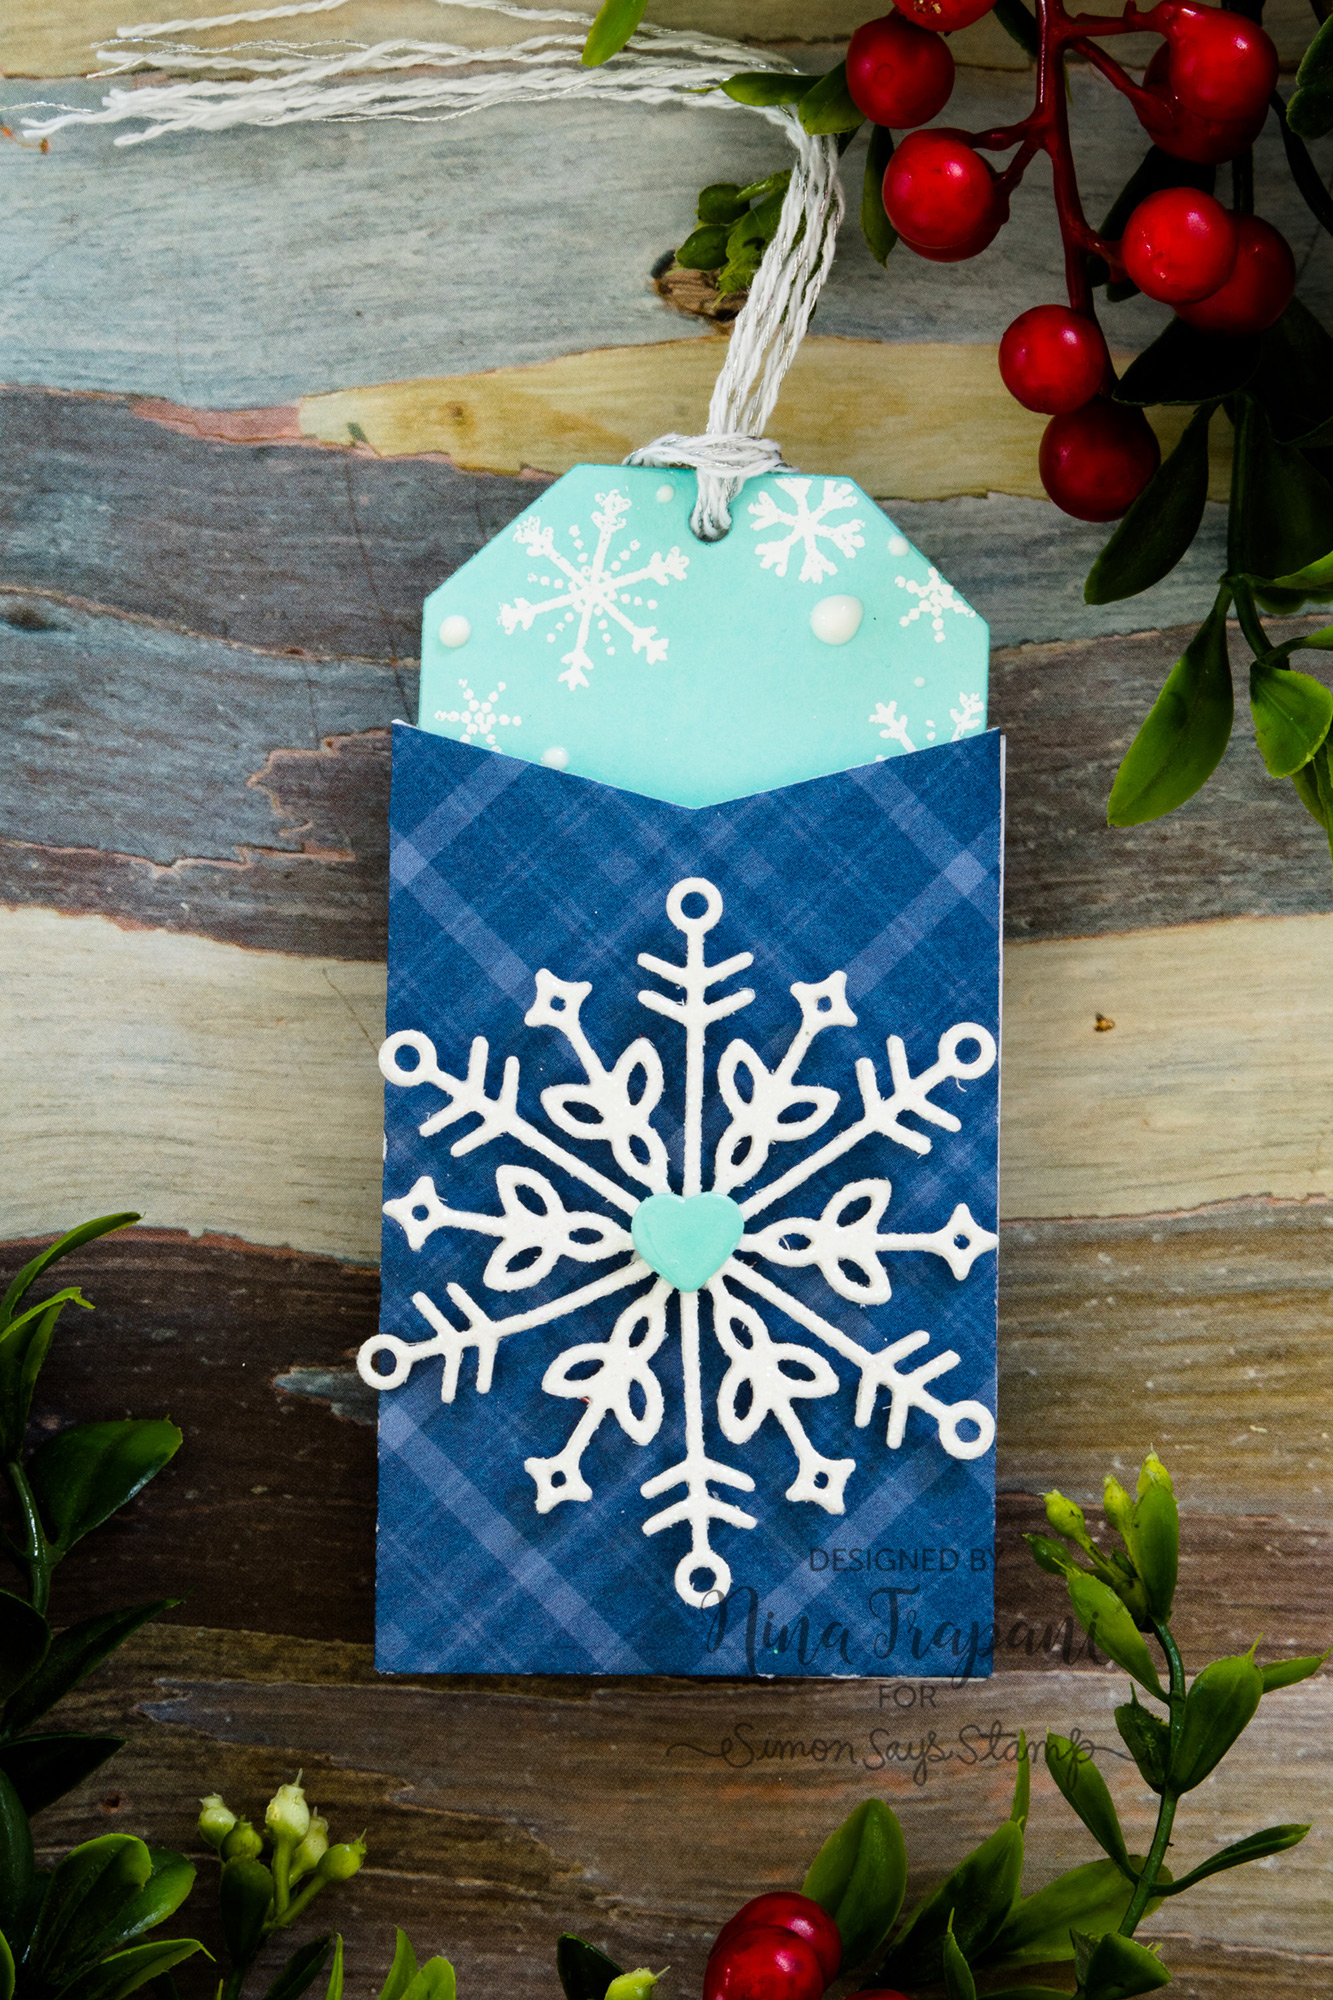
The Holiday Cheer die set from Concord and 9th makes the most darling pocket tags; with both the pocket, the tag and a bunch of festive shapes, you can make unique tags that are sure to add a bit of cheer to your Christmas gifts!
I created quite a few of these tags, as they were so much fun to make! Most of the tags feature the Holiday Cheer coordinating stamp set, but I also used the Simon exclusive Big Joy Snowflake die on one of the tag pockets.
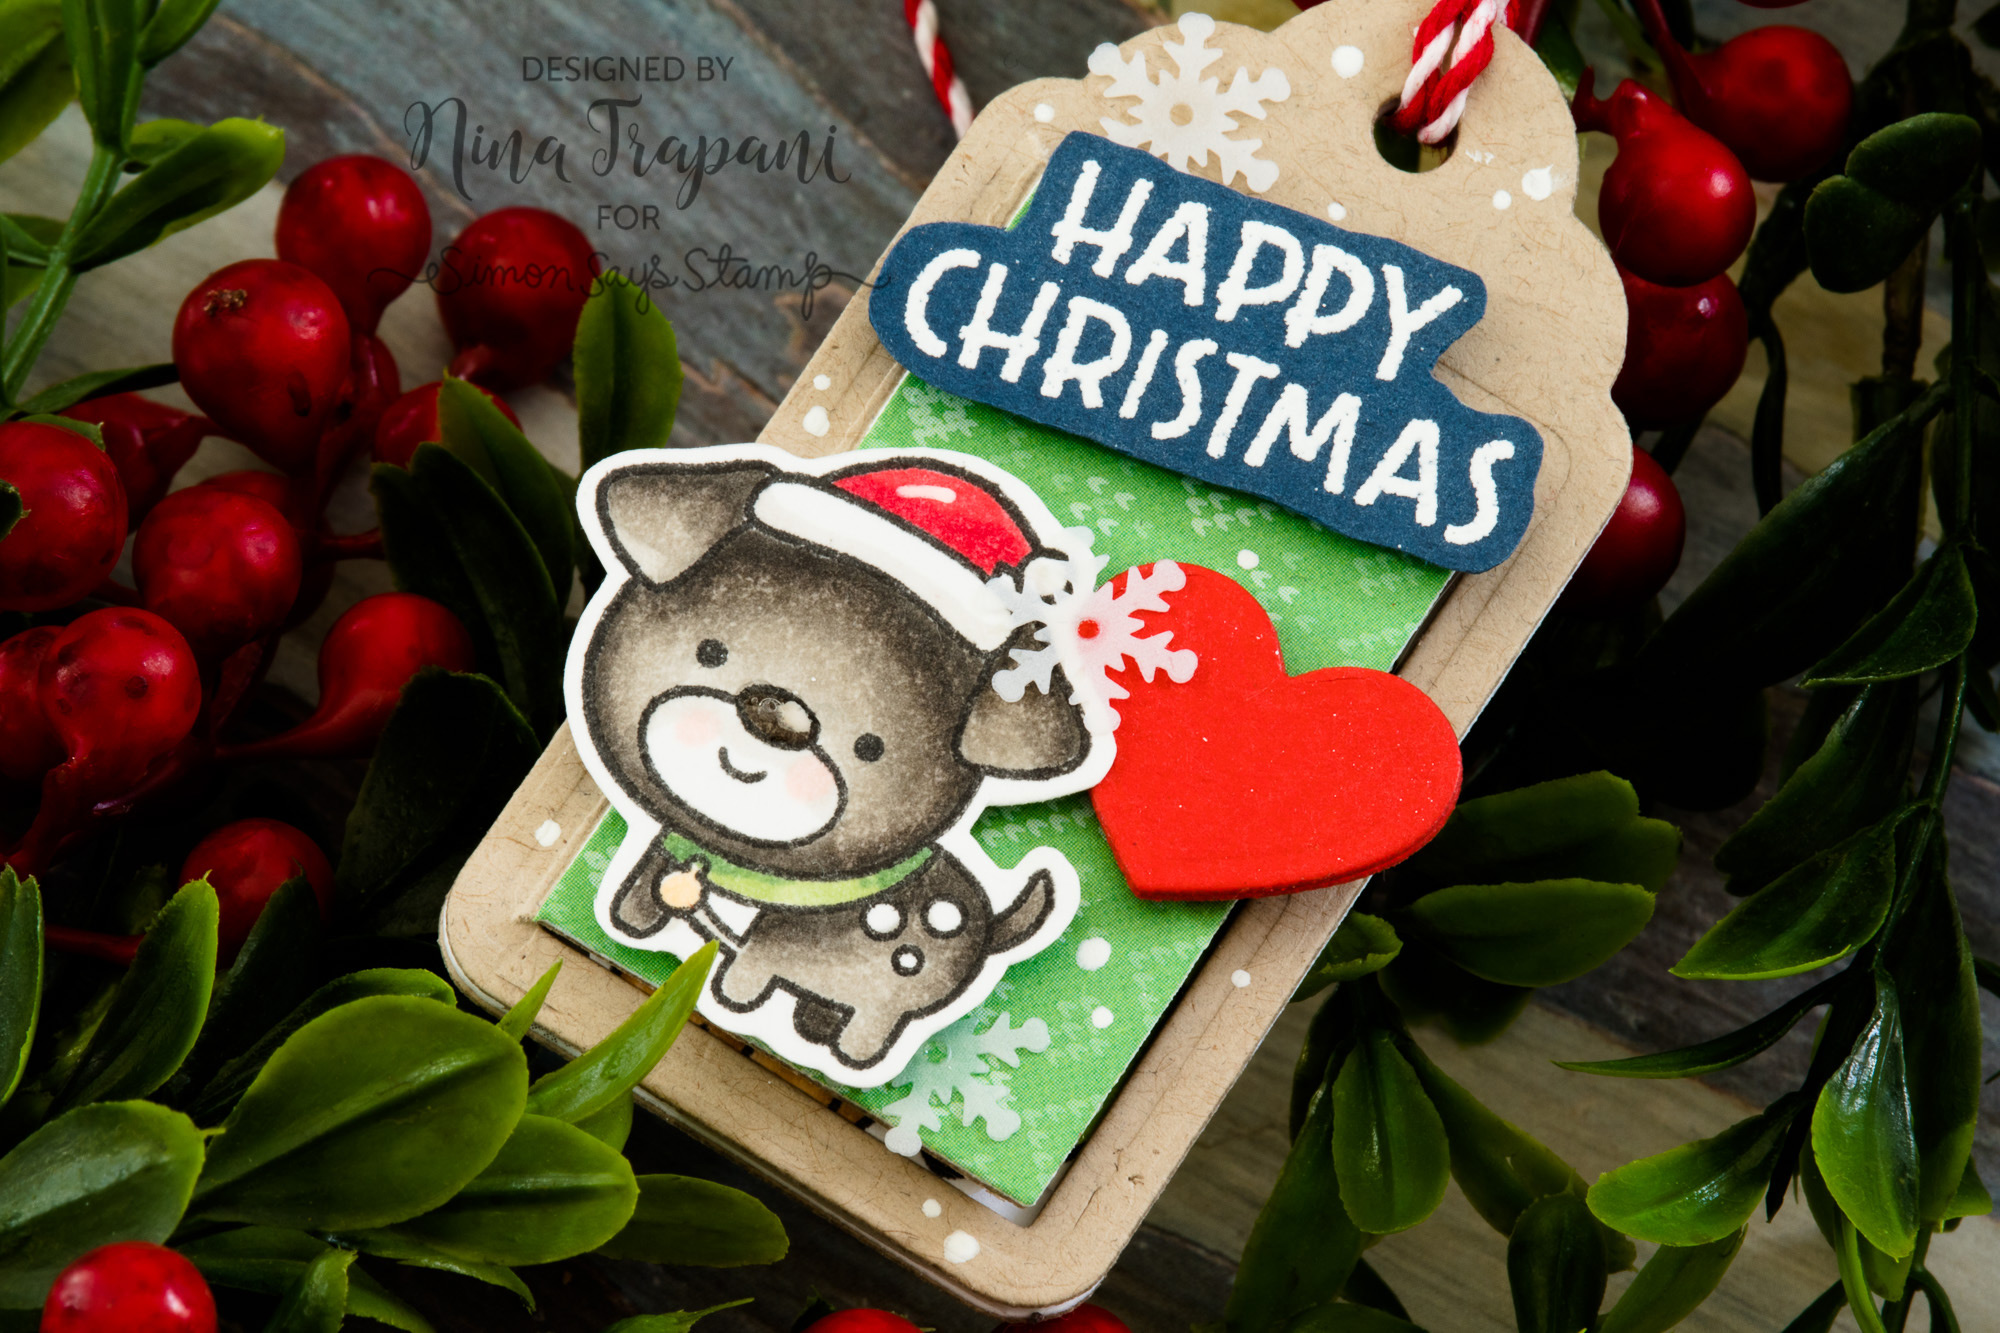
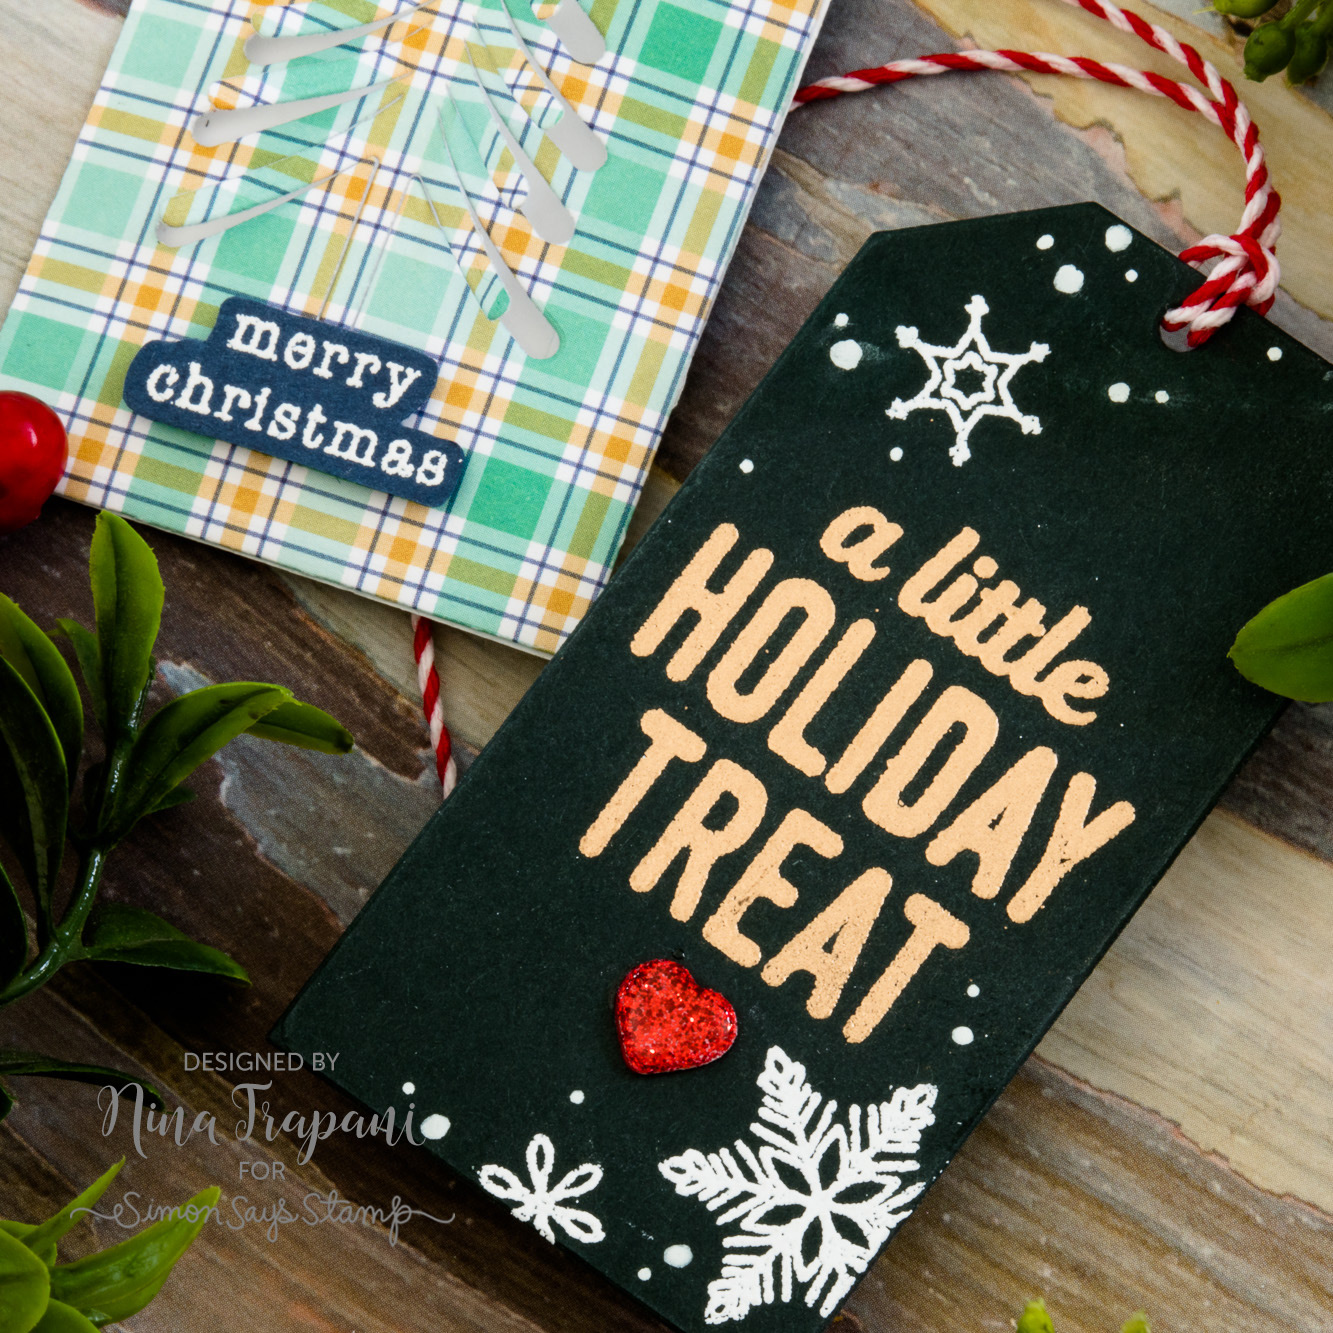
After making the pocket tags, I wanted to feature the darling Elves and Their Shelf stamp set from Neat and Tangled with some Pebbles Candy Cane thickers.
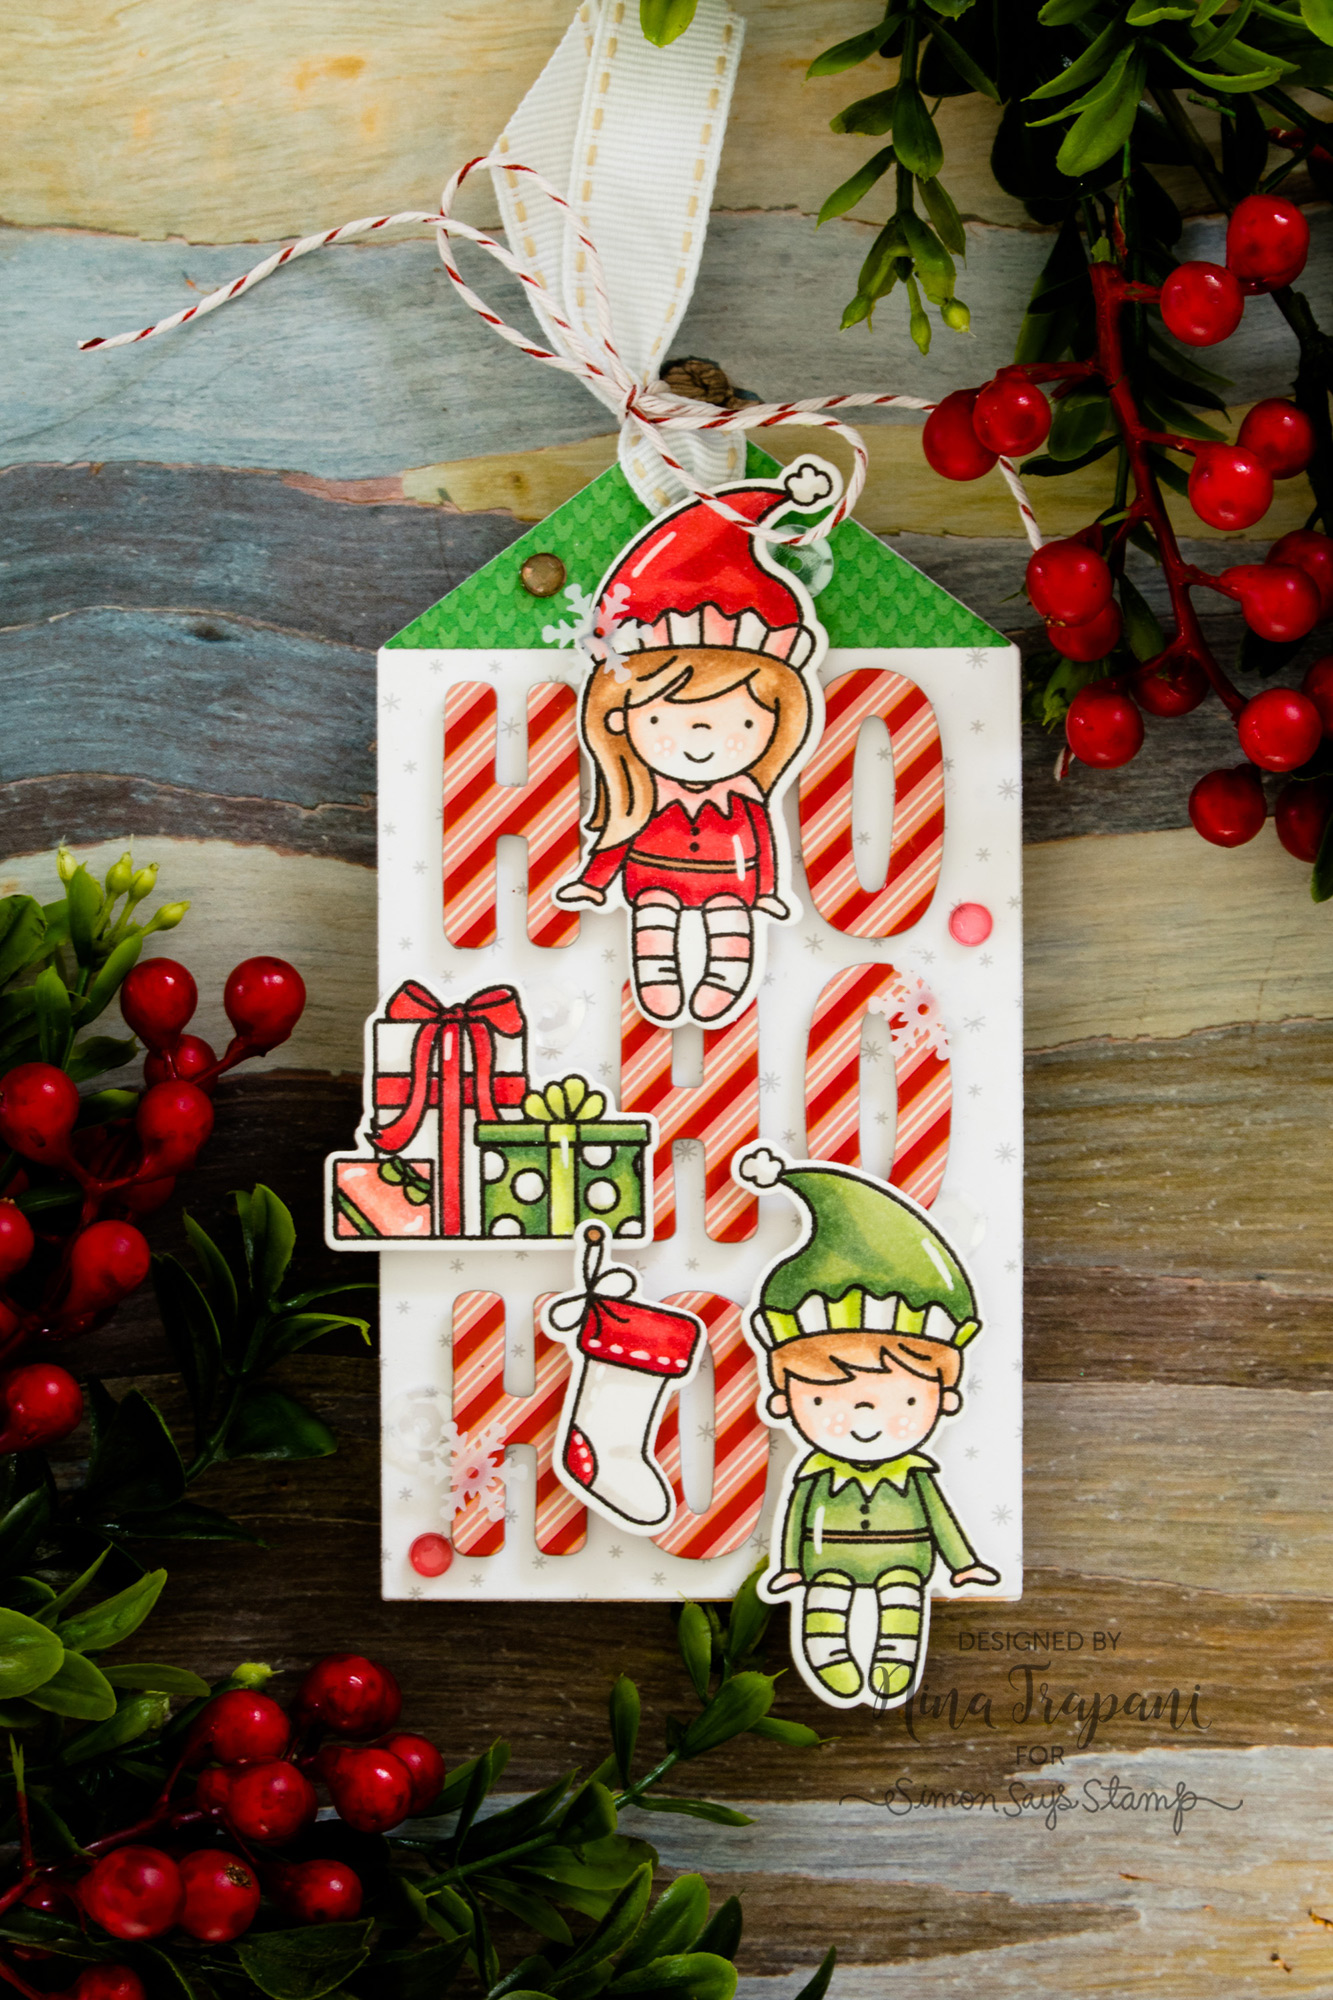
The images are colored with Copics, and I neutralized the adhesive on the back of the letter thickers so that I could pop them up with foam tape.
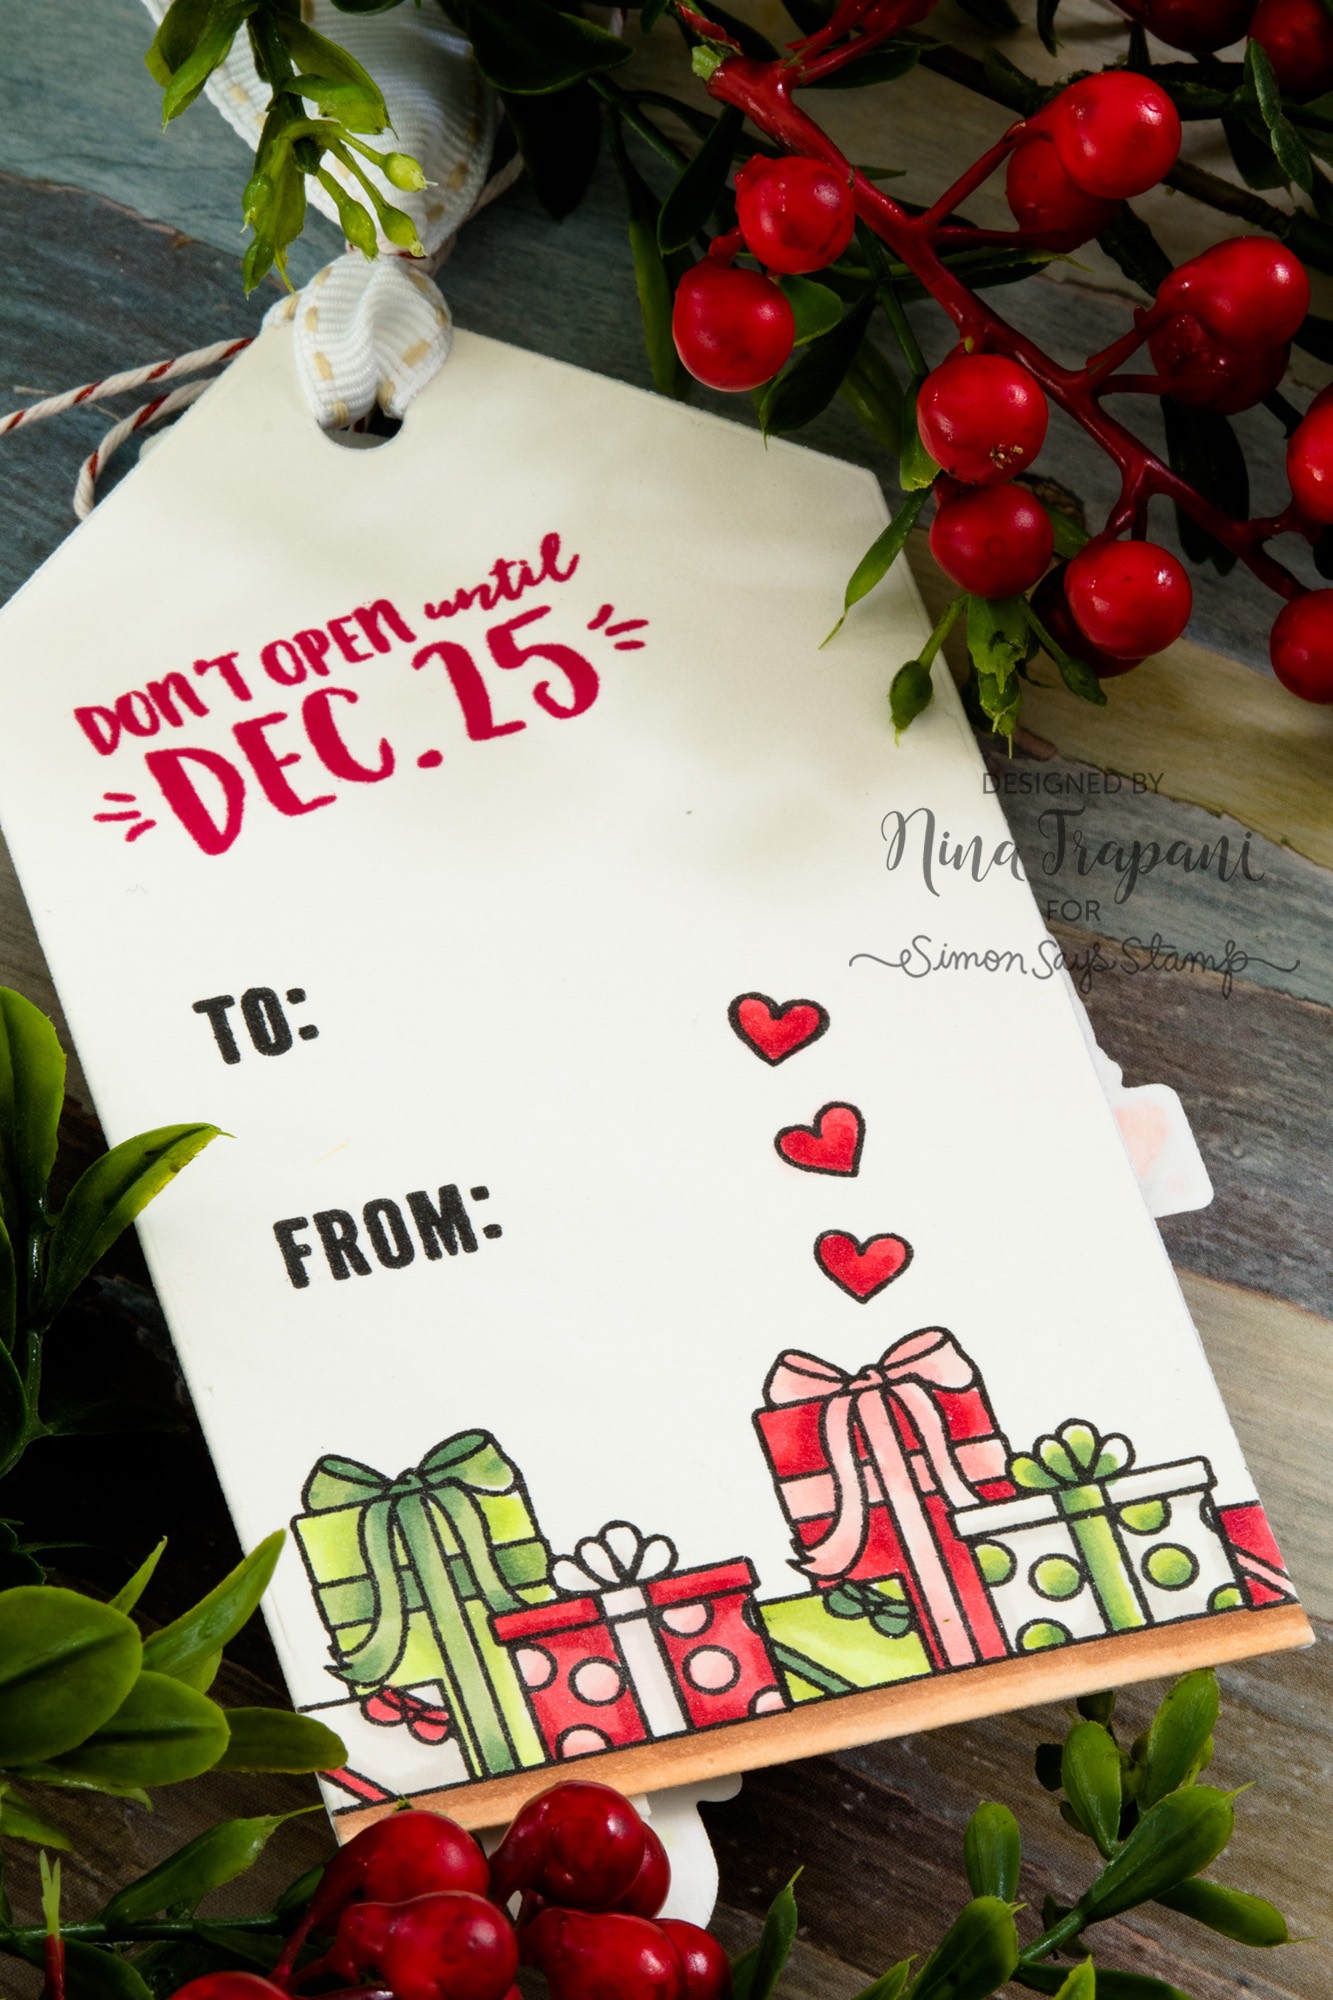
The tag itself was created from the Build a Tag die set by Neat & Tangled. On the back of the tag I stamped gifts and sentiments from the Elves and Their Shelf set. Isn’t this tag awesome? The other cool aspect about this uber-dimensional piece of holiday-happiness, is that it is BIG! The tag itself measures 2.75″x5″… that’s a lot of area to decorate!
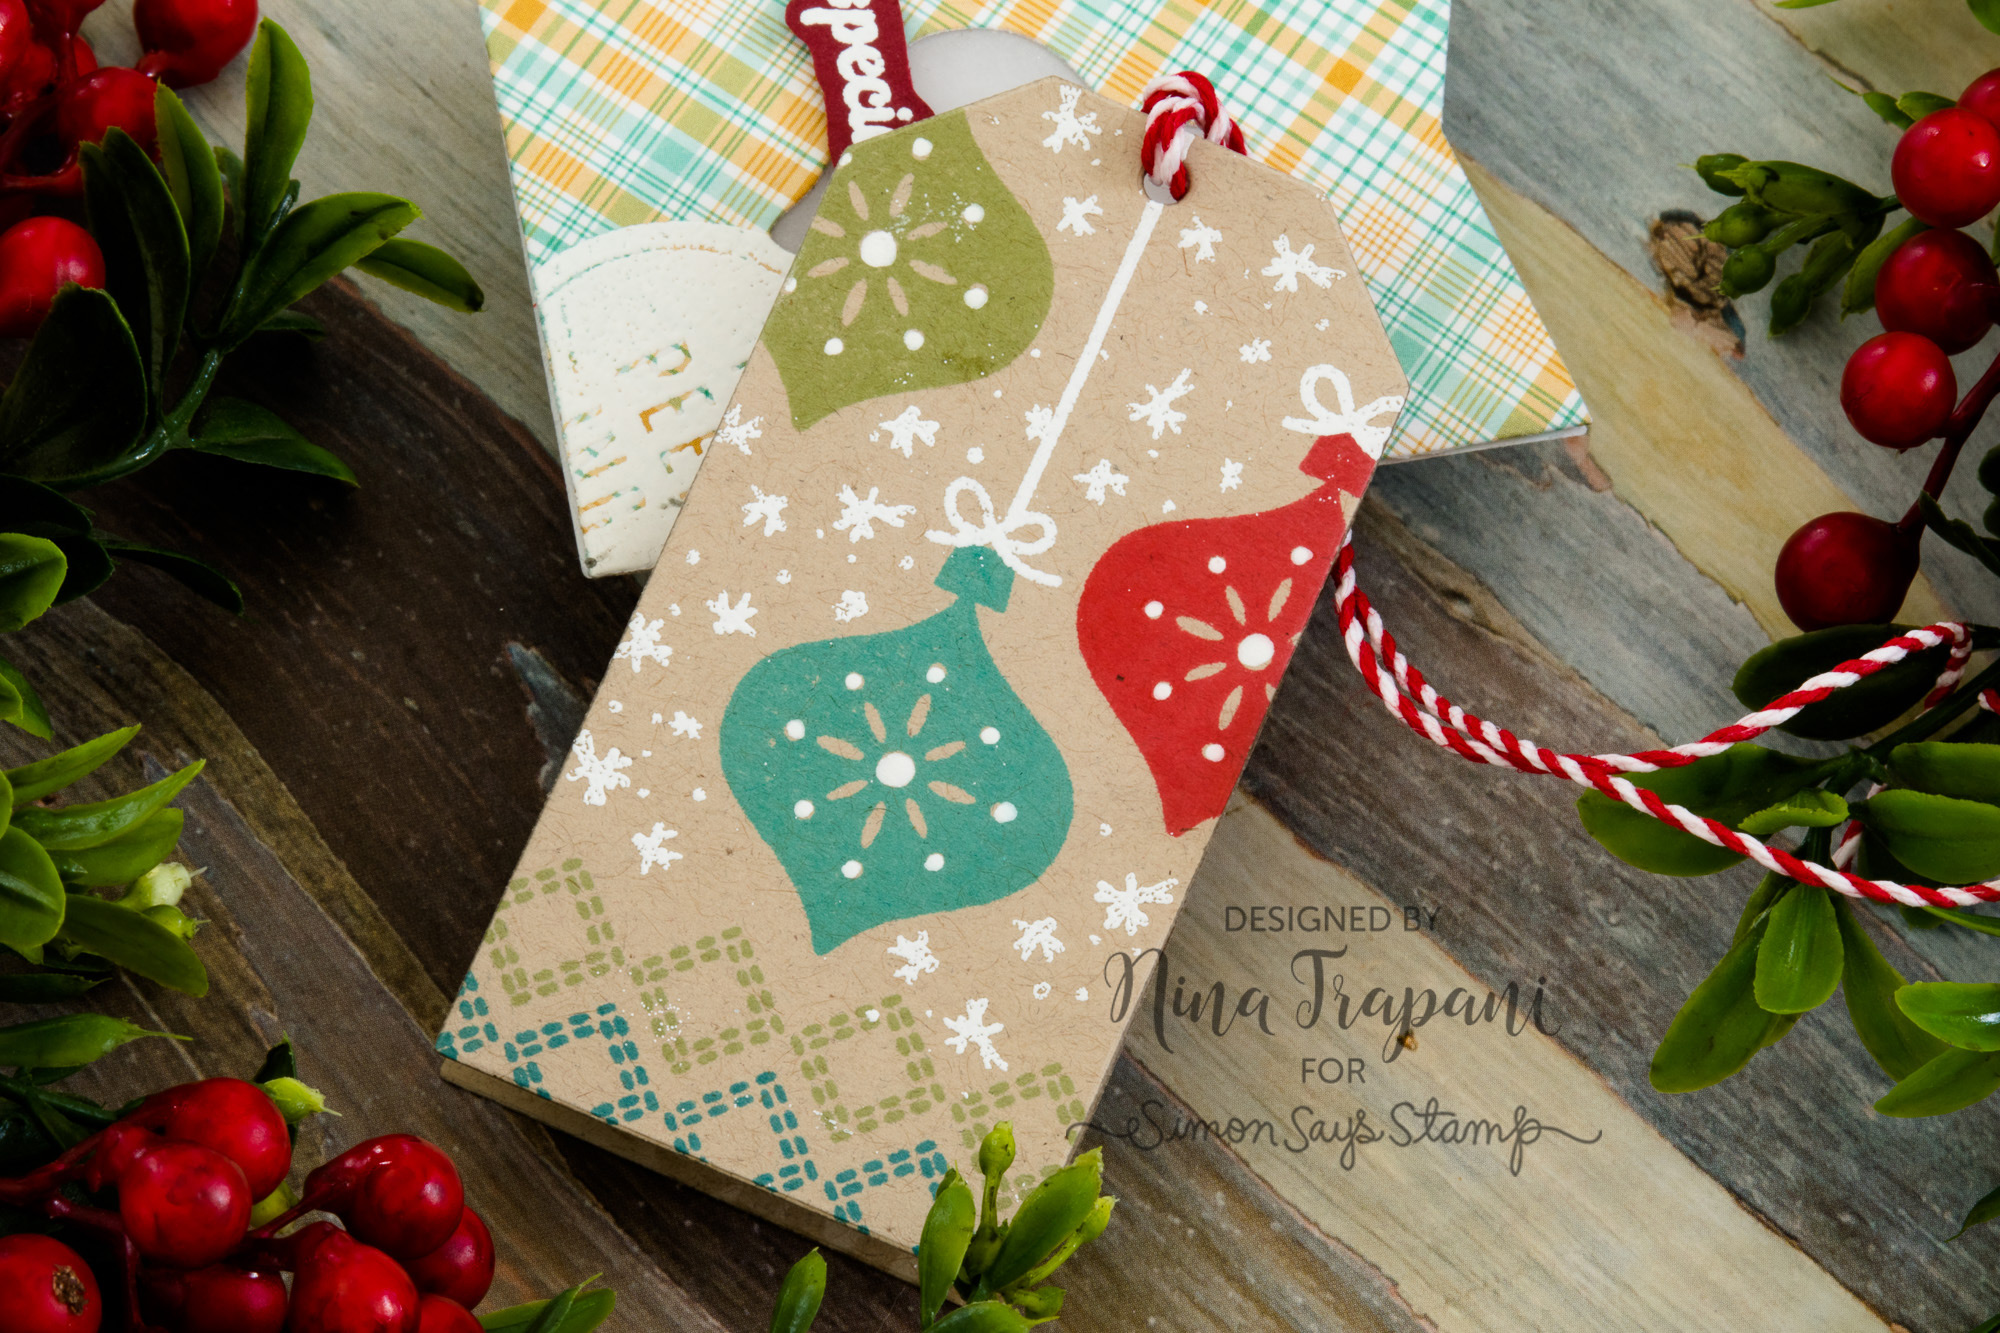
Finally, my last set of tags is something that can be adapted to fit ANY holiday themed stamp and cordinating die set!
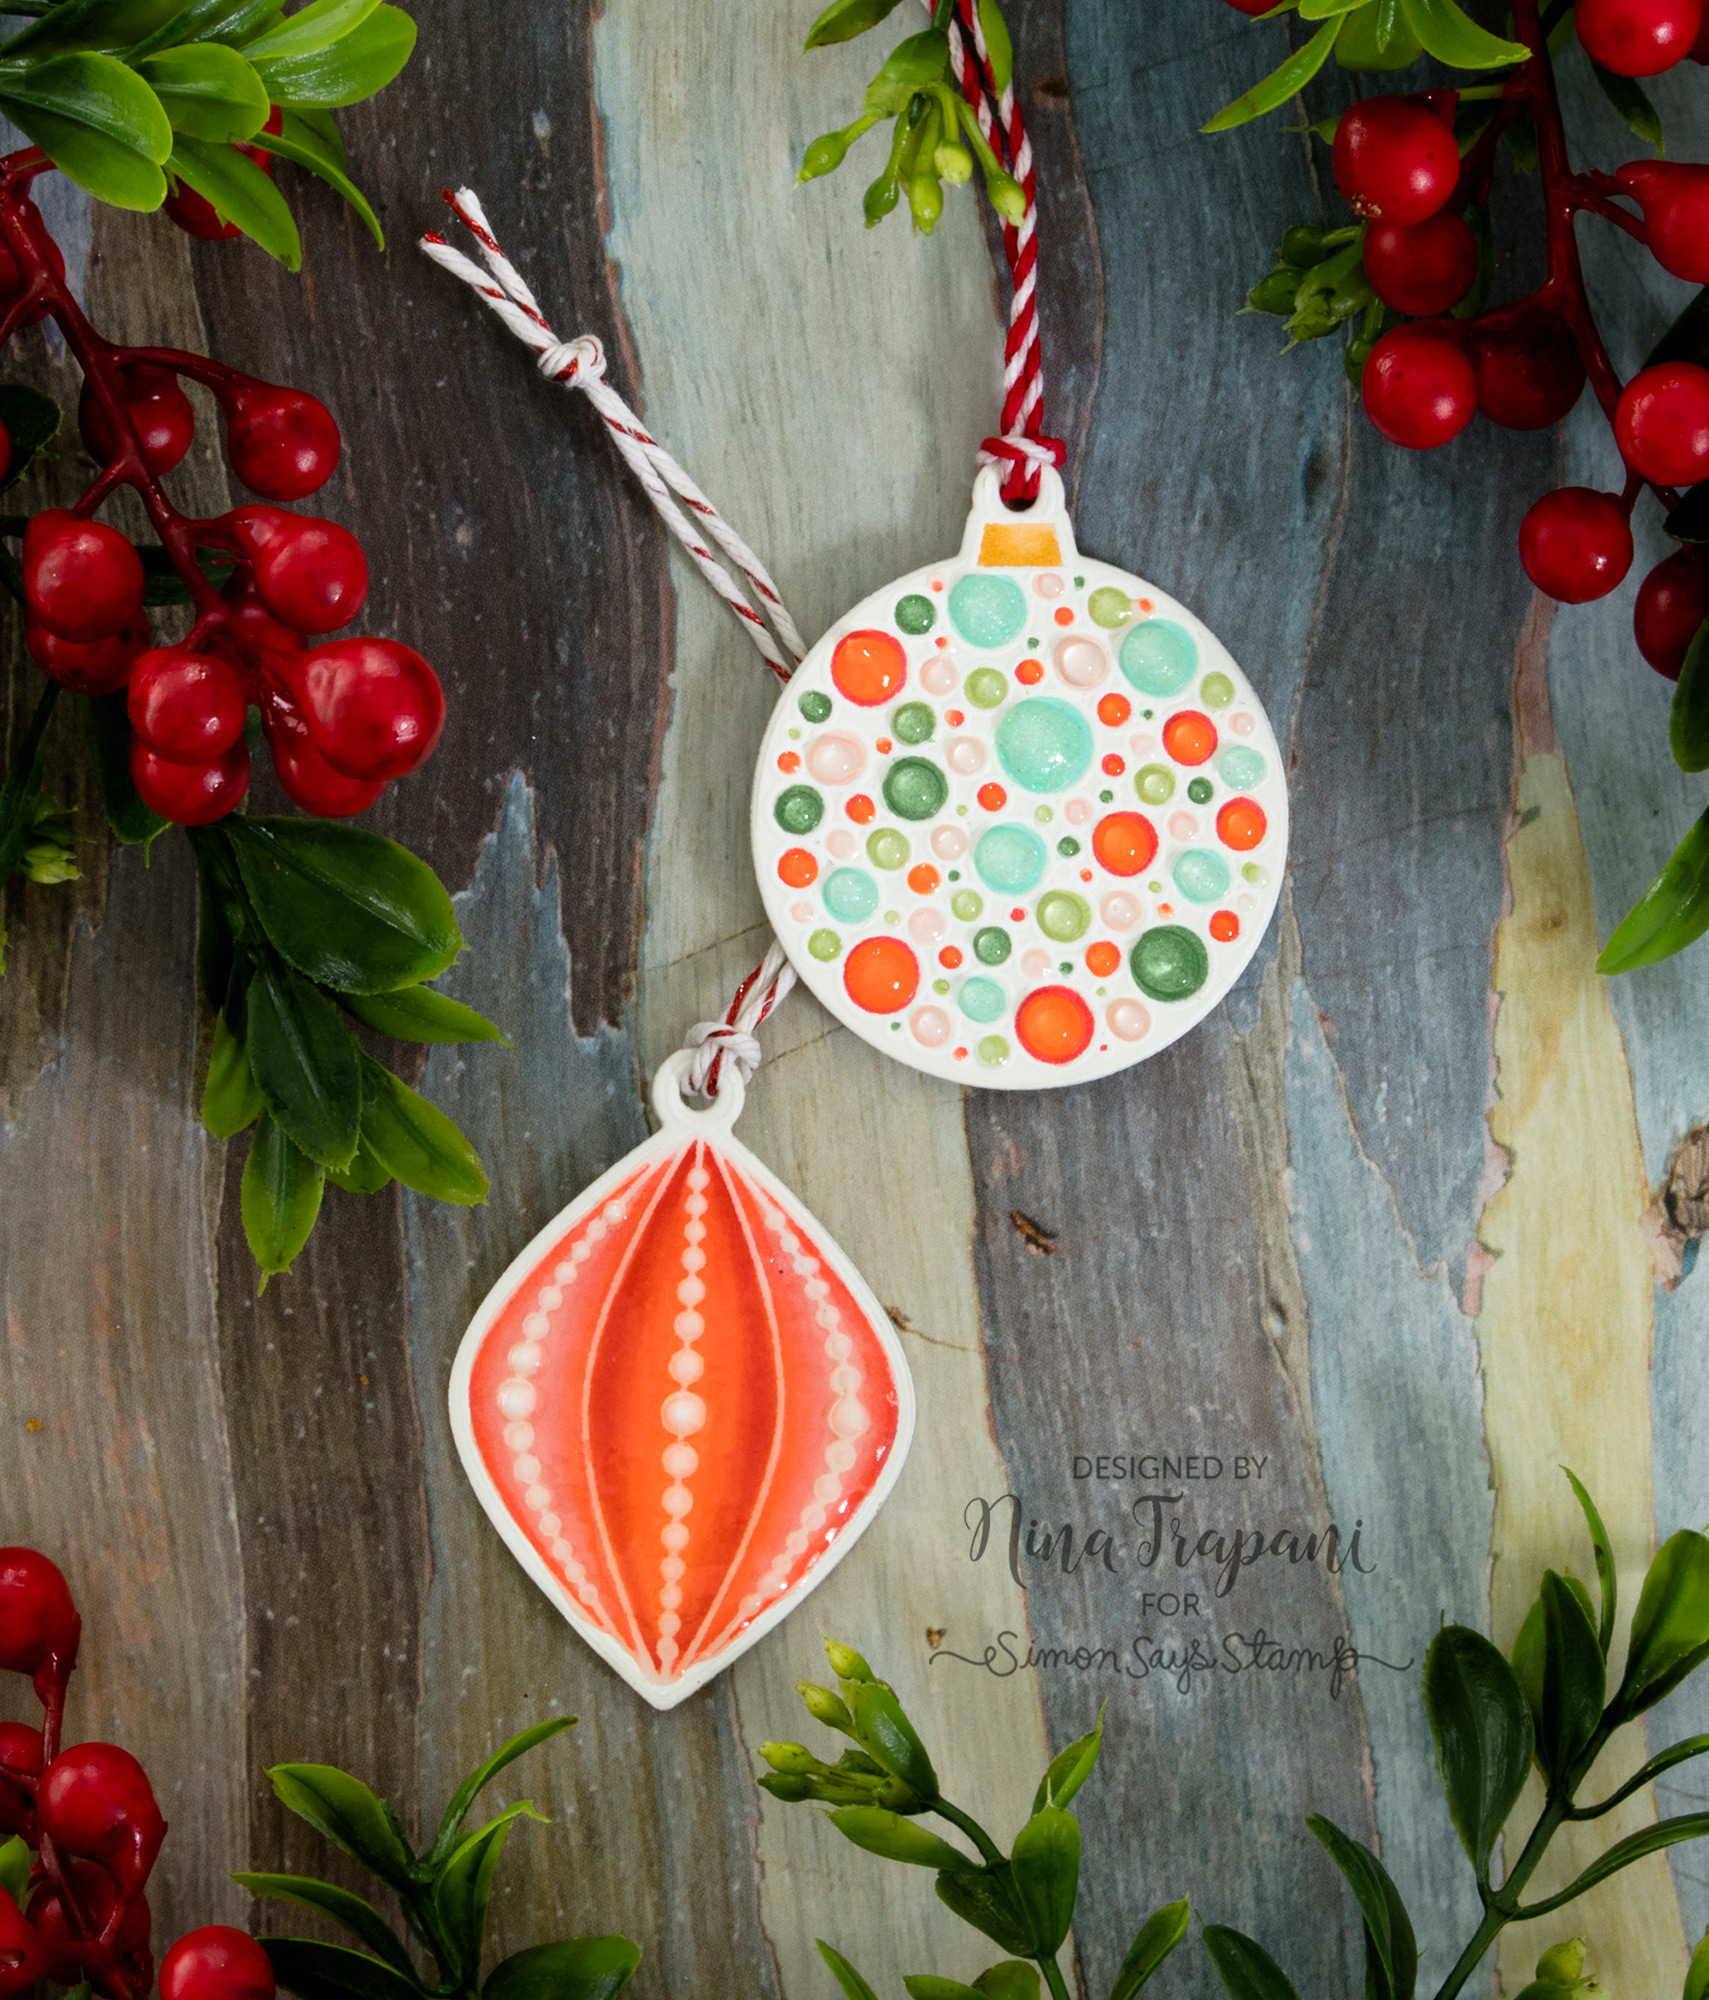
For my tags, I used the beautiful Ornate Ornaments set and colored the images with Copic markers. Using the coordinating die set, I cut the images out along with a second set of plain white die cuts; those pieces I layered behind the colored die cuts. This hides the bleeding of the Copic marker coloring, giving the tags a clean, finishing look.
These tags are so quick and easy to make, you can put together a ton of these in no time at all!
I hope that all of these ideas have inspired you to create some beautfiul tags of your own for your holiday packages, treats and more! Be sure to watch the video to see more details on how I made these tags!
WATCH THE VIDEO
SUPPLIES
|


Blog Candy Alert!! Follow our blog via email and comment on this post for a chance to win special blog candy!
DIY: Beautiful Tree Lights for Holiday Decorating

Hello everyone!!! It’s Shari here and I’m really excited to share a simple but mighty pretty DIY project with you today!!
I just love making handmade projects for holiday decorating and this one is super simple. I’ve combined my love of Foil papers with the most genius die ever… the Tim Holtz Tree Light die. These can be made into luminaries or ornaments for your tree.
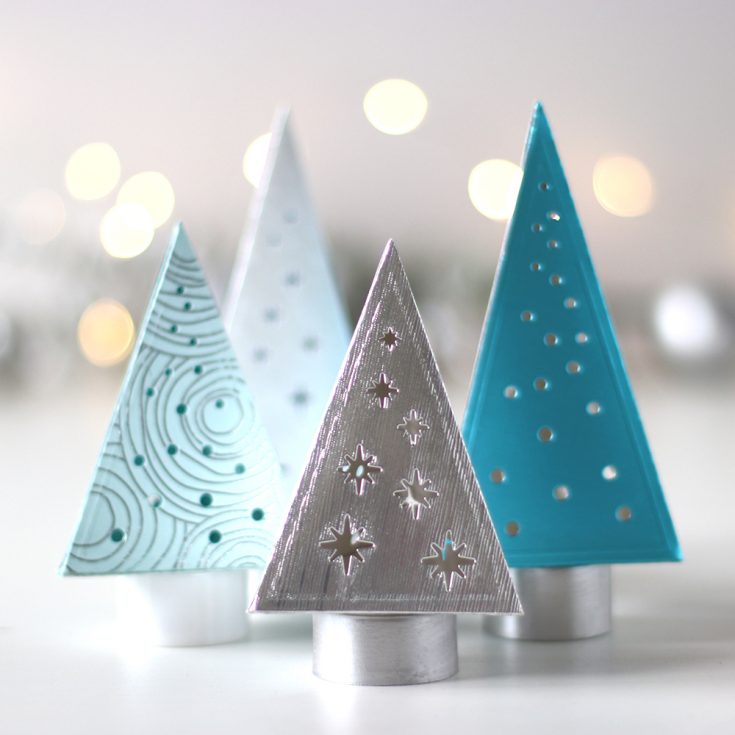
This die set has two sizes and cuts triangular trees with design cut outs on each side. Score lines are included to help you fold these into their shapes. And, there is a hole in the bottom so the finished tree can sit on top of an LED tea light as its base. Now isn’t that brilliant?

I’ve tried out a variety of papers, some have texture, some are smooth foil and I have also silver embossed a background image onto regular cardstock for completely different look. Tim Holtz just came out with some new Metallic Papers that would be gorgeous for this project, I’ve listed them below. To finish your trees off, you can use washi tape on the tea lights or paint them with a quick coat of Distress Brushed Pewter paint.

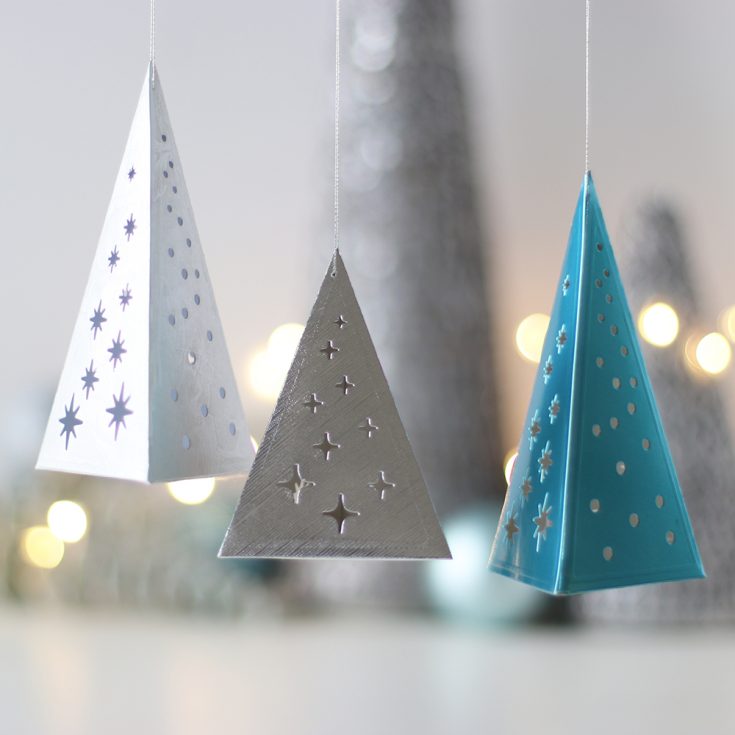
I also thought these would be great to hang on the Christmas tree as an ornament. You could position them to sit over cool touch bulbs on your tree to light them up. I pierced through the top of the tree and strung them with silver thread. Now I can’t wait to decorate the whole house!!
Blog Candy Alert!! Follow our blog via email and comment on this post for a chance to win special blog candy!

Thanks for stopping by today, I hope I’ve inspired you to try your hand at some Holiday DIY Tree Lights!!! Enjoy!!
|


