Yippee for Yana: Vacation Time
Hi friends! Welcome to the latest edition of Yippee for Yana with the always inspiring Yana Smakula! Read on and don’t miss the video for the full tutorial and enjoy!

Hello friends, this is Yana and welcome back to another Yippee For Yana video! Today I’m sharing yet another card for Summer! I can’t help it, I’m loving these cards lately and I constantly feel inspired by all the new and fabulous products from Simon.
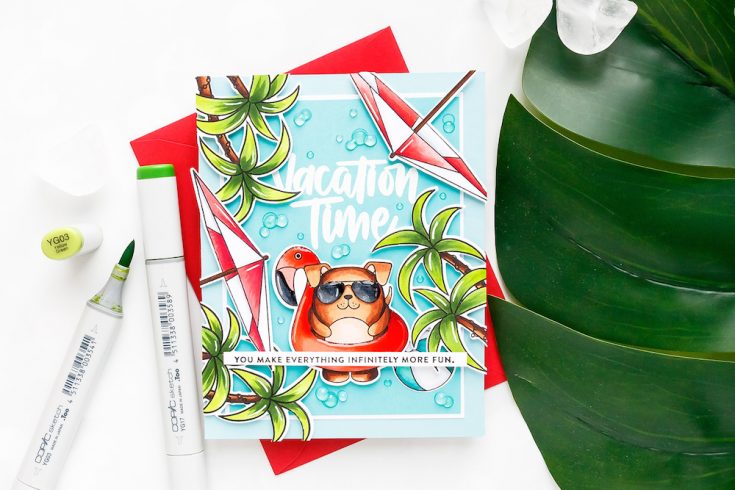
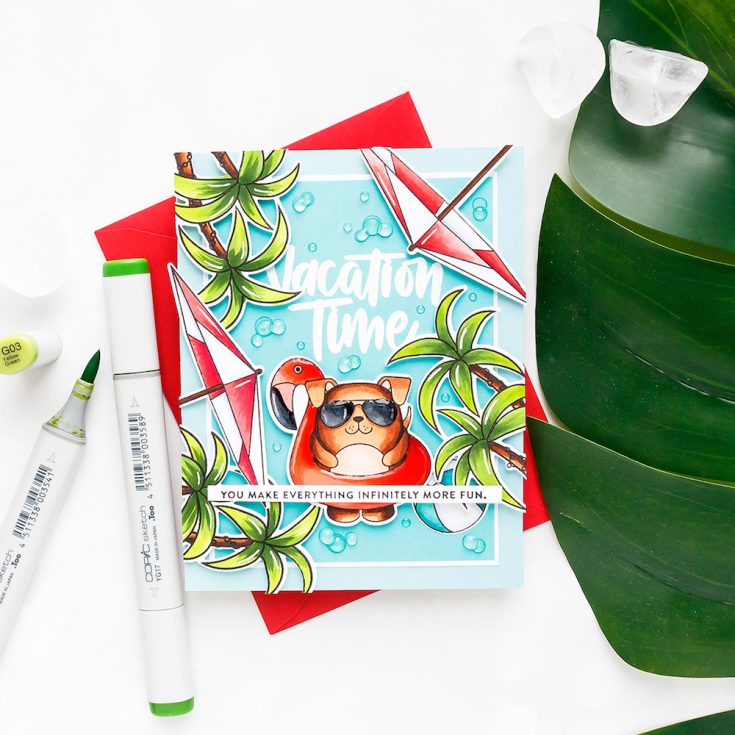
I started to make this project by picking out a few images from the Summer Cuddly Critters stamp set and also a palm tree image from the older Warm Christmas Wishes stamp set and stamping them in Simon’s Intense Black ink onto Neenah Solar White 80lb cardstock.
I used my Copic markers and did some quick coloring. I used the following colors:
● YG67, YG17, YG03
● E79, E37, E33, E31
● R89, R39, R27, R24, R20
● C9, C7, C5
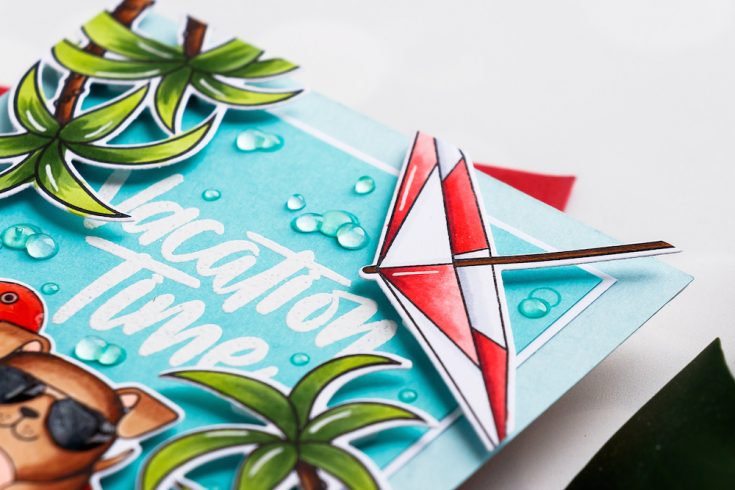
I cut my images out with the help of coordinating dies. The idea for this card was to imitate a pool by using colored cardstock and place various elements around it coming in from the edges of the card. I used Sea Glass cardstock for the background panel and cut it to 4 ¼ x 5 ½”, next I cut white panel and Audrey panel slightly smaller to actually form the pool area.
This card idea can be stepped up is so many ways. You could add some stamping to the Sea Glass panel to imitate tile, like the tile you’d have next to the pool, and even do some coloring to make it more realistic. You can also add some wet-looking detail to the pool by completely coating it with glossy accents.
I heat embossed Vacation Time sentiment onto the Audrey Blue panel and adhered it onto the white panel and next onto Sea Glass. Next, I foam mounted my elements in place and trimmed the excess off using scissors. I wanted this card to look as if the person was looking at the pool from the above.
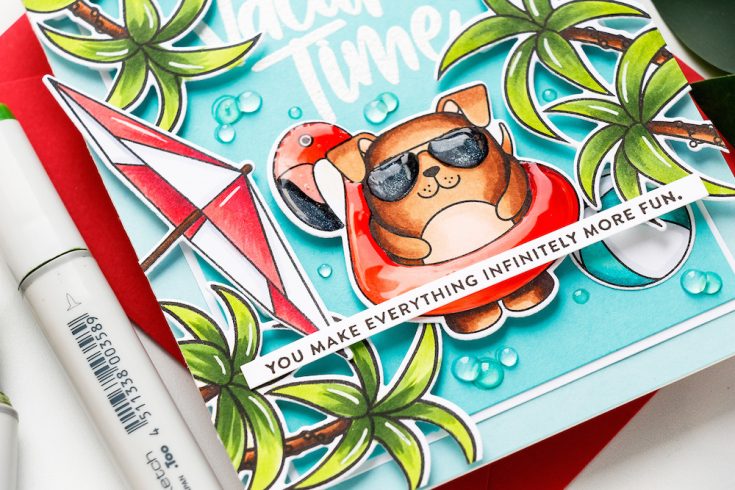
To mimic water in the pool I used bubble images from the Summer Cuddly Critters stamp set and stamped a bunch in Scuba ink in between my foam mounted die cuts. Next, I added a skinny strip sentiment that reads “you make everything infinitely more fun” stamped it in black
ink.
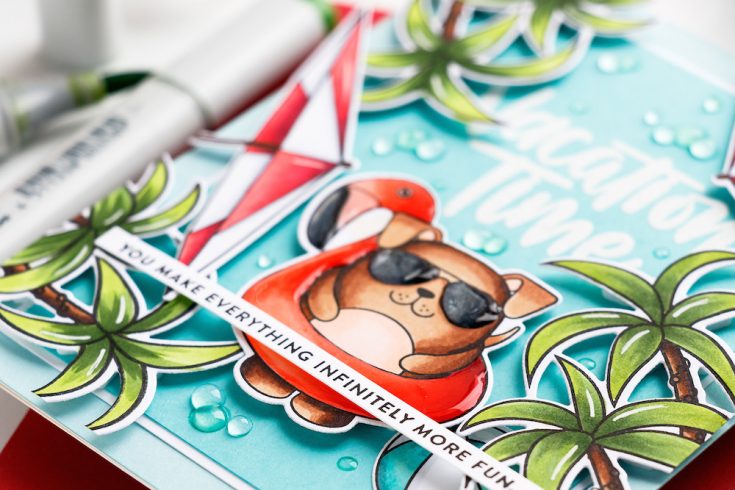
I used a white pen and added highlight details to most of my images. Next, I grabbed my Glossy accents and also later Nuvo drops in Morning Dew and coated stamped bubbles with them, I also coated the sunglasses on my puppy and later the entire flamingo float.
Have fun stamping!
WATCH THE VIDEO:
SUPPLIES:
|


Thanks for stopping by and thanks to Yana for being our guest!

Amore Laura Fadora: Hey You Surprise!

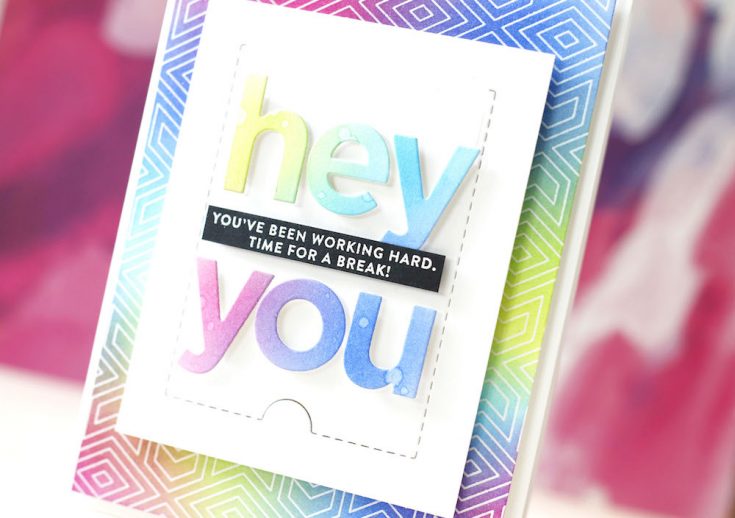
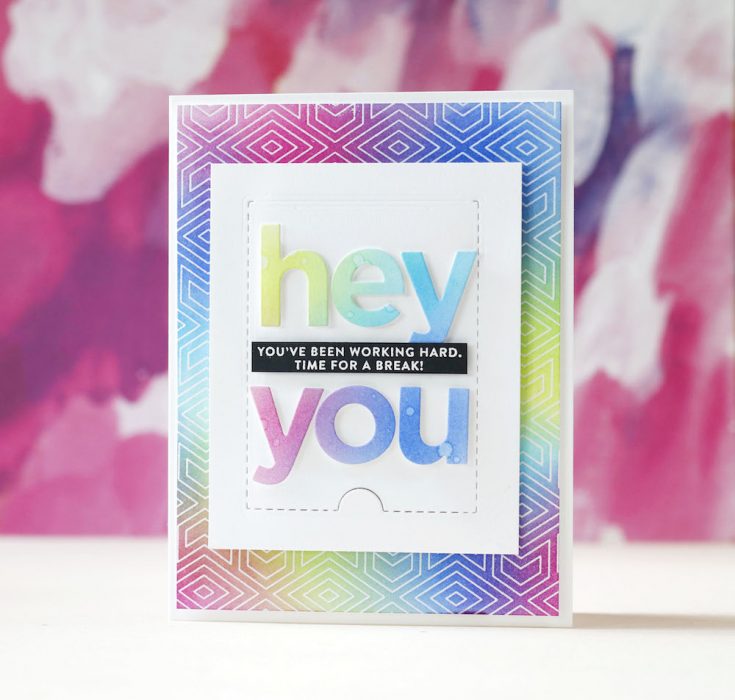
Hi friends! Happy Friday! Thanks for stopping by our blog today! We’ve got a bright and beautiful SURPRISE from the one and only Laura Bassen in the latest edition of Amore Laura Fadora who made this blended beauty using our Center Cut Geometric Pattern cling stamp, Vacation Time clear stamps, Everett Solid Letters dies, and Perforated Flaps dies for a fun surprise! Be sure to watch the video for more details and enjoy!
WATCH THE VIDEO:
SUPPLIES:
|


Thanks so much for stopping by, and thanks to Laura for being our guest!

No Line Coloring with Bouquet Builder 2
Hi friends! Happy Thursday and happy Waffle Flower release day! We’re honored to have special guest Channin Pelletier with us on the blog to showcase some gorgeous brand new Waffle Flower products! Be sure to watch the video and enjoy!

Hello everyone! It’s Channin here and I am thrilled to with you all at Simon Says Stamp sharing a video featuring a brand new set from Waffle Flower Craft’s July Release. In today’s video, I demo some no-line coloring with Tombow Dual Brush Pens and the beautiful new Bouquet Builder 2 Stamp Set!
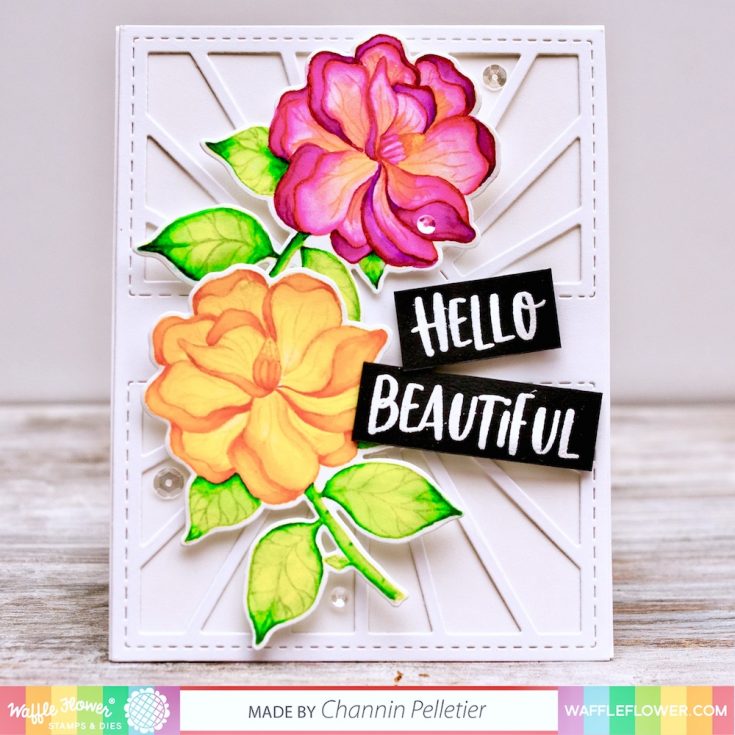
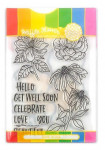
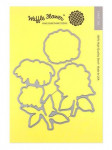
First, I stamped one of the flowers from the Bouquet Builder 2 Stamp Set twice in Antique Linen Distress Ink onto Canson Bristol paper. I then watercolored the images in with Tombow Dual Brush Pens, water, and a brush. Once I had finished the coloring, I die cut the flowers out with the matching dies. Next, I die cut a background panel using the Sunshine Panel Die from white cardstock. I then stamped and white heat embossed a sentiment from the Bouquet Builder 2 Stamp set onto black cardstock. I then trimmed the sentiment down and added foam tape to the back. Next, I assembled my card by adhering the sunshine panel to an A2 top-folding card base. I then adhered my flowers and sentiment with foam tape and then finished my card with some clear sequins.
I hope you enjoyed my card and video! Thanks so much for stopping by!
~Channin
WATCH THE VIDEO:
SUPPLIES:
|


Thanks so much for stopping by and thanks to Channin for being our guest!


