Yippee for Yana: Last Minute Christmas Cards
Hi friends! Happy Wednesday! Have you made your holiday cards yet? If not, no worries Yana to the rescue! Read on for more information, and enjoy!

Hi everyone, this is Yana Smakula and welcome back for another Yippee For Yana video! Christmas is just 13 days away and now is the time to get those holiday cards done if you have yet already. In today’s blog post & video, I am sharing a very simple, easy to make, yet classy and stunning Christmas card idea that involves just a bit of stamping, heat embossing and ink blending – very doable card and easy to mass produce if you happen to need a bunch of last minute Christmas cards.
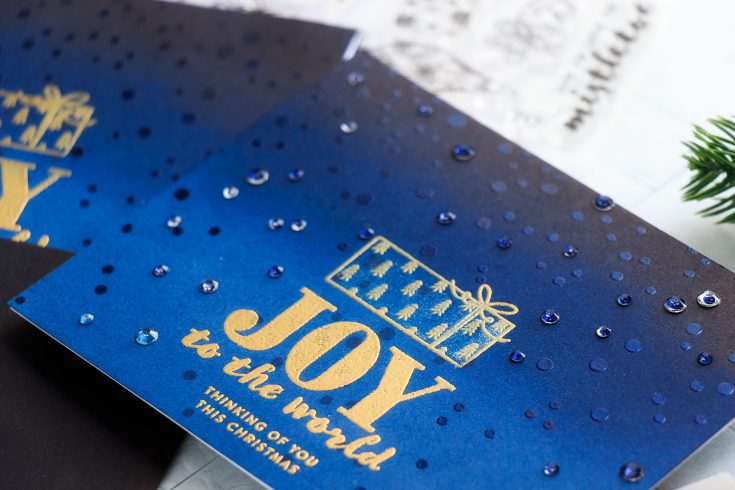
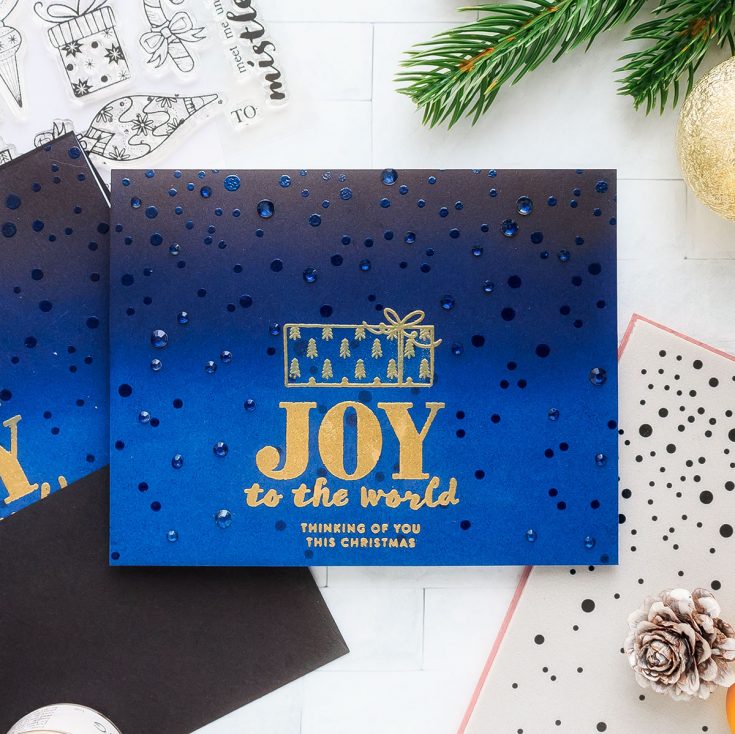
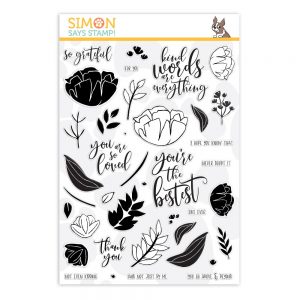
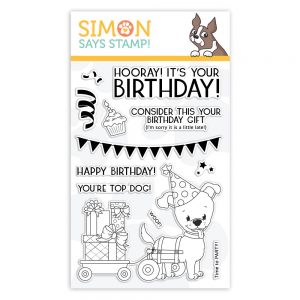
I’m using a handful of supplies today – one of them is a beautiful Comfort & Joy clear stamp set from Simon Says Stamp, I will be using Joy to the World sentiment and an image of a Christmas present; simple imagery, but large enough to take center stage on our card. Also large enough so that we won’t need to add much else to the project. As when you are in a hurry you want to get those cards done as soon as you can. If you don’t have this exact stamp set look through your stash for a large sentiment and also a simple outline image that goes well with the holiday theme.
First, I stamped & gold heat embossed images on blue cardstock. I picked blue for 2 reasons: a) I simply love this color and b) I wanted to have a night sky type of look and feel for this card.
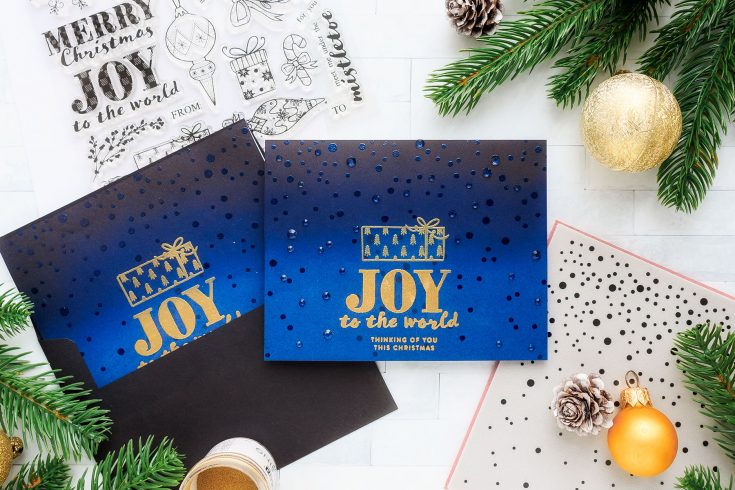
To create a background, I want it to look like as if there’s falling snow on the card, I used another stamp from Simon – Falling Snow cling background stamp and I once again heat embossed it. This time, however, I used a different color of embossing powder – Steel Navy from Simon. I poured it onto my panel avoiding the sentiment and gift area. I’m not one for masking and if I can skip doing masking I will, so here I skipped masking and instead used a dry paintbrush to brush away any embossing powder that overlapped the gold heat embossing.
After heat setting, I added some ombre ink blending at the top to darken the top edge a bit. To do this I used Navy and Black inks and my ink blending tools. Ink bending on colored cardstock saves you loads of time as you already have that base color in place and you just need to add your medium and darkest color.
Another way you can step this card design up is by embellishing it with jewels. Here I used clear jewels from Pretty Pink Posh and adhered them over some of the snow dots in the background.
Have fun stamping!
WATCH THE VIDEO:
SUPPLIES:
|


Thanks so much for watching and thanks to Yana for being our guest!
You Are Loved Exclusive Collection is HERE!
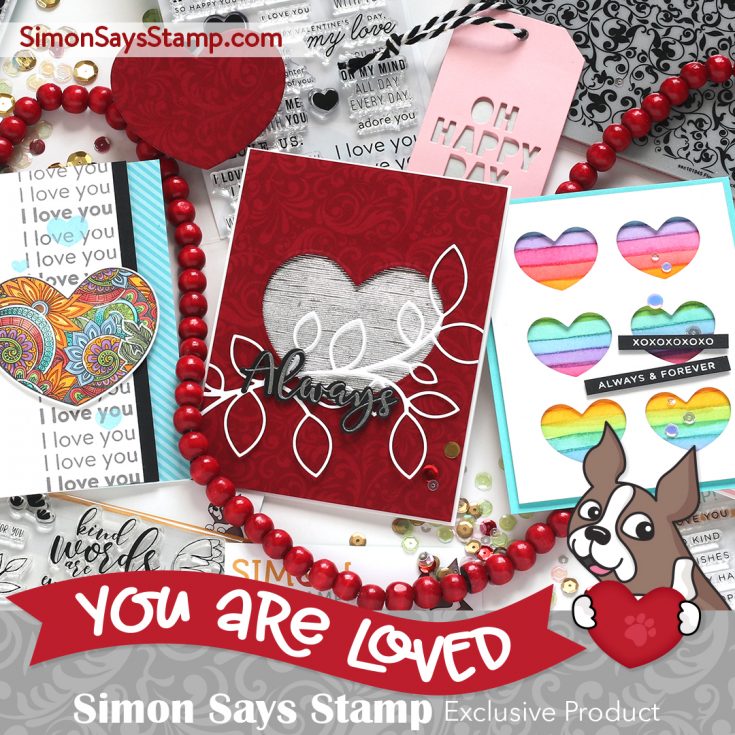
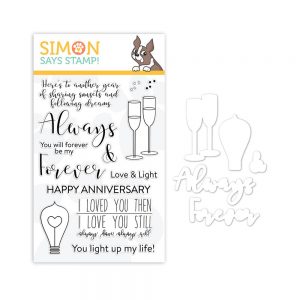
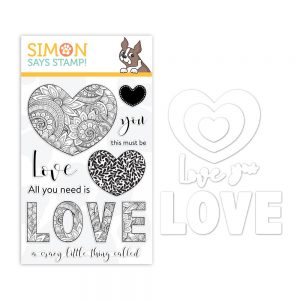
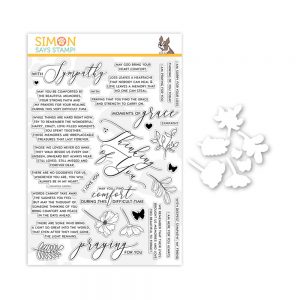
Hi friends! Happy Tuesday! This newest collection called “You are Loved” is SO much more than Valentines. It’s a celebration of love that can last all year long. We have three new stamp and die sets that will have you crafting for Love anniversaries in our Always & Forever set, “Any time of year love” in our Ornate Love set, and words of love for those going through difficult times in our Moments of Grace set.
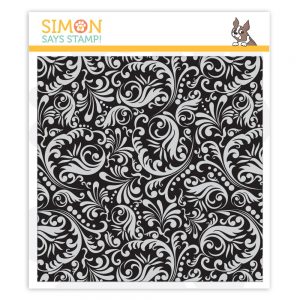
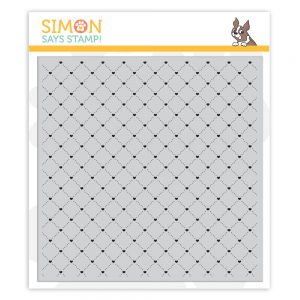
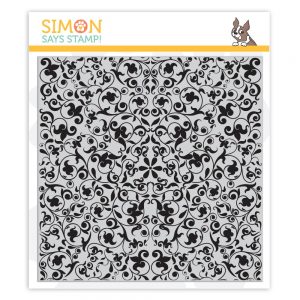
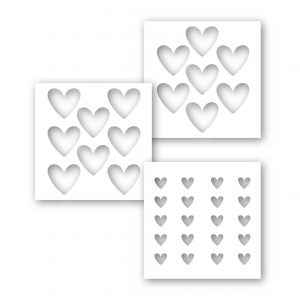
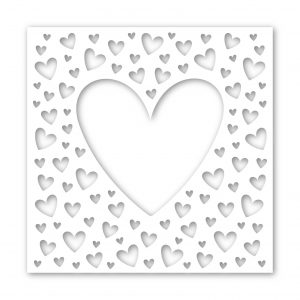
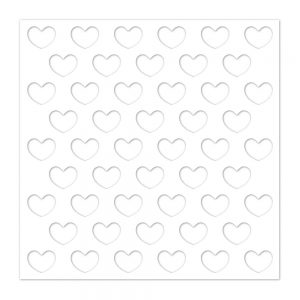
We’ve added three LOVELY stencil sets that offer some unique and interactive options! Check out Reverse Hearts, All My Heart, and Heart Layers! Speaking of cool backgrounds.. don’t miss our three new and oh so beautiful intricate background stamp designs: Flourish, Quilled Hearts, and Damask!
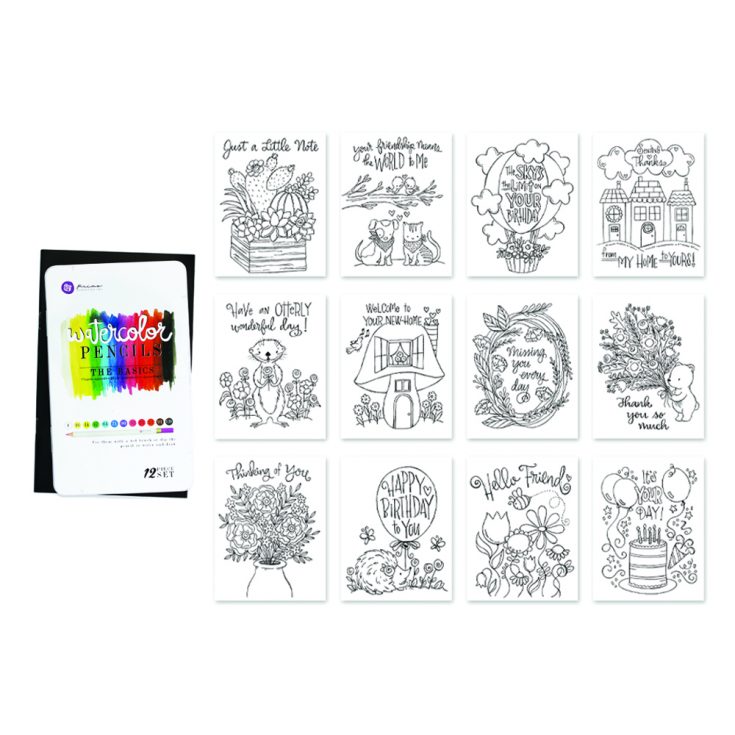
We have a fun surprise with our special Suzy Watercolor set with this release! Not only do you get 12 new adorable designs to keep you crafting all year long, but also a gorgeous Prima Watercolor Pencil set in the fabulous gift set that is perfect to present to a Crafty friend for the holidays!
Don’t miss this super fun walk-through of the collection with the always awesome Laura Bassen:
Continue to peruse to find something that you LOVE!


PSST!
Looking for inspiration with this new release?! Don’t forget to check out our gallery to view and add projects to! We will be hosting a fun blog hop in January featuring this release! Stay tuned!
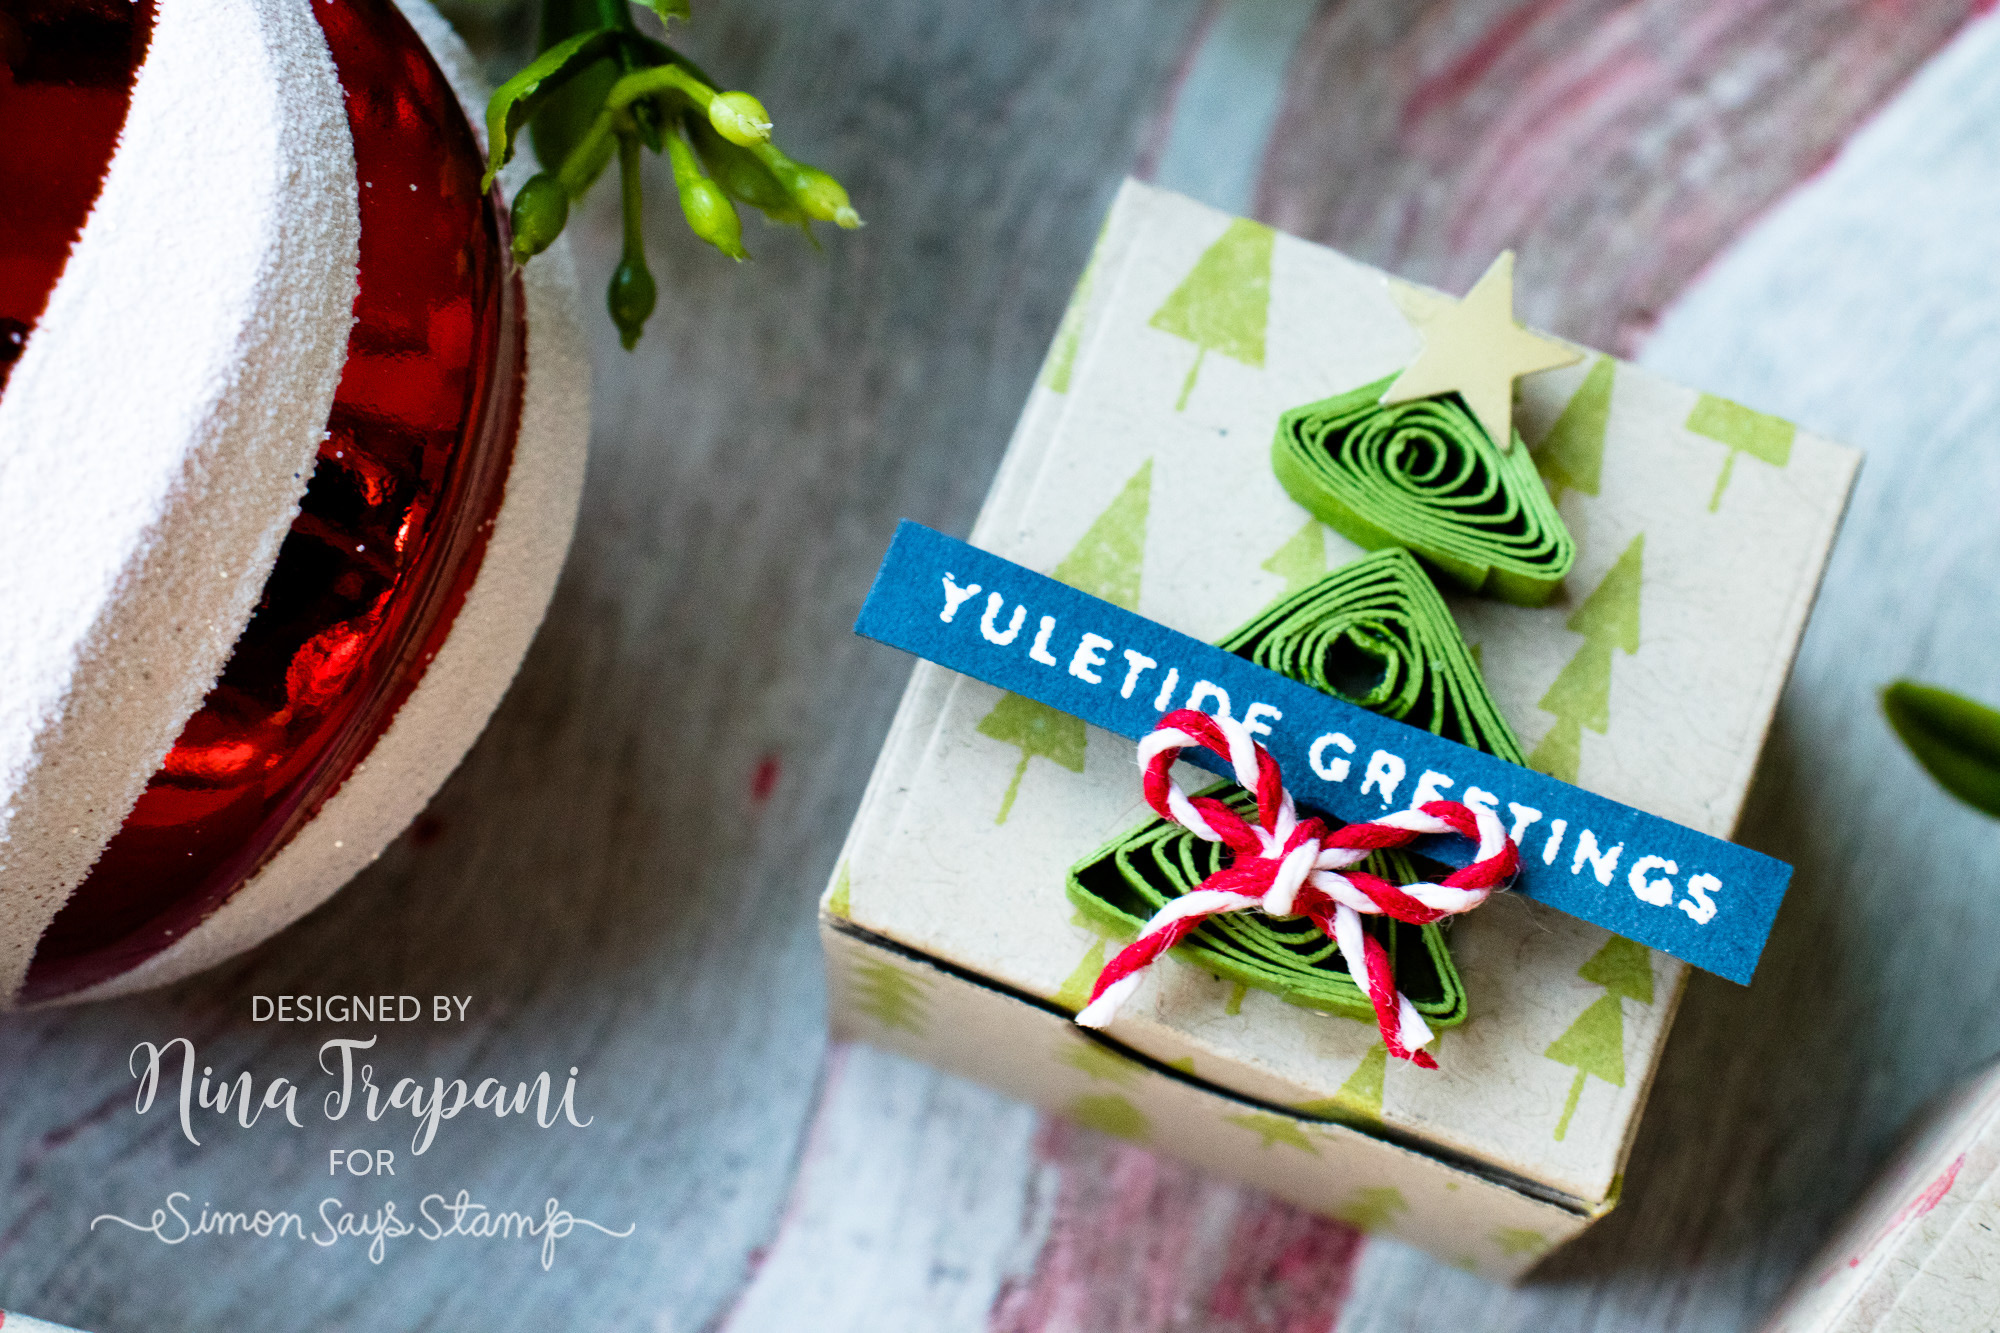
Studio Monday with Nina-Marie: Quilled Mini Gift Boxes

Hello creative friends, it’s Nina-Marie here with you today!
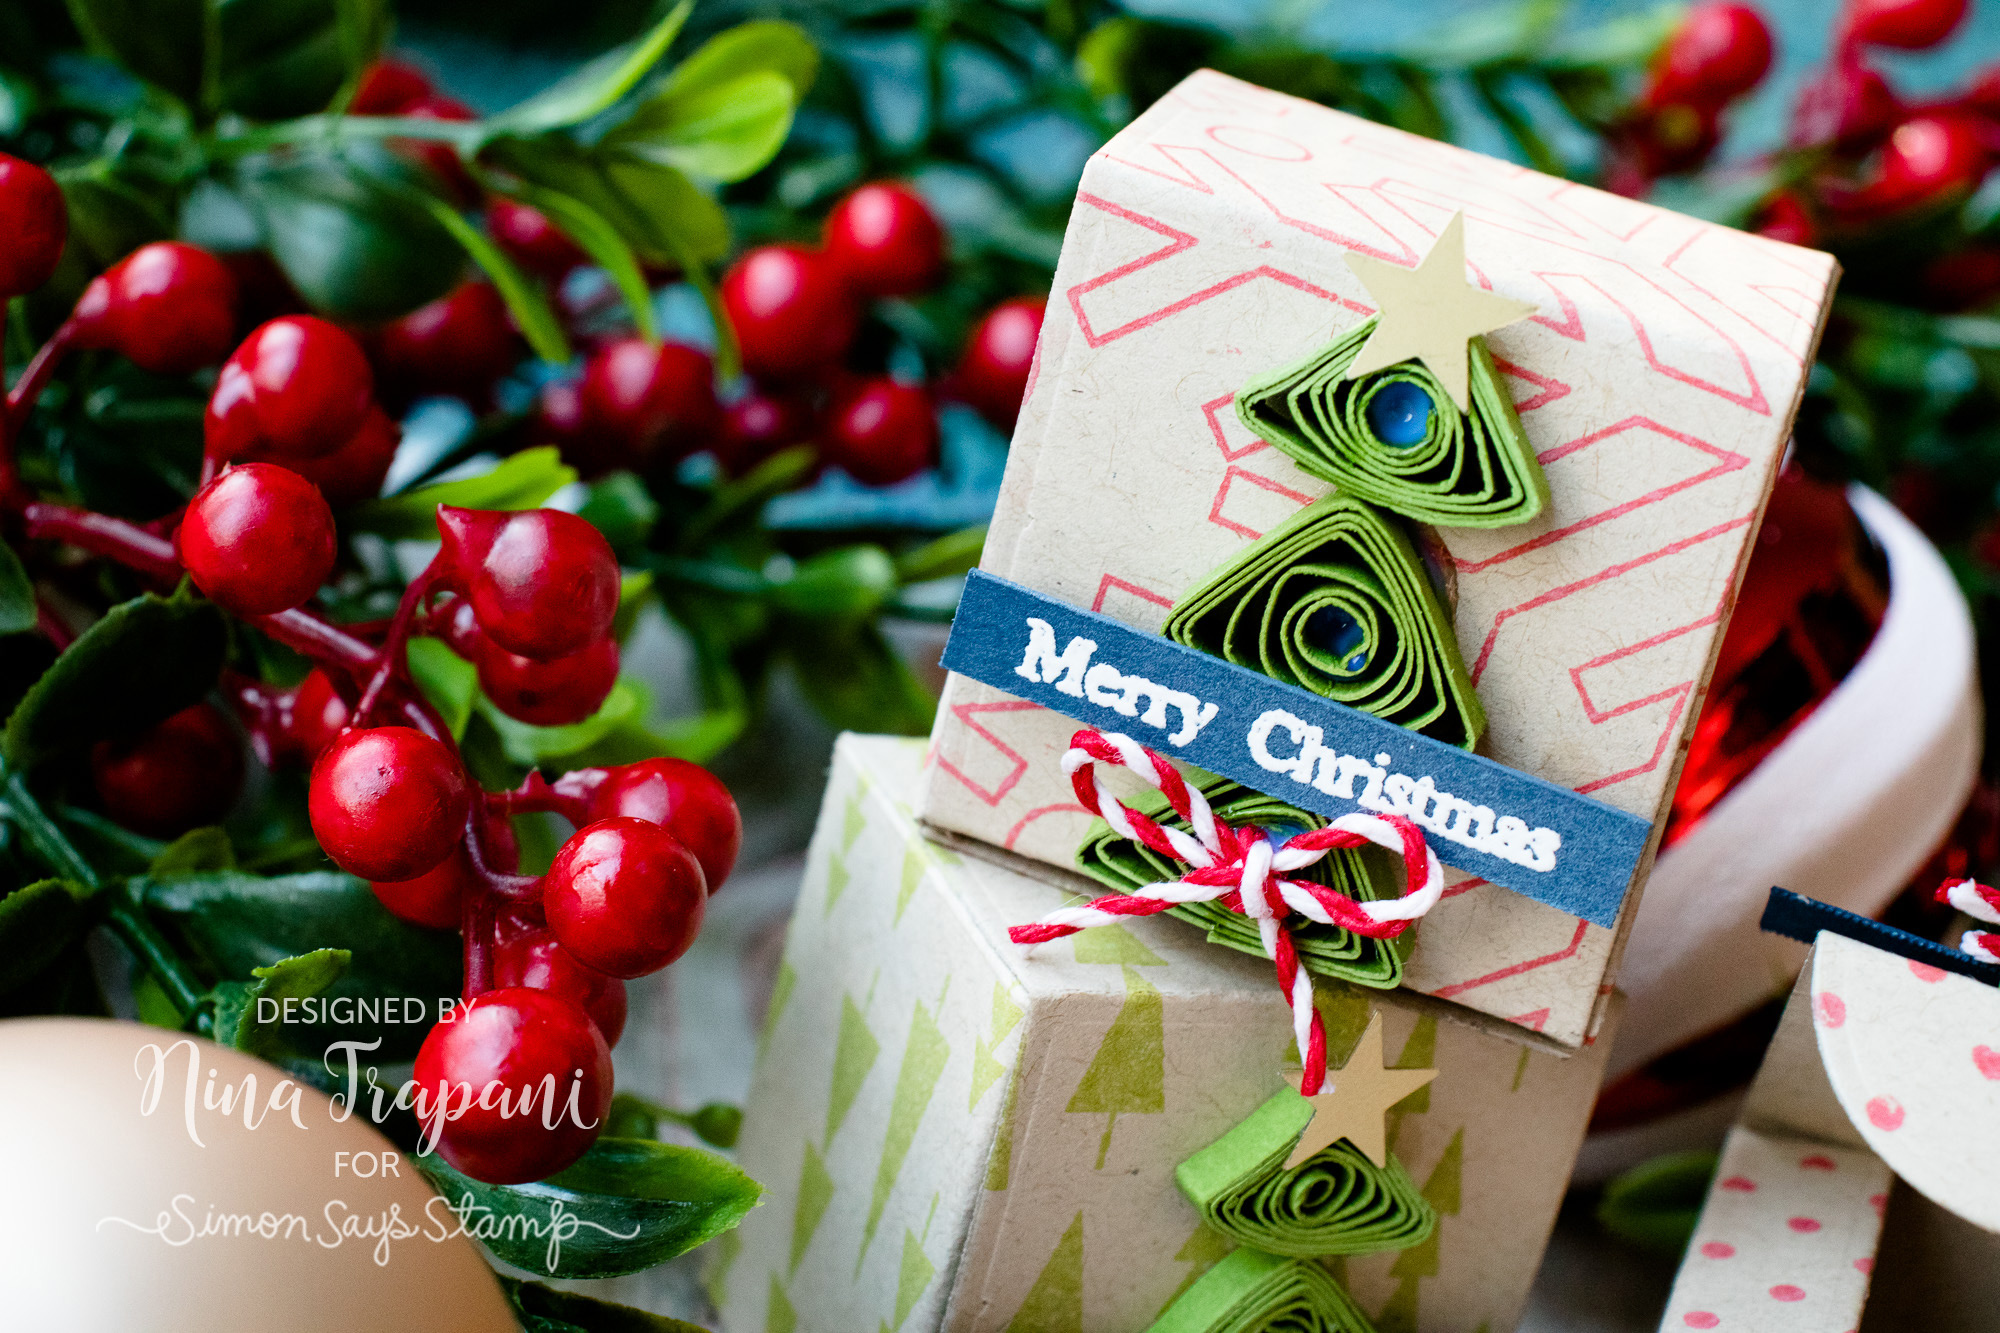
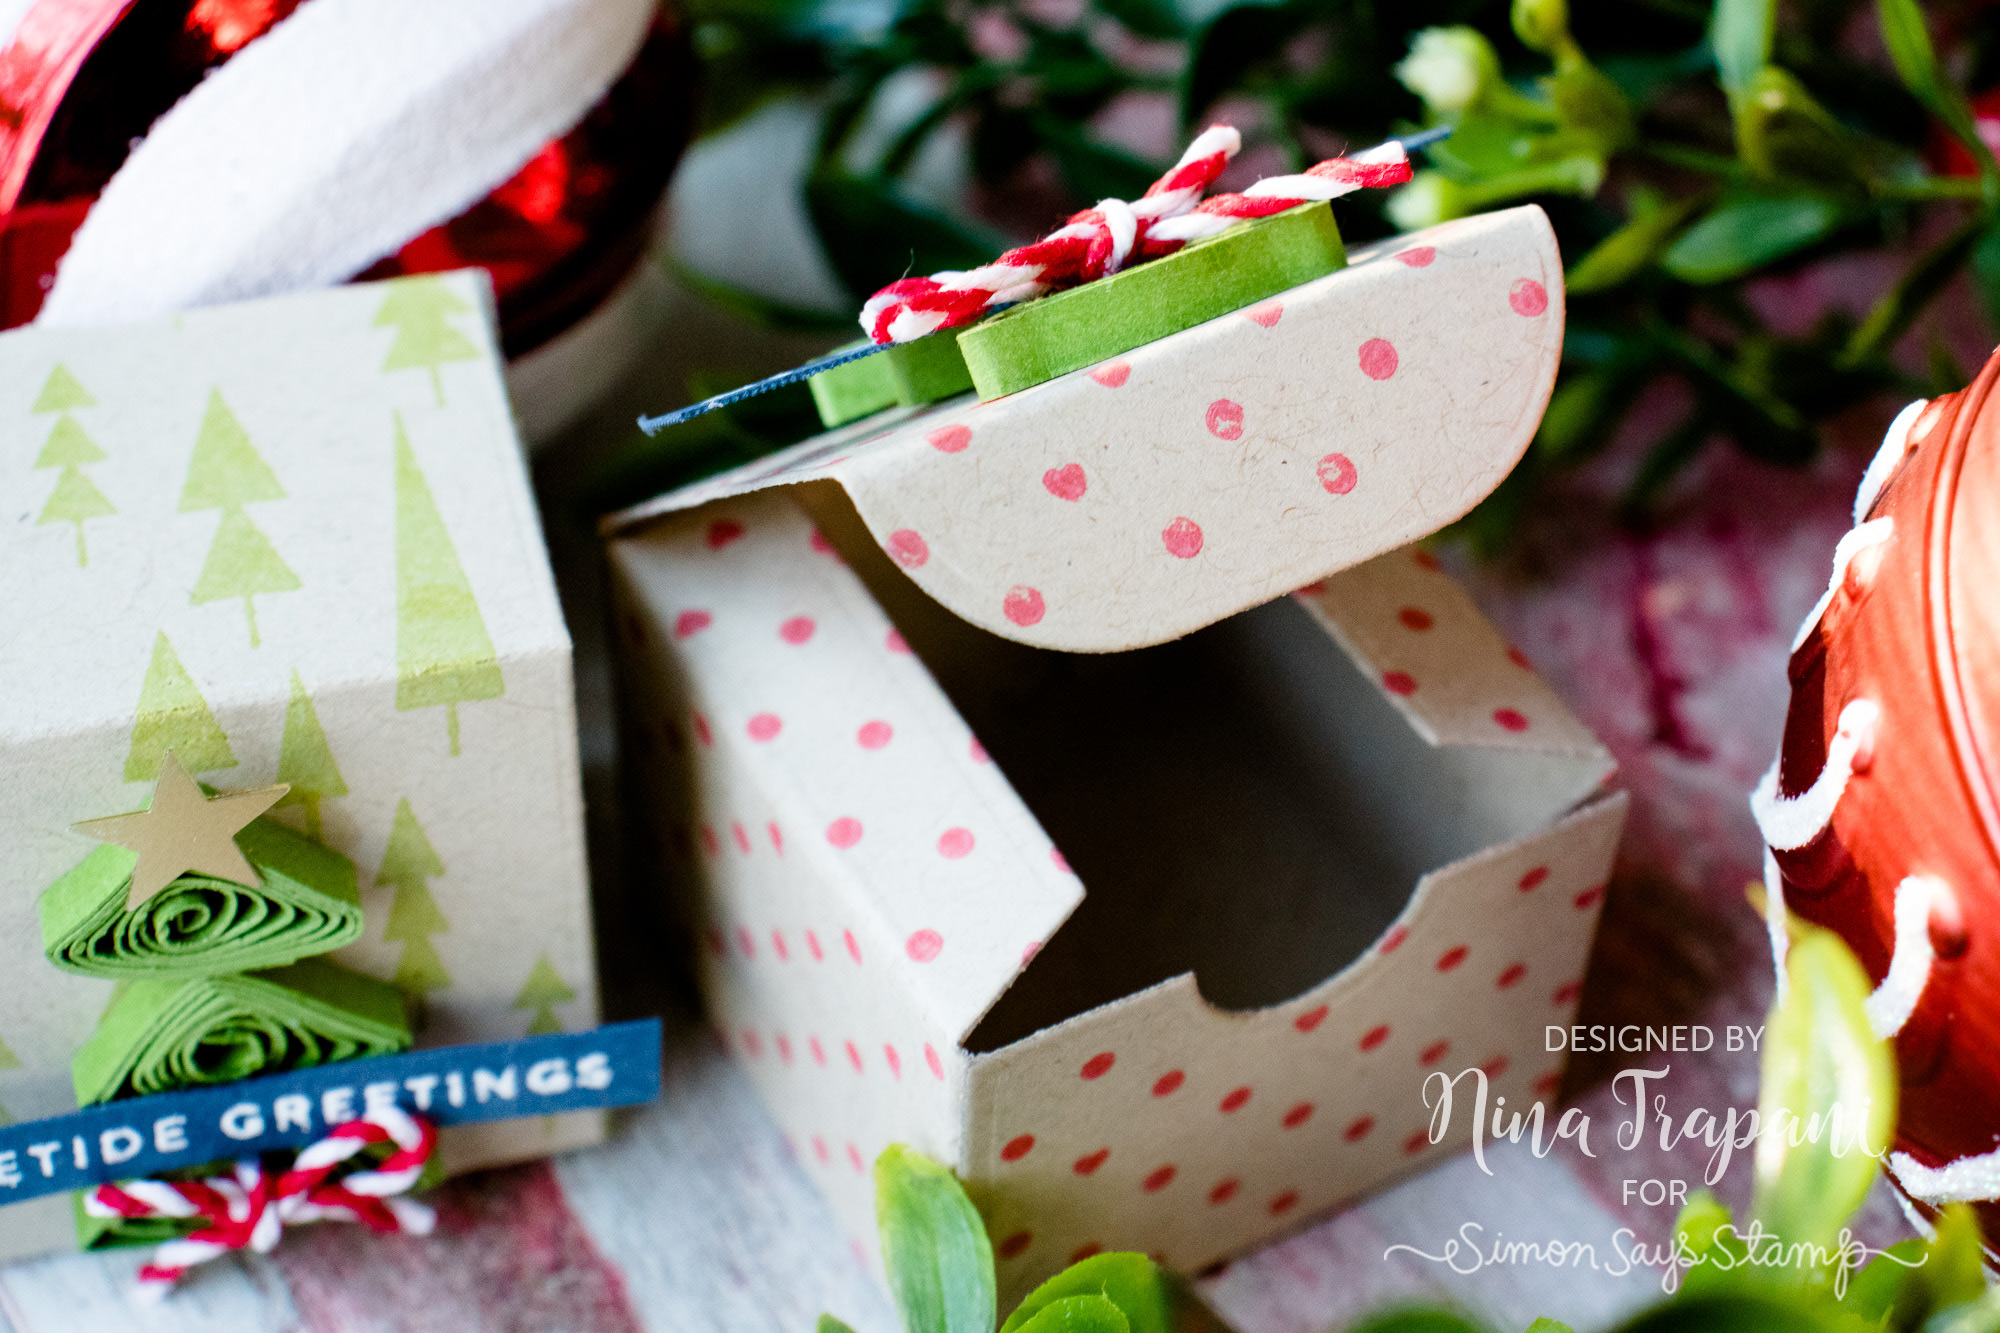
Have you ever tried paper quilling? This is a super fun, yet simple papercrafting technique that will make receipients of these darling gift boxes say, “How did you do this?”! With a bit of paper twisting, a dab of glue, a few pinches (and maybe some embellishments!), you can make quilled paper creations of almost any sort.
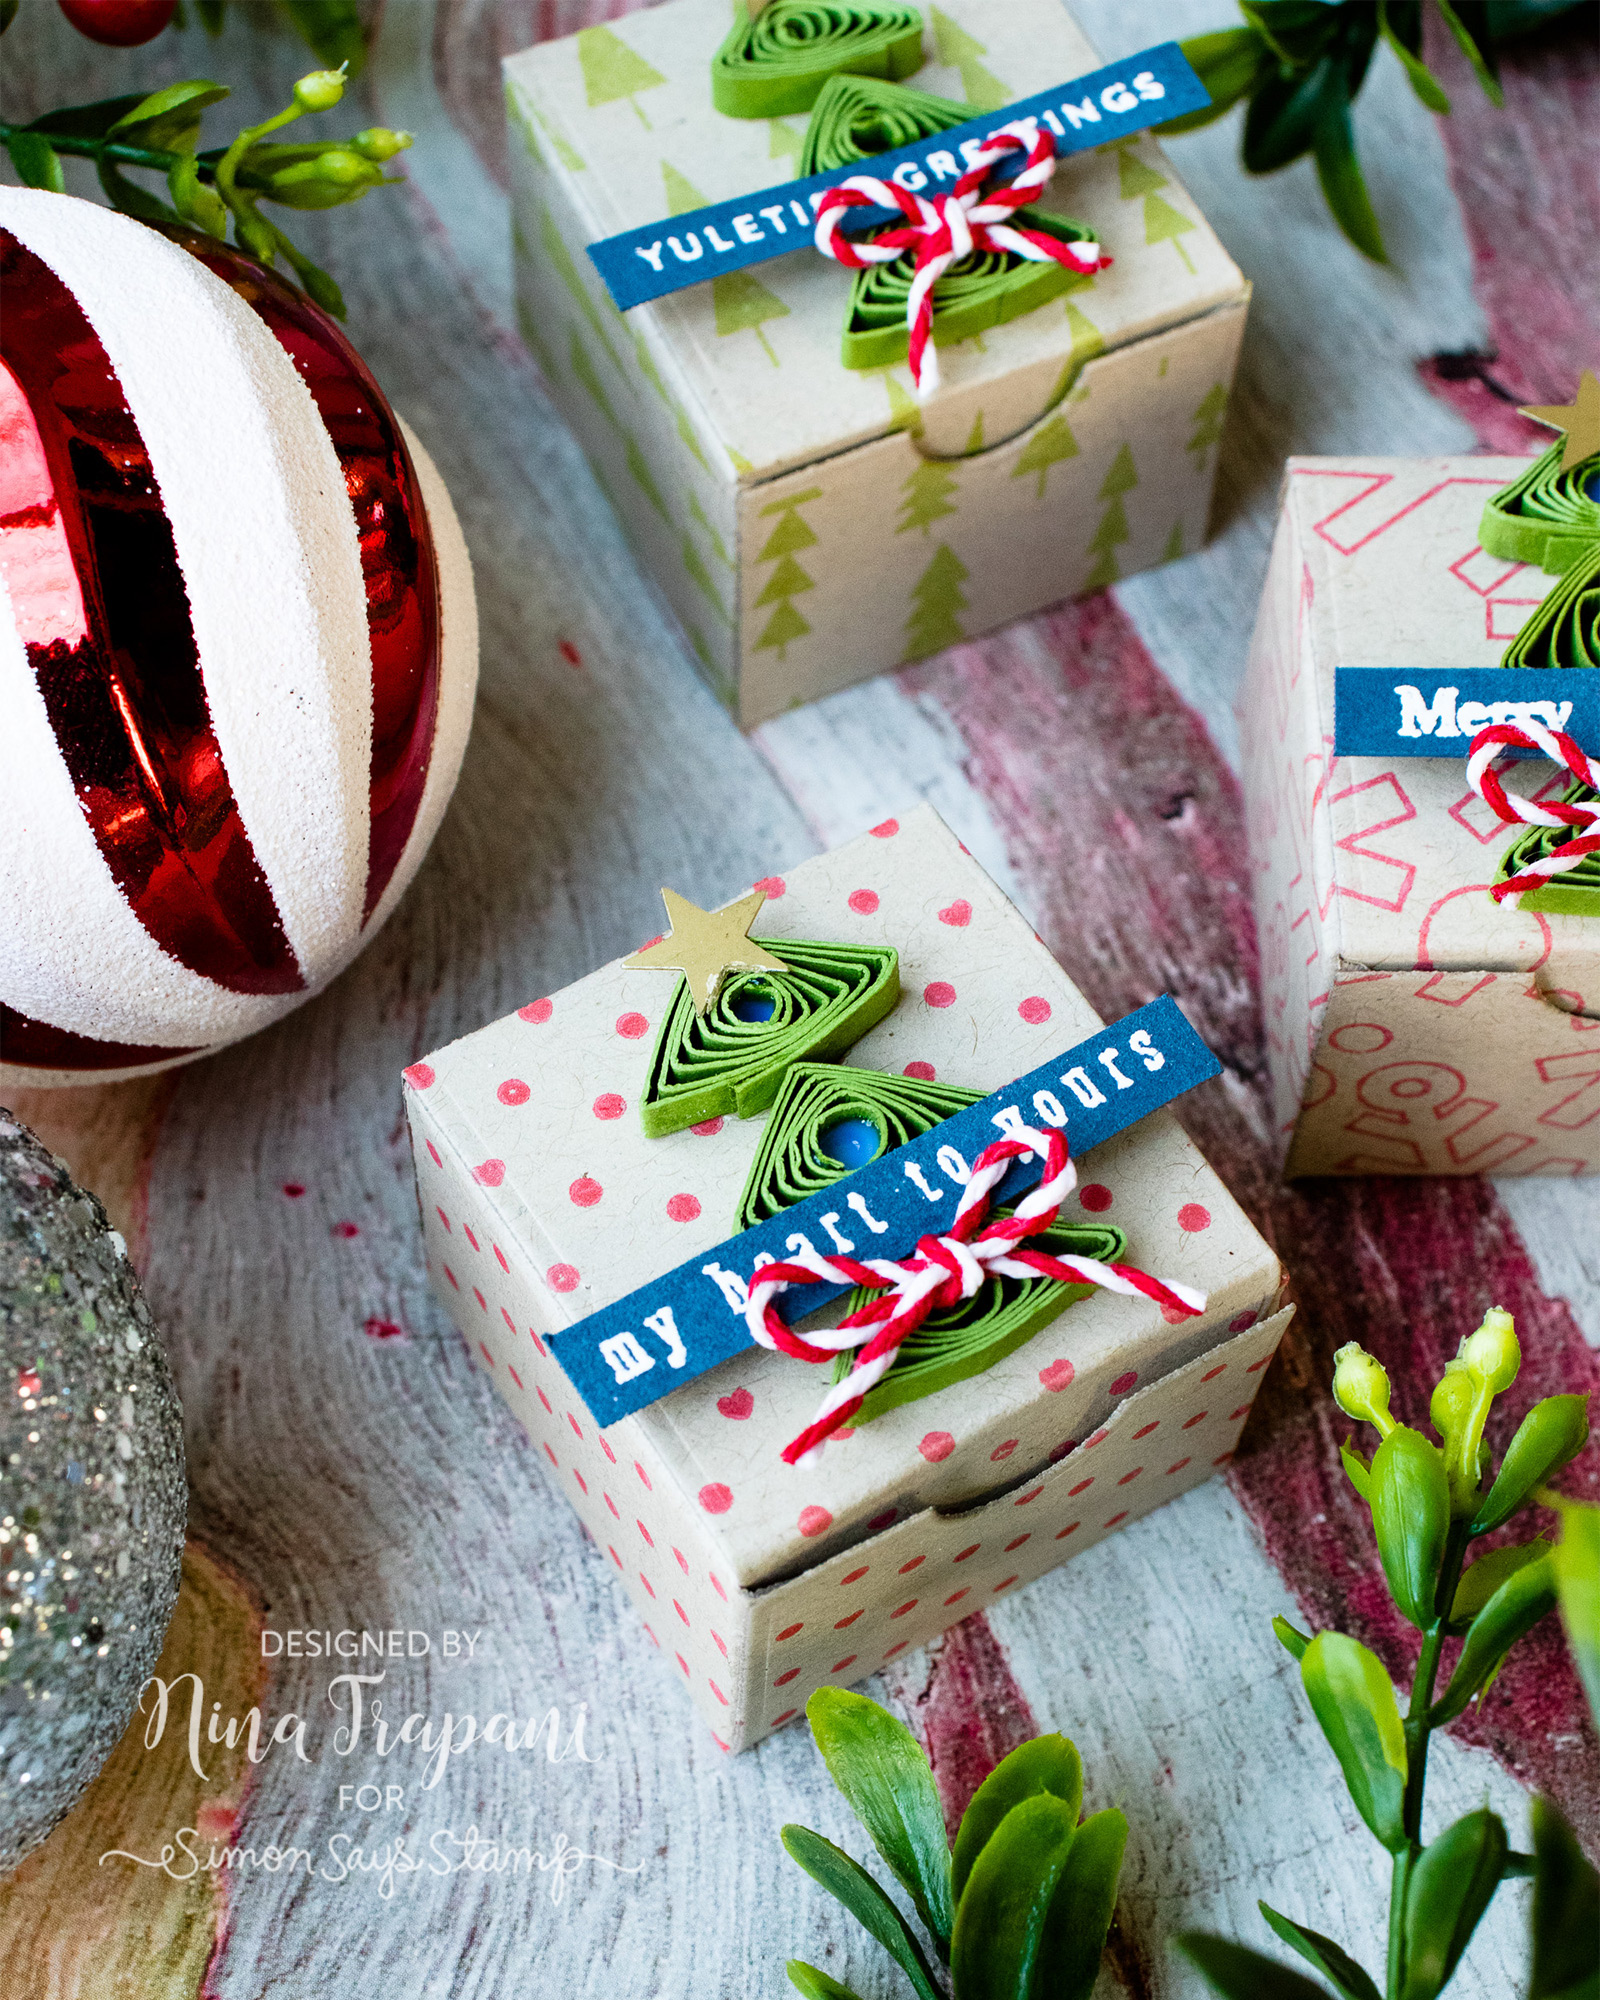
Once you make your quilled paper art, you can adhere them to just about anything! I love making handmade gifts; for today’s project I am adhereing mine to boxes made with Lawn Fawn’s Tiny Gift Box die. These darling little boxes are perfect for holding small presents, especially at Christmastime!
Are you curious as to how to create quilled paper gift boxes? Press play on the video below to see it all come together! Thanks so much for tuning in today; I will be back again soon with a new video to share!
WATCH THE VIDEO
SUPPLIES
|


Blog Candy Alert!! Follow our blog via email and comment on this post for a chance to win special blog candy!


