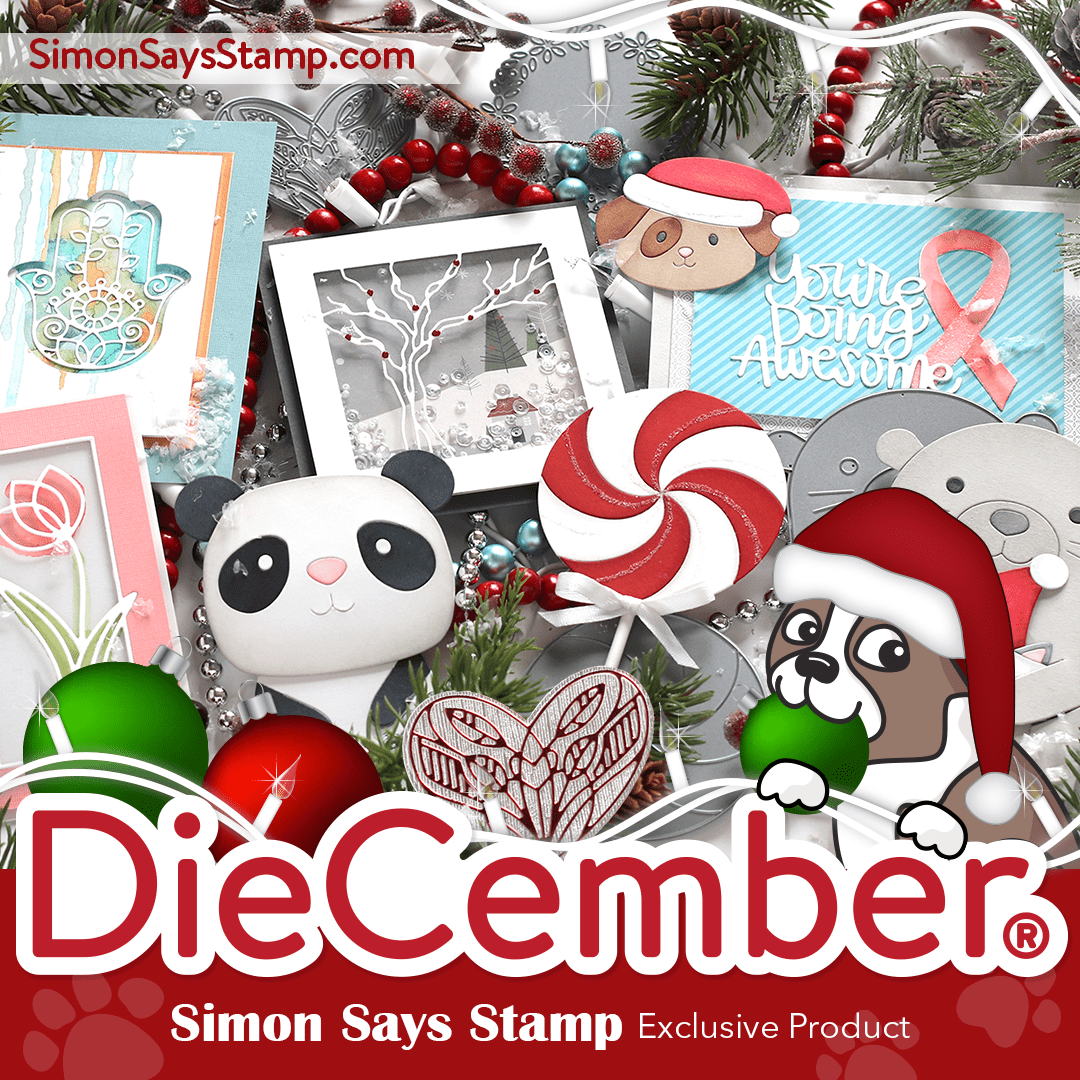
DieCember® is HERE!!!
Hi friends! Happy DieCember® 1st! I’m not exactly or precisely sure when die cutting became a hot trend in crafting. It’s hard to pinpoint. However, I do know that die cutting has changed the way that we create. Cutting out beautiful and often intricate images is a delightfully fun part of paper crafting. Die cutting embellishes our art in interesting ways. People that aren’t paper crafters are often mystified when they receive a card that has anything die cut involved in the design. If you haven’t experienced this wonderment and awe, be sure to spread some handmade joy this season! (check out this video for tips and tricks in die cutting)
To celebrate dies as one of my most favorite crafty products (after stamps, of course ;)), we are hosting a month-long DieCember® celebration. Throughout the month you will see special features, sales, education, and inspiration that focus on die cutting.
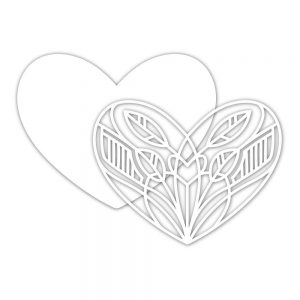
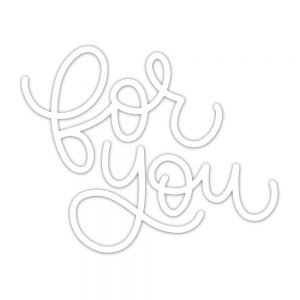
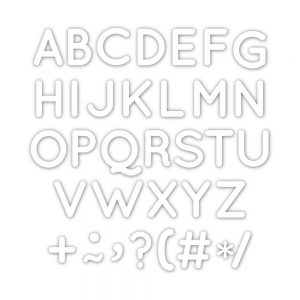
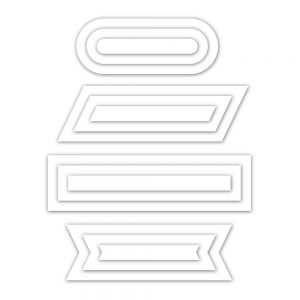
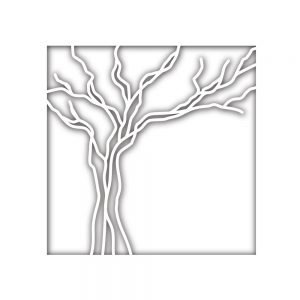
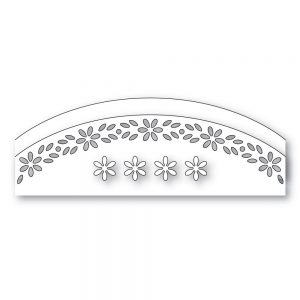
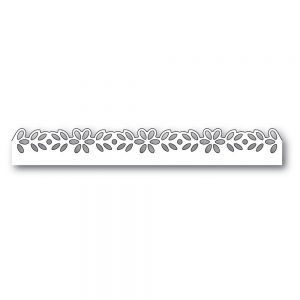
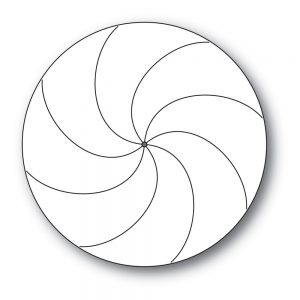
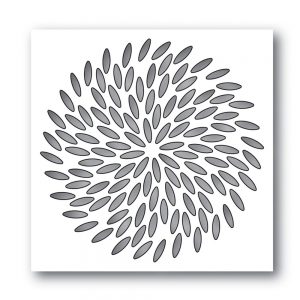
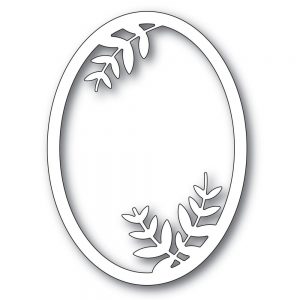
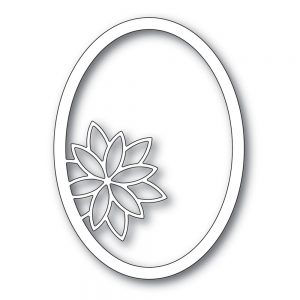
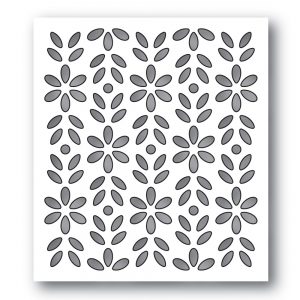
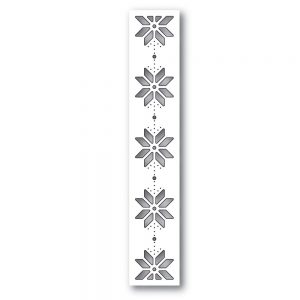
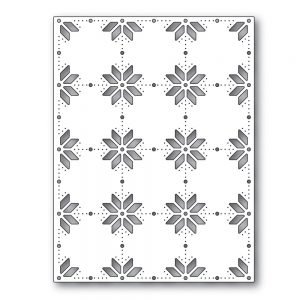
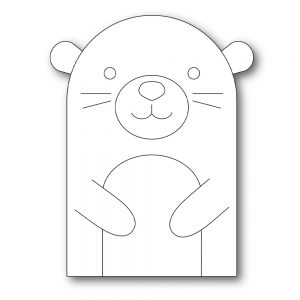
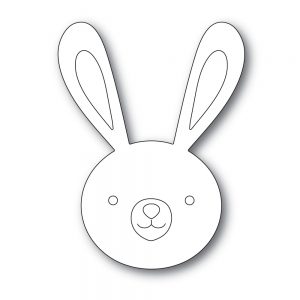
Kicking off our DieCember® celebration is a release of beautiful exclusive wafer-thin dies.
The always inventive and fun Laura Bassen made a very special video introducing all of these new products! Don’t miss it!
Looking for even MORE inspiration? Visit our galleries!
WATCH THE VIDEO:


DON’T MISS OUR BLOG HOPS!!!!
Tomorrow and next Friday (December 7th) we will be hosting blog hops loaded with inspiration using these products. You’ll find fun techniques and ideas that will definitely help spark your mojo and creativity this season! Be sure to stop back tomorrow and see what the designers are up to!
Happy Holidays Watercolor Cards 2018
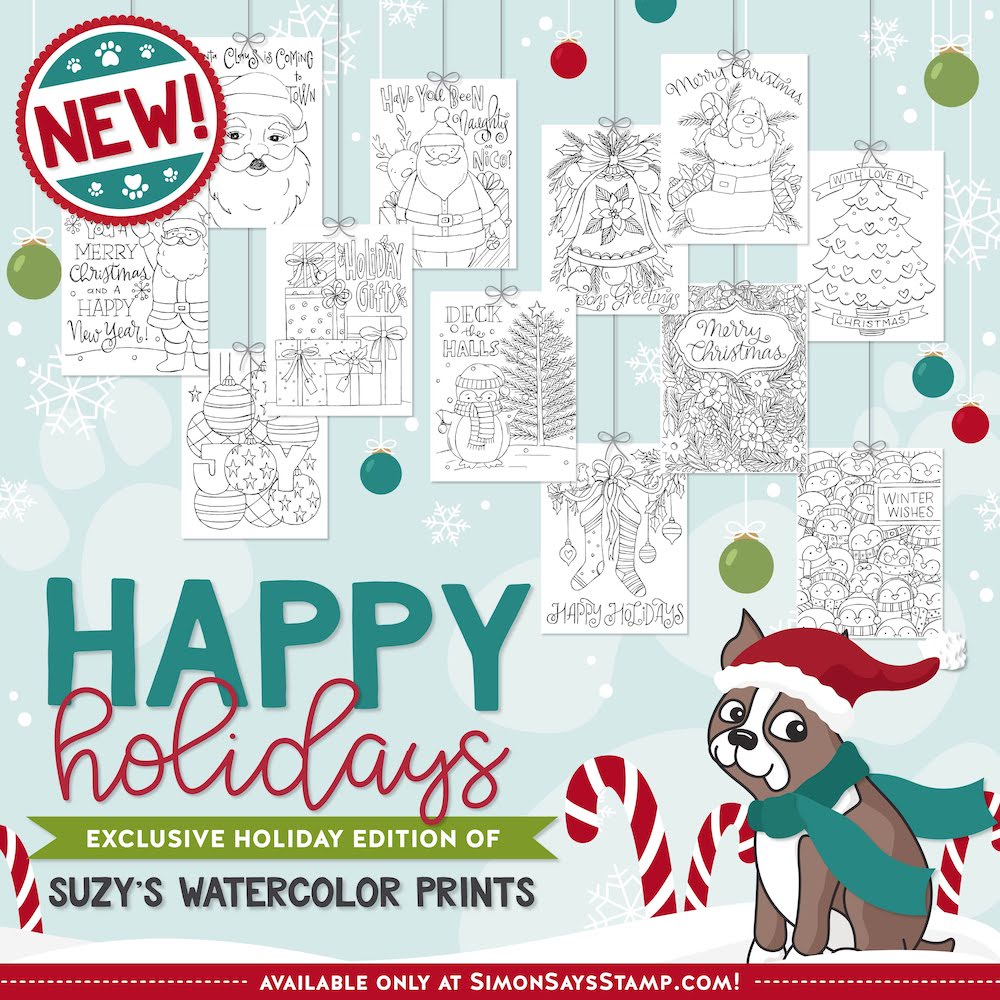
Hi friends! TGIF! Welcome to a VERY special edition of Suzy Plantamura’s “One Stamp Five Ways” feature– we’re introducing a brand NEW and EXCLUSIVE holiday-themed collection of Watercolor cards, perfect to get your holiday mojo in full gear for Christmas! Read on for some fun tips and tricks and enjoy!
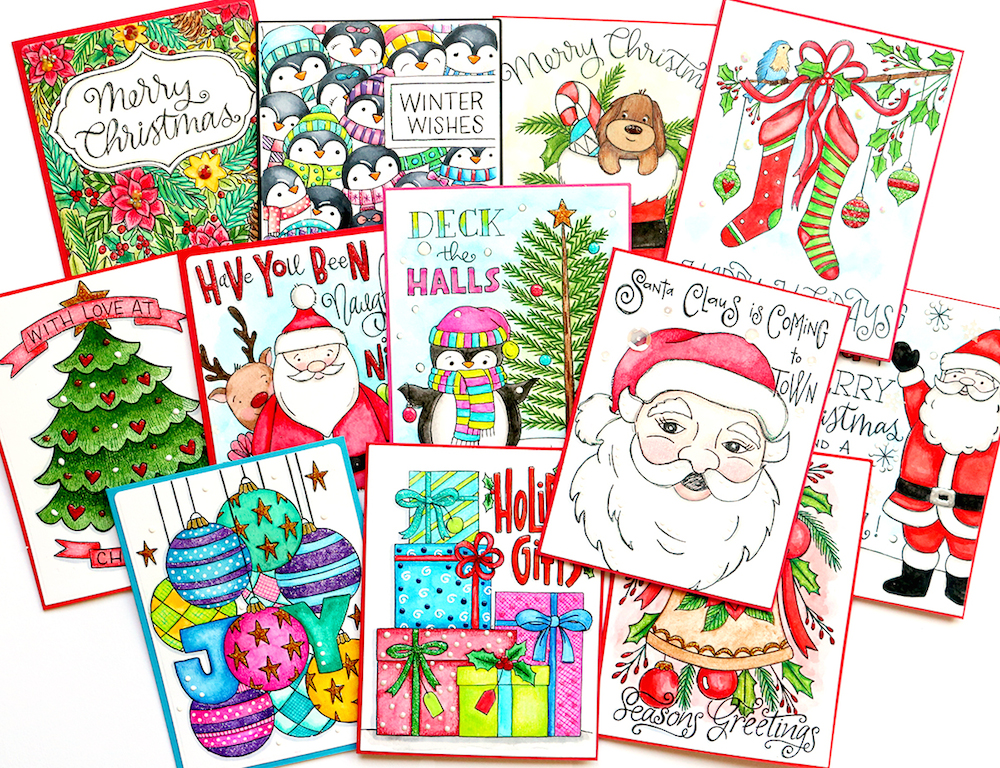
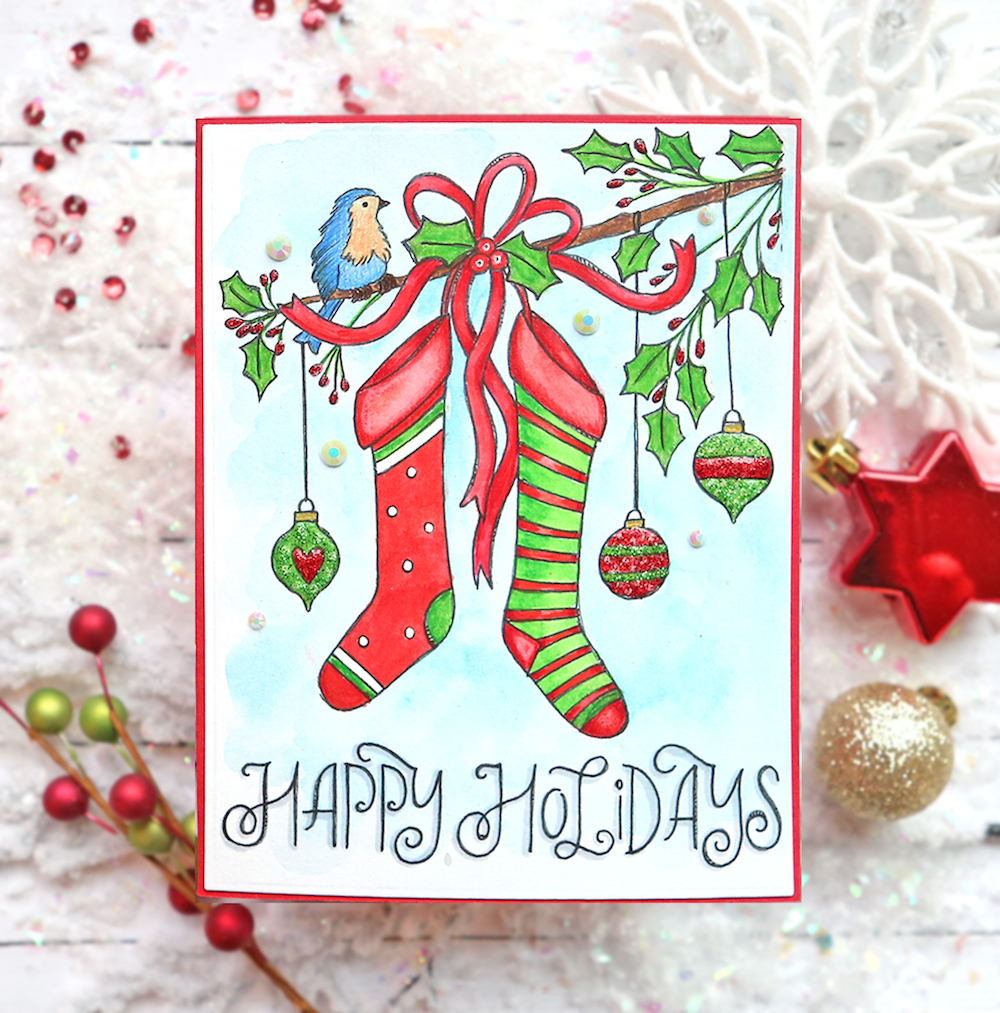
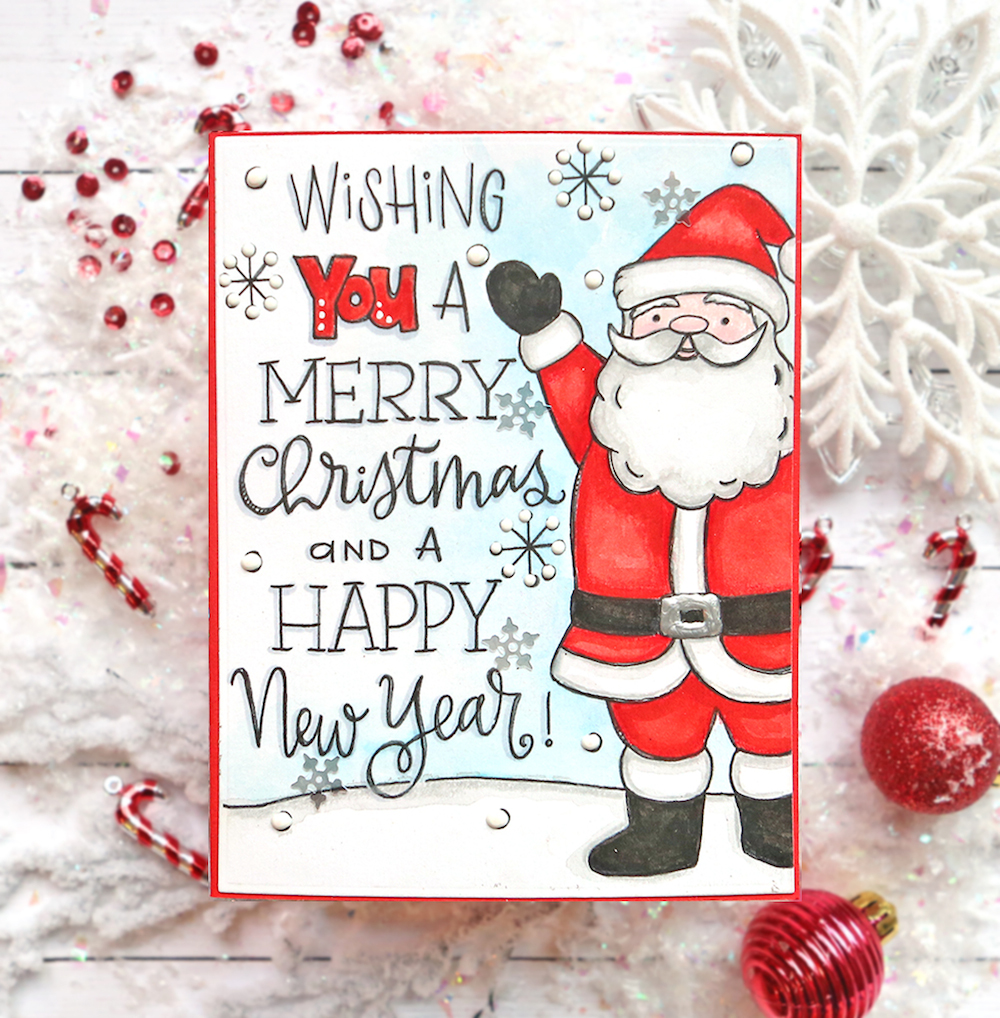
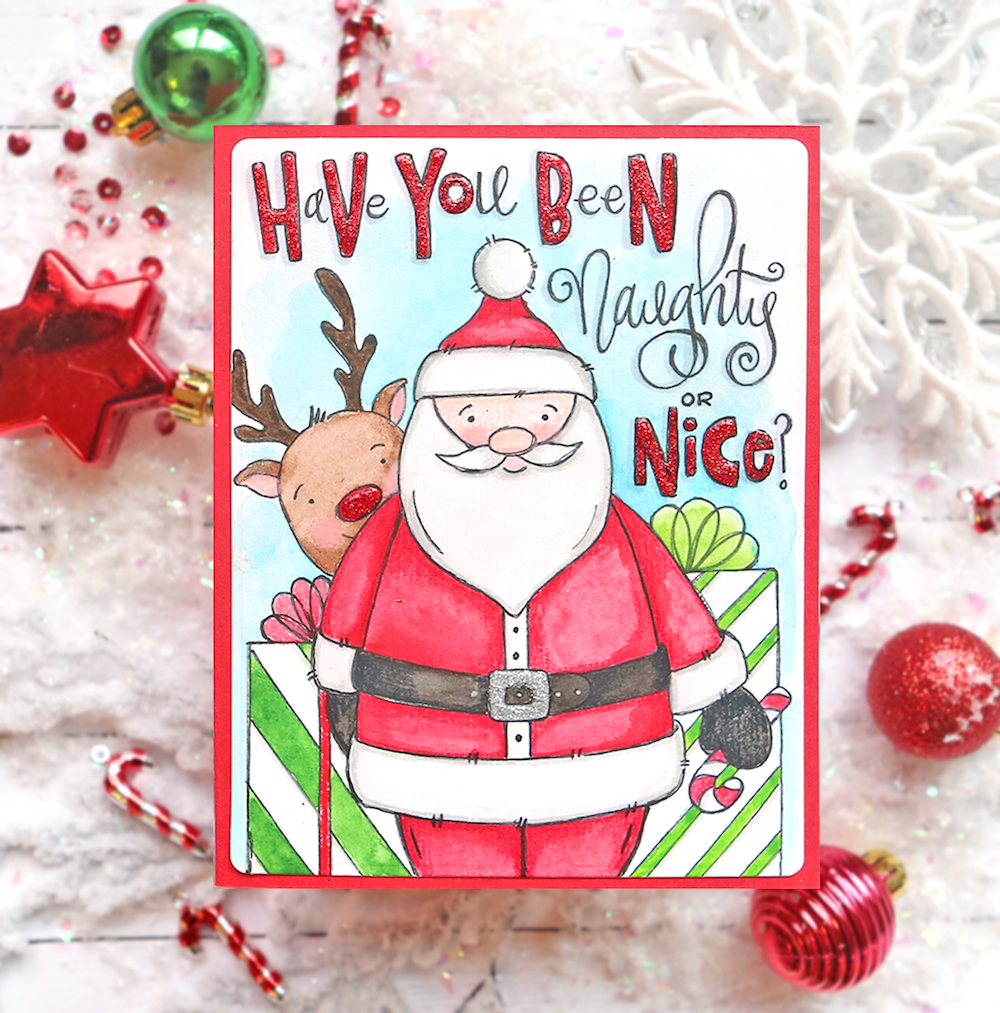
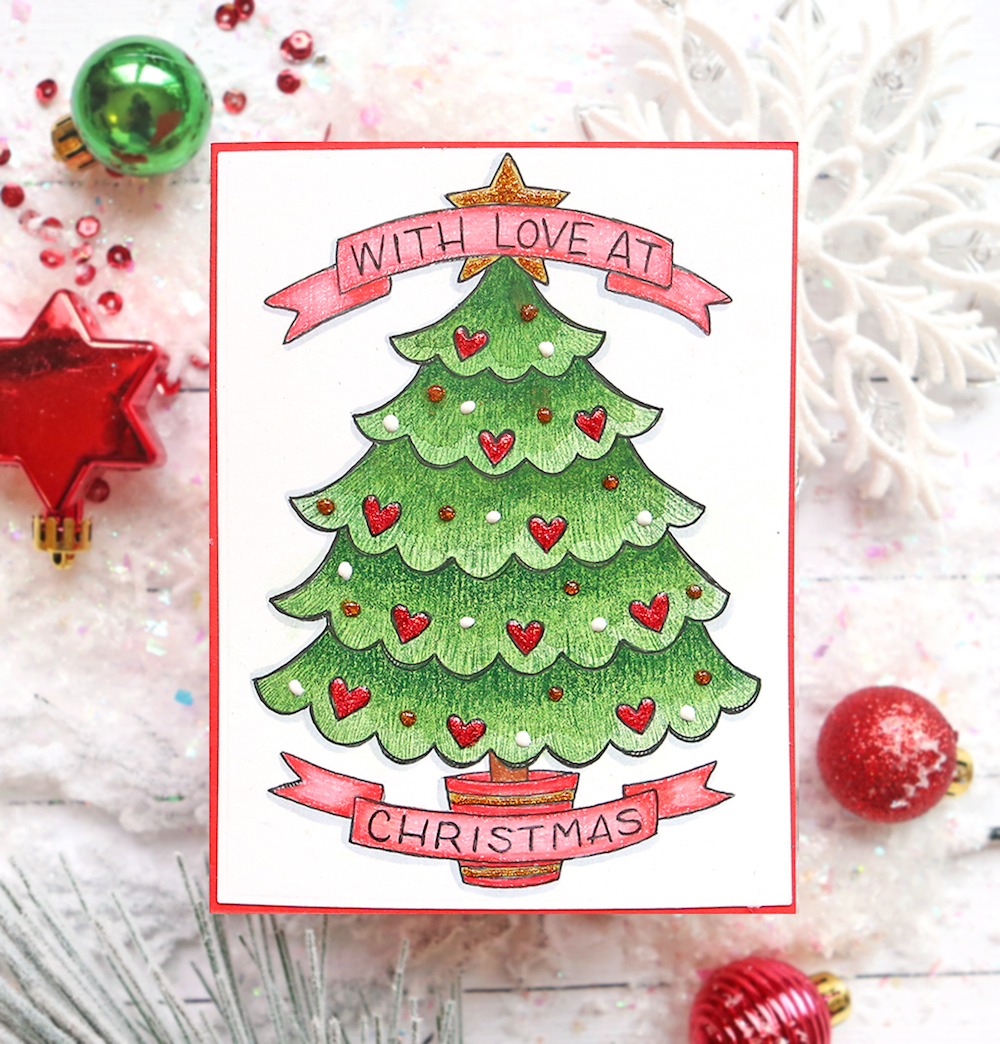
Hello, Simon Says Stamp friends! I usually guest post with a “One Stamp, Five Ways” post, but today, I’m doing something a little different! I have a new watercolor card set that was released TODAY called Happy Holidays, so in the spirit of the holidays, I wanted to show them all to you colored and dressed up ready to give away!
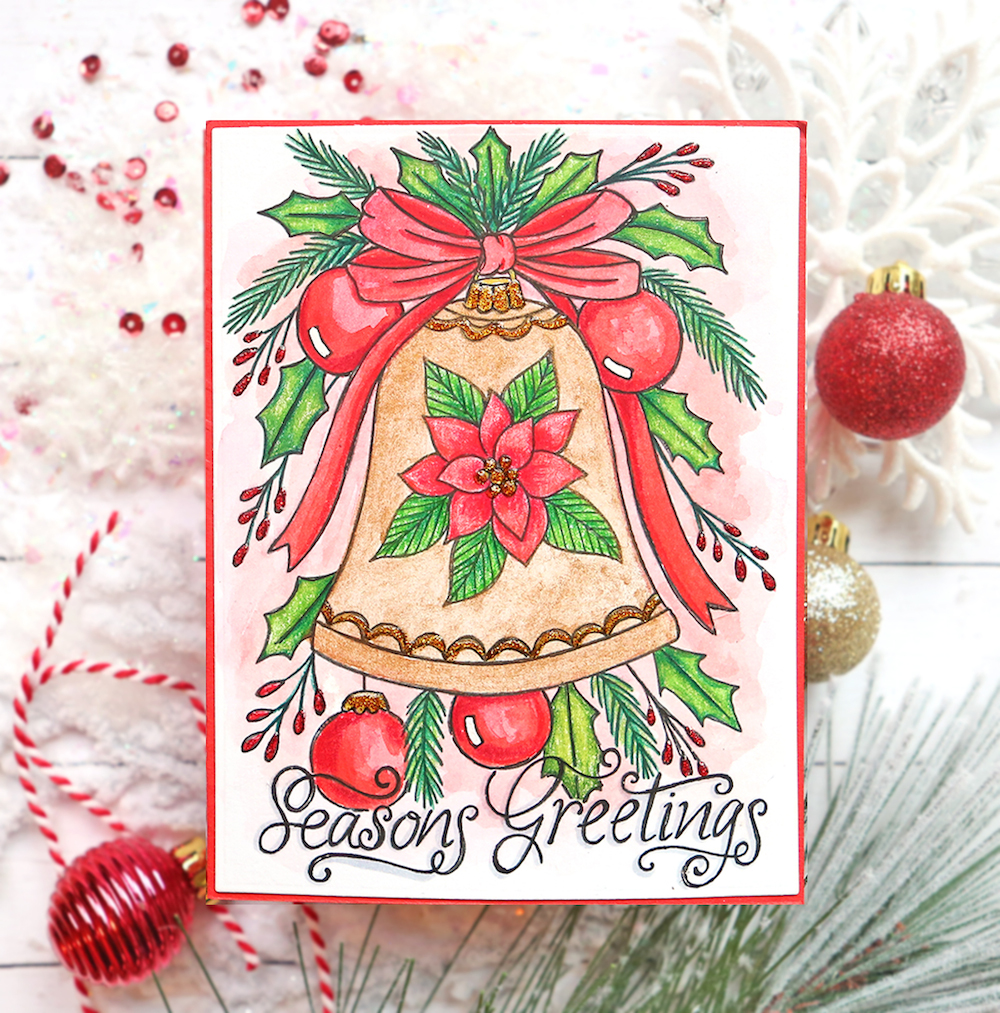
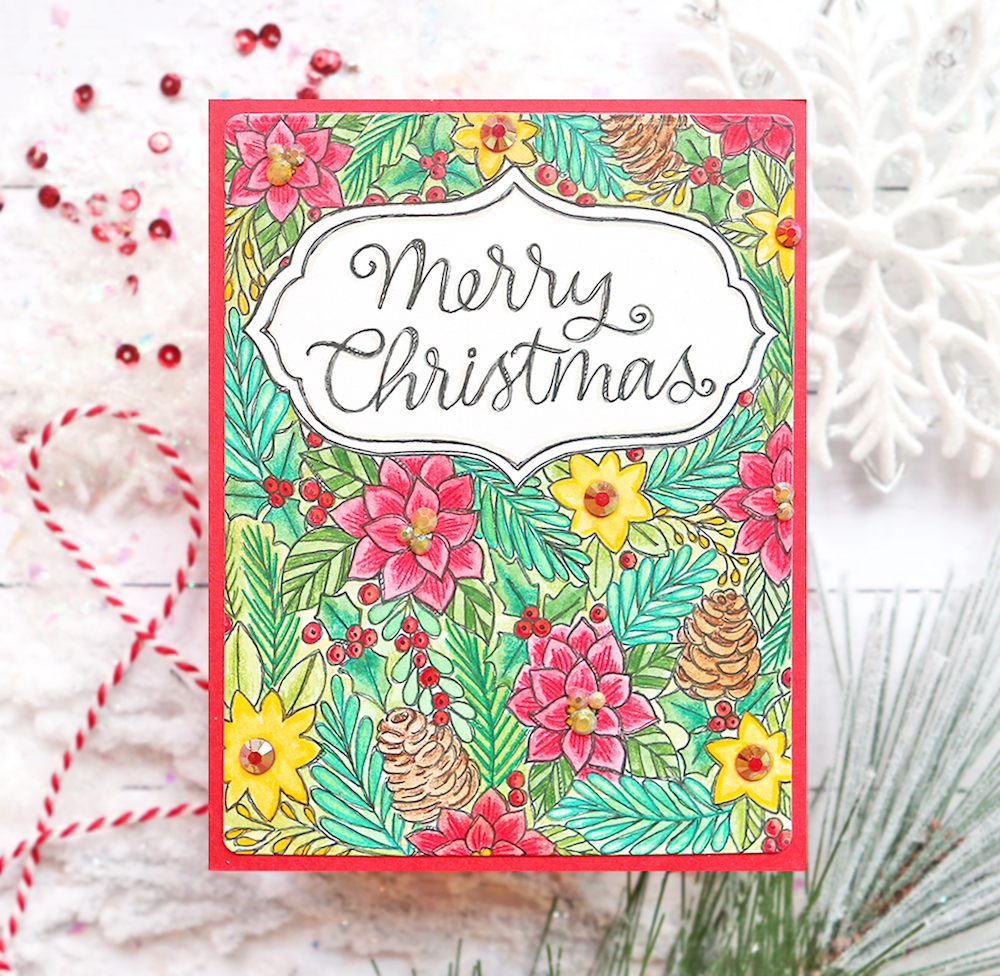
I’ll show you an image of each of the 12 colored and then after the photos, I’ll share some tips I use to color Suzy’s Watercolor Cards. They are all printed on Ranger Watercolor Paper so you can use ANY coloring medium to color them. Here we go!
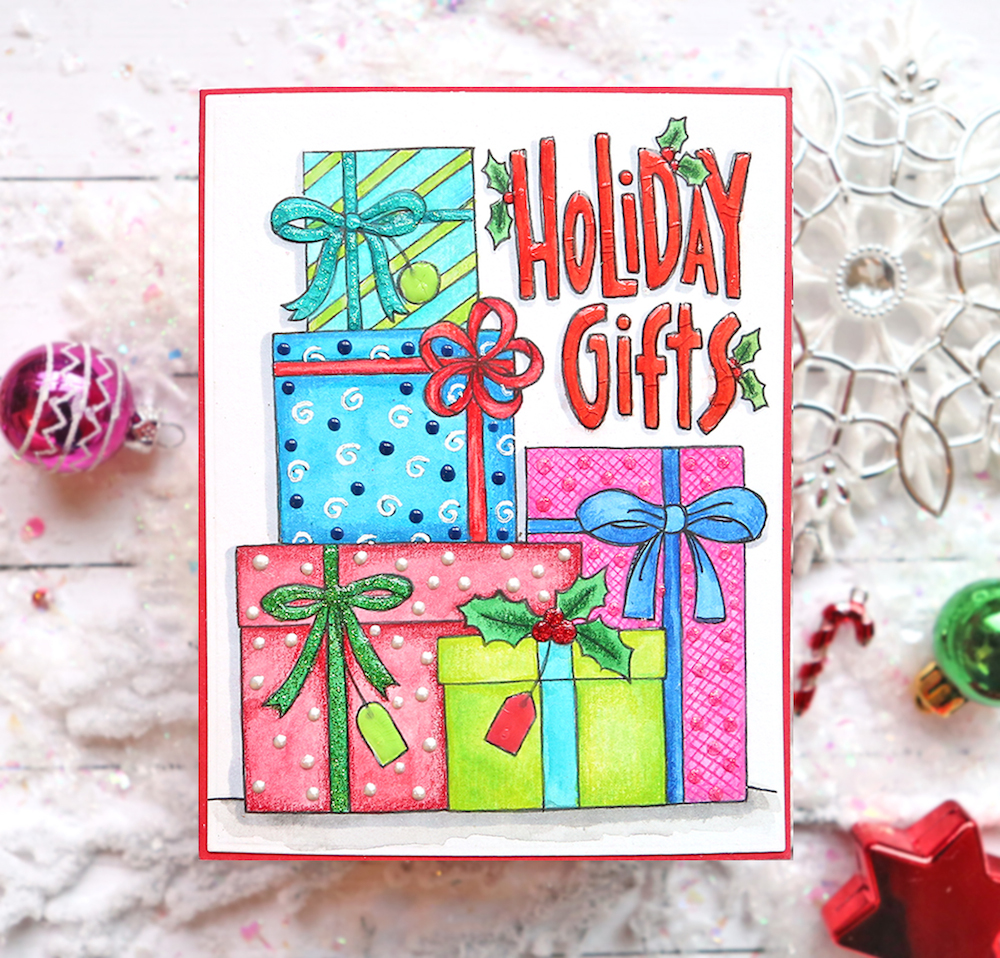
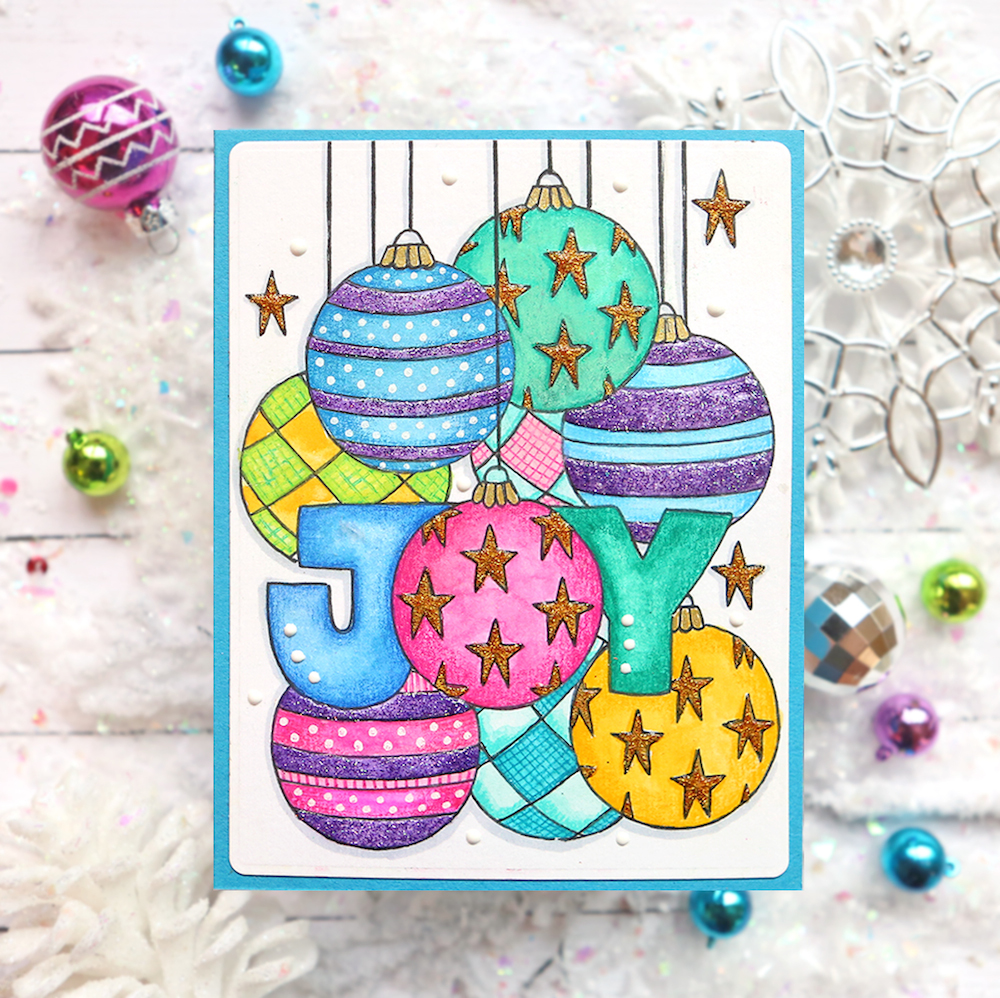
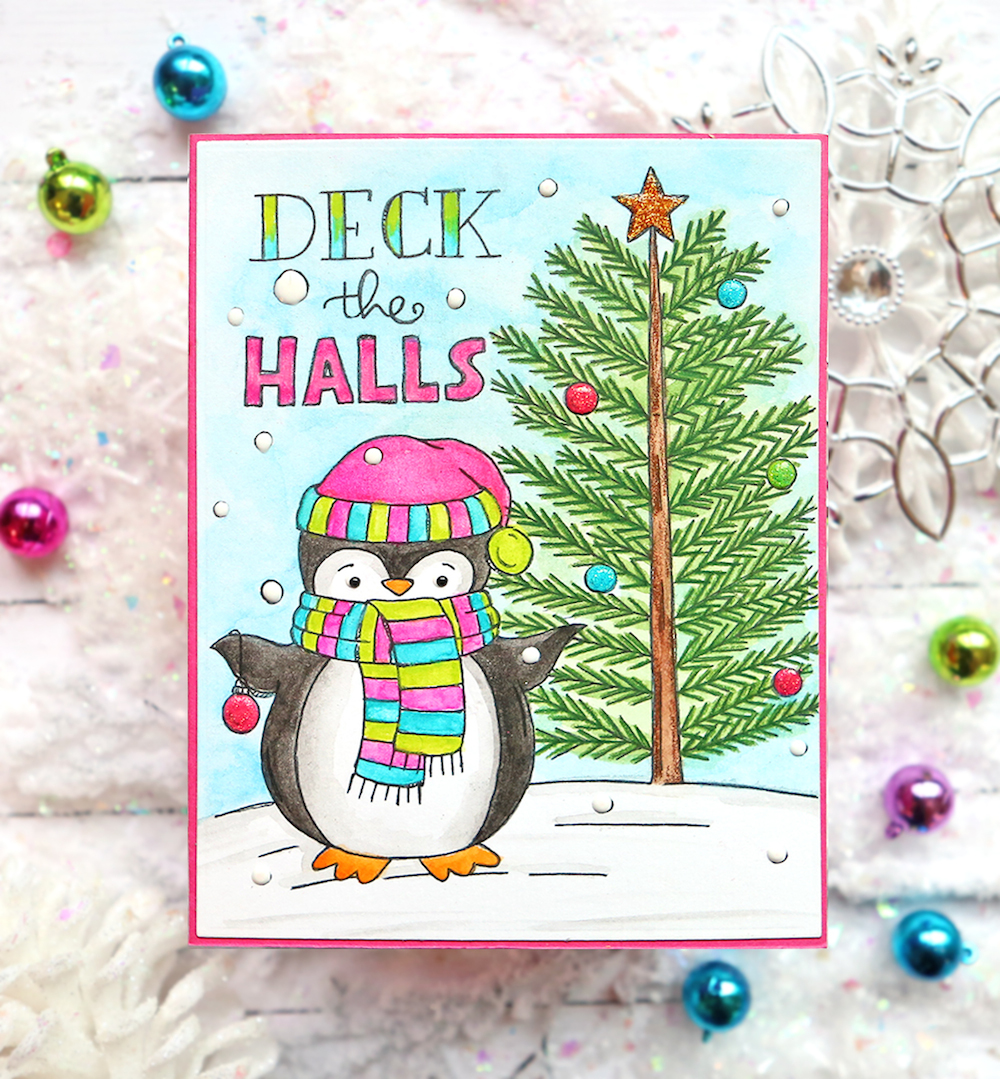
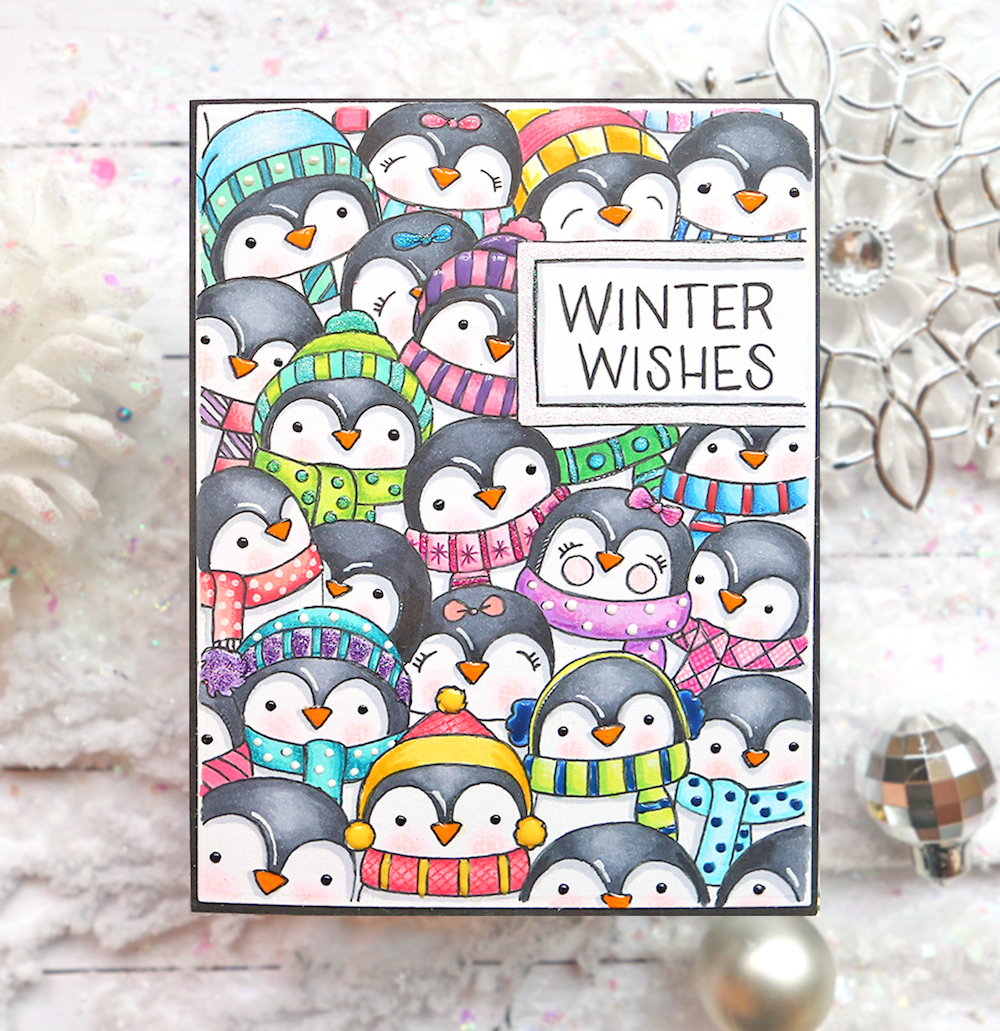
Here are my tips to color and dress up my watercolor cards:
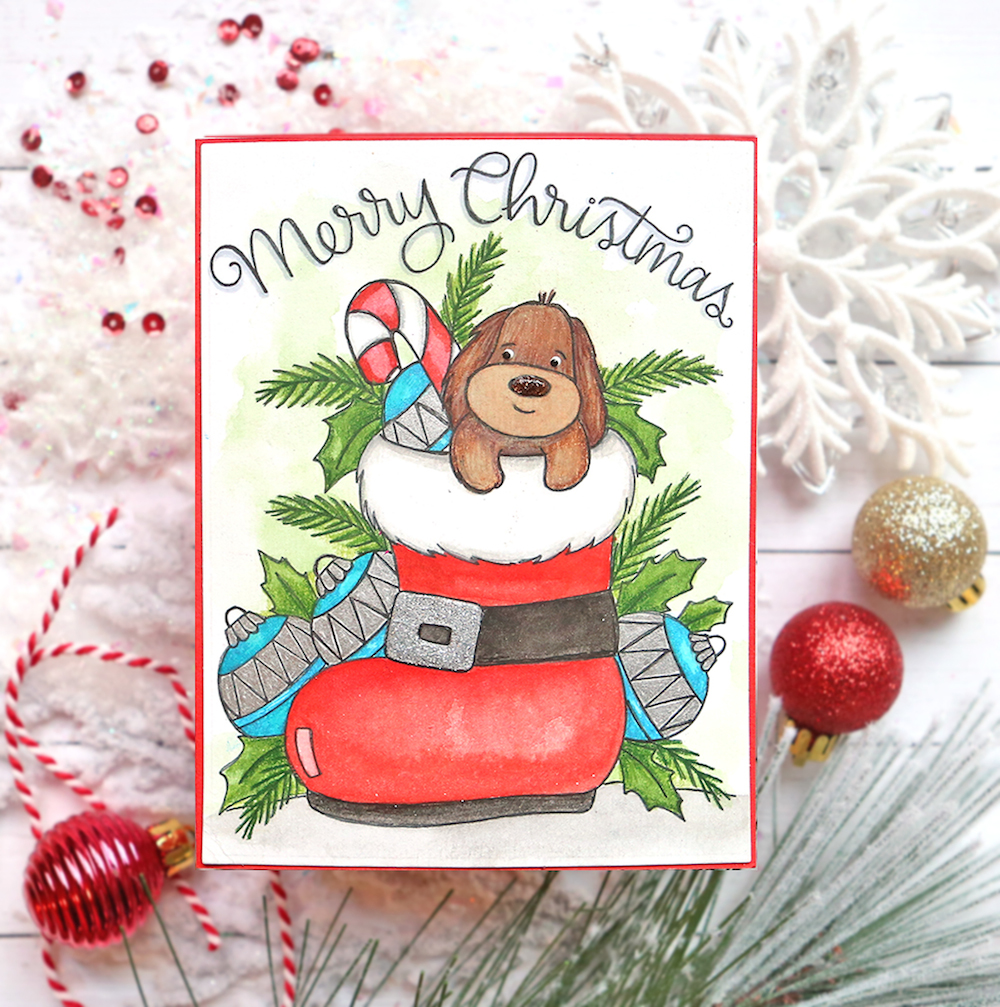
- Sometimes the designs are meant to go right to the edge of the card, but with printing margins, it won’t extend to the edge; in these cases, I die-cut them to be smaller as you can see in the first photo (Merry Christmas). I also like a card base to show around each to matte them.
- Use any coloring medium on these or a mix of all as I do! Some of my cards use watercolors, Copic Markers, AND colored pencils.
- Use watercolors for the larger areas and backgrounds as it gives you the easiest coverage for the least cost! It also goes on transparent which is perfect for backgrounds.
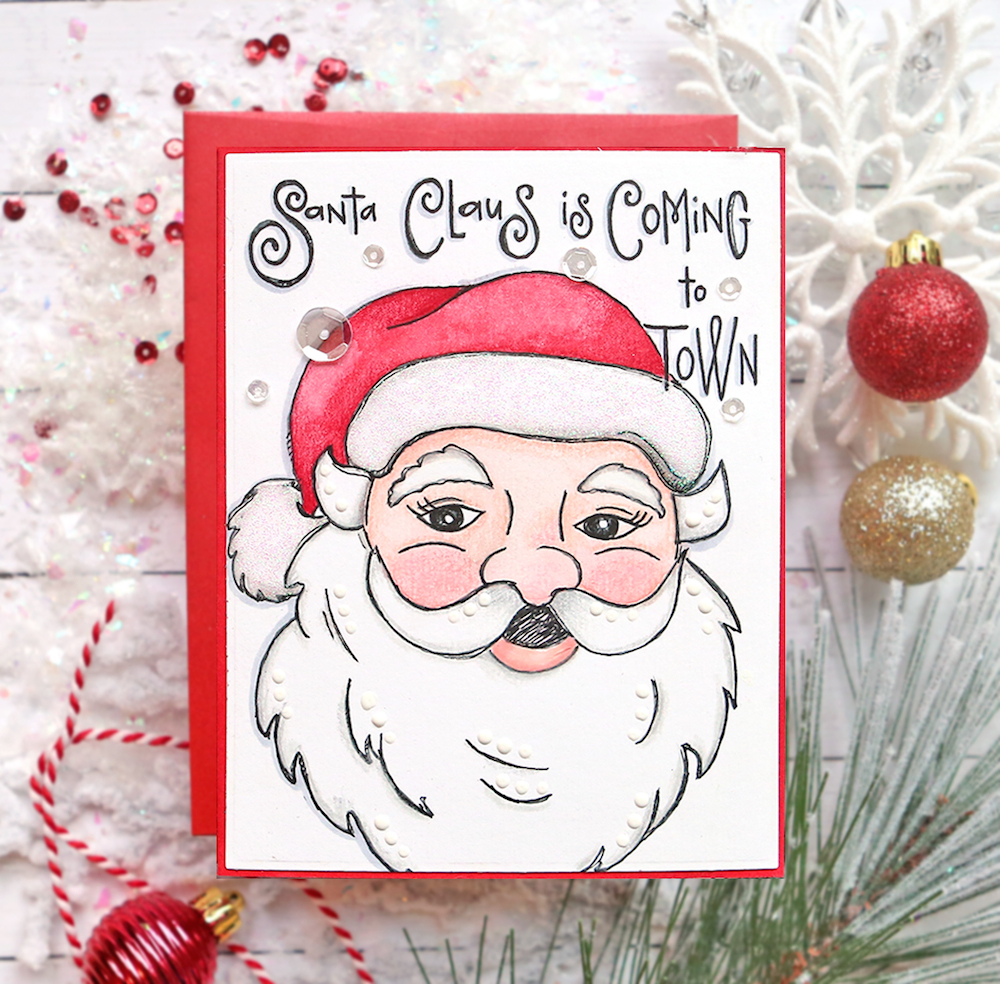
- Use Copic markers for areas such as the penguin heads as they work best for shading (getting different tones of black watercolor is harder than blending different gray Copic Markers).
- DON’T use colored pencils next to areas that you want pure white; this means I usually do my shading on white areas with a gray Copic Marker; colored pencils leave a residue that smears into the white areas. At first, I colored the penguin heads with black and gray colored pencils, but the “dust” from them got all over the white part of the penguins ruining them!
- Colored pencils are perfect for getting the extra shading and fine details you can’t get with watercolors; do you have a favorite brand? I love both the Polychromos and the Prismacolors for different reasons. The main difference is Prismacolors are oil based and they build up a waxy residue which makes them blend really well. The Polychromos are more like #2 pencil lead and they go on softer and the lines show more as they are wax based. I use both for different things and you end up with a total of 270 colors that way! An example is I used them to add texture and dimension to the Christmas Trees as little strokes for branches.
- I use Glitter Pens by Kaisercraft to add details also as they give a glittery finish that is perfect for the holidays!
- Add shadows to all of your letters/greetings as it really makes them pop – I use a Copic Marker either C2 or N2.
- Tonic Nuvo Drops are my jam. Seriously – as in you can’t use peanut butter without jam! I love them for all the details after the cards are all colored. The glitter ones are my favorites, but as you can see in the supply list, I use them all! Add polka dots, stripes, texture, shine, dimension and glitter to all the items on these cards! They definitely give them the finishing touch! You can’t tell in the photos, but some examples of where I used them are: Rose Water on Santa’s bottom lip, Orange Marmalade on all of the penguin beaks, White Blizzard all over the white areas of Santa’s hat, and Moondust (silver) on the buckle on the boot and Santa’s belt.
Thank you all for visiting today and making it to the end of this long blog post! I hope you enjoyed this holiday filled inspiration using my newest watercolor card set Happy Holidays. Just think what a perfect gift they would with some markers or watercolors for a crafty friend for Christmas! Or you could use them to make all of your holiday cards this year! Have a wonderful holiday season and very Merry Christmas friends! Suzy
SUPPLIES:
|


Thanks for stopping by and thanks to Suzy for being our guest!

Blog Candy Alert!! Follow our blog via email and comment on this post for a chance to win special blog candy!
Congrats Blog Candy Winners!
From: Yippee for Yana: Calligraphy -Like Christmas Cards: Alannah Buchhorn!
Please email [email protected] with the name of the blog you won from, your prize(s), and your address if applicable!
Altenew Crafty Friends Blog Hop Day 1 with Shari Carroll

Welcome to the Altenew Crafty Friends Blog Hop!!! If you’re coming from Laura Jane‘s blog, you’re in the right place. We are celebrating our unique stamping community by sharing projects inspired by what we love, stamping and crafting!!
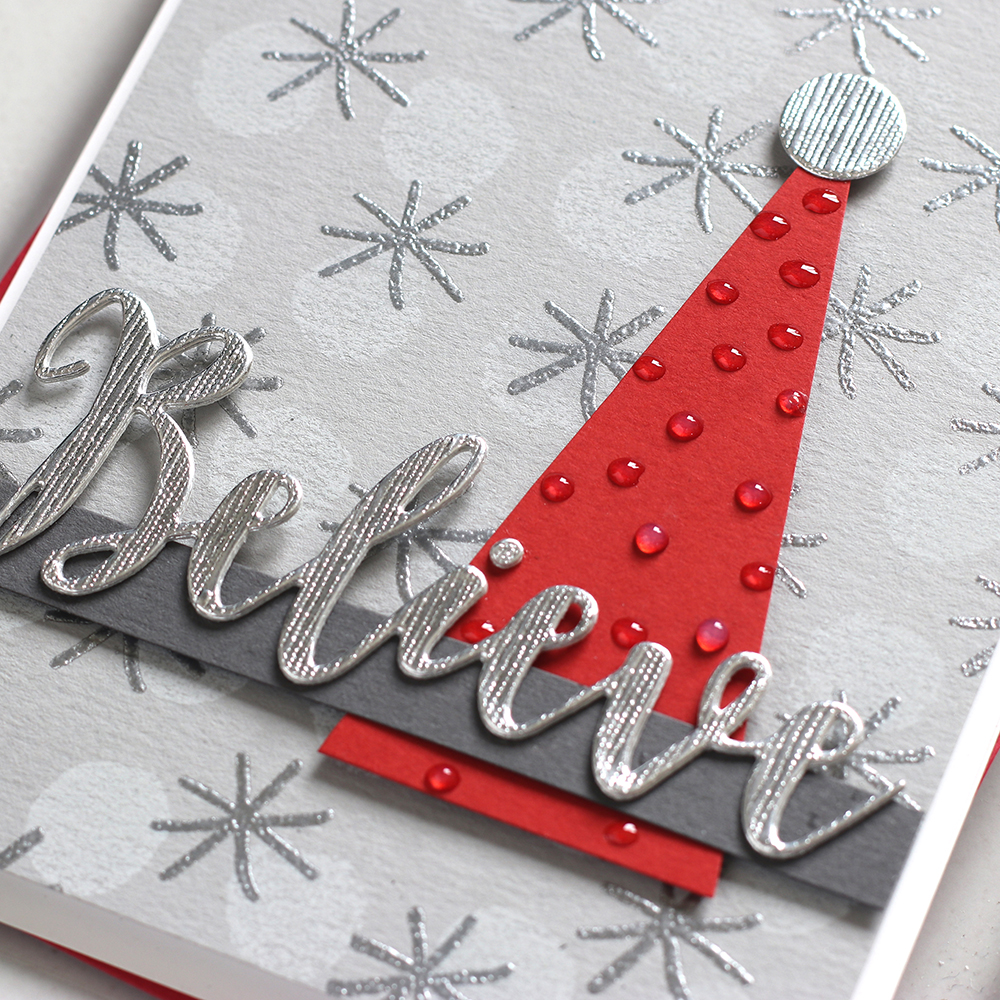
Right now, I’m inspired to make Christmas cards. I thought it would be fun to use some non-holiday stamps to create my card. I used the Altenew Watercolor Dots and Holiday Script Words to create a clean and simple look.

I stamped the star images first and silver embossed them. Next, I stamped the dots in white to finish off my quick background. I cut a triangle from red cardstock and mounted it to the card with a silver circle at the top. I used the “Believe” die from the Holiday Script Words die set from Silver Silk Tonic paper mounted to a strip of Slate cardstock. Pretty easy peasy!!!
WATCH THE VIDEO:
My question to you: Is the triangle on my card a tree or a Santa hat? I’d love to hear your answers!!!
Are you ready to do some more hoping??? Your next stop is to the talented Lilith Eeckels. I’ve listed the entire blog hop participants below in case you encounter any broken links.
For more information on prizes, please stop by the Altenew Card Blog and Altenew Scrapbook Blog!
Thanks for stopping by today, have fun being inspired as you hop along!!!
|


