Hi friends! Happy Monday! We’re happy to welcome special guest designer Libby Hickson to our blog today! She has made four uniquely fabulous projects! Have you seen the latest goodies from Hero Arts?! Take a scroll (<— see what I did there ;)), be inspired, and shop your favorites! Enjoy!
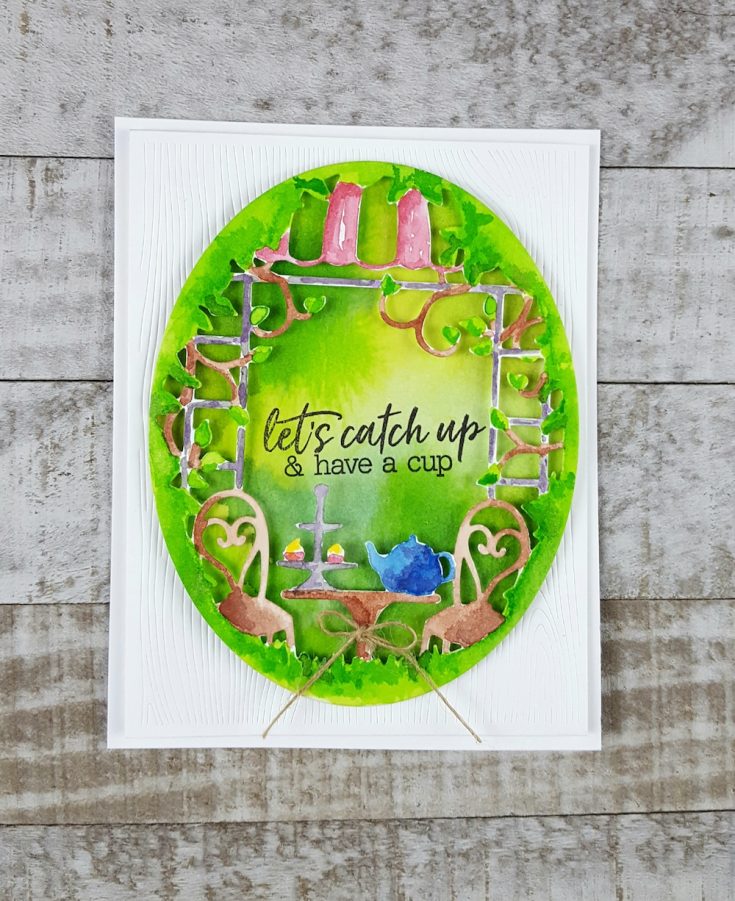
I began by die cutting the Tea Party Fancy Die from watercolor cardstock. I watercolored with several colors of liquid watercolor, including the new Cocoa color for the table, chairs, and branches. Next, using just the outer frame from the die set, I die cut the oval background and added a watercolor wash. Once the piece was completely dry, the message from Spill the Tea was stamped with black ink. The two pieces adhered together for foam adhesive, and a small bow was tied to the table. For the background, I die cut the Woodgrain Texture Fancy Die from white cardstock.
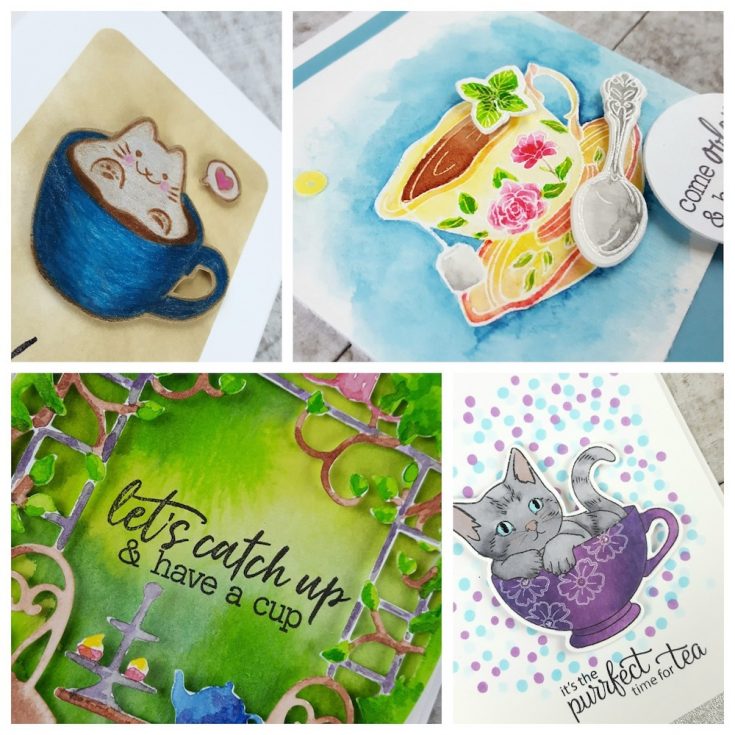
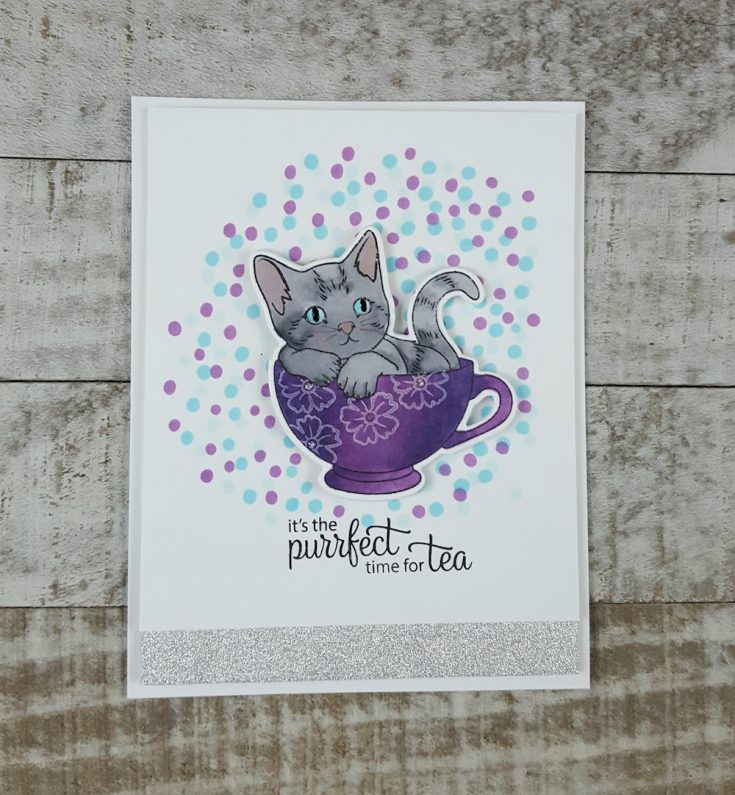
First, I stamped the cat image in Intense Black ink on Neenah cardstock. The image was colored using Copic markers. Next, I created masks – one to cover the kitty, and one to cover the area outside of the cup. With masks in place, I stamped the flower from the stamp set onto the cup using Unicorn White ink. Stickles were added to the flower center, Black Glaze pen on the eyes to make them twinkle, and fine little whiskers were drawn on with a Copic Multiliner. Once all ink and glitter glue was dry, I die cut the image with the matching die.
To create the background, I made random dots using Copic markers in the same shades of blue and purple used when coloring the main image. The message was stamped using Intense Black ink, and a strip of glitter paper was added – because everything is better with glitter!
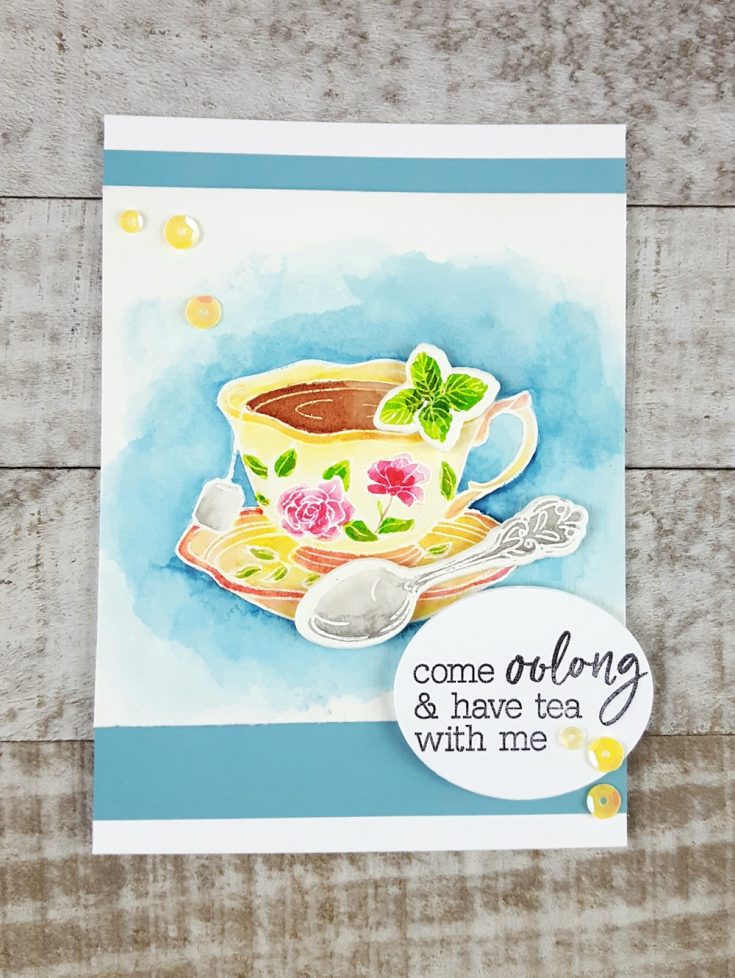
I began by embossing the teacup image from Spill the Tea in white on the main panel of watercolor paper, and also embossing the spoon and mint leaves in white on a scrap piece of watercolor paper. All three images were watercolored using the Hero Arts liquid watercolors, and the spoon and mint leaves were die cut with the matching dies. The spoon and leaves were added to the image using foam adhesive. The message was stamped using black ink, and die cut with Oval Infinity Dies. Ombre Sunshine sequins were added using Multi Medium Matte.
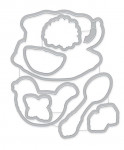
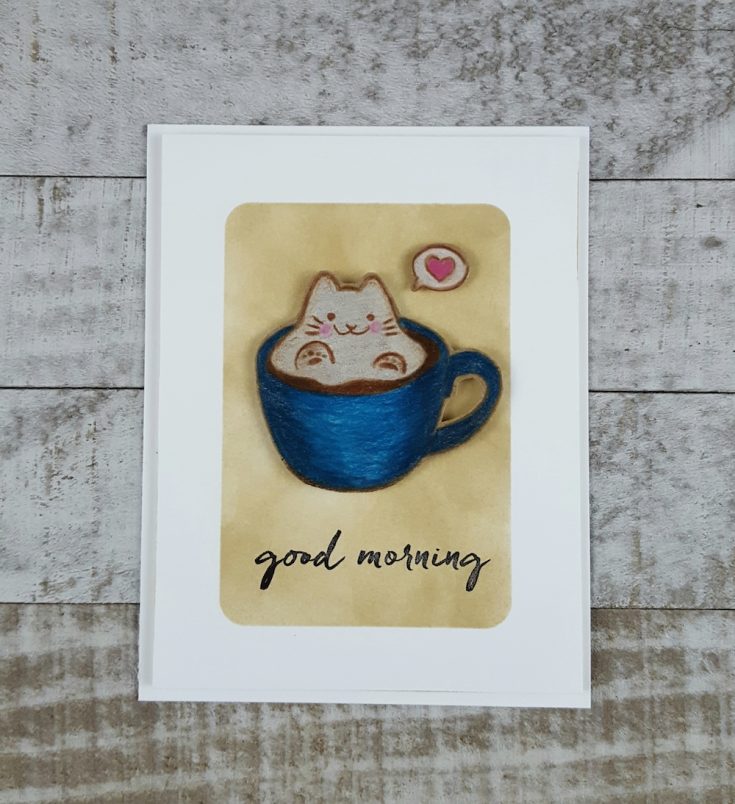
For this card, I began stamping the foam kitty from the Foam Animals stamp set in Soft Brown ink on kraft paper. Next, I created a mask for the kitty by stamping on masking paper & trimming out. I placed the mask over the kitty, and stamped the coffee cup, lining it up so the foam kitty would be at the top of the cut. After removing the mask, I colored the image using Faber-Castell Polychromos pencils. There are matching dies for this stamp set, but I chose to hand-trim the combined image instead. The heart message bubble from the Kit-Tea Stamp & Cut set was also stamped on kraft paper and die cut.
To create the background panel, I created a mask using the Round Rectangle Infinity Dies and masking paper, using the negative piece left after die-cutting. I placed that over my image and blended on Soft Brown ink.
To finish the card, I added the message in Black ink and adhered the coffee image and heart bubble with foam adhesive.
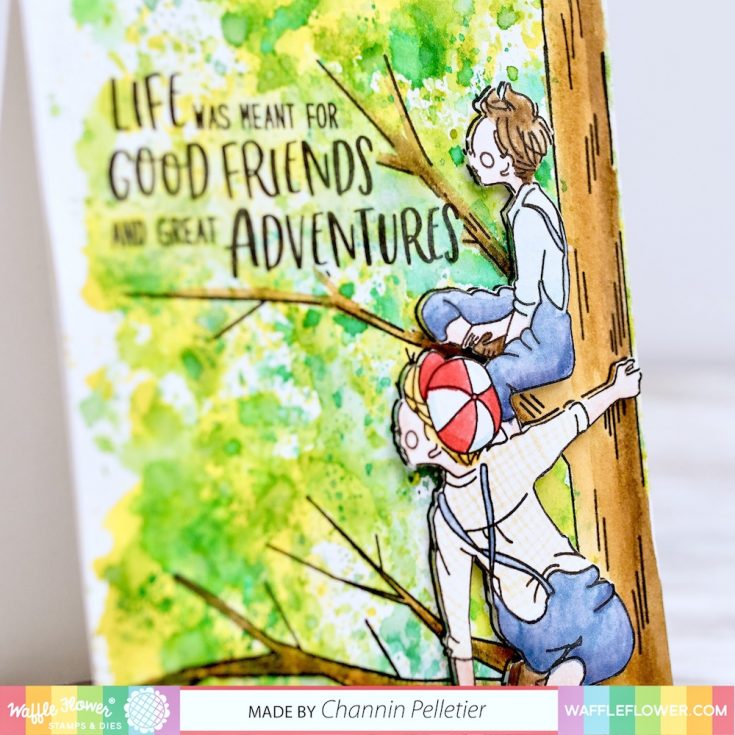
Hi friends! Happy Sunday! Happy new Waffle Flower Crafts release day! Be sure to stop by the store to see all of the newest goodies! But before you go— don’t miss this super fun ink smooshing card by Channin Pelletier showcasing the super fun new Adventures stamp set. Be sure to watch the video and enjoy!
Hello everyone! It’s Channin here and I am so thrilled to be here at Simon Says Stamp sharing a new card video featuring a brand new stamp set from Waffle Flower Crafts’ August Release. In today’s video, I combine the new Adventures Stamp Set with ink smooshing to create an easy yet beautiful summer tree!
I love the new Adventures Stamp Set! It is so fun to design with because it provides the perfect canvas on which to play with a plethora of fun techniques for creating leaves or landscapes.
First, I stamped a sentiment from the Adventures Stamp Set onto an A2 panel of watercolor paper in VersaFine Onyx Black Ink. I then created a mask for the sentiment, placed it over the sentiment and stamped the tree image from the Adventures stamp set onto the panel. I then stamped the tree image again onto another A2 panel of watercolor paper.
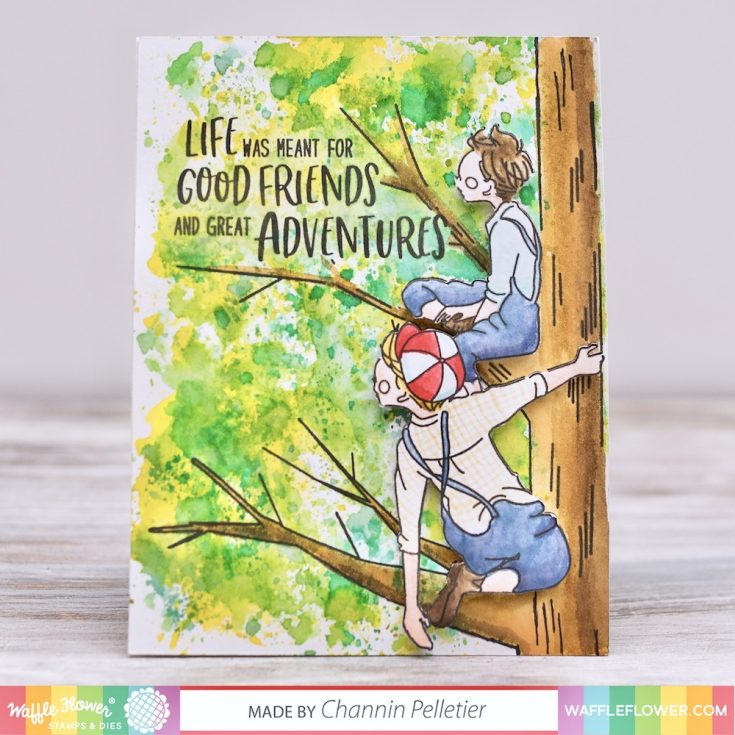
Next, I extended the tree on the first panel and the first boy’s hand and foot on the second panel with a sharpie. I then ink smooshed with Distress Inks (Crushed Olive, Mowed Lawn, Evergreen Bough, & Lucky Clover) and a small piece of acetate on the first panel to create the look of leaves. I then used a variety of Distress Inks to watercolor the tree trunk and branches on the first panel and the boys on the second.
Once the boys had dried, I fussy cut them out and then added foam tape to the back. I then adhered the ink smooshed panel to an A2 top-folding card base with liquid glue, then removed the backing on the foam tape and added the boys.
I hope you enjoyed my card and video! Thanks so much for stopping by!
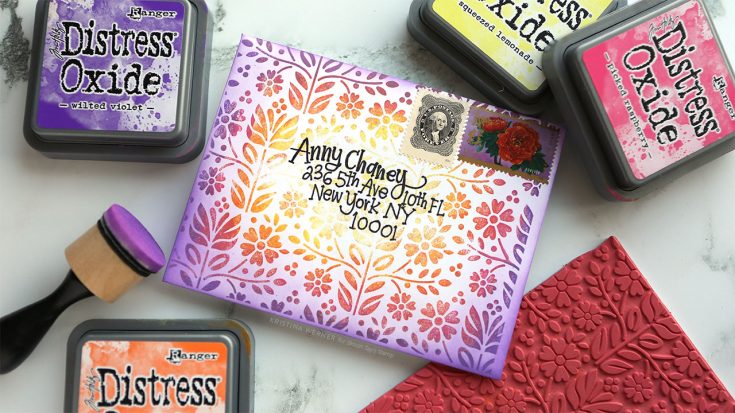
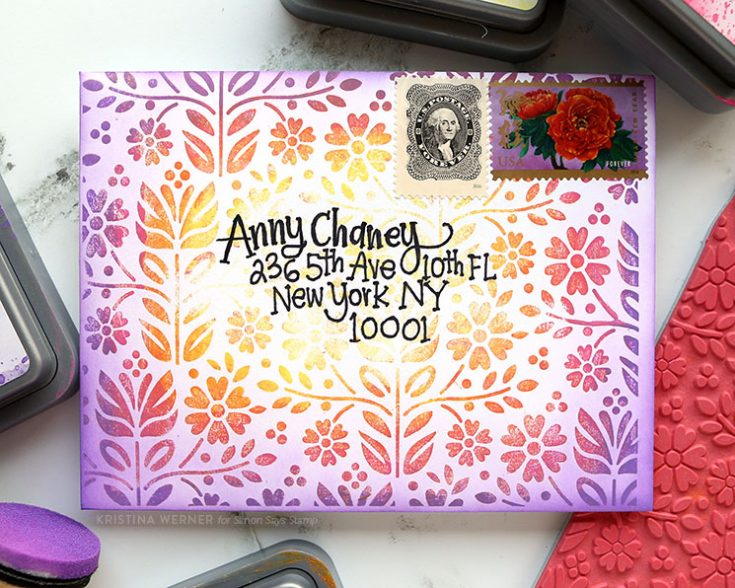
Hello, all! Kristina Werner here. For this month’s Mail Art, I created a center rainbow stamped envelope using the Folk Dance Background stamp and four Distress Oxide Ink colors. This technique is fun, quick, and packs a statement!
I started by stamping only the yellow shade, Squeezed Lemonade, in the center area of the envelope. Before stamping, I used a paper towel to dab away some of the ink around the yellow area (to soften the color where it would transition to the orange).
Then I inked up the stamp using an orange color of ink, Carved Pumpkin (the yellow ink was still visible on the stamp–I did not clean the stamp before moving onto the next color). Before stamping, like with the yellow ink, I used a paper towel to dab away some of the ink around the outer edge of the orange ink. I also dabbed away some of the orange ink around the inner ring of ink. Then I stamped the background stamp in the exact same spot.
I repeated those steps to add the remaining two colors, Picked Raspberry, and Wilted Violet. To finish the background, I ink blended Wilted Violet ink around the edges of the envelope.
In business since 2002, Simon Says Stamp is striving to offer you the best online selection of stamps, altered art, scrapbooking, mixed media, card making and paper crafting products in the world. We stock over 100,000 quality items in our warehouse so that we can offer you quick service and one stop shopping at a great price!