Throwback Thursday – Fabulous Projects You Might Have Missed!
Welcome to another edition of Throwback Thursday—a trip back in time! For each throwback, we’ll be spotlighting fantastic cards and projects using products from previous releases. The new stuff is always SO fun, but think about all of those great products you’ve collected and set aside. They are STILL AWESOME! And we want to inspire you with fantastic inspiration from our creative archives.
Our You Are Loved release has lots to offer for Valentine’s Day, and we are excited about all of the ways that you can share the love with the products from this phenomenal release! You might remember some pretty spectacular products from last year’s Love collection, though. Let’s take a look at some inspiring cards created with goodies from last year’s Love release!
First up is this gorgeous project from Pam Torkelson:
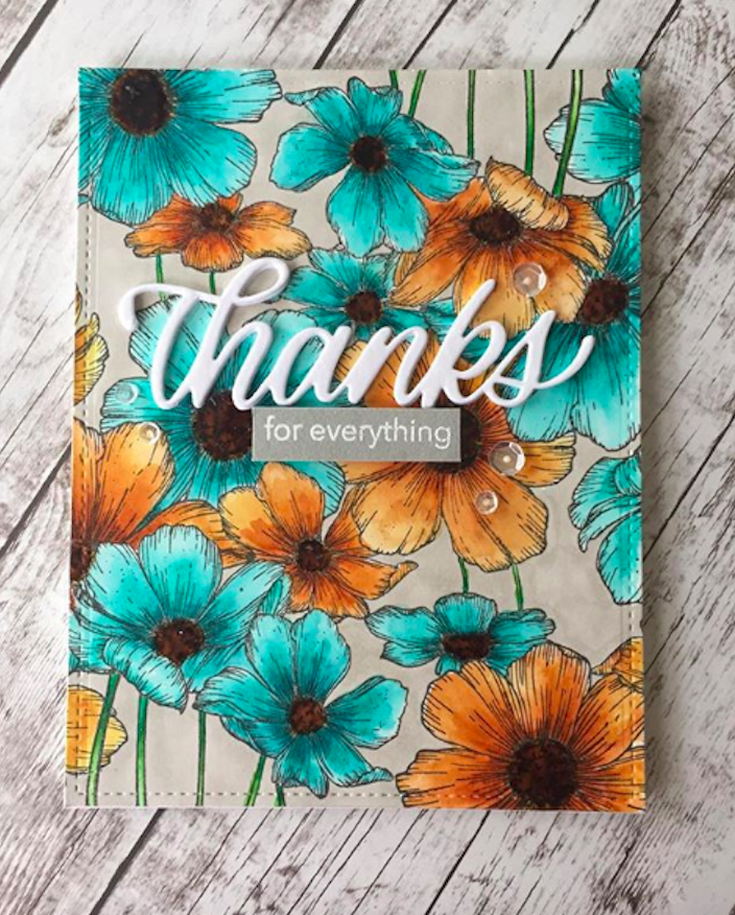
Pam makes the popular Cosmos background from our Love release shine in beautiful complementary colors. Such fantastic shading! The Big Thanks die makes big impact in crisp white against the colorful flowers. You can see Pam’s original post HERE.
Pam’s supplies

Next, let’s throw it back to this eye-catching design from JD:
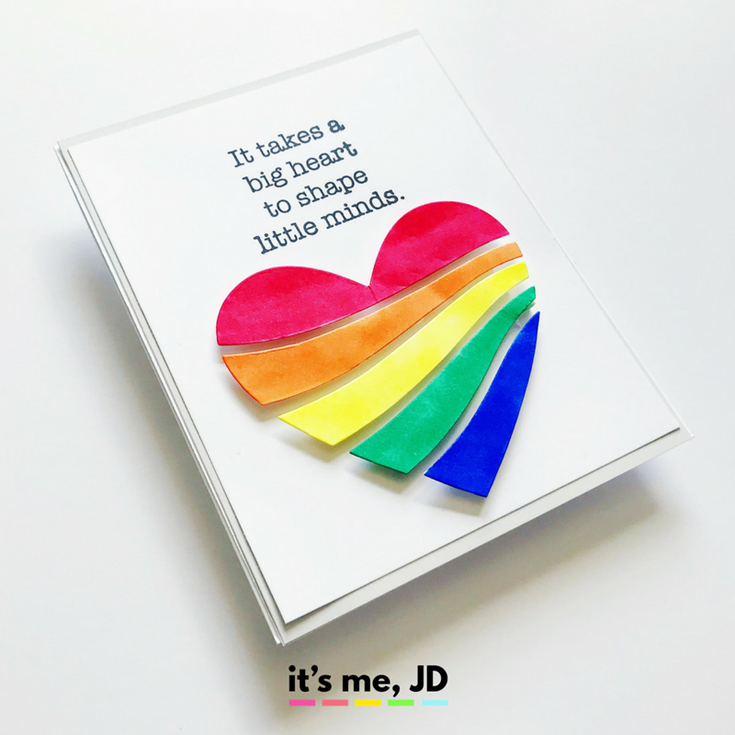
JD created a lively rainbow with our Streaming Heart die from our Love release and paired it with a sentiment from the Thank You Teacher stamp set. She shares 5 cards for teachers in this fun video on YouTube. You can find JD’s original blog post HERE.
JD’s supplies

And let’s not forget this beautiful project from Jean Manis:
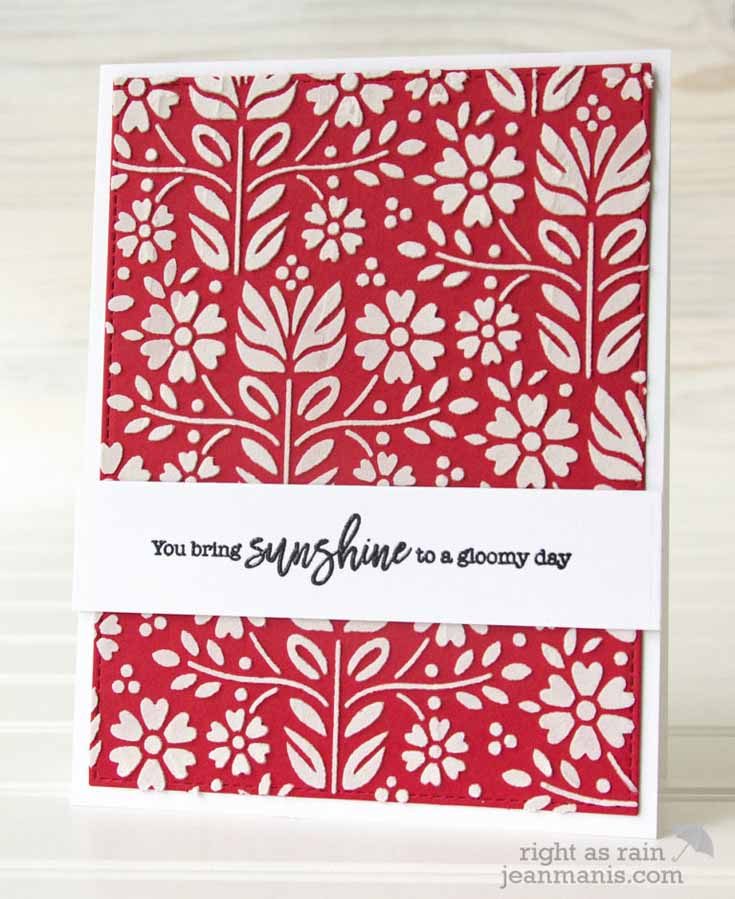
Red cardstock, embossing paste, and our beautiful Folk Dance stencil (which debuted with our Love release) make for a stunning design from Jean. The perfect sentiment is from the Choose Joy stamp set that was part of our March 2018 Card Kit, but it can still be bought separately on our website today! You can find Jean’s original blog post HERE.
Jean’s supplies

Finally is this sweet and delicious design from Marge Yoon:

Four scoops of rainbow sherbet? Yes, please! Marge’s adorable design features our Picture Book Ice Cream Cone die and the lovely sentiment comes from the Handwritten Love stamp set. You can check out Marge’s original blog post HERE.
Marge’s supplies

Did you know that we have inspiration galleries on our website showcasing project ideas for all of our releases and card kits? It’s a veritable treasure-trove of terrific ideas just waiting to inspire you, and you are invited to share your projects, too! You can find all of the Simon release galleries HERE and galleries for our monthly card kits can be found HERE. Scroll through today, and maybe you’ll find one of YOUR projects linked there!
Thanks for throwing it back with us and checking out these cool projects from four talented ladies!
Yippee for Yana: Spring Inspired Thank You Card
Hi friends! Welcome to the latest installment of Yippee for Yana with the always inventive Yana Smakula! Please read on and be sure to watch the video for some great tips and tricks and enjoy!

Hi everyone, this is Yana Smakula and
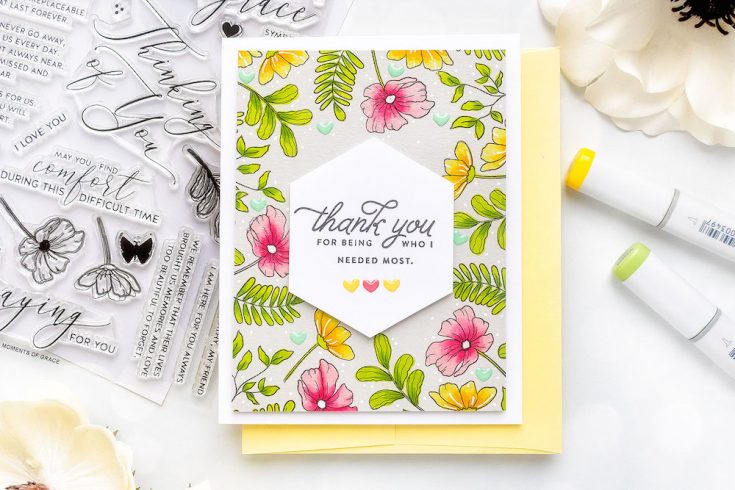
I started working on my card by stamping a sentiment that reads “Thank You For Being Who I Needed the Most”. As I work on this card you’ll see me change my mind and replace the sentiment with the one stamped in black ink on white cardstock (watch video for details).
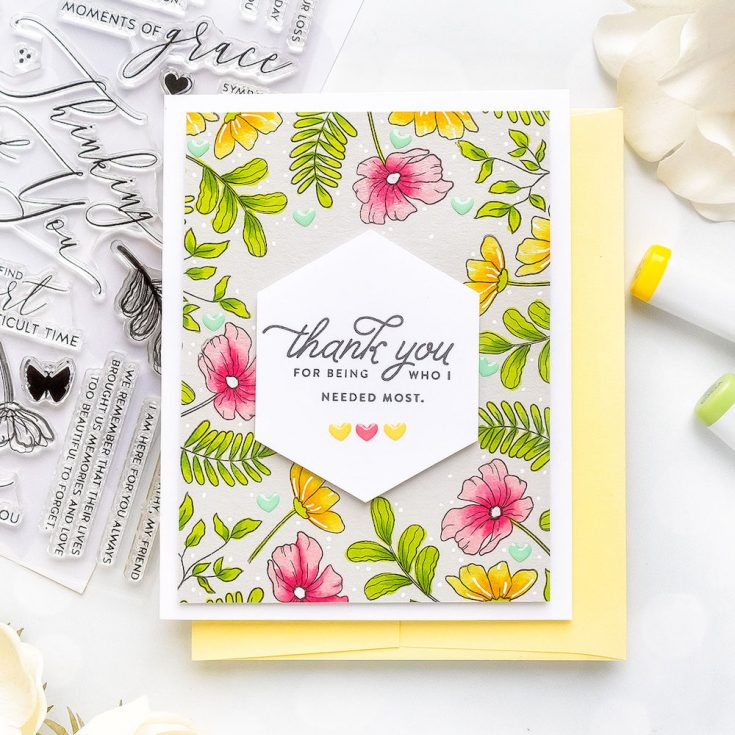
I started with the sentiment here first as I needed to see how much room it would take on my card, my idea was to use beautiful flowers from the Moments of Grace stamp set and stamp a floral frame around the sentiment coming in from the edges.
When I was planning this card I knew I wanted to try and color these images with my Copic markers so I picked Simon’s intense black ink for stamping these images. This ink has many fabulous properties including being alcohol resistant so it makes it the perfect choice for this particular project.
I picked a few images from the Moments of Grace set and stamping them in black ink forming the frame. I didn’t use my stamping tool here such as
The key to stamping a frame like this, where your images are almost all identical in size, is to stamp them one by one next to each other.
For this project, I also pulled out most of the clear blocks from my stash and I mounted each image onto its own separate block. This is vital to stamping efficiency, and also to clean fingers. If you use just one or two blocks and stamp a multitude of images you end up having to remove the image from the block a bunch of times and if you are like me, if you don’t clean your stamps, you run the risk of getting your fingers dirty and thus leaving an inky fingerprint on your card.
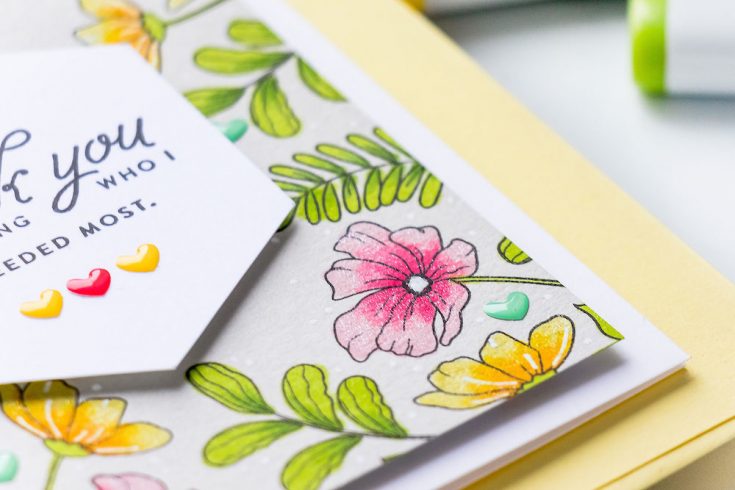
Once my floral stamping was done I also used a heart image from this same stamp set and stamped it several times in the background filling any gaps. Later, I once again changed my mind about the black hearts, I didn’t like how dark they looked and I replaced them with colorful enamel hearts instead.
Before I started coloring my panel I used the scrap pieces of this cardstock to test the Copic marker colors I was planning to use. Alcohol markers are translucent, meaning they will not give you opaque coverage, you’ll be able to see the color of your surface from under the coloring. It’s always best to use these kinds of markers on white cardstock
I love to have non white background for my cardsand this prompted me to try and color with these markers on colored cardstock.The colors will not be the same as they would be on white paper, they will beduller, but they can still be used to color with.
I used RV14, RV13
I also covered each of the black stamped hearts with enamel hearts. The black looked
Finally, I had fixed the sentiment (watch
WATCH THE VIDEO:
SUPPLIES:
|


Thanks so much for stopping by and thanks to Yana for being our guest!

Blog Candy Alert!! Follow our blog via email and comment on this post for a chance to win special blog candy!
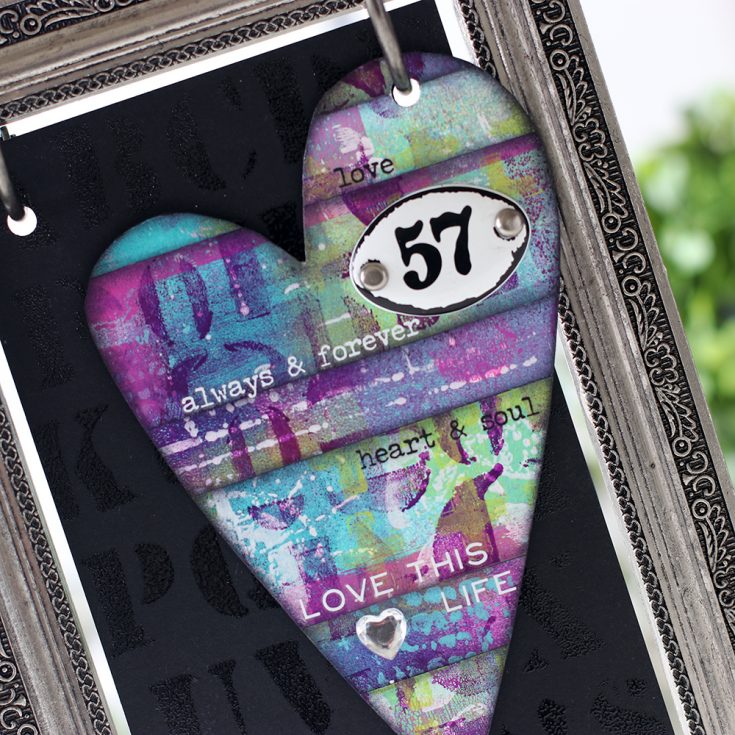
“Love” Heart Frame: Gel Press with Shari Carroll

Welcome, everyone! It’s Shari here with a cool mixed medium project for you to try! I’ve been playing with my Gel Press again to come up with an easy way to create backgrounds for projects. I created blocks of color using my brayer and Gel Press adding one color at a time.
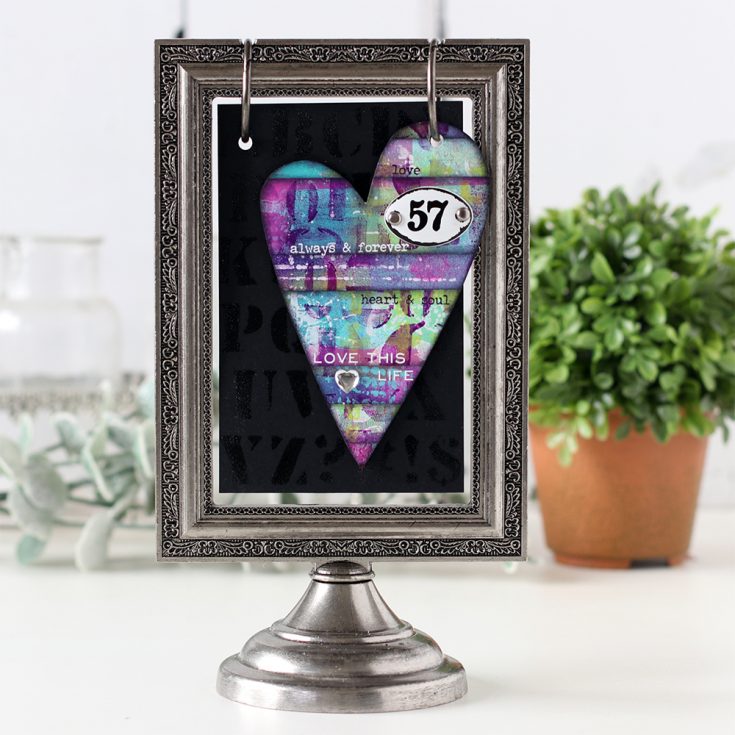
I used two Gel Presses, one to smooth out the paint on the brayer, the other to add and lift the layers of colors. Once I was happy with my colors, I used a few stencils with a variety of paint colors to complete the look.
From there, I cut my paper into strips, added some Black Archival ink to the edges, and glued them onto a hand cut heart. I used a few Tim Holtz Remnant Rubs in both black and white and added a few embellishments. This is also a great technique to use on your cards and Art Journals.

Blog Candy Alert!! Follow our blog via email and comment on this post for a chance to win special blog candy!
Thanks for stopping by, I hope I’ve given you some inspiration to create colorful backgrounds using your Gel Press and paints. Have a fantastic week!!
SUPPLIES:
|


