NEW Waffle Flower: Cardstock Backed Vellum
Hi friends! Happy Sunday! Please join me in welcoming back special guest Rebecca Keppel sharing some beautiful inspiration from the brand new May 2019 Waffle Flower release! Be sure to watch the video for more information and enjoy!
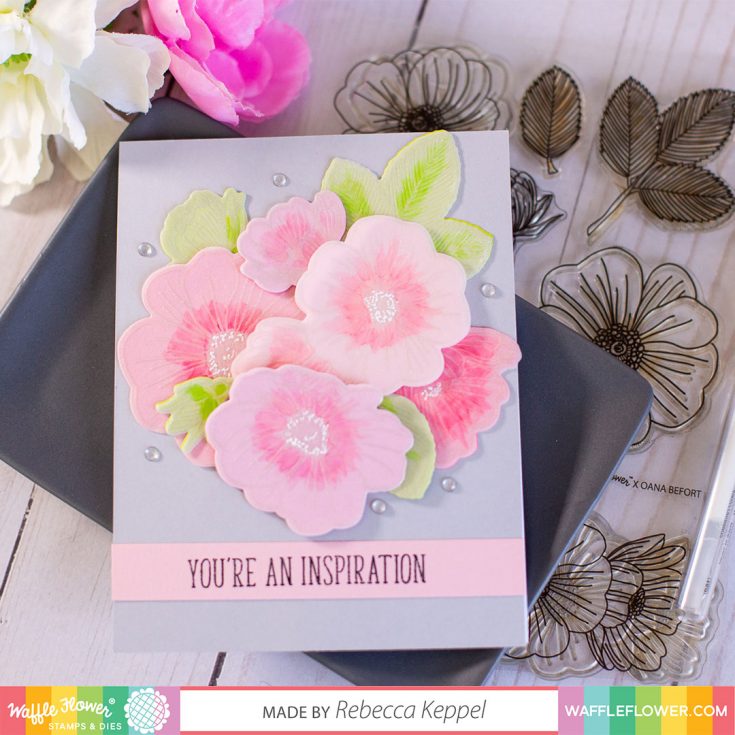
Hi everybody! I’m Rebecca with Waffle Flower Crafts and I’m super excited to be here Simon Says Stamp today sharing a card video featuring some new stamps and dies from Waffle Flower’s May Release. In this video, I am sharing a quick and easy way to add color to floral stamps.
The Wild Roses Stamp Set is a beautiful 5×7 stamp set featuring detailed flowers, leaves, and rosebuds. It would be fun to stamp and color with Copics, watercolors or pencils. For today’s card, I decided to try a quick and easy way to add color to the beautiful blooms.
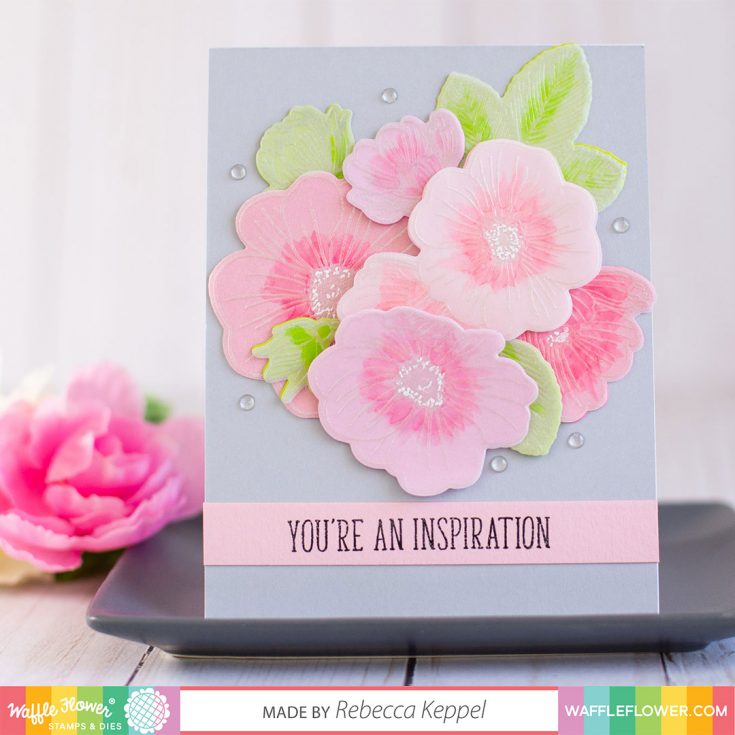
I started by stamping the flowers with Versamark ink on Simon Says Stamp Vellum. After adding White Satin Pearl embossing powder and heat setting them, I cut them out with the Matching Dies. I also cut several colors of cardstock with the same dies (even though I had not stamped on the colorful cardstock.
I added some details to the stamped, embossed and die cut flowers with Copic markers, but you could totally skip this step if you want to keep it super simple! I adhered the vellum flowers to the cardstock die cuts and then used them to create a bouquet on my card front.
I created a sentiment strip using a stamp from the Waffle Flower Be Her Sentiments stamp set. Finally, I added a few details to the flower centers with a white gel pen and added a few Waffle Flower Enamel Dots for embellishment!
And that’s it! This is such an easy way to add color floral stamps. If you don’t always have time to color, it’s a great way to get more use out of your floral stamps.
Thank you so much for stopping by! – Rebecca
SUPPLIES:
|


Thanks so much for stopping by and thanks to Rebecca for being our guest!

Blog Candy Alert!! Follow our blog via email and comment on this post for a chance to win special blog candy!
Happy National Scrapbooking Day + Giveaway!
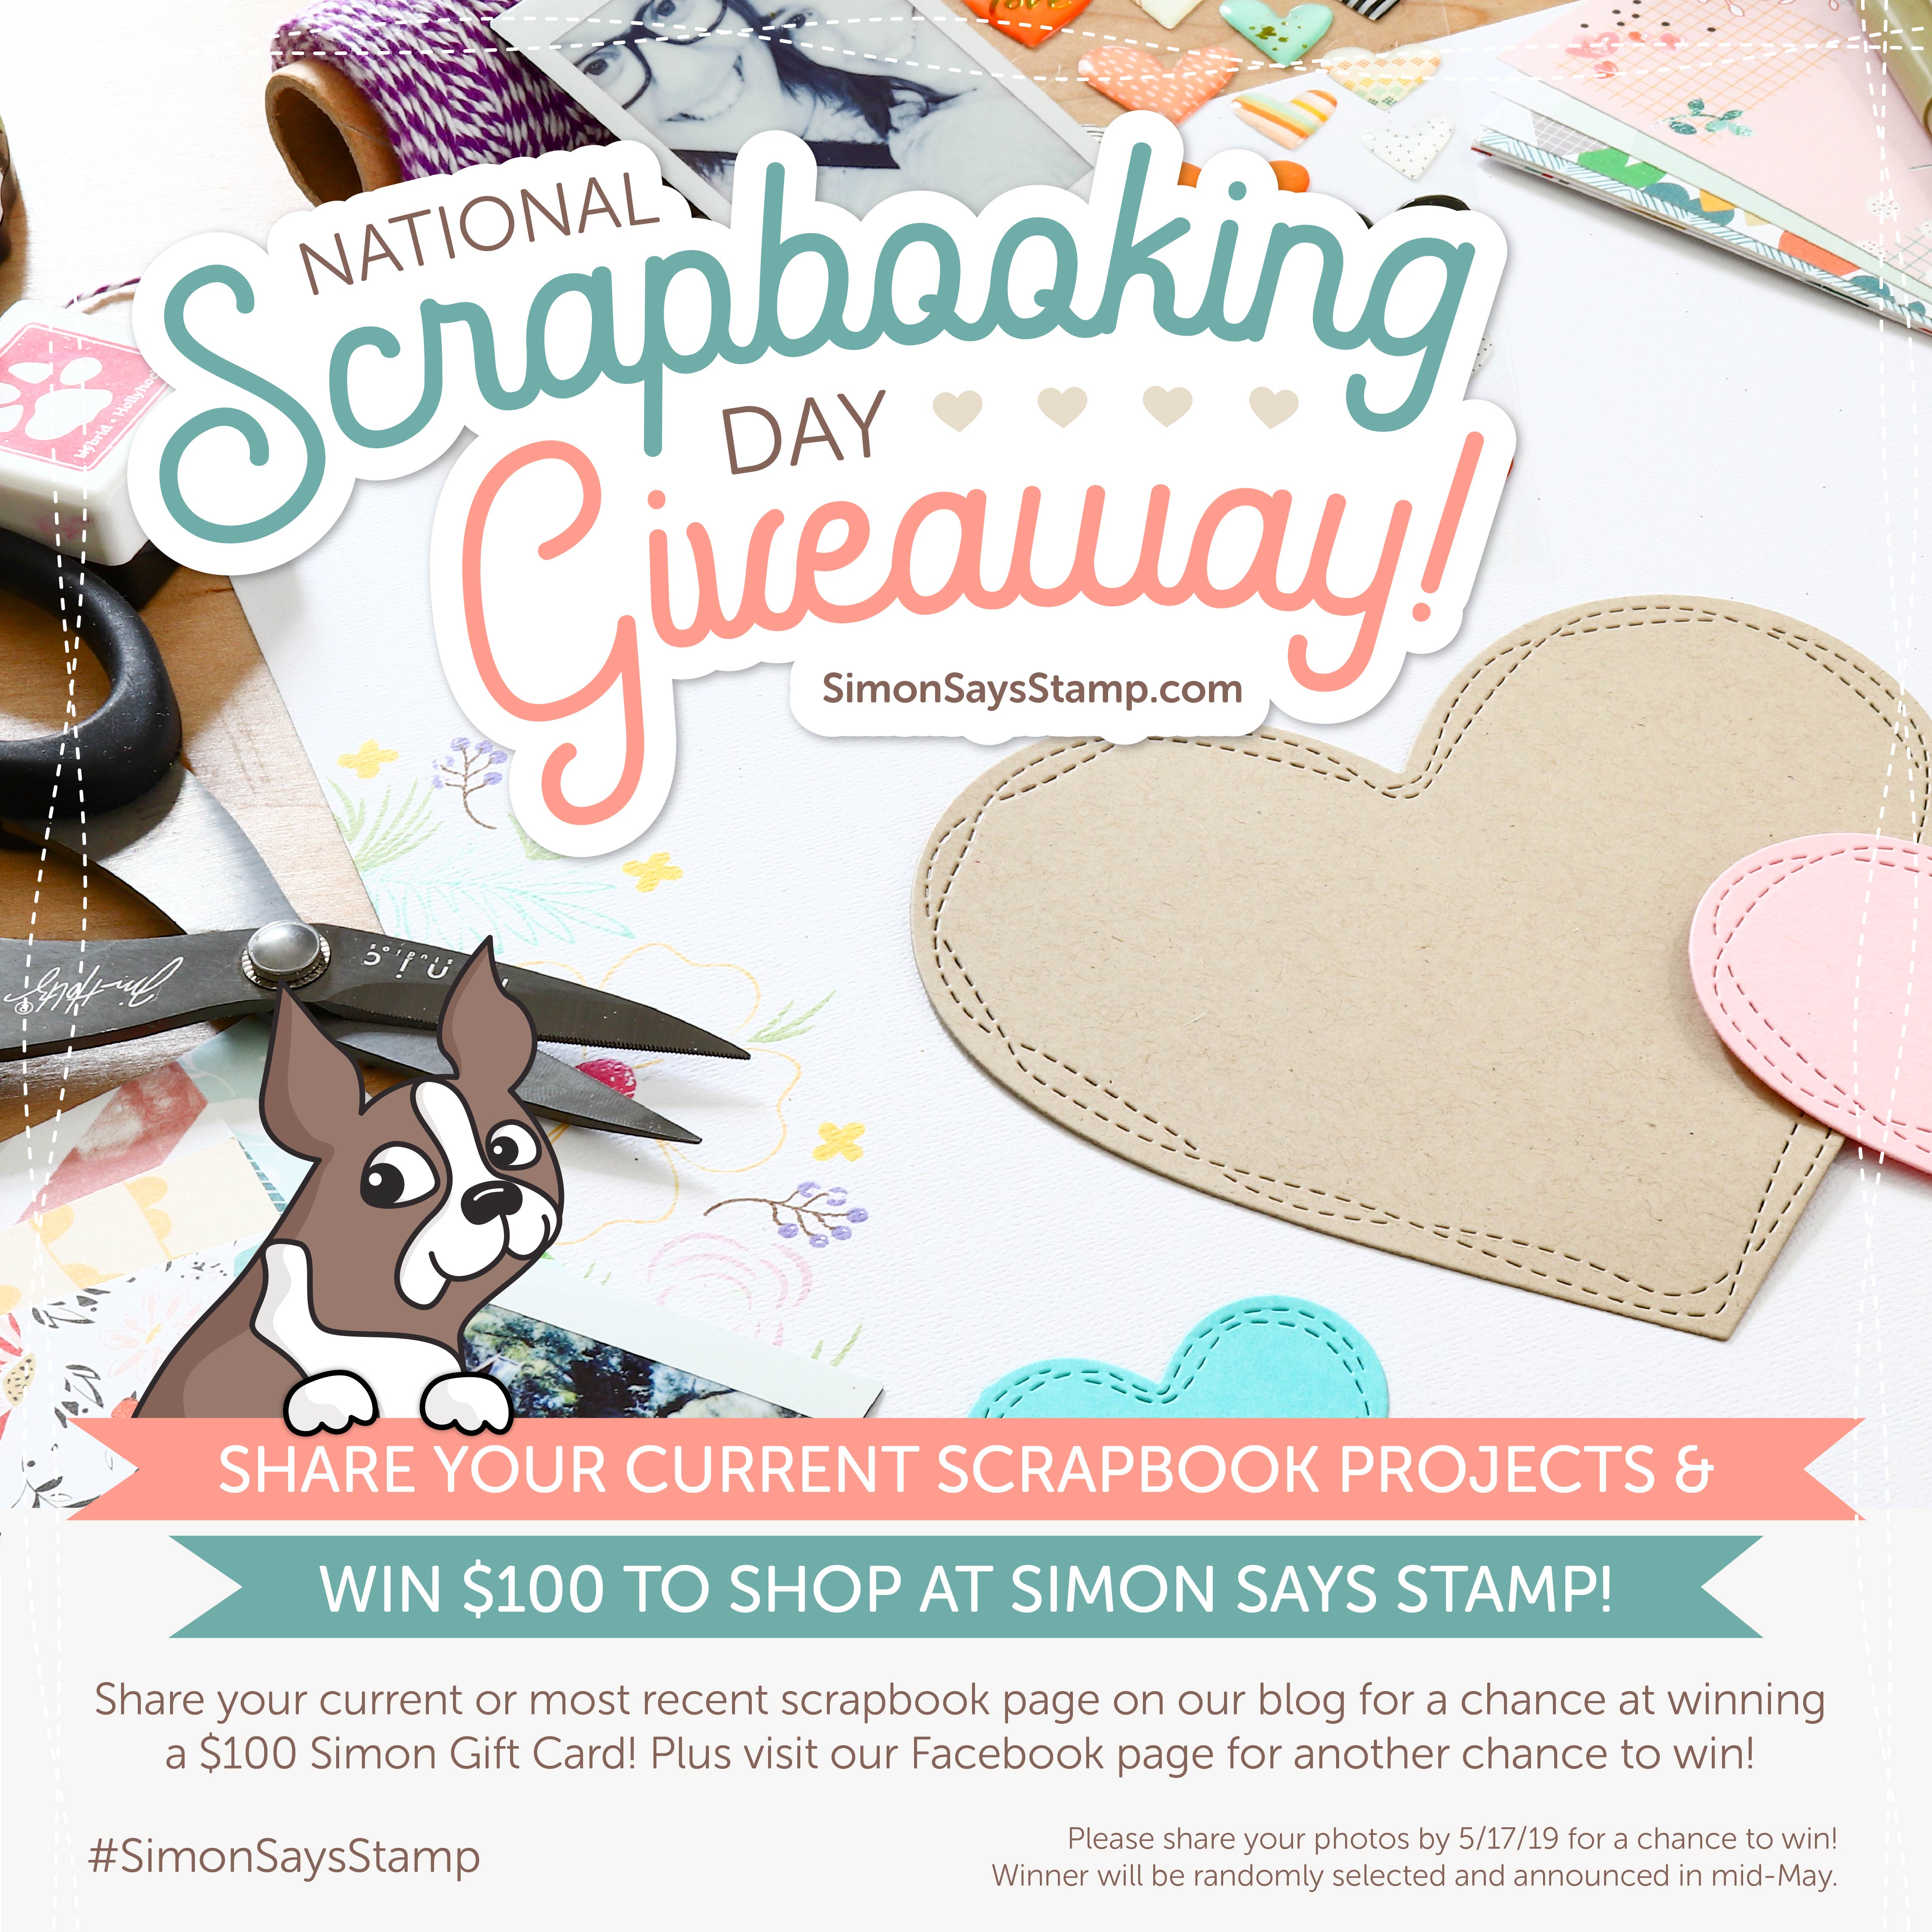
Hello, talented scrapbookers! We are celebrating the love of scrapbooking and memory keeping with a BIG giveaway!
Would you like to WIN a Simon Gift Card? You’re in luck! We’re giving away ONE $100 Simon Gift Card to a randomly selected winner! How do you win you ask? It’s easy! Just share a photo of your currently in-progress or most recent scrapbook page in our link-up below for a chance to win!
Projects must be linked by May 17 at 11:59 PM EDT to qualify for the giveaway. One randomly selected winner will be chosen and announced shortly thereafter.
Be sure to visit our Simon Says Stamp Facebook page for another chance to WIN!
Happy National Scrapbooking Day!
Funny Friday with Art Impressions: AI Hamster Wheel Cubbies
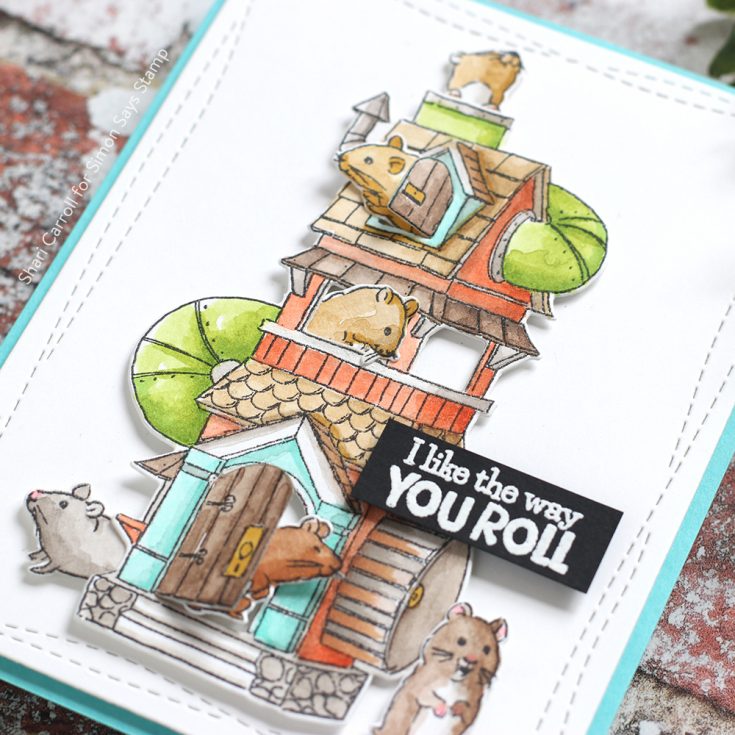
Oh dear… this stamp set brings back memories!!! I can’t even begin to tell you how many years I tortured my mom by having hamsters!! I had them, my sisters had them… it was mayhem!!
So, when I saw this Hamster Wheel Cubbies stamp and die set it was a must have!! I love how the coordinating die creates the doors, windows, and wheels for the cute little rascals to sneak in and out of!!
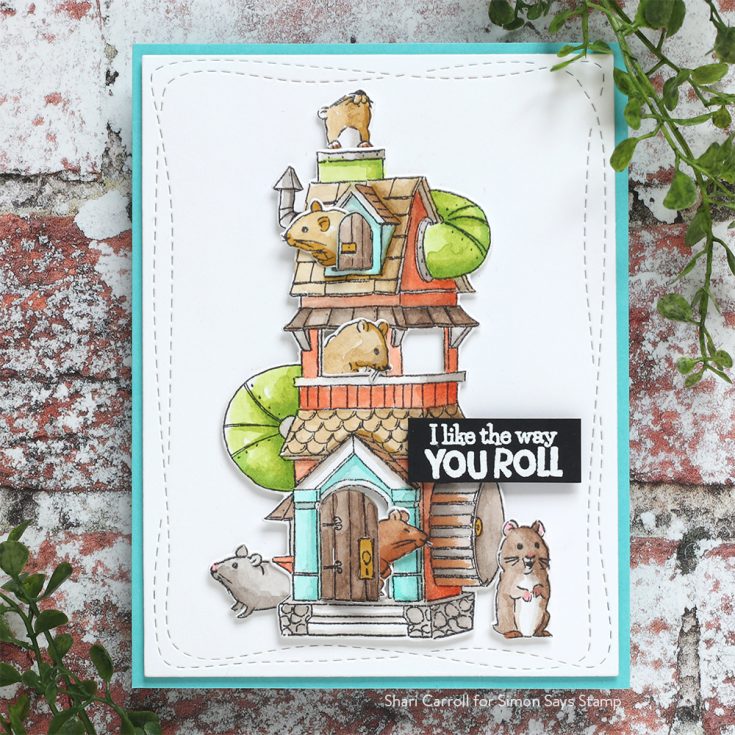
I started these images off by water coloring the main areas. I finished by adding extra shading with a couple of Copic markers. I like to mix the two mediums for deeper colors and additional blending.
Blog Candy Alert!! Follow our blog via email and comment on this post for a chance to win special blog candy!

Thanks for stopping by! I hope I’ve tickled your funny bone just a little! Happy Friday!!
|


