One Stamp, Five Ways: Cottagecore

Hi friend! Please join me in welcoming back special monthly guest Suzy Plantamura with a BONUS fun rendition of “One Stamp, Five Ways” featuring our BRAND NEW just-released Cottagecore set! Read on and learn more! Enjoy!
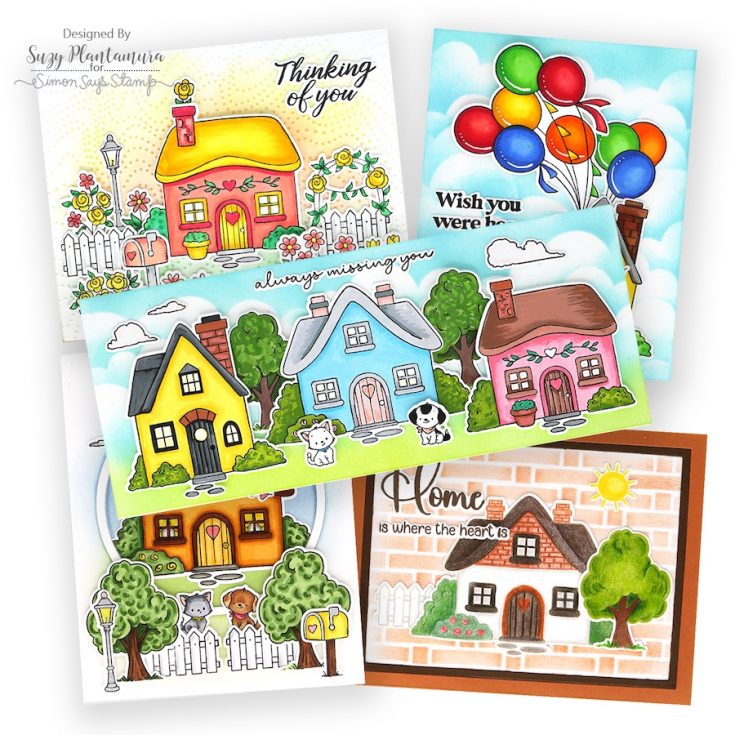
The stamp set I picked for my “one stamp, five ways” post today is called Cottagecore from the brand-new Shine On release. I mixed in some of the other Shine On products so you can see them in use as well including the Cottagecore Flowers set that works with it. I love little cottage images, so this stamp set was right up my ally and an easy choice to make for this post! Here are my 5 cards:
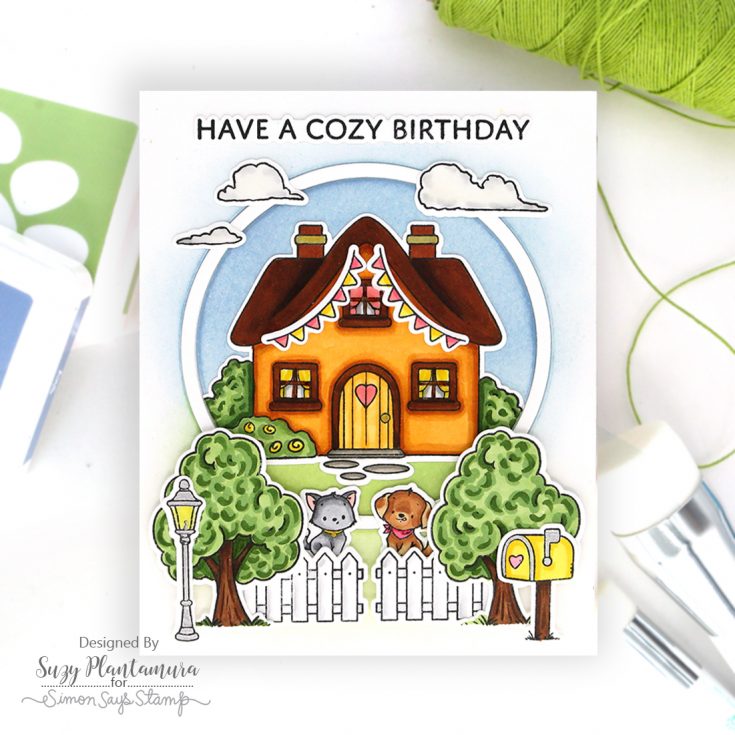
I stamped all of the images in the Cottagecore stamp set with black ink. I colored them in with Copic Markers for this card. I also stamped a sentiment with Versafine ink. I die-cut them all out with the matching dies.
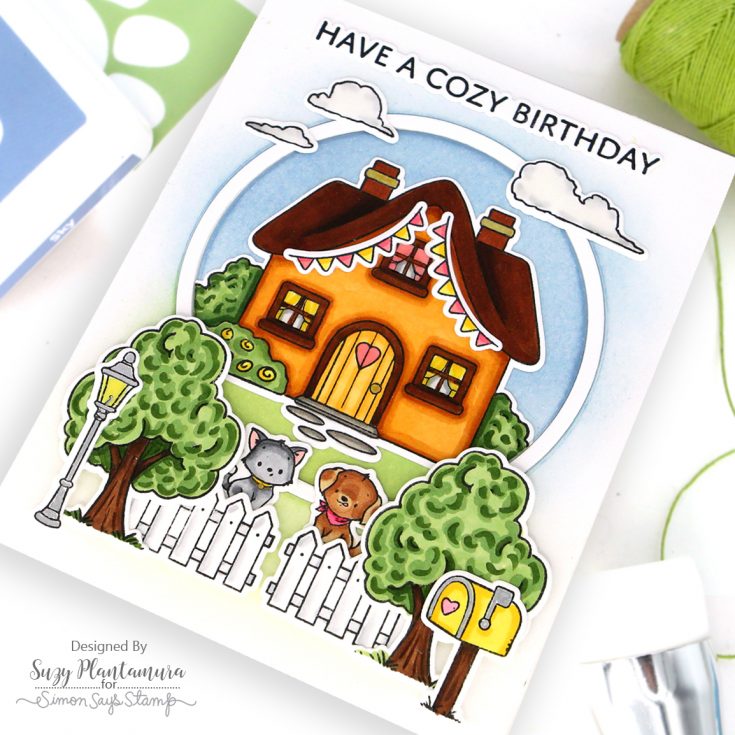
I die-cut one of the new Circle Frame Dies to use around my house scene but my card ended up extending well outside the frame! I inked the inside of the circle with Sky PSInk on the top and Cabbage PSInk on the bottom. I then inked some of the outside of the circle with the same colors. I glued all the background pieces on and arranged my stamped images inside and outside of the circle. I love how the circle frames just the house image. I added the sentiment to the top of the card.

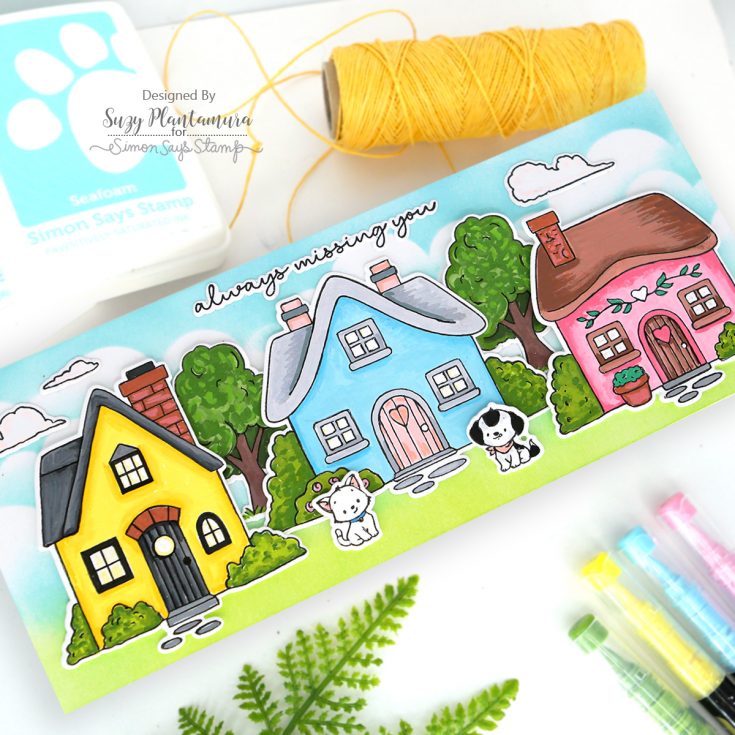
This is my Up movie card! I stamped one of the houses and banners from the stamp set with black ink and colored them with Copic markers. I stamped the balloons in the Balloon Critters stamp set and colored those with Copics. I die-cut all these images out. I stamped a sentiment with Versafine ink from the Cottagecore stamp and die-cut it out as well.

I made the background using the Clouds For Days Stencils and Marine and Seafoam inks. I glued the house to the bottom of the card with the balloons coming out of the top of it. I attached the sentiment to the side.
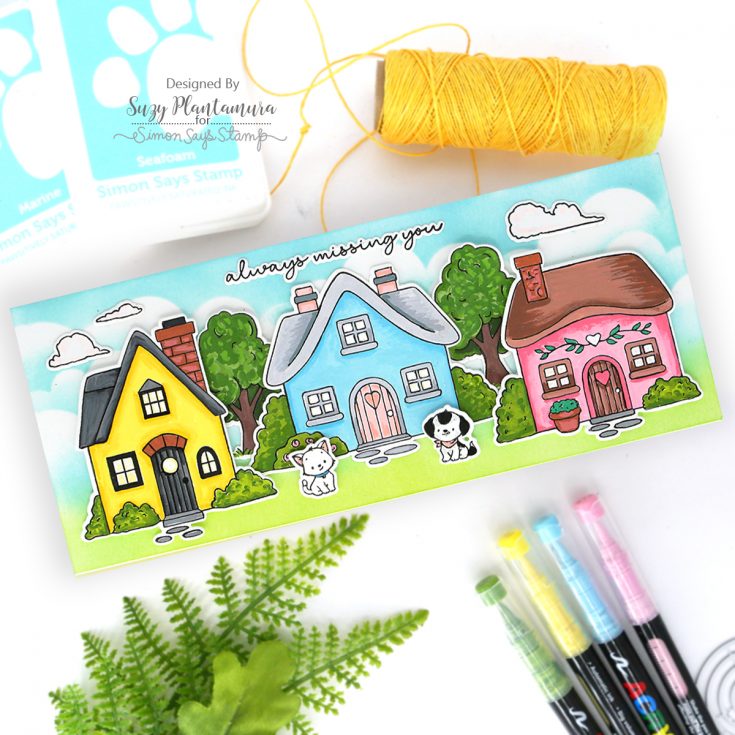
I stamped the images in the Cottagecore stamp set with black ink and this time I colored them with Acrylic Paint Markers. I die-cut all the images out.
I made the background using the same Clouds For Days Stencils with Seafoam and Marine PSink on the top and Sprout PSInk on the bottom. I arranged all the stamped images over the background. I stamped a sentiment from the set and attached that to the top of the card.
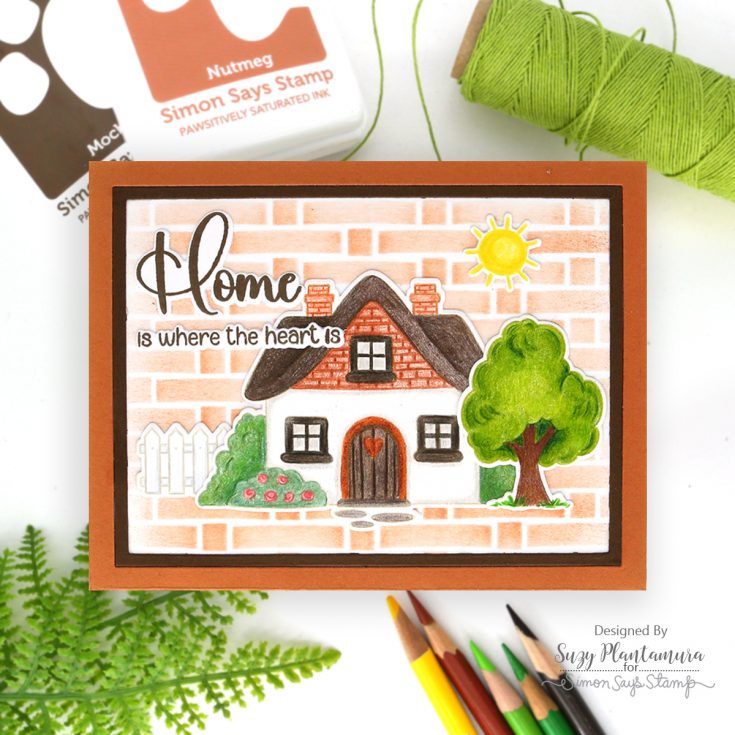
I stamped a few of the images in the stamp set with Latte PSInk this time for no-line coloring. I colored them with colored pencils. I die-cut them out with the matching dies. I stamped the sentiment and the sun using the No Place Like Home stamp set using Cocoa PSInk and Latte PSInk.
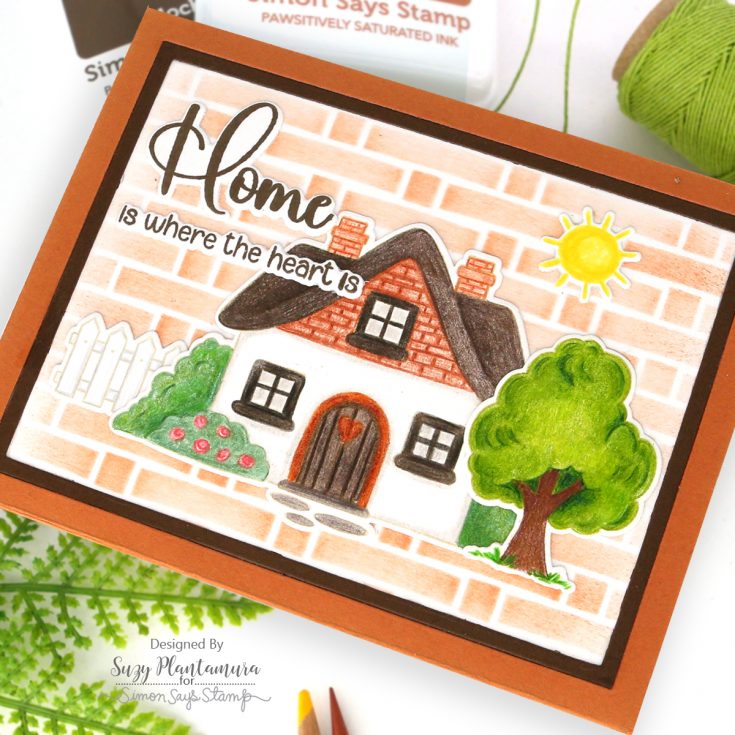
I made the background using the new Brick Wall stencil with Clay PSInk. I die-cut a frame using the A2 Frame Dies with brown cardstock. I die-cut the same frame using a terracotta cardstock to use the outside edges. I glued all of the background pieces together and arranged a scene with my stamped images. I glued the two sentiments over the left front of the card.
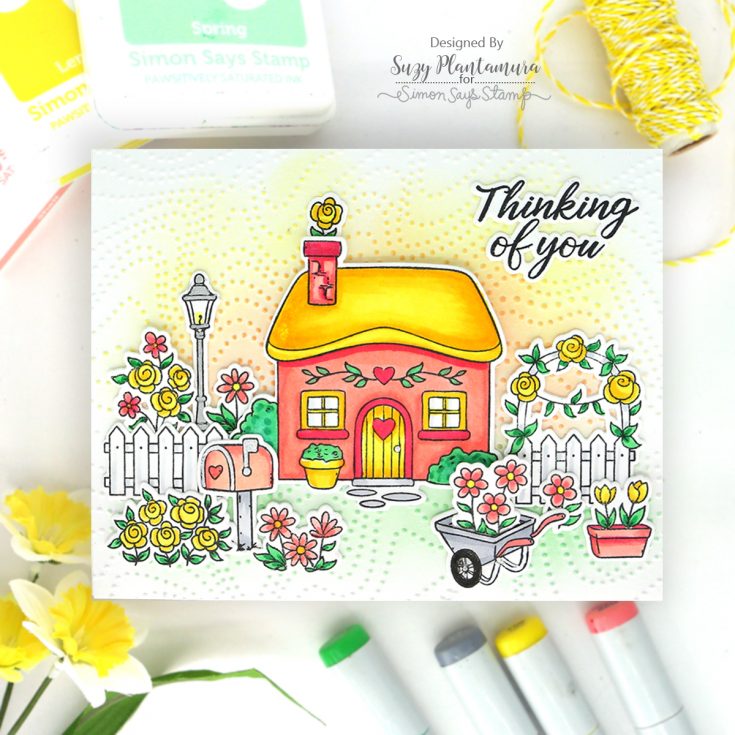
I stamped some of the images from the Cottagecore stamp set and the Cottagecore Flowers stamp set with black ink. I colored them all in with Copic Markers and die-cut them out. I stamped a sentiment with black ink.
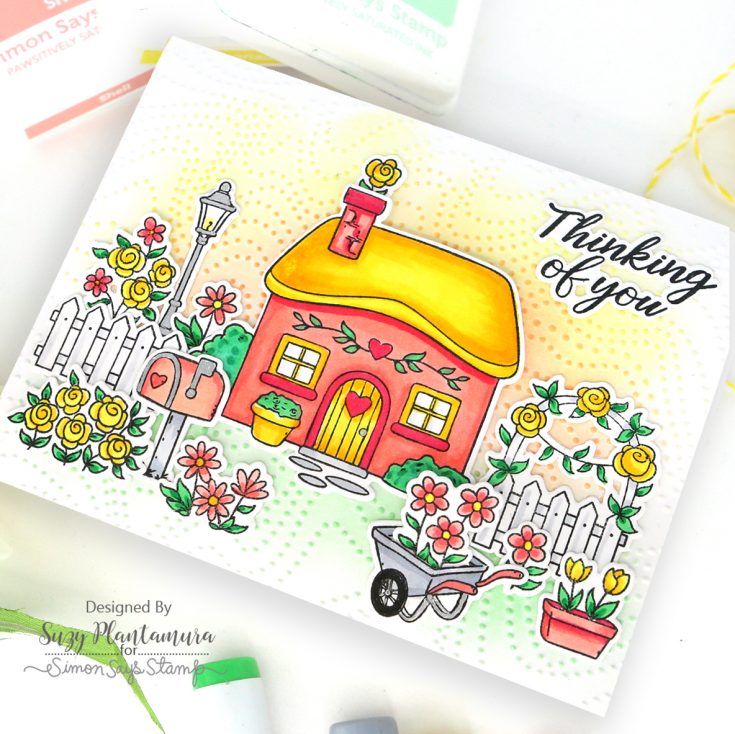
I embossed the new Dotty Contour Embossing Folder using white cardstock. I rubbed Spring PSInk on the bottom and Lemonade and Shell PSInks on the top. I arranged all of the stamped images over the background. I added the sentiment to the top right.
I hope you like this Cottagecore stamp set as much as I do! I especially love it mixed with the Cottagecore Flowers as shown in the last card. I didn’t even realize they were made to go together until after I made my card and saw the name of the stamp set! I enjoyed thinking of 5 different ways to create scenes using the set. Have a great summer friends and sea you soon! Suzy
SUPPLIES:
ALL NEW:
- Cottagecore stamp and die bundle
- Cottagecore Flowers bundle
- Circle Frame Dies
- Brick Wall Stencil
- Dotty Contour Embossing Folder
- Balloon Critters bundle
|


Thanks so much for stopping by, and thanks to Suzy for being our guest!


There are no comments.
Leave the first?