Palette Yellow Display Panel by Paula Cheney
Hello friend! Thanks so much for stopping by our blog today, and please join me in welcoming back special guest Paula Cheney with this gorgeous and intricate panel design! Read on and enjoy!
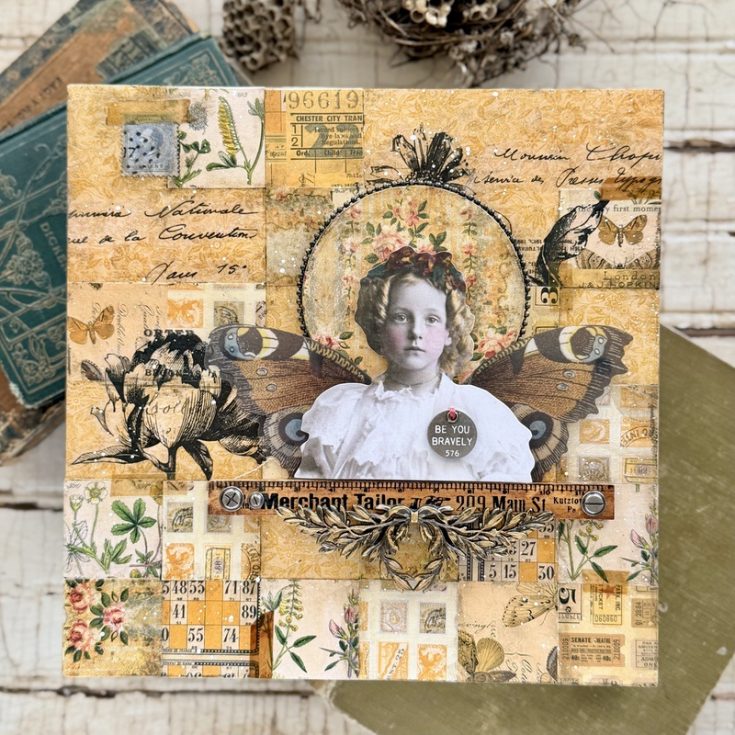
Display Panel
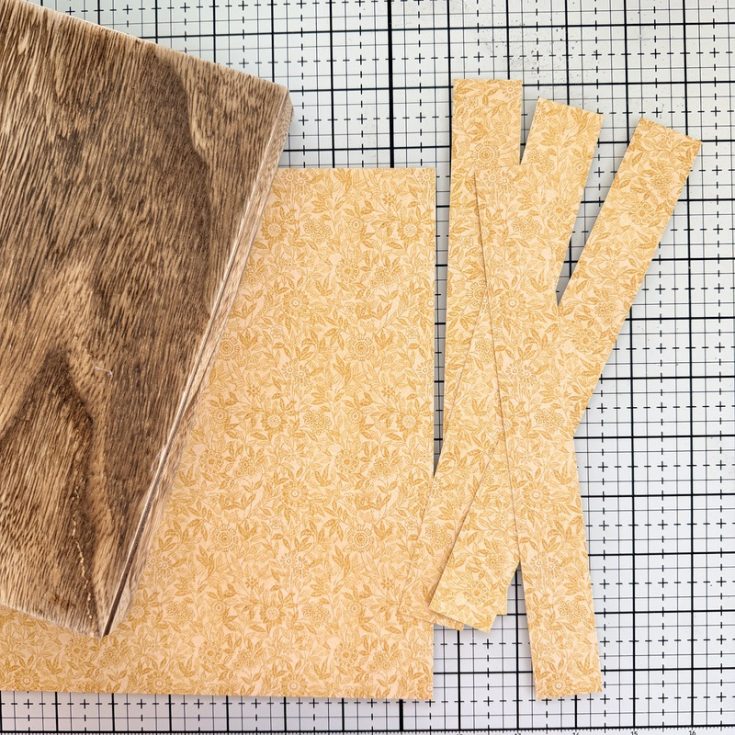
- Cut 12 x 12” Palette Yellow paper into 5 pieces. One 9 x 9” + four 1 1/8 x 9” strips.
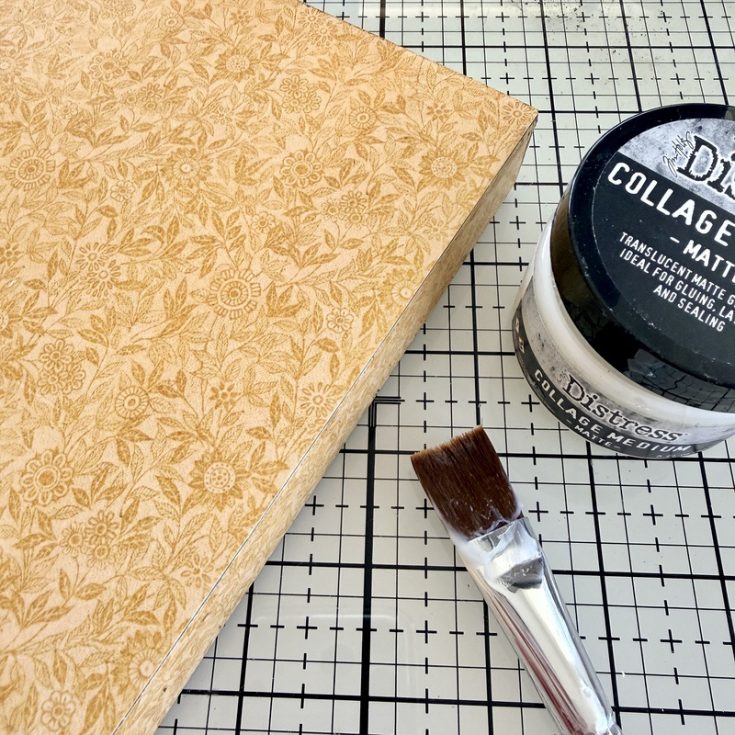
- Use Collage Medium to adhere the paper to the idea-ology Display Panel. Set aside to dry completely.
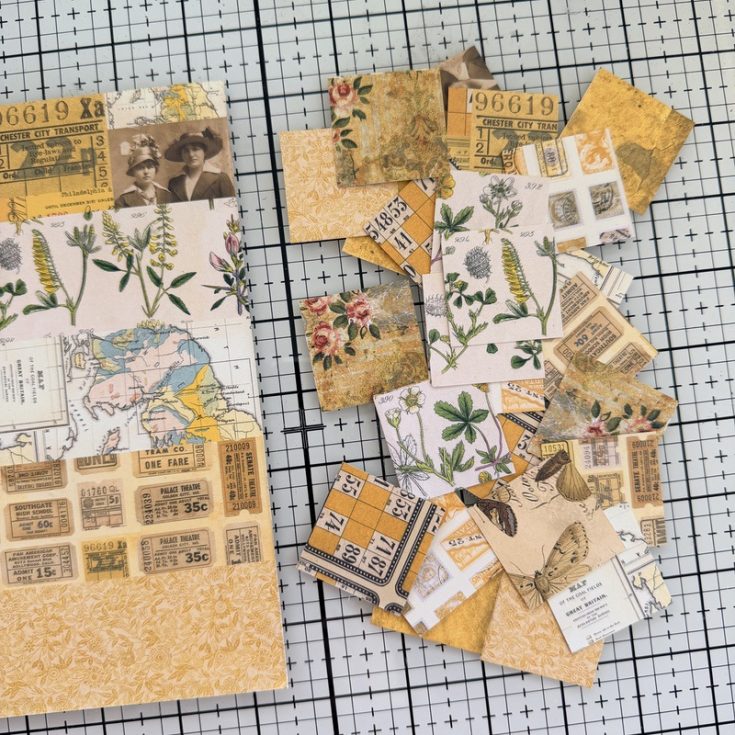
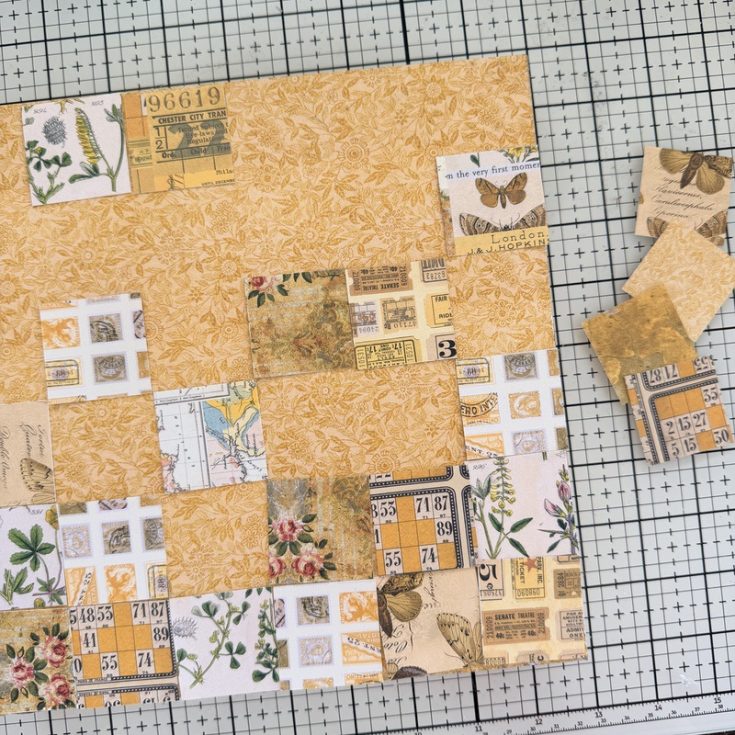
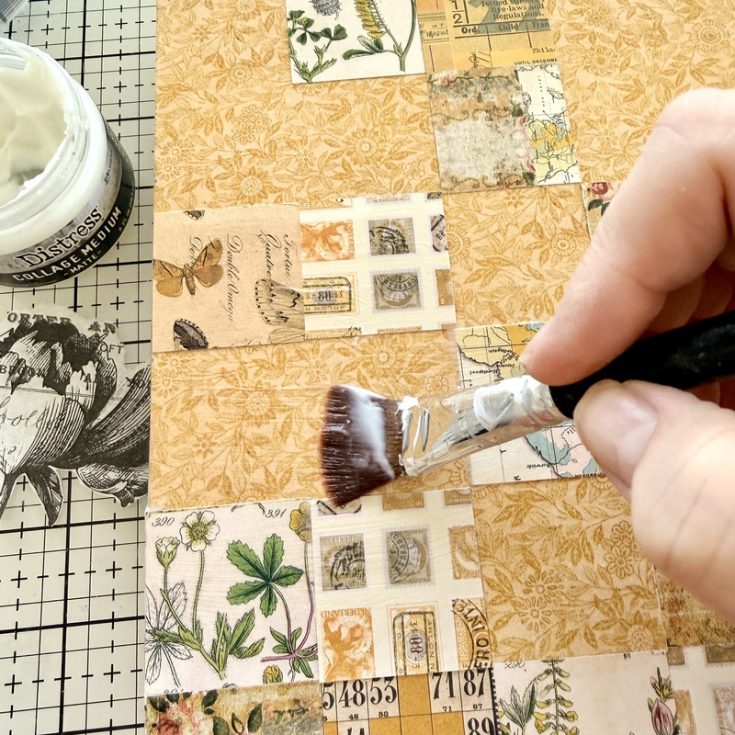
- Inside the Palette Yellow 8 x 8 pack there are two sheets of paper that are printed as strips. Use a paper trimmer to cut at least one sheet into 1 1/2 x 1 1/2” squares. I used my Tonic Guillotine Mini Trimmer which made it very easy to cut the paper into 1 1/2” strips and then cut the strips into 1 1/2” squares.
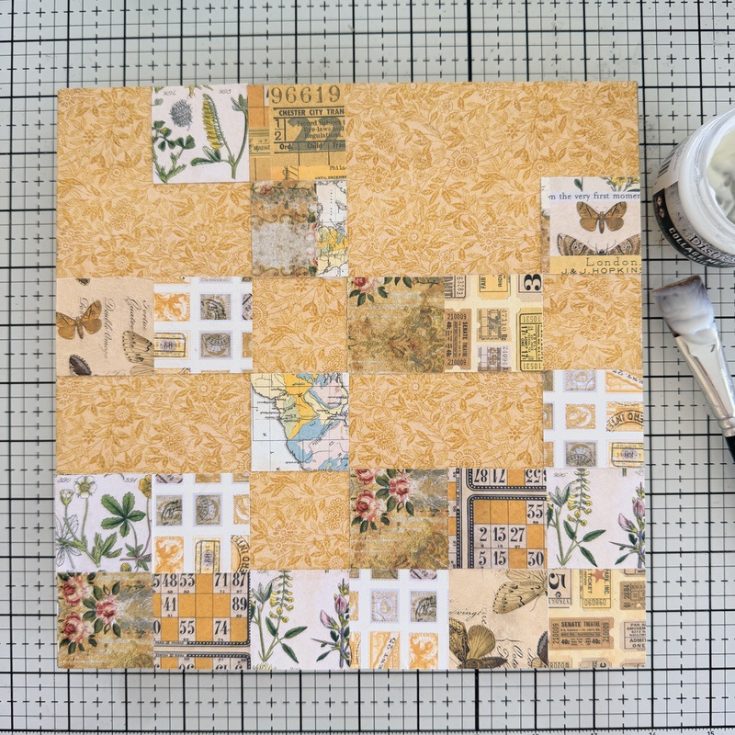
- Create a pattern of squares on the Display Panel. You can use as many squares as you wish and lay them out in any configuration.
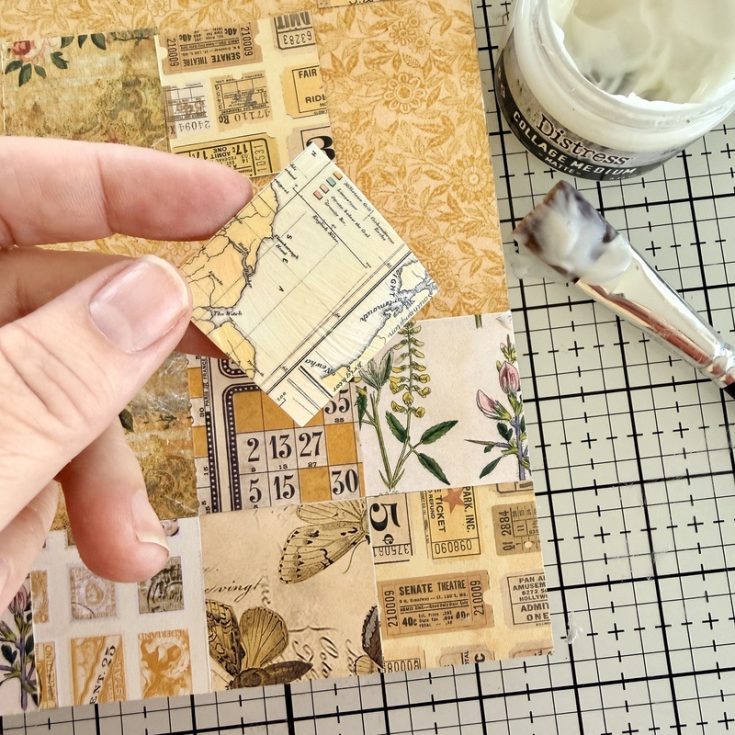
- Add Collage Medium one square at a time, until all the squares are adhered to the panel.
- Add a layer of Collage Medium over the entire panel, then set aside to dry.
Collage Paper
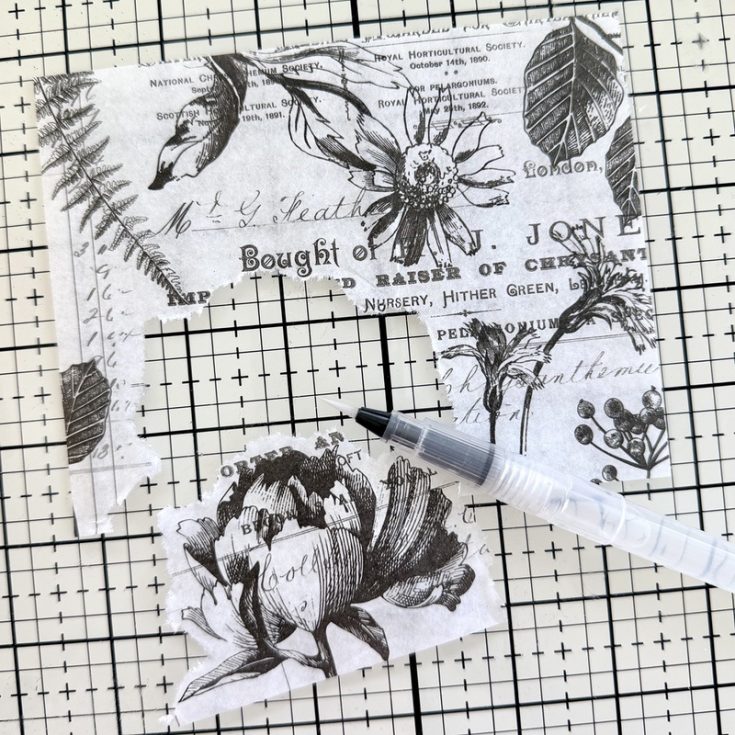
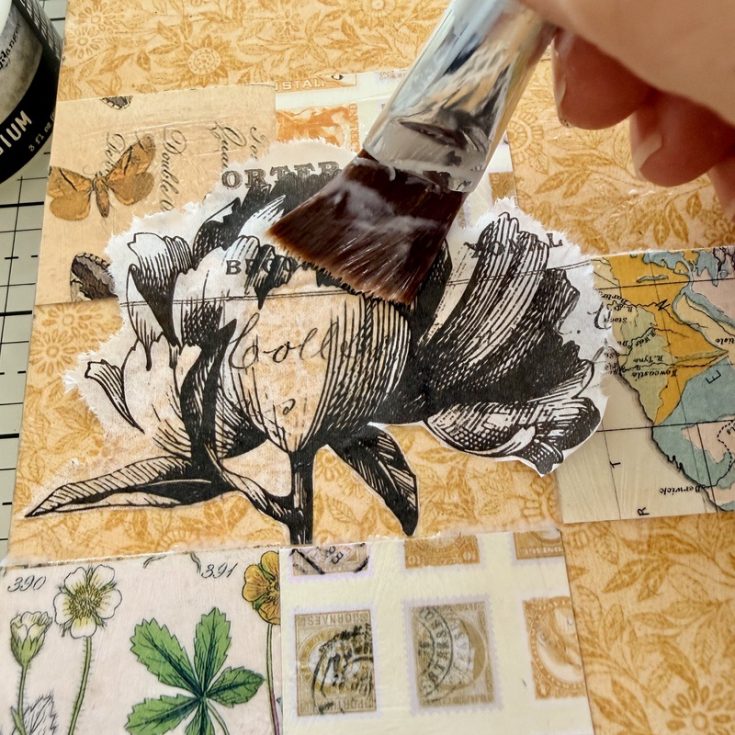
- Use a Water Brush to draw a water line around the image you want to extract from the Collage Paper. The paper is thin, but will only tear along the water line you have drawn.
- Add Collage Medium to the entire area the Collage Paper will touch.
- Lay the image into the glue and use your paint brush to flatten. Work from the center to the edge of image, repeating the step till the image is flat and somewhat transparent.
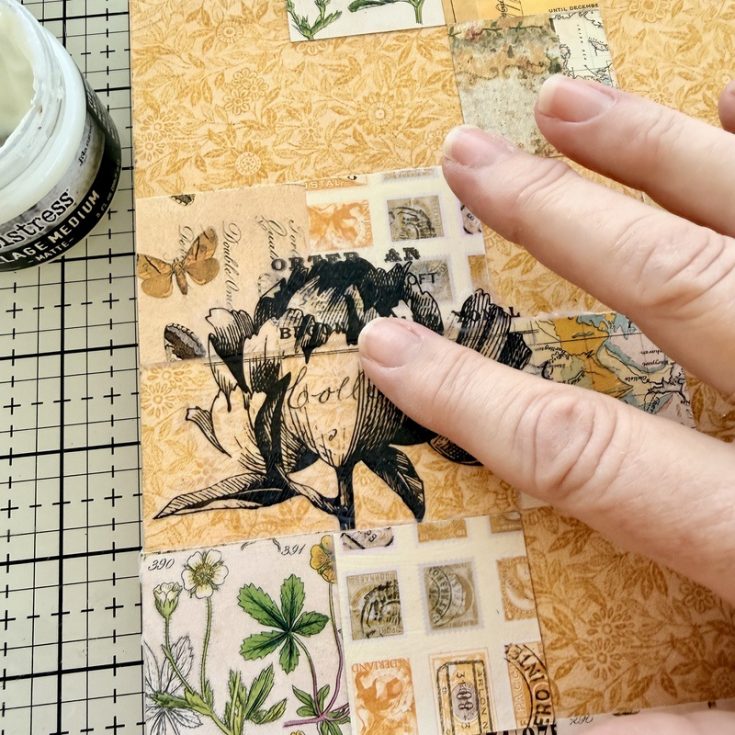
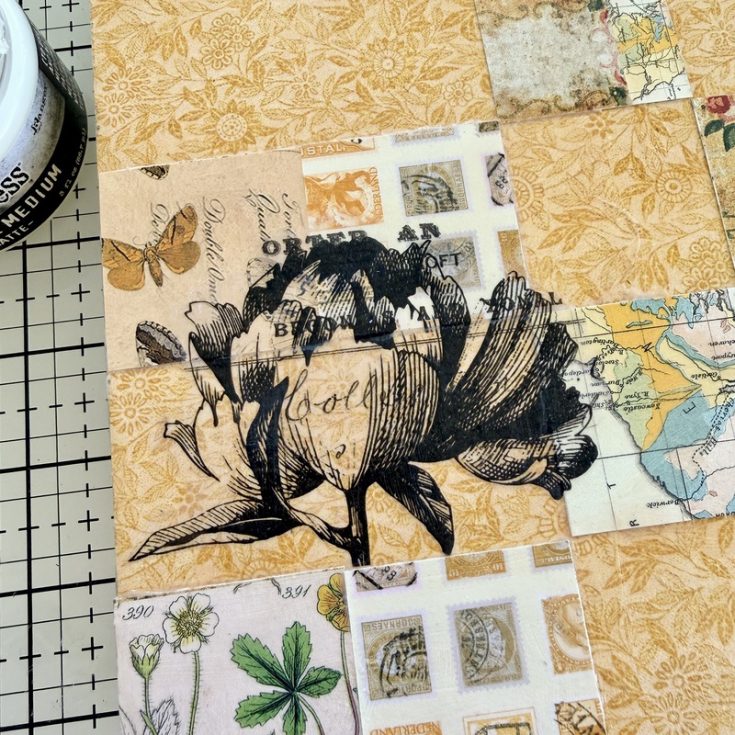
- Use your fingertip to lightly work your way across the image until background becomes transparent enough to see the pattern beneath.
- Make sure there is no glue build up around the image. If so, wipe it away with a damp fingertip. Repeat steps 8-11 to add any other images to the panel. I added another flower and some written script from another piece of Collage Paper.
Distress Crayon
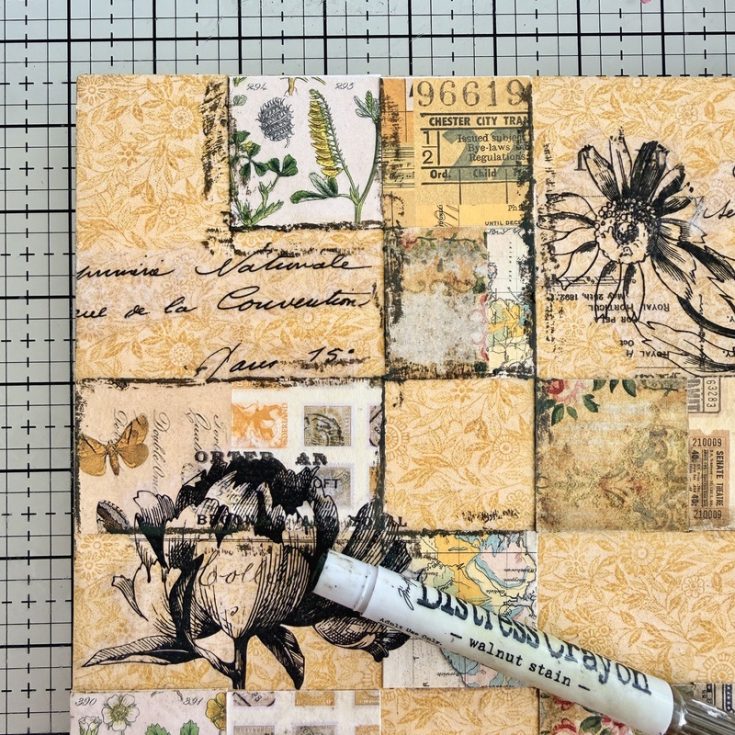
- Once the Collage Paper is dry (yes, you can use a heat tool to dry it faster), scribble Walnut Stain Distress Crayon on the seams between the papers.
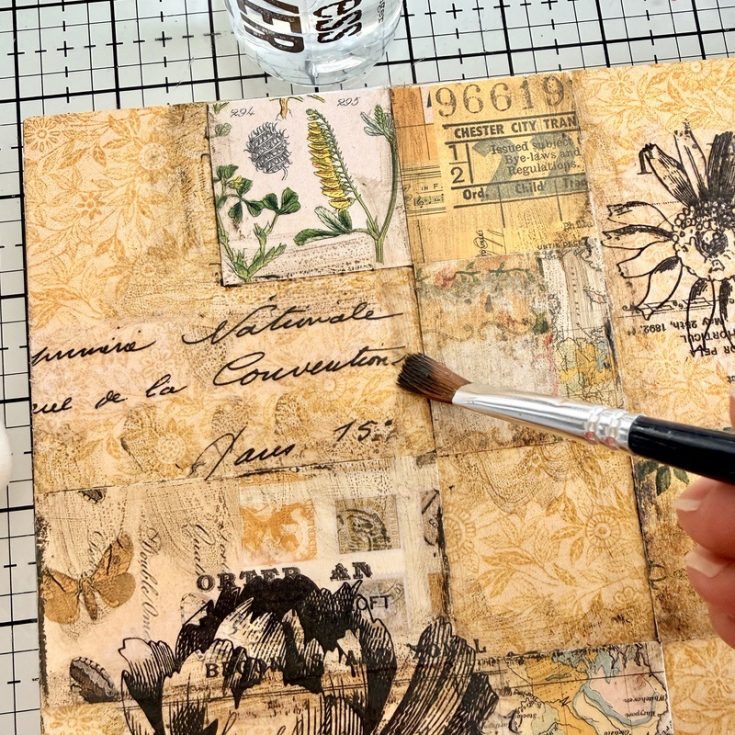
- Use a damp brush to disperse the Crayon. If you take too much off, you can always add more.
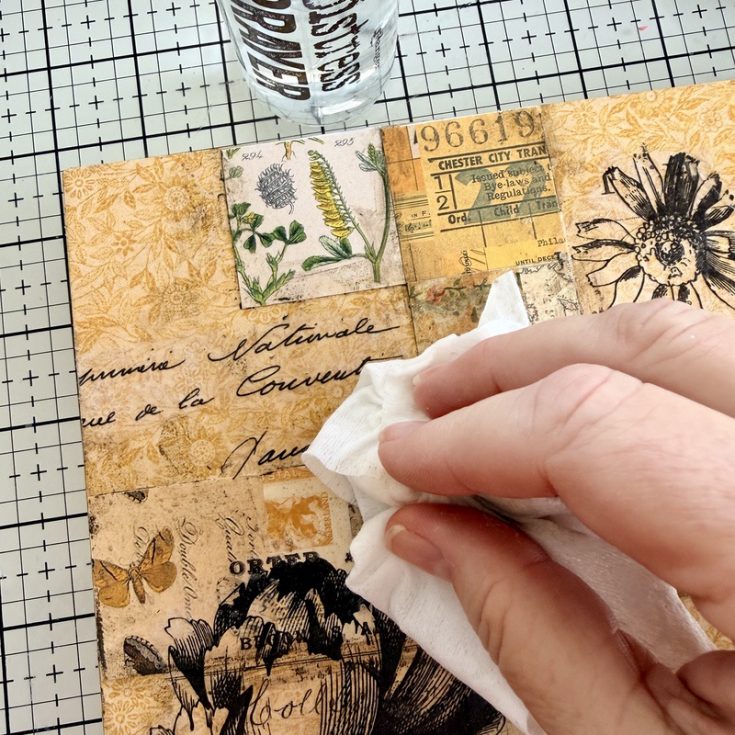
- And in a final step, use a wet wipe to pounce over the surface to remove any brush marks, leaving the dark crayon in the seams and on the edges of the paper squares.
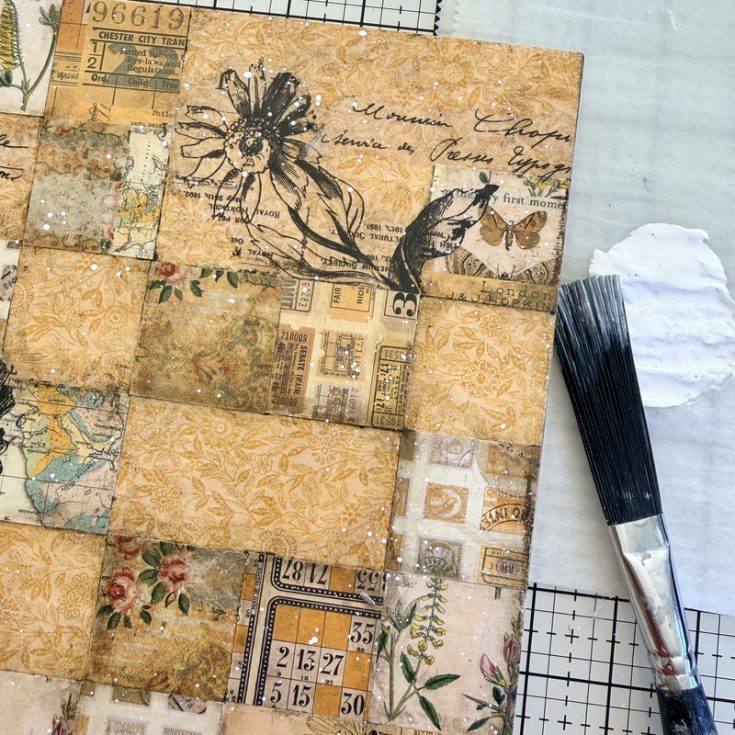
- Squeeze out some Picket Fence Distress Paint onto your work surface. Use a Distress Splatter Brush to pick up the paint and splatter it across the Display Panel. Set aside to dry.
Embellishments
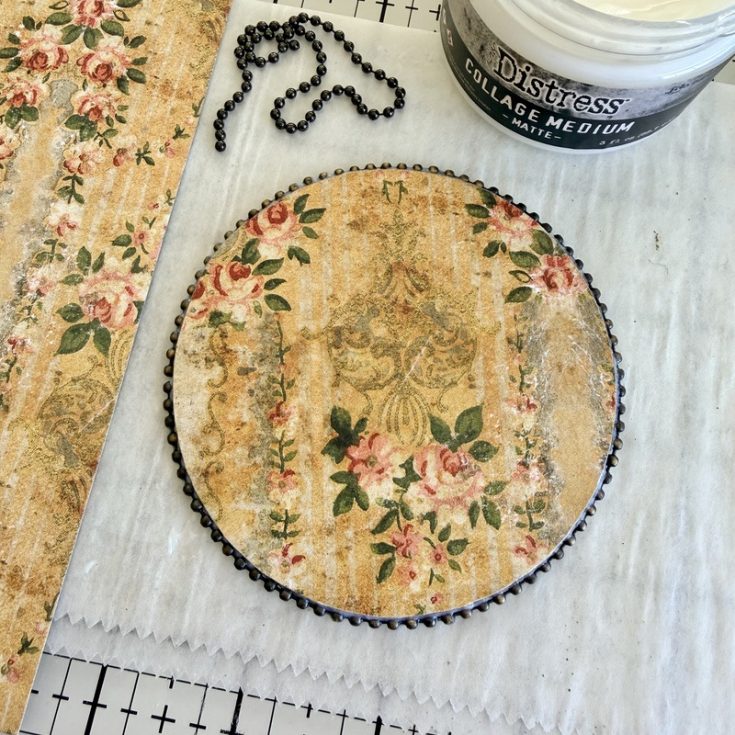

- Cover a circle from an Etcetera Facades pack with more paper from the Palette Yellow 8 x 8” pack. Use your fingertip to add Collage Medium to the edge of the circle. With the circle on the work surface, wrap Bead Chain around the circle so it become embedded in the Collage Medium. Clip Bead Chain to the right length and secure ends into the glue. Use a small brush to remove any excess glue from the chain. Set aside to dry for at least 30 minutes before picking up.
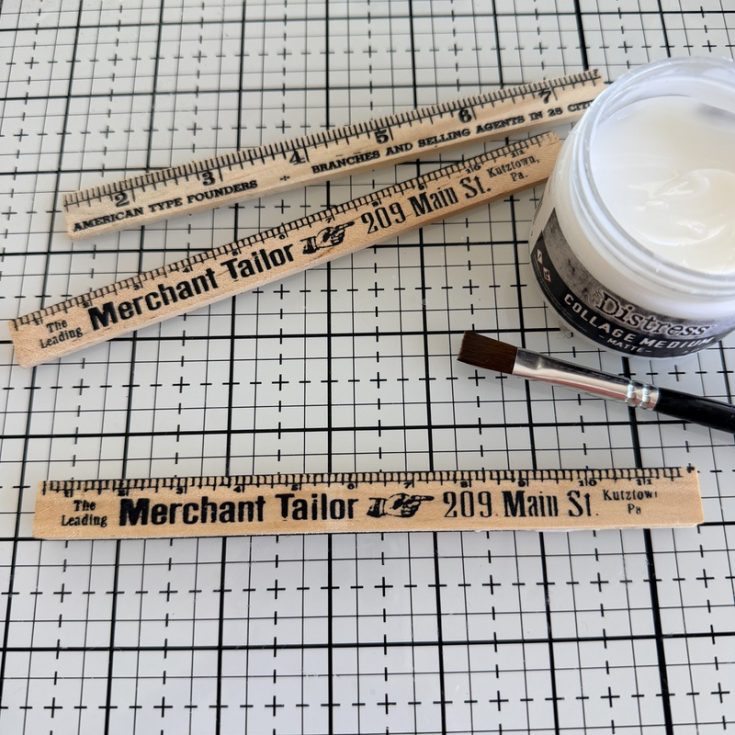
- Glue two Rulers together with Collage Medium.
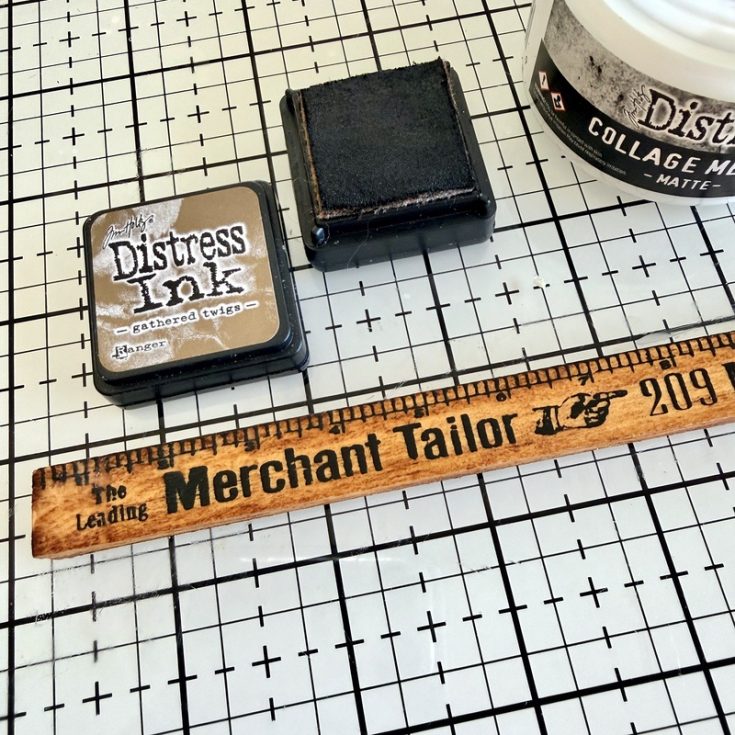
- Lightly rub a Gathered Twigs Distress Ink pad over the wood ruler. Use your fingertip to dip into the Collage Medium, then rub over the ruler. The wet Collage Medium will cause the ink to wick and become like smooth, stained wood. Dry with a heat tool.
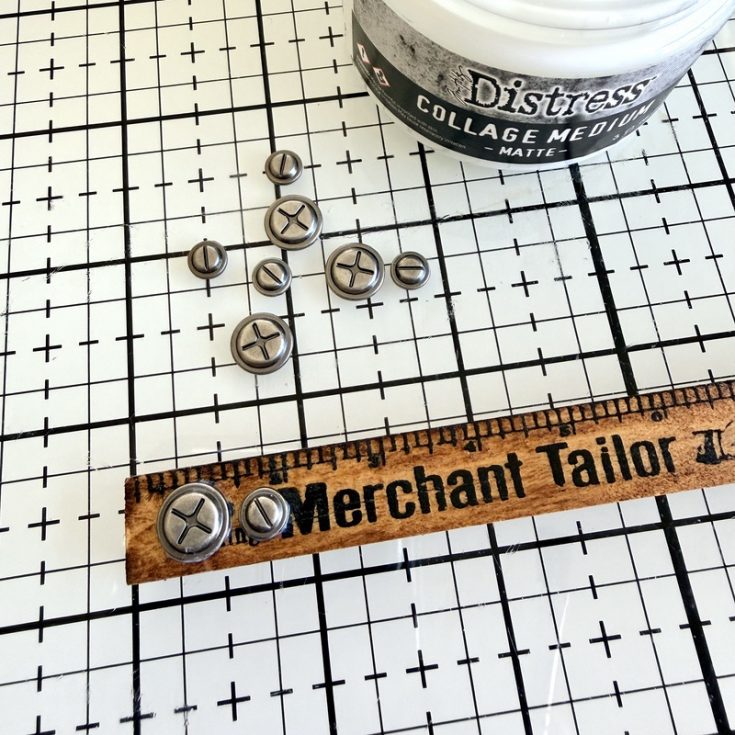
- Use Collage Medium to add Screw Heads to the ends of the ruler. Set aside to dry.
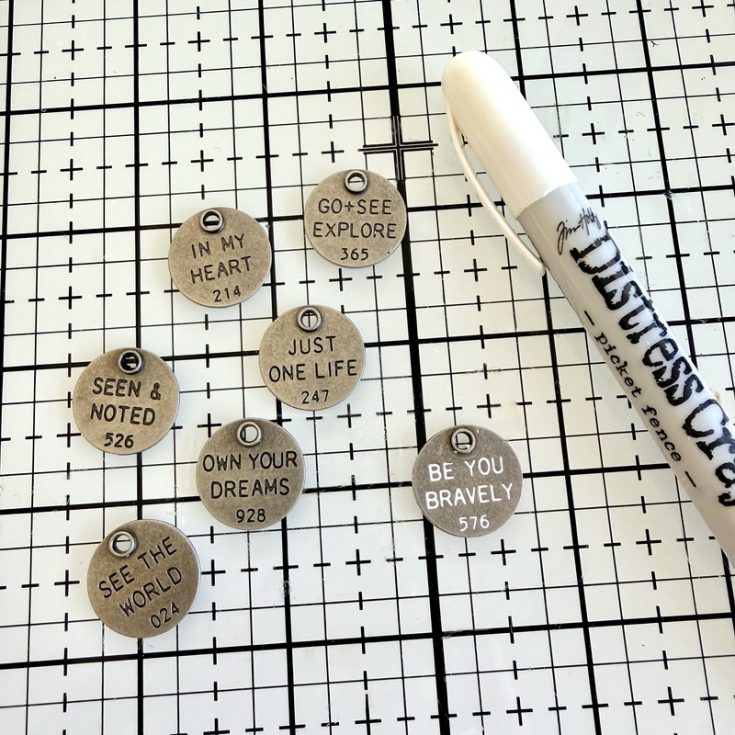
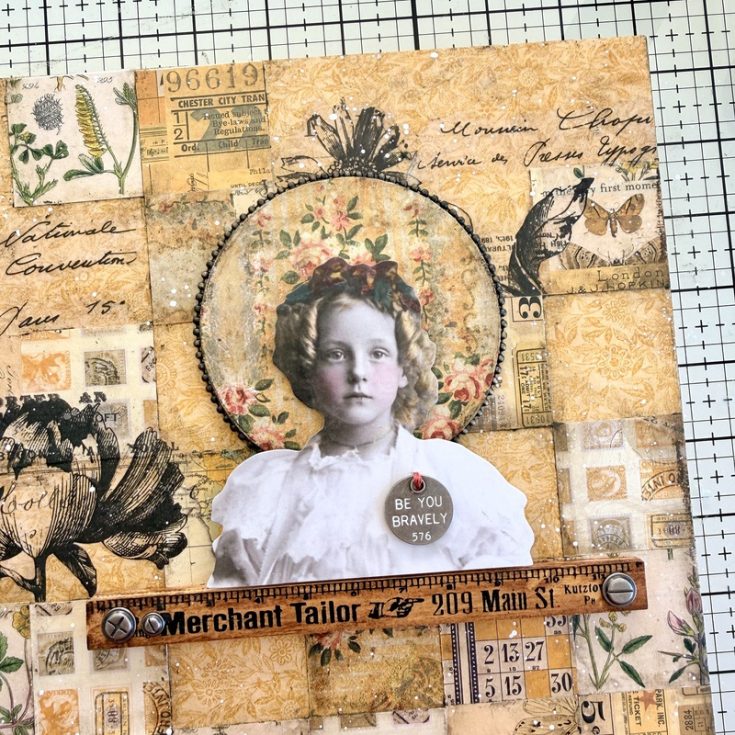
- Choose a Thought Token to add to the project. Use a Picket Fence Distress Crayon to fill in the recessed letters. Rub with your thumb to remove the excess crayon.
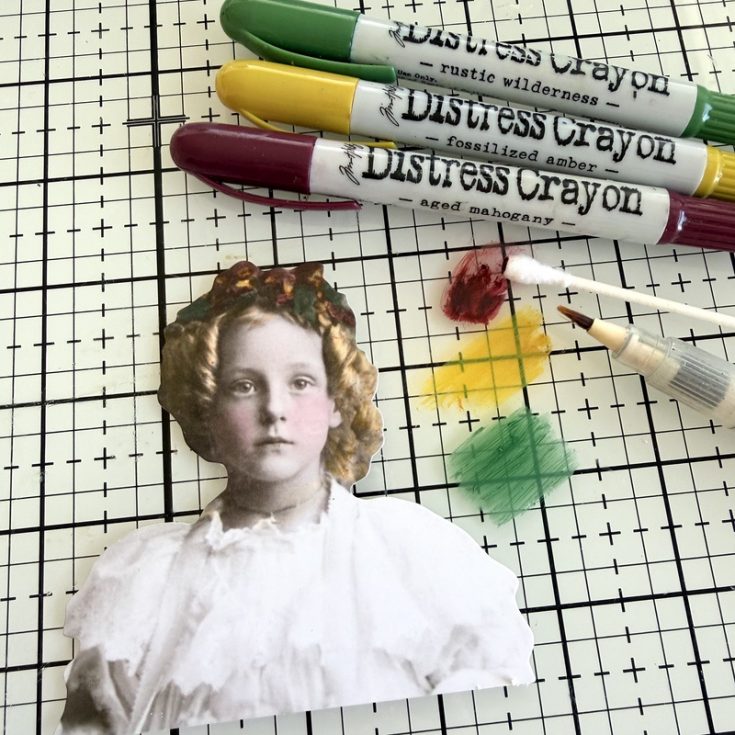
- Choose an idea-ology Portrait. Use Distress Crayons to tint the Portrait. I chose to focus on her cheeks and hair, leaving the dress white. I scribbled the crayon onto the glass mat, then picked it up with a cotton swab (for the cheeks) and a damp Detailer Water Brush for the flowers in her hair.
- Use a needle with embroidery floss to sew the Thought Token to the dress. Add a single 3D Foam Square to the back of her head and a double stack to her lower back.
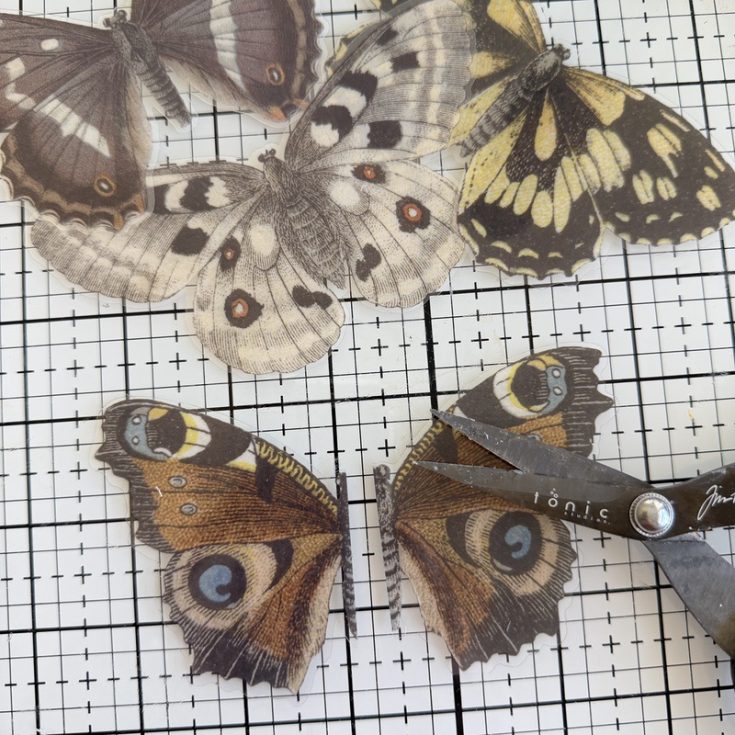
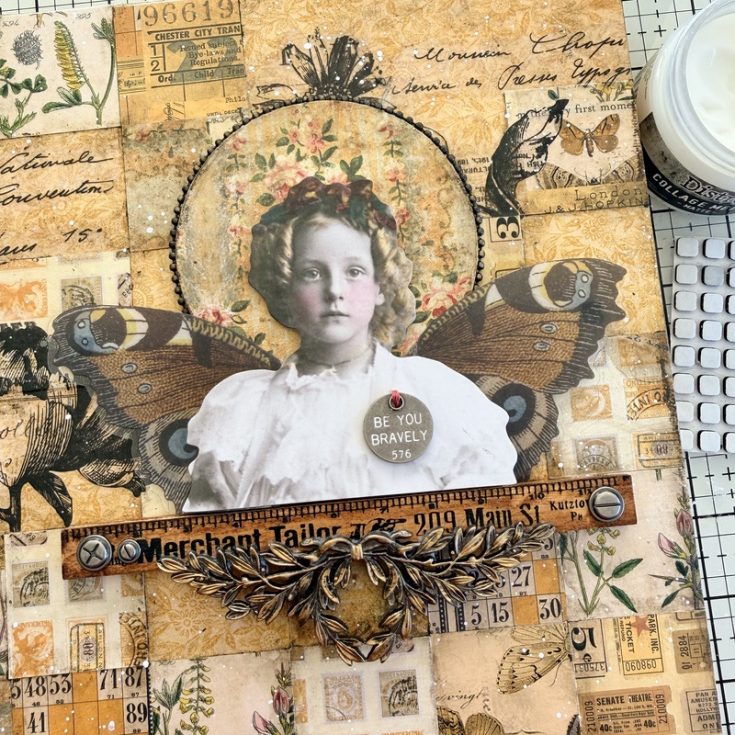
- Choose a butterfly from the Transparent Things pack. Cut in half as shown. NOTE: I ended up removing the “body” of the butterfly before adding the two pieces to the panel.
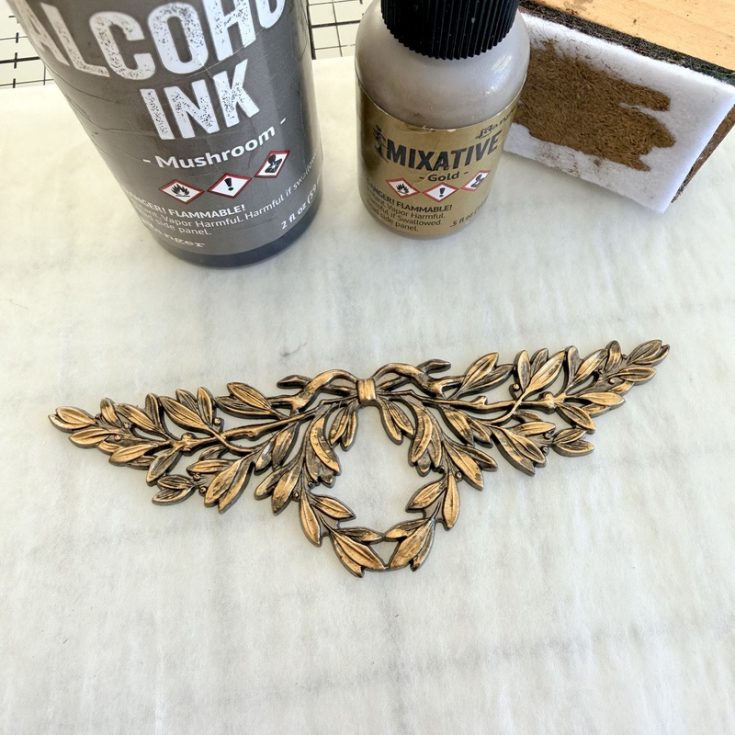
- The last step before we put everything together is prepping the Vignette Accent. I used a two-step process to achieve this specific finish:
Step 1: Apply Mushroom Alcohol Ink to a Alcohol Ink Applicator Tool with felt and “pounce” it over the entire metal surface.
Step 2: Switch to a fresh felt pad and apply Gold Mixative. Instead of pouncing, use a light touch to gently brush the tool across the surface. This highlights the texture without covering the base color.
Bringing it all Together
- Use Collage Medium to adhere the ruler to the Vignette Display Panel. Add Thin 3D Foam Squares to the back of the circle and add to the Panel. Add the Portrait with 3D Foam Squares that were added previously.
- Add the wings with a Double sided tape, like Scor-tape. My wings are attached to the circle not the Portrait. Add the Vignette Accent to the ruler with both Foam Squares and Collage Medium.
- Add any other accents to the Display Panel. I added a blue stamp from the Postmarked book as well as lots of little pieces of Cello Sticker Tape.

SUPPLIES:
|


Thanks so much to Paula for this gorgeous inspiration and to YOU our reader, for stopping by today!


This is sooooo Beautiful!!! My favorite color is yellow, so I love this!!!
This is really cool
just gorgeous!!
Very neat!
So beautiful and full of details. Thanks for the great play-by-play on how you made it.