Turn Your Fabric Scraps into a Cool Card!
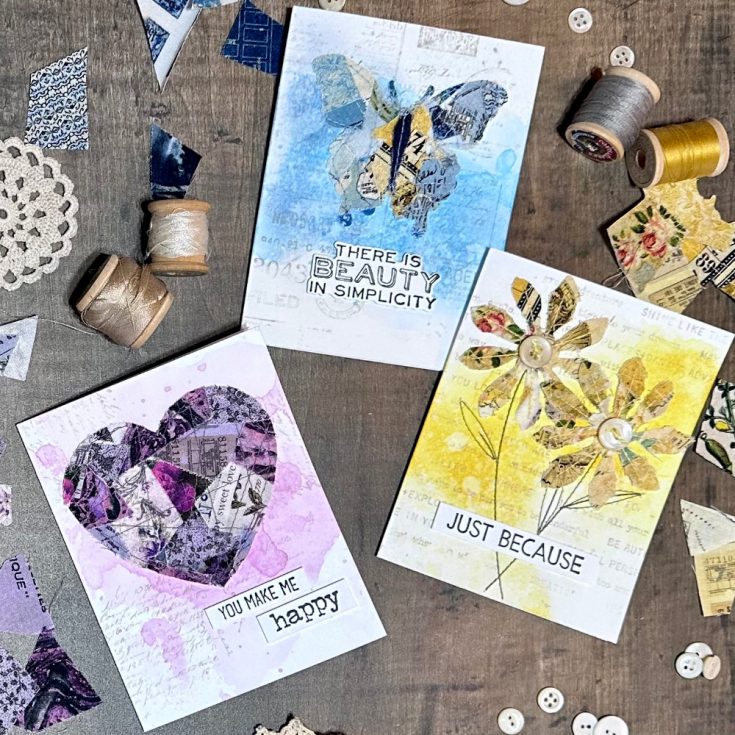
Hi friends! Happy Sunday! We’re welcoming back special guest Richele Christensen to the blog with this trio of totally gorgeous cards – and YES, the primary components are fabric scraps! Read on to learn more and enjoy!
Hello friends! Today we are creating beautiful cards using fabric scraps. I love using fabric on projects because it adds so much texture. So grab your Tim Holtz Palette Fabrics in your favorite colors and lets get started. I can’t wait to explore more with this fun technique.
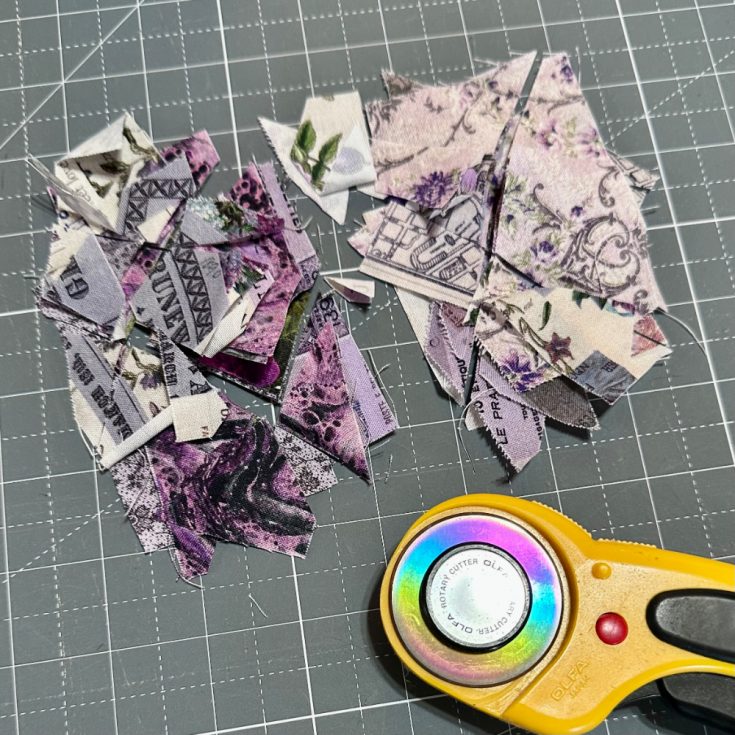
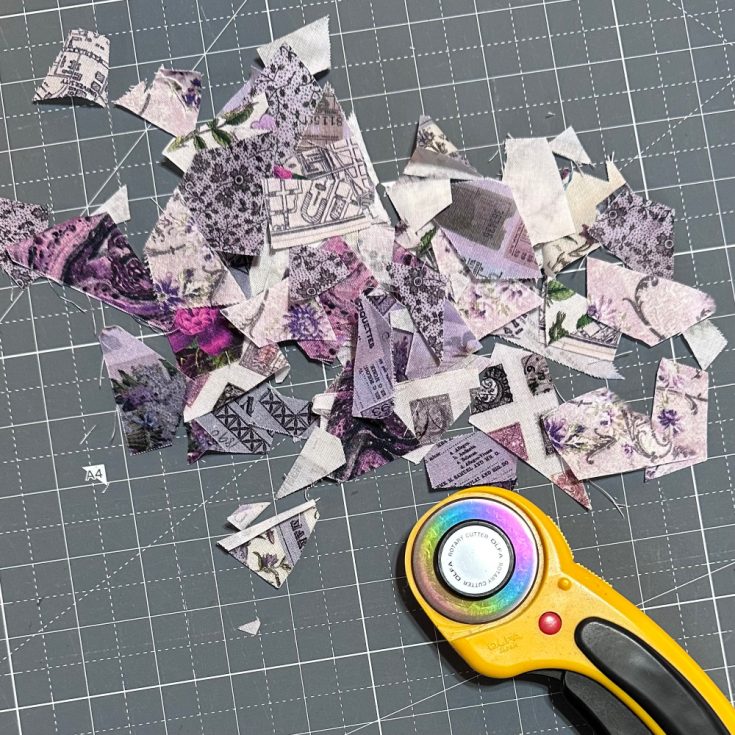
Stack up a few scraps in the color/colors you’d like to use. I used pieces that were about 2” x 3” give or take a little.
Cut trough the scraps straight and diagonally too make small pieces. The smaller the scraps the more scrappy it will be.
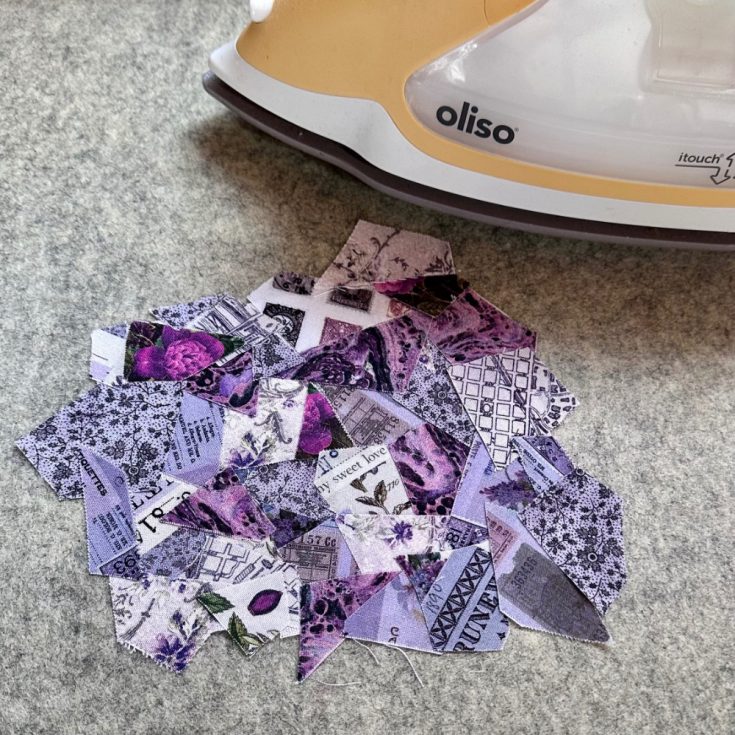
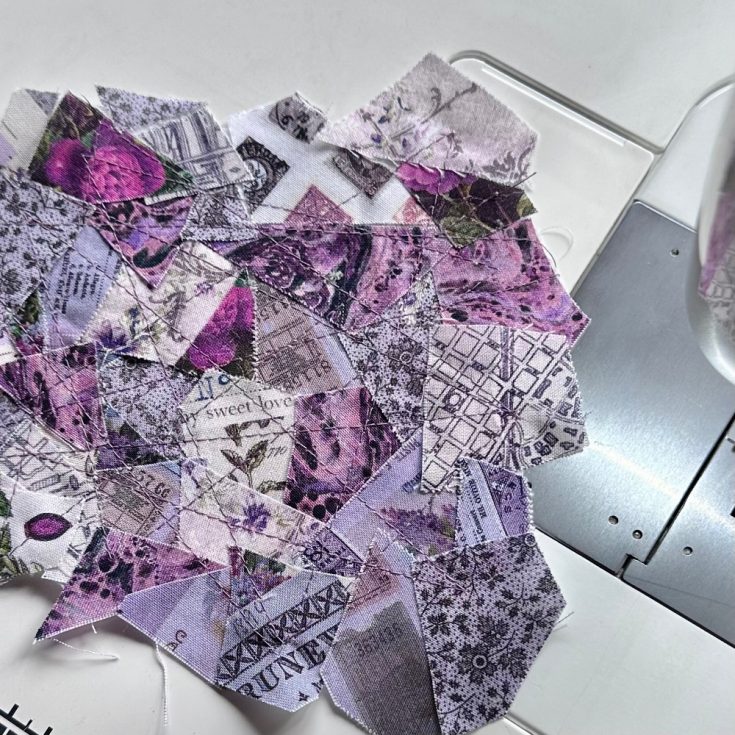
Lay a piece of lightweight fusible interfacing rough side up. Arrange the pieces on on the interfacing. The pieces will overlap. Work on a piece of card stock so you can transfer the piece to your ironing board. Press well to fuss interfacing to the pieces.
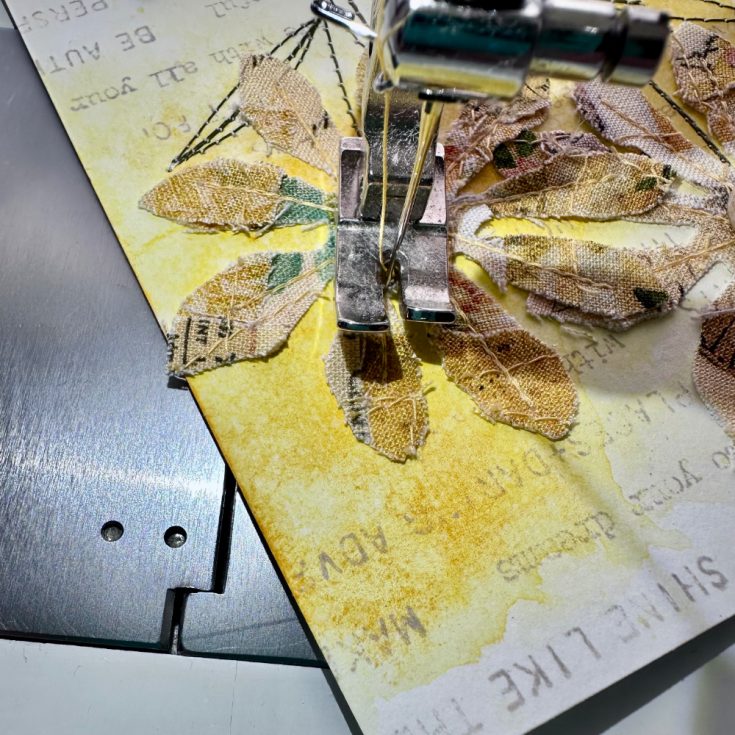
Randomly stitch through the pieces several times in all directions to secure the pieces. Now that you have the piece secured die cut or cut out your shape (heart, flowers, butterfly, leaves, etc. When die cutting through fabric there is a few tips and yes you can use your wafer thin dies for die cutting fabric. It’s always a good idea to pass the fabric through the die cut machine a few times. When your die cutting if you have a few little threads that don’t cut you can use scissors or sometimes you can add cardstock under the fabric to help cut through.
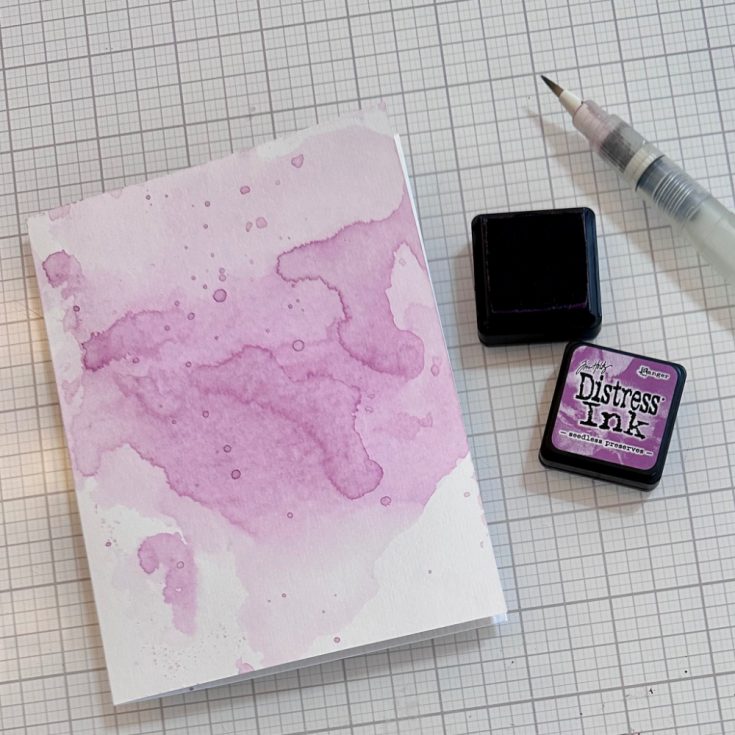
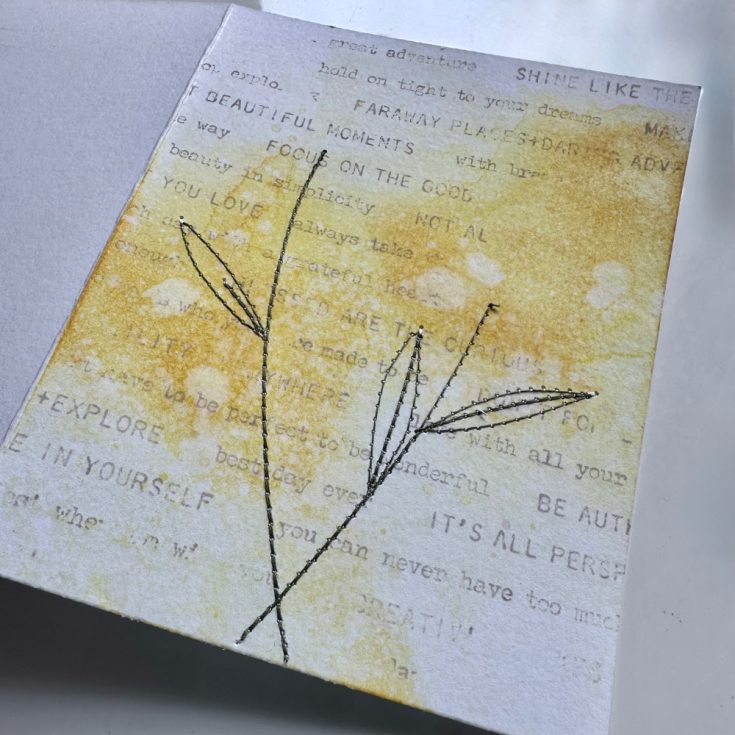
Create a background onto Distress Watercolor Cardstock. Apply ink to your mat spritz with water and press to front of the card into the ink. Dray with a heat tool. Repeat as desired. Pick up the watered down ink with a brush or water brush and flick on to card to create spots. Dry with a heat tool.
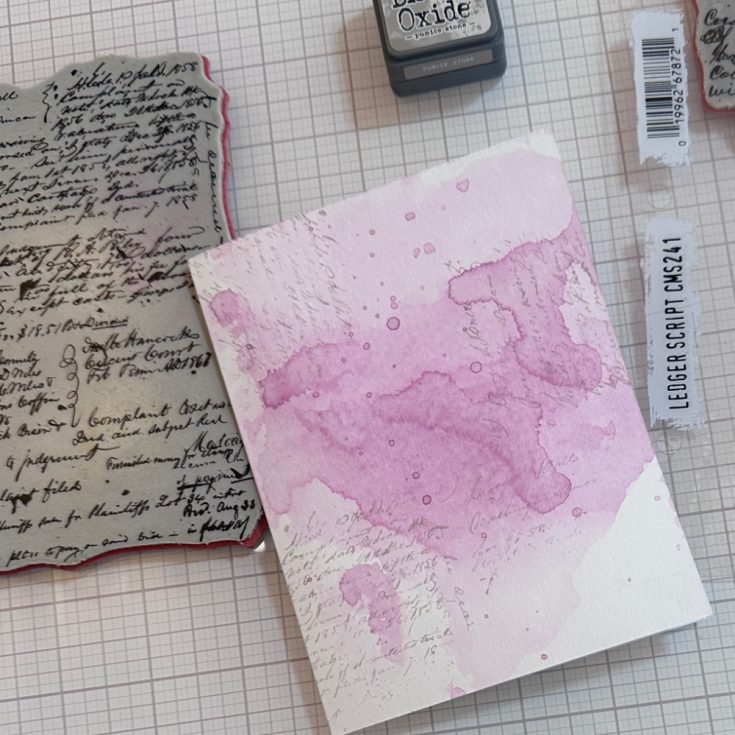
Stamp script with Distress Ink in Pumice Stone to add a little interest to the background.
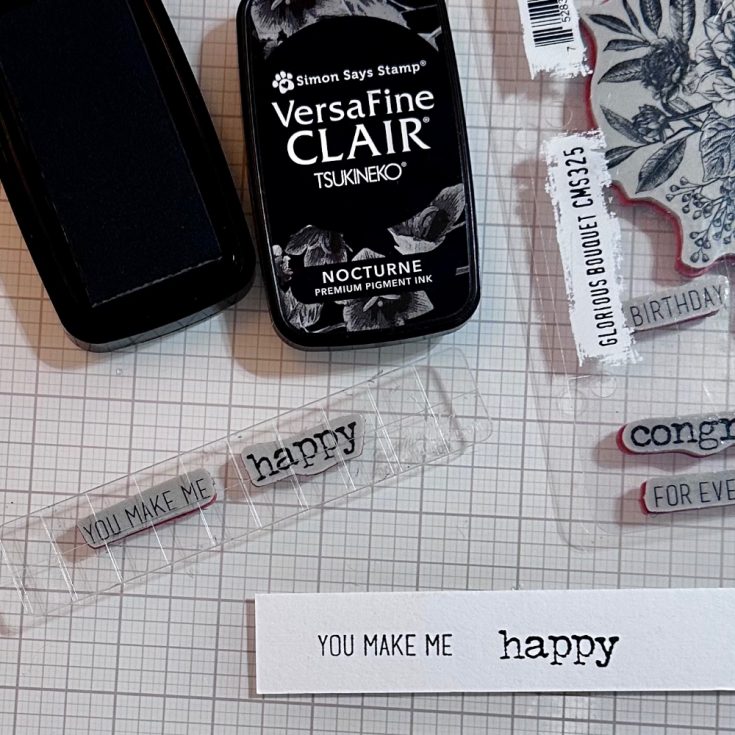
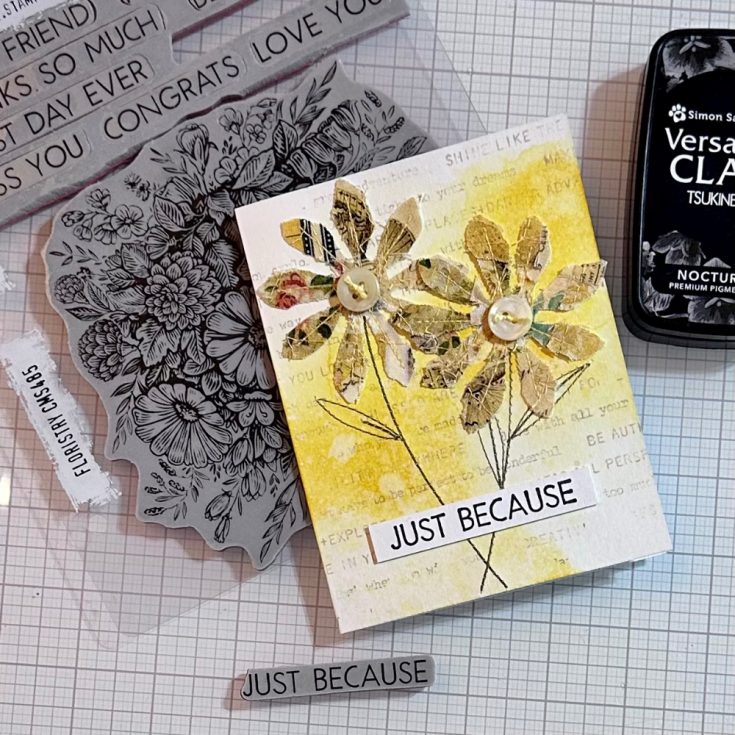
Stamp the message using Versa Fine Nocturne Ink from Simon Says Stamp.

Sew the heart to the front of the card and add the message with SSS Foam Squares.
(Flower Cards variation) Create your fabric daisies and card front following the instructions above.
Stitch the seams and leaves on the front of the card using green thread.
Use a glue stick to hold the flower where you’d like and stitch with matching thread through the petals. Hand stitch buttons to the center of the flower using Embroidery floss.

Add your message using foam squares.
I think anyone would love to receive a beautiful card made with fabric scraps. Thanks so much for stopping by and happy sewing! –Richele
SUPPLIES:
|


A big thank you to YOU, our reader — and to Richele for being our guest!
SET A REMINDER!
We’re going LIVE on Monday, February 16th at 12 PM ET!


stunning work
These are so cool
What a creative and resourceful project! Transforming fabric scraps into a handmade card is such a smart way to blend textile art with paper crafting. It’s inspiring to see materials that might otherwise be discarded turned into something thoughtful and visually textured.
The layering technique really stands out. Fabric introduces dimension and softness that cardstock alone can’t achieve, and combining stitching elements with stamping creates a mixed-media effect that feels both modern and handcrafted. Projects like this highlight how small details—pattern selection, color balance, and composition—can elevate a simple card into something truly special.
I also appreciate the sustainability aspect. Using leftover fabric not only reduces waste but encourages makers to see potential in every scrap. Creative reuse adds a deeper meaning to handmade items, especially when they’re given to celebrate meaningful occasions.
Cards made with this level of intention pair beautifully with thoughtful gestures like custom anniversary gifts, where personalization and craftsmanship matter just as much as the occasion itself. Similarly, a handcrafted design reflects the sentiment behind custom couple gifts, emphasizing care, individuality, and shared stories.
This tutorial makes the process feel approachable while still delivering a polished result. A fantastic reminder that creativity often begins with what we already have on hand.
This is such a fun way to repurpose fabric scraps – turning them into a cool card is both creative and eco‑friendly. I love how simple materials can make something truly personal. On a completely different note, for anyone curious about Lucky Pays, I checked some trusted review sources like Trustpilot, AskGamblers, and Casino Guru. Their combined ratings look at game variety, user experience, security, and support. You can find more details at https://similarsites.co.uk/luckypays/ . Back to your card idea, do you think old cotton shirts would work as well as fabric scraps? Would love to try this myself.