Christmas Sparkle Ornaments by Emma Williams
Hi friends! Happy Saturday! I’m beyond delighted to welcome back special guest Emma Williams with this GORGEOUS trio of ornaments to inspire! Read on and enjoy!

Hello everyone! I’m so happy to be back on the Simon Says Stamp blog today and very excited to share my latest makes with you all.
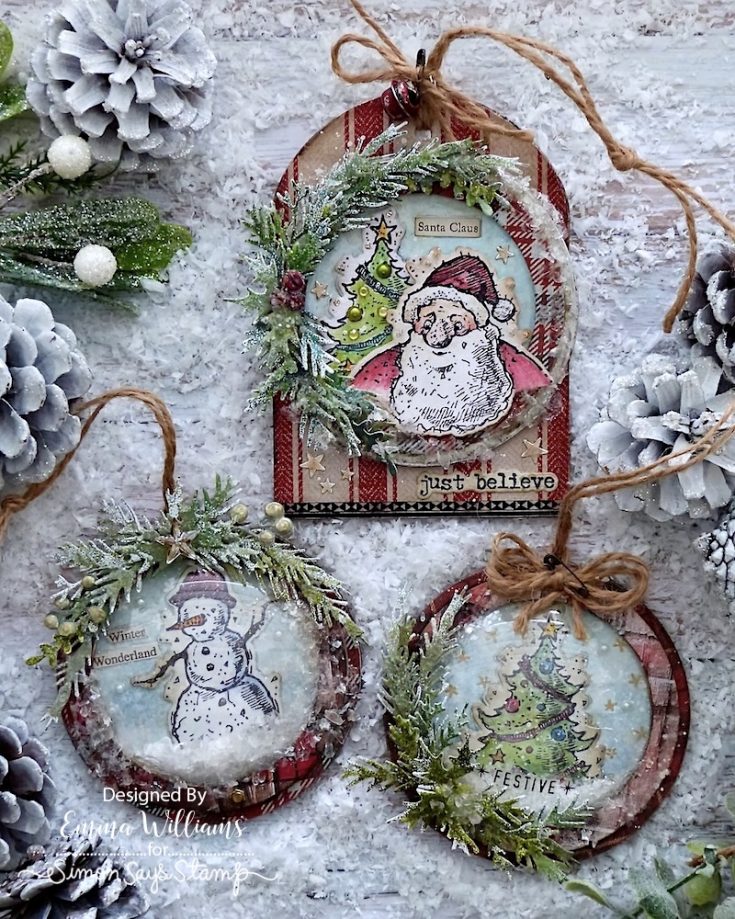
Christmas and the holidays will be with us before you know it…so, in preparation for the festive season, I thought it would be a perfect time to create a selection of ornaments, that are full of Christmas sparkle and festive cheer.
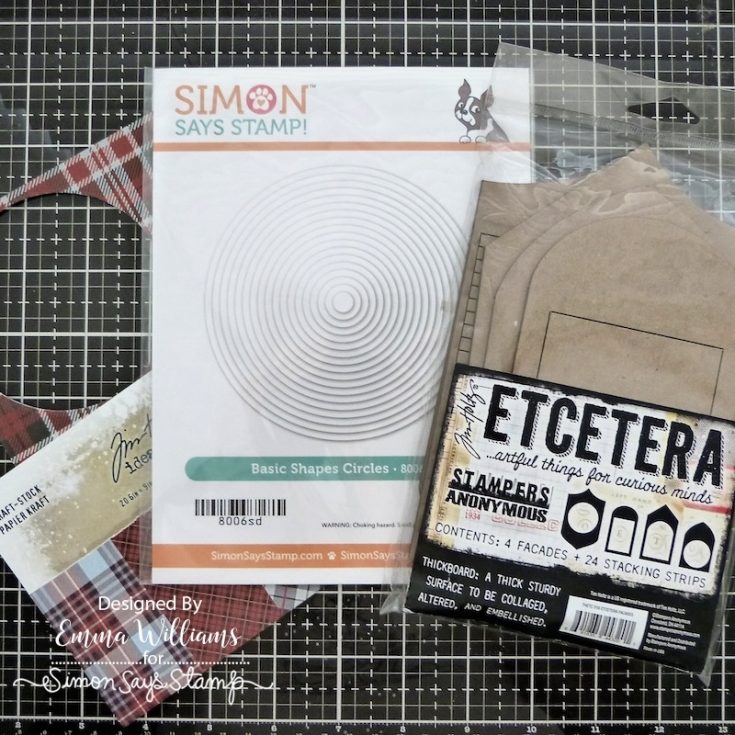
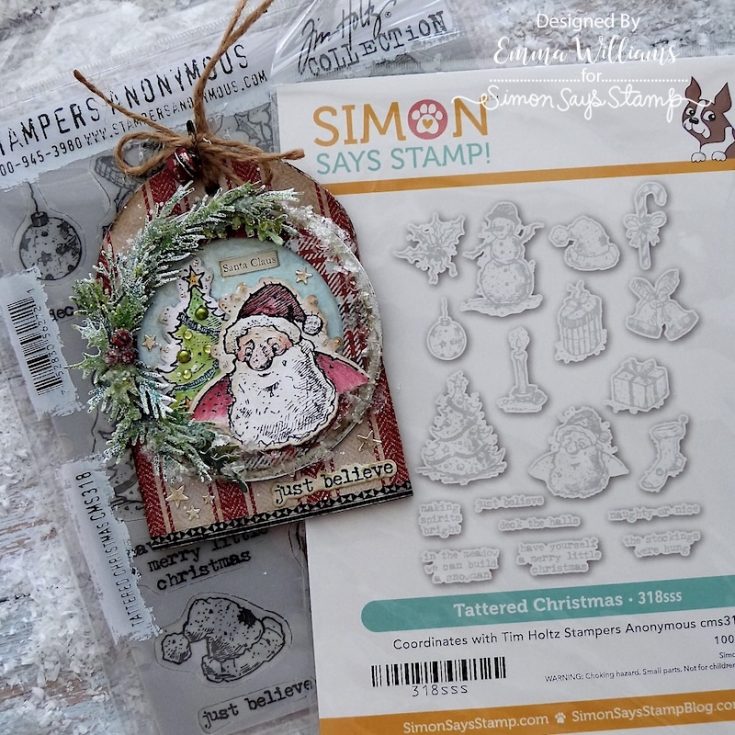
So, let’s get started and here’s how I used the waste from the Etcetera Facades, together with one of the the brand new Simon Says Stamp die sets, that coordinate perfectly with Tim Holtz stamps to make these fun little ornaments.
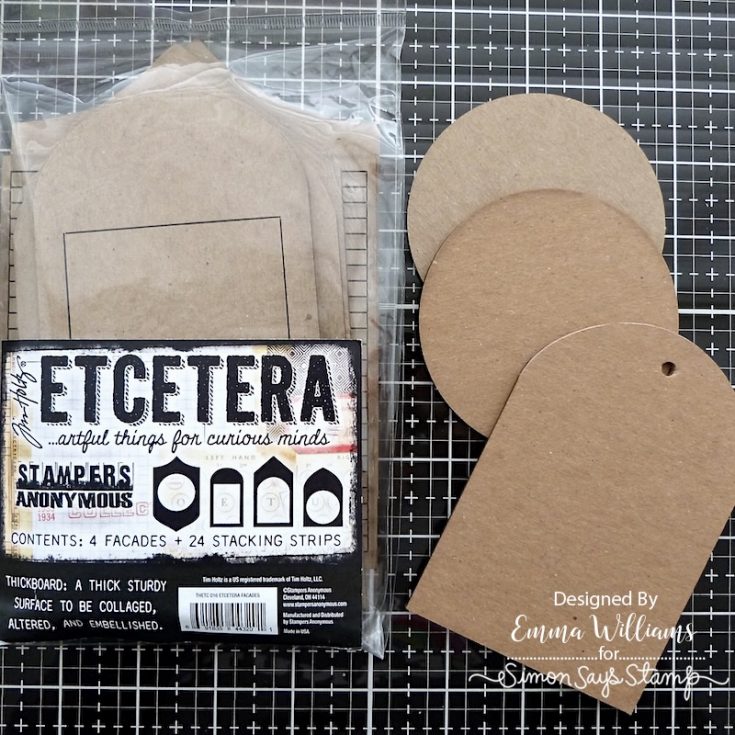
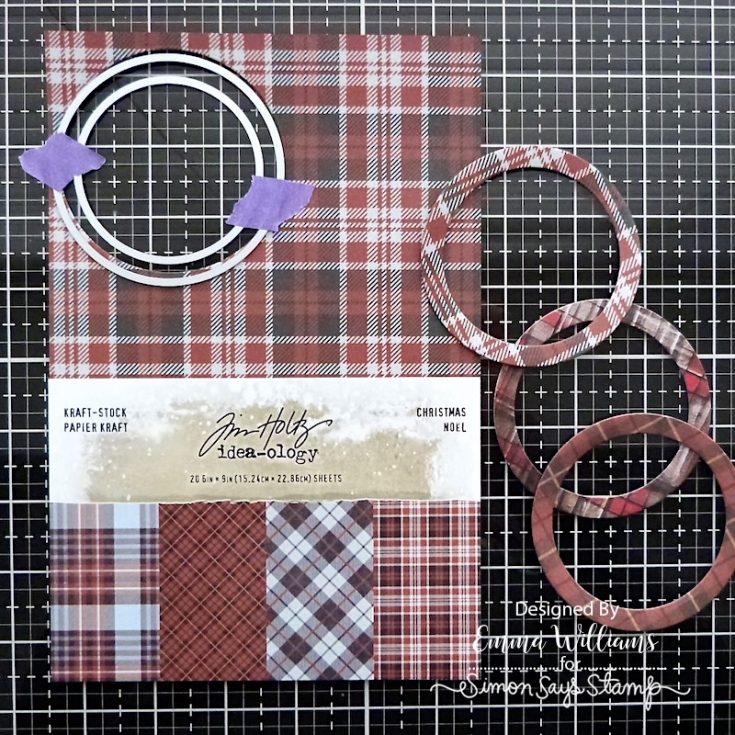
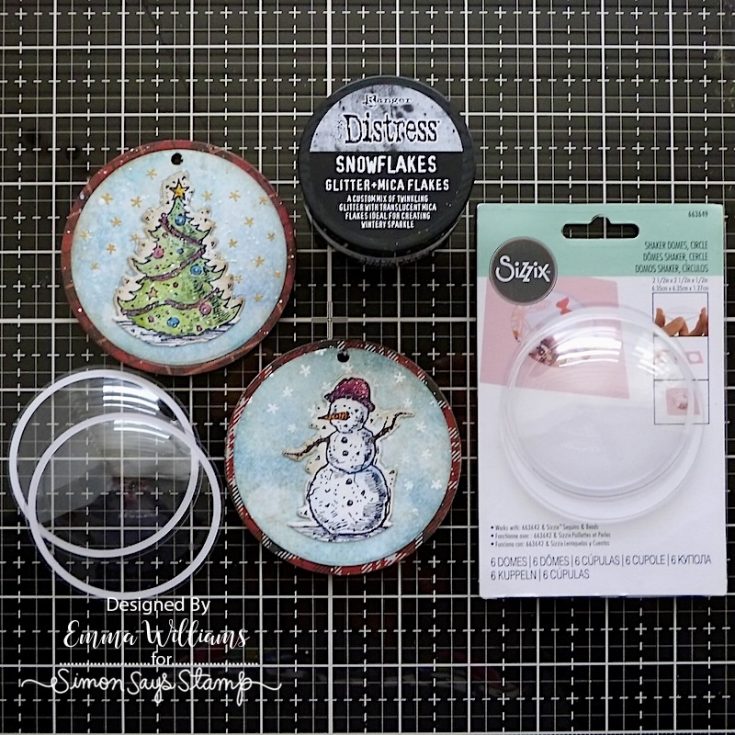
I started with the bases that I’m using for the ornaments, and removed the centres from three of the Etcetera Facades in the pack. You will need two circles and the arch shaped piece for these makes. I covered each of the shapes with various plaid designs from Tim Holtz’s Christmas Backdrops paper stash and last year’s, Kraft Stock paper. If you don’t have the Kraft stock paper, then you can still choose from plenty of plaid designs in the backdrop paper set.
For the circular shaped bases, I cut two pieces of a plaid design paper using the Simon Says Stamp Basic Circles die set and for the arch shaped base, I used a pencil to draw around the outline of the arch directly onto a piece of the striped paper, before cutting around the outline with scissors. Adhere all of these pieces onto the bases using Matte Collage Medium and ink the edges with Walnut Stain Distress Ink.
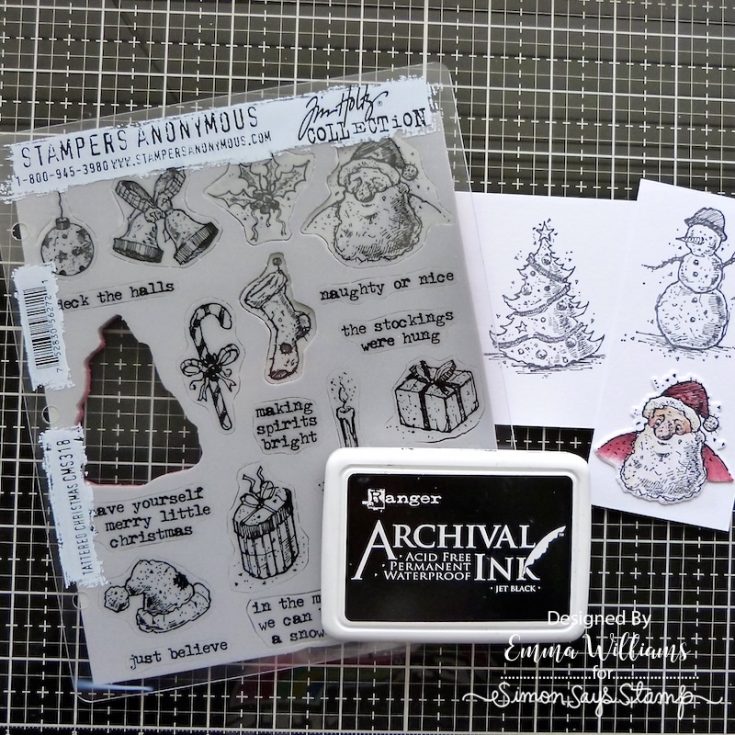
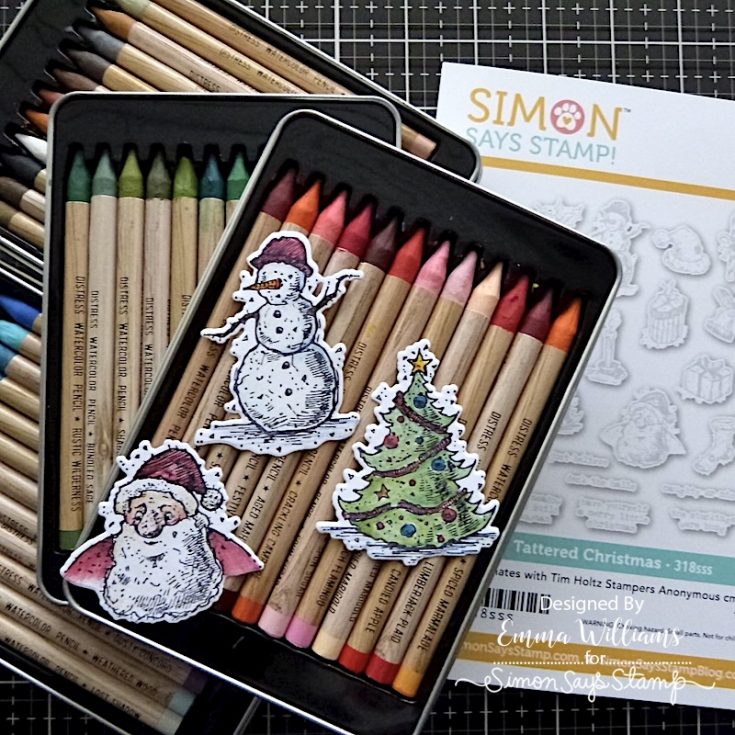
Stamp a selection of images from the Tattered Christmas stamp set onto the smooth side of the Distress Watercolor Card, using Jet Black Archival Ink. I watercolored each image with a paintbrush, picking up the colour direct from the nibs of Distress Watercolour Pencils. Once complete, I used the coordinating dies to cut them ~ you will need two Christmas Trees, one Santa and a Snowman.
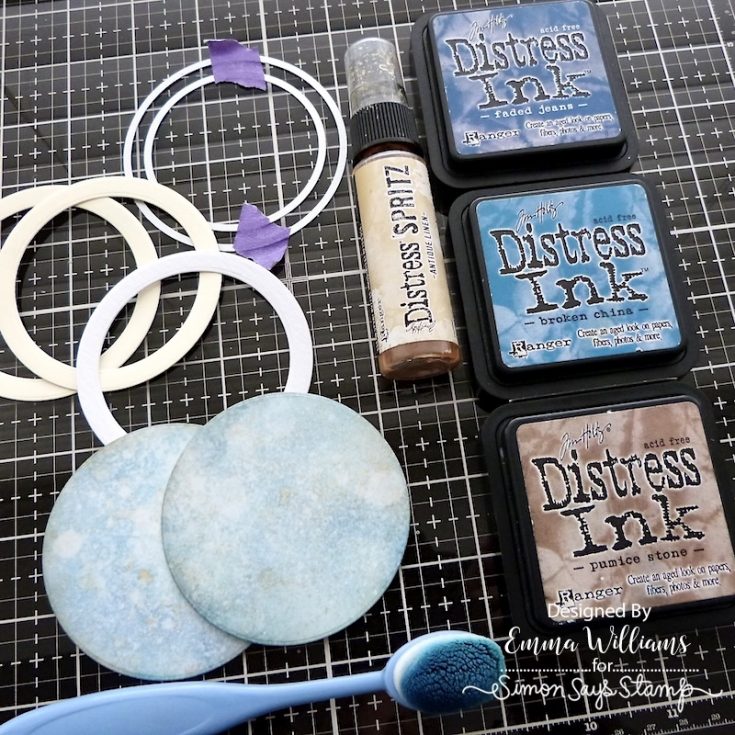
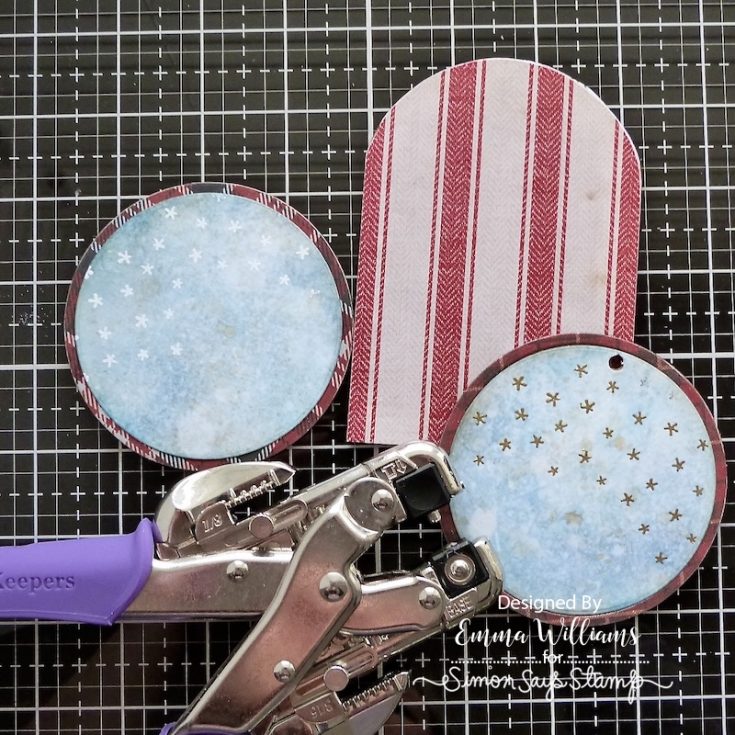
For the next background layer of each ornament, I cut a circle of watercolour card using the 7.5cm die from the Basics Circle die set. I inked each of the circles with a combination of Broken China and Faded Jeans, before spritzing the circle with Antique Linen Distress Spritz. Once the surface is dry, I blended the edges with Pumice Stone Distress Ink. At this stage, I also cut some frames for my ornaments. Each of the frames are cut from Mixed Media or Watercolour card, and I cut 3 that will form the frame to these ornaments. For my makes, I used the Sizzix Domes, which measure 2.5”, so you will need a 7.5cm die, with a smaller die, approx 6.5cm placed inside to form a 1cm frame width. If you are using an alternative brand of shaker dome, eg; the Pear Blossom Shaker Domes, then you may need to adjust the size of the smaller die accordingly.
Using the same dies I cut a final, top layer for each frame from the plaid paper. Taking all the die cut circles, layer and attach each piece over the top of one another to form the frame, before adhering the patterned layer over the top.
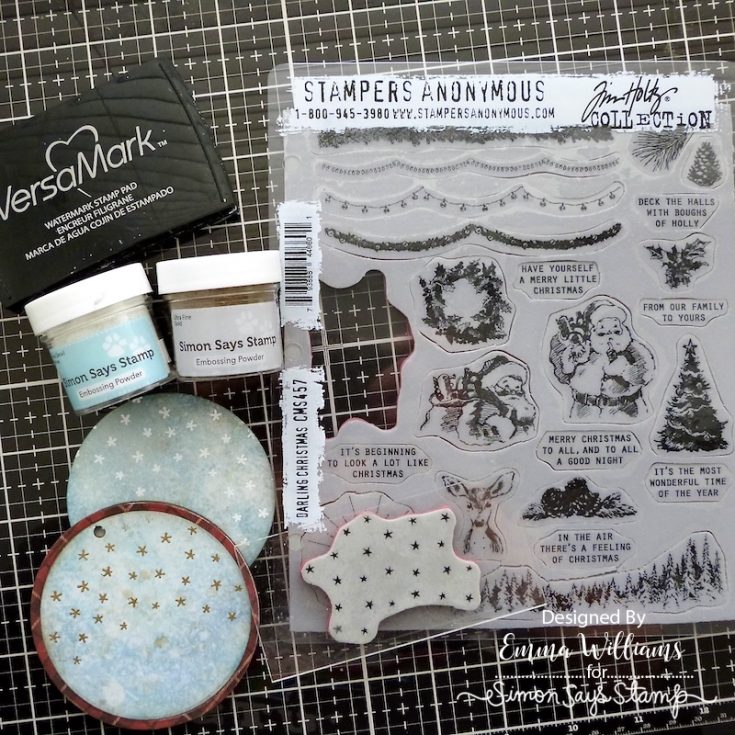
Before adhering the blue background into position, I stamped some snowflakes using a stamp from the Darling Christmas stamp set. I inked the stamp with clear embossing ink, before sprinkling gold embossing powder over the first circle, and white embossing powder over the second. Heat emboss until molten and then adhere the circle to the covered bases.
I punched a hole in the top of all three bases using a Crop-A-Dile tool. The bases are now complete and ready to be decorated.
FROSTED FOLIAGE
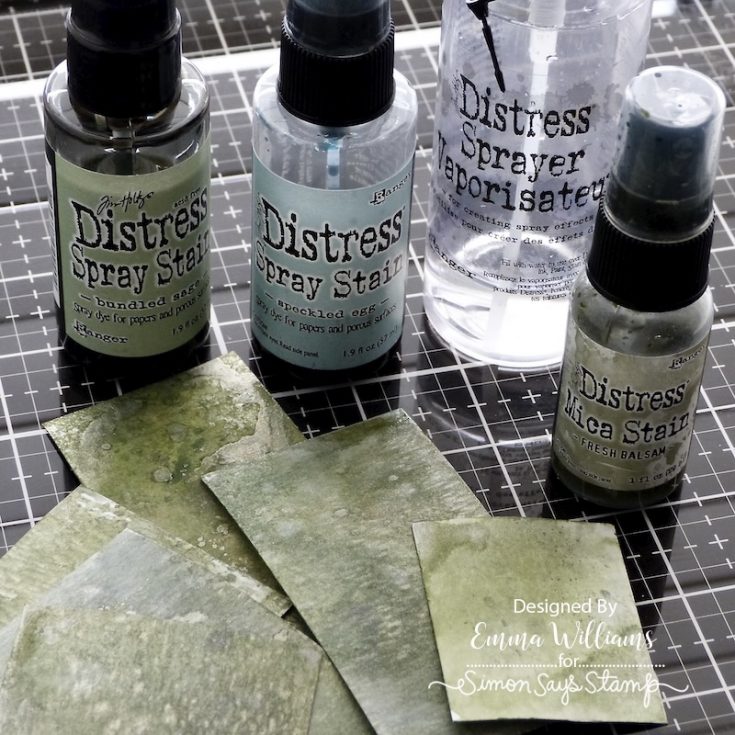
For the frosted greenery that sits around the frames, I coloured some cardstock with Bundled Sage, Speckled Egg Distress Sprays and Fresh Balsam Mica Stain.
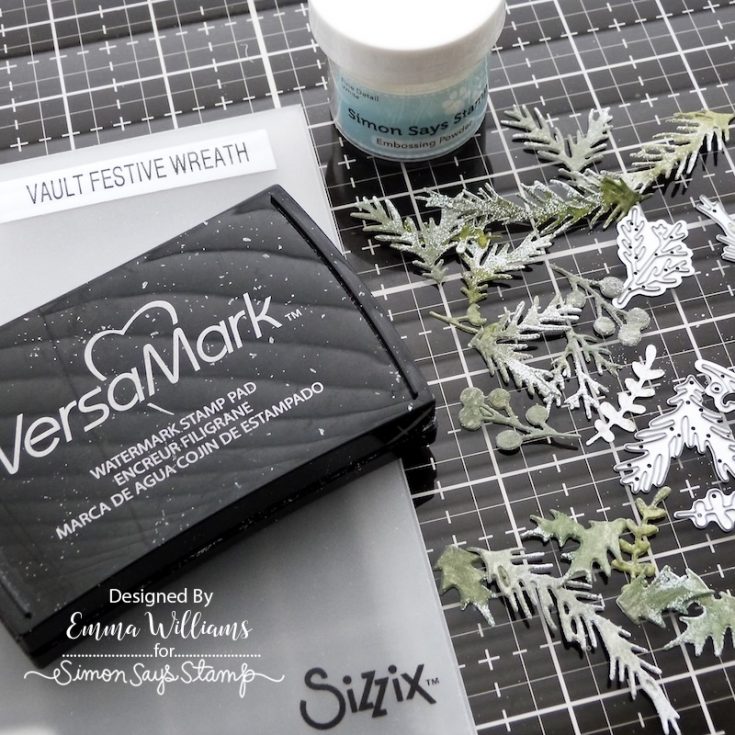
Once the cardstock is dry, I cut my greenery using a selection of dies from the Holiday Classic and Festive Wreath die sets. To add a touch of snow to the pieces, I brushed the tips with clear embossing ink, and sprinkled with white embossing powder before heat embossing the powder.
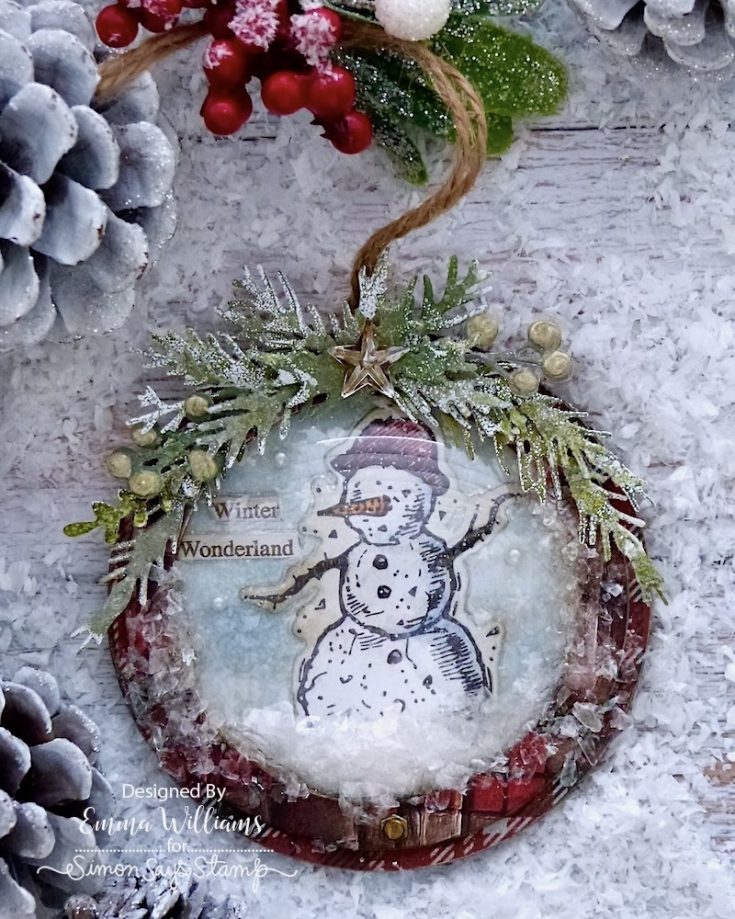
CIRCULAR CHRISTMAS TREE AND SNOWMAN ORNAMENTS
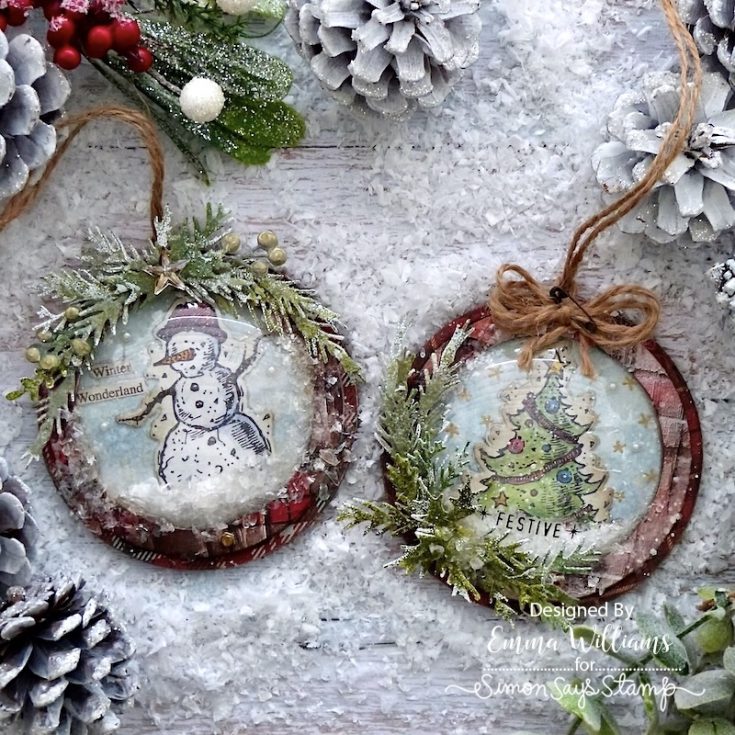
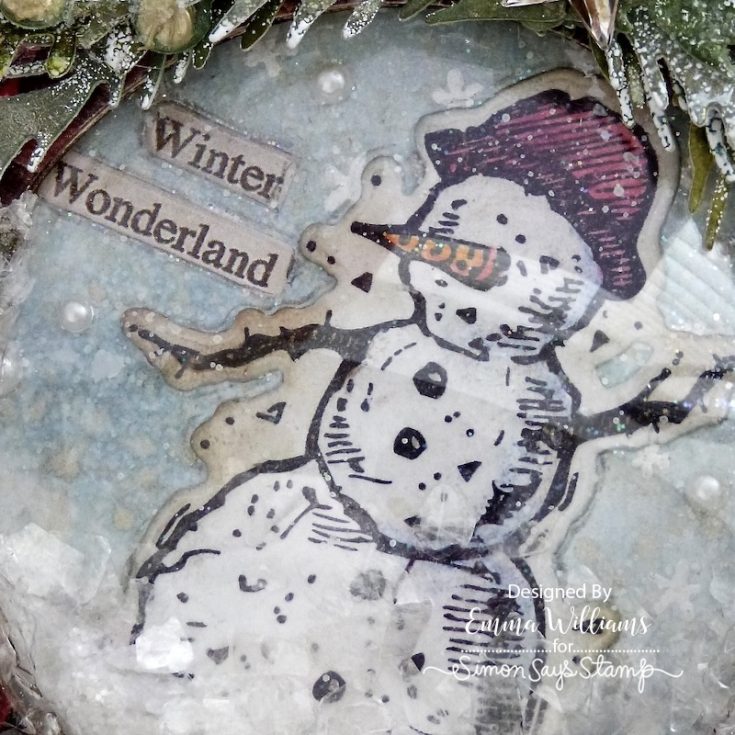
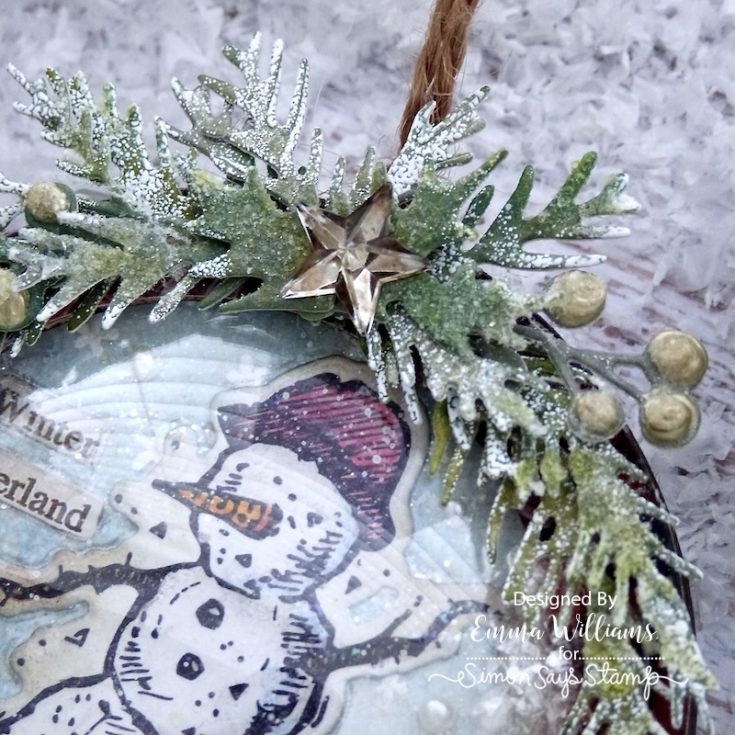
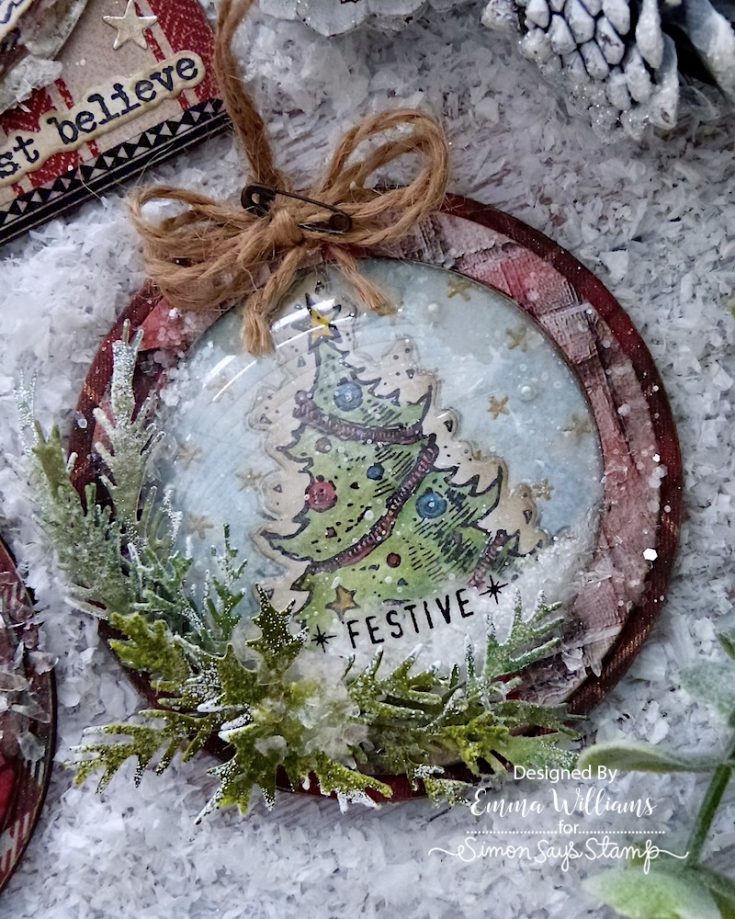
Using Matte Collage Medium, I attached one image to each of the circles, adding the Snowman in one and the Christmas tree in the second.
I also added the ‘Winter Wonderland’ idea-ology Christmas Sticker, to the snowman background, placing it on the left hand side.
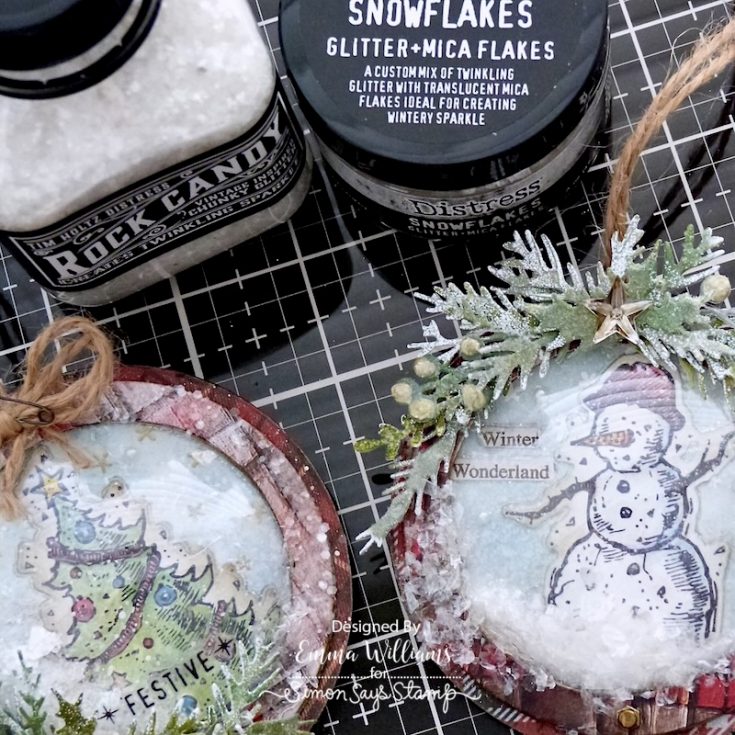
To create the snow inside the dome, I used a tiny amount of Distress Snowflakes, (you really don’t need a lot ~ less is more), placing these in in the very centre of the image, before attaching the shaker dome over the top to encapsulate the Snowflake glitter inside.
After attaching the die cut frames to each ornament, I added some of the greenery, arranging the pieces to cascade around the domes. To add some festive sparkle, I used my fingertip to smear some Glossy Accents over the top of the pieces, and sprinkled with a combination of Snowflakes and Rock Candy Glitter.
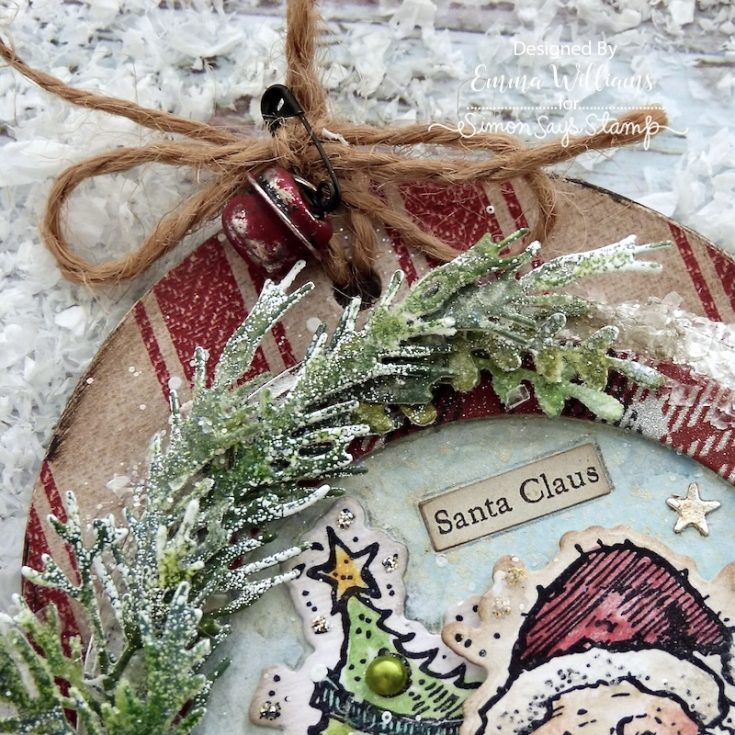
ARCHED SANTA ORNAMENT
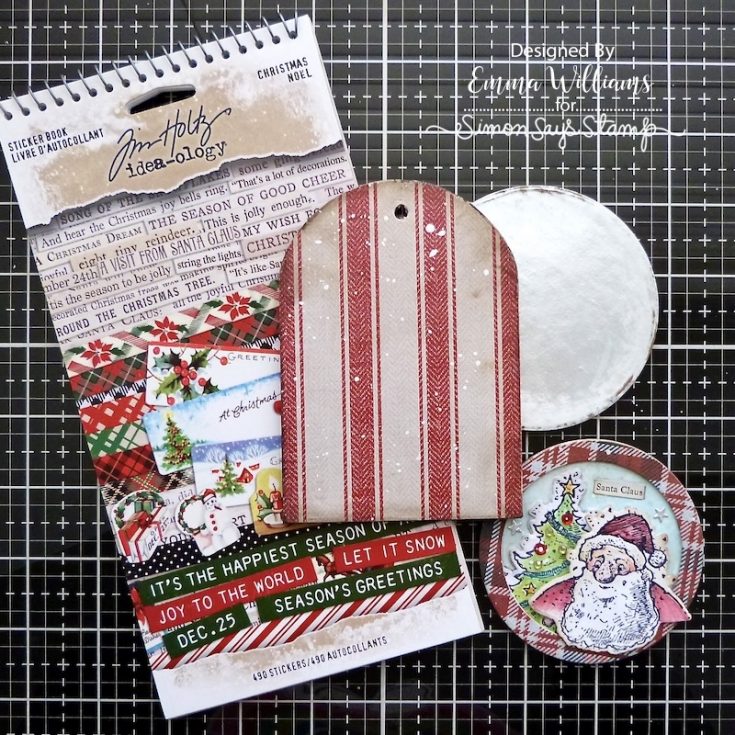
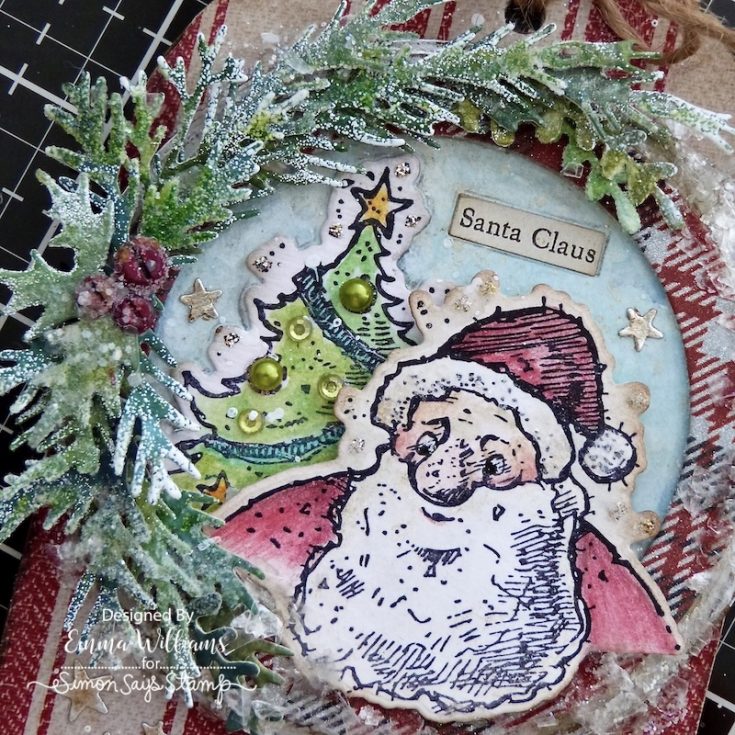
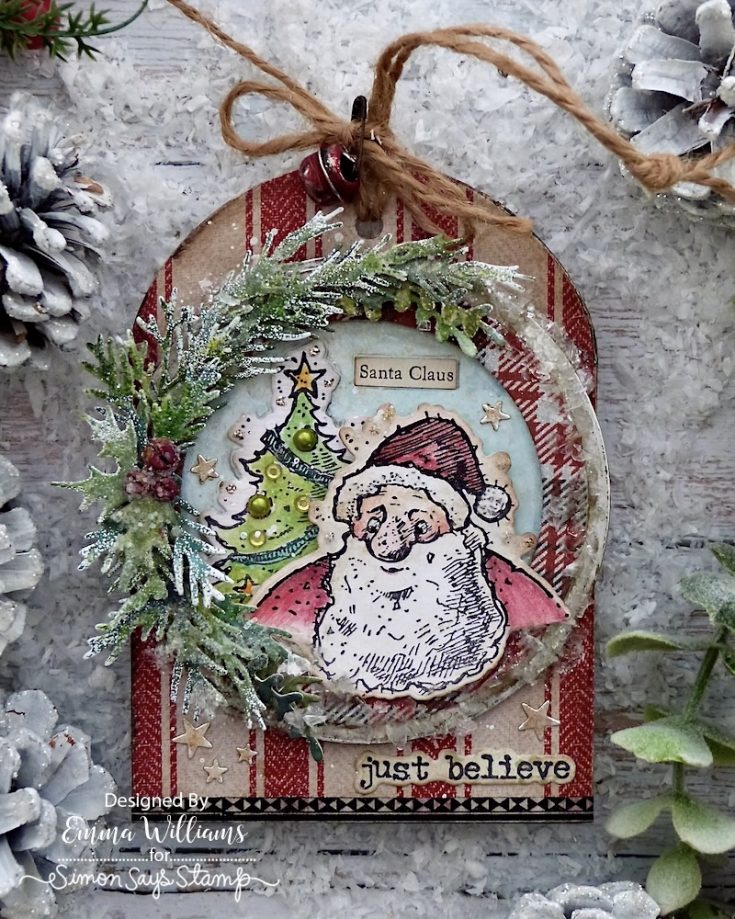
To build the layers for the Santa Ornament, I began by die cutting a circle of silver metallic card, approx 8.5cm and matted the inked circle onto a piece of plaid cardstock before adhering this to this in the centre. I then adhered the frame into position. With the base ready, I attached the tree directly to the background and then placed Santa in the foreground using foam pads. I completed the scene with a ‘Santa Claus” Sticker from the idea-ology Christmas Sticker Book before attaching the layered circles to my covered base.
Add some self adhesive pearl drops to the tree before arranging some of the frosty foliage around the edge of the frame.
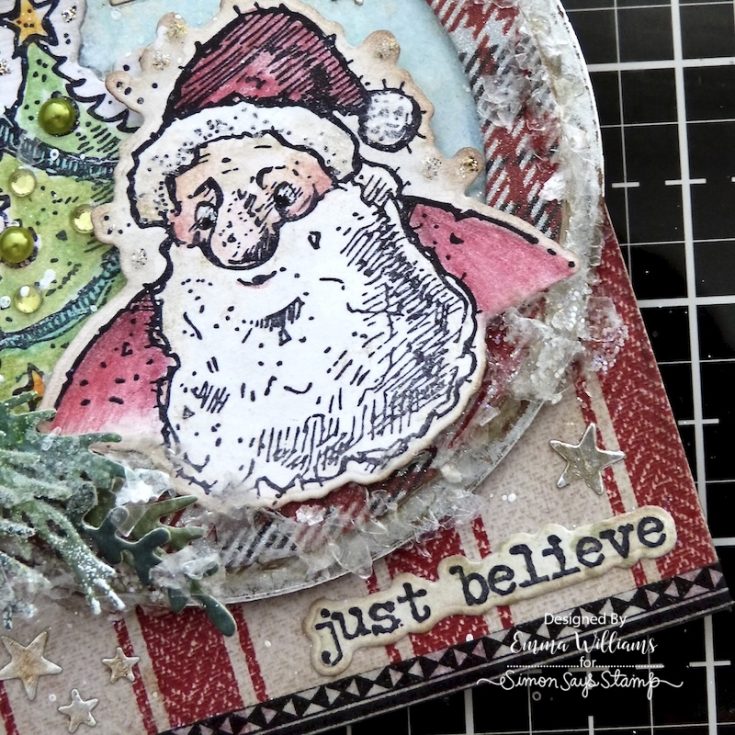
I added some small die cut stars around the outside, and a strip of Design Tape across the bottom of the arch.
Finally, I stamped and die cut the sentiment, ‘just believe’, from the Tattered Christmas stamp and coordinating stamp set, and attached this in the bottom right hand corner.
EMBELLISHMENTS AND FINISHING DETAILS
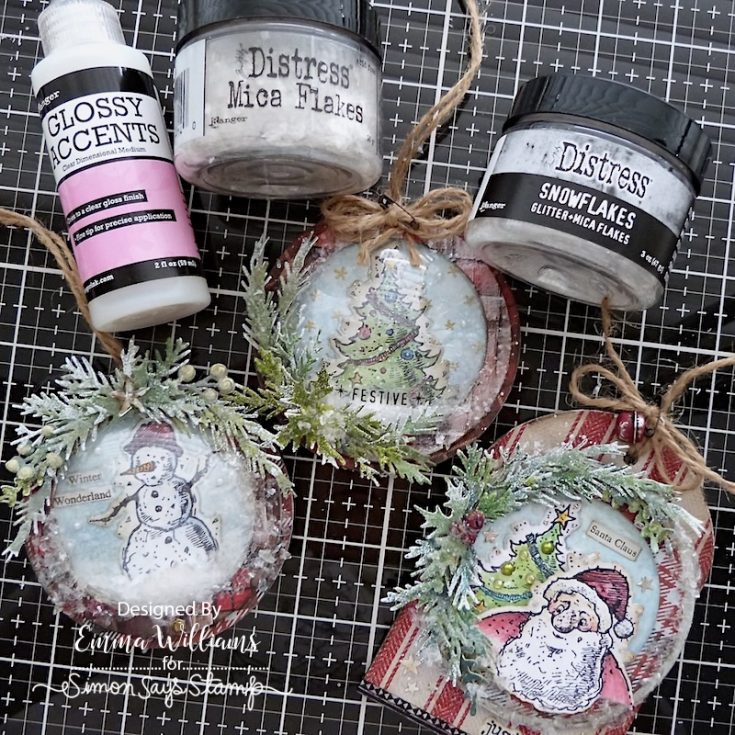
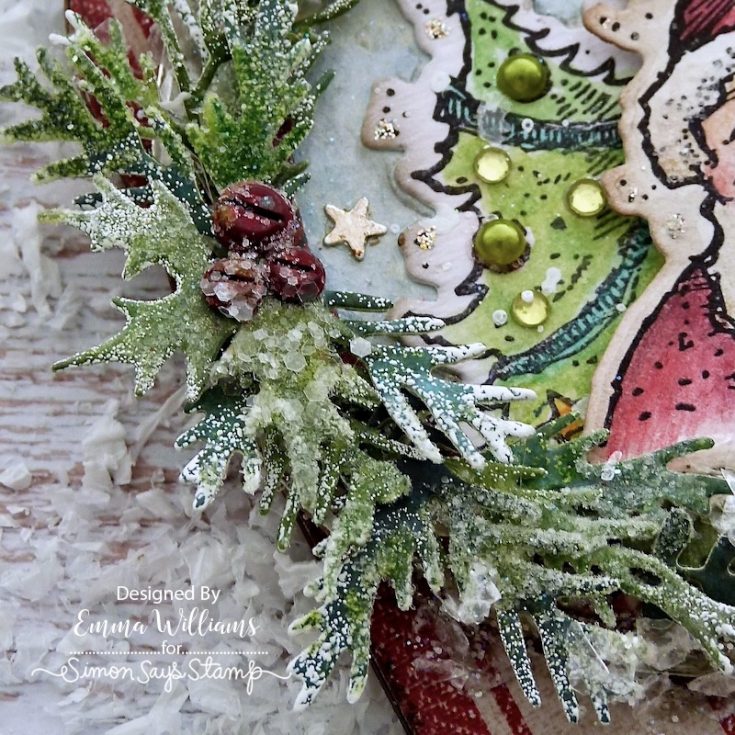
To complete the ornaments, I drizzled small amounts of Glossy Accents around the edges of each dome and circle, before sprinkling Distress SnowFlakes glitter over the top. I also sprinkled some Rock Candy Glitter over the greenery, again adhering it with some Glossy Accents. Allow for these to dry.
Now for the finishing details and on the Santa ornament I added ScrewHeads as holly berries and a small Holiday Bell. Both pieces are painted with Lumberjack Plaid Distress Paint….
…and a Mirrored Star (from my stash), on the snowman ornament. Finally, I threaded some rope through the holes to hang each ornament.
Now, all that’s left is to hang my Christmas ornaments on the tree, and I hope you’ve enjoyed this tutorial and as always, the tips and techniques have inspired you to get inky and create because I’d love to see what you make!
See you all again very soon. Merry Christmas and Happy Holidays everyone…Emma
SUPPLIES:
|


A big thank you to YOU, our reader — and to Emma for being our guest!


These are so so pretty
these are so pretty but the long narrative is very confusing and unclear – it would be a great video though.
so very pretty!!
Such fun and creative ornaments; I like them all. TFS
I love the sparkling details and festive colors on the ornaments
These ornaments are absolutely stunning! Emma Williams has such a wonderful talent for creating beautiful holiday decorations. This post is a perfect dose of Christmas inspiration.