Classic Mouse Panel by Emma Williams
Hi friends! Happy Sunday! We’re back for another panel make today but quite a different aesthetic! Grab your favorite beverage and get cozy as you read all about this bright and happy décor piece by Emma Williams!
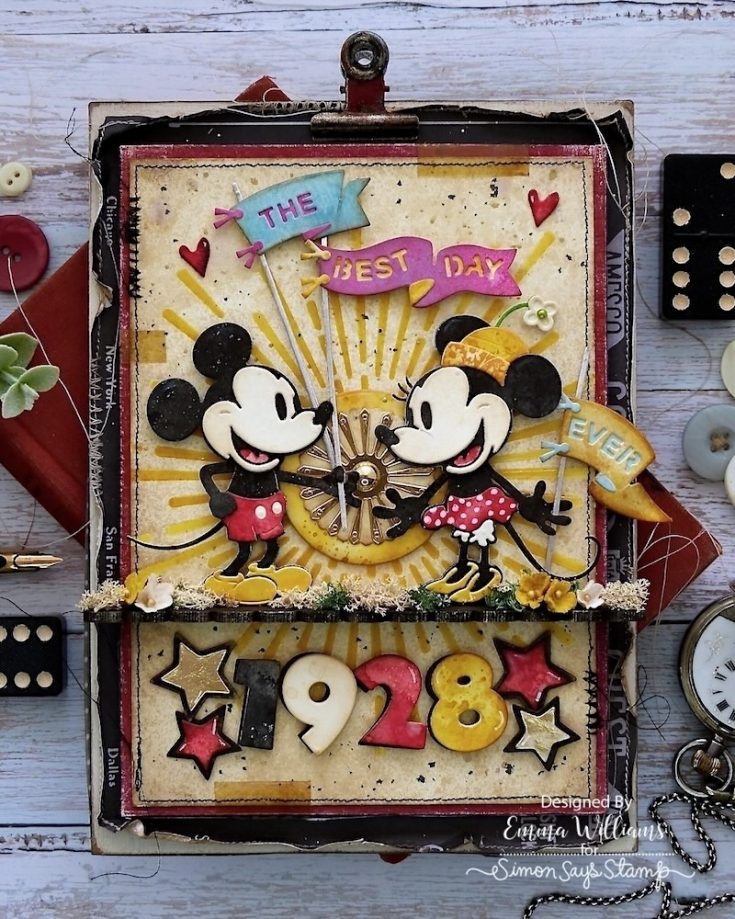
Hello everyone! I’m so happy to be back on the Simon Says Stamp blog today and I’m very excited to share this project with you all. As someone who has adored Disney and Mickey Mouse since a very young age, this make was something I have loved working on…it’s been so much fun and I can’t wait to make more projects with these dies.
So let’s get started, it’s time to share how I used a combination of products by Spellbinders and Tim Holtz, Ranger Ink to create this vintage style Mickey and Minnie panel.
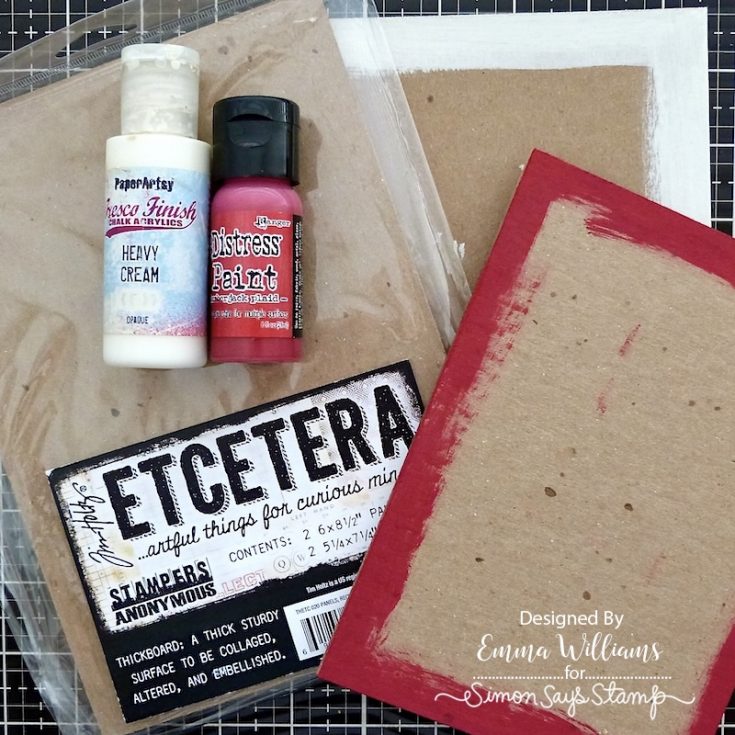
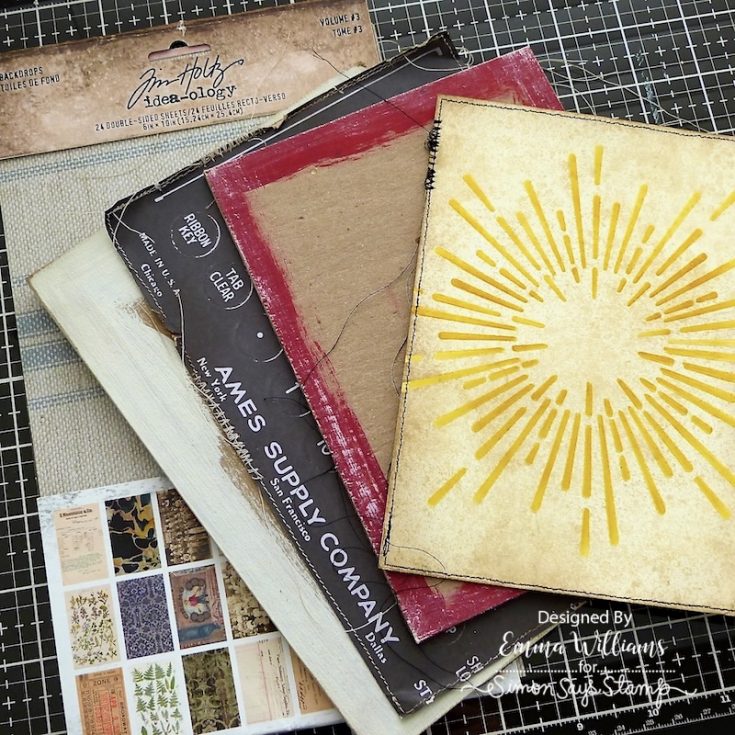
For this make, I used Stampers Anonymous Rectangular Etcetera Panels as my base. These panels come in a pack of 4 and I used both sizes. I painted the edges of the larger panel using PaperArtsy Chalk Finish Paint, and the smaller panel using Lumberjack Plaid Distress Paint. I’ve only painted around the edges as it saves precious paint and the centre will be covered by a background. Allow for the paint to dry before distressing the edges of each panel with a Sanding Tool.
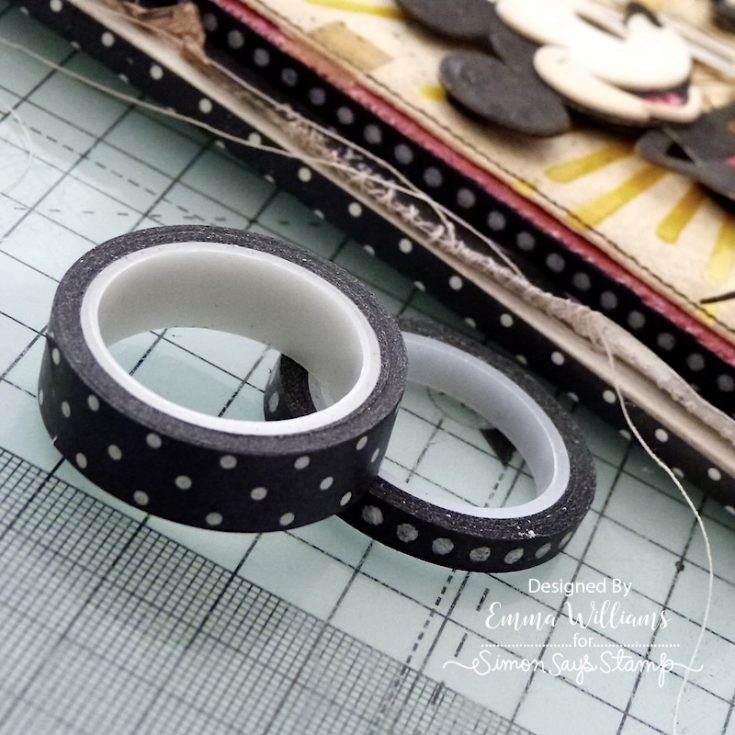
Attach Design Tape around the edges of each panel, I used a polka dot tape from my stash, together with Tim’s idea-ology Design Tape.
For the backgrounds on the larger panel, I used a design from the Backdrops Volume 3 pack and cut this the same size as the panel. I added rips and tears around the edge and then machine stitched a border before adhering this to my larger Etcetera Panel with Matte Collage Medium. For the smaller panel, I cut a piece of Mixed Media Heavystock card, slightly smaller in size than the panel itself.
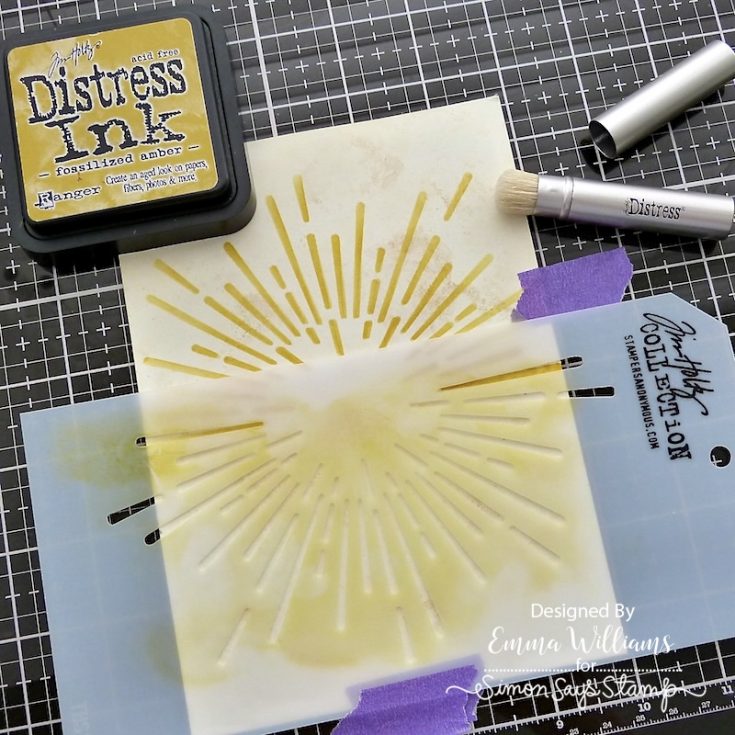
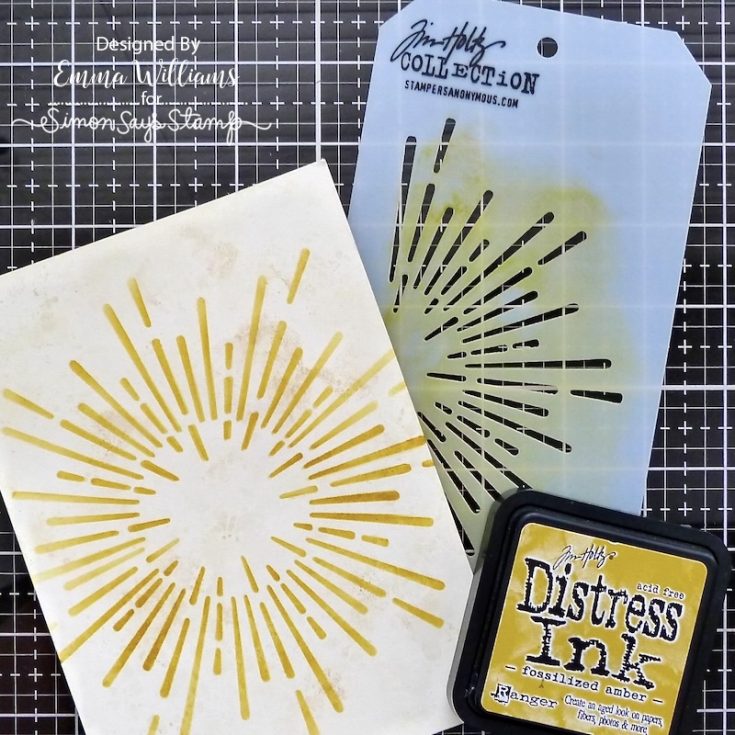
Dab Antique Linen Distress Ink onto a craft mat, and spritz with water, dip the Heavystock Card panel into the ink, dry and then dip again. I continued this process until I was happy with the colour. Dry the card thoroughly. With the card placed vertical on your glass mat, attach low tack masking tape to secure the Burst Layering stencil. Apply Fossilised Amber Distress Ink through the stencil using a Mini Blending Tool.
Remove the stencil, turn it around 180° and place it across the bottom section to create a circular pattern. Once again, ink through the stencil.
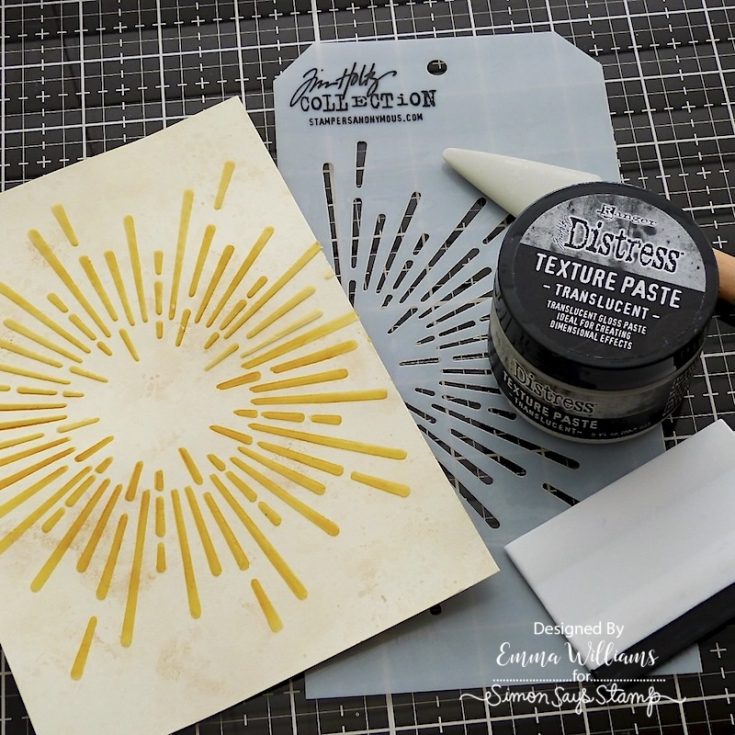
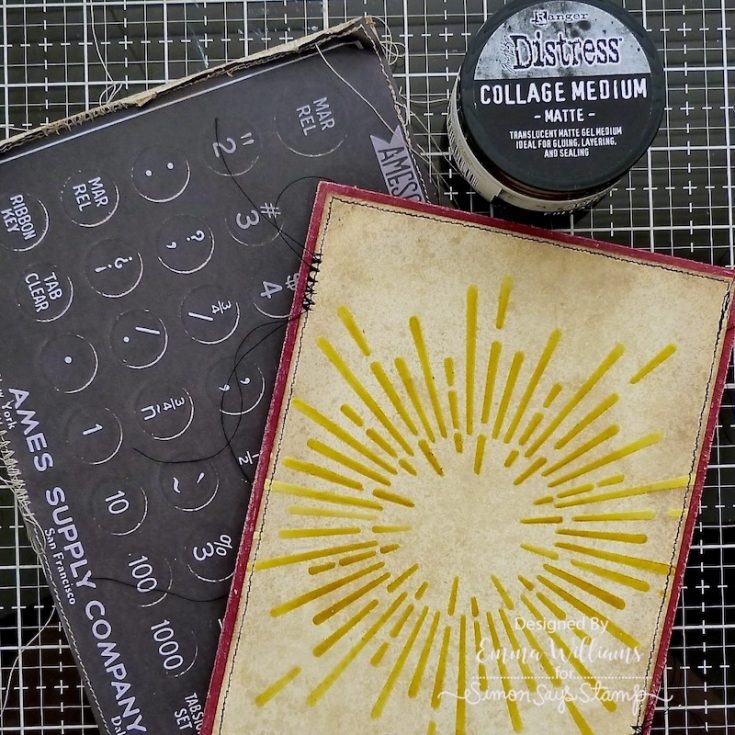
With the stencil still in place, use a palette knife to apply Translucent Paste through the stencil. Remove and allow for the paste to dry before repeating this process on the lower part of the design.
Ink the edges of the panel with Walnut Stain Distress Ink and then machine stitch a border around the outside edge. Attach the completed background to the smaller Etcetera Panel before attaching this panel in the centre of the larger sized panel.
Use the splatter brush to splatter the background with Black Soot Distress Paint.
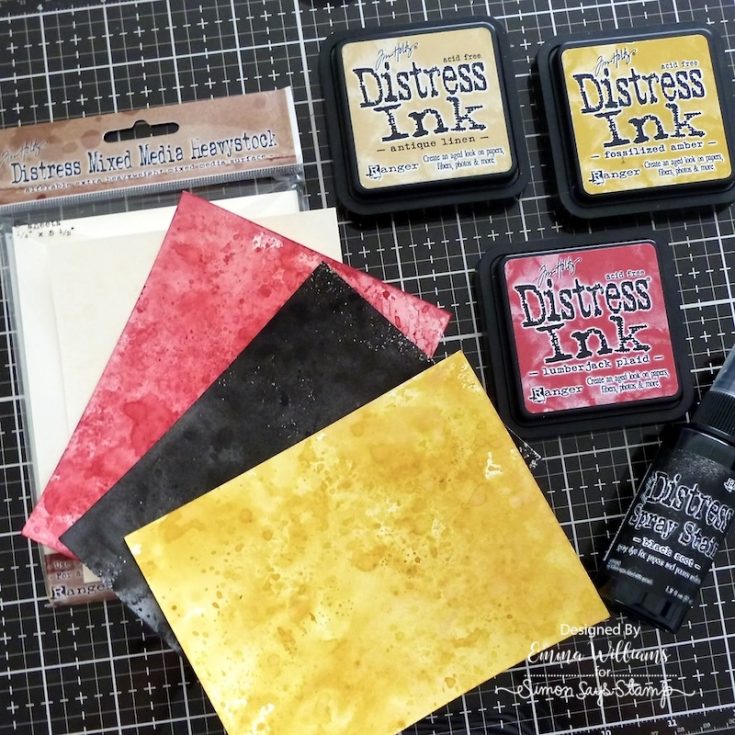
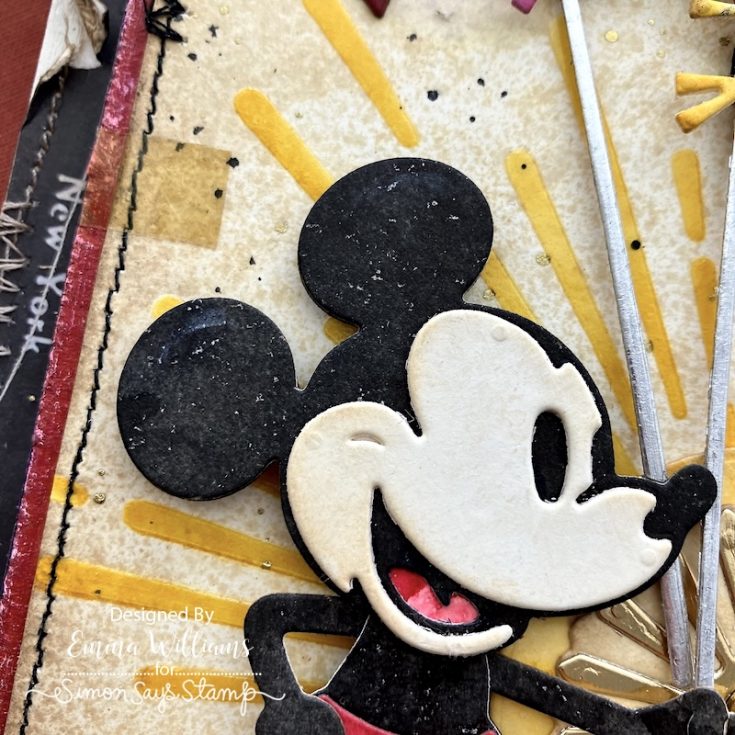
Moving onto the die cutting and Mickey and Minnie. I used the Spellbinders Steamboat Willie Duo Die Set and began by colouring some card using the same technique as the background, I inked 4 separate pieces of Mixed Media Card using the following Distress Inks; Fossilised Amber, Lumberjack Plaid and Antique Linen and then mixed the final piece of card with Black Soot Distress Spray for the black card.
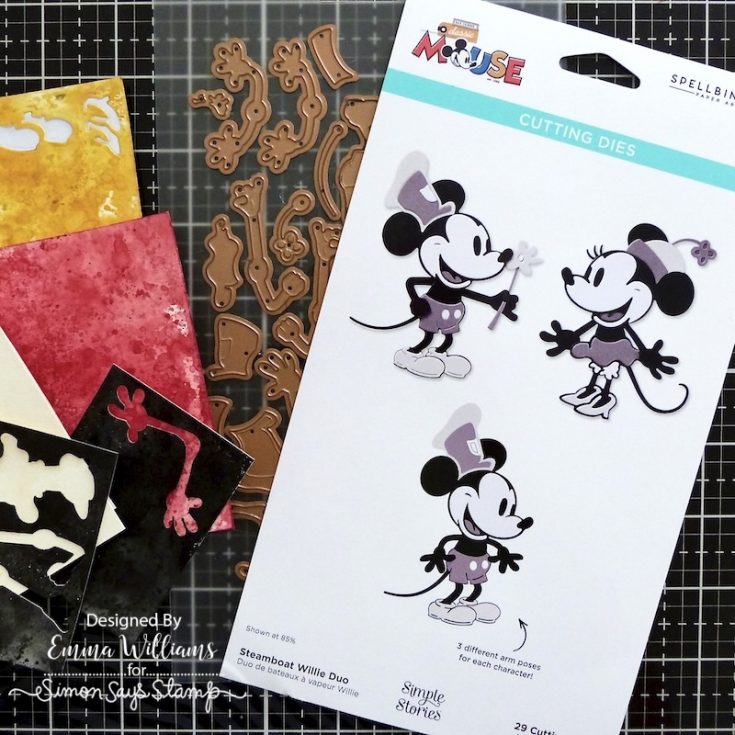
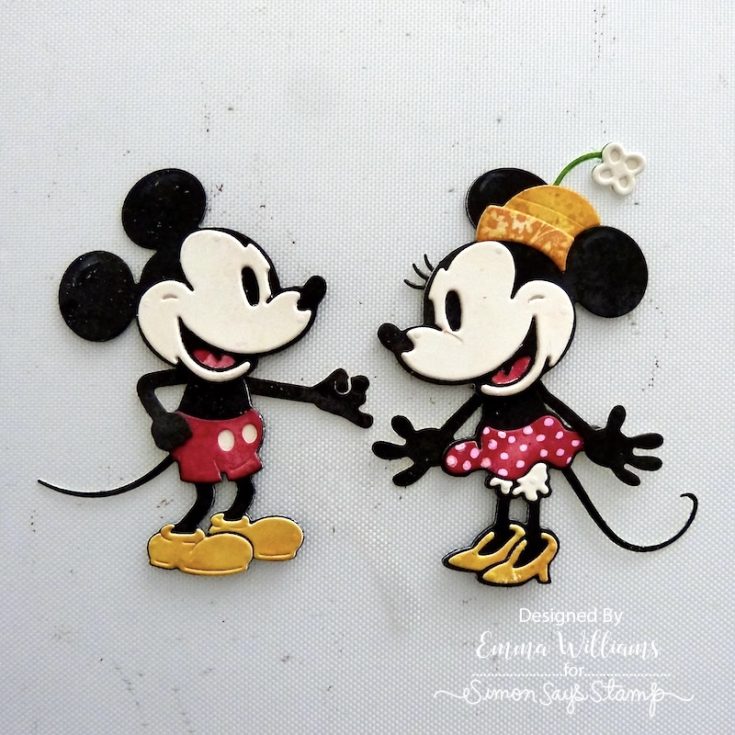
Once happy with the colours, I applied double sided adhesive sheets to the back of the card and then cut all my pieces to create Mickey and Minnie before assembling each character.
What I particularly love about this die set is the versatility of the fact there are different dies for different arm poses, and that means you can change the characters to suit the scene.
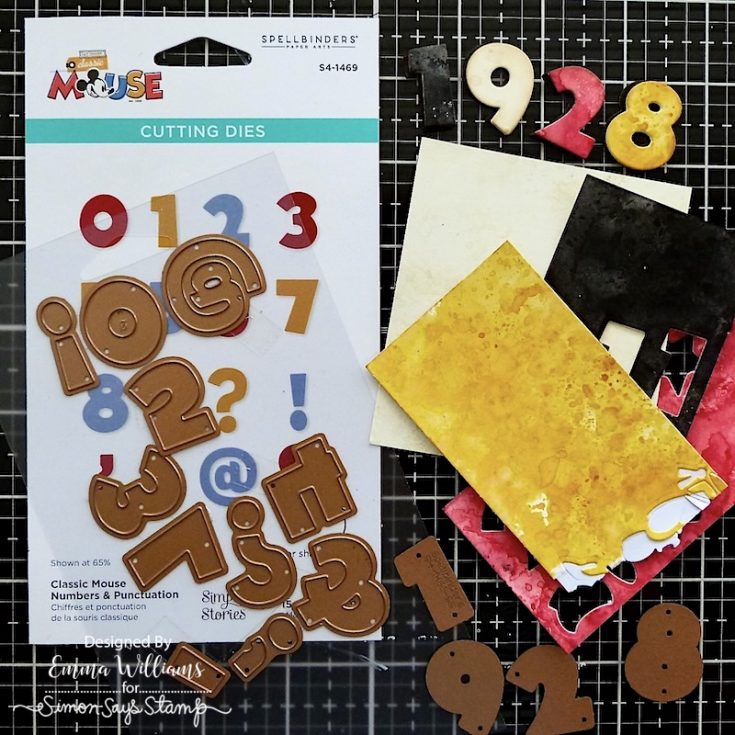
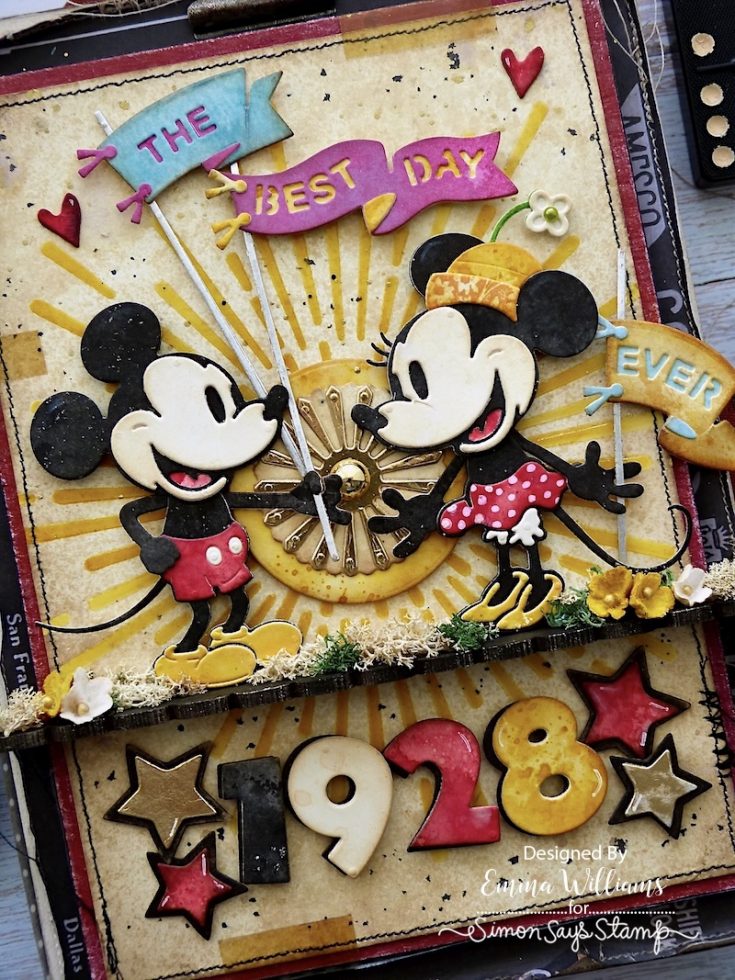
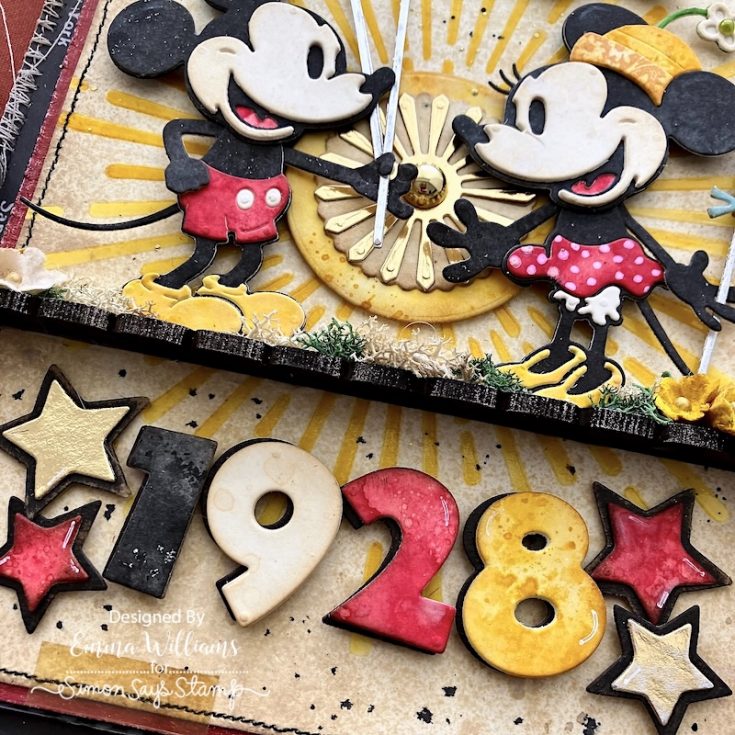
Cut the numbers for the year ‘1928’ from the same colours of the card using the Classic Mouse and Punctuations dies. To create each number, I cut three separate pieces and then a solid black layer to create a shadow. Layer and attach each die cut to form the individual numbers. By doing this it will create the thickness of chipboard and hold it’s shape on the finished piece.
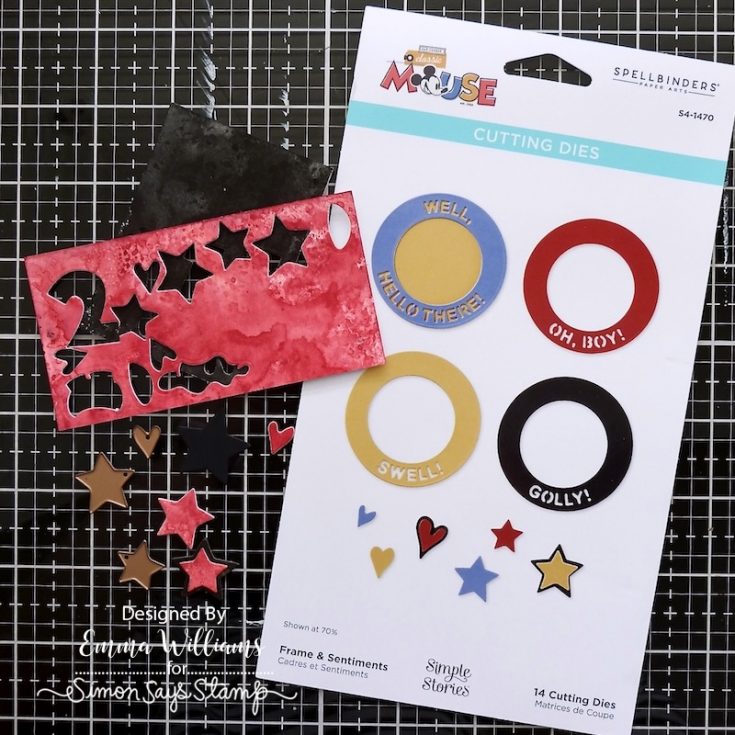
Cut 2 small hearts and fours stars, 2 of each size from gold metallic card and the Lumberjack Plaid inked card and layer these onto the larger sized stars cut from black Kraft card. Each of these pieces is die cut using the dies in the Classic Mouse Frames die set.
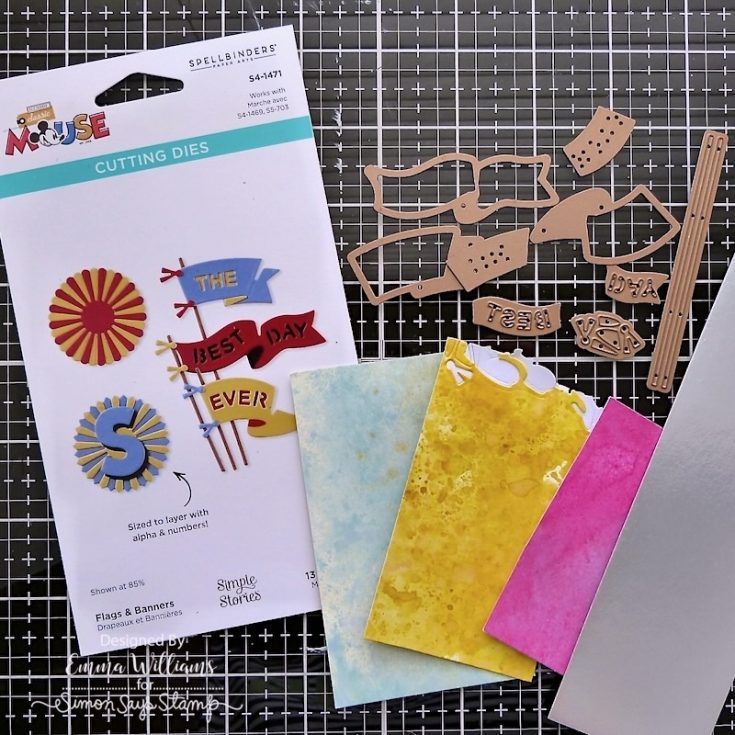
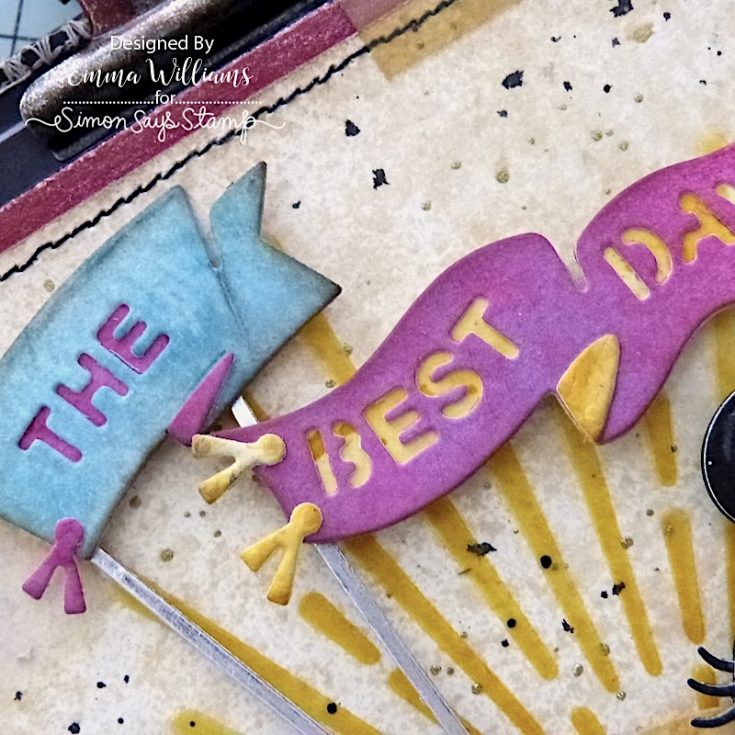
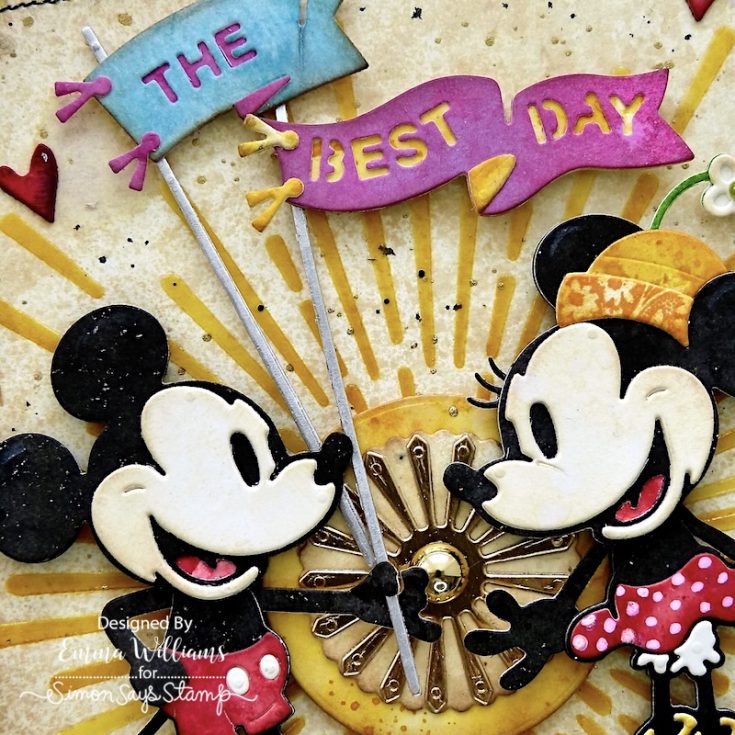
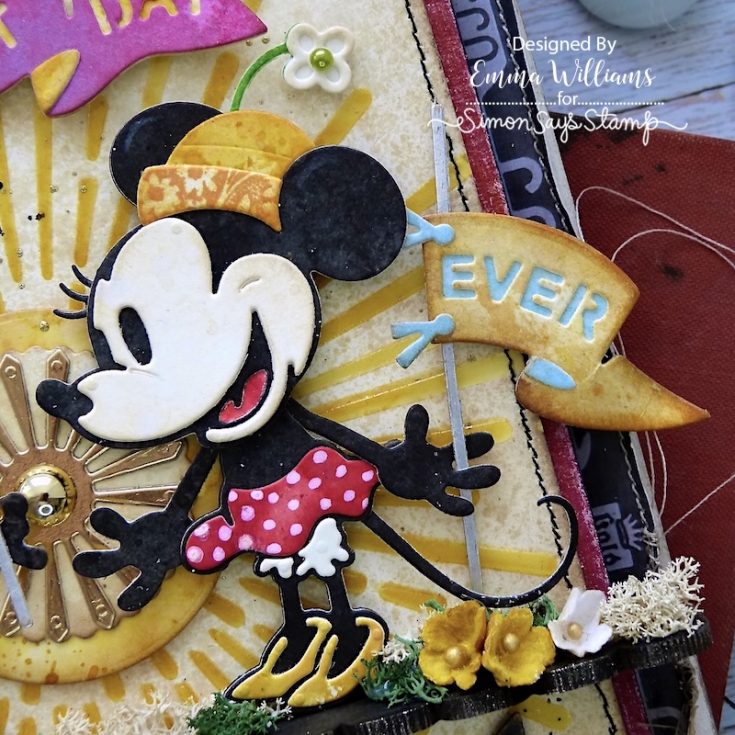
Ink three more pieces of card, but this time using the following Distress Inks; Picked Raspberry, Fossilised Amber and Faded Jeans. Apply the double sided adhesive sheets to the back of the card and then cut the individual pieces of the curling flags, the layering banners and the ties from the inked cardstock using the dies in the Spellbinders Flags and Banners die set.
Assemble each of the flags and then cut the poles from silver metallic Kraft card. Use a dot of Matte Collage Medium to attach the flags to the poles and add the ties.
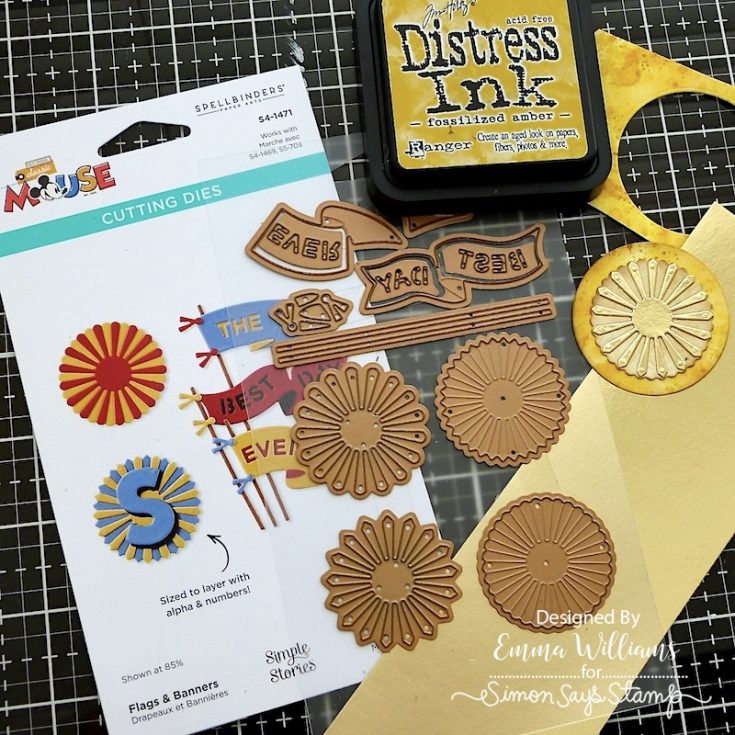
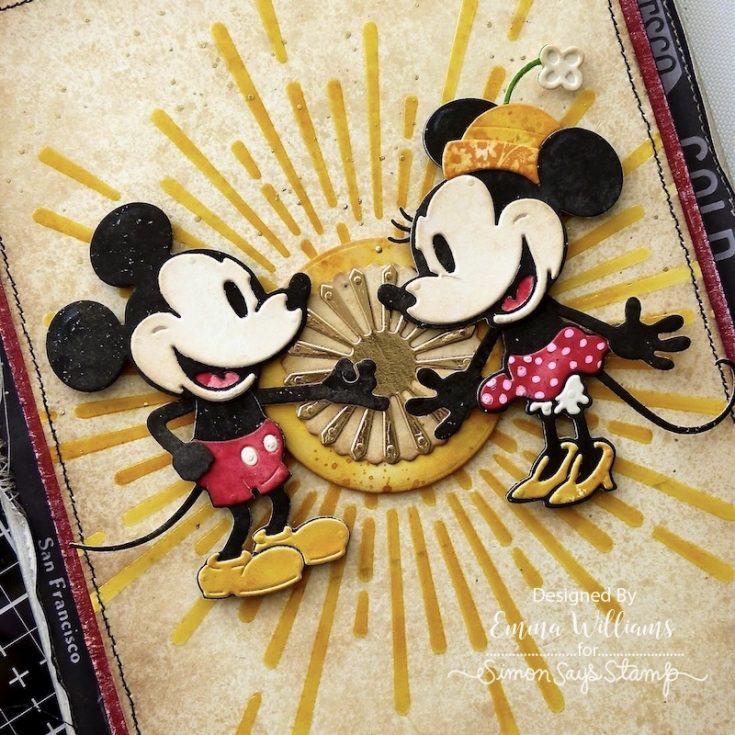
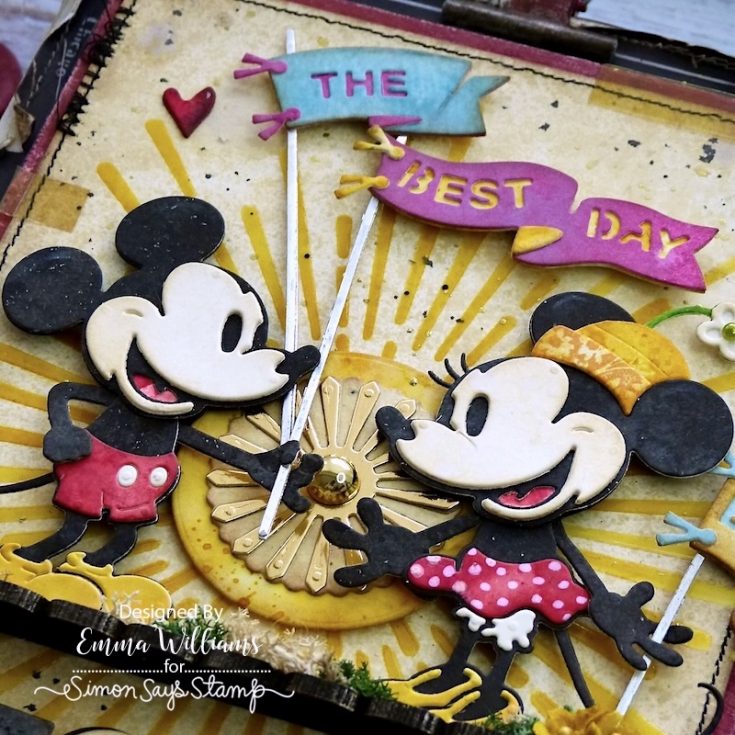
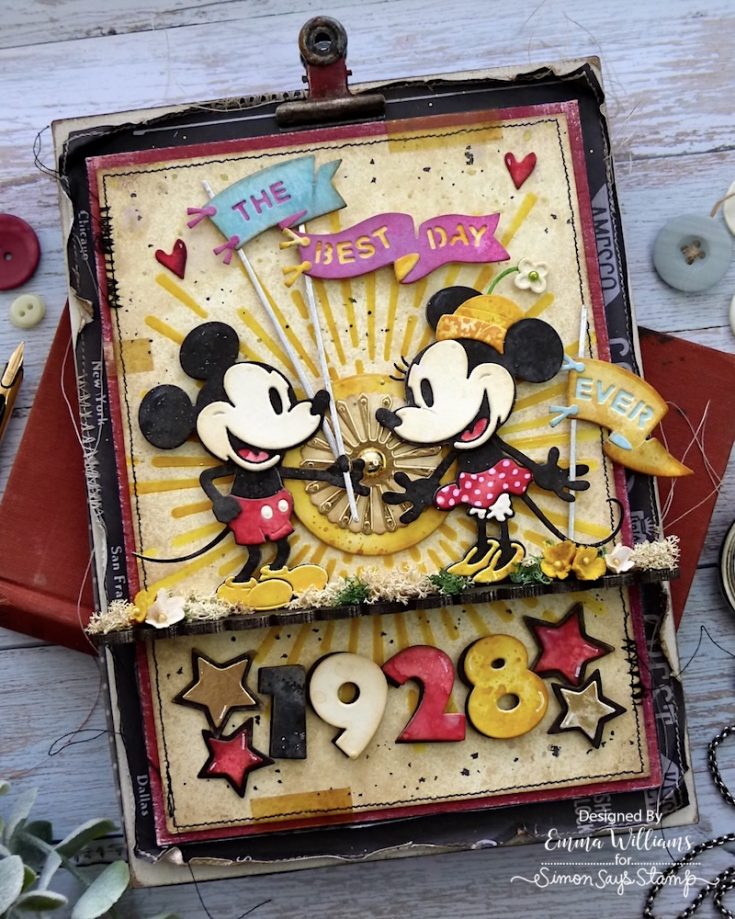
The final die cut piece is the rosette which sits in the centre of the burst background and for this I used the Flags and Banners die set. I cut the solid section from the card stock that was inked with Antique Linen and then cut the decorative section from gold metallic Kraft card, which I layered over the top. I mounted this onto a piece of the Fossilised Amber card stock, cut using one of the SSS Basic Circle Dies, slightly larger in size than the rosette to create a border. I used foam pads to mount the die cut in the centre of my panel. To complete the rosette, I adhered a gold metallic droplet in the centre, which can be seen on the finished project.
Attach Mickey and Minnie to the panel using foam pads, with the rosette placed behind them.
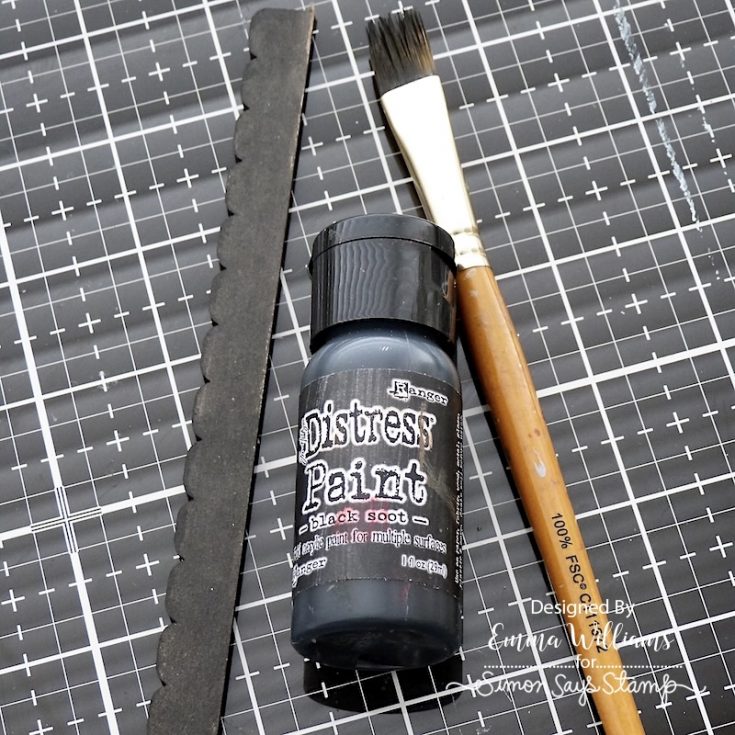
Paint a Scalloped Etcetera Trim with Black Soot Distress Paint. Once dry, attach the trim to form a ledge for Mickey and Minnie so stand on, and place this across the layered Etcetera panels using Matte Collage Medium.
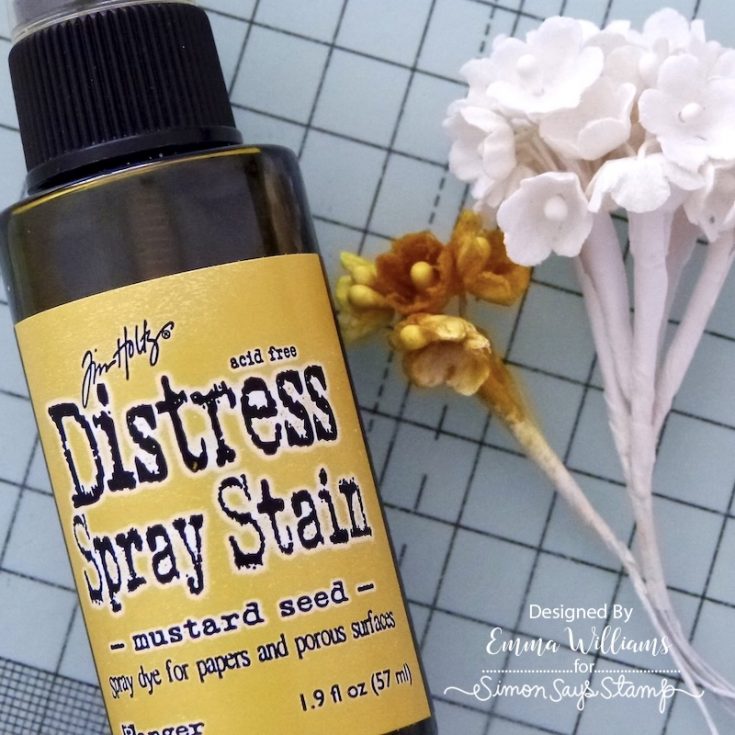
Around Mickey and Minnie’s feet, I added the moss and some tiny Bouquet Findings paper flowers by Tim Holtz. These flowers are part of the idea-ology range, and I have them in my stash and are perfect for project such as this one. I dyed the white flowers with Mustard Seed Distress Spray Stain and once dry, I snipped the individual flower heads from the stems.
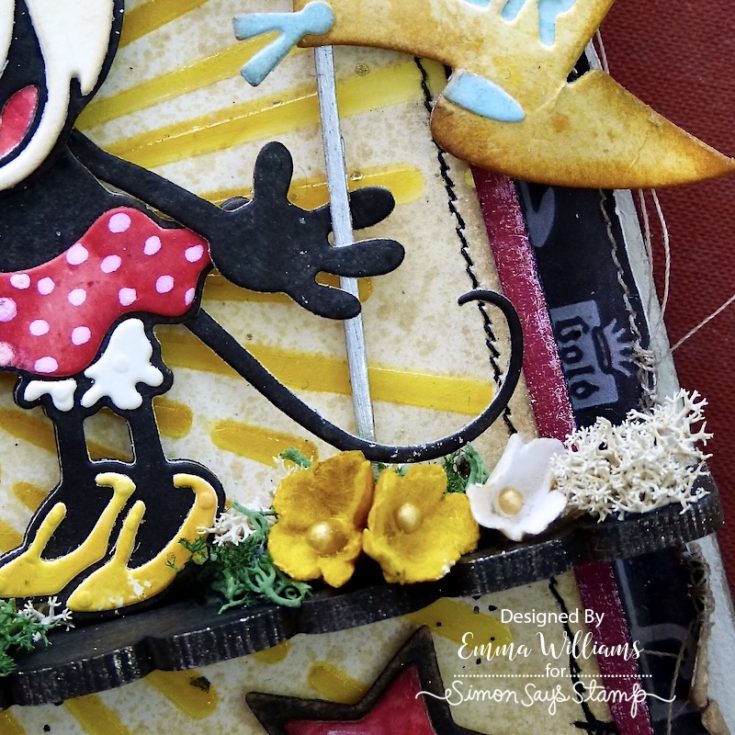
Use hot glue to attach small clumps of dried moss and the flowers along the ledge.
Place two of the flags in Mickey’s hand and one in Minnies, again attaching each of these pieces using foam pads for added dimension.

Adhere the hearts to the background with Matte Collage Medium.
Use foam pads on the back of each of the individual numbers and attach them underneath the ledge. Place two stars either side.
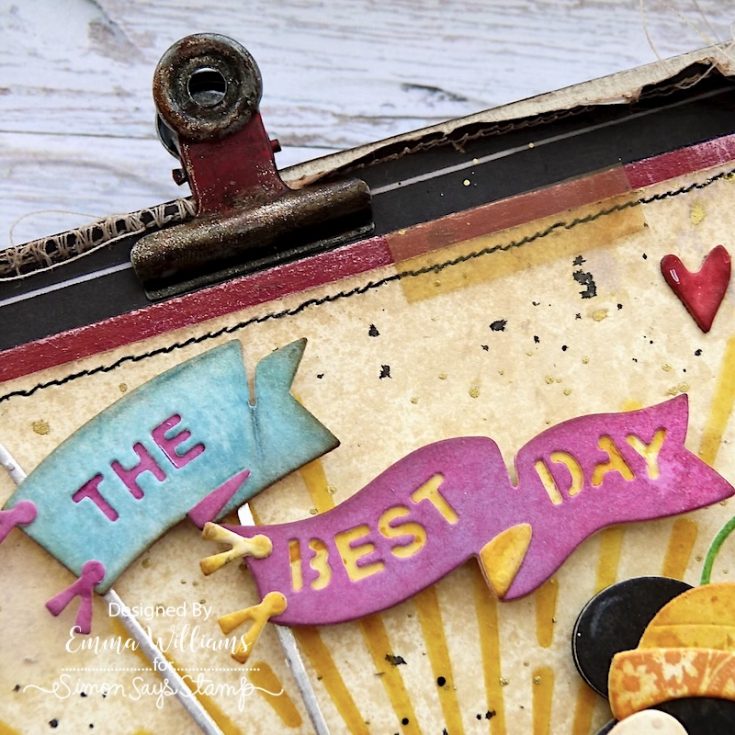
Finally, I added a large hinge clip to the top of the panel. To create the vintage look on this clip, I altered the metal using a combination of the Lumberjack Plaid Distress Paint, Antiqued Bronze and Black Soot. I completed the panel by adding some Cello Stickers around the edges of the panel.
So that’s my project complete, and I hope you’ve enjoyed this tutorial and as always, the tips and techniques have inspired you to get inky and create because I’d love to see what you make! See you all again very soon and Happy Crafting everyone…Emma x
SUPPLIES:
|


Thanks so much for stopping by, and thanks to Emma for being our guest!
Join us LIVE!
Join us live with our founder Heidi live on Tuesday, August 12th at 10 AM ET to learn more about our HDSA Fundraiser and how you can support this great cause!


so adorable!!
After hearing about liraspin casino from a friend, I decided to give it a try. The casino boasts an extensive game library, featuring titles from top providers. I appreciated the smooth gameplay and the variety of payment options available for deposits and withdrawals. The customer support team was responsive and helpful when I had a question about my account. It’s evident that LiraSpin Casino is committed to providing a quality gaming experience.
Wow!!! Emma, This is Amazing!!!!!
This is incredible!!! Love all the details and thanks for the step by step photos
Emmas work is always incredible. Love the process
This is just amazing!