Fuzzy Felt Ducky Birthday Card
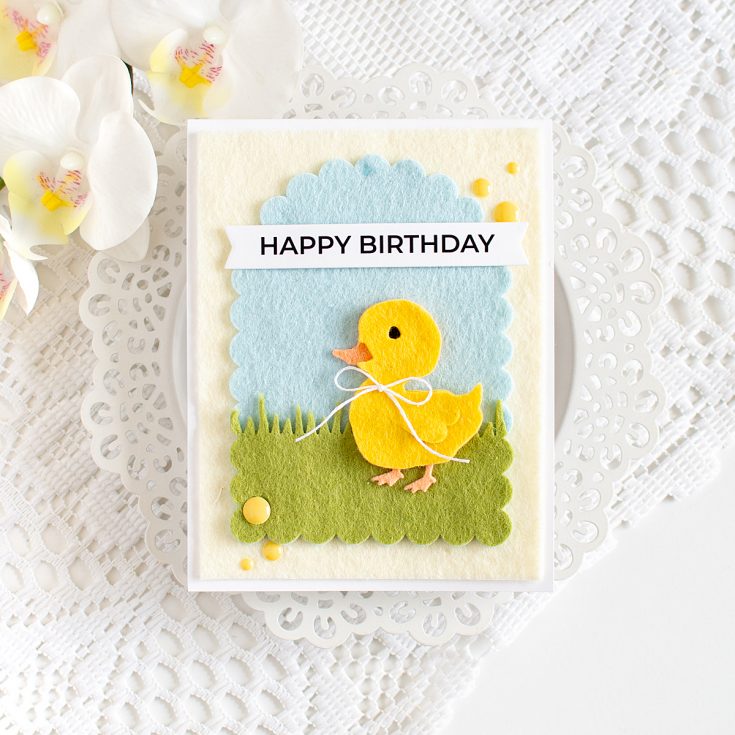
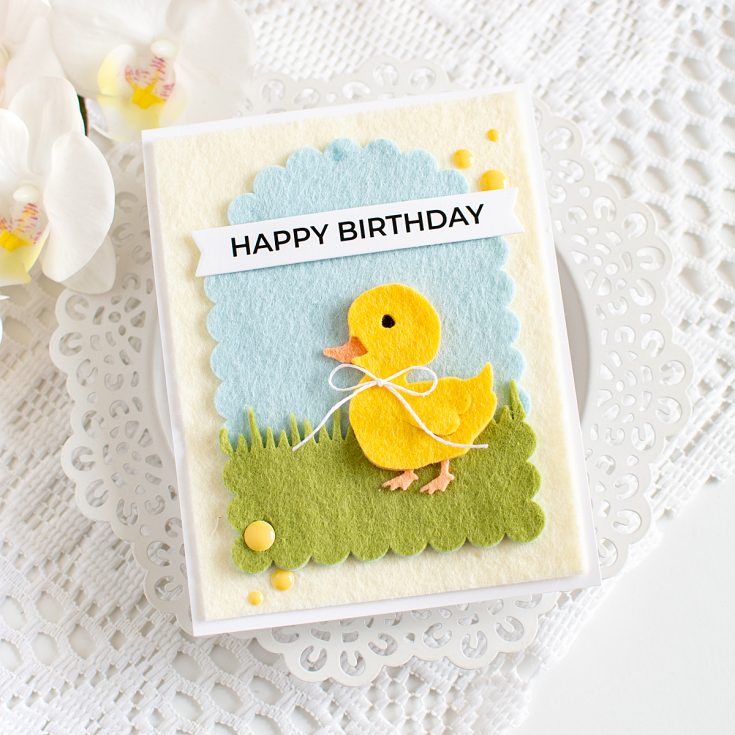
Hi friends! Heather Hoffman here today with a soft and fuzzy card! I’ve recently discovered how fun it is to die cut felt for cards, and it makes the cutest, most textured cards ever! I mean, how cute is this little ducky?!?

I used the adorable Cute Duckling die, and felt from Benzie designs – all together for this card I used the Lupin Fields, Boho Garden, and Be Mine collections. Aside from the white cardbase, the sentiment strip, and the black cardstock for the ducky’s eye, this entire card is cut and created from felt!
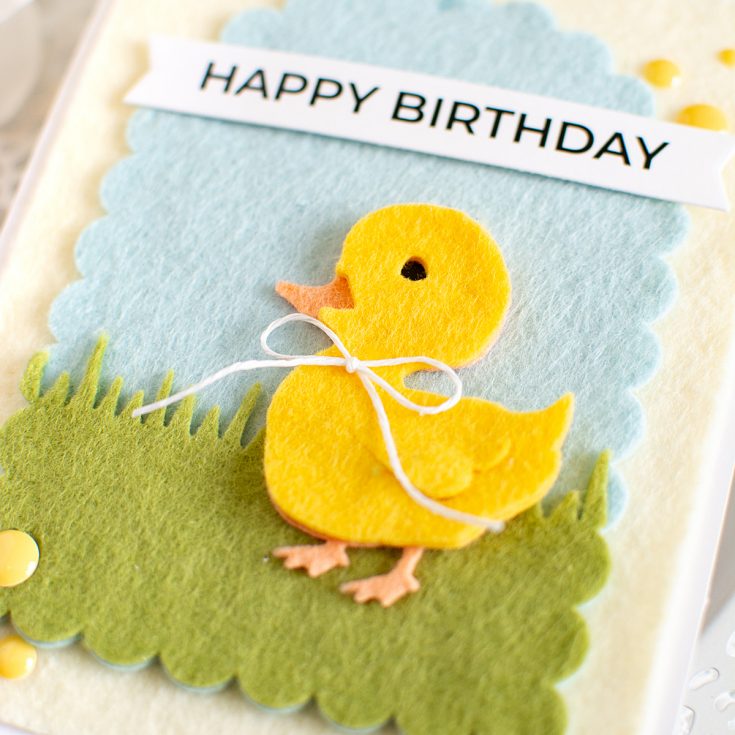
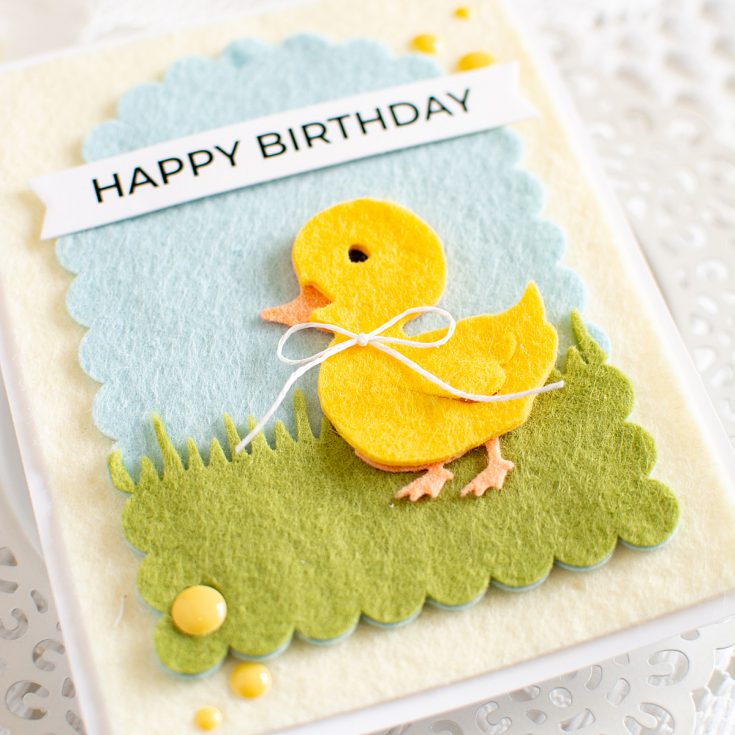
I used Simon Says Stamp liquid glue to adhere everything together. If you look closely, you might see that I double layered the yellow felt for the main body of the duck. I did this so that I could tuck a tiny piece of foam adhesive under the wing, so it popped out and felt more dimensional.
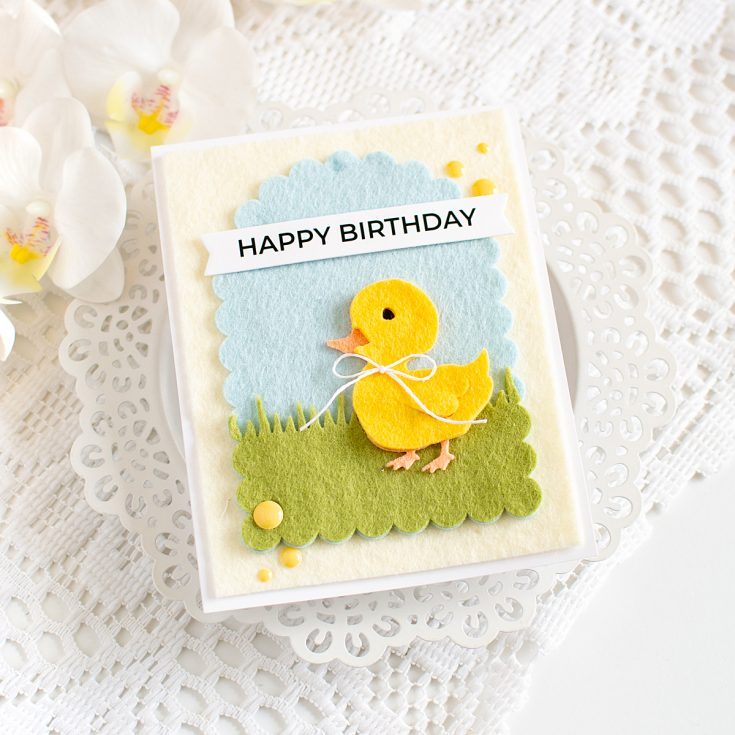
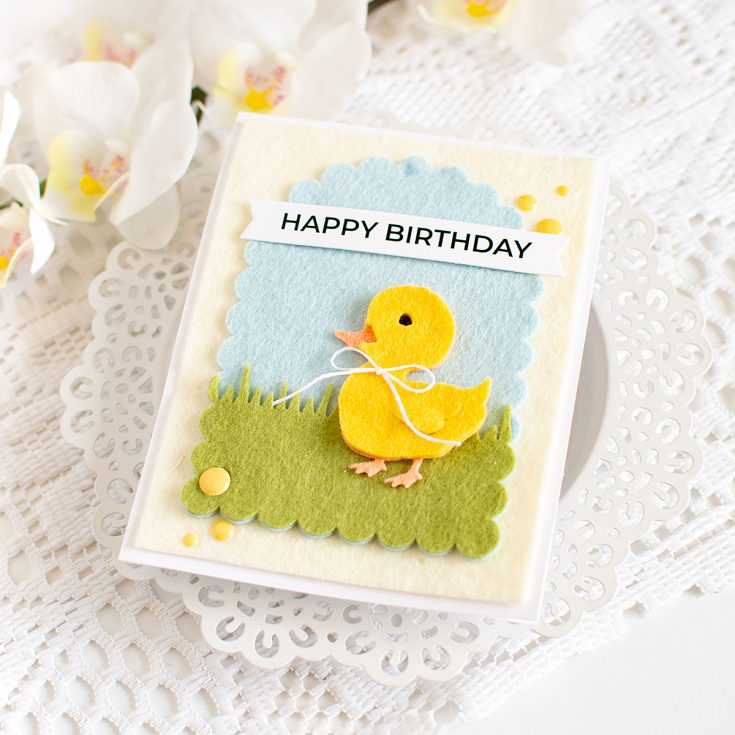
I used Scalloped Arches dies to cut a background from blue felt, and then cut a portion of that with green felt, adding a grassy border using Grassy Edges die. Then I cut a piece of cream felt to just a bit smaller than my cardbase to leave a small border around. One fun bonus? The felt all sticks together very well, so you can plan your arrangement, then just peel off each piece to adhere together. So satisfying!!!
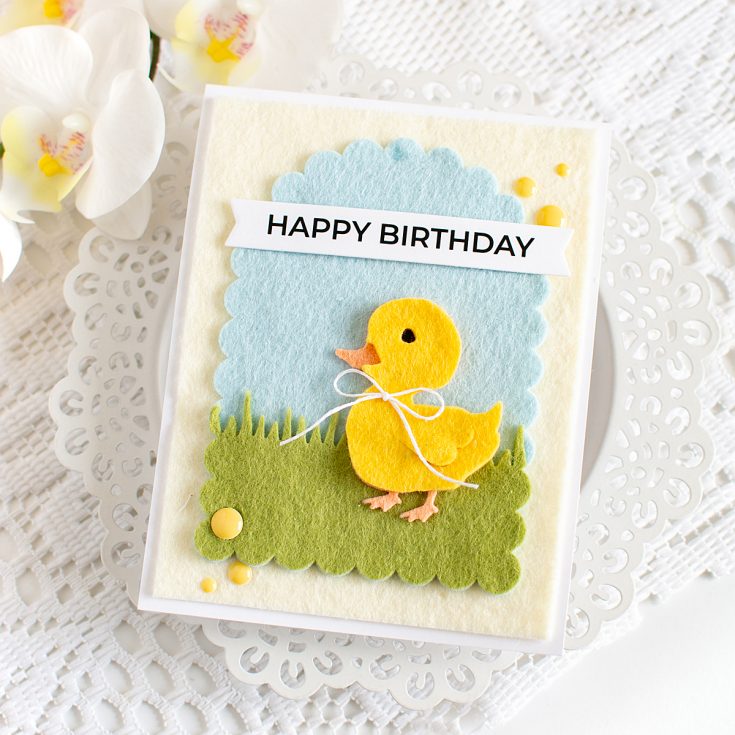
The sentiment is from Birthday EZ Strips sentiment strips, die cut with EZ Strips Banners die, and adhered with foam strips for dimension, but also liquid glue to make sure it stayed in place on the felt. Finished off with a tiny bow from Lawn Fawn white twine, and a few Polkadoodles enamel dots glued on to make sure they would stay in place!
Have you ever used felt to die cut for cards? I think felt would be perfect for an ADORABLE baby card as well!
SUPPLIES:
|


Thanks so much for stopping by!
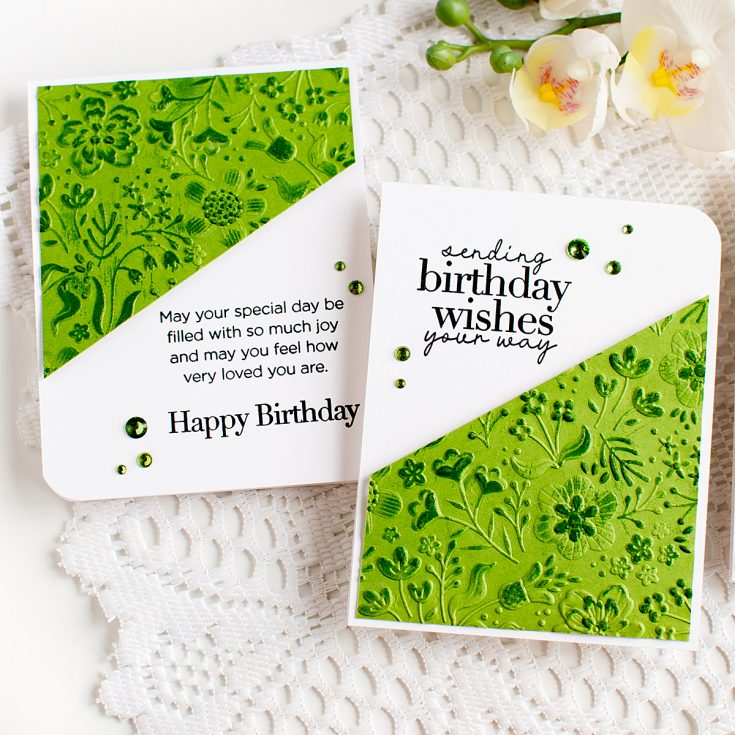
5 Ways in 5 Days Crafty Series DAY BONUS DAY 2: Emboss it Twice for Extra Texture
Hello friends, please join me in welcoming special guest Heather Hoffman for BONUS Day 2 (of 2) of our 5 Ways in 5 Days series! We are delighted to bring this series to you that includes a list of incredible designers including: Laura Bassen, Cathy Zielske, Shari Carroll, Nina-Marie Trapani, Yana Smakula, Nichol Spohr, and Heather Hoffman!
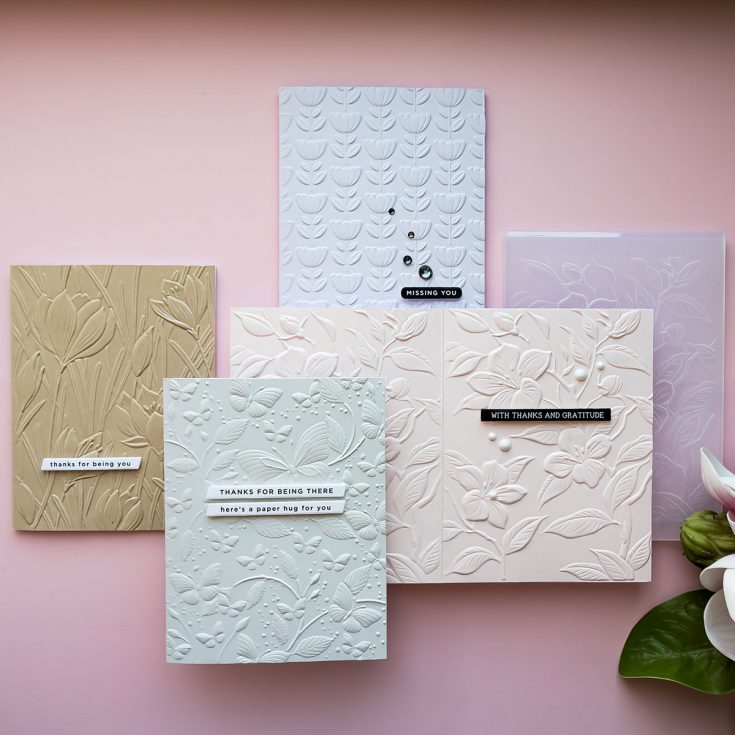
Throughout this series spanning March 30th – April 5th, you’ll be learning 5 unique ways each day to use our fan-favorite Simon Says Stamp 3D Embossing Folders. (Plus! Spoiler alert, you’ll actually have 7 DAYS of education with 2 bonus posts over the weekend! That’s a total of 35 crafty ideas that will be provided for you for FREE to keep your creative juices flowing!!) Today we’re going to focus on FIVE WAYS to emboss it twice for extra texture!
Special SURPRISE!
As a treat just for you, while you’re being inspired on ways to use our embossing folders, we’re simultaneously having a very juicy (and rare!) sale to enjoy throughout the series!
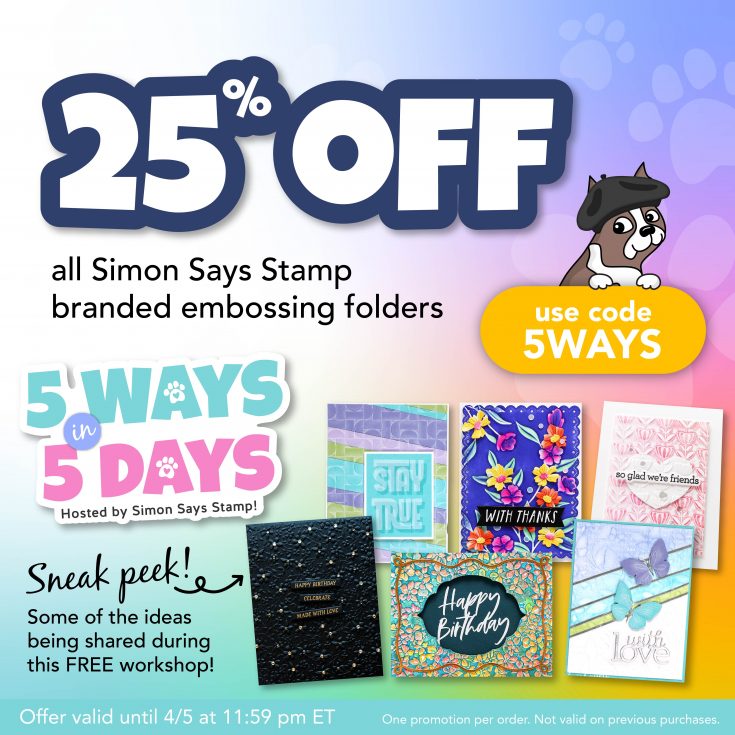
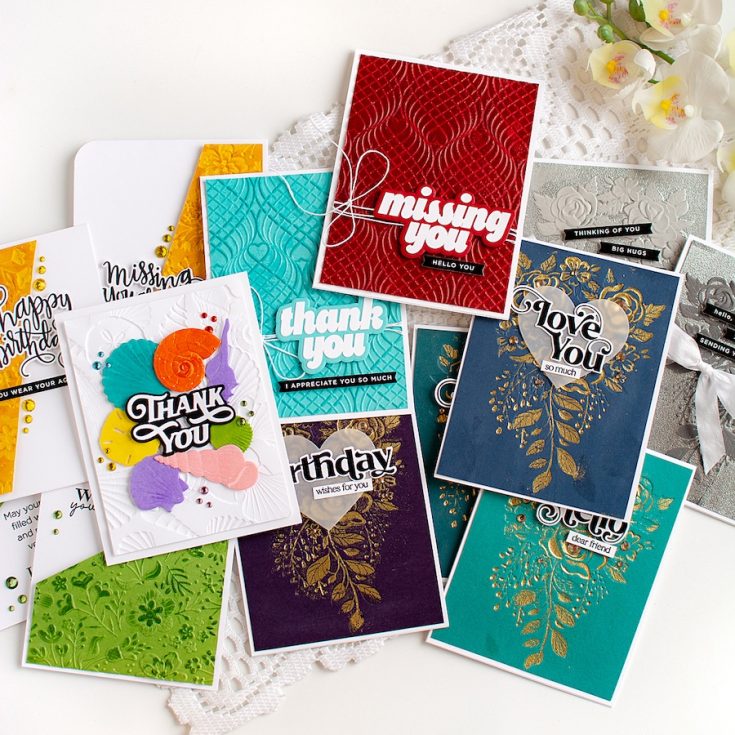
The 5 Ways Showcasing Embossing it Twice for Extra Texture are:
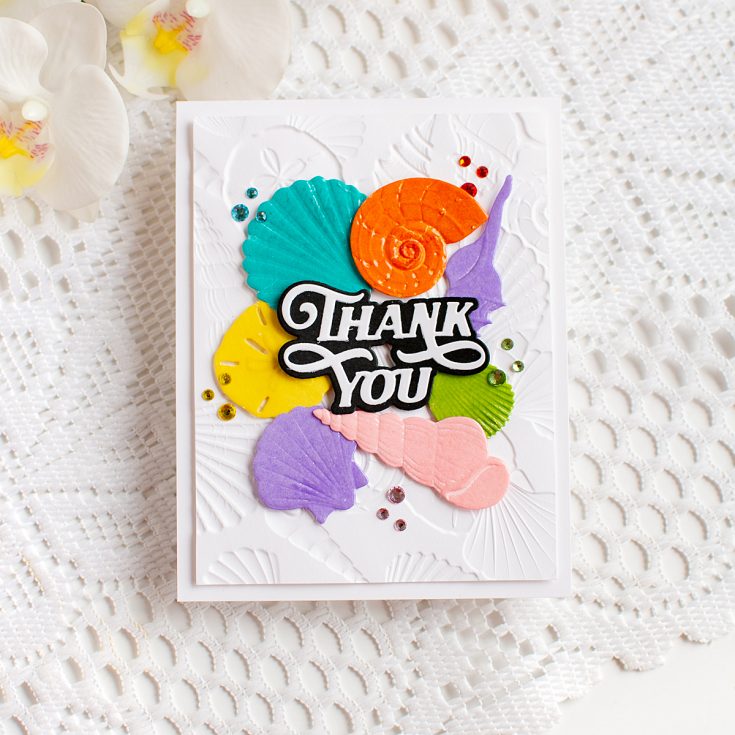
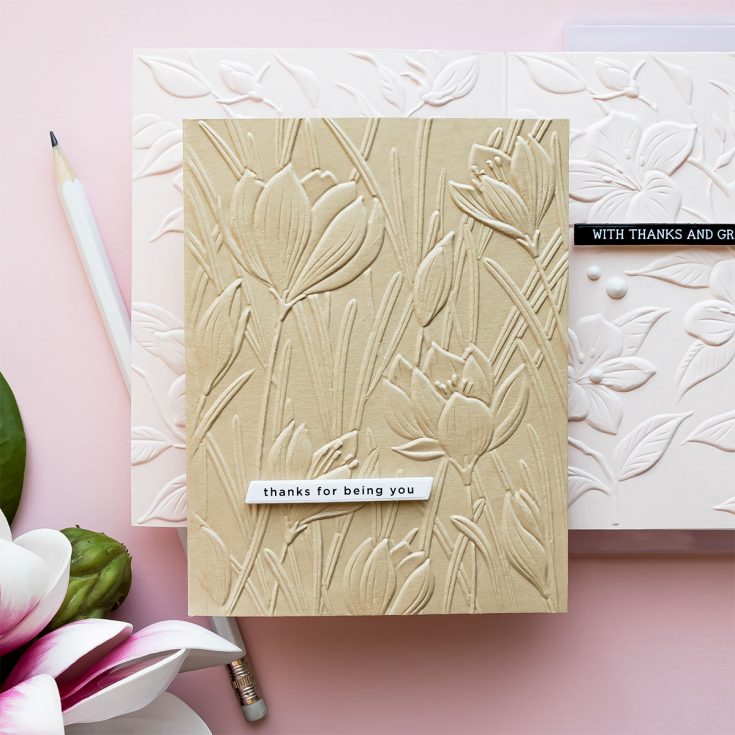
- Apply clear embossing ink directly to the debossed side of the embossing folder. Prep your paper with an antistatic tool, run it through your machine, then sprinkle on embossing powder and heat set.
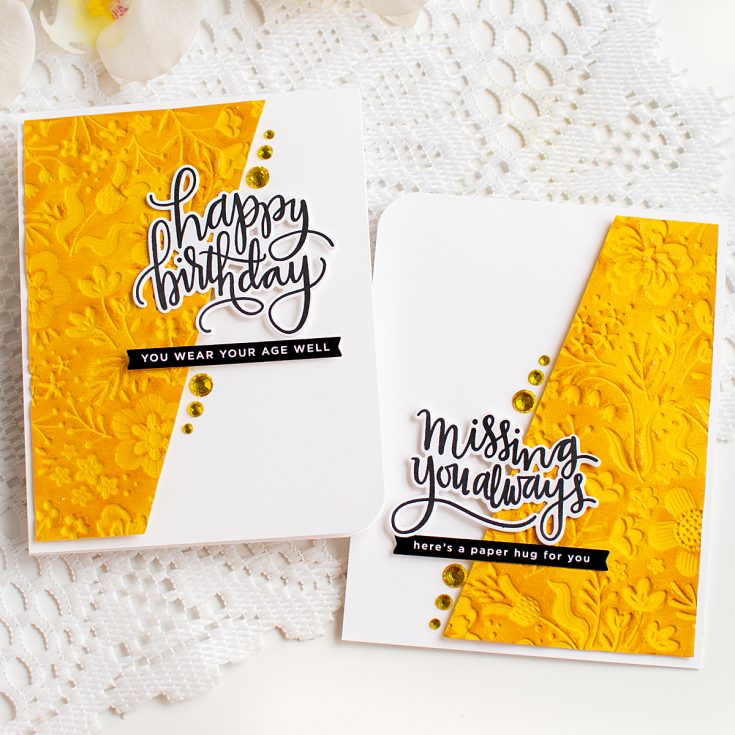
- Add interest to the background or flat areas of the folder by swiping ink over the surface and heat embossing.
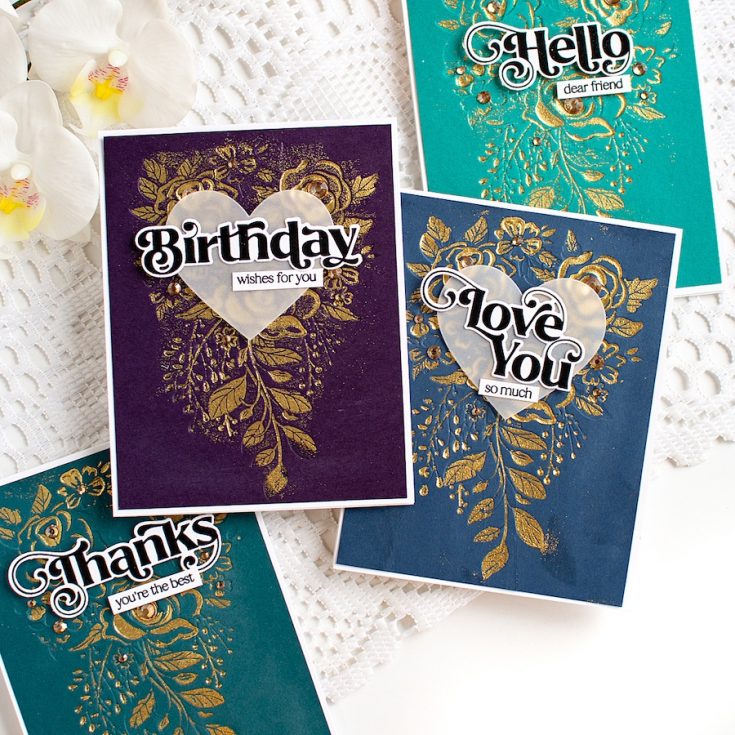
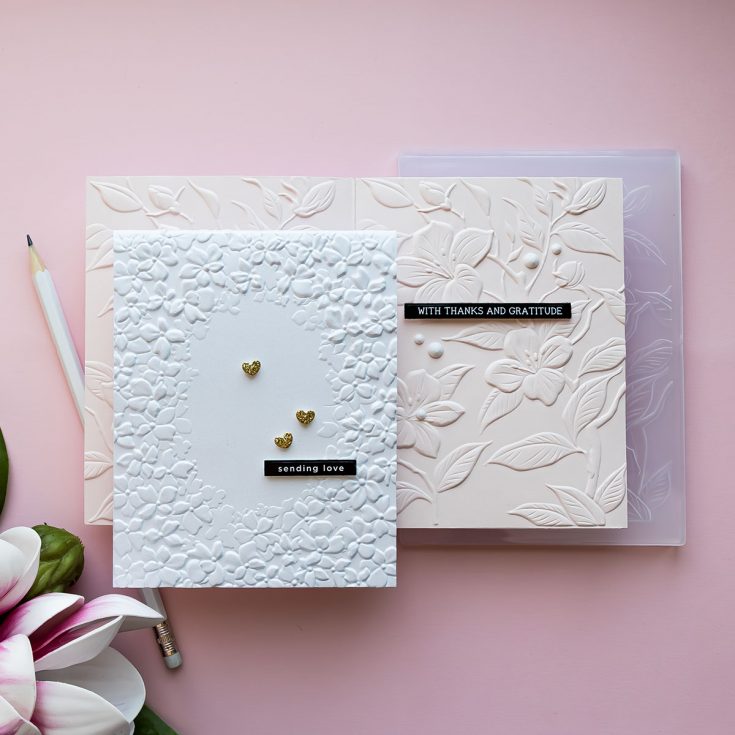
- Apply clear embossing ink to the embossed side of your cardstock image, then add clear embossing powder and heat set for a subtle tone-on-tone effect. Clear embossing is more forgiving. For a different look, try the same technique on the debossed side—it uses more powder and creates a bolder result.
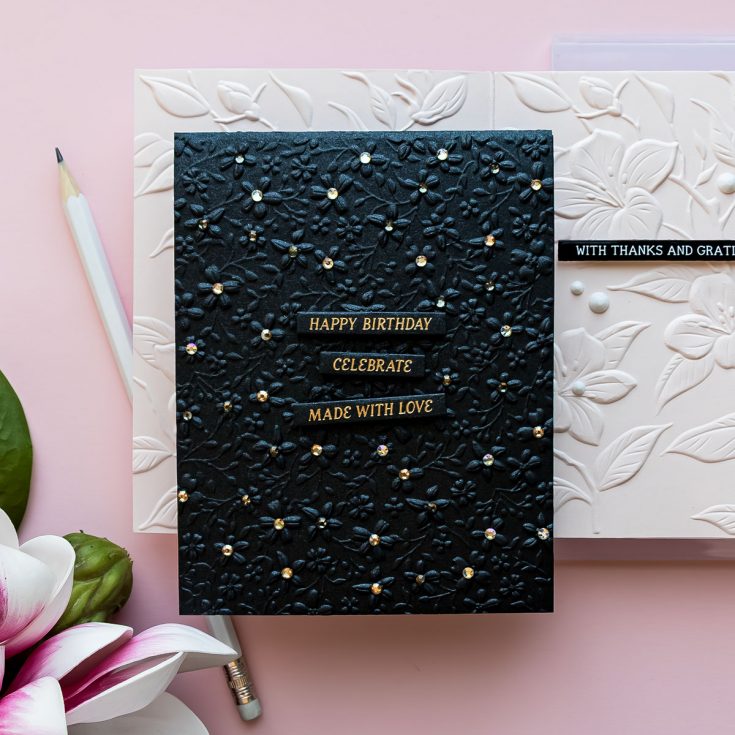
- Create your own glossy dimensional embossed ephemera; die cut first and then emboss
- Play with the placement of where you put the embossed ephemera on top of the embossed panel
WATCH THE VIDEO:

SUPPLIES:
|


Thank you so much for tuning into our 5 Ways in 5 Days FREE CLASS crafty workshop! Rewatch your favorites!
5 Ways in 5 Days Crafty Series BONUS DAY 1 of 2: Back-to-Back Embossing
Hello friends, please join me in welcoming special guest Yana Smakula for Bonus Day 1 (of 2) of our 5 Ways in 5 Days series! We are delighted to bring this series to you that includes a list of incredible designers including: Laura Bassen, Cathy Zielske, Shari Carroll, Nina-Marie Trapani, Yana Smakula, Nichol Spohr, and Heather Hoffman!
Throughout this series spanning March 30th – April 5th, you’ll be learning 5 unique ways each day to use our fan-favorite Simon Says Stamp 3D Embossing Folders. (Plus! Spoiler alert, you’ll actually have 7 DAYS of education with 2 bonus posts over the weekend! That’s a total of 35 crafty ideas that will be provided for you for FREE to keep your creative juices flowing!!) Today we’re going to focus on FIVE WAYS to Emboss on Both Sides of Your Card!
Special SURPRISE!
As a treat just for you, while you’re being inspired on ways to use our embossing folders, we’re simultaneously having a very juicy (and rare!) sale to enjoy throughout the series!
The 5 Ways Showcasing Back-to-Back Embossing are:
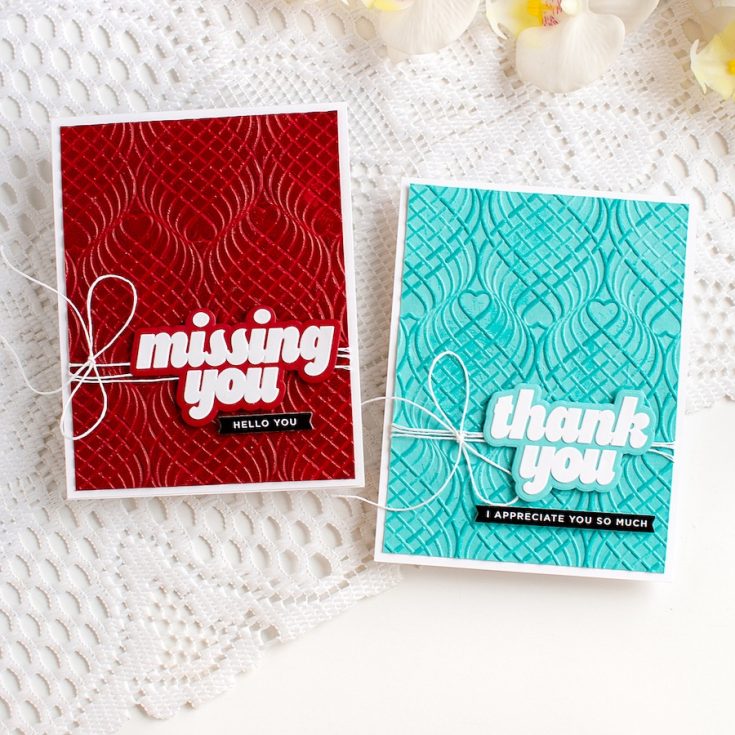
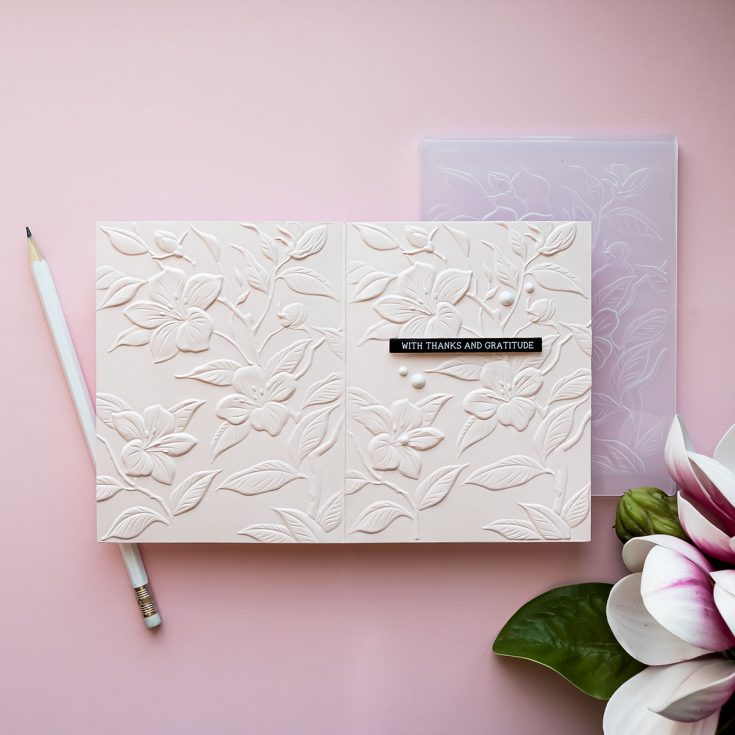
- Side-folding A2 Card (how to perfectly cover the back and front)
- Add a panel or entire card base inside so that you have space to write a message (trim excess if shrinkage occurs from back to back embossed card)
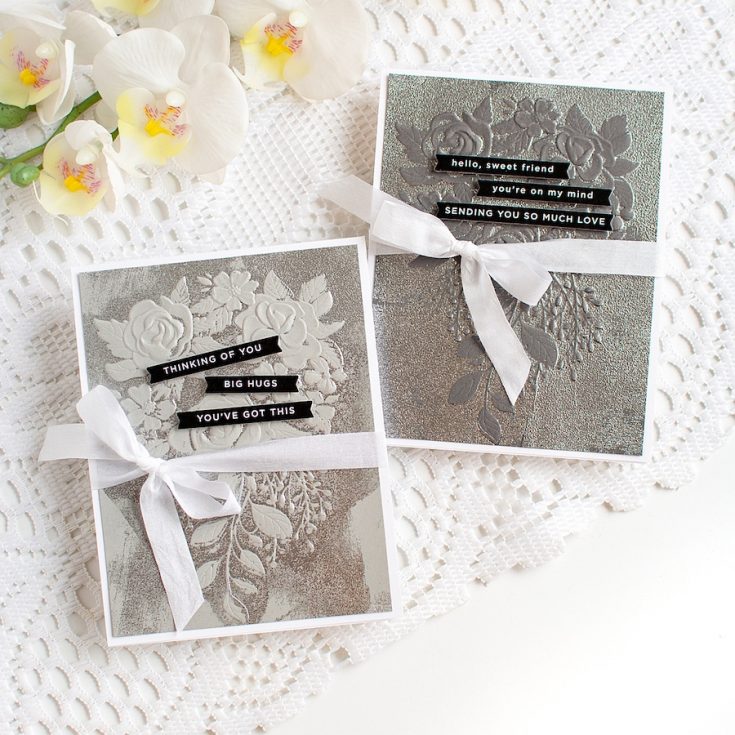
- Use Specialty Cardstock or Spray Regular Cardstock with a Shimmer Spray with your folders
- With embossing folders that have no clear direction, you can do this technique with a top-folding A2 card. Be mindful of fold of where design ends on embossing folder and line up folder carefully with cardstock
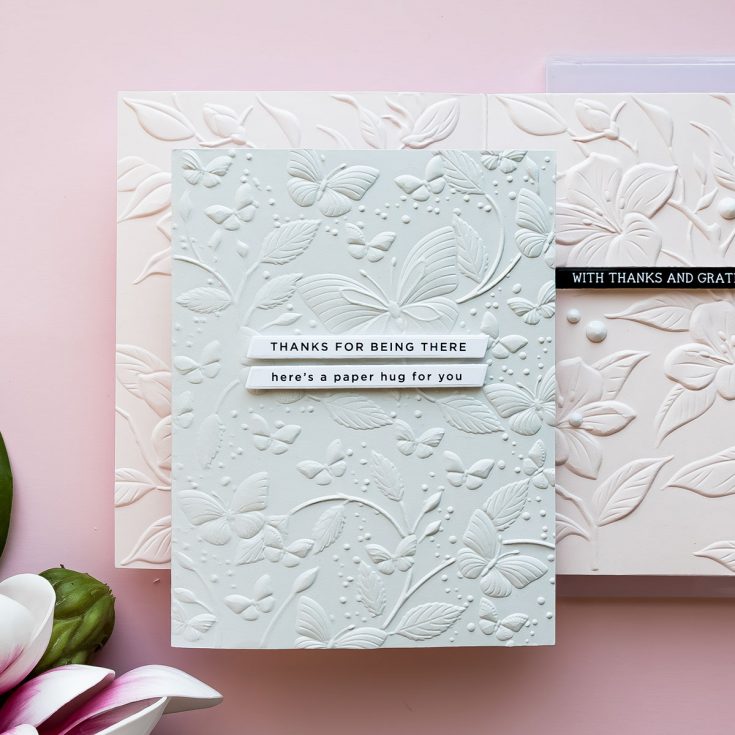
- Mix different embossing folder designs for the front and back of your card
WATCH THE VIDEO:

SUPPLIES:
|


