NEW from Doodlebug! Color Me Crafty!

Oh happy day, crafty friend! It’s a paper crafter’s dream come true! The brand NEW Doodlebug Color Me Crafty collection has arrived and is shipping now!
Bursting with cheerful color, this adorable collection is packed with playful pops of bubblegum pink, lilac purple, and all the happy hues your crafty heart could desire. From clever crafting puns to the cutest miniature scissors, ink pads, sewing machines, paint brushes, and crafty tools transformed into irresistible stickers, every detail is designed to celebrate the joy of making.
Discover coordinating stamps, dies, ephemera, papers, embellishments, and so much more—all designed to help you create projects that are as fun as the crafting experience itself!


Whether you’re documenting your favorite crafty memories in scrapbook layouts or creating handmade cards for your fellow maker friends, Color Me Crafty is your ticket to a colorful, creativity-filled paradise. Grab your favorite supplies and get ready to craft, smile, and be inspired! Check out some gorgeous inspiration from the Doodlebug Design team below featuring this new collection and get inspired!
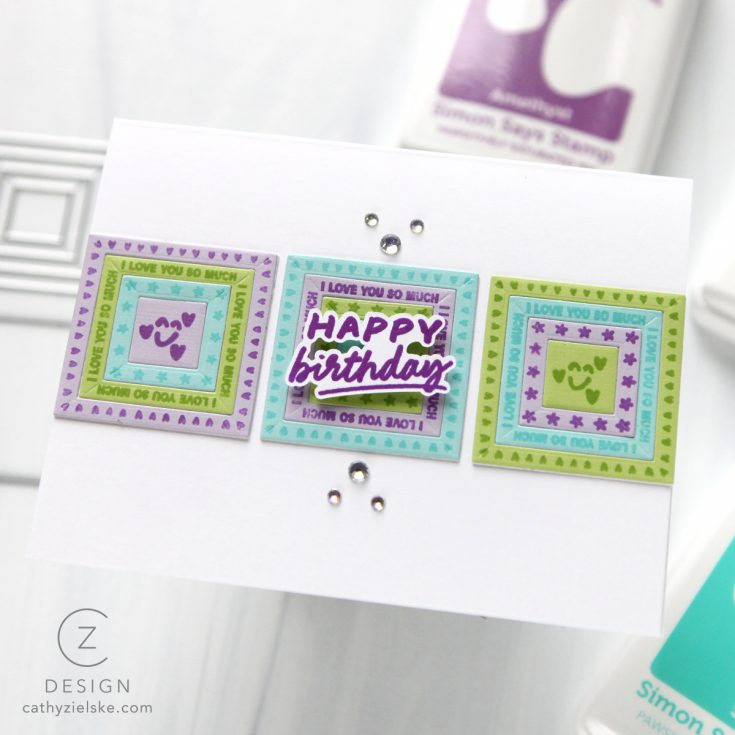
Card Kit Reveal and Inspiration: Pop Art!
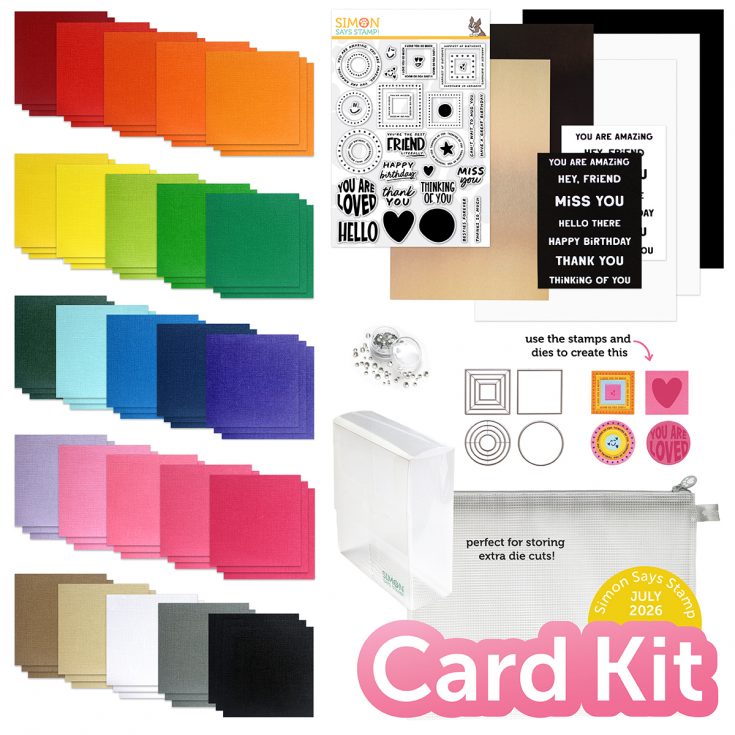
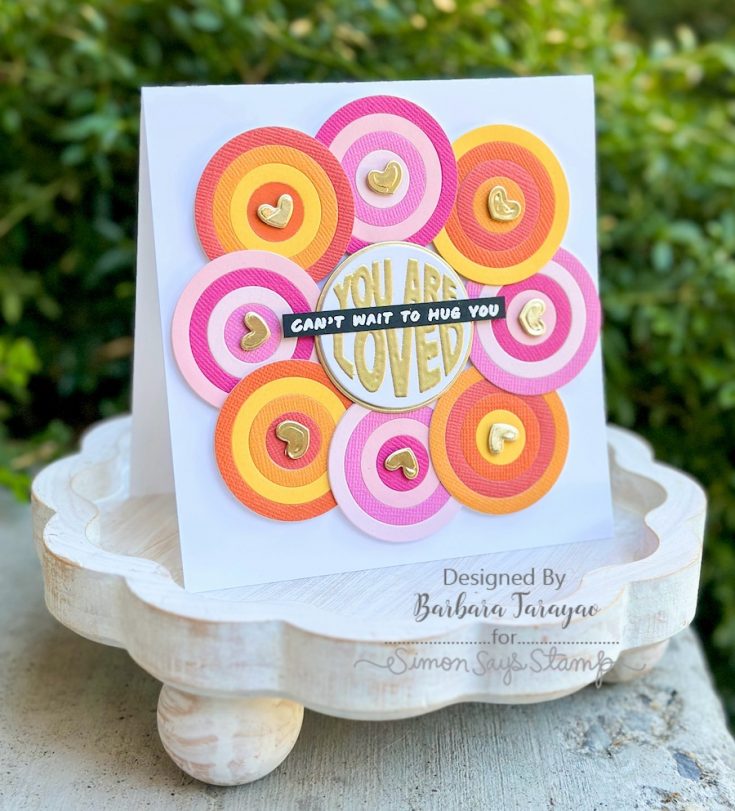
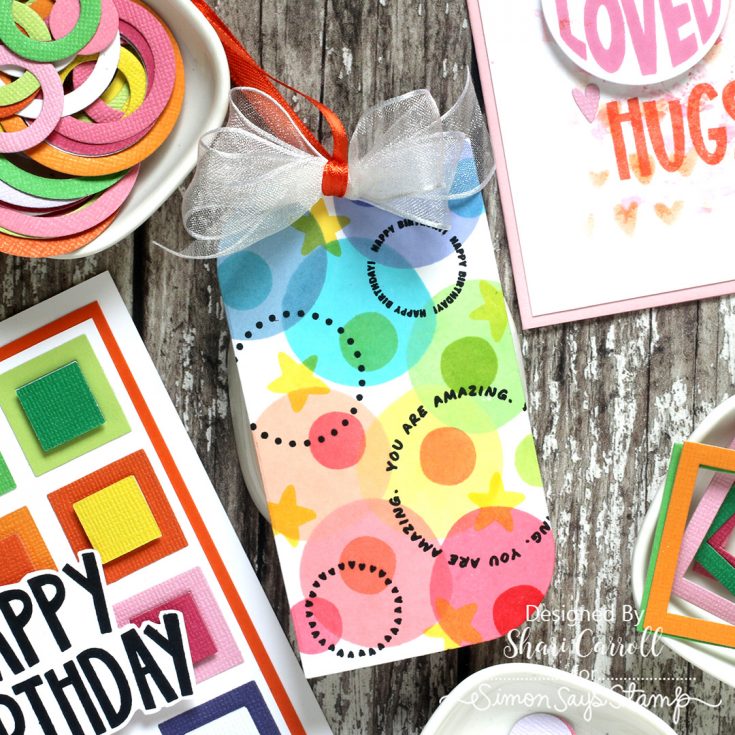
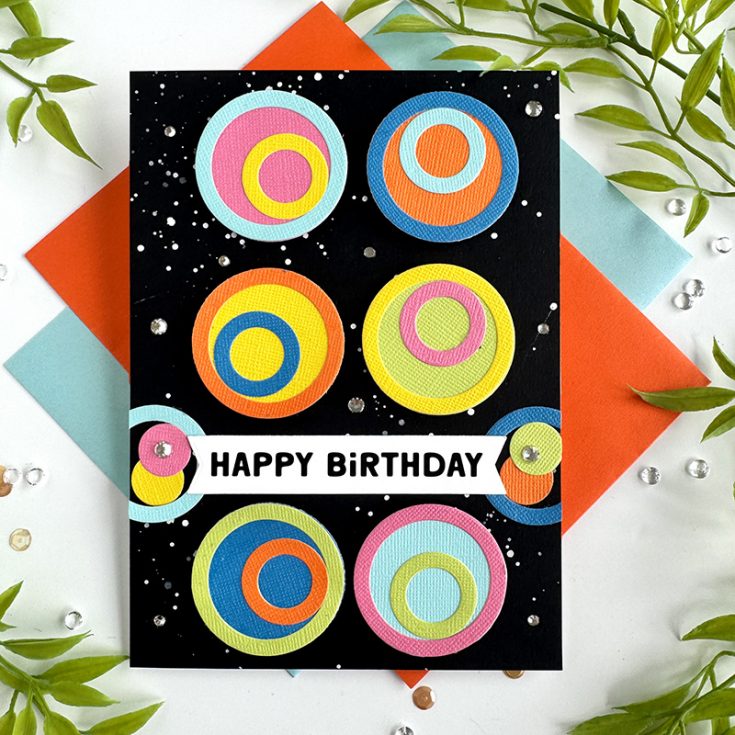
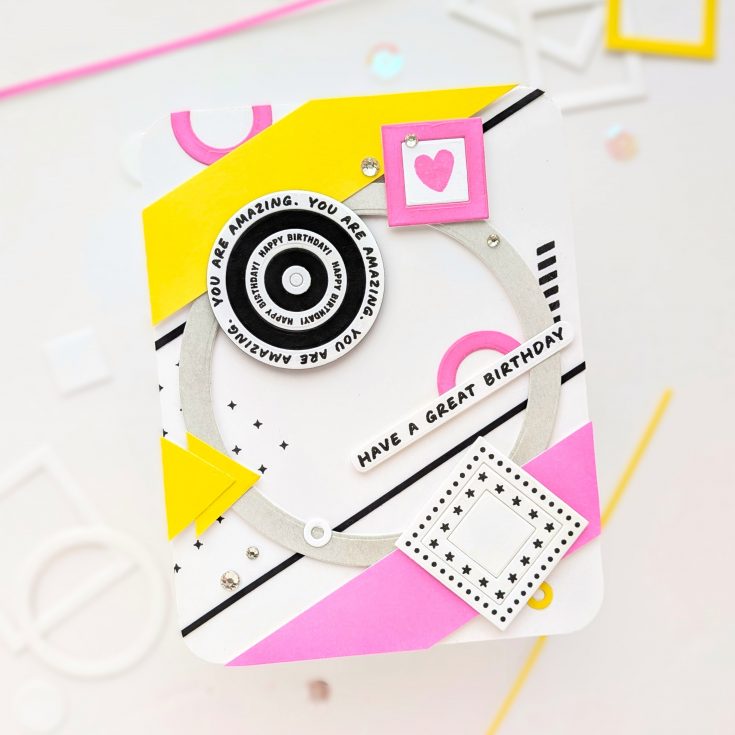
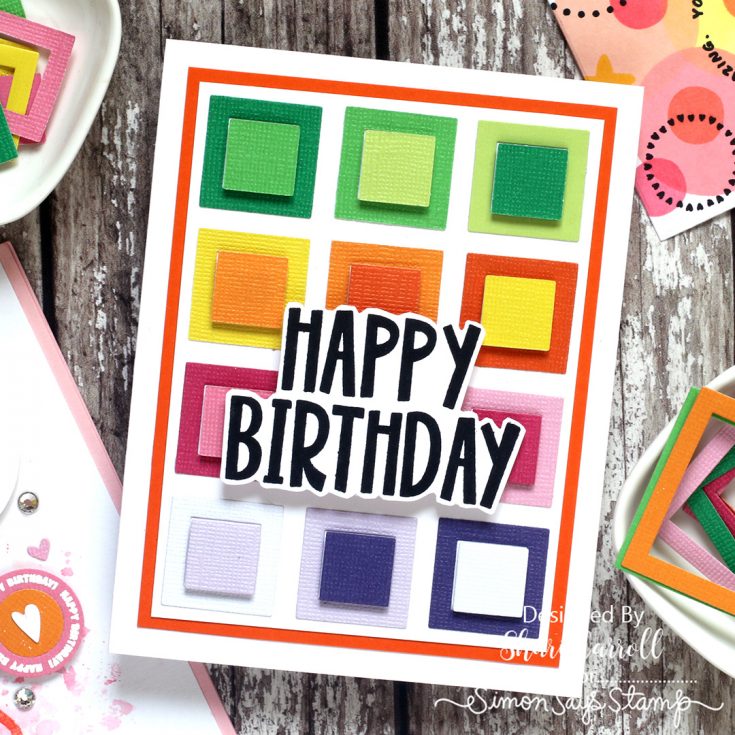
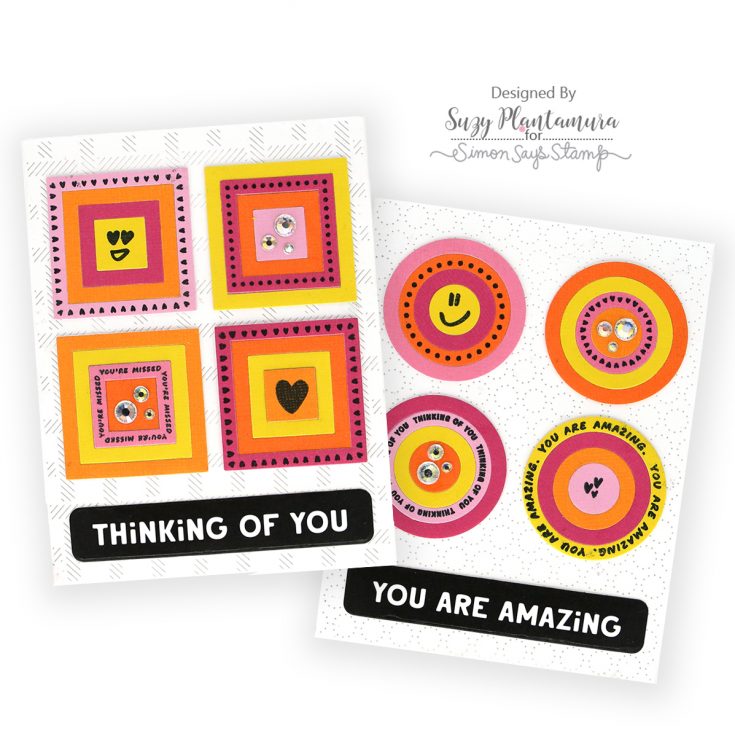
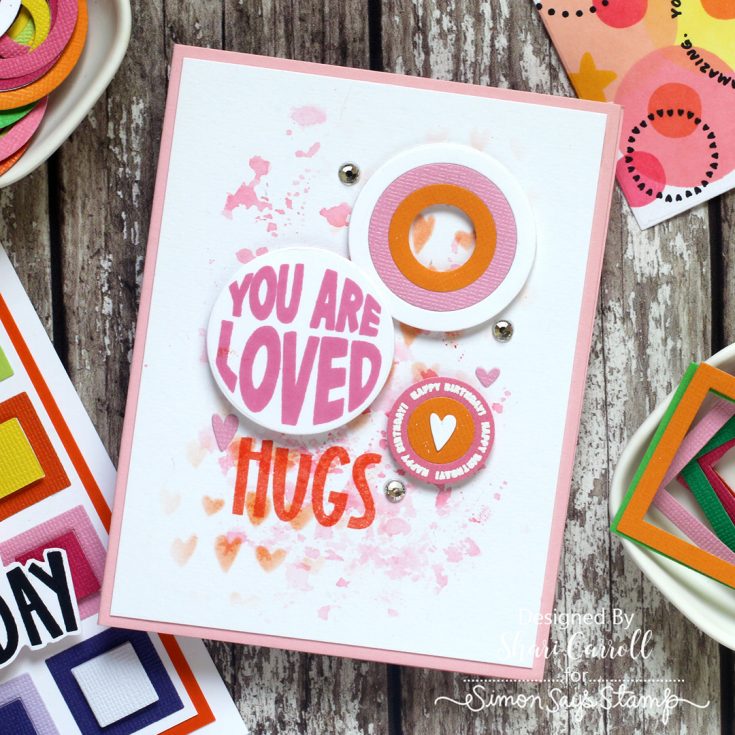
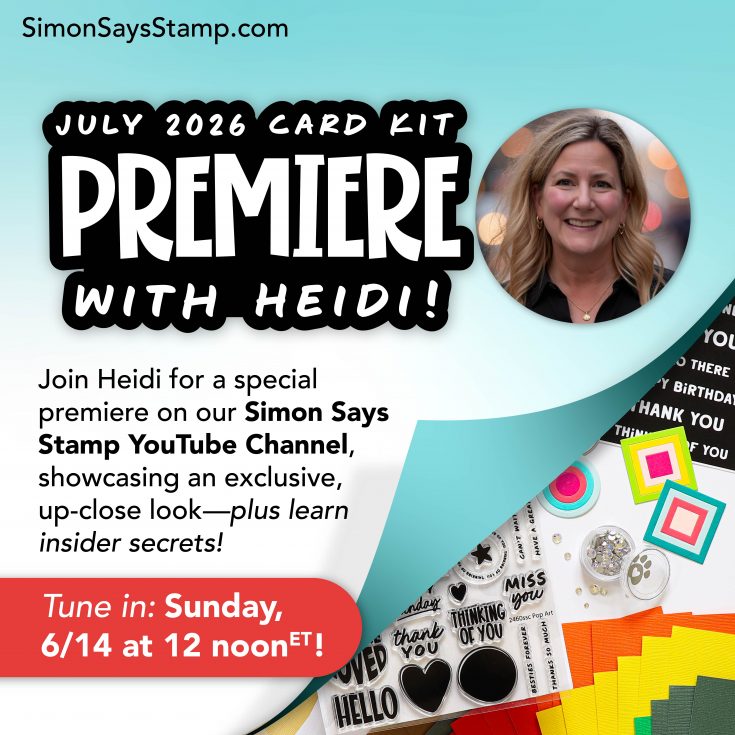
Introducing a vibrant and modern box full of geometric magic—our July 2026 Card Kit called Pop Art!
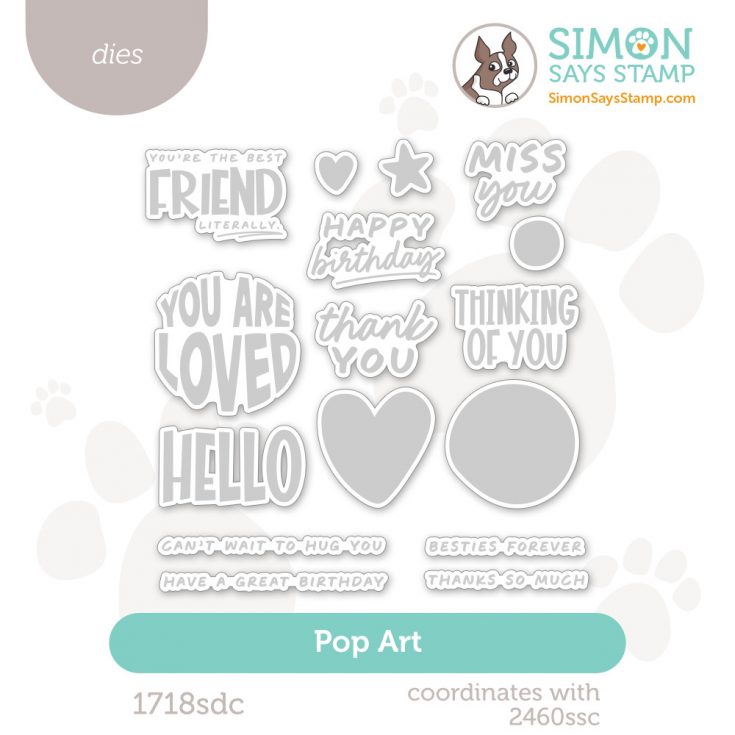
This inspiring kit features a whole lotta shapes and shazam with brand-new Simon Says Stamp exclusive products: the Pop Art 6×8 stamps, the Pop Art Pieces die set, 1 stack of 70+ pages of 3.875 x 3.875 textured cardstock, and 1 sheet each of Big Bold Headlines and Reverse Big Hold Headlines XL EZ Strips.
Keep everything organized with Simon Says Stamp storage solutions: 1 Pawsitively Everything storage box and 1 Mesh zipper bag (color will vary).
Rounding out this bold kit are 1 container of Simon Says Stamp Clear or Prism dazzling gems, 1 sheet each of Tim Holtz Gold and Black Kraft Metallic cardstock, 2 sheets of Neenah Solar White cardstock, and 1 sheet of Simon Says Stamp Black cardstock. We can’t wait to see how you are inspired by this kit!
Don’t miss the robust list of add-ons for this kit! They are EPIC!
WATCH THE VIDEO:

Enhance your kit with this amazing suite of coordinating and complementing products (sold separately!)
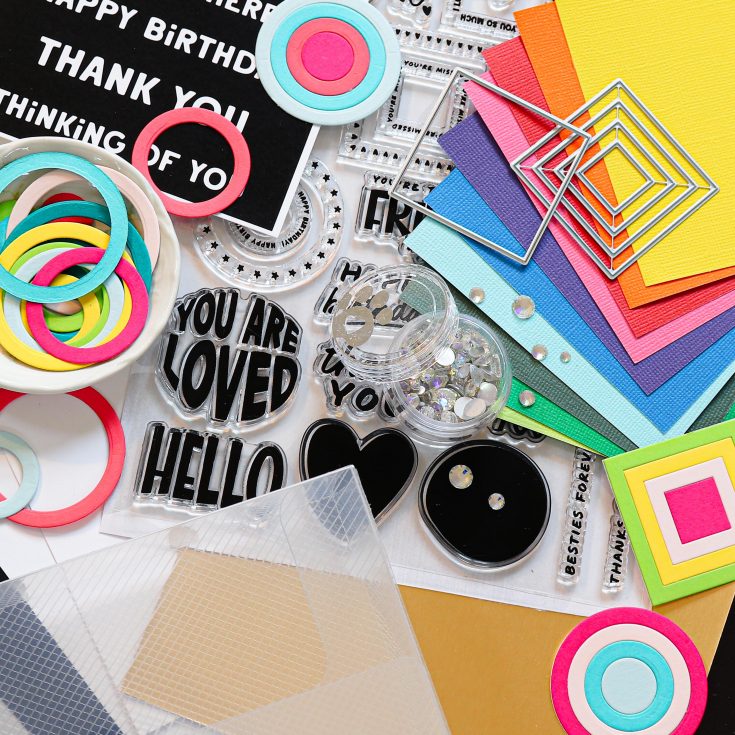
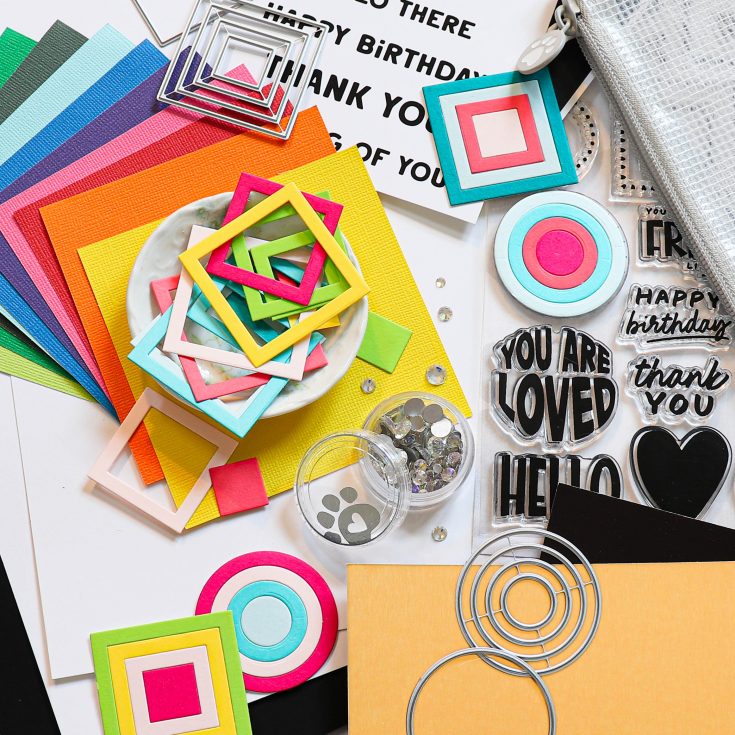
Ideas to INSPIRE!

SET A REMINDER!
We will launch our PREMIERE with Heidi showcasing inspiration with this kit and an up-close look on Sunday, June 14th at 12 PM ET!
Did you know?! We’ve made our card kit subscription BETTER THAN EVER!

Here’s what makes our new service a crafting paradise:
Exciting new perk! USA Subscribers can get free shipping on their recurring subscriptions!
Free or Discounted Shipping Opportunity: Love Free Shipping? Us too!! Valued subscribers have a chance each month to receive free USA Shipping on a card kit subscription purchase! Simply login to your account, click “manage subscriptions” and add additional products to your subscription shipment so the order total is $100 or more before 11 PM ET on the 15th of the month. International customers will receive $7.99 off their cost of shipping – no code required! (Existing subscribers only)
Exclusive Access: As a subscriber, you get first dibs! Each month, you’ll get an exclusive sneak peek at our new kit, with the option to add more coordinating items to your cart, including handy replenishable supplies, all shipped together for your convenience.
Hassle-Free Payments: Say goodbye to monthly billings! Our automated system smoothly charges your preferred card, ensuring an uninterrupted flow of crafty goodness – unless you decide to pause, of course!
$5 Off Magic: Enjoy a special $5 discount off our kit’s retail price, exclusive to our beloved subscribers – no codes needed, just automatic savings!
Crafting Inspirations: Dive into a sea of creative ideas monthly, all tailored around your kit, to keep your inspiration flowing endlessly.
Flexibility First: Fear of commitment? Not here! Our subscription is as flexible as it gets – pause or cancel anytime, no strings attached.
Why wait? Step into the realm of our NEW Simon Says Stamp Monthly Card Kit service. Welcome a box full of crafting marvels, right to your doorstep. Craft with ease and let creativity come to you!
Ready to elevate your craft? Subscribe Now and open the doors to boundless creativity!
We’re thrilled to have you in our crafting community and can’t wait to embark on this renewed creative adventure together!
Liberty Vignette Tray by Paula Cheney
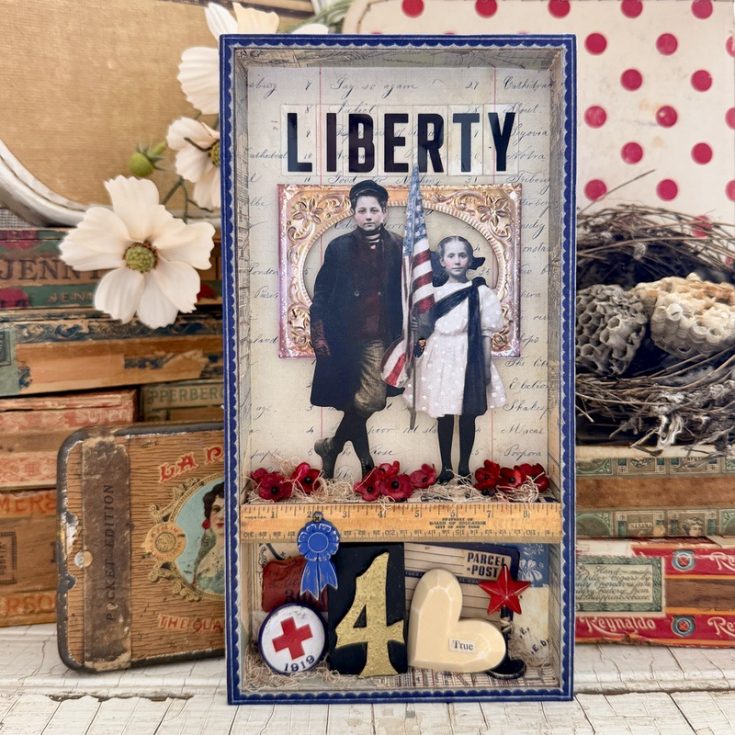
Hello friend! Thanks so much for stopping by our blog today, and please join me in welcoming back special guest Paula Cheney with this super gorgeous vignette tray with the perfect theme just ahead of America’s 250th! Read on and enjoy!
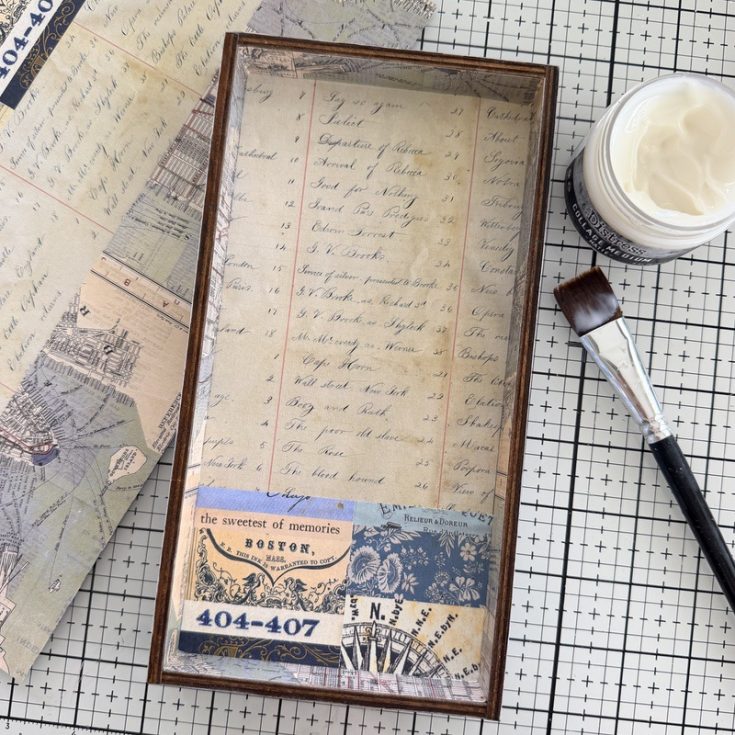
Prep the Vignette Tray
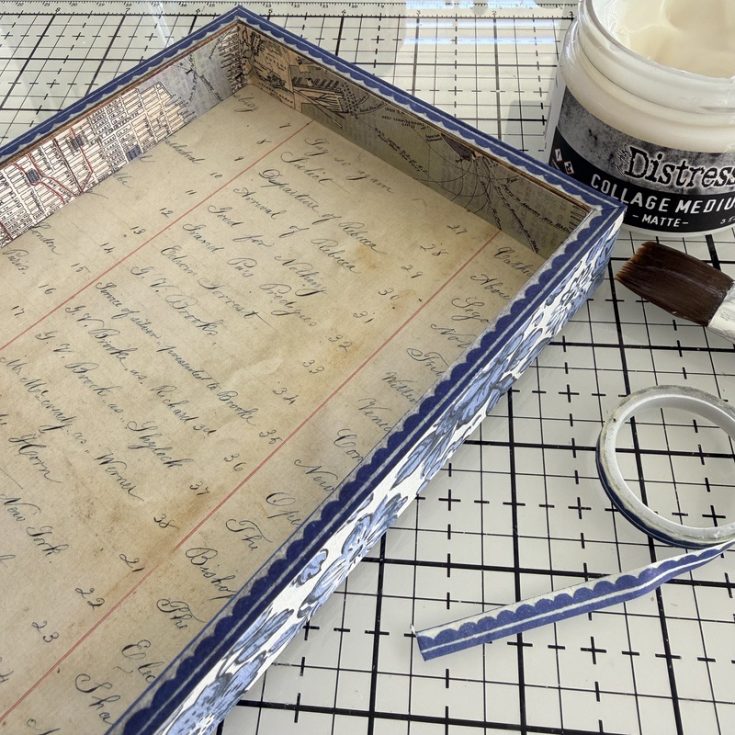
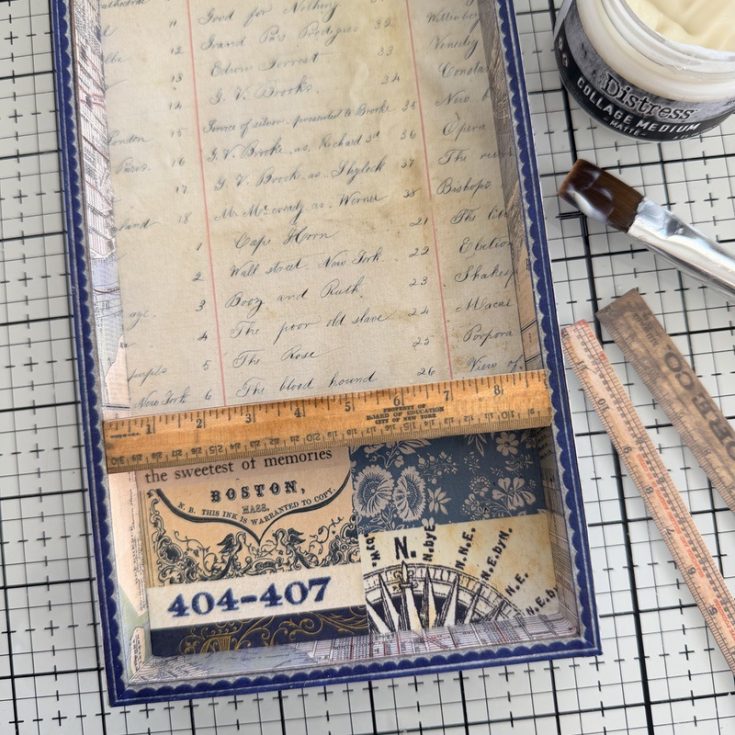
- Using Collage Medium, adhere a piece of the main ledger pattern from the 12×12” Palette Indigo pack to the back of a small Vignette Tray. This particular paper pack includes a fantastic sheet featuring strips of every single design in the collection. I used these versatile “strip” papers to cut and fit perfectly sized pieces for both the inside and outside edges of the tray, giving it a beautifully cohesive look.
- Add paper to the sides of the tray, then add Design Tape to the lip edge. I chose the blue scallop tape because it matches the Indigo paper perfectly! I always add a bit of Collage Medium to the lip edge before adding the tape for longevity.
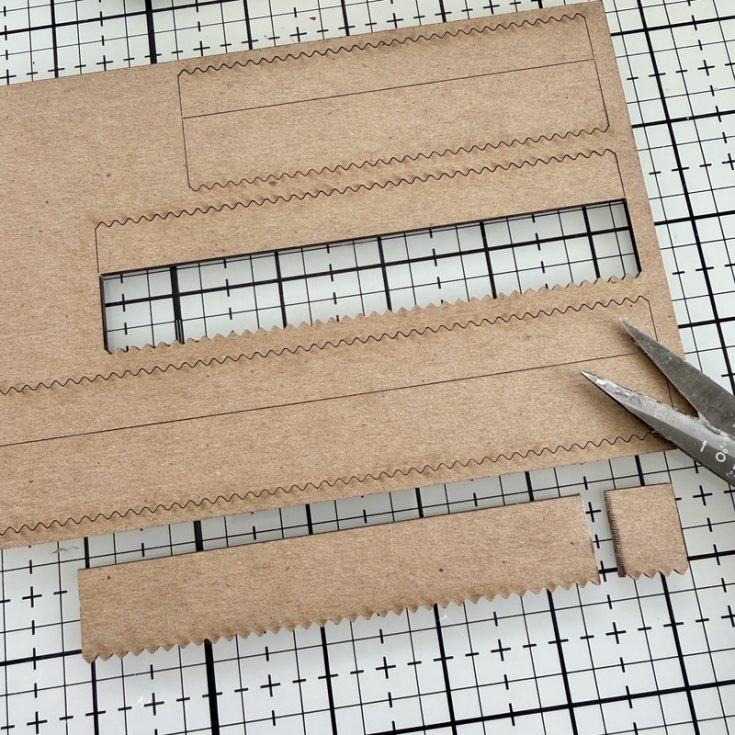
- Punch the wider of the two medium Etcetera Pinked Trims from the sheet. Use Tonic Snips to cut the Trim to the inside width of the Vignette Tray.
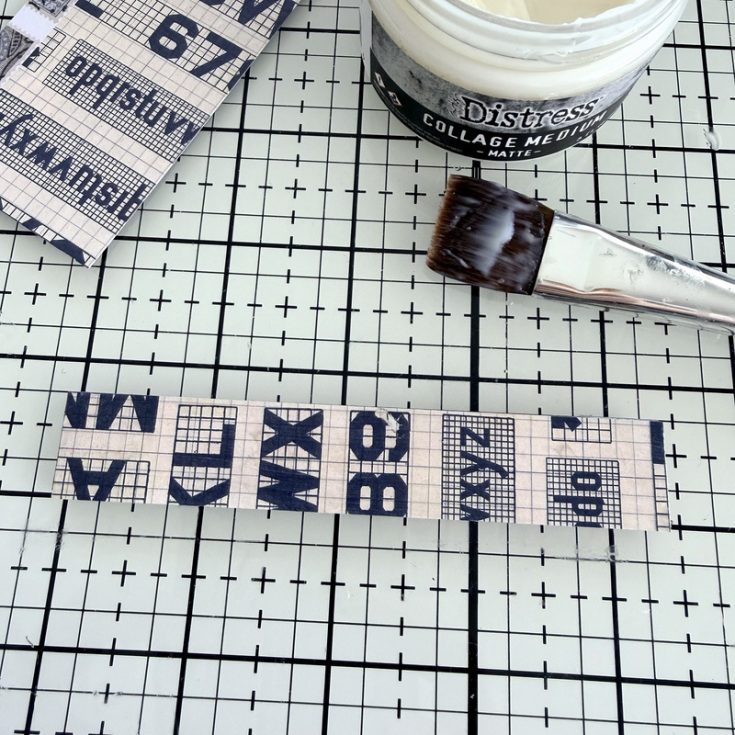
- Use pattern paper from the Palette Indigo pack to cover one side of the “cut to fit” Pinked Trim.
- Add Collage Medium to the sides of the trim (the “pinked” edge will face down into the tray). Let dry about 20- 30 minutes, till the shelf is stable.
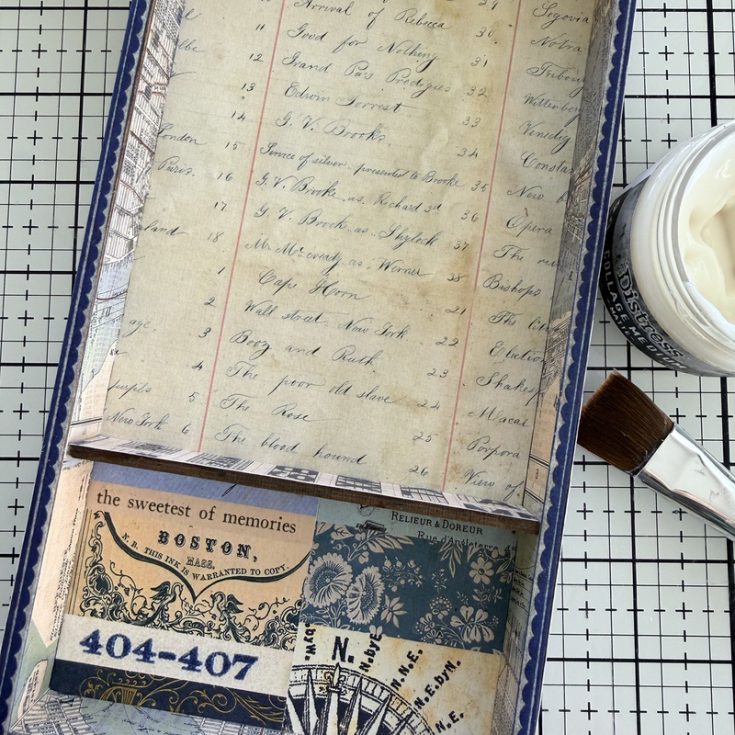
- Add one of the ruler strips that can be found in the Memoir Ephemera pack. There are many sizes and patterns to choose from. I added a thin piece of chipboard to the back of the ruler for stability before gluing it to the trim piece with Collage Medium.

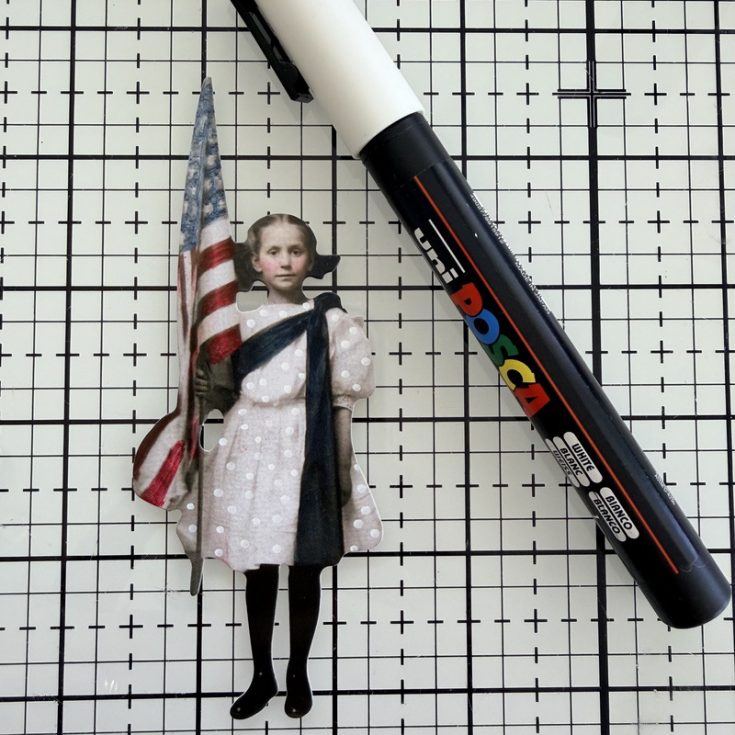
- The main focal point is the two Paper Dolls from the Solos pack. I colored them with Distress Crayons in Chipped Sapphire and Lumberjack Plaid. You just need a few things to color Paper Dolls: a few cotton swabs, a Detailer Water Brush (dry barrel), and a small puddle of water. Scribble the crayon onto the Glass Mat or a Craft Sheet. Pick up the crayon with a slightly damp Detailer Water Brush (you control the water using the puddle). Paint the flag and the blue sash. For the boy’s vest, the crayon was scribbled directly on to the clothing and rubbed with my fingertip till you could see the detail again. The cotton swab was used on the cheeks. Pick up the crayon with the end of the cotton swab and pounce over the cheeks. Use the clean end to wipe away any excess.
- I wanted to add more detail to the girl’s white dress, so I added polka dots over the dress with a POSCA Paint Marker. Tip: always test the Paint Marker on a scrap paper. Paint Markers must be shaken and therefore tend to push put a big blob right at the start. I always test on scrap paper, then move on to the Paper Doll.

Top Compartment
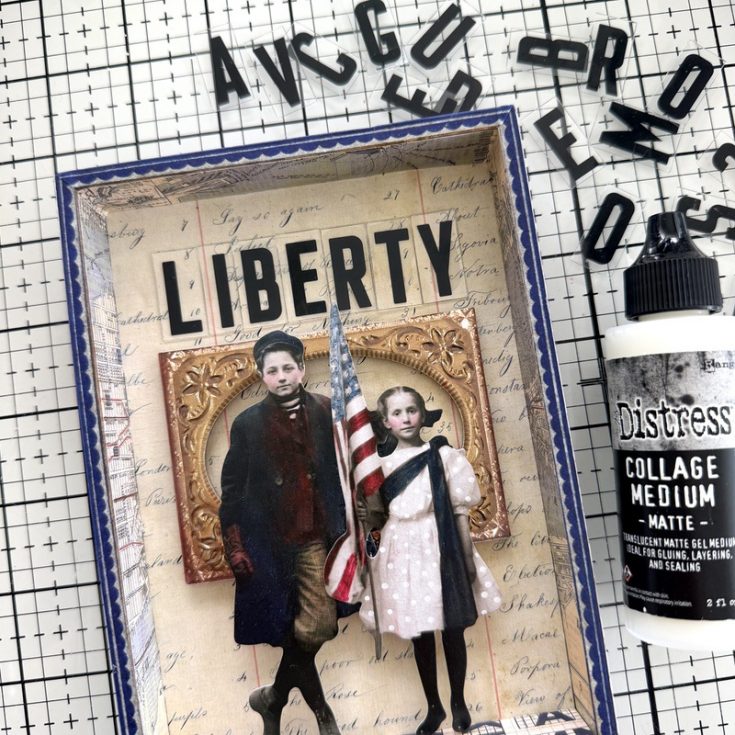
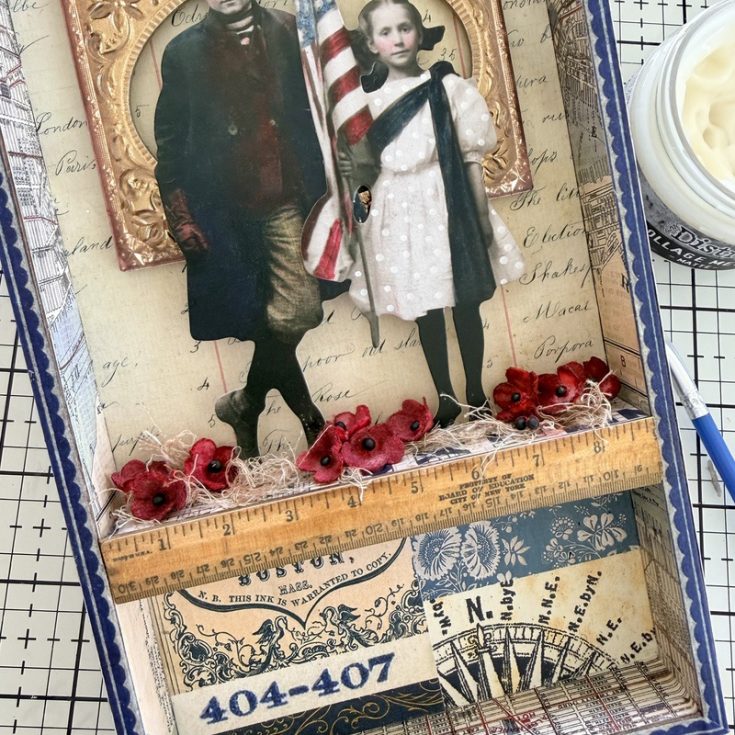
- Add a Curio Frame to the back of the tray. Use tape to combine the two Paper Dolls, then make 4 triple stacks of 3D Foam Squares. Add the foam stacks to the back of the Paper Dolls to adhere to the tray.
- Use Collage Medium from the squeeze bottle to add glue to the center back of each of the Mini Marquee letters. I chose to spell out LIBERTY for this project, but any word of choice can be substituted. Set aside to dry.
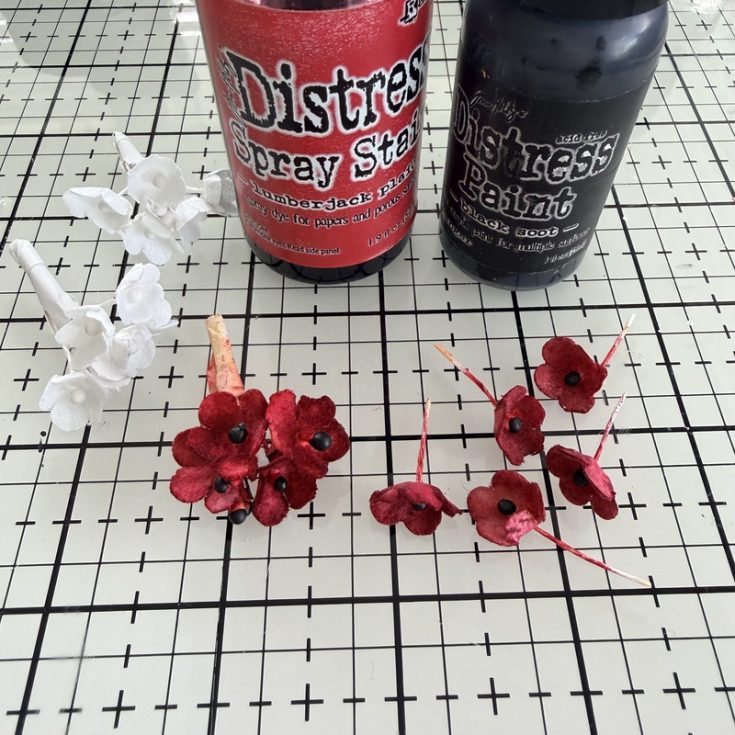
- Spray Idea-ology Bouquet flowers with Lumberjack Plaid Distress Spray Stain and dry with a heat tool. Once dry, paint the center of each flower black to mimic a poppy.
- Use Collage Medium to add the red poppies to the shelf along with some shredded cheesecloth.

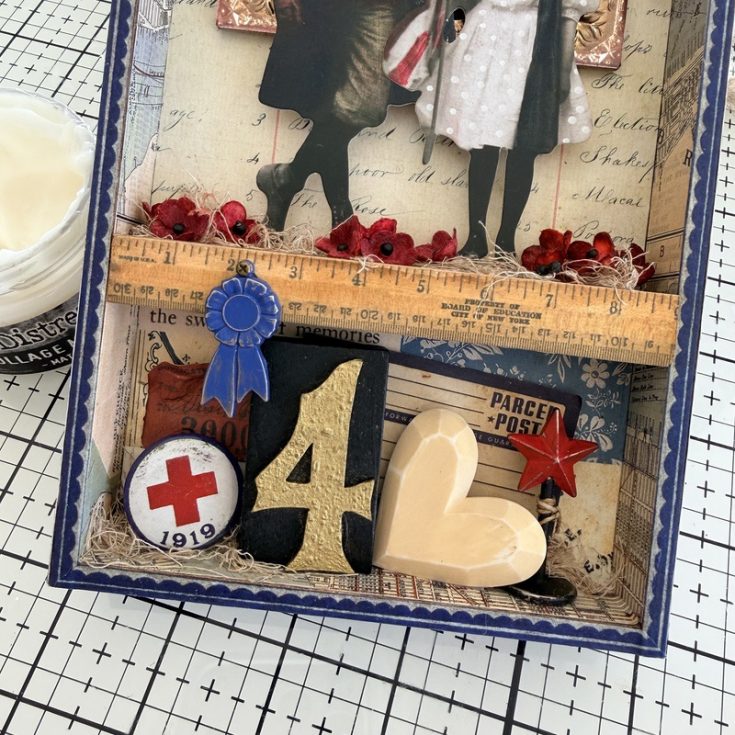
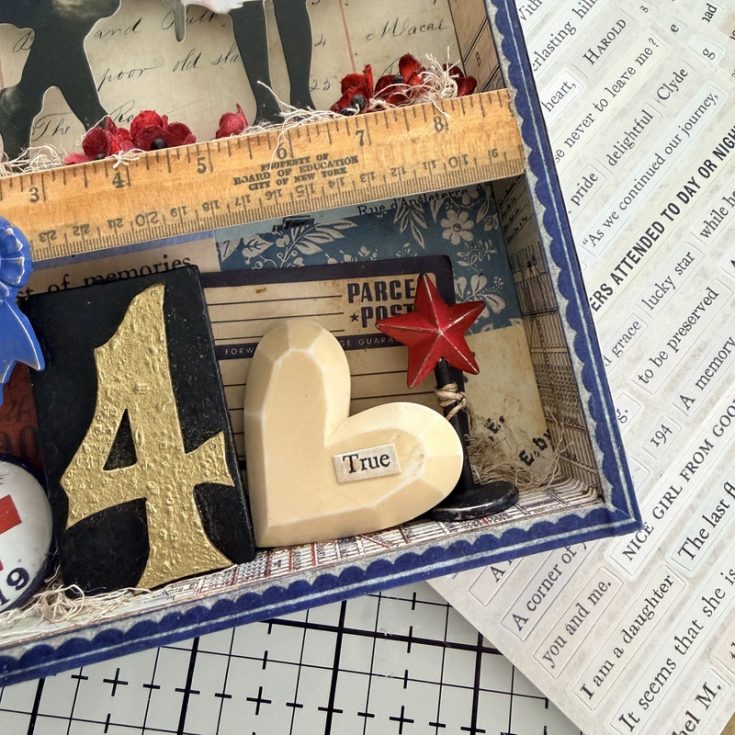
Bottom Compartment
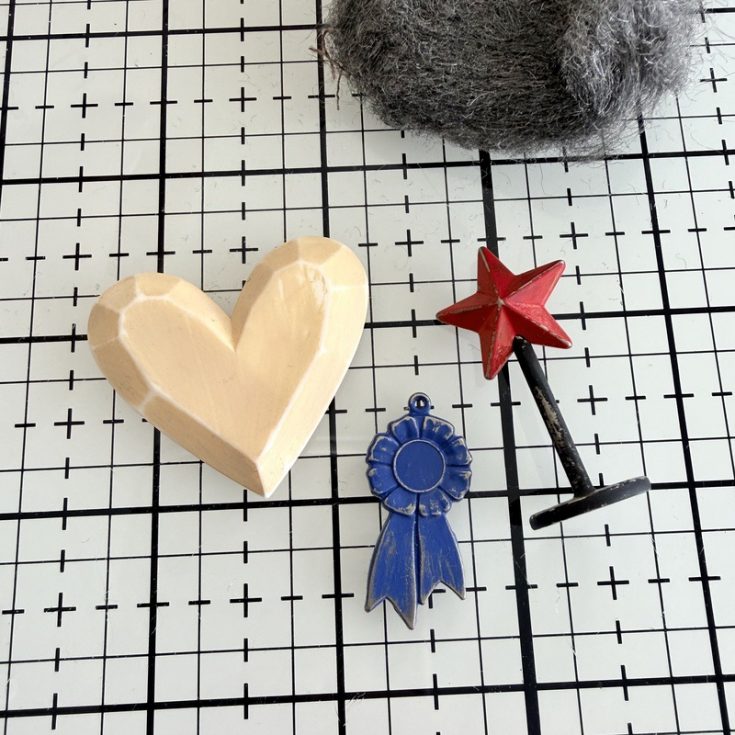
- Paint three embellishments for the bottom compartment: large Salvaged Heart: Antique Linen, Ribbon from Lucky Adornments pack: Prize Ribbon, and the star Figure Stand: Candied Apple and Black Soot. Let dry completely before starting step 14.
- Use steel wool to lightly sand the heart, ribbon, and star.
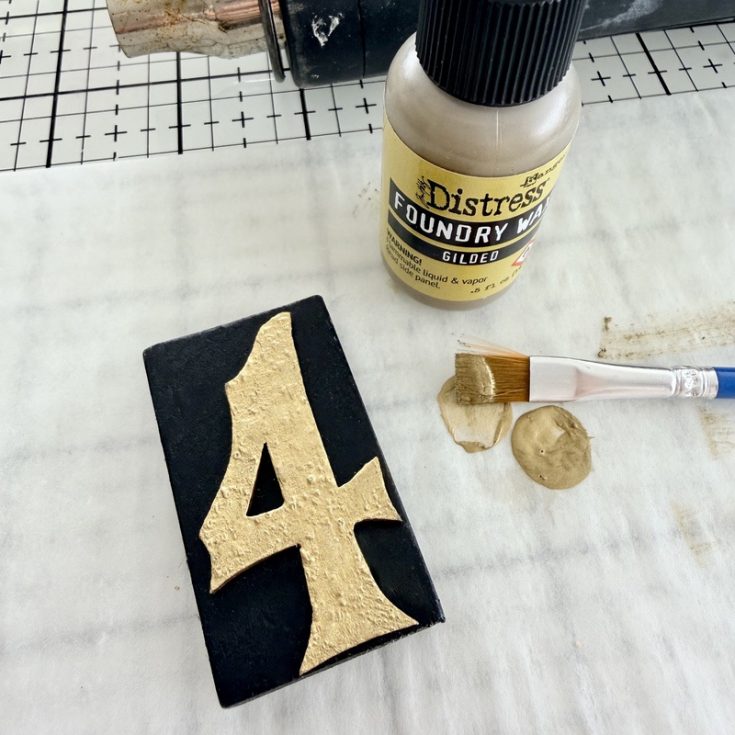
- I’ve never used Foundry Wax on wood so I thought I’d give it a go! I squeezed out a small amount of Foundry Wax on a disposable paper. I painted the Number Block 4 with a small paint brush and used an embossing tool to heat the Foundry Wax till it became shiny. I repeated the steps with a second puddle of Foundry Wax, painting, and heating. The two layers gave me just what I wanted, texture over the wood and a shiny surface.
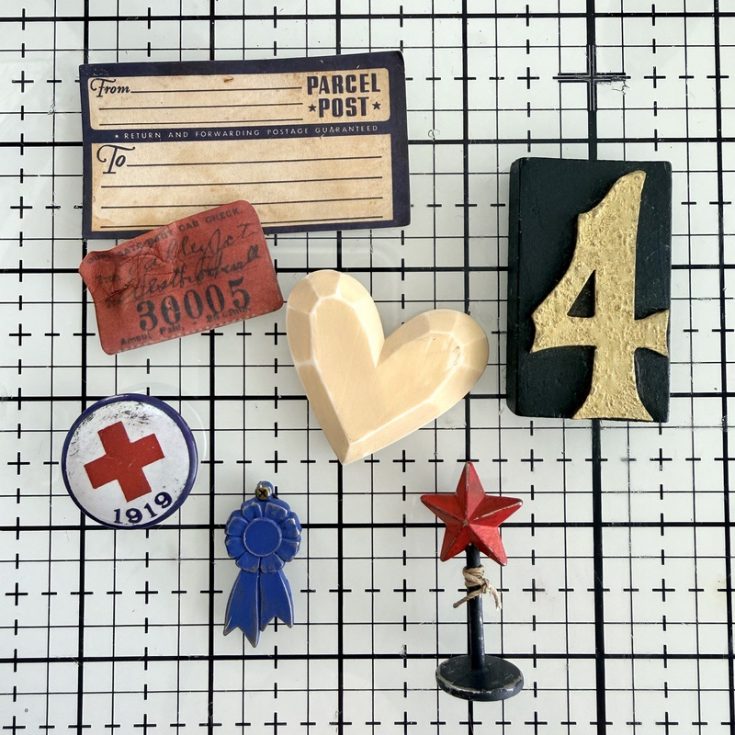
- Gather all the items you have prepared, plus a few pieces of ephemera from the Memoir pack, and a Vintage Flair Red Cross button. Add a Mini Fastener to the top of the prize ribbon.
- Use Collage Medium to add the embellishments to the bottom compartment.
- Chose a word or phrase from the Clippings Sticker Book to add to the Salvaged Heart.
SUPPLIES:
|


Thanks so much to Paula for this gorgeous inspiration and to YOU our reader, for stopping by today!


