Stenciling Tips using Groovy Blooms: Amore Laurafadora
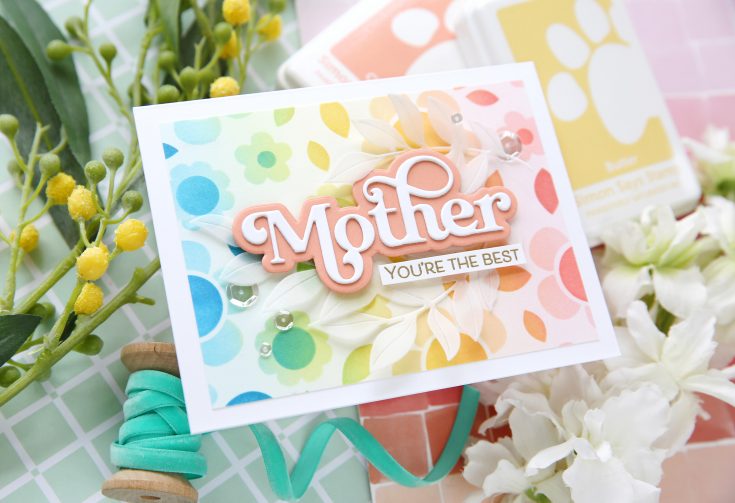
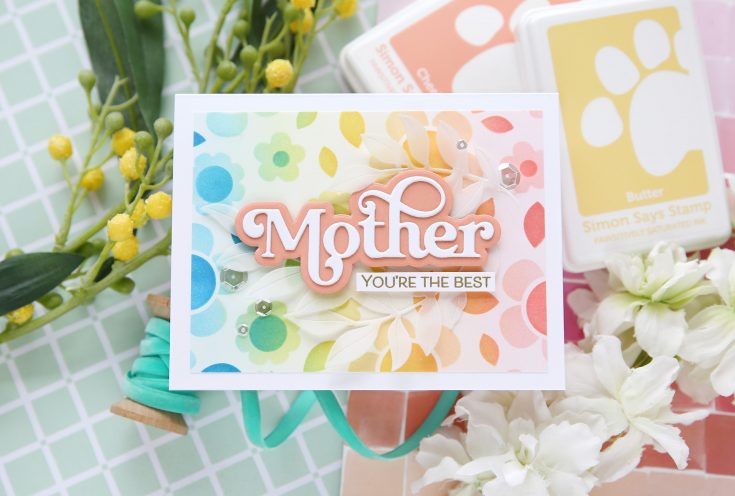
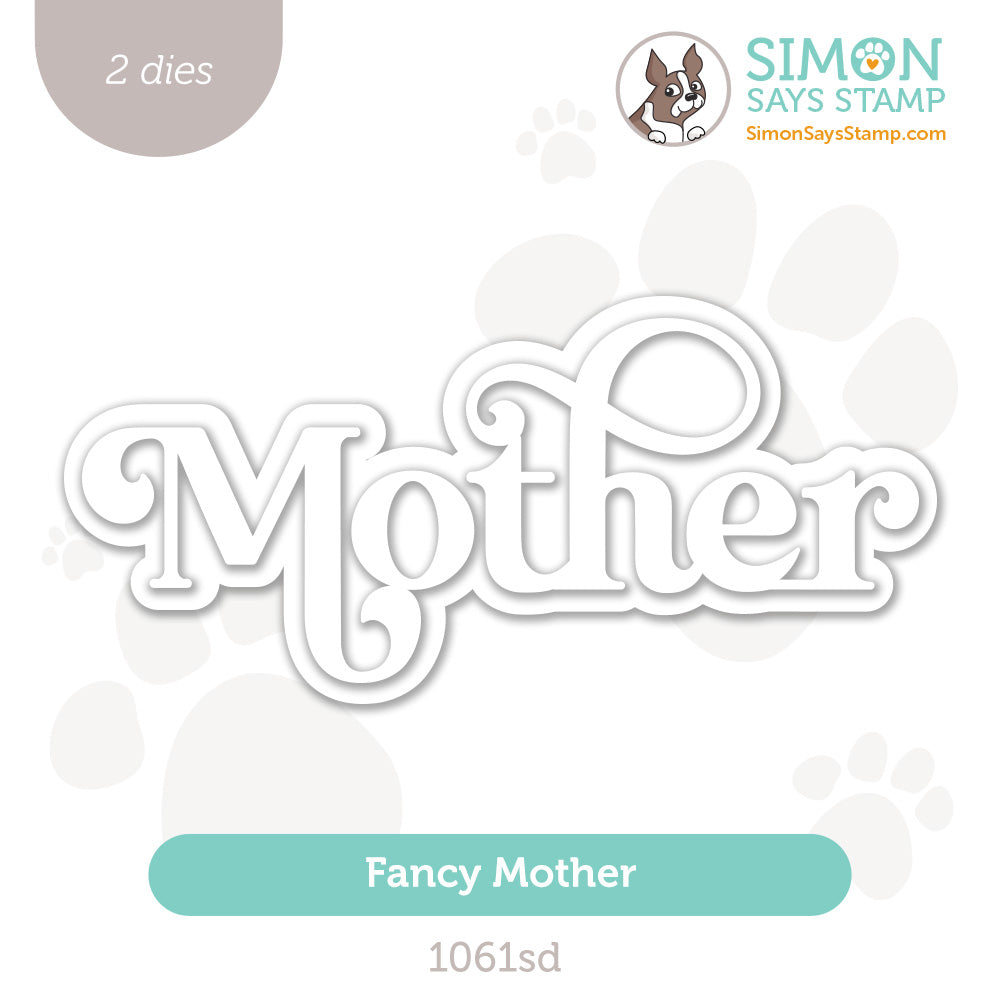
Hi friends! Happy Thursday! This month is flying! I hope you’re having a great day, week, and month! Please join me in welcoming back the always entertaining and inspiring Laura Bassen in her bi-monthly Amore Laurafadora blog series! Today she’s spotlighting our brand NEW Groovy Blooms Layering stencil set along with the dreamiest color combination of Pawsitively Saturated inks! She’s also showcasing our beautiful new Lush Leaves dies die cut in vellum, Fancy Mother die set, and a sweet sentiment from our New Mamacita stamp set to finish it off! For that perfect sparkling touch, sprinkle a few moonshine sequins! Be sure to watch the video for all the details and enjoy!
WATCH THE VIDEO:
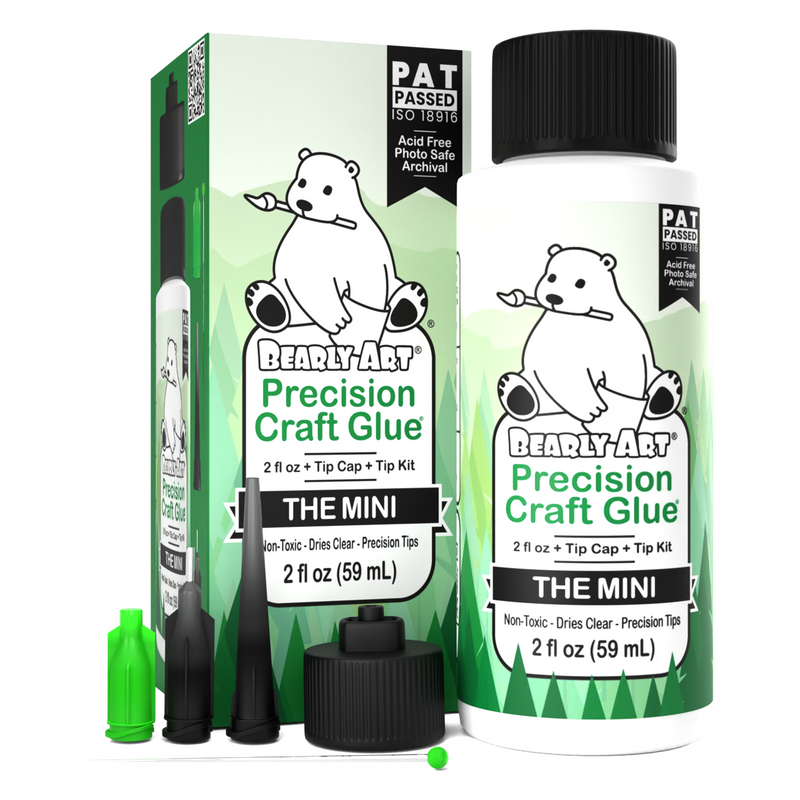
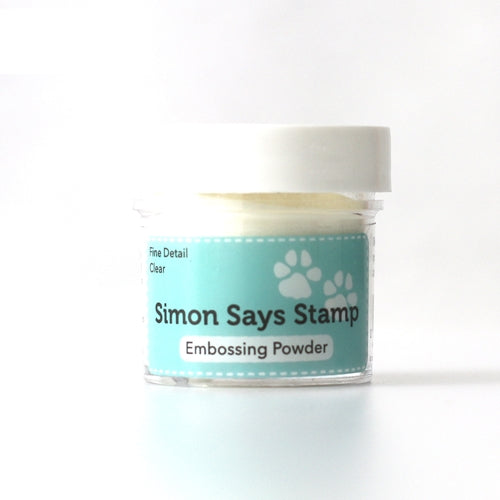
SUPPLIES:
|


Thanks so much for stopping by, and thanks to Laura for being our guest!
Be Bold Blog Hop WINNERS!
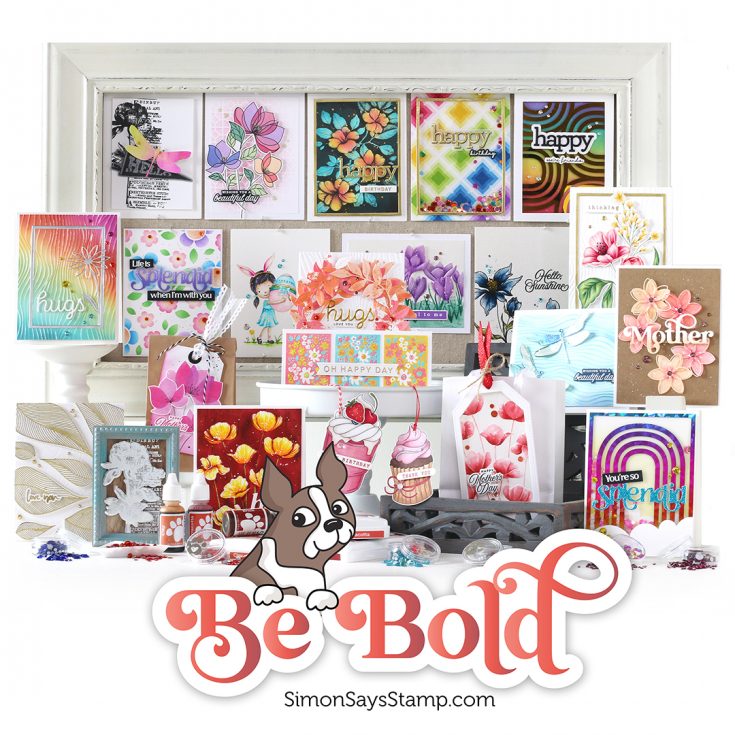
Hello, friends! We hope you are loving our Be Bold release!
To celebrate this phenomenal release, we hosted two amazing blog hops! The hops featured many talented designers and each one created wonderful projects to inspire you. If you missed either of the hops, you can find the direct links here: DAY ONE and DAY TWO.
A BIG thank you to all of YOU who joined us for the hops! We enjoy hearing from each of you, and your words of encouragement and appreciation to each of the designers mean so much to us here at Simon and to them. It’s our tradition to give away gift certificates to random commenters on each blog stop, and today we are revealing all of the winners! So without further ado, I present to you our winners!
from Simon Says Stamp’s blog: S. M.!
from Nina-Marie Trapani’s blog: Danyelle Dillon!
from Suzy Plantamura’s blog: Barbara Lassiter!
from Barbara Tarayao’s blog: Kimberley Bond Ellefson!
from Kristina Werner’s blog: Linda Mazzola!
from Cathy Zielske’s blog: Susan Stevenson!
from Keisha Charles’s blog: Nana Griffin!
from Miriam Prantner’s blog: Patty!
from Heather Ruwe’s blog: Shari OlsonAnderson!
from Cheiron Brandon’s blog: Pamela Dunbar!
from Tina Smith’s blog: Kelley Clarke!
from Jean Doeringsfeld’s blog: Sheri Kempke!
from Emma Williams’s blog: Jana Mays!
from Bobbi Lemanski’s blog: Candus!
from Jennifer Kotas’s blog: Shelice Walker!
from Barb Engler’s blog: DorothyA!
from Simon Says Stamp’s blog: Christie Brooks!
from Caly Person’s blog: Reiko F!
from Nichol Spohr’s blog: Nancy Patterson!
from Laura Bassen’s blog: Shannon Lashley!
from Amy Rysavy’s blog: Tammy Hanson!
from Debby Hughes’s blog: Veronica L Hunt!
from Emily Midgett’s blog: hobe2!
from Mindy Eggen’s blog: Cheryl Inman!
from Lisa Addesa’s blog: Ritva D!
from Yana Smakula’s blog: Geri S!
from Alberto Gava’s blog: Sylvia L Meredith!
from Sandi MacIver’s blog: Daria Zender!
from Jessica Vasher’s blog: Laura Casselman!
from Karin Ãkesdotter’s blog: Lisa Elton!
from Lea Lawson’s blog: Linda Choquette!
from Seeka’s blog: Barbara-Jean Kubik!
If you see your name listed above, CONGRATULATIONS! Please email [email protected] and let him know that you are one of our Be Bold release blog hop winners! You’ll receive a $25 Gift Card.
Thanks again for hopping along with us! We hope you enjoy our fantastic Be Bold release and that it gives you creative enjoyment for months to come!
You’ll love browsing our Be Bold gallery on our blog for loads of additional inspiration, and you can add your projects to these galleries as well!
Winning ROCKS, and so do you!
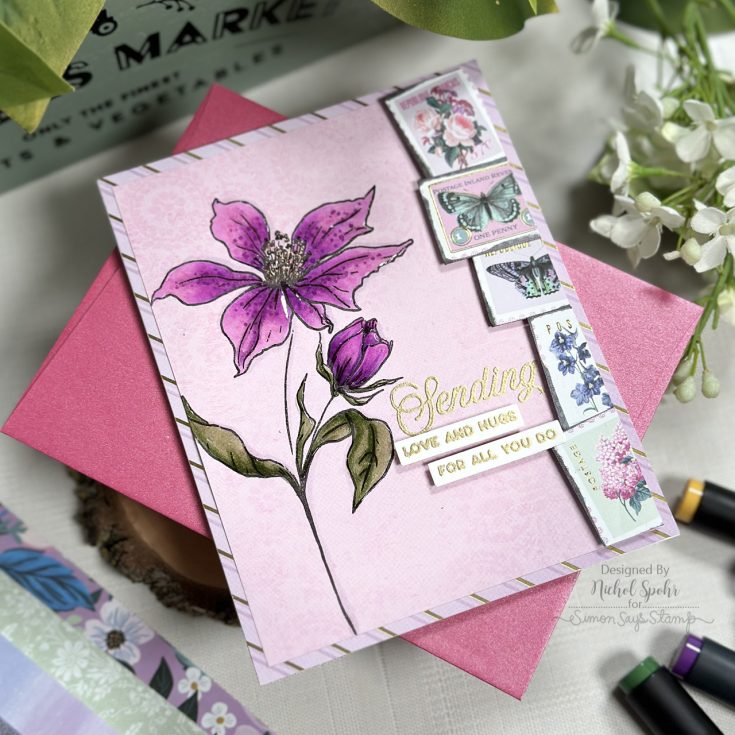
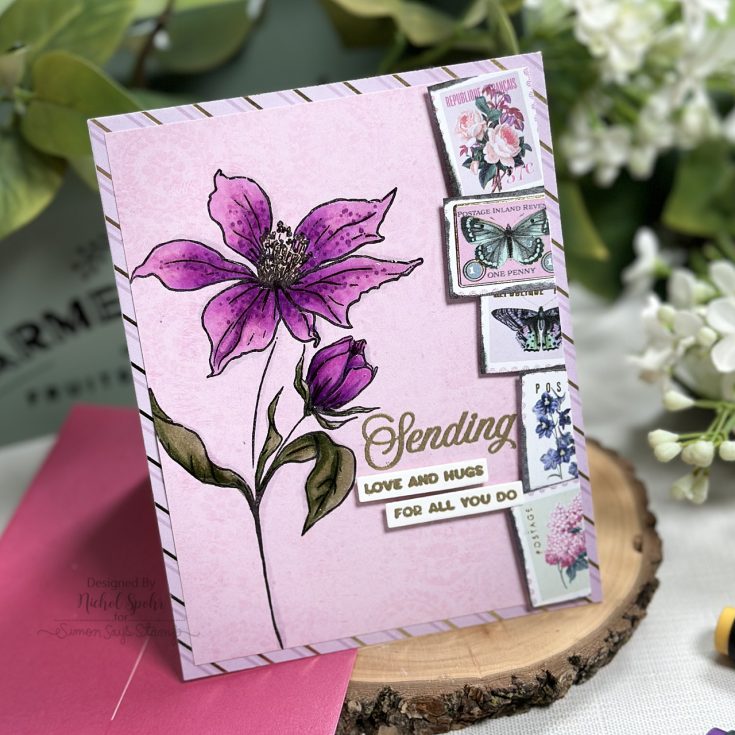
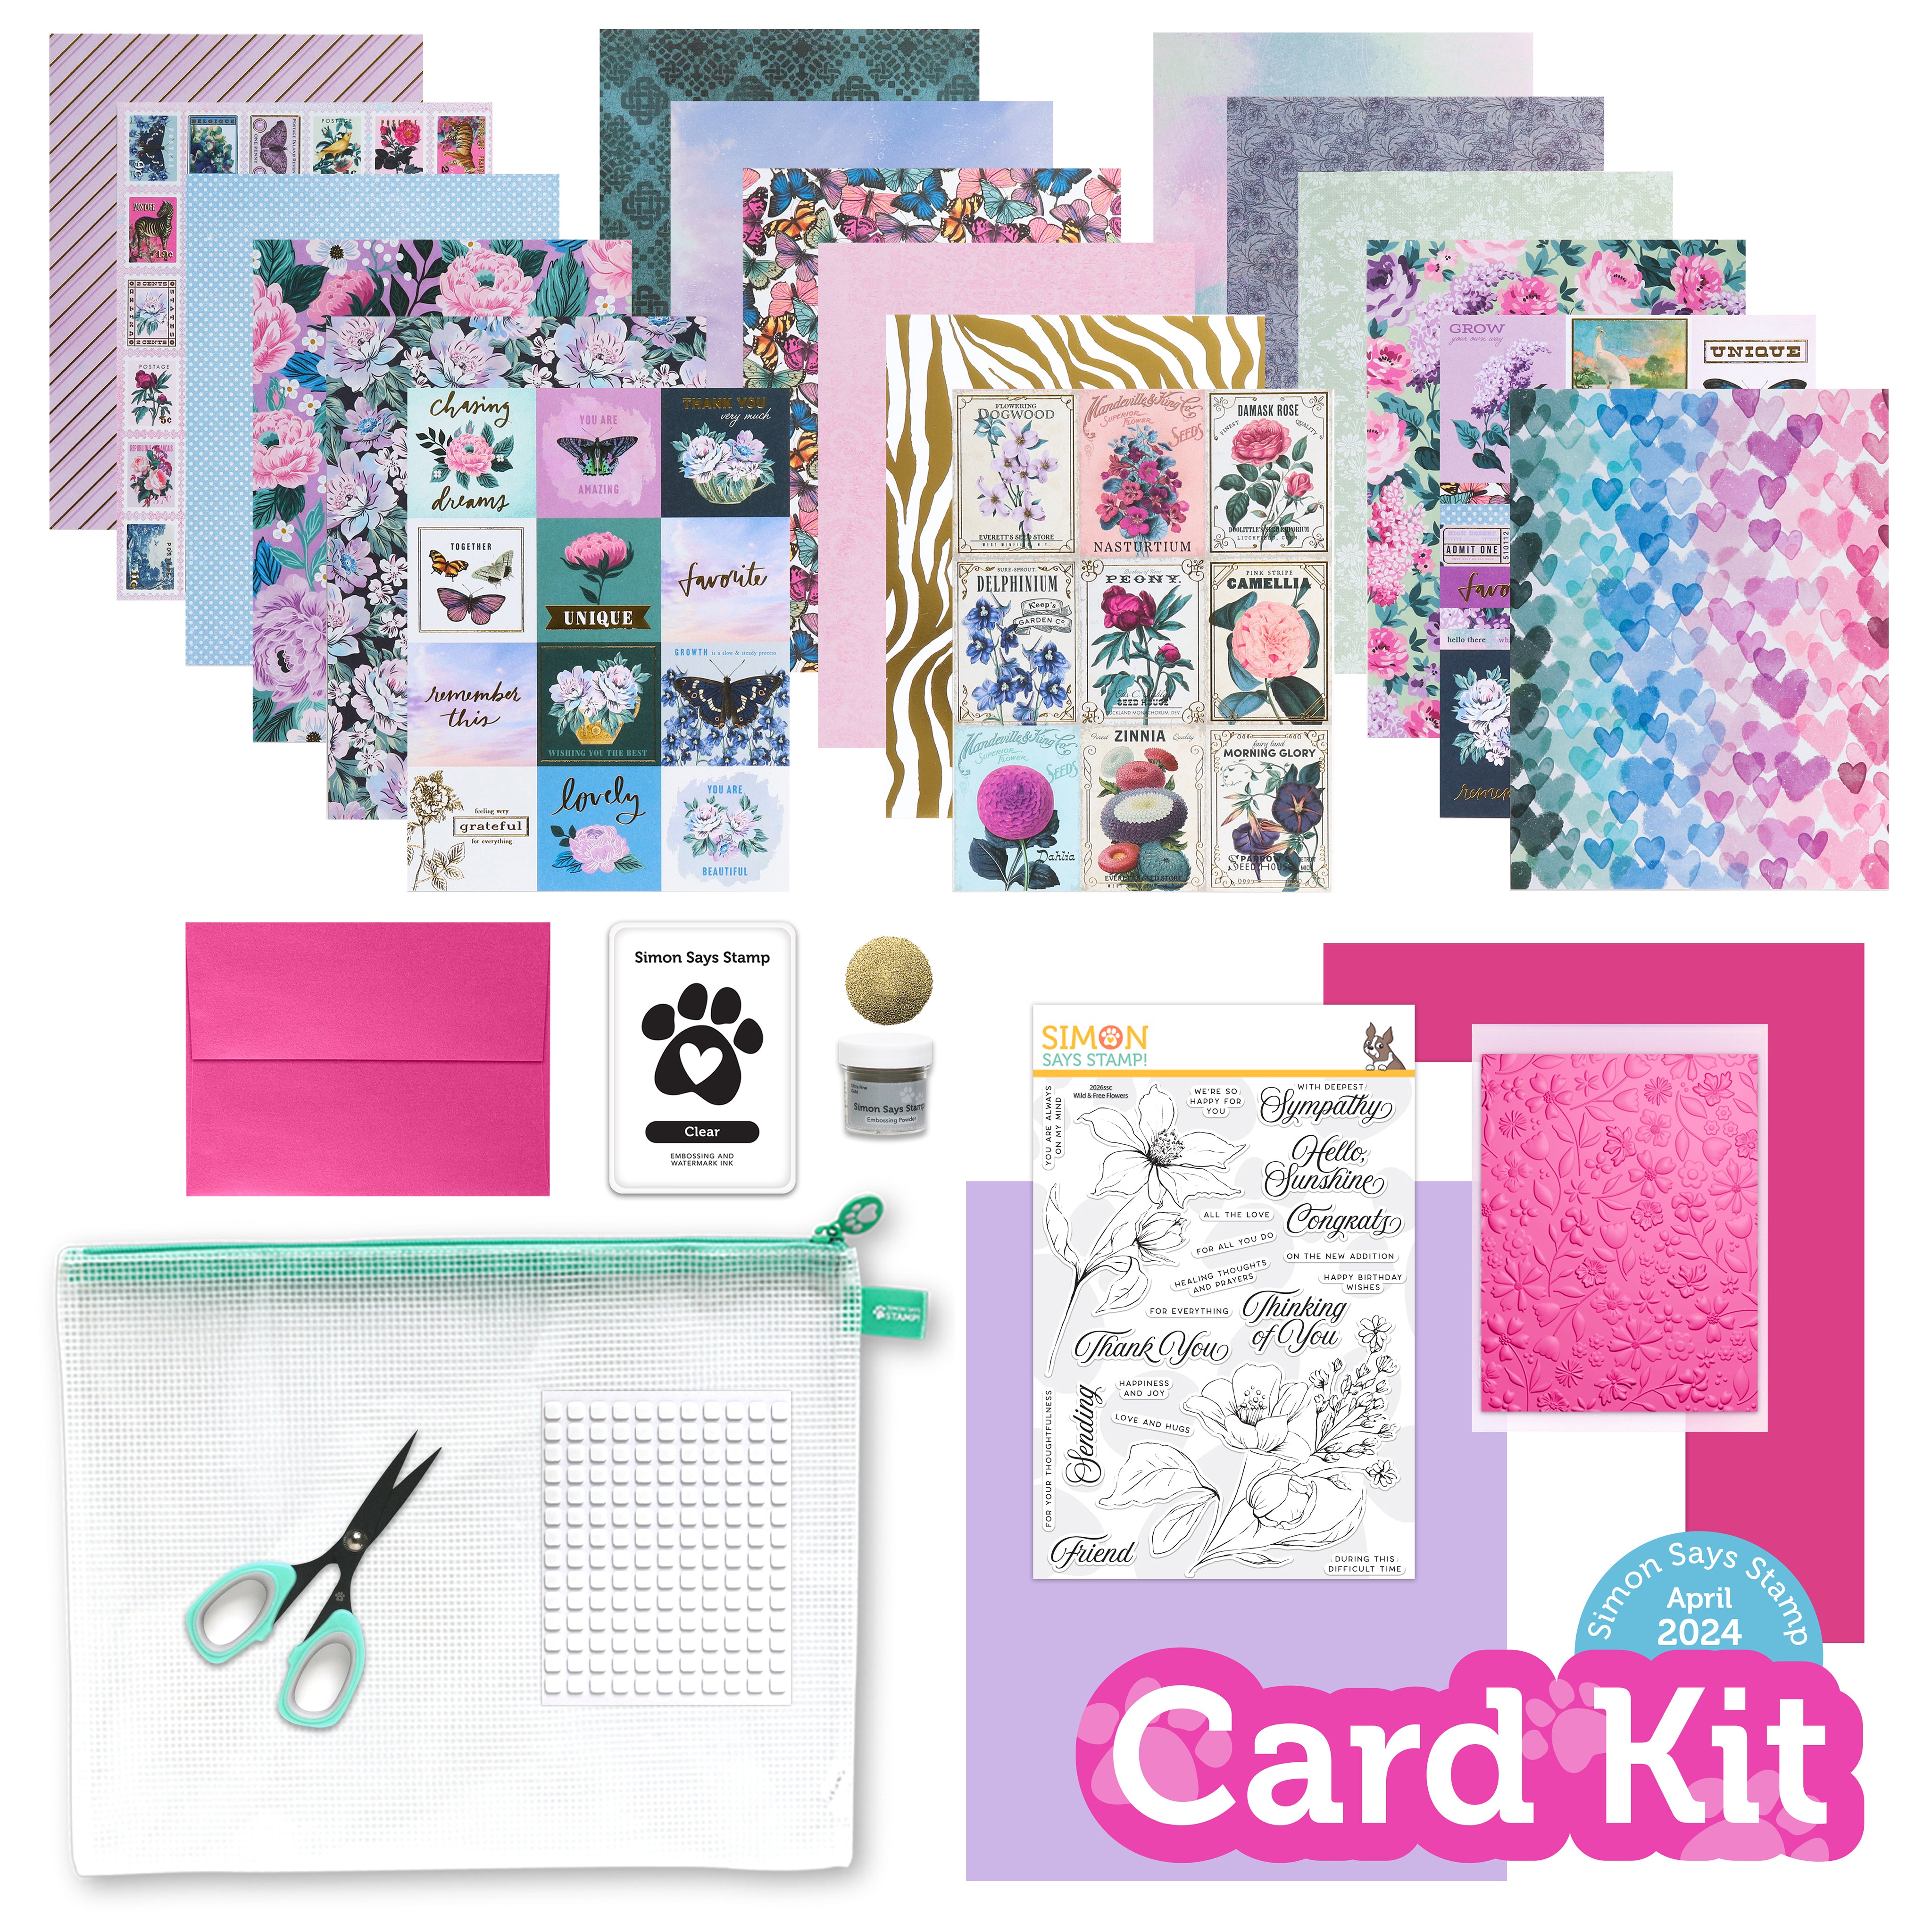
Create Stunning Floral Postage Stamp Cards with Simon Says Stamp April Kit | Nichol Spohr Tutorial!
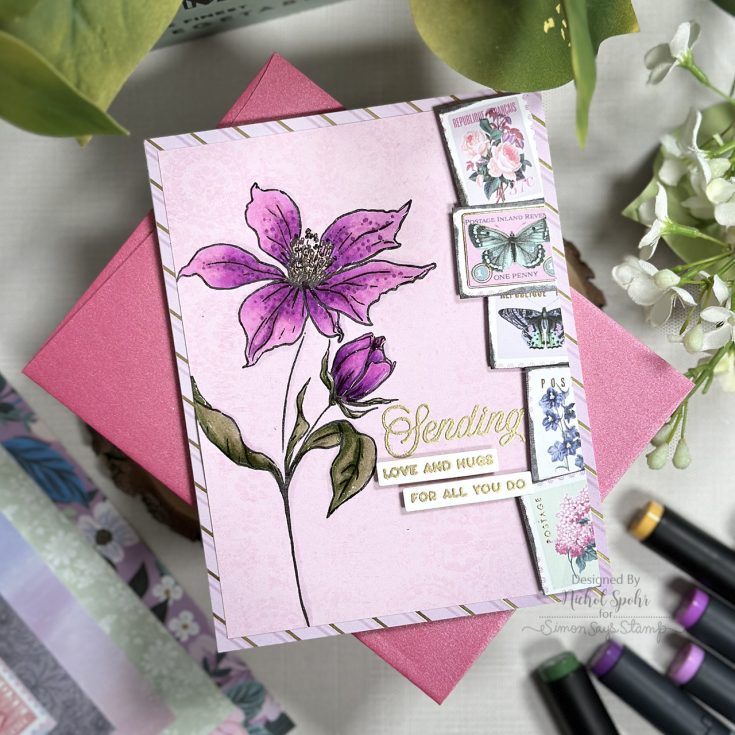
Hi friends! Happy Wednesday! I’m delighted to welcome back special guest Nichol Spohr to our blog to share this gorgeous postage inspired card showcasing lots of products included in our April 2024 card kit! Be sure to watch the video for all the details and enjoy!
WATCH THE VIDEO:
SUPPLIES:
|


Thanks so much for stopping by, and thanks to Nichol for being our guest!


