Wish Upon A Star Framed Panel Wall Hanging by Emma
Hi friends! Happy Sunday! I am beyond delighted to welcome back special guest Emma Williams to share this GORGEOUS Framed Panel wall hanging!
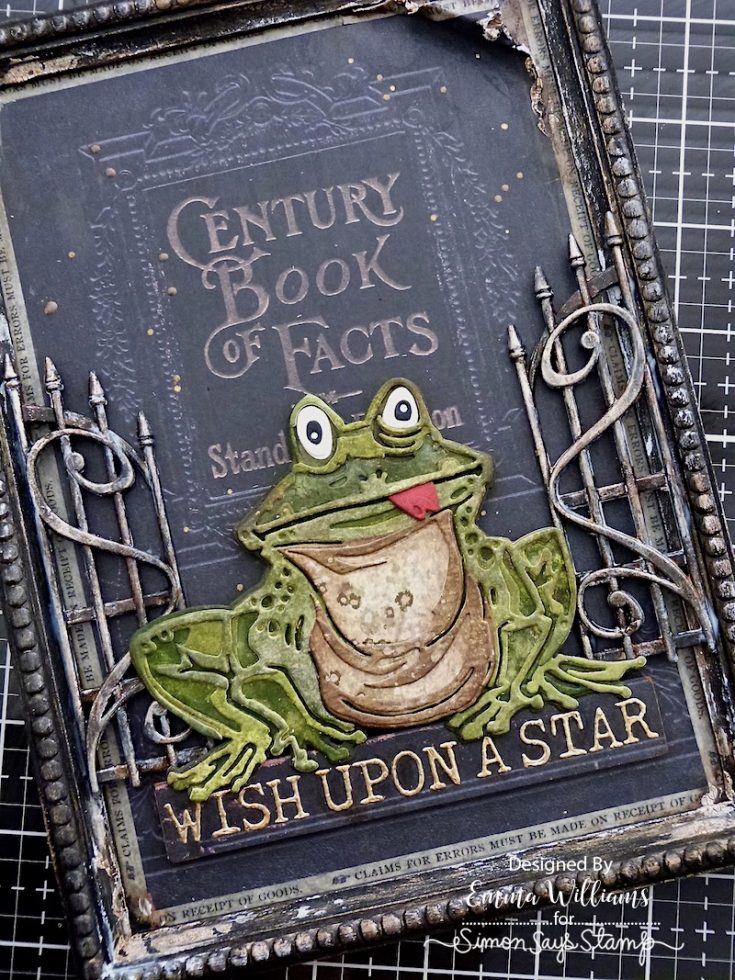
Hello everyone! I’m so happy to be back on the SSS blog today and can’t wait to share all the details of my latest project, which is all about Myron, the stunning die set from Tim Holtz and Sizzix. I was so excited to see this die set in Tim’s Halloween release and I was instantly inspired by the story of The Princess and the Frog, and created a wall hanging ideal for anybody who loves a fairytale, and a happy ending…
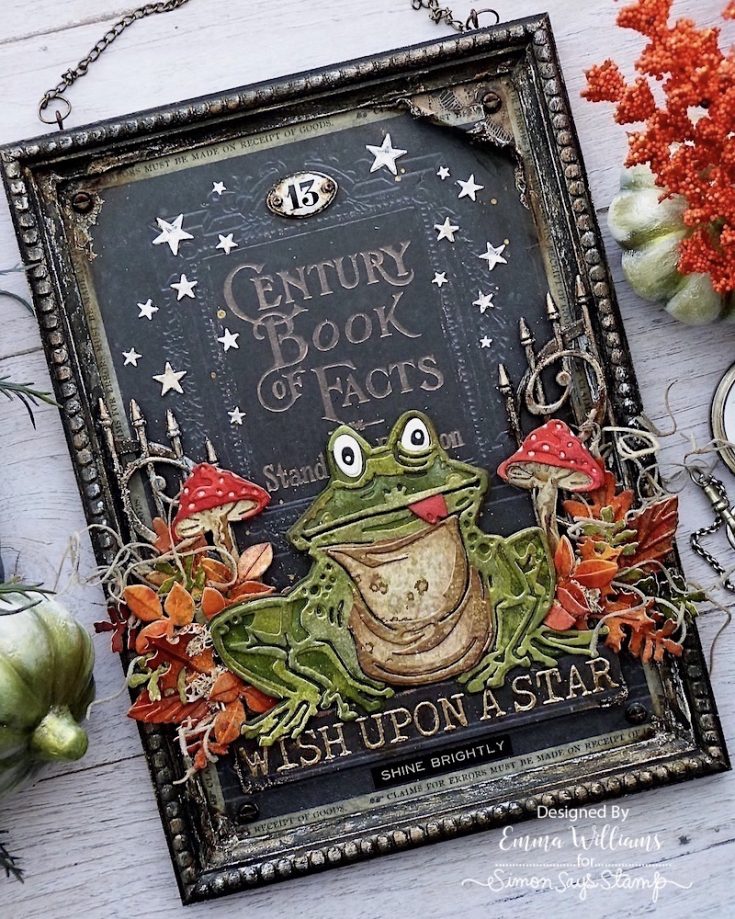
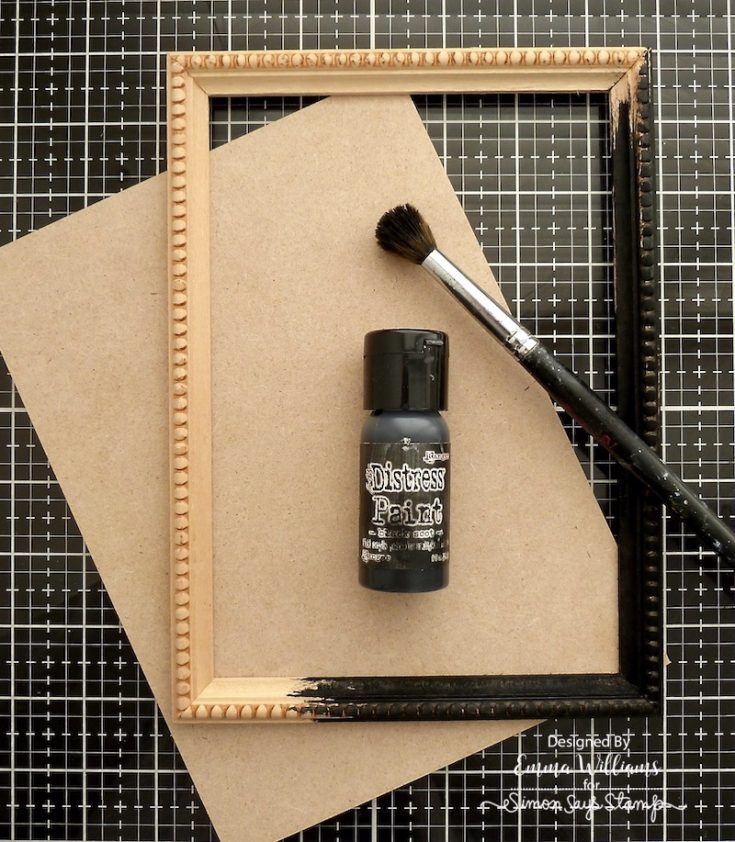
So, let’s get started and for this project I used a Tim Holtz Framed Panel which measures 6.5” x 9”. If you don’t have this panel, then you can use any suitable frame that you might have in your stash, a vignette box or Etcetera Tag. You can even just use the ideas for a card. The frame comes in two separate pieces, a backboard and the wooden frame surround and I began by painting the frame with a coat of Black Soot Distress Paint. I also painted the back and sides of backboard.

Cut a piece of the Backdrops Volume 3 paper to measure slightly larger in size than the aperture of the framed panel. Keep the off-cut as you will use this later. I adhered the panel onto the backboard using Matte Collage Medium and also added a coat of the medium over the top to seal the surface.
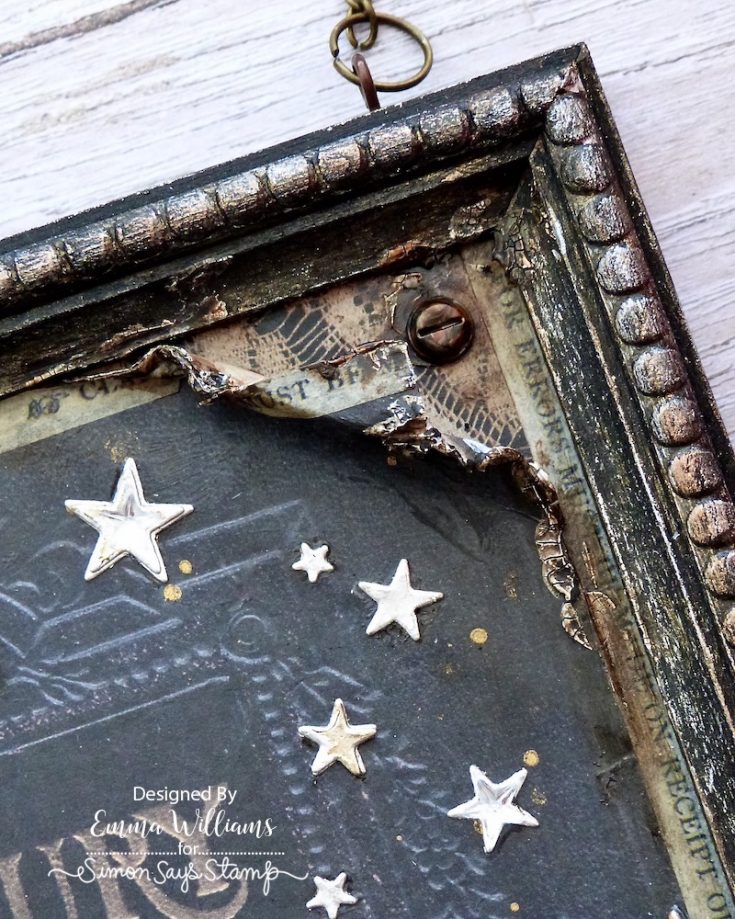
In the top right hand corner of the frame, which you can see below on the finished project, I bent the paper back to create a curled edge and adhered a section of the off-cut underneath.
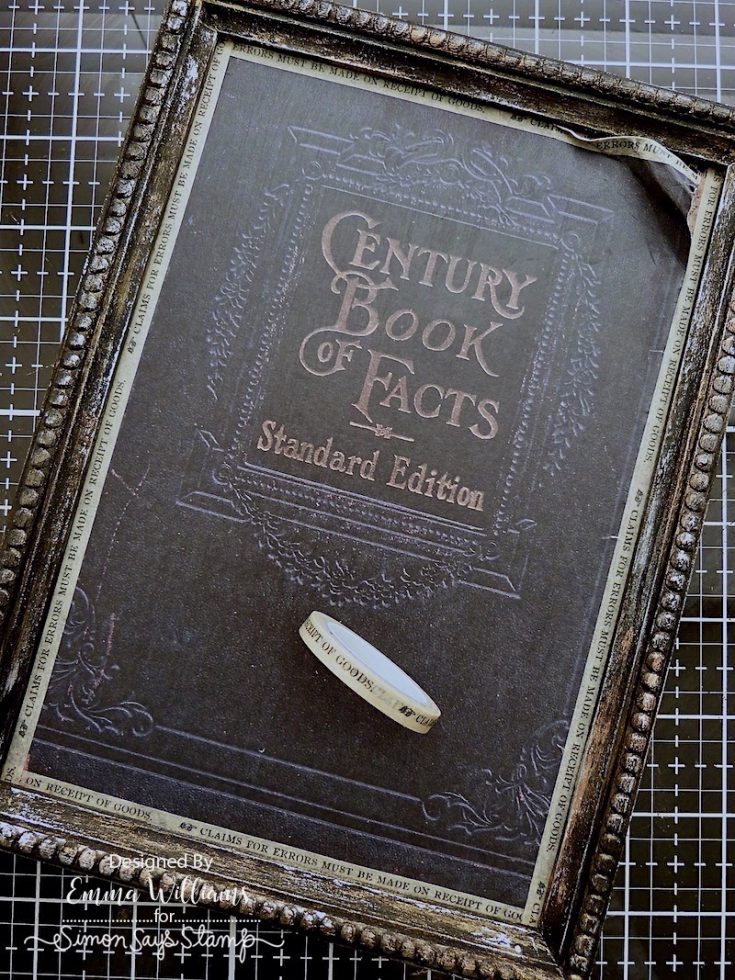
Before adhering the frame into position, I added some Tim Holtz Design Trim Tape around the edge of the paper panel to create an inner border to the wooden frame. Attach the painted wooden frame to the backboard and clamp the two pieces together with bulldog clips.
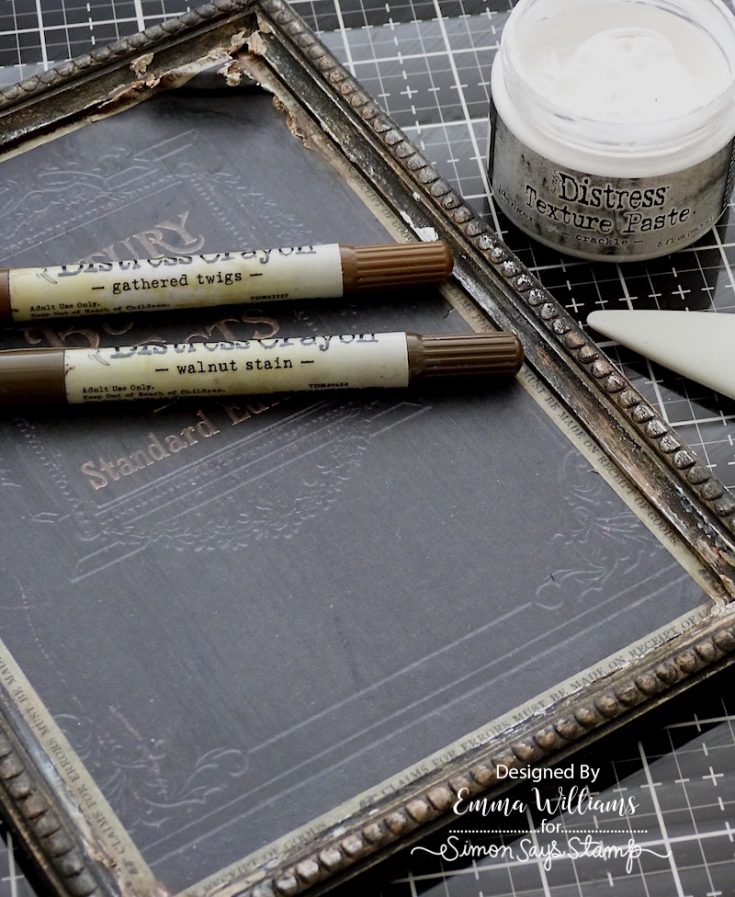
To create a vintage feel to this piece, I used a palette knife to apply Crackle Paste to random areas of the frame itself, around the inner edges and corners of the frame and also along the curled paper edge. Once the paste is dry, and the cracks appear, I used Walnut Stain and Gathered Twigs Distress Crayons to tint the crackle paste, applying the crayon directly to the crackled surface and then used a damp finger to blend the color out.
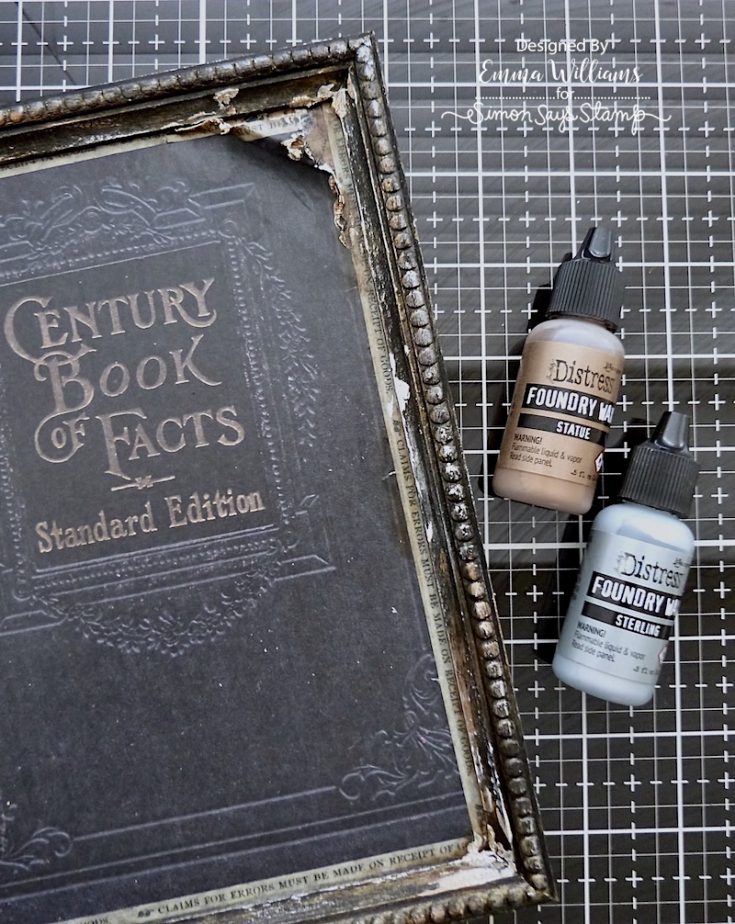
Using my fingertip, (you can also use a brush if you have skin sensitivities) I applied a combination of Statue and Sterling Foundry Wax to the frame, one color at a time. You don’t want a complete coverage of the wax, so just use a very light touch to accentuate and highlight areas of the beading. Heat set the wax with a heat tool.
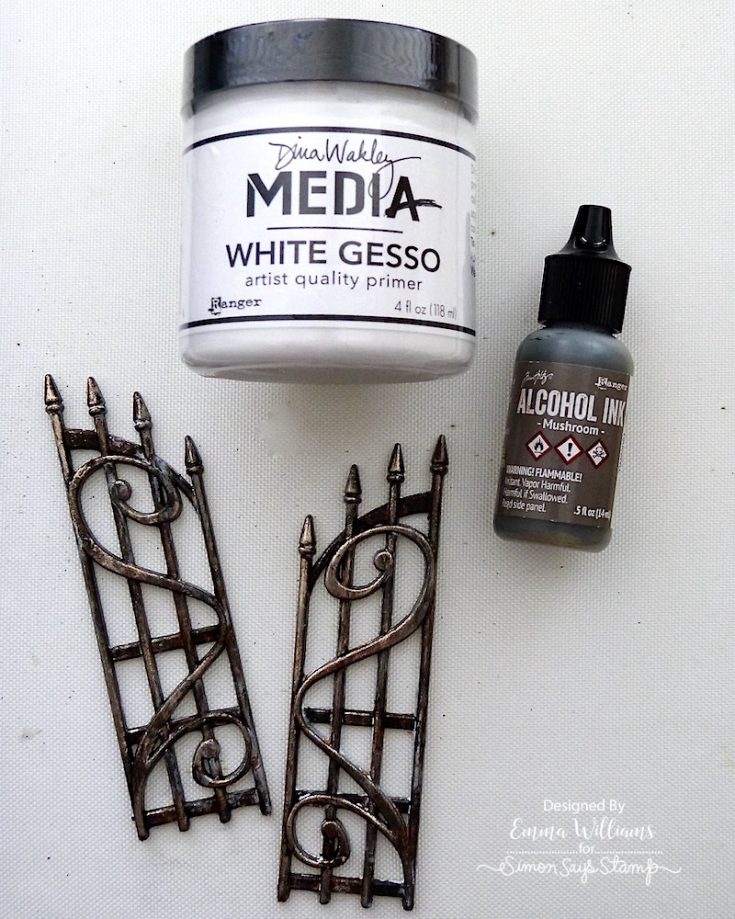
Set the frame to one side to start creating the scene, beginning with the gates that sit on either side of Myron. I applied a coat of gesso over the surface of the metal idea-ology ornate gates and once the paint is dry, I dripped Mushroom alcohol Ink over the painted surface, allowing it to puddle and pool on the painted surface.
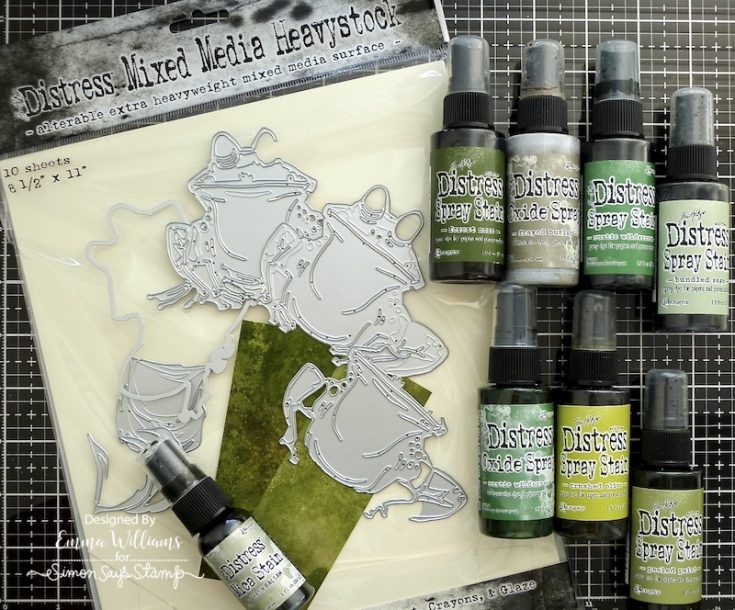
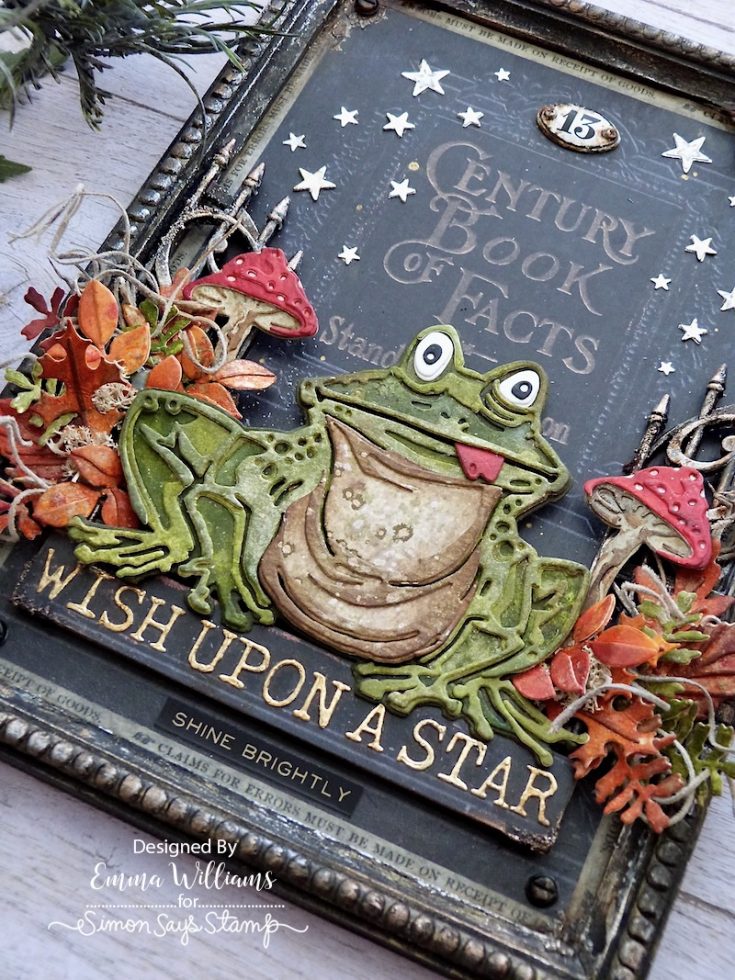
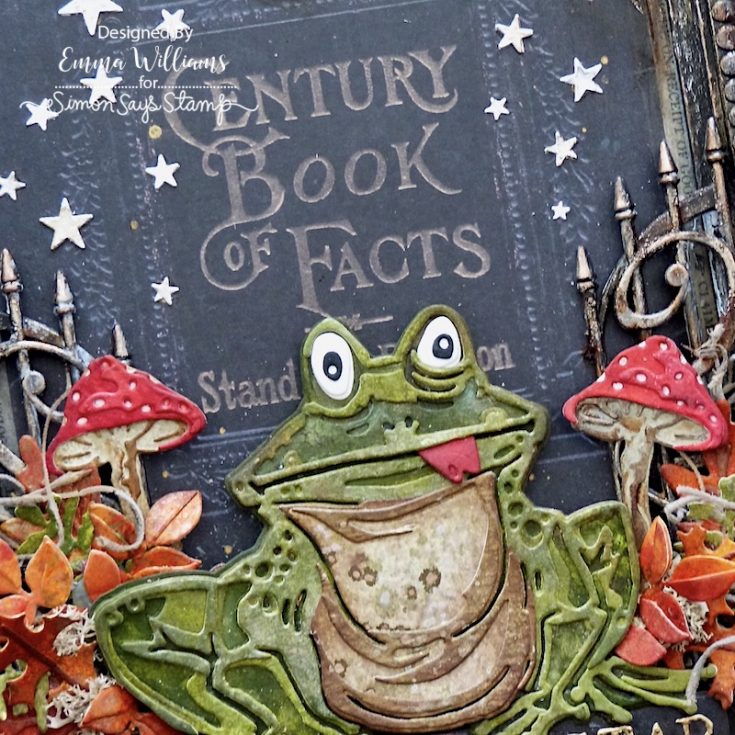
Now for the star of the show, the Sizzix Myron Colorize Thinlits Die Set by Tim Holtz. I began by colouring my own cardstock with various green shades from Tim’s Distress range to create Myron, but you can also use colored cardstock if you choose. I began by cutting four separate panels of Mixed Media Heavystock card, and spritzed each panel with the following Distress Spray Stains; Forest Moss, Rustic Wilderness, Bundled Sage, Crushed Olive and Peeled Paint, Rustic Wilderness Oxide Spray and Fresh Balsam Mica Spray, each time making the color lighter than the previous card panel. The final two layers need to be more of a neutral shade, so using a separate panel of card, I applied a light misting of Frayed Burlap Oxide Spray to color this card to be used for his tummy.

Once the cardstock is dry, I added adhesive sheets to the back of each panel of card, and cut each of Myron’s individual layers. There are 6 layers in total.

Assemble Myron, inking the edges of each layer with Walnut Stain Distress Ink before adding the eyes, which are cut from white cardstock and black cardstock. I wanted to give Myron a cheeky personality, and added a little red tongue poking out. For this I used the tongue from the Otis Colorize Thinlits Die Set and cut the layers from red cardstock before placing it between Myron’s lips, attaching it with a dab of Matte Collage Medium.
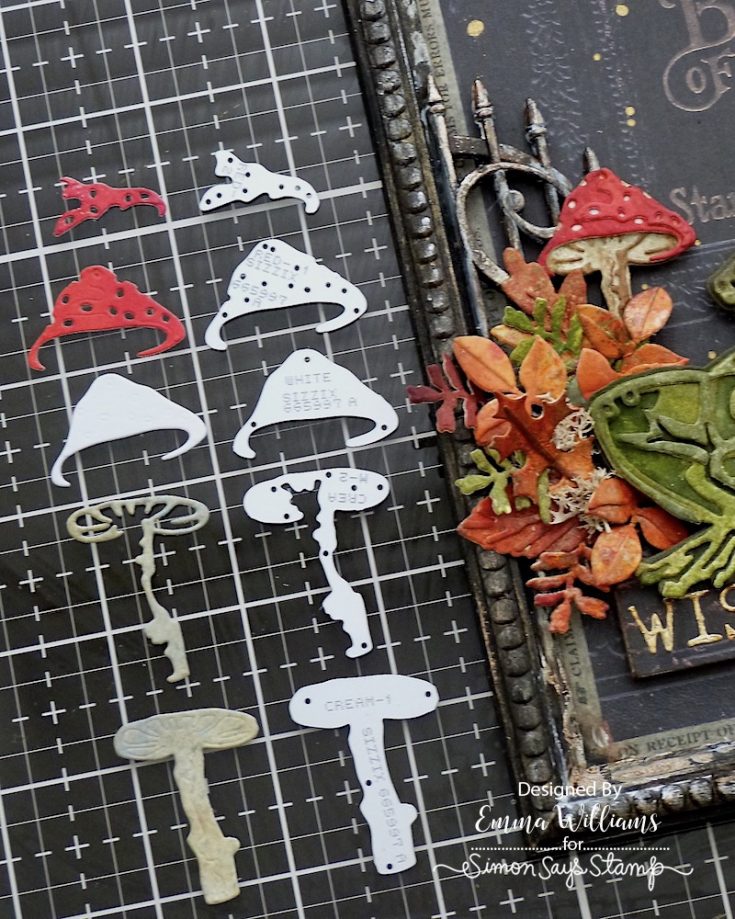
With Myron ready and waiting for his big appearance, I moved onto cutting the toadstools, which are included in this die set. I cut two toadstools using card inked with the following colors of Distress Spray Stain; Candied Apple, Barn Door for the caps and Frayed Burlap and Antique Linen for the stalks. Assemble the toadstools and ink the edges with Walnut Stain Distress Ink.

For the foliage, I used a selection of the dies from the Funky Foliage Thinlits Die Set. I coloured Mixed Media Heavystock card with Burning Ember and Harvest Moon from Set 3 of the Mica Stains, adding a few splatters of Frayed Burlap Oxide Spray over the top.
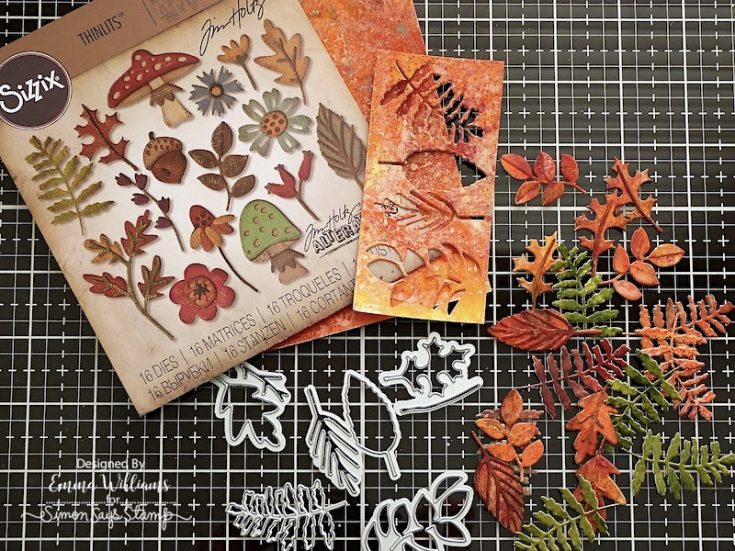
Once the cardstock is dry, cut a selection of orange autumnal colored leaves, together with a few green pieces from the leftover cardstock used for Myron.
We’re now ready to assemble the scene. Attach the gates to the frame, using Matte Collage Medium to secure them and then position Myron in between them, using foam pads to attach him.

Arrange and attach the foliage and toadstools on either side of Myron, attaching the pieces with hot glue or Matte Collage Medium. I completed the arrangement, with pieces of Spanish Moss from my own stash.
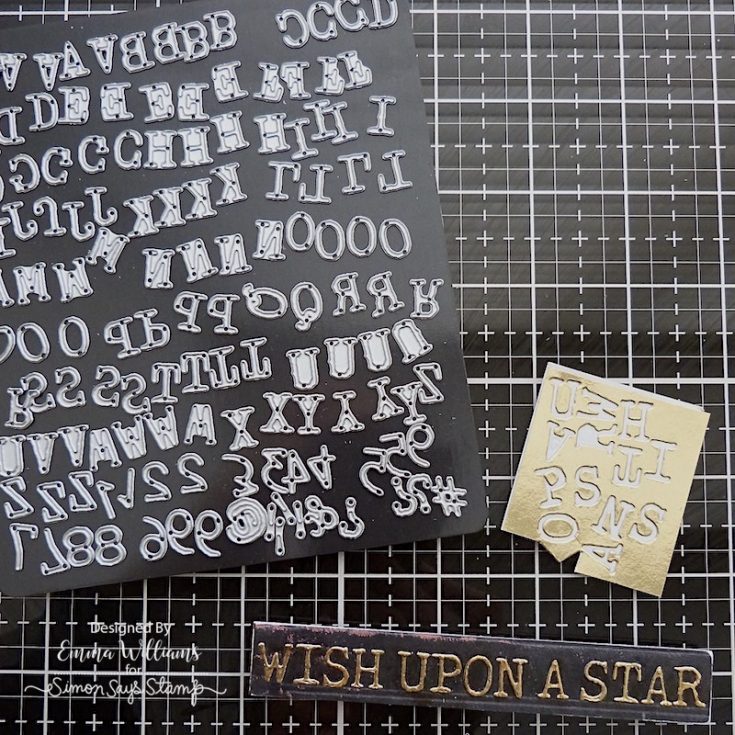
To give Myron something to sit on, I created a quote banner. I cut my quote, “Wish Upon A Star” from gold metallic kraft stock, using the letters from the Tiny Type Upper Thinlits die set.
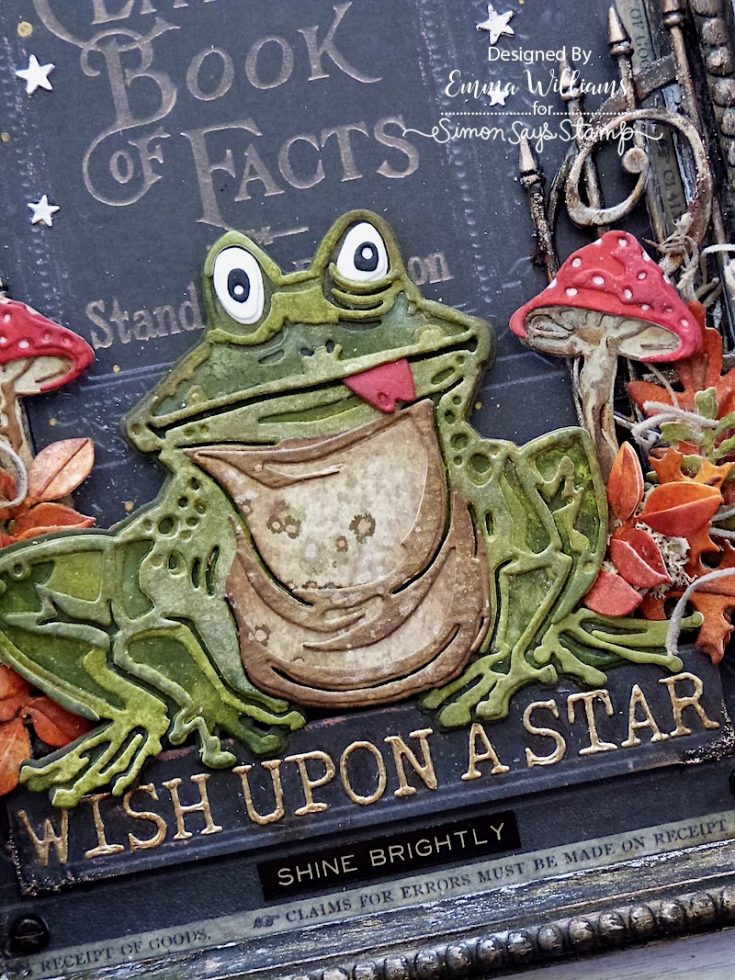
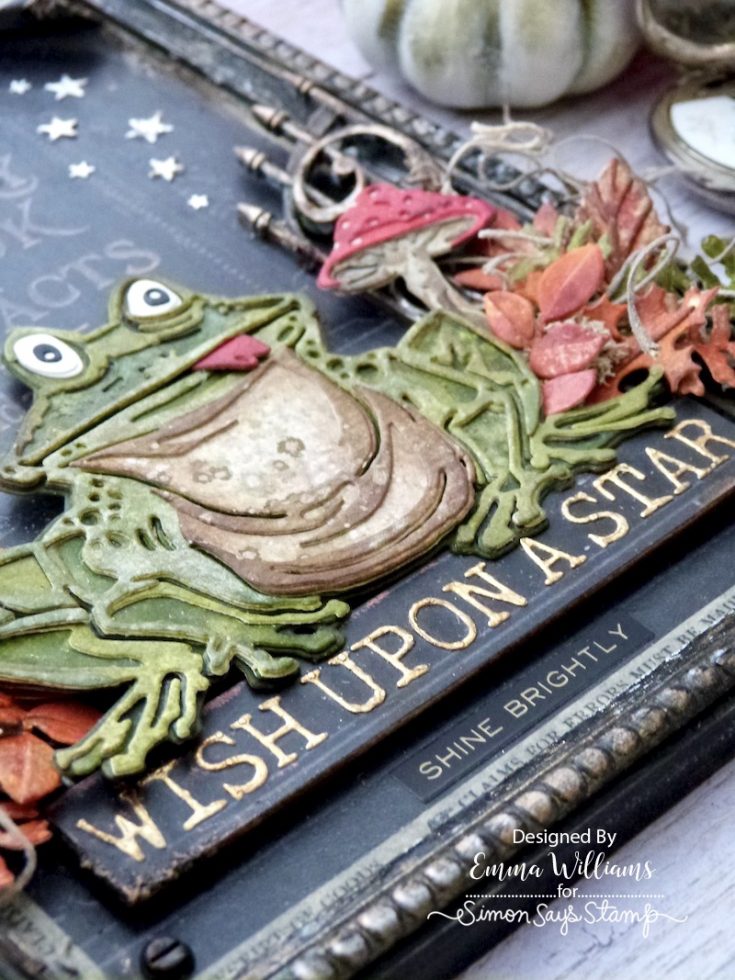
I attached each letter onto the Backdrops off cut that was kept on one side and then mounted the panel onto a piece of mat board for stability and then attached the sentiment to my panel using foam pads for added dimension. Directly underneath the quote banner, I adhered a Metallic Quote Sticker ~ Shine Brightly.

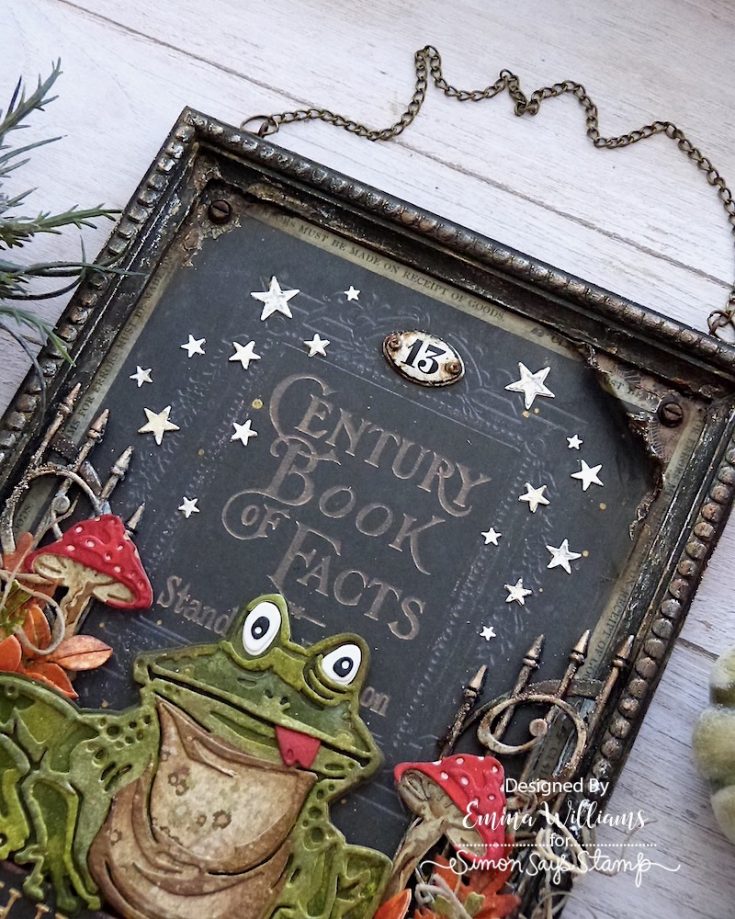
At the top of the frame, I added a ‘no. 13’ Mini Plaquette with Matte Collage Medium. To knock back the whiteness of the plaquette, I dribbled a little Rust and Pitch Black Alcohol Ink onto the surface, dabbing away any excess with a cotton bud before attaching it to my panel.
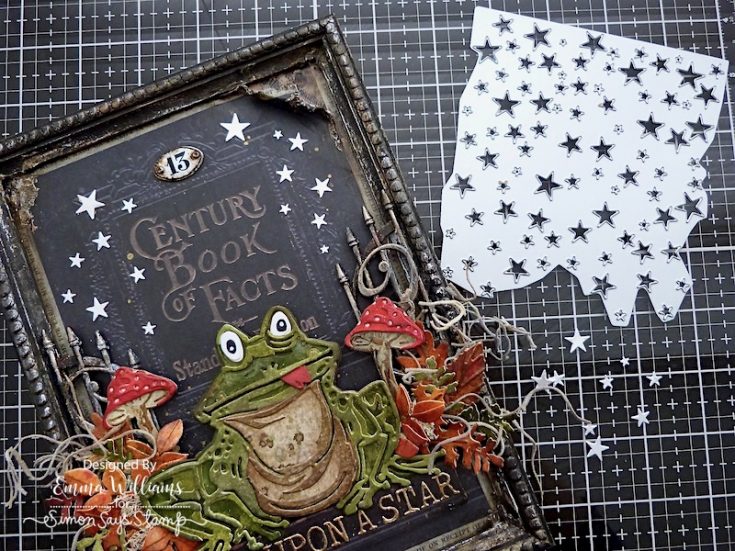
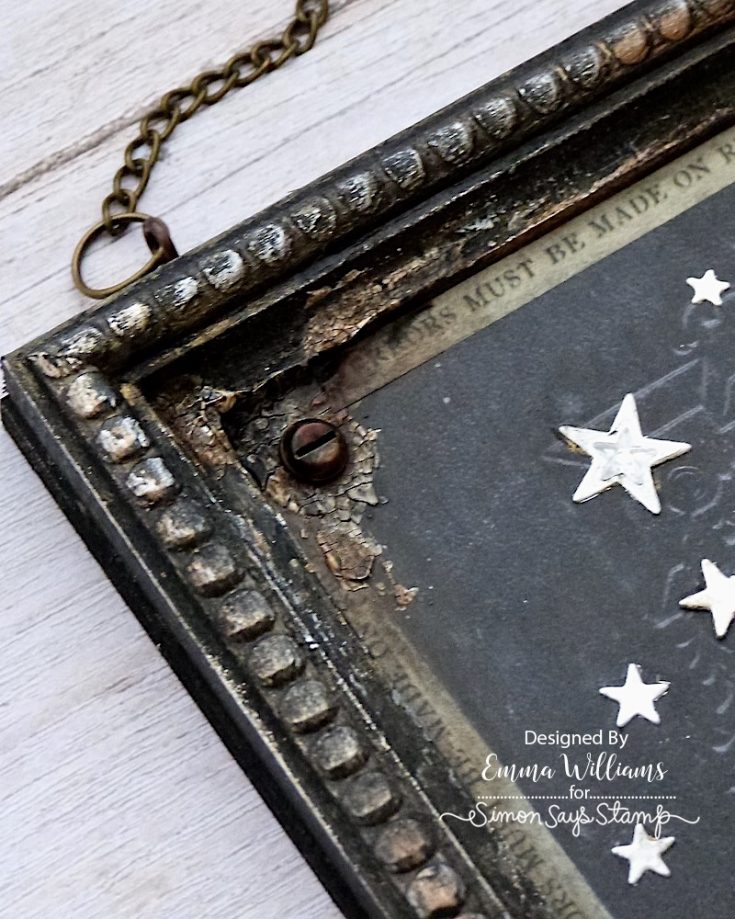
We’re nearly there and all that’s left are those tiny details, starting with the stars that are surrounding Myron. I cut a selection of stars using the Falling Stars Thinlits die set from silver metallic cardstock and then attached them directly onto the background. In the centres of some of the stars, I added Mirrored Stars.
In the four corners of the panel, I adhered Hardware Heads altered with Crackling Campfire Distress Paint.
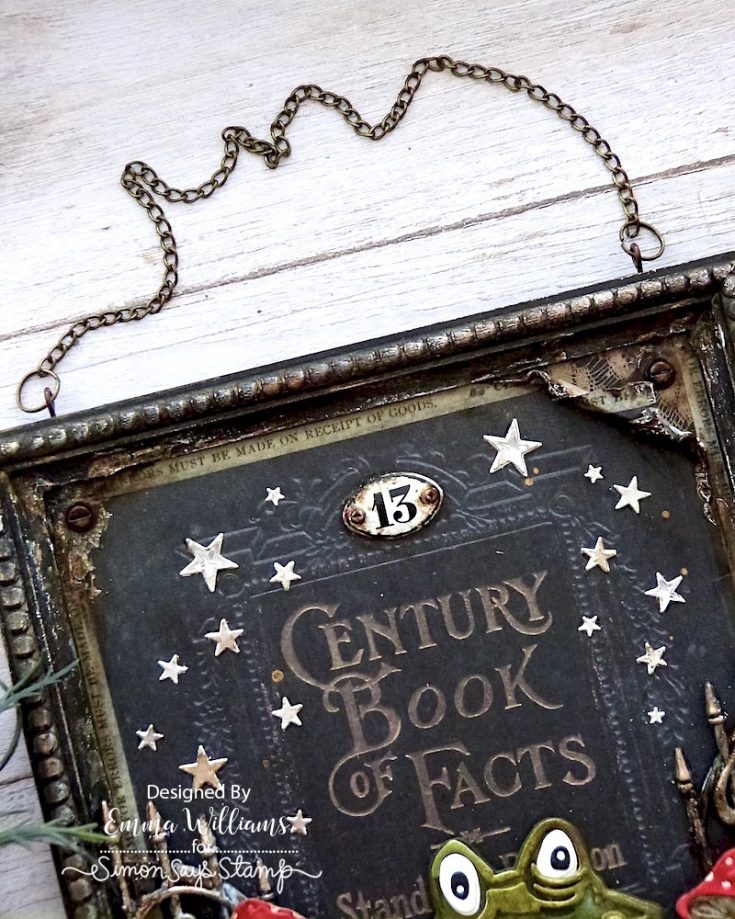
Finally, I added my chain from my stash which I attached to the top of the frame, by boring holes into the frame itself, and adding a screw eye to either side from the Vignette Findings Pack.
So that’s my project complete and I really hope you enjoyed this tutorial and loved the finished piece I’ve made. I’ve had so much fun creating this and can’t wait to see how you’re inspired by my make.
See you all again very soon and Happy Crafting everyone…
Emma x
SUPPLIES:
|


Thanks for stopping by, and thanks to Emma for being our guest!


This is such a wonderful piece! I love the layering of the fauna surrounding Myron, and the backdrop and sentiments are so fitting for this magical scene. Every detail is so finely appointed! Absolutely Wonderful in every way
Myron is Amazing!!!! I love your work of Art!!!!
WOW! This is amazing!
so amazing